What Pennsylvania Gardeners Should Do With Coffee Grounds Right Now (And What They Should Avoid)
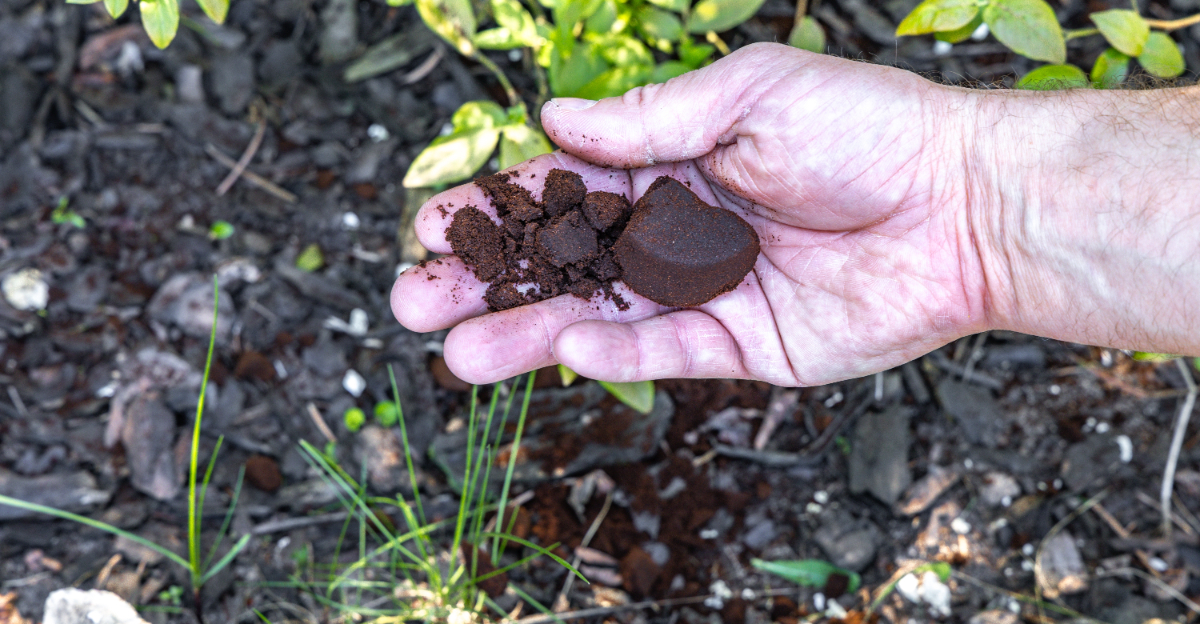
The coffee is gone. The grounds are not.
By noon, that damp brown pile on the kitchen counter can start to look suspiciously useful. Pennsylvania gardeners may eye the compost bin, the blueberry bed, the hydrangeas, or even a row of fresh seedlings.
One scoop seems harmless.
A whole container can tell a different story.
Used coffee grounds do contain organic matter and nutrients, but they also clump, hold moisture, and behave very differently from the acidic drink that came through them. More is not automatically better.
So where should today’s grounds actually go?
The safest answer may be less glamorous than the internet tricks that promise darker hydrangeas or instant fertilizer. Compost gets one vote. Worm bins get another. Bare soil deserves more caution.
Before that morning brew becomes an afternoon garden experiment, sort the useful ideas from the expensive ones.
Your leftovers can help the soil.
They just need better instructions than “dump and hope,” especially while Pennsylvania beds still have plenty of active season left this summer.
1. Add Coffee Grounds To The Compost Pile
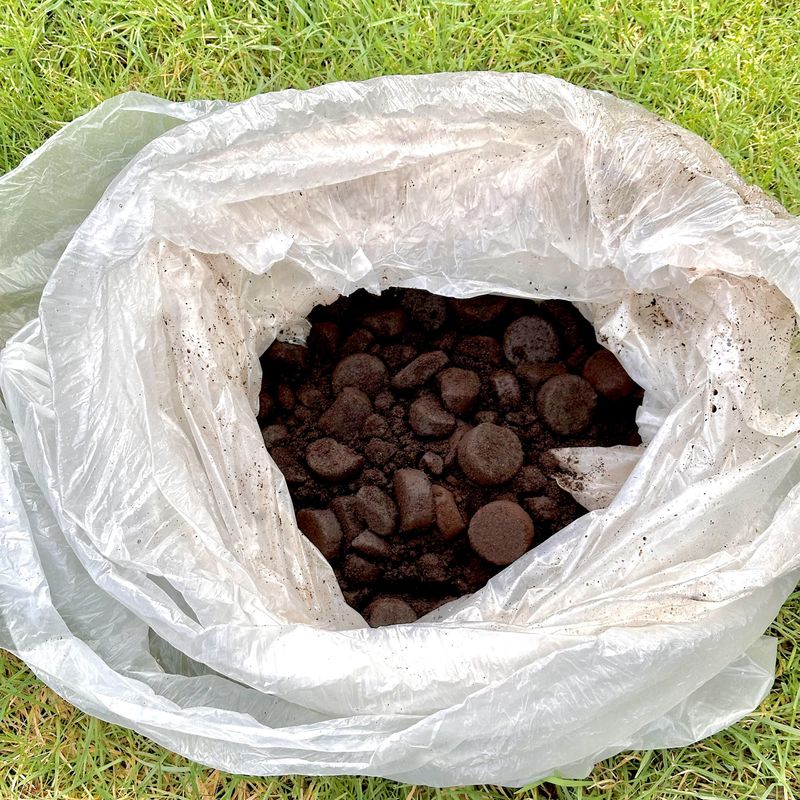
The compost pile is the easiest place to make coffee grounds useful with very little fuss.
Used grounds count as a nitrogen-rich ingredient, so they fit beside fruit scraps, vegetable scraps, and fresh plant material. Coffee grounds are among the normal household materials suitable for a backyard compost pile.
The trick is dilution.
A thick coffee layer can pack together, stay wet, and slow air movement. Mix each batch through the pile rather than dump it into one dark slab.
Dry leaves make an excellent partner. So do shredded cardboard, straw, or torn paper. Those carbon-rich materials create more space in the pile and help balance wetter kitchen scraps.
Keep coffee grounds below about 20 percent of the total compost volume. Higher amounts can create conditions that work against plants later.
Give the pile a turn when materials start to mat. Add water only when the mix feels too dry, since used grounds already carry moisture.
Then let decomposition do the chemistry for you.
Finished compost spreads the coffee material through a much larger mix and gives garden soil organic matter without one concentrated dose.
Your roses never asked for a double espresso.
The compost pile can handle the order first, then serve the garden a much gentler cup.
2. Feed Small Amounts To A Worm Bin
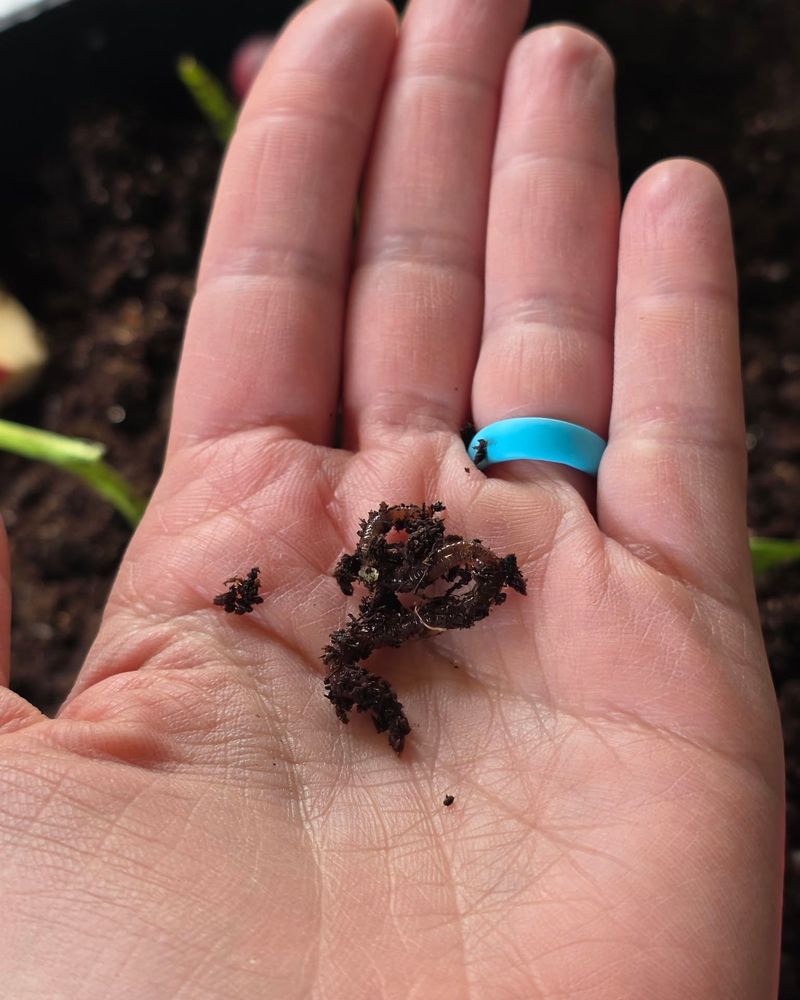
Red wigglers can take coffee grounds, but the worm bin does not need your entire week’s caffeine leftovers at once.
Coffee grounds and paper filters are acceptable food for a vermicompost system. Keep staples, plastic tags, and other noncompostable pieces out before anything reaches the bin.
Start with a small portion.
Spread the grounds across part of the surface or tuck them beneath bedding rather than bury the whole bin under one wet layer. That gives the worms plenty of other material and keeps the texture loose.
Dry shredded cardboard or plain paper makes a useful partner.
The bedding should stay moist like a wrung sponge, not glossy with excess water. Coffee grounds already add moisture, so a heavy dose can push a damp bin in the wrong direction.
Your Pennsylvania Garden Changes Every Week. Your Plan Should Too.
Gardening in Pennsylvania changes quickly throughout the season. Every Friday you’ll receive a simple weekly plan showing exactly what to plant, prune, fertilize, harvest, and protect so you never miss the right timing.
Keep fruit and vegetable scraps in the rotation too. A varied bin is easier to manage than one built around a single kitchen waste.
Check for odors, pooled liquid, or food that sits untouched. Those signs tell you to slow the next addition and add dry bedding.
Once the worms turn the mix into dark castings, use that finished material as a soil amendment rather than scatter raw grounds around tender plants.
The worms get a coffee break.
They just do better when the break comes with cardboard, vegetables, and a sensible portion size.
3. Mix Grounds Into Sheet Compost Layers
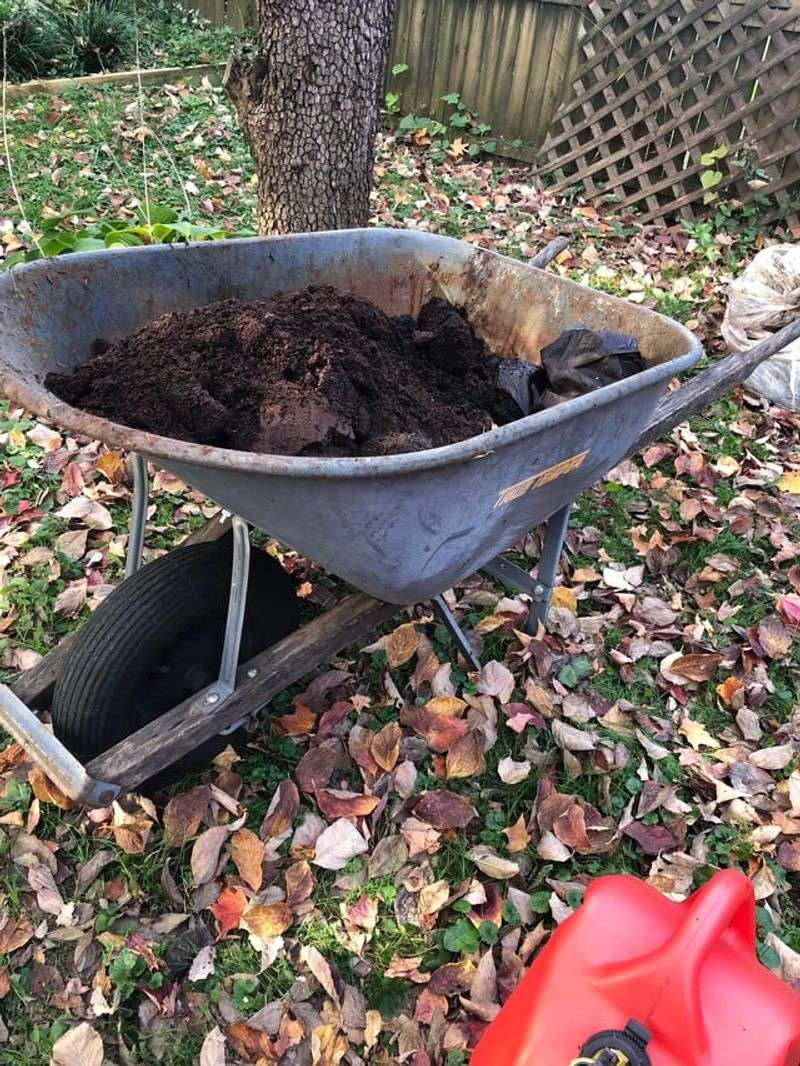
Fall leaves and used coffee grounds can make a useful pair in a new no-dig bed.
Sheet compost systems place carbon-rich and nitrogen-rich materials in layers above the soil. Used coffee grounds can serve as one of the nitrogen sources, while leaves, straw, shredded paper, or cardboard supply carbon.
Keep the coffee layer thin.
A dense blanket of grounds can compact and shed water once the surface dries. Scatter them across the bed, then cover them with a broader layer of leaves or another dry material.
Moisten each layer enough to support decomposition.
Do not turn the whole project into a soaked mattress. Pennsylvania rain may provide plenty of moisture during parts of fall, so check the bed before you add more water.
This method suits beds that have time to settle.
Several months give microbes a chance to break down fresh material before roots depend on that zone. A top layer of finished compost or garden soil also creates a more predictable place for future plants.
Raw coffee grounds should not become the direct seed layer. Concentrated grounds can temporarily tie up nitrogen and may slow seed germination or early plant growth.
Build the layers, cover the coffee, and let time finish the job.
Lasagna belongs in layers.
Your garden bed agrees, though it prefers leaves to mozzarella.
4. Pair Grounds With Dry Carbon Materials
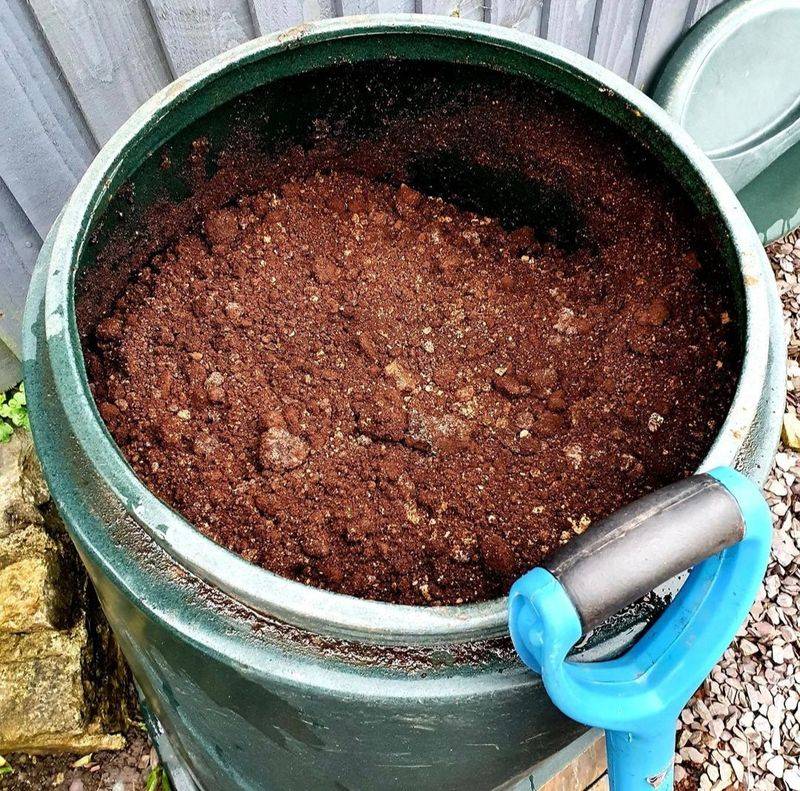
A wet scoop of coffee grounds needs a dry partner before the compost pile starts to resemble yesterday’s oatmeal.
The useful pair is simple.
Coffee grounds bring nitrogen and moisture. Fallen leaves, shredded cardboard, straw, and plain paper bring carbon and help create a looser structure.
Pennsylvania gardeners have an easy seasonal advantage here. Autumn produces bags of leaves at the exact moment kitchen scraps still arrive indoors. Store dry leaves in a bin or pile so you have a brown material ready through winter.
Do not chase a laboratory-perfect ratio with every coffee filter.
Backyard compost works well when wet green materials stay mixed with a larger supply of dry browns. Sheet-compost guidance often uses separate carbon and nitrogen layers, while pile guidance recommends coffee grounds as only one part of the total mix.
Use your nose as a quick warning system.
A sour, swampy pile often needs more dry material and more air. A pile that stays dusty and unchanged may need a little moisture.
Break apart coffee clumps before they disappear into the mix.
That ten-second step gives microbes more surface area and keeps one compact puck from a long stay.
Your morning grounds do not need a complicated recipe.
They need leaves, air, and enough company to keep them out of the main role.
Coffee may run breakfast.
It should not run the compost pile.
5. Stop Using Grounds To Acidify Soil
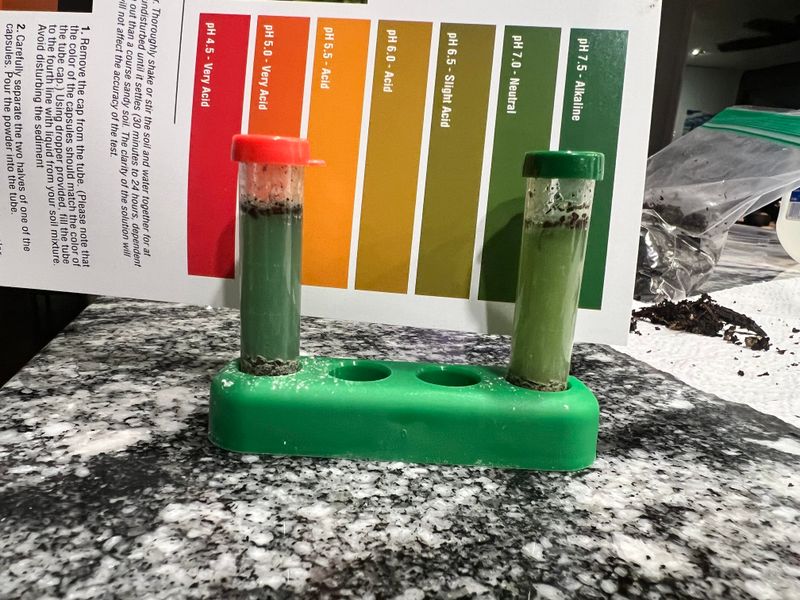
Blueberries are where the coffee-ground myth becomes especially attractive.
The shortcut sounds tidy. Soil chemistry is much less cooperative.
The drink in your mug tastes acidic, so the leftover grounds seem like an obvious shortcut for a low-pH bed. Used grounds do not work that predictably.
Once water passes through them, coffee grounds can sit close to neutral, and any soil-pH effect tends to be small or temporary. They should not be relied on to acidify soil for blueberries, azaleas, rhododendrons, or hydrangeas.
Pennsylvania blueberry beds need real numbers instead.
A soil test can show the current pH and guide the amount of sulfur or another amendment needed for the crop. Blueberries perform best in strongly acidic soil, roughly around pH 4.5 to 5.0.
Do not use flower color as your soil test.
Hydrangea color involves soil chemistry and cultivar traits, so a handful of breakfast waste is not a dependable adjustment tool.
Send the grounds to compost and handle pH as a separate job.
That keeps two useful ideas from one bad shortcut.
Your blueberry bush wants acidic soil, not coffee-themed décor.
Give it the amendment a test actually calls for, and let the compost bin enjoy the grounds instead.
6. Avoid Thick Coffee Mats Around Plants
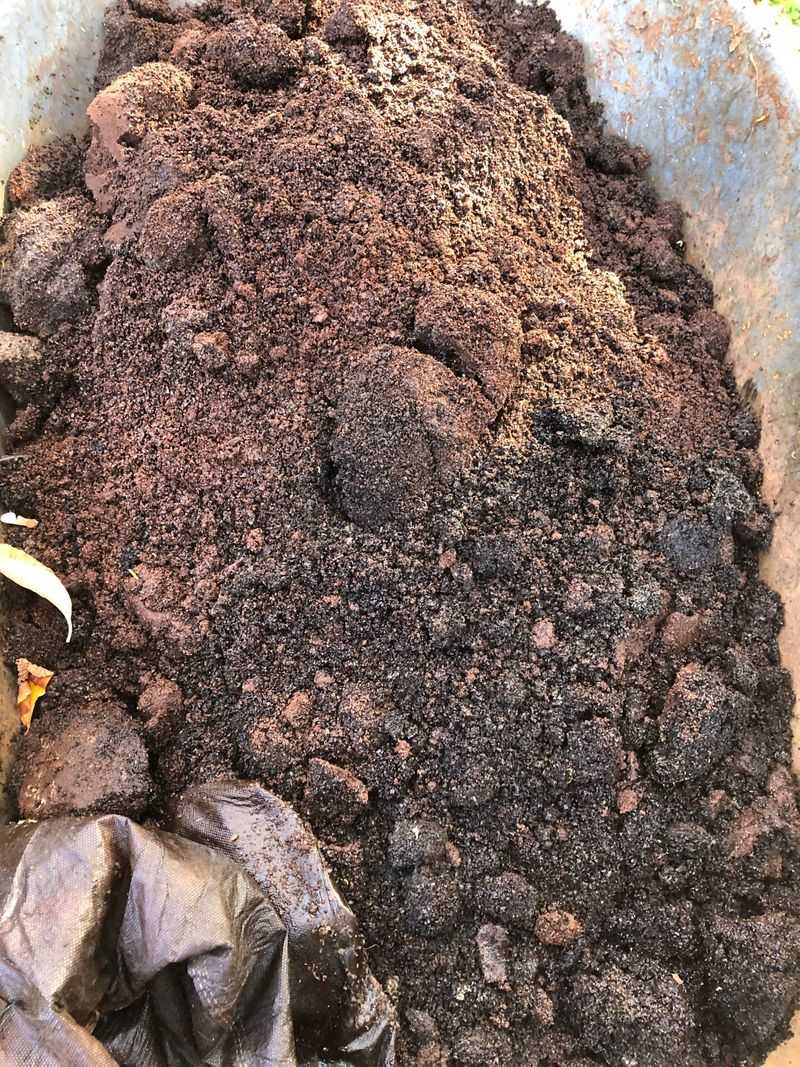
That dark ring around a shrub can look tidy right after you spread it.
A few rains later, raw coffee grounds may behave more like a crust than a mulch.
The particles are fine, and a thick layer can pack together. Once the surface dries, it may repel water rather than help moisture reach the soil below. Current guidance recommends a much thinner direct layer or a cover of leaves or bark over the grounds.
Skip the coffee doughnut around stems.
Do not pile grounds against crowns, trunks, or perennial shoots. The same rule applies to regular mulch: leave clear space around plant bases.
A better route starts in the compost pile.
Finished compost has a more varied texture and spreads the original grounds through decomposed leaves and other materials. That makes it much easier to apply evenly across a bed.
For gardeners who still want to use a small amount directly, keep it modest and mix it into a broader organic layer rather than build a visible coffee blanket.
Then check the soil after rain.
Water should move through the surface instead of bead on top while roots stay dry below.
Coffee grounds are small particles that can pack tightly.
Treat them like an ingredient, not a mulch product.
Your hydrangea needs water at its roots.
It does not need a cappuccino lid over the soil.
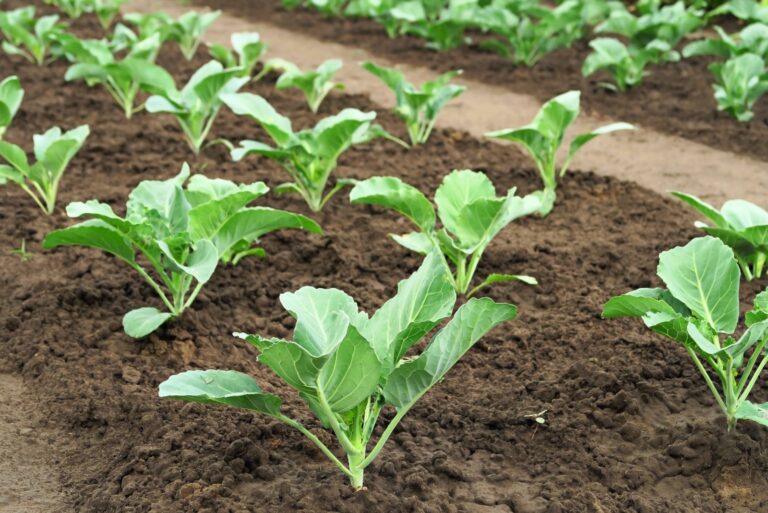
7. Keep Fresh Grounds Away From Seed Rows
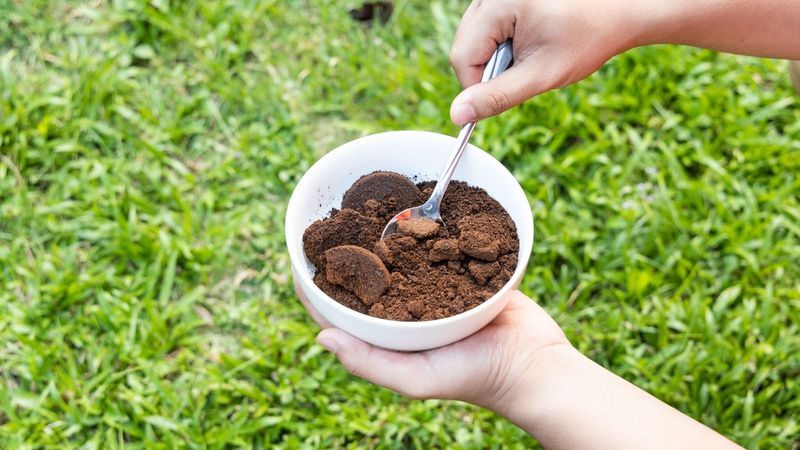
A fresh seed row is the worst place to test how generous you can be with raw coffee grounds.
Young roots and new sprouts have very little room for error.
Concentrated grounds placed directly into soil can temporarily tie up available nitrogen as microbes break the material down. Residual caffeine and other compounds may also slow germination or early plant growth.
Keep raw grounds away from the furrow.
Do not dust them over lettuce, carrots, radishes, beans, or flower seeds as a homemade starter fertilizer. The brown color may look soil-like, but the material has not finished decomposition.
Use mature compost instead.
Compost that included coffee grounds as one modest ingredient has already passed through a microbial process and offers a much more stable amendment for a seed bed.
The same caution helps with tiny transplants.
A seedling with a small root system does not need a concentrated patch of fresh grounds beside the stem. Give it normal soil, appropriate compost, moisture, and the fertility recommended for that crop.
Once plants mature, small amounts of coffee material in a balanced soil or compost system create less concern.
Closest coffee grounds win no prize.
Let the compost pile take the first sip.
Your seedlings have enough work to do without an accidental espresso experiment on day one.
8. Skip Coffee As A Complete Fertilizer
A bag of used grounds contains nutrients, but it does not contain a complete garden plan.
Coffee grounds carry some nitrogen plus smaller amounts of other nutrients. Much of that nutrition becomes available only after microbes break the material down, and fresh grounds can temporarily tie up nitrogen during that process.
That makes them an organic ingredient, not a dependable all-purpose fertilizer.
Vegetables, lawns, fruit crops, and ornamentals can have very different nutrient needs. Compost itself also has lower fertilizer value than concentrated fertilizer products, so even excellent compost may not cover every crop requirement.
Start with the soil.
Penn State soil tests report pH and key nutrient information, then provide recommendations tied to the plants you plan to grow.
That prevents random doses of nitrogen, phosphorus, lime, sulfur, or anything else based on a kitchen habit.
Coffee grounds still earn a place.
Put them in compost, add modest amounts to a healthy worm bin, or use them as one thin component in a layered compost bed.
Just do not ask them to replace everything in the fertilizer shed.
Breakfast leftovers can support the system.
They should not become the system.
Your garden deserves a soil test, not a coffee-filter fortune.