8 Reasons Your Calibrachoa Leaves Are Turning Yellow
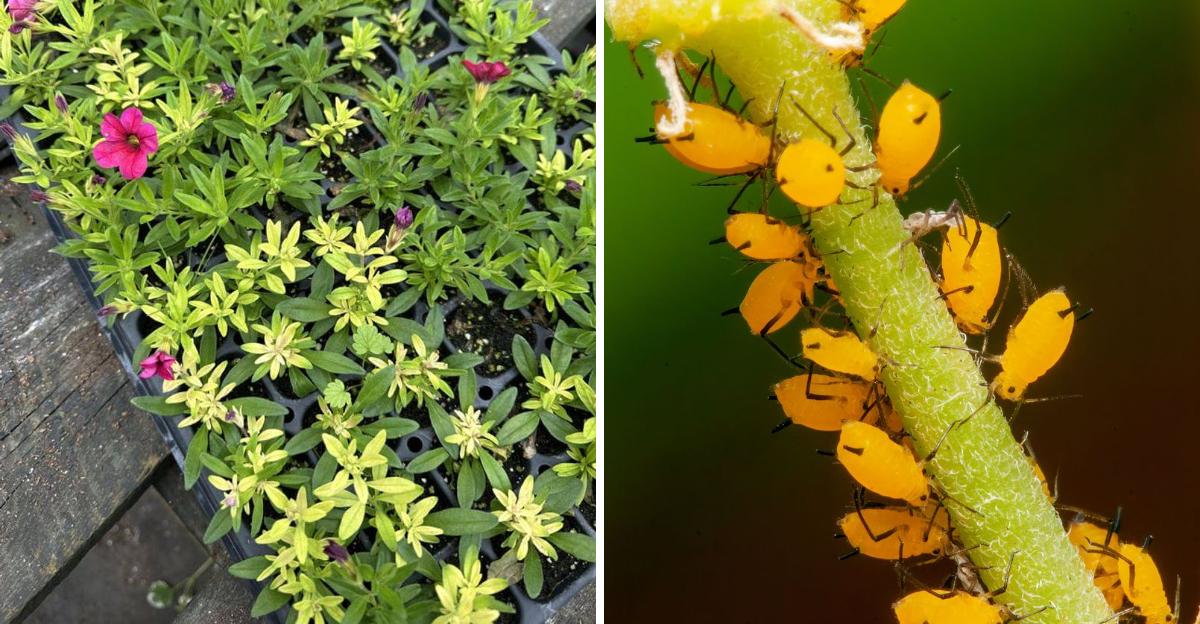
Pale leaves near the center catch your eye before anything else does. Heat gets blamed instantly, yet you rarely find the real cause there. Underneath the surface, your roots are quietly missing something they truly need.
Water alone won’t fix what you’re actually facing inside that soil. Feeding it more often can push you toward faster yellowing instead. Moving the pot around only hides the signals you actually need.
Gardeners everywhere watch you face this exact struggle every season. Several distinct causes explain almost every basket you have ever owned. Each culprit hides in plain sight, waiting for you to notice it.
Nothing about this problem is random, and you deserve real answers now. Curiosity alone won’t solve it, but your attention will.
Fixing it starts the instant you understand what’s happening beneath those blooms. You won’t be able to stop reading until you know exactly which culprit is yours.
1. Soggy Roots Are Losing Access To Oxygen
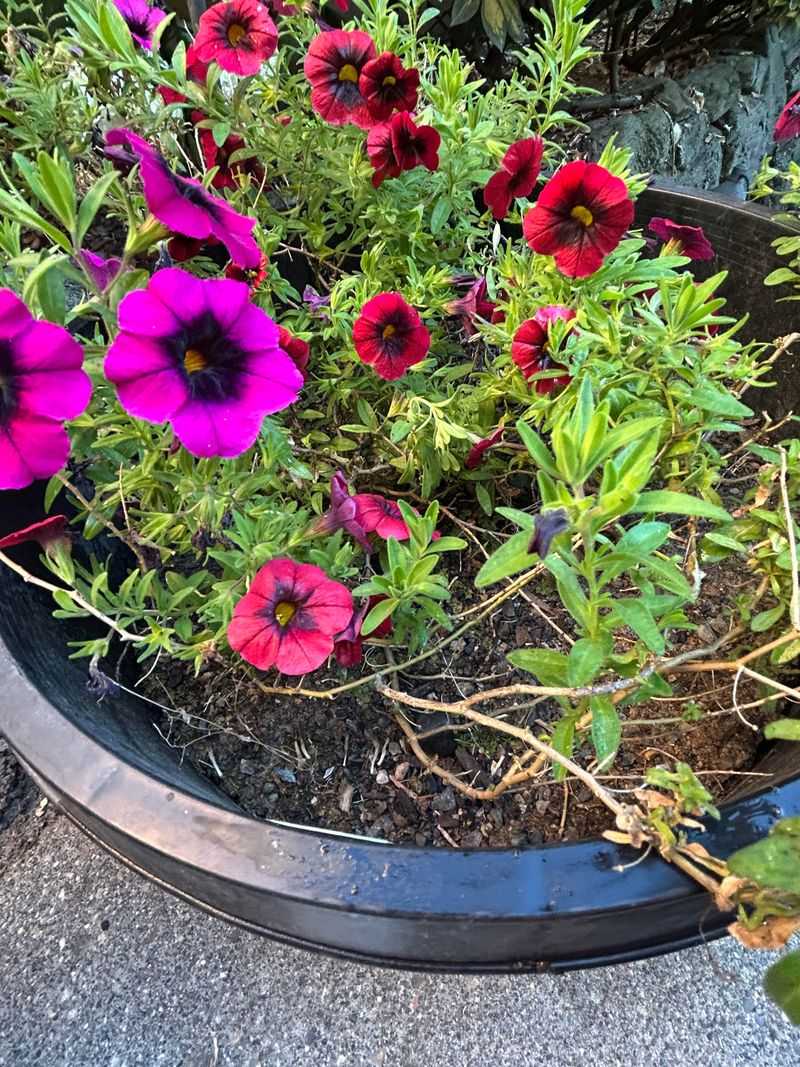
Overwatering is one of the most common reasons these plants go pale, and it fools gardeners because a thirsty-looking plant seems to beg for more water. Roots need air pockets in the soil just as much as they need moisture.
When the mix stays wet for days, those pockets fill with water and the fine root hairs stop working. A root that cannot breathe cannot pull up nutrients, so the leaves fade from the bottom up.
The signs are pretty clear once you know them. Lower leaves turn a soft, uniform yellow, stems feel limp rather than crisp, and the soil smells sour or swampy when you sniff the drainage holes.
Test before you pour. Push a finger two inches into the mix, and if it feels cool and damp, skip watering that day.
Hanging baskets sitting in decorative sleeves are the worst offenders, because water collects in the bottom with nowhere to escape. Pull the liner out, dump the puddle, and set the basket on a hook or bracket instead.
If a pot is already saturated, move it into bright shade for a day or two so the plant is not fighting heat while it drains. Poke a few extra holes in plastic pots with a heated screwdriver if drainage is poor.
Going forward, water deeply but less often. Soak until liquid runs freely from the base, then wait until the top inch dries before repeating that cycle.
2. Hungry Plants Run Out Of Nitrogen Fast
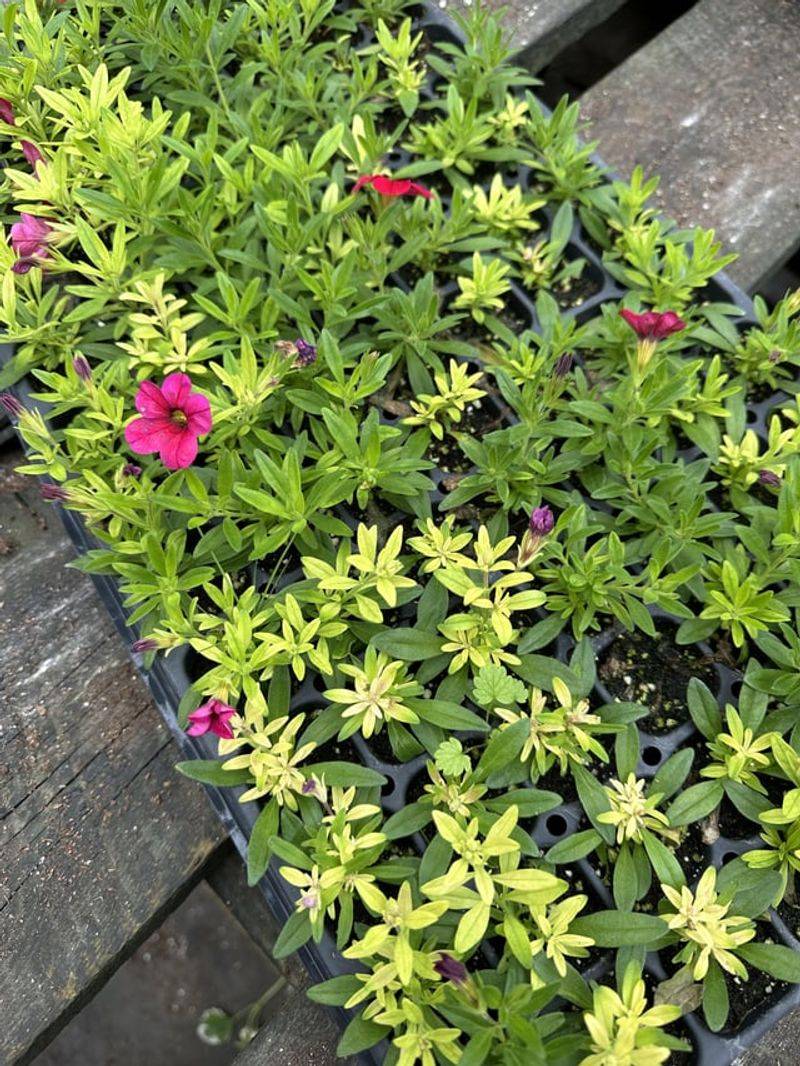
Calibrachoa blooms continuously from spring through fall, and that steady flowering uses nutrients quickly.
Most nursery baskets come loaded with slow-release fertilizer that can run out within a few weeks of bringing the plant home, which may contribute to yellowing around that time.
Nitrogen shortage shows up as an overall light green fading to yellow, usually starting with older leaves while new growth stays smaller than it should. The plant may still bloom, but flowers get sparse and stems look leggy.
The fix is refreshingly easy. Feed with a balanced water-soluble fertilizer every seven to ten days at half the label strength, or every watering at quarter strength.
Look for a product that includes iron and micronutrients, since these plants are famously heavy feeders and iron-hungry. Formulas sold for petunias work beautifully because the two are close cousins.
Frequent watering in summer flushes nutrients straight out the bottom of the pot, which is why in-ground plants often stay greener than container ones. More watering means more feeding.
A helpful trick: pick one day a week as feeding day and stick to it. Tuesday feeding is easier to remember than counting days.
Improvement often appears within a few weeks, with fresh green growth at the tips even if older leaves stay pale.
3. Alkaline Water And Soil Lock Out Iron
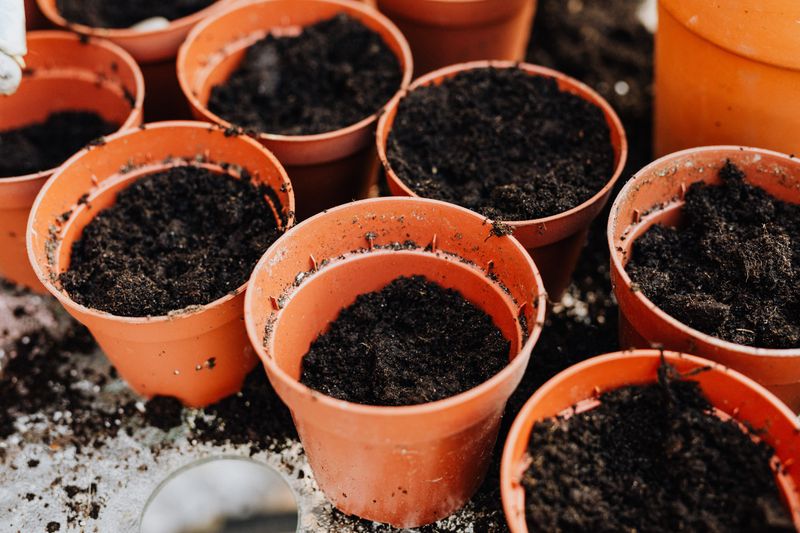
Here is the detail that separates casual growers from those with particularly full, healthy baskets: calibrachoa wants slightly acidic soil, around pH 5.5 to 6.2. Push above that and iron becomes chemically stuck, sitting in the soil but unavailable to roots.
The pattern is a clear indicator. Leaves turn yellow between the veins while the veins themselves stay green, creating a look like green lace on a yellow napkin.
Newest leaves at the tips show it first, which is the opposite of a nitrogen problem. That single clue helps you tell the two apart in seconds.
Hard tap water is often the guilty party, especially in areas with limestone bedrock or well water. Every watering nudges the pH upward, and by midsummer the mix has drifted well out of range.
Collected rainwater solves it quietly and costs nothing. If that is not practical, a fertilizer labeled acid-forming or made for azaleas and rhododendrons will gradually pull the pH back down.
For a faster response, chelated iron applied as a foliar spray can help green up plants within days to weeks, depending on conditions. Follow label rates carefully, because too much stains hands and surfaces.
Some growers add a small amount of vinegar to water occasionally as a mild pH corrector. Results vary widely with water chemistry, and this method is not scientifically standardized.
Avoid mixing garden lime or wood ash anywhere near these containers. Both raise pH and undo your careful work.
4. Cramped Roots With Nowhere Left To Grow
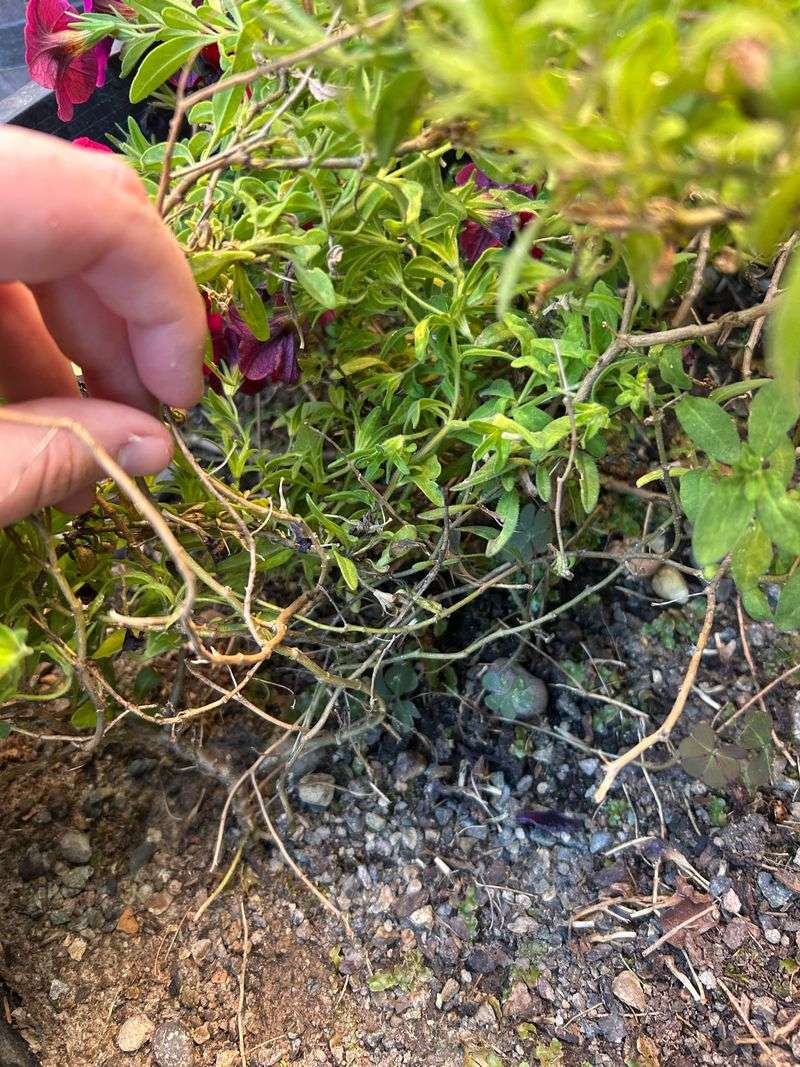
Slide a struggling basket out of its pot and you might find a solid white mat where soil used to be. Roots circle around and around until the container holds more root than growing medium.
At that point the plant cannot store water or nutrients between drinks. It dries out by noon, yellows from stress, and drops leaves even though you are doing everything else right.
Commercial baskets are grown fast and tight, packed with three or four plugs in a space meant for less. They look spectacular on the shelf and then hit a wall by July.
Repotting into a container two to four inches wider gives roots fresh territory. Tease the outer roots loose with your fingers so they grow outward instead of continuing their loop.
Use a light, peat-based mix with perlite rather than heavy garden soil, which compacts in pots and holds too much water. Mixing in a slow-release fertilizer at planting time buys weeks of easy care.
If repotting is not an option mid-season, water more often and feed with each drink to compensate. Setting the pot where it gets afternoon shade also lowers the daily demand.
Handy tip: smaller containers often struggle to support a mature calibrachoa through a hot summer, so sizing up generally helps. Bigger is genuinely better here. Fresh growth typically appears within a few weeks of giving roots more room.
5. Tiny Sap Sippers Working The Undersides
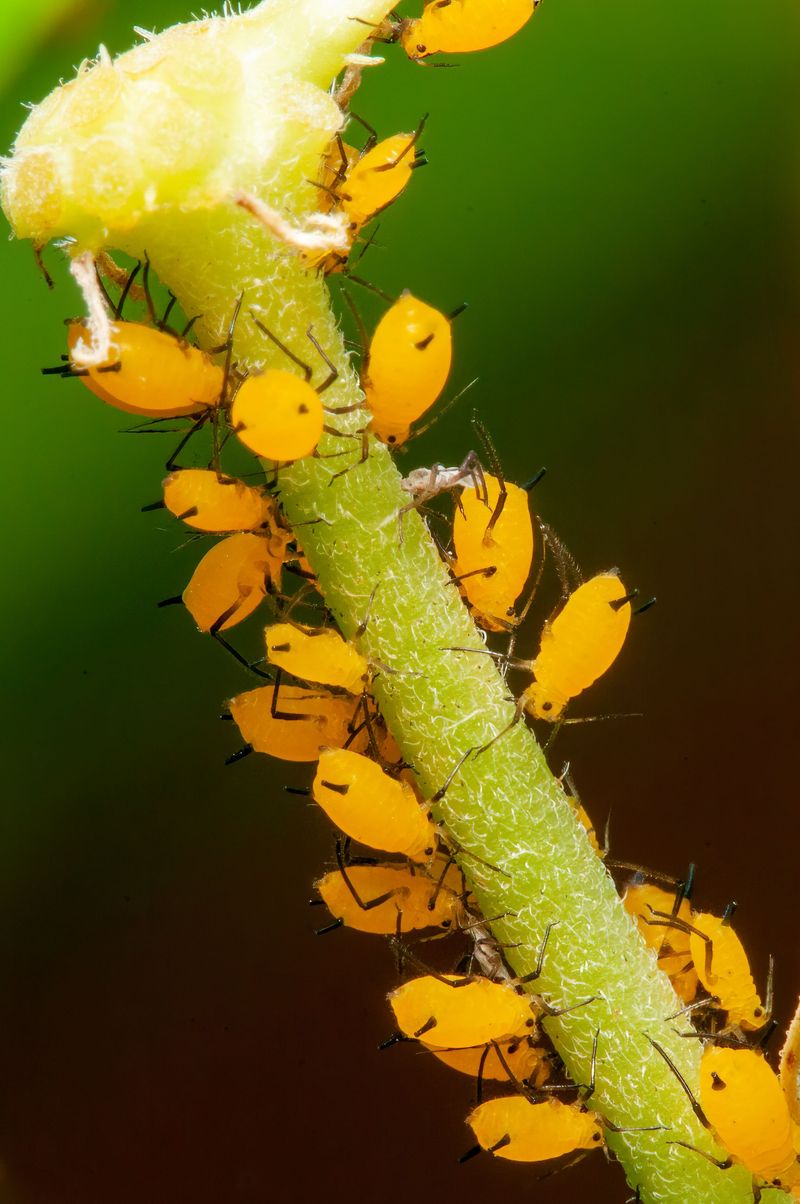
Flip a yellowing leaf over. If you spot moving specks, sticky shine, or fine dusty webbing, pests may be feeding on the plant.
Aphids cluster on tender new stems and leave a tacky residue. Spider mites prefer hot, dry conditions and create stippled yellow speckling that looks almost sandblasted.
Thrips scar petals and leaves with silvery streaks, while whiteflies puff up in a cloud when you brush the foliage. Each pest drains sap, and sap loss shows up as fading color.
Start with water, not chemicals. A firm spray from the hose aimed upward at leaf undersides knocks off a huge share of the population, and repeating every three days breaks the breeding cycle.
Insecticidal soap or neem oil handles stubborn infestations, but apply in early morning or evening. Spraying in blazing sun scorches the foliage and makes things look worse.
Raising humidity around the basket discourages spider mites, which thrive in dry heat. Grouping containers together helps naturally.
Quarantine any new plant for a week before setting it beside your favorites, since most infestations arrive by delivery rather than appearing from thin air.
Ladybugs, lacewings, and tiny predatory wasps do impressive free labor, so skip broad-spectrum sprays that wipe them out along with the pests.
Damaged leaves will not turn green again, so trim the worst ones and watch new growth for confirmation that you won.
6. Weather Swings And Too Little Sunshine
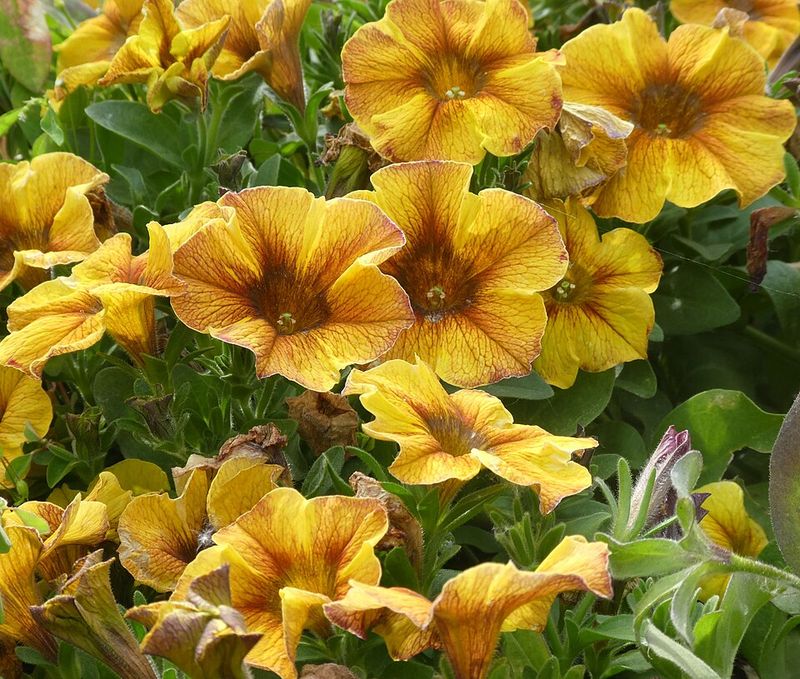
Plants respond to weather changes quickly, and calibrachoa is especially sensitive to them. Sudden cold nights, a scorching heat wave, or a week of gray drizzle all register as stress.
Temperatures dipping below fifty degrees slow root activity, so the plant cannot take up nutrients even when they are present. Yellowing follows a few days later, long after you forgot about the cold snap.
Extended cloudy stretches cause a similar slump. Without enough light, photosynthesis drops, older leaves get sacrificed, and the interior of the basket thins out.
These plants want six to eight hours of direct sun to look their best. A spot that was sunny in May may be shaded by leafed-out trees come July, and the plant notices before you do.
Move containers to follow the light if you can, and rotate the basket a quarter turn weekly so all sides get their share. Crowded, shaded interiors also invite fungal spotting.
In extreme heat above ninety degrees, blooming pauses and foliage pales. Afternoon shade and steady moisture carry them through until temperatures ease.
Trimming stems back by about a third after a rough weather stretch encourages branching and fresh green shoots. This encourages new, fuller growth, often within a couple of weeks.
Patience matters here. Weather-related yellowing often corrects itself once conditions settle.
7. Magnesium Deficiency Hiding Behind The Yellow
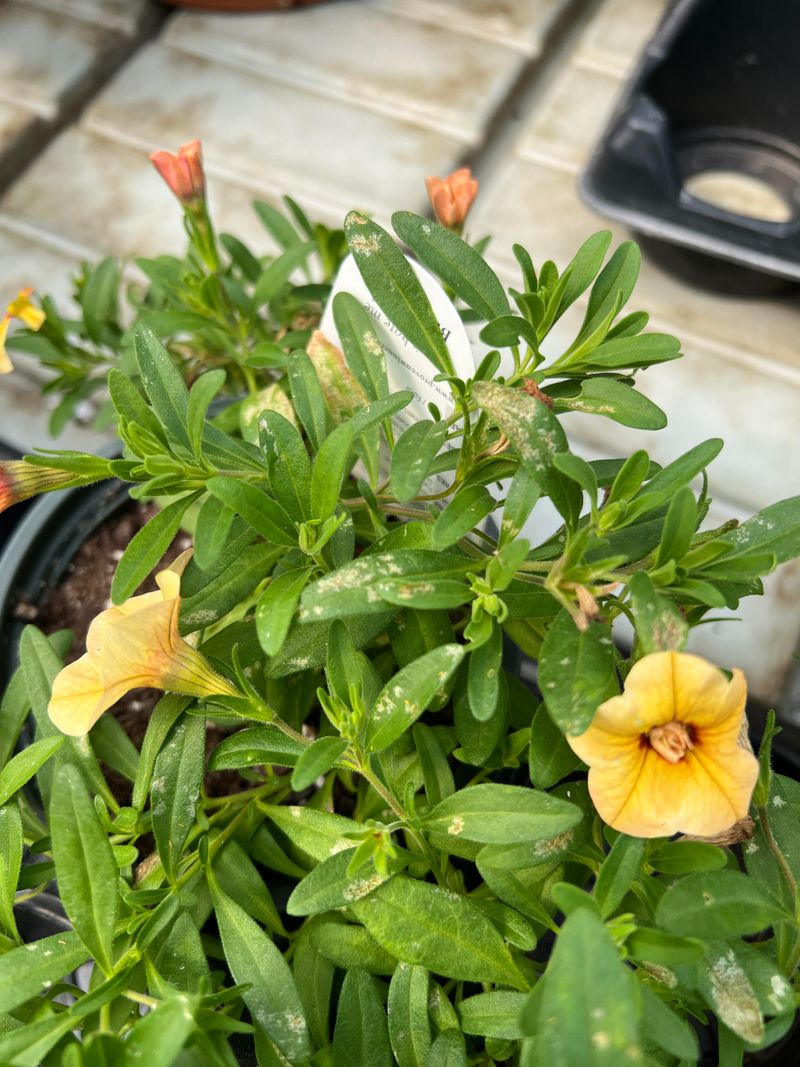
Magnesium rarely gets blamed, yet it plays a huge role in keeping calibrachoa green. Chlorophyll cannot form without it, so a shortage shows up fast in the leaves.
The pattern looks a lot like an iron problem, which confuses plenty of growers. The difference is location. Magnesium deficiency starts on older, lower leaves, while iron trouble shows up on the newest growth first.
Yellowing spreads between the veins in a blotchy pattern, sometimes tinged with a reddish or purple edge. Leaves can feel thinner than usual, almost papery to the touch.
Heavy rain or frequent watering flushes magnesium out of container soil quickly, especially in lightweight peat-based mixes. Fast growers like calibrachoa use it up even faster during peak bloom season.
Epsom salt solves this in most cases. Dissolve one tablespoon of Epsom salt per gallon of water and apply it every four weeks during the growing season. Foliar sprays work faster than soil drenches if the deficiency is advanced.
Skip Epsom salt if you already use a fertilizer with added magnesium, since doubling up can throw off other nutrient ratios. Check the label first.
Older, affected leaves will not fully recover their color, but new growth should come in a healthy green within a couple of weeks. Removing the worst leaves keeps the basket looking tidy while it rebounds.
8. Fertilizer Salt Buildup Stressing The Roots
Feeding heavily without ever flushing the soil eventually backfires. Salts from fertilizer accumulate in the mix and start pulling moisture away from roots instead of feeding them.
A white or crusty film on the soil surface or around drainage holes is the clearest sign. Leaf edges may look scorched or crispy, and yellowing often appears alongside stunted, slow growth despite regular feeding.
Container plants are especially vulnerable because there is no large soil volume to dilute the buildup. Frequent light feeding, without ever rinsing the pot, makes the problem worse over a season.
Flushing fixes it. Run plain water through the pot slowly until it drains freely from the bottom, then repeat two or three times. Let the basket dry briefly between flushes so roots are not left sitting in water.
After flushing, cut back the fertilizer strength for a couple of weeks before returning to a normal schedule. Switching to a diluted, more frequent feeding routine afterward prevents salts from concentrating again.
Rain naturally flushes outdoor containers, which is why baskets under an eave often show buildup faster than ones left exposed to weather. Checking pots after several dry weeks catches the issue early, before roots experience lasting damage.