How To Refresh Tired Raised Bed Soil After A Long Summer
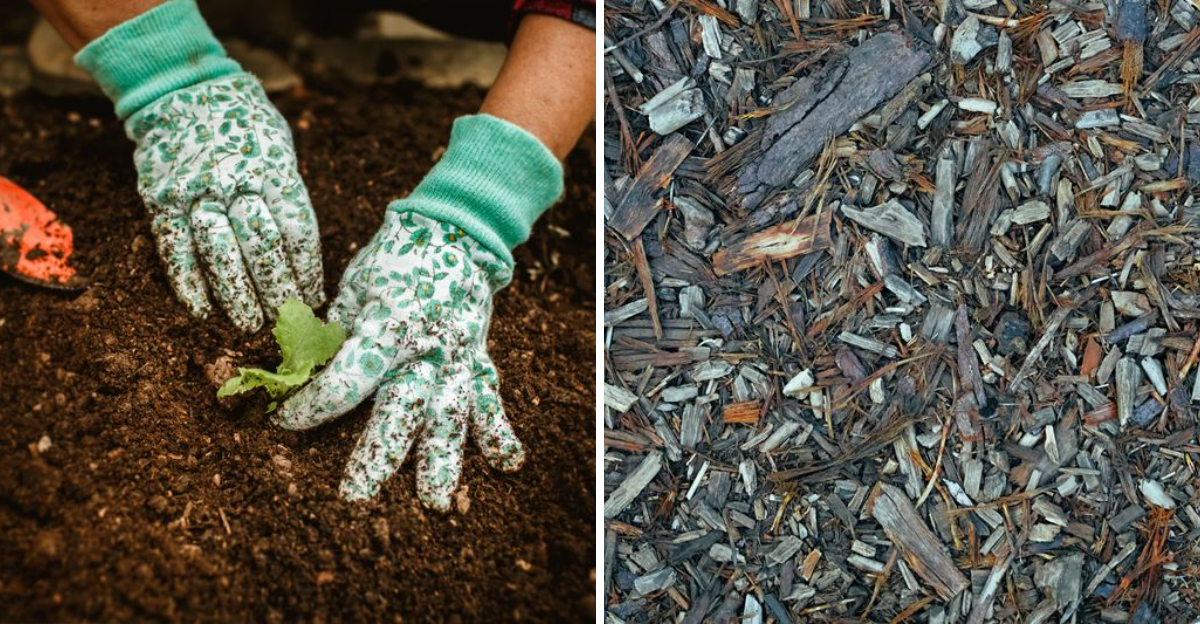
Slumped raised beds signal a deeper problem building underground. Summers steadily drained everything you fed your soil this year. Water now sits stubbornly on top instead of moving through.
Heat gradually flattened your garden soil, closing off precious air pockets. Rain compacted what your hungry roots left behind, layer by layer. Nutrients disappeared fast as your thirsty crops pulled hard all summer.
Texture now feels like packed dust beneath your boots. Recovery happens faster than you might expect this fall. Fall now gives you only a narrow window to rebuild that structure.
Microbes underground now need you to feed them before winter arrives. Response comes quickly once you add attention this season. Spring planting depends entirely on what you do now.
Grab your gloves, because momentum starts building immediately. Each small step ahead moves your beds toward stronger, richer soil. Once you see what comes next, stopping isn’t an option.
1. Clear Out Spent Plants And Stubborn Roots
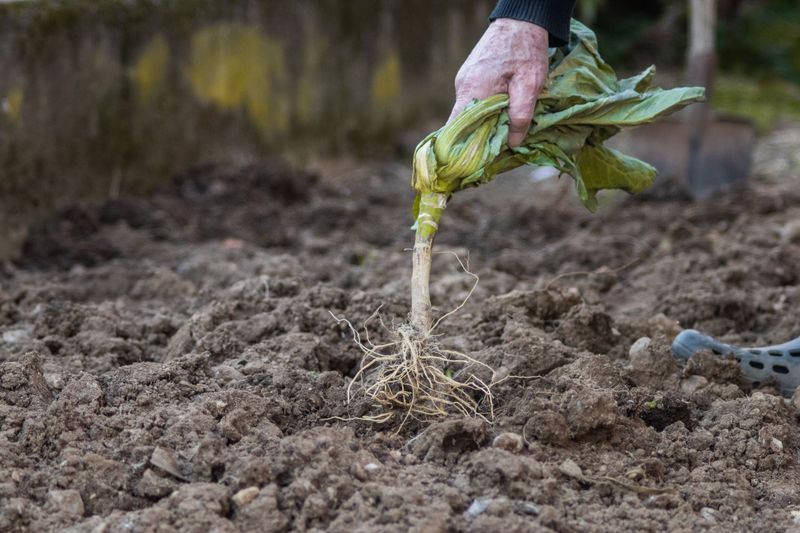
Nothing signals the end of a season quite like a squash vine that has gone crispy and gray. Pulling those old plants out is step one, and it is oddly satisfying work.
Start by cutting stems at the soil line for anything that looked healthy all season. Leaving the roots in place lets them break down underground, feeding worms and microbes while keeping soil structure intact.
Plants that struggled with mildew, blight, or heavy insect damage deserve different treatment. Pull those out roots and all, then bag them or send them to municipal compost rather than your backyard pile.
Watch for hidden leftovers too. Forgotten potatoes, buried carrot tops, and tangled bean roots can harbor problems that carry into next season.
Rake off fallen leaves, dropped fruit, and any mushy stems sitting on the surface. Those soft bits attract slugs and rodents looking for a cozy winter hideout.
Weeds get priority attention right now, especially ones that already set seed. One overlooked weed head can scatter hundreds of seeds that sprout the moment things warm up.
Keep your trellises, tomato cages, and plant tags out of the bed as you go. Clearing hardware makes the next steps much easier and gives everything a chance to dry before storage.
Once the bed sits empty, you can finally see what you are working with. Sunken corners, exposed roots, and pale dry patches all become obvious, which tells you exactly where to focus your effort next.
2. Check What Your Soil Is Actually Missing
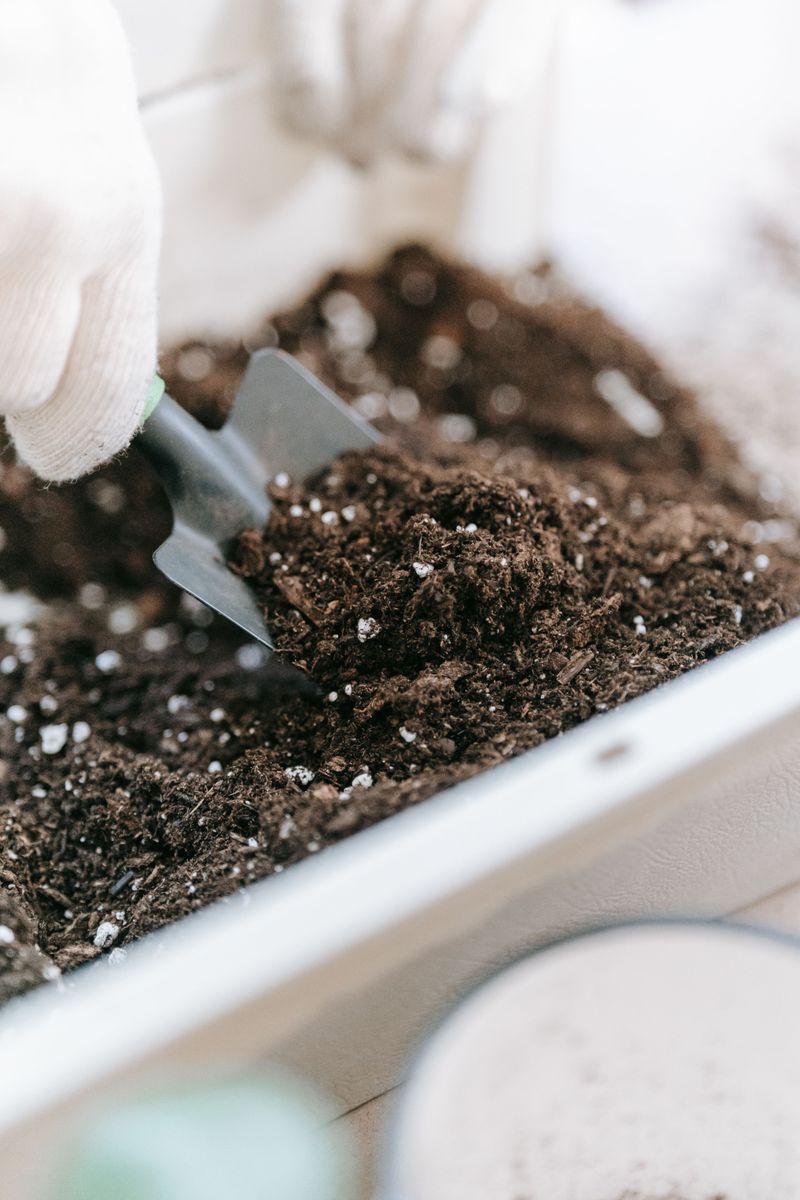
Guessing at fertilizer is a bit like seasoning soup blindfolded. A simple soil test takes the mystery out and saves money on amendments your bed does not need.
Home kits from the garden center check pH plus rough levels of nitrogen, phosphorus, and potassium. They cost very little and give results within minutes, depending on the kit.
For a fuller picture, mail a sample to your local extension office. Their lab reports include organic matter percentage and micronutrients, along with specific pounds-per-square-foot recommendations.
Collect your sample properly for accurate numbers. Dig small scoops from five or six spots around the bed, mix them in a clean bucket, then pull your test portion from that blend.
Most vegetables prefer a pH between 6.0 and 7.0. Blueberries want it lower, while brassicas tolerate a slightly sweeter reading.
Your eyes and hands offer clues too. Squeeze a handful of moist soil, and if it crumbles apart softly you have decent structure, while a sticky lump or a pile of loose dust points to trouble.
Note the color as well. Rich brown or near-black usually means healthy organic matter, and pale tan often signals depletion after a heavy harvest year. Write your results down somewhere you will find them again.
Testing each autumn builds a record, and watching those numbers shift over a few seasons shows whether your soil-building habits are paying off. Knowledge in hand, you can now amend with purpose instead of hope.
3. Loosen Compacted Layers Without Flipping Everything

Summer rain, watering cans, and your own leaning elbows all press down on raised bed soil. By September, that fluffy spring mix can feel like a driveway.
Roots need air pockets just as much as they need water. Compacted ground leaves them oxygen-starved, which stunts growth long before you notice anything wrong above the surface.
A broadfork is the ideal tool here. Step it into the soil, rock the handles back gently, then lift and move backward about six inches to repeat.
No broadfork? A sturdy garden fork works fine in beds under four feet wide. Push the tines down, wiggle them side to side, and pull straight up without turning the soil over.
Keeping layers in place matters more than people realize. Fungal networks, worm tunnels, and bacterial communities live in specific zones, and flipping soil scrambles that whole arrangement.
Work when the soil is damp but not soggy. Digging wet clay smears it into hard clods that take a full season to soften again.
Pay extra attention to the edges and corners. Those spots get walked past and leaned on constantly, so they tend to be the tightest.
If you hit a hard pan about eight inches down, break through it deliberately. Water that cannot drain sits there and turns roots mushy.
Once air moves freely again, everything you add afterward will soak in rather than puddle on top. This helps set the stage for stronger soil by spring.
4. Pile On Finished Compost For New Life
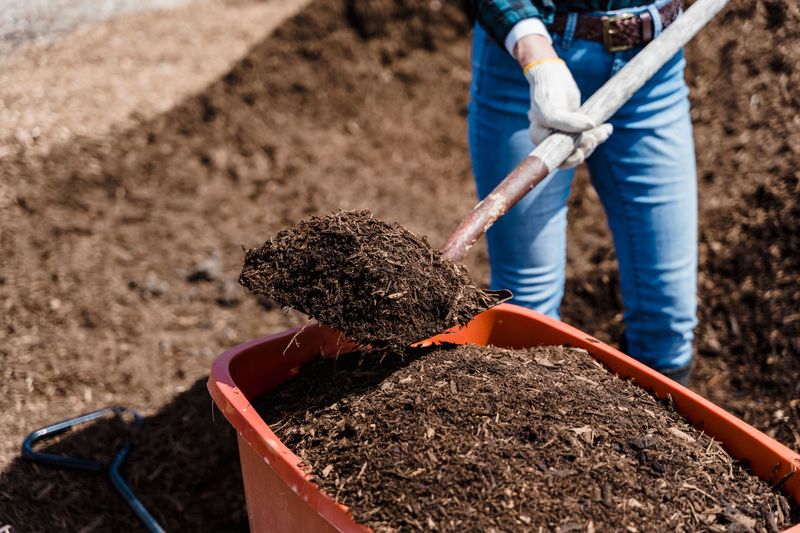
Compost is one of the most effective amendments you can add to garden soil. It feeds plants, holds moisture, loosens tight soil, and improves drainage all at once.
Spread two to three inches across the whole bed surface. That layer replaces what settled and shrank over the growing season while restoring depth you lost.
Finished compost should smell earthy and look crumbly, like chocolate cake. Chunks of recognizable food scraps mean it needs more time before it goes on your beds.
Homemade batches are wonderful, though few backyard piles produce enough for multiple beds. Bagged compost, municipal compost, or a bulk delivery fills the gap without much cost.
Fun fact: a single teaspoon of healthy compost can hold billions of bacteria plus yards of fungal threads. Those organisms unlock nutrients that plant roots cannot reach on their own.
Rake the layer smooth rather than digging it in deeply. Worms and rain will pull it downward through the winter months, doing the mixing for free.
Vary your sources when you can. Leaf mold, aged manure, and mushroom compost each bring different microbes and minerals to the party.
Give manure-based compost at least four months before you plant edibles in that bed. Autumn application lines up perfectly with that waiting period.
By the time seedlings go in, the surface will feel soft and springy underfoot. Roots push through that texture easily, and your watering can will not empty nearly as fast.
5. Top Up The Level With A Balanced Soil Blend
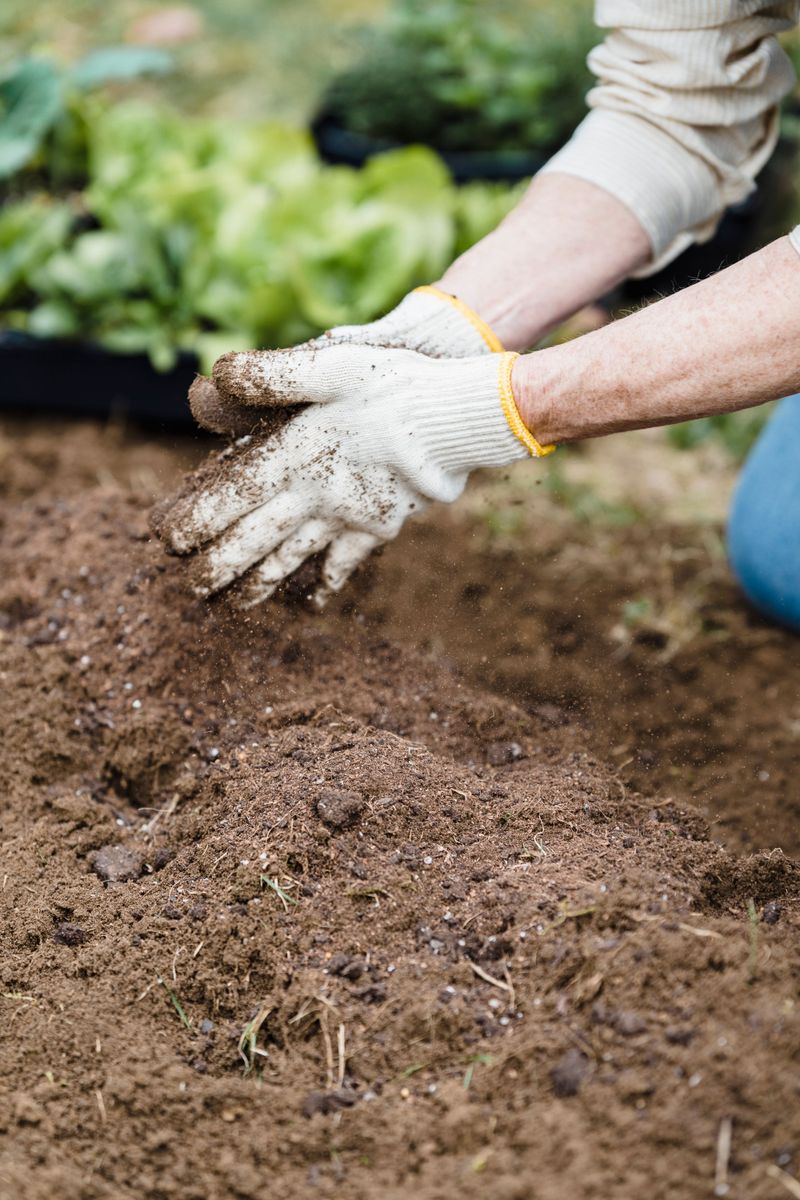
Raised beds shrink. Organic matter breaks down, soil settles, and by autumn you might be looking at four inches of empty space along the frame.
Refilling with straight compost seems logical but backfires over time. Pure compost holds too much water and collapses again quickly, so blend it with mineral material.
A reliable recipe mixes roughly half quality topsoil or bagged raised bed mix with half compost. Some gardeners add a scoop of coarse sand or fine bark for drainage.
Skip bags labeled potting mix for large volumes. Those contain peat and perlite meant for containers, and they dry out fast in a big open bed.
Dump your new material in the center, then rake it toward the edges. Corners settle the most, so give them a little extra.
Leave about two inches of space below the frame rim. That gap holds mulch and prevents water from washing soil over the sides during heavy rain.
Mix the fresh material lightly into the top few inches of existing soil. A sharp line between old and new can act like a barrier that roots hesitate to cross.
If your beds sink dramatically every single year, consider adding woody material low in the bed. Buried branches and logs break down slowly and hold moisture like a sponge.
Standing back to see level, even soil right up near the frame feels genuinely good. Your beds look ready, and spring planting becomes a much shorter chore.
6. Sow A Cover Crop To Work The Night Shift

Farmers have used cover crops for centuries, and raised bed gardeners are catching on fast. Think of them as plants hired to improve soil rather than fill your kitchen.
Crimson clover, hairy vetch, and field peas belong to the legume family. Their roots partner with bacteria that pull nitrogen from the air and store it underground.
Winter rye, oats, and barley take a different approach. Their thick fibrous roots punch through compaction and add serious organic matter when they break down.
Mixing both types gives you the best of each. A blend of rye and clover covers the surface, feeds the soil, and looks surprisingly pretty in December.
Timing matters more than technique. Sow about four to six weeks before your first expected frost so seedlings establish decent roots.
Broadcast seed by hand across the smoothed bed, rake lightly, and water well. Germination usually happens within a week in warm autumn soil.
Oats and field peas break down naturally in cold regions, leaving an easy mulch mat by March. Rye and vetch survive and need cutting down two to three weeks before planting.
Beyond feeding soil, that green blanket shields the surface from pounding rain and blocks winter weeds from sprouting.
Cut the growth at soil level in spring and lay it right on top as mulch. Roots stay put, decomposing into channels that new vegetable roots follow straight down.
7. Tuck The Bed In Under A Thick Mulch Blanket
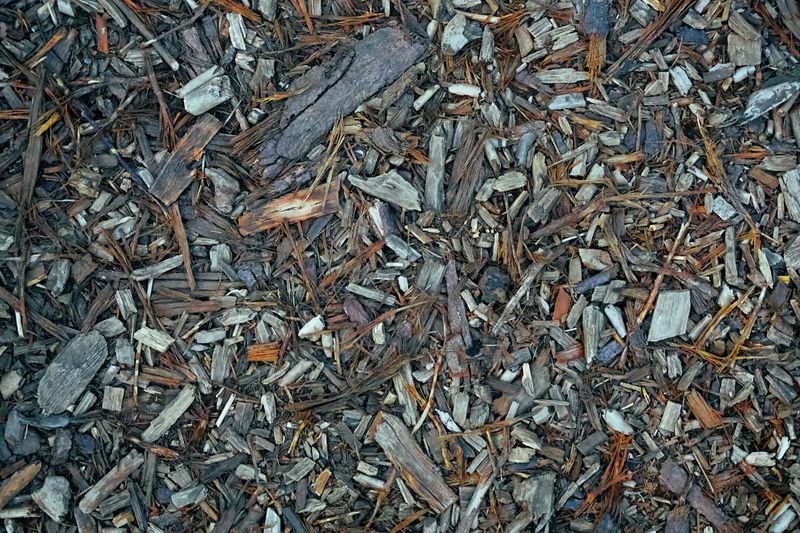
Bare soil through winter is a missed opportunity. Wind dries it, rain beats it flat, and freeze-thaw cycles heave the surface into crusty chunks.
A mulch layer solves all three problems at once. Three to four inches of shredded leaves, straw, or aged wood chips does the job beautifully.
Shredded leaves might be the best free amendment available anywhere. Run a mower over a pile, then rake the pieces straight into your beds.
Whole leaves tend to mat into a soggy sheet that water runs off. Shredding keeps things airy and speeds up decomposition considerably.
Straw works well too, though check that it is straw rather than hay. Hay carries grass seed that will sprout thickly across your bed come April.
Wood chips belong on paths and around perennials more than in vegetable beds. If you use them, keep them on the surface where they cannot tie up nitrogen.
Worms treat mulch like an all-winter buffet. They pull bits downward, tunnel constantly, and leave behind castings packed with plant-ready nutrients.
Come spring, rake the mulch aside for a couple of weeks so the soil warms. Push it back around your seedlings once they are a few inches tall.
The difference shows up immediately when you dig. Mulched beds stay moist, crumbly, and full of visible life, while bare beds greet you with a hard pale crust.
8. Plan Next Season’s Crop Rotation Before You Forget

Here is a habit that costs nothing and pays for years: writing down what grew where. Memory fades by February, and rotation only works with records.
Different plant families feed differently. Tomatoes, peppers, and eggplants are heavy nitrogen users, while beans and peas actually leave nitrogen behind.
Rotating families through your beds spreads out that demand. It also confuses soil-dwelling pests and pathogens that specialize in one crop group.
A three or four year cycle works well for most home gardens. Follow heavy feeders with legumes, then root crops, then leafy greens.
Sketch a simple map with each bed numbered. Note the crop, the amendments you added, and anything that struggled during the season.
Photos on your phone help enormously. Snap a picture of each bed at peak summer, and next winter you will remember exactly what happened.
Small gardens with only two or three beds still benefit. Even swapping between two beds interrupts pest cycles that would otherwise build up year after year.
Order seeds early while your notes are fresh. Varieties that resist the specific issues you faced are worth searching out.
Plan where cover crops and rest periods fit as well. Letting one bed grow clover all season is not wasted space, it is a deposit in your soil bank.
Come planting day, you will have a map instead of a guess. That small bit of paperwork turns a chaotic spring into a calm one.