Avoid These 12 Garlic Planting Mistakes for Bigger, Healthier Bulbs Next Summer
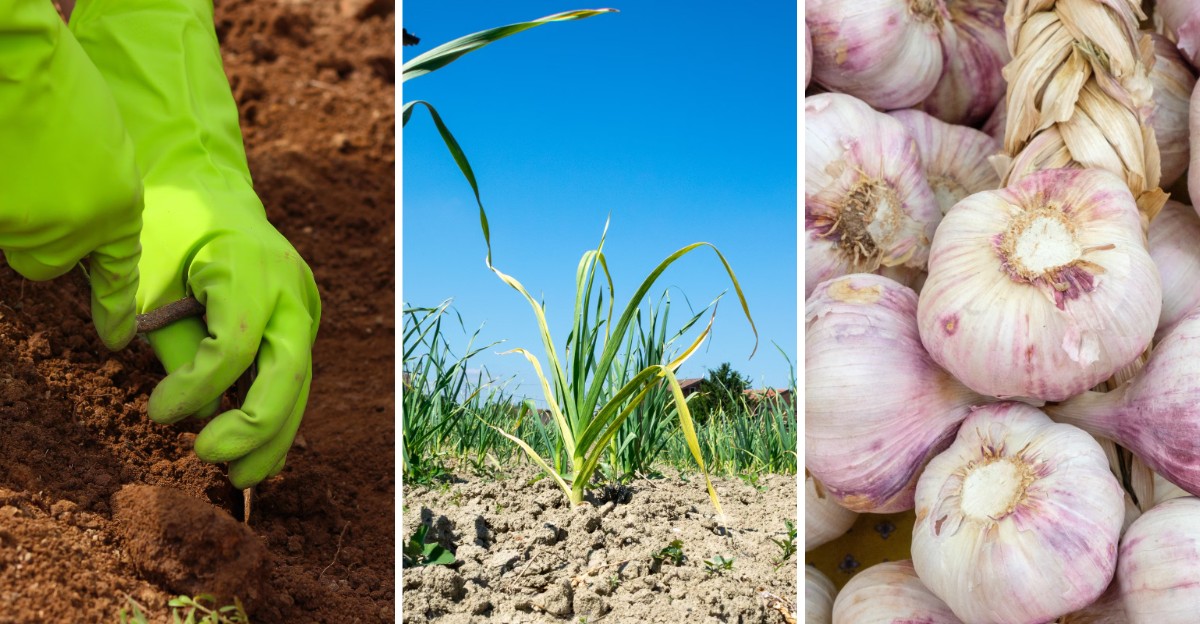
Garlic remembers your September choices and reveals the results next July. You plant cloves now, yet the payoff or letdown stays hidden until summer. Plant too shallow, and frost lifts your cloves out of the ground.
Choose grocery store bulbs, and you may bring home sprout-inhibited, underperforming cloves. Skip mulch, and freeze-thaw cycles steadily stress your tender young roots all winter.
Hardneck and softneck varieties behave differently, and mixing them up costs you size. Even your clove orientation matters, because upside-down cloves spend energy righting themselves.
Soil that stays soggy invites trouble faster than you can ever spot it. Those quiet missteps explain why you dig up marble-sized bulbs instead of fist-sized prizes.
Careful gardeners like you make them too, usually without noticing until harvest. Here is exactly where your garlic plan slips, and how you fix it before planting.
1. Planting At The Wrong Time Of Year
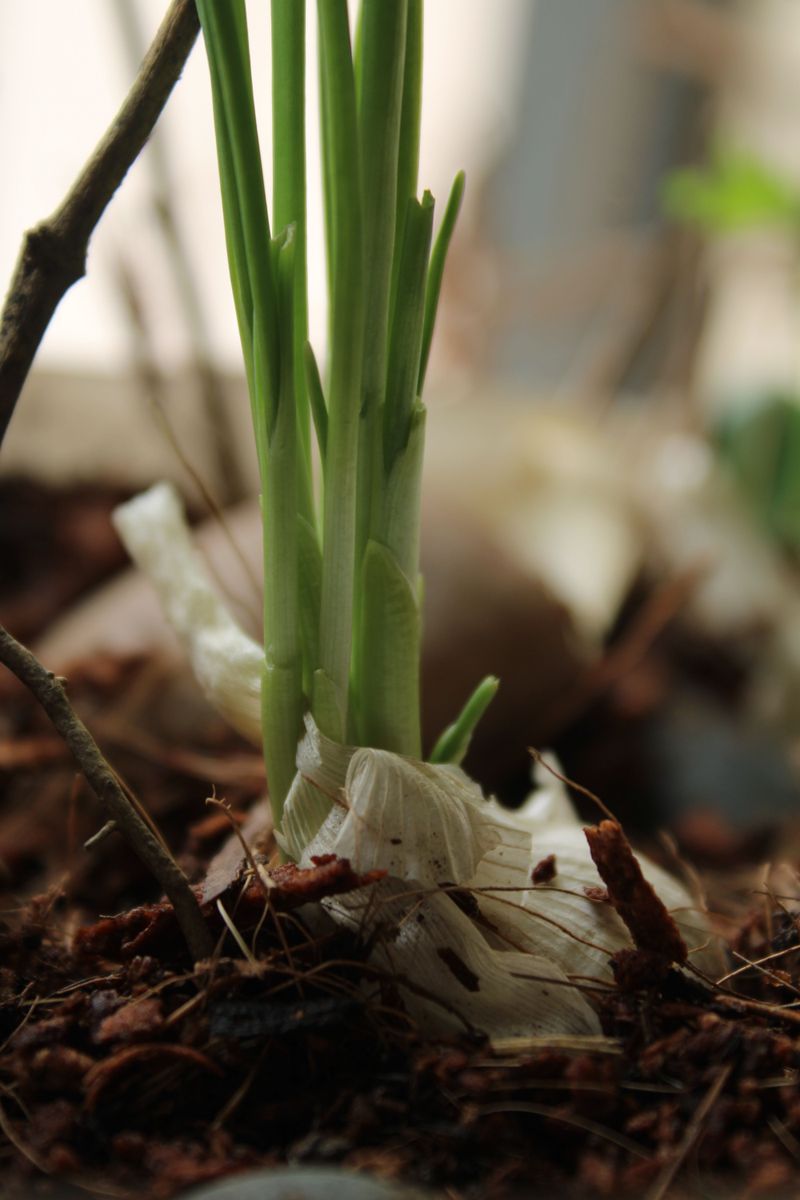
Timing matters a great deal, and this crop runs on a very particular seasonal clock. Plant too early, and cloves waste energy growing leaves that winter will flatten.
Plant too late, and the roots barely settle in before the ground freezes solid. Either way, you end up with smaller bulbs and a grumpy gardener next July.
The sweet spot is usually a few weeks before the ground freezes, often shortly after your first frost. For many gardeners, that lands somewhere between late September and early November.
Grab a calendar and look up your local frost date. Your county extension office or a quick online search can help.
Northern gardeners often plant in early October, while southern growers may wait until November. Soil temperature around 50 degrees Fahrenheit is a great signal that it is go time.
Think of it like tucking kids into bed at the right hour. Get the timing right, and they wake up in spring ready to grow like crazy.
2. Using Grocery Store Garlic As Seed
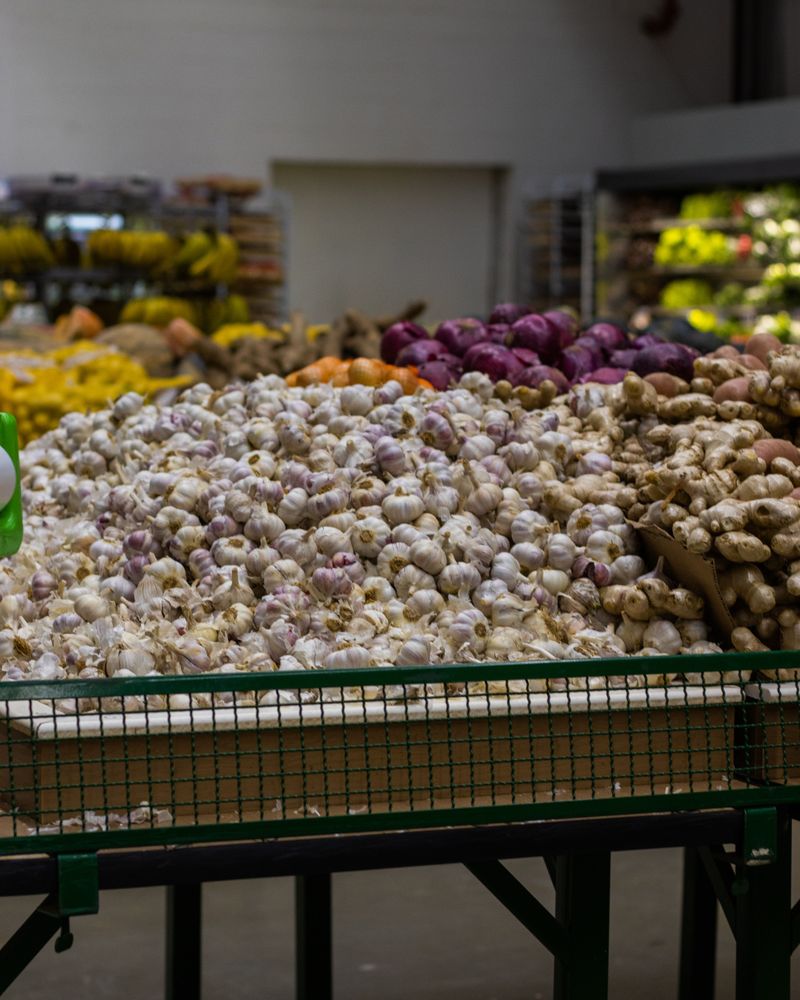
That bag of bulbs in the produce aisle looks tempting, especially when it costs two dollars. Sadly, store garlic is a gamble that often leaves gardeners disappointed.
Much of it is shipped from faraway places with very different weather than yours. Some bulbs are also treated with sprout inhibitors to keep them fresh on shelves longer.
That treatment is great for cooking but pretty terrible for growing. Cloves may sit in the soil and sulk instead of sending up healthy green shoots.
Store bulbs can also carry hidden diseases that linger in your garden for years. One cheap shortcut could easily turn into a long, frustrating headache.
Instead, buy seed garlic, certified where available, from a trusted nursery, seed company, or local farmers market. Local growers are gold because their bulbs already know how to handle your winters.
Order soon, since popular varieties sell out fast in early fall. Fun bonus: once you grow your own, you can save the best bulbs to replant yearly.
3. Choosing The Wrong Garlic Type For Your Climate
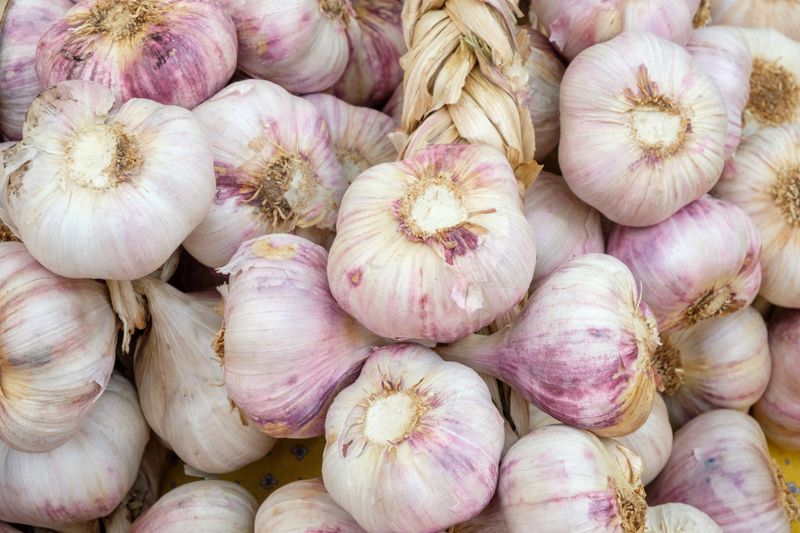
Did you know there are hundreds of garlic varieties, each with its own personality? They mostly fall into two big families called hardneck and softneck.
Hardneck types love cold winters and reward you with bold flavor and tasty curly scapes. Popular picks include Music, German White, and Chesnok Red.
Softneck types prefer milder winters and store for many months in the pantry. They are also the kind you can braid into those charming kitchen strands.
In a frosty northern garden, many softnecks grow well, but some may struggle through harsh winters. Plant a hardneck down south, and it might not get the chill it needs to form cloves.
A good rule of thumb is simple enough to remember. Cold winters call for hardnecks, and warm winters usually call for softnecks.
Still unsure which way to go this fall? Ask a local garden center what grows best nearby, or try one of each and compare.
Your taste buds will enjoy the experiment too. Hardnecks tend to taste spicy and rich, while softnecks lean mild and mellow.
4. Breaking Apart Bulbs Too Early
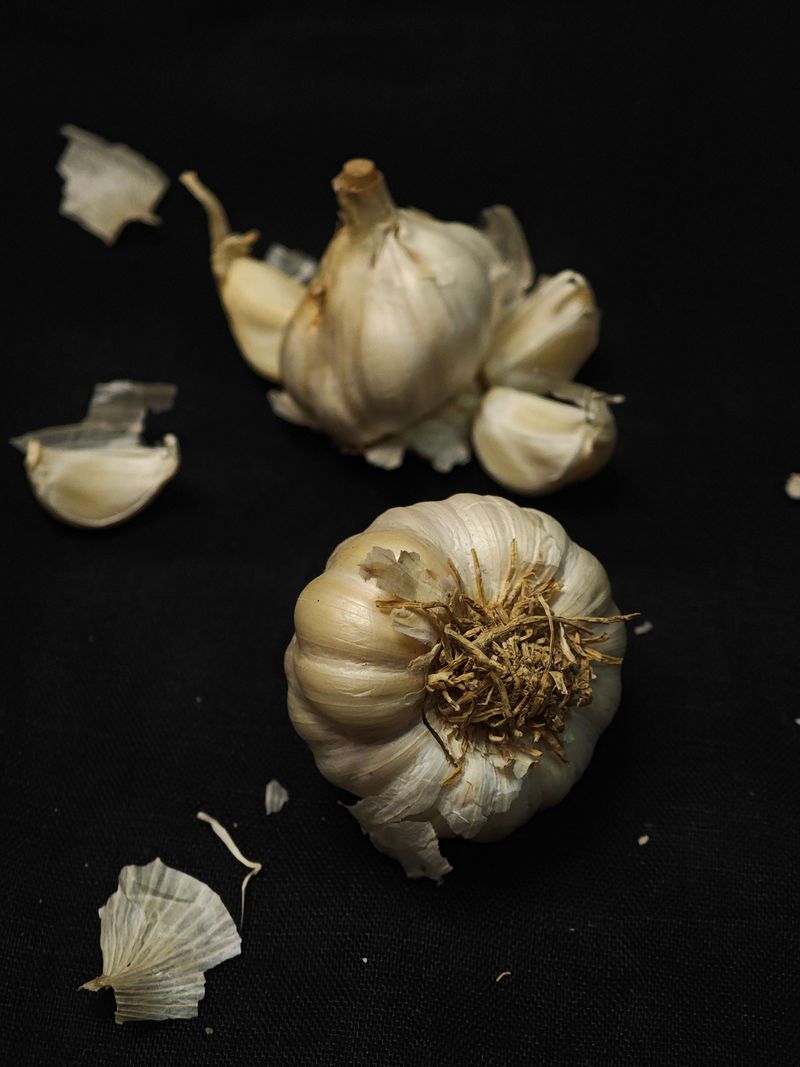
Picture a loaf of bread sliced a week before dinner. By dinnertime, the slices are dry and stale.
Seed bulbs behave much the same way once you pull them apart. Each clove loses its protective wrapper and starts drying out quickly.
The base, where roots grow from, is especially fragile once exposed to air. A dried-out base means slower rooting and a weaker start before winter arrives.
Separated cloves can also pick up mold or bruises while sitting on the counter. That gives pests and disease an easy door into your garden bed.
The fix is easy and costs nothing at all. Keep bulbs whole in a cool, dry spot until planting day arrives.
Then crack them open no more than a day or two before they go in the ground. Gently twist the bulb apart with your hands instead of prying with a knife.
Try to leave the papery skin on each clove as you work. That thin layer acts like a raincoat, guarding against rot during soggy fall weeks.
5. Sowing Tiny Cloves Instead Of Big Ones
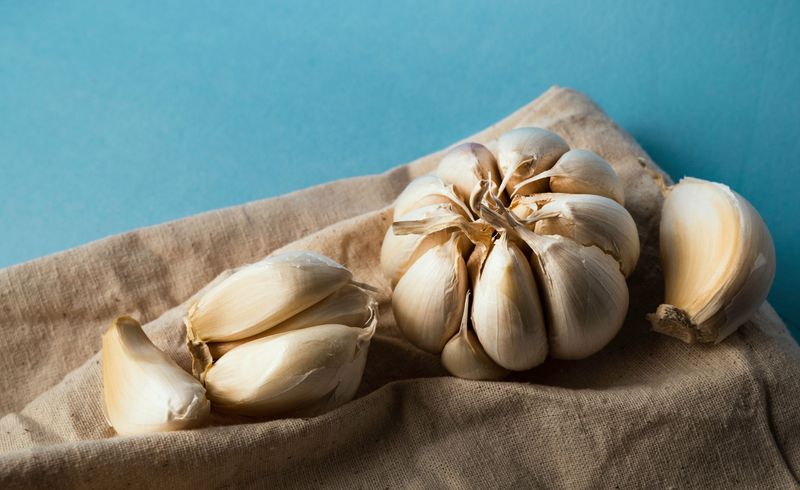
Here is a secret that seasoned growers swear by: big cloves make big bulbs. It sounds almost too simple, but the results speak for themselves every summer.
Each clove carries a packed lunch of stored energy for its first few months. A plump clove has a bigger lunchbox, so it grows stronger roots and taller leaves.
Those skinny cloves in the center of the bulb are tempting to plant. After all, they came in the bag, and tossing them feels a little wasteful.
Tiny cloves usually produce tiny bulbs, though, and sometimes just a single round clove. You will spend the same time weeding and watering for a much smaller reward.
So sort your cloves like a picky judge at a county fair. Plant the chunky outer ones, and save the little guys for the kitchen.
Those small cloves are perfect for a batch of roasted potatoes or homemade garlic butter. Nothing goes to waste, and your garden bed gets only the true champions.
6. Setting Cloves Upside Down
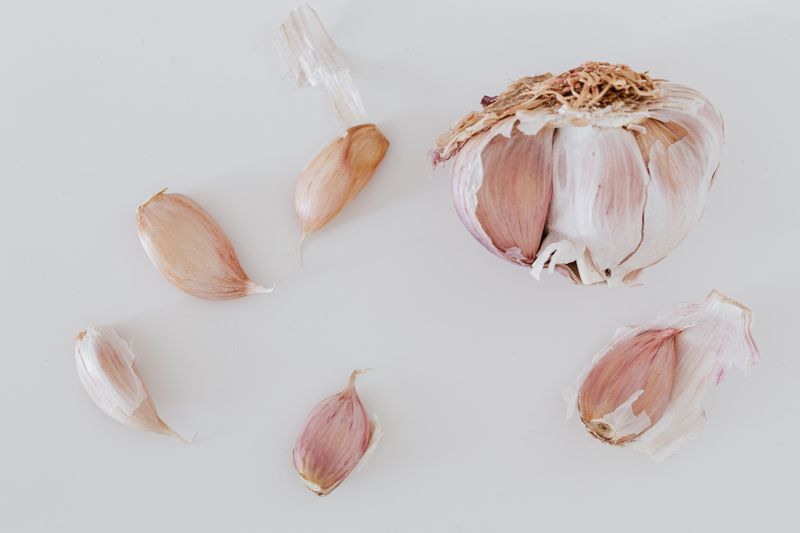
It happens more often than you might think, even to experienced gardeners. A clove goes in the hole upside down, and nobody notices until spring.
Every clove has a pointy tip and a flat, slightly rough bottom. The pointy end is where the green shoot pops out, and the flat end grows roots.
Plant it upside down, and the poor shoot has to make a U-turn underground. That detour burns precious energy and often leaves you with a twisted, undersized bulb.
Some sideways cloves still manage, but why make them work so hard? A few seconds of attention at planting time pays off in July.
Try this easy memory trick that kids love. Point to the sky, roots to the floor, just like a little rocket ready to launch.
If you are planting with helpers, give everyone a quick lesson first. Then press each clove gently into the soil with the tip facing straight up.
Double-check each row before you cover it with soil. It feels fussy now, but your summer self will send a big thank-you.
7. Burying Cloves Too Shallow Or Too Deep

Think of Goldilocks and her porridge, because depth works the same way. Get it wrong in either direction, and your bulbs will quietly pay the price.
Cloves set too shallow can get pushed right out of the ground by frost. Freezing and thawing soil heaves them up, leaving them exposed to cold air and hungry birds.
Cloves buried too deep have the opposite problem. They waste energy pushing through extra soil and may rot in cold, wet ground.
For most gardens, set the base of each clove about two to three inches deep, leaving the tip one to two inches below the surface. In very cold regions, go a little deeper, with the base around three to four inches down, and add a thick mulch.
Your fingers make a handy measuring tool. Push a finger into the soil up to the second knuckle, and that is roughly the right depth.
A dibber, which is a pointed wooden tool, also makes quick, even holes. Mark it with a line of tape at two inches, and every clove lands at the same depth.
8. Crowding Cloves Too Close Together
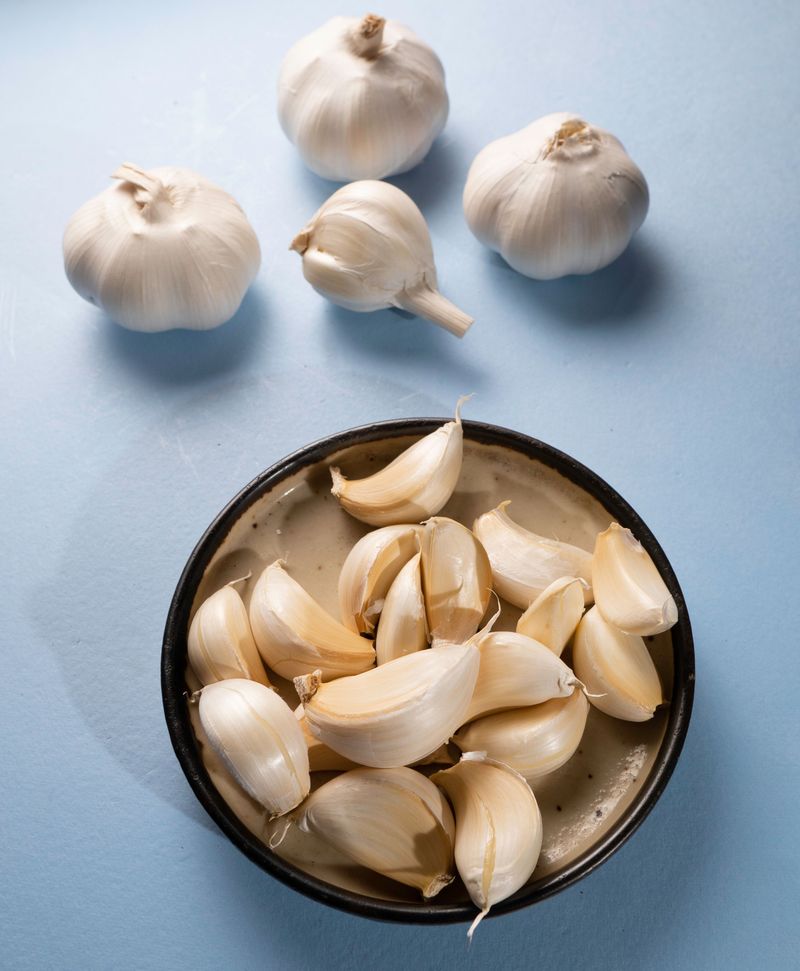
Nobody enjoys a packed elevator, and garlic feels the same way underground. When cloves are jammed together, they fight over water, food, and elbow room.
It is tempting to squeeze in a few extra when bed space is tight. More plants sounds like more garlic, right?
Unfortunately, crowded bulbs stay small because their roots cannot spread out and feed properly. Tight rows also trap moisture, which invites mold and fungal problems.
Give each clove about six inches of space in every direction. Rows should sit roughly eight to twelve inches apart, so you can weed without stepping on plants.
Extra-large varieties like elephant garlic want even more room, closer to eight inches. Fun fact: elephant garlic is actually more closely related to leeks than to regular garlic.
A simple planting grid makes spacing a breeze. Mark a board every six inches, and use it as a ruler along each row.
Your bulbs will thank you with fat, even heads at harvest time. Plus, good airflow between plants keeps leaves drier and healthier through rainy spring weeks.
9. Ignoring Soil Drainage And Heavy Clay
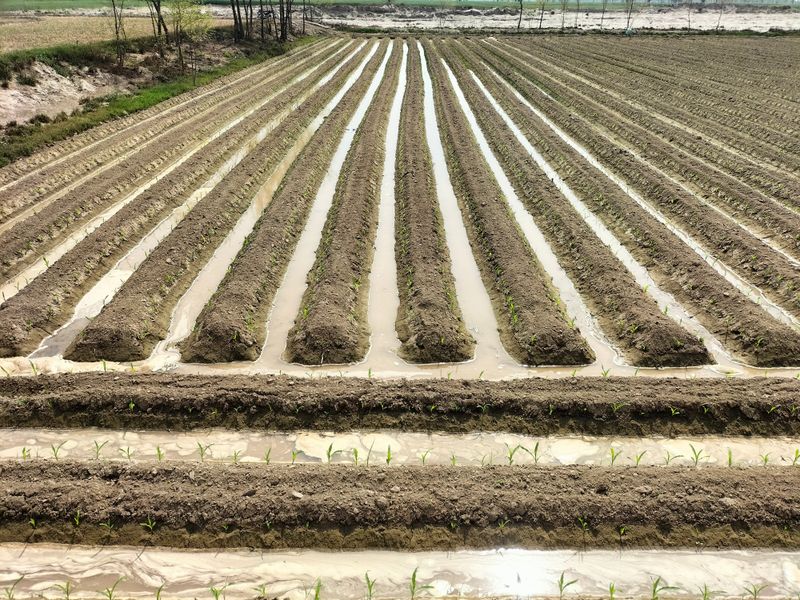
Soggy socks are miserable, and garlic dislikes wet feet even more than you do. Cloves sitting in waterlogged soil all winter can turn mushy and rot away.
Heavy clay is the usual troublemaker here. It holds water like a sponge and packs down so tight that roots struggle to push through.
Not sure how your soil drains? Dig a foot-deep hole, fill it with water, and time how long it takes to empty.
If water still sits there after several hours, your bed needs some help. Good news, though, because fixing drainage is easier than it sounds.
Mix a few inches of compost or aged leaves into the top layer of soil. Over time, this loosens clay and helps extra water drain away.
Raised beds are another smart option for stubborn, soggy spots. Even a mound six to eight inches tall can keep cloves high and dry through winter storms.
Avoid low corners of the yard where puddles gather after a heavy rain. Pick a sunny, slightly higher spot instead, and your bulbs will stay firm and healthy.
10. Skipping Compost And Fertilizer
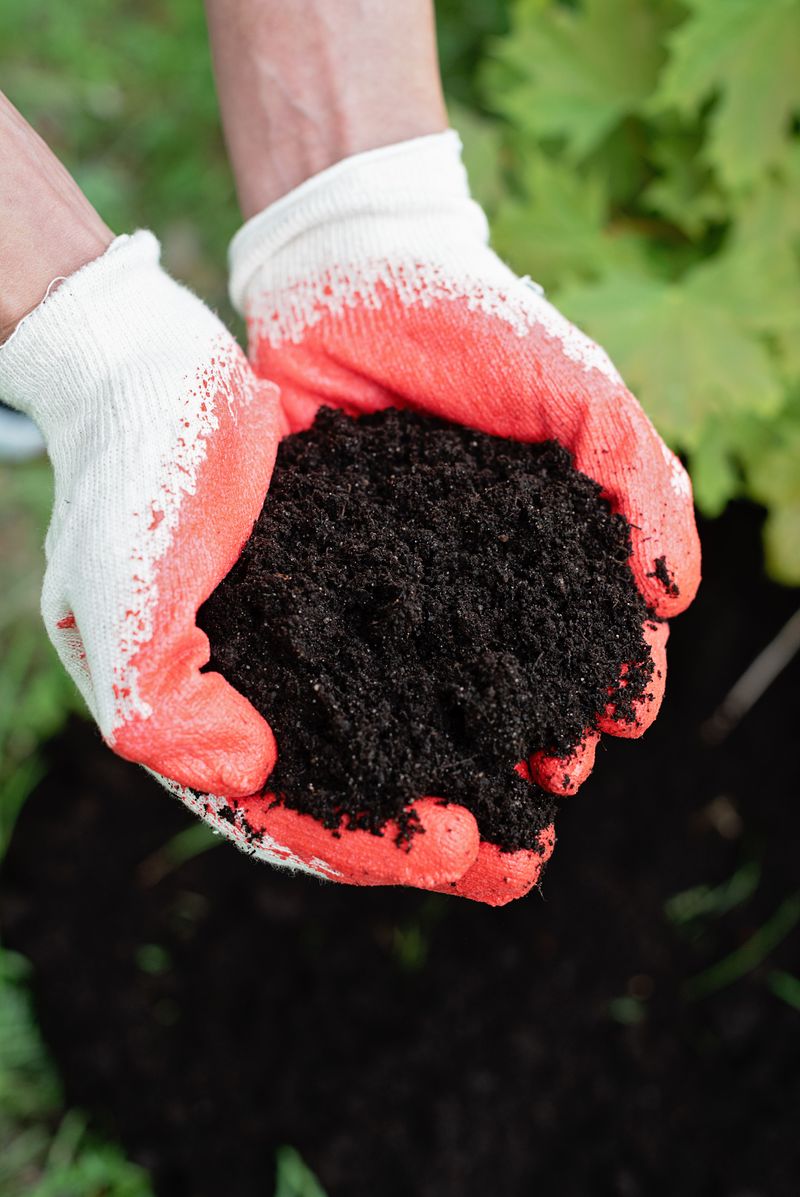
Imagine running a nine-month marathon on an empty stomach. That is what garlic faces when it grows in tired soil with no food added.
From fall until early summer, it needs steady meals to build those big bulbs. Poor soil leads to pale leaves, skinny stems, and bulbs that barely fill your palm.
Before planting, work two or three inches of compost into your bed. Well-rotted manure works nicely too, as long as it has aged for several months first.
A sprinkle of balanced organic fertilizer at planting time gives roots a helpful boost. If a soil test shows low phosphorus, bone meal can help support root growth.
Come spring, when green shoots are a few inches tall, feed again with a nitrogen-rich fertilizer. Blood meal or fish emulsion both work well for this second meal.
Stop feeding by late May, though, once the bulbs begin to swell. Too much food late in the season can lead to leafy tops and poor storage life.
11. Forgetting A Winter Mulch Blanket

Bare soil in January is like sleeping outside without a sleeping bag. Your cloves can survive it, but they will not be very happy campers.
A thick layer of mulch keeps soil temperatures steady during wild winter swings. It stops the freeze and thaw cycle that heaves cloves out of the ground.
Mulch also smothers weeds, which garlic handles poorly because of its thin, grassy leaves. In spring, it holds in moisture and saves you plenty of watering time.
Straw is the classic choice, and shredded leaves work well too; use grass clippings only if they are untreated and dried. Skip hay, since it often carries weed seeds that sprout all over your bed.
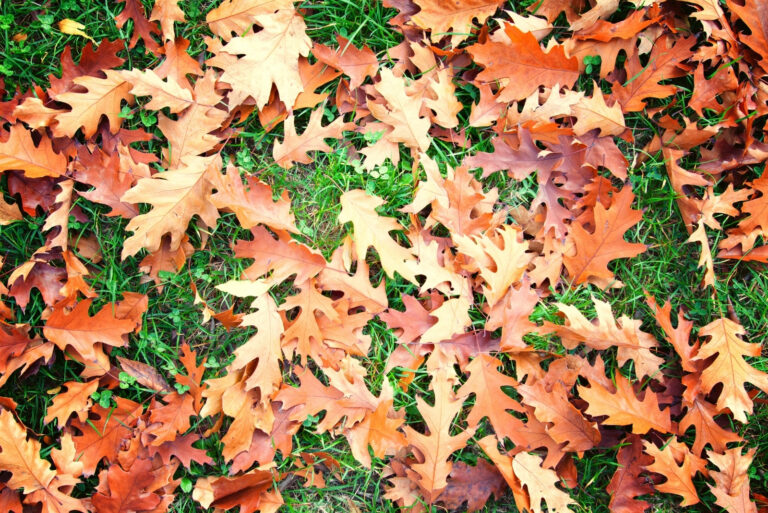
Spread four to six inches of mulch after planting, once the ground starts to cool. Those leaves piling up this autumn make a free and fluffy blanket.
Tough little shoots will poke right through the mulch when spring arrives. In chilly northern areas, you can pull back the layer a bit so soil warms faster.
12. Returning To The Same Spot Every Year
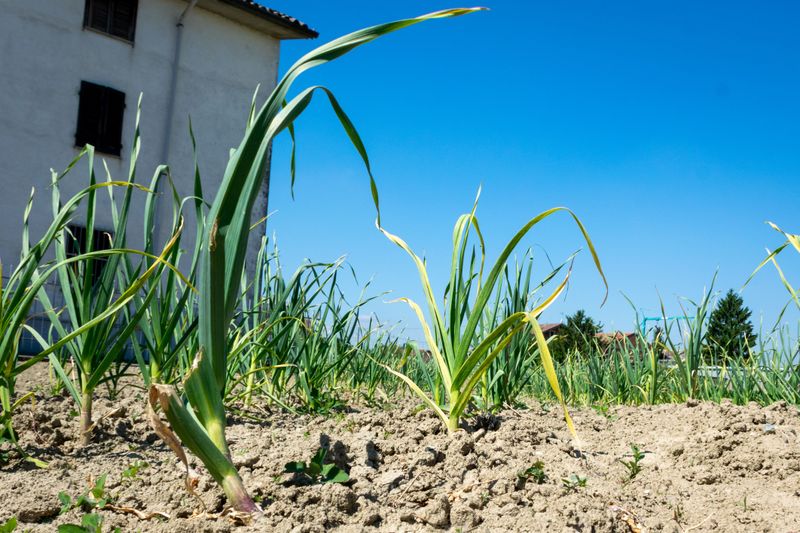
Farmers have rotated crops for thousands of years, and ancient Romans wrote about it. Home gardeners can borrow that old wisdom for a better harvest.
Planting garlic in the same bed year after year invites trouble to move in and stay. Pests and diseases that love onion family plants build up in the soil over time.
White rot, onion thrips, and bulb mites are a few of the usual suspects. Some of these problems can hang around in the ground for many years once they arrive.
The same crop also pulls the same nutrients from the soil each season. Eventually, the bed runs low, and your bulbs start shrinking.
Aim to wait at least three to four years before planting garlic in the same spot, and much longer if white rot has appeared. Keep onions, leeks, and shallots out of that bed too, since they share the same pests.
A simple garden notebook or phone photo helps you remember what grew where. Beans and peas make great follow-up crops because they add nitrogen back into the soil.