Avoid These 9 Common Mistakes When Preparing Raised Beds For Winter
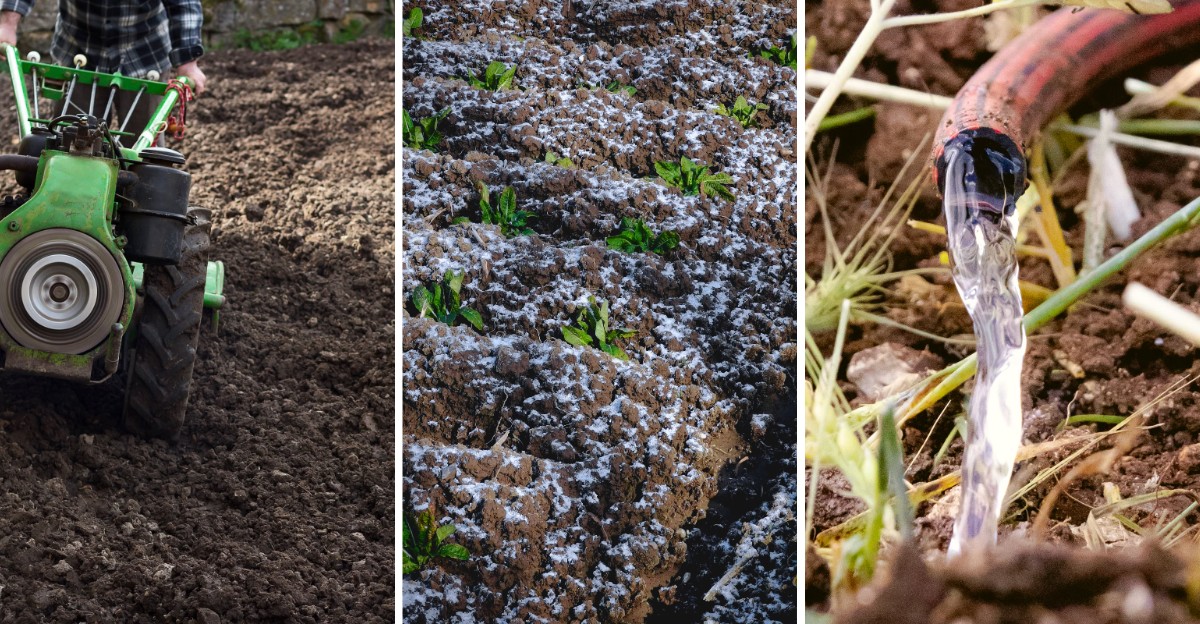
Those sprawling squash vines are hiding guests with big plans for next summer. Squash vine borers settle into soil now and overwinter beneath your feet.
Fungal spores rest on fallen tomato leaves and wait out the cold. Pest eggs tuck themselves into stems you forgot to cut. Bare beds lose precious topsoil to heavy winter rain.
Right now you hold more power than at any point in spring. Autumn soil tests give lime and sulfur time to shift pH before planting.
Garlic cloves you plant this month return as fat, spicy bulbs by July. Shredded leaves become free mulch that feeds worms while you sleep. Not all cleanup helps.
Hollow stems shelter native bees, and seed heads feed visiting finches. You get to choose which messes stay and which go. Here is how to stay a step ahead of winter.
1. Leaving Spent Plants To Rot In Place
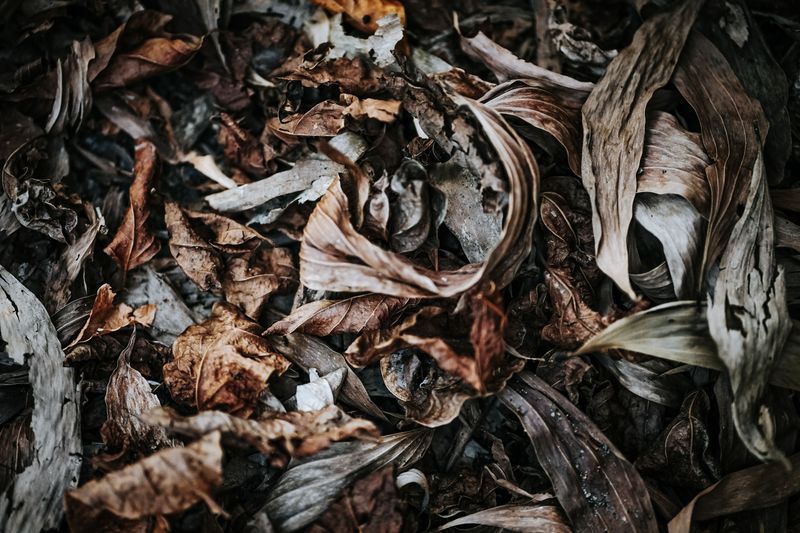
Picture a cozy hotel where pests and fungus spores check in for free all winter long. Old tomato vines and moldy squash leaves become exactly that kind of hotel.
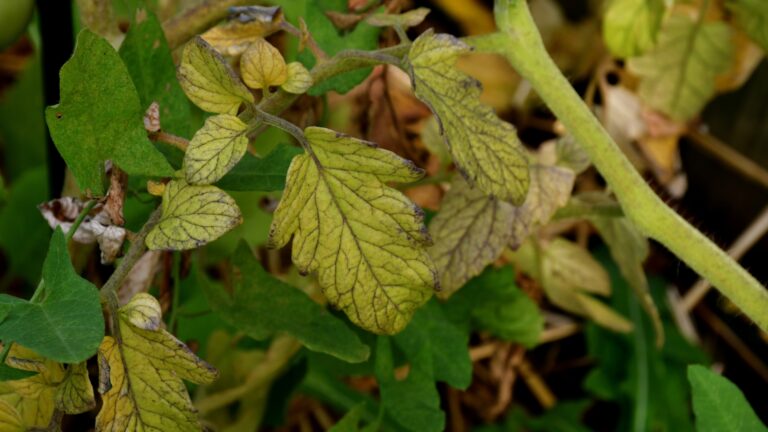
Many sneaky bugs lay eggs on plant stems before cold weather arrives. Fungal diseases like early blight and Septoria leaf spot also survive on fallen leaves until spring.
When you leave that mess behind, you are basically saving trouble for next year. The warm days of April wake everything up, and the cycle starts again.
September is a smart time to start pulling spent crops as they finish. Snip healthy plants at the soil line and leave the roots to break down underground.
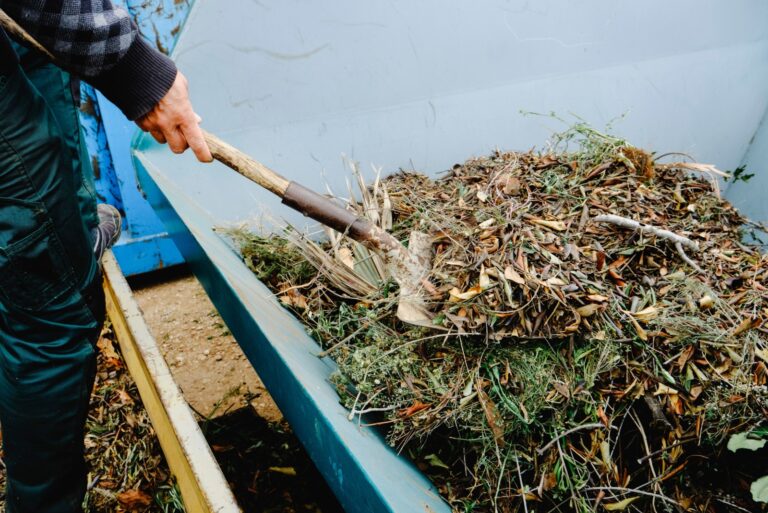
Those roots feed soil life and leave tiny tunnels for water and air. Healthy leaves and stems can go straight into your compost pile to become next year’s food.
Sick plants need different treatment, though, so be picky. Bag anything with spots, mold, or odd wilting and put it in the trash, not the compost.
Home compost piles rarely get hot enough to destroy stubborn disease spores. Keeping a separate bucket for questionable plants makes this choice quick and easy.
Leave a few hollow flower stems standing if they look clean, though. Native bees love to tuck themselves inside for the winter nap.
2. Skipping A Fall Soil Test
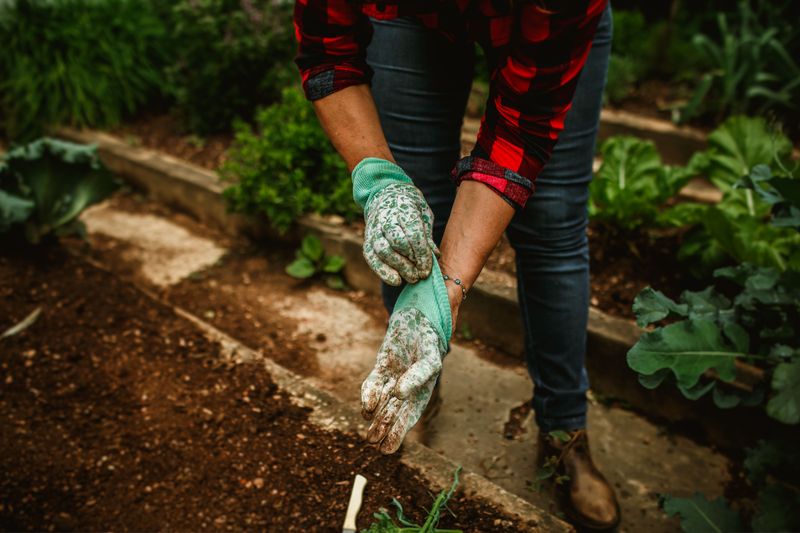
Guessing what your soil needs is a bit like cooking with a blindfold on. You might get lucky, but you will probably add too much salt somewhere.
A simple soil test shows your pH level and key nutrients like phosphorus and potassium. Many local extension offices run these tests for a small fee.
Fall is an ideal season to test, and here is why. Labs are less busy, and results come back faster than they do during the busy spring rush.
You also get time to fix problems before planting season. Lime, for example, can take several months to raise the pH of acidic soil.
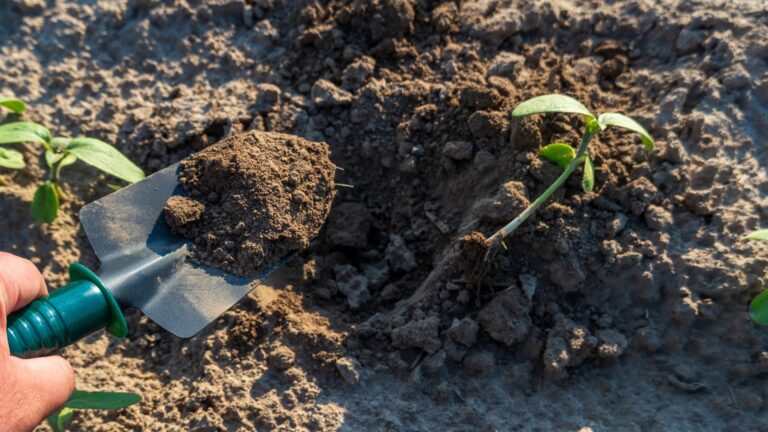
To collect a sample, dig small scoops from five or six spots in each bed. Mix them together in a clean bucket and let the soil dry.
Skip spots where you recently added fertilizer or compost, since those will throw off the numbers. Label each bag if you have more than one bed.
Once the report arrives, follow its advice instead of piling on random products. Too much fertilizer can burn tender roots and wash away into nearby streams.
Fun fact: most vegetables prefer a pH between 6.0 and 7.0. Blueberries are the odd kids in class, wanting soil much more acidic.
3. Letting The Soil Sit Bare All Winter
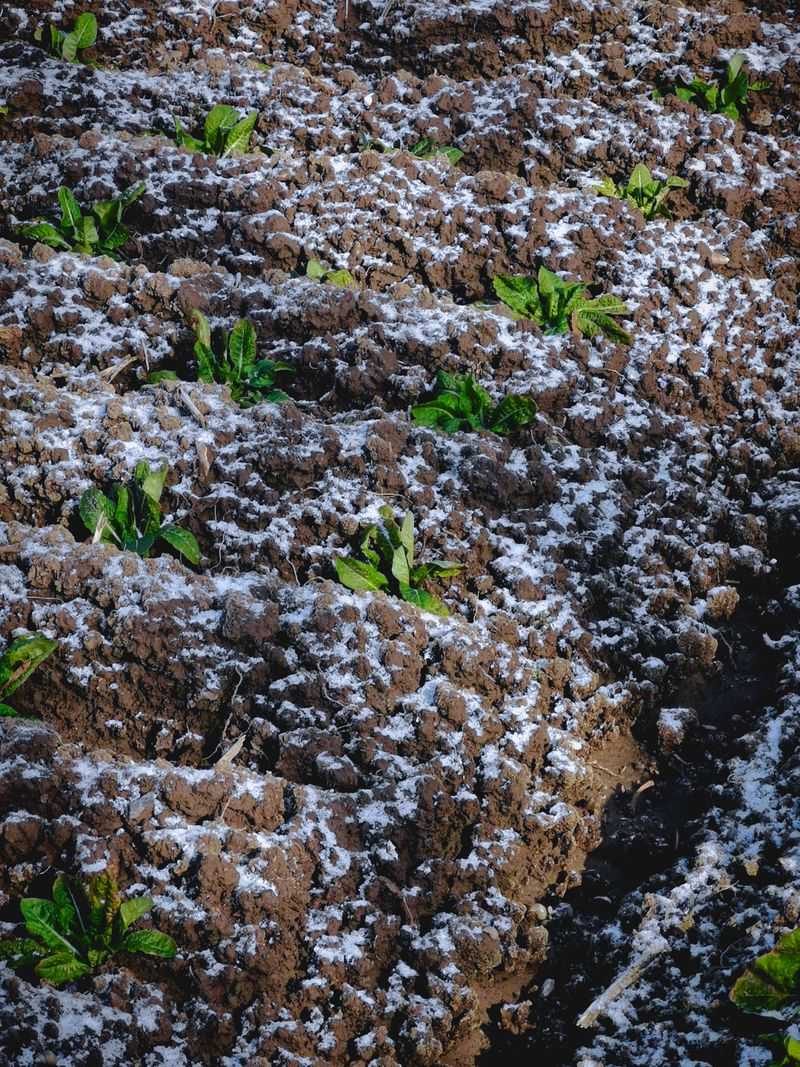
Bare soil in winter is like leaving your front door wide open during a storm. Rain pounds the surface, wind blows it around, and nutrients wash away.
Soil in a raised bed is precious because you paid for it or worked hard to build it. Losing even an inch each year adds up quickly.
The fix is simple: give it a blanket. Shredded leaves, straw, or pine needles all make fine winter mulch.
Spread a layer about two to four inches thick once the ground starts to cool. Earthworms will slowly pull that material down and turn it into rich food.
Another option is planting a cover crop in September while the soil is still warm. Crimson clover, winter rye, and hairy vetch are popular picks for home gardeners, though crimson clover struggles in very cold zones.
Their roots hold soil in place, and clover adds nitrogen that plants can use once it decomposes. In early spring, cut them down, leave them on top, and wait two to three weeks before sowing seeds.
Avoid using straw with seed heads, or you will grow a surprise lawn next year. Ask the seller for seed-free straw, not hay, before you buy.
Fallen leaves from your own yard are free and plentiful this time of year. Run them over with a mower first so they do not mat into a soggy layer.
4. Adding Fresh Manure Without A Plan
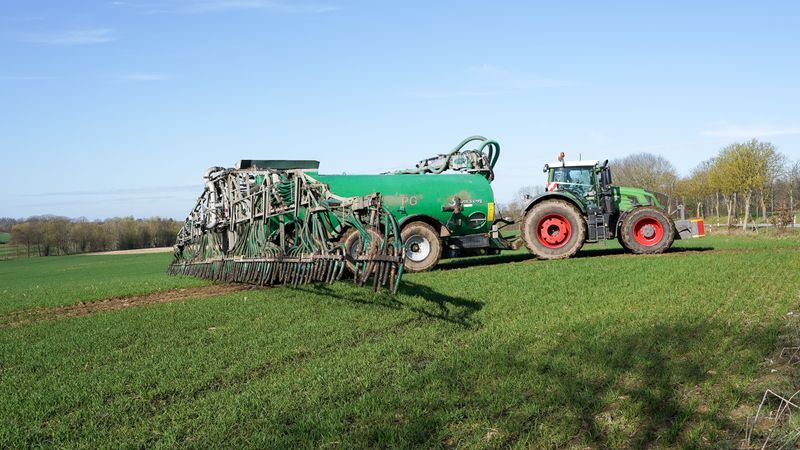
Grandpa swore by fresh cow manure, and his tomatoes were the talk of the county fair. Timing was his secret, though, and that part often gets forgotten.
Fresh manure is loaded with nitrogen and can be too strong for tender plants. It may also carry harmful germs that can reach your vegetables.
Fall is a great time to add it, but only to beds you will not plant soon. Winter gives the manure months to mellow out and blend into the soil.
USDA organic standards call for waiting 120 days before harvesting crops that touch the soil, and 90 days for crops that do not. For leafy greens and carrots, that waiting period matters a lot.
Skip fresh manure in beds where you plan to grow garlic or winter greens right now. Use finished compost there instead, since it is gentle and safe.
Know where your manure comes from, too. Some hay and pasture sprays linger in animal waste and can twist and curl your future bean plants.
Cat and dog waste should stay far away from food gardens. Aged or composted chicken, cow, horse, and rabbit manure are the usual safe choices for veggie beds.
Rabbit droppings are mild enough that they will not burn plants, but compost them before using them near food crops. Gardeners prize them for their gentle, balanced nutrients.
5. Forgetting To Top Up Sinking Soil

Ever notice your beds look a little shorter each fall? You are not imagining it, because soil really does shrink like a wool sweater in a dryer.
Compost and organic matter slowly break down as worms and microbes feast on them. Rain also packs the soil tighter, so the level can drop noticeably each year.
Low soil means plant roots have less room to spread out. It also leaves more of the wooden frame exposed to harsh wind and bright sun.
Autumn is the perfect moment to top things off. Add two or three inches of finished compost across the surface of each bed.
There is no need to dig it in deeply or mix it by hand. Winter rain and snow will slowly carry nutrients down to where roots will want them.
Leaf mold, aged manure, and worm castings also work nicely for this job. A mix of several materials gives soil life a more varied diet.
Buying compost in bulk from a local supplier is often cheaper than bagged products. Split a truckload with a neighbor, and you both save money.
Keep the new soil a couple inches below the rim of the frame. That small gap stops mulch and rainwater from spilling over the edges.
6. Ignoring Loose Boards And Rotting Frames
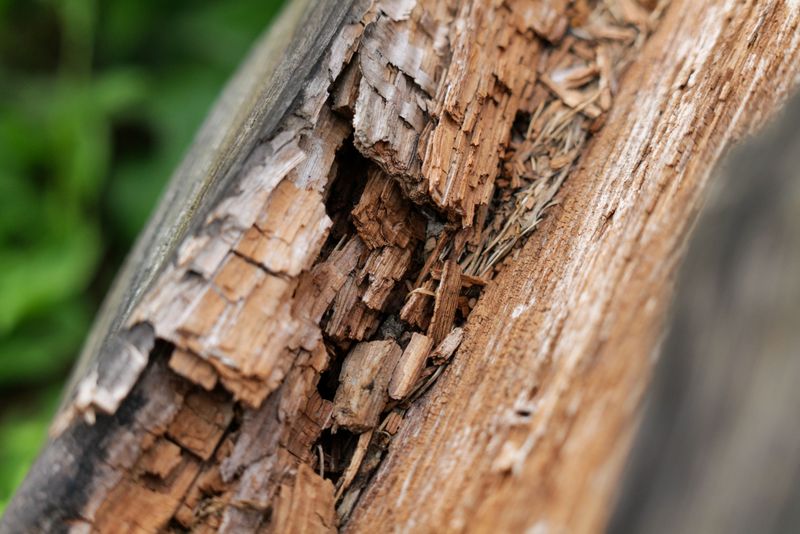
A wobbly board seems harmless in September. By March, freezing and thawing may have pushed it right out of place.
Water seeps into cracks, freezes, and expands, which makes small gaps grow bigger. Soil then spills out, and the whole bed can start to lean.
Take a slow walk around each bed with a screwdriver in hand. Poke the wood near corners and along the bottom edge, where rot usually starts first.
If the screwdriver sinks in easily, that board needs replacing soon. Soft wood will not hold screws, nails, or brackets through another cold season.
Tighten loose screws and add metal corner brackets where joints look weak. Cheap parts like these can add years of life to an older frame.
Cedar and redwood resist rot naturally, which is why so many gardeners choose them. Untreated pine is cheaper but may only last three to five years.
Avoid painting the inside of the frame with chemical wood stains. Those products can leach into the soil where your food grows.
Metal and stone beds need checks too, especially for sharp edges and shifting blocks. Fixing a problem now is far easier than rebuilding in muddy spring.
Keep a small notebook listing which beds need repairs this fall. Crossing items off that list feels surprisingly satisfying on a chilly afternoon.
7. Leaving Irrigation Lines Full Of Water
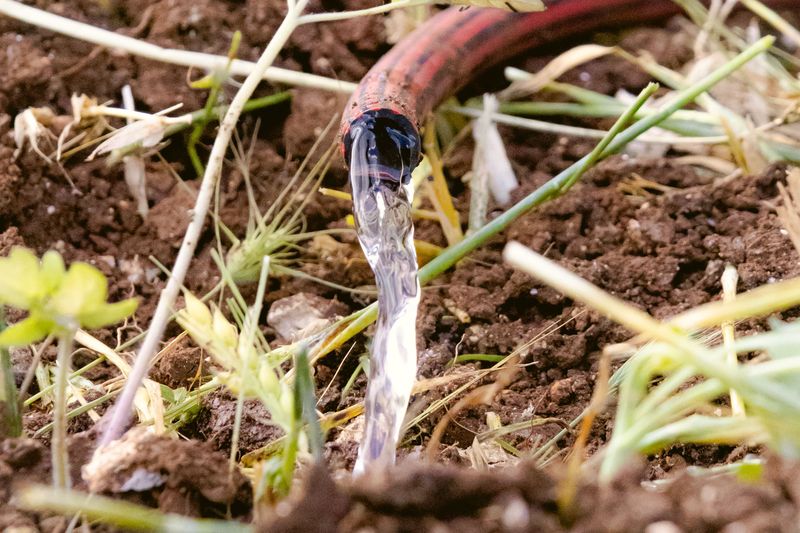
Drip lines and soaker hoses are lifesavers during hot July afternoons. In freezing weather, however, they can turn into cracked, leaky messes.
Water expands by about nine percent when it freezes, and that pressure has to go somewhere. Fittings, valves, filters, and timers are the parts most likely to crack.
Before the first hard frost, shut off the water supply to your garden system. Then open the end caps and let every line drain out.
Some gardeners blow air through the tubes with a small compressor for extra safety. Keep the pressure low so you do not pop the fittings apart.
Battery timers and filters should come inside for the winter. A garage shelf or basement corner keeps them dry and ready for spring.
Garden hoses need the same care before cold nights arrive. Drain them, coil them loosely, and store them out of the sun.
Rain barrels are another sneaky trouble spot. Empty them and flip them upside down, or disconnect them from the downspout for the season.
Mark your calendar with your area’s average first frost date. Dates vary widely by location, so check a local frost chart and plan ahead.
Snap a quick phone photo of your setup before taking it apart. Next spring, you will thank yourself when every piece clicks back into place.
8. Skipping Cool-Season Crops And Garlic
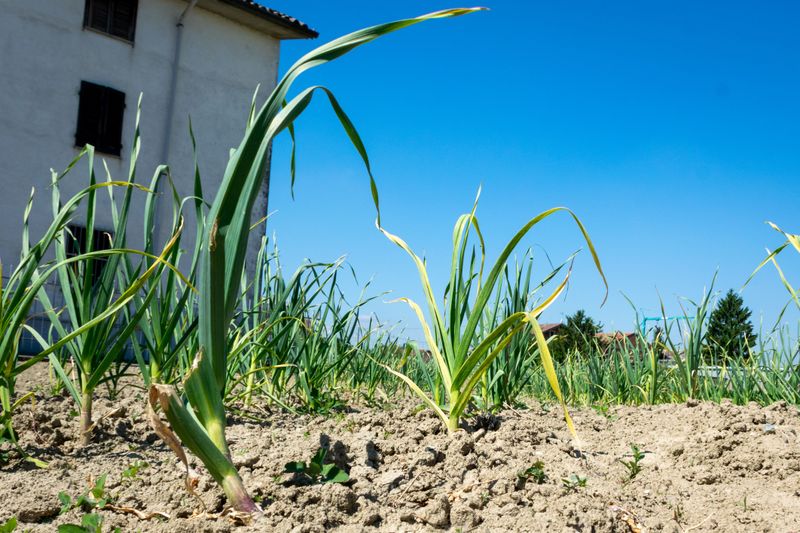
Some gardeners close up shop in September, but their beds could be working overtime. Cool weather is actually perfect for many tasty crops.
Spinach, kale, lettuce, and radishes grow happily as days get shorter. Frost can even make kale and carrots taste sweeter by turning starches into sugar.
Garlic is the real star of fall planting, though. Cloves go in the ground a few weeks before the soil freezes.
Over winter, they quietly grow roots while you sip hot cocoa indoors. Come early summer, each clove becomes a full, fragrant bulb.
Pick up seed garlic from a garden center instead of the grocery store. Store garlic is sometimes treated to stop sprouting and may carry disease.
Plant cloves pointy side up, about two inches deep and six inches apart. Cover the bed with straw after planting to protect the cloves from harsh cold.
A simple row cover or cold frame can stretch your harvest by several weeks. Old windows or clear plastic over hoops work well on a small budget.
Empty beds also invite weeds to move in and set seed. Filling the space with crops keeps those pesky freeloaders from taking over.
Shallots and onion sets can go in alongside garlic in many areas. Check your local planting guide for the best dates in your zone.
9. Tilling And Turning The Soil Too Much
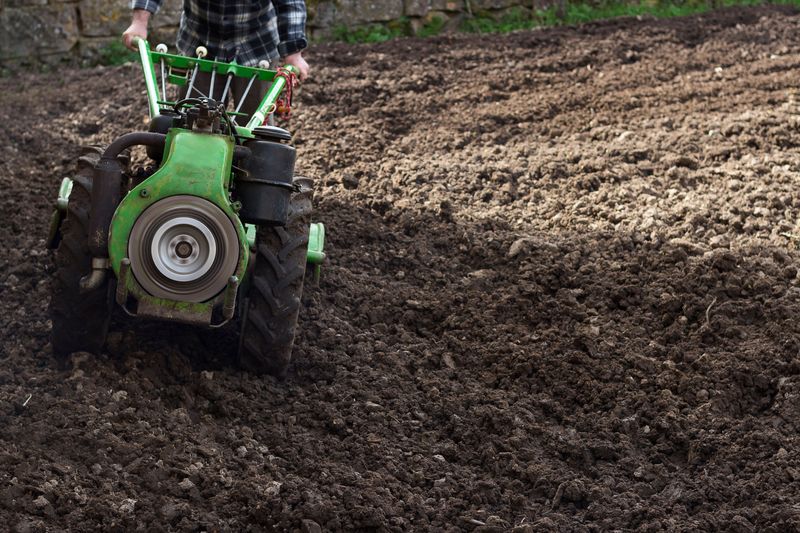
Digging can feel wonderful, like giving your garden a fresh start. Underground, though, all that flipping and chopping causes real trouble.
Healthy soil is packed with worms, fungi, and billions of tiny helpers. Fungi build thread-like networks that carry water and nutrients to plant roots.
Heavy tilling tears those networks apart and crushes worm tunnels. It also brings buried weed seeds up to the surface, where they sprout happily.
Raised beds have a big advantage here because you do not walk on them. Soil stays loose and fluffy without needing much digging at all.
Try the no-dig method this fall and let nature do the work. Simply layer compost and mulch on top, then leave the rest to the worms.
If the soil feels hard, use a garden fork to gently loosen it. Push the fork in, rock it back and forth, and pull it out without flipping.
Working soil when it is soggy is another common slip. Wet soil clumps into hard chunks that dry like bricks.
Squeeze a handful to test it before you dig. If it crumbles apart, go ahead, but if it forms a sticky ball, wait a few days.
One teaspoon of healthy soil can hold billions of microorganisms. Treat that tiny crowd kindly, and they will reward you.