8 Mistakes That Keep Paperwhites From Blooming
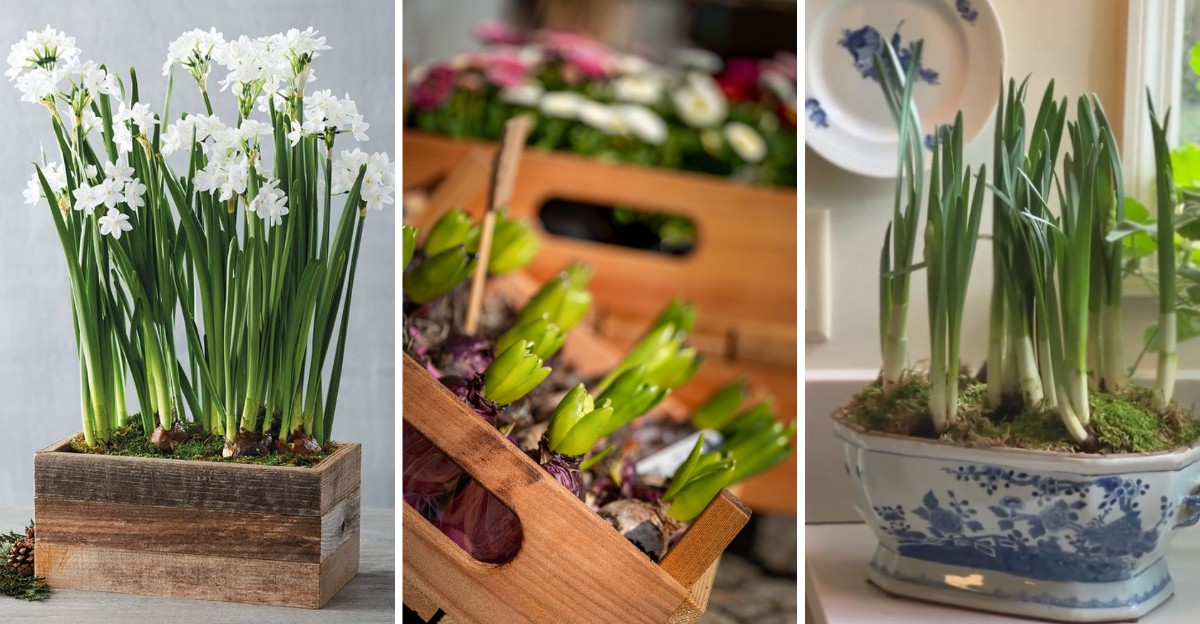
Why did your paperwhites grow proud green leaves and skip the flowers? Surprisingly, the flower was inside the bulb before you bought it.
Summer heat in the field builds a tiny, finished bud within each bulb. Storage in a hot garage or car trunk can quietly weaken that bud. Leaves sprout, healthy and confident, while the flower stalls inside.
Dim light and toasty rooms stretch stems into leaning green sticks. Then comes the water line, a sneaky little detail. Keep water just below the bulb base so roots drink without soaking it.
Blooms last longer in cool, bright rooms, on stems that stay upright. Timing matters as well, since holiday blooms require planting weeks ahead.
You can turn that awkward pot into a fragrant winter show. Grab your bulbs, because the fixes that finally unlock those blooms start right now.
1. Buying Soft Or Moldy Bulbs
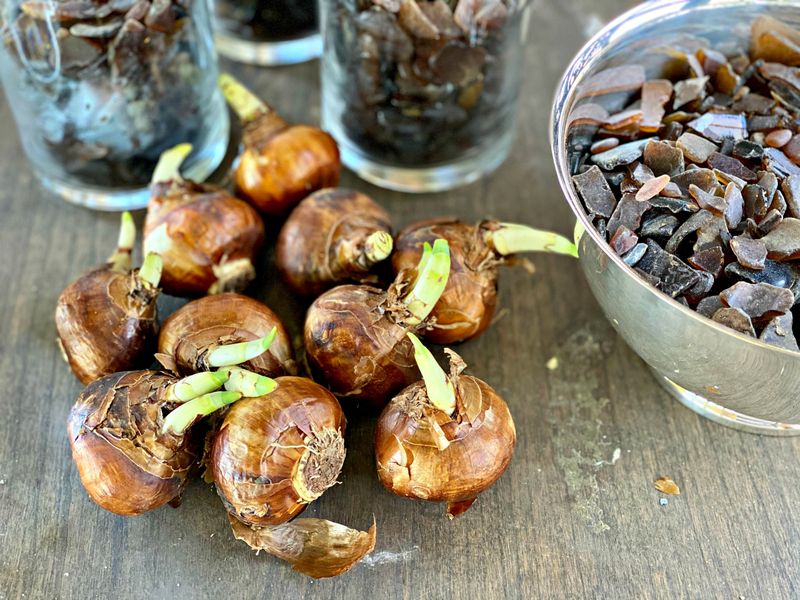
A paperwhite bulb is basically a packed lunch for the flower tucked inside. If that lunch is soft or dried out, the bloom goes hungry before it ever begins.
When you shop this September, give each bulb a gentle squeeze. Healthy ones feel firm and heavy for their size.
Keep in mind that paperwhite bulbs are toxic to people and pets, so store them well away from food.
Skip any bulb with gray fuzz, dark mushy spots, or a sour smell. Those signs usually mean mold has already moved in and started snacking on the stored food.
Pressing a thumb near the base is a quick test, since trouble often starts there.
Size matters too, so look for the biggest bulbs you can find. Larger bulbs often carry more flower stems, which means a fuller and more fragrant show.
Loose, flaky outer skin is perfectly fine and no reason to worry. That papery layer is just a jacket, and it often slips off during shipping.
Want a fun fact to share at dinner tonight? Paperwhites come from the Mediterranean, where they bloom wild on sunny hillsides during mild, rainy winters.
If you order online, open the box as soon as it arrives. Check each bulb right away, and ask the seller for a swap if any look sad. Store the good ones somewhere cool, dry, and airy until you are ready to plant.
2. Storing The Bulbs In A Hot Spot
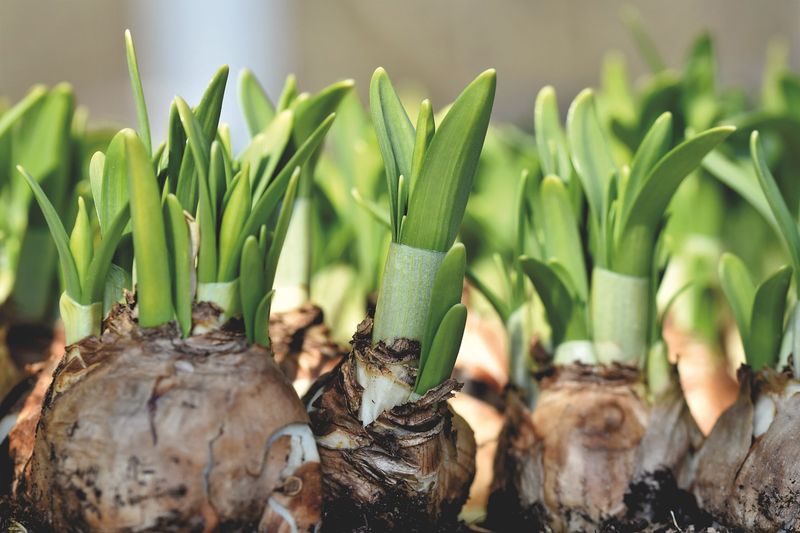
Picture a bag of bulbs left in a car trunk for two weeks. By October, they would look like tiny shriveled raisins instead of flower factories.
Heat is sneaky trouble for paperwhite bulbs waiting to be planted. Warm storage can dry out the flower bud tucked deep inside each one, and you cannot see it happening from the outside.
Once that bud dries up, the bulb may still grow plenty of leaves. Sadly, you will be left with greenery and no sweet-smelling white flowers.
The best storage spot is cool, dry, and dark, like a closet or basement shelf. Aim for temperatures somewhere between 50 and 65 degrees Fahrenheit, which keeps the bulbs calm and resting.
Keep them in a paper bag or a mesh sack, not plastic. Plastic traps moisture, and trapped moisture invites mold to throw its own little party. Good airflow keeps the papery skins dry and the bulbs firm.
Stay away from garages, sunny windowsills, and spots near the furnace. Early fall afternoons can still get surprisingly toasty in those places, even when mornings feel crisp.
Also, keep bulbs away from the fruit bowl, especially ripening apples and bananas. Fruit gives off ethylene, a natural gas that can quietly damage the hidden flower buds.
Check on them every week or so, and toss any bulb that suddenly turns soft or smells sour. A little planning goes a long way with these bulbs. Store them wisely now, and they will reward you with fragrant blooms right on schedule.
3. Burying The Bulbs Too Deep
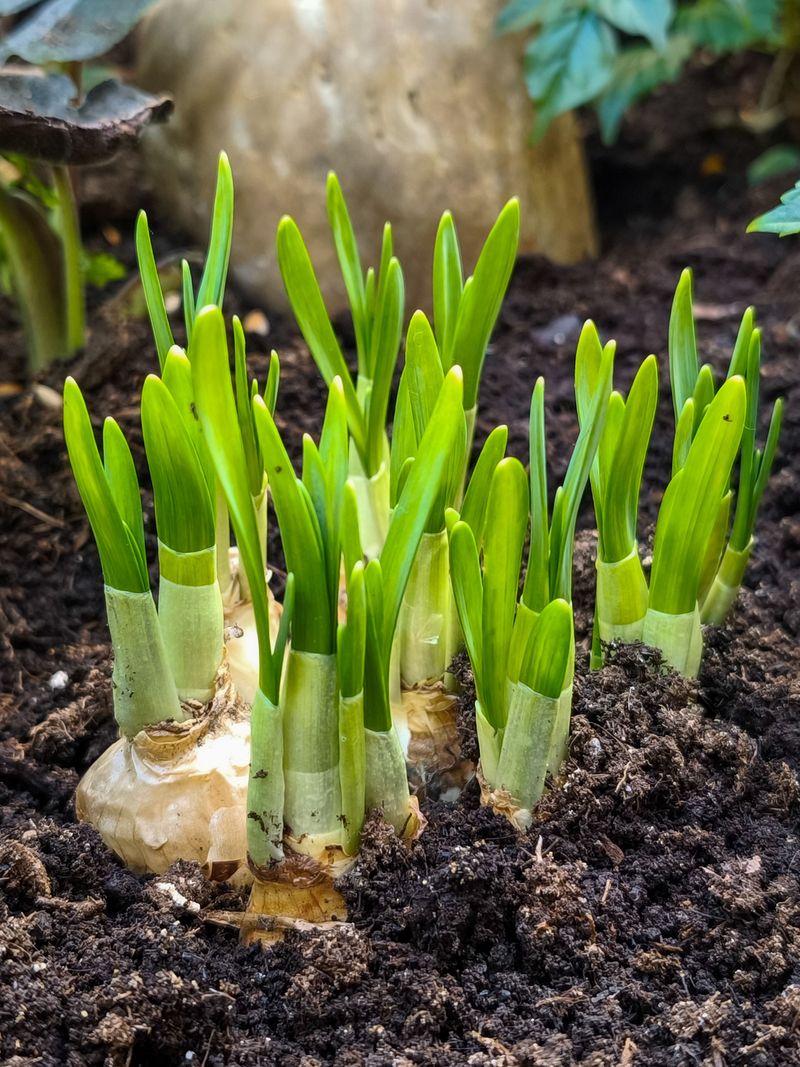
Think of a paperwhite bulb like a swimmer who needs its head above water. Push it too far down, and things get messy fast.
Many beginners plant these bulbs the same way they plant tulips outdoors. That habit sounds smart, but indoor paperwhites prefer sitting high and proud.
Only the bottom third of each bulb should sit in soil or pebbles. The top two thirds, including the pointy nose, should stay out in the open air.
Deep planting keeps the bulb damp all over, which can lead to rot. A rotting bulb spends its energy fighting trouble instead of building flower stems.
Pebbles, gravel, or glass marbles make a great base for forcing indoors. They hold the bulbs steady and let you see the roots wiggle downward.
Pack the bulbs close together, almost shoulder to shoulder, for a full look. Crowding actually helps them hold each other up as the stems grow tall.
If you use potting soil, keep it loose and fluffy rather than packed down. Roots like room to stretch, just like you after a long car ride.
Buy them in September, then plant from mid-October onward for holiday blooms. Most bulbs flower about four to six weeks after you first set them down.
4. Letting Water Touch The Bulb
You filled the bowl right up to the rim again. Plenty of kind gardeners do it, thinking extra water means extra love.
Paperwhite bulbs do not want a bath, only a drink for their roots. Water touching the bulb itself can quickly turn it soft and mushy from the bottom up.
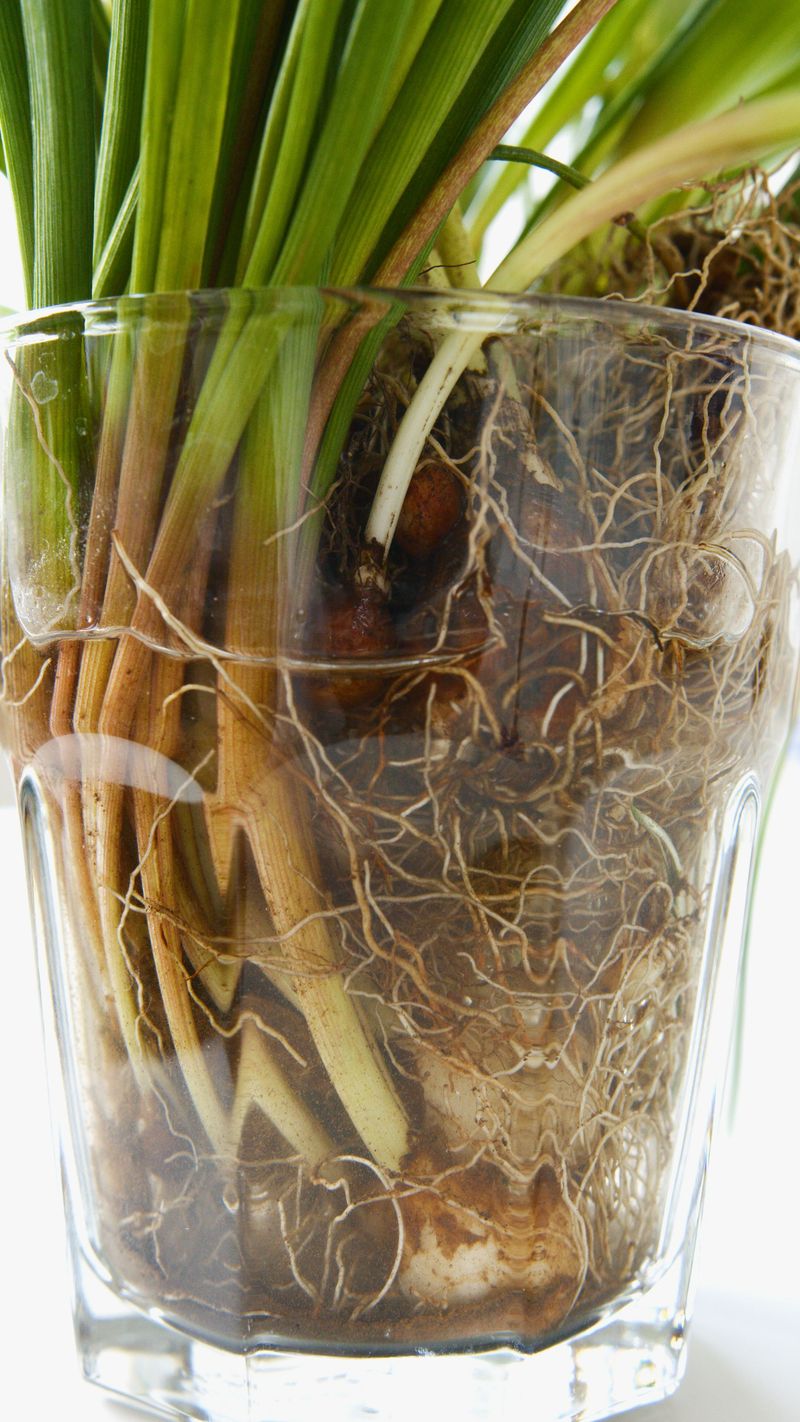
The trick is keeping the water line just below the base of each bulb. Roots will reach down to find it, like straws dipping into a glass.
Once roots grow long, you can lower the water a little more, since they will happily stretch down deeper.
A clear glass container makes this job wonderfully easy to manage. You can see the water level at a glance without poking around in the pebbles. Room-temperature water works best, since cold water can shock tender new roots.
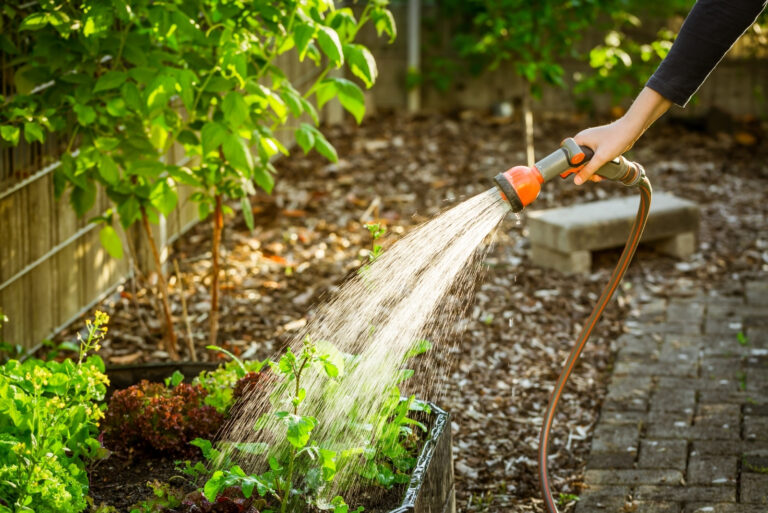
If you grow them in soil, keep it lightly moist rather than soggy. Stick a finger in, and water only when the top inch feels dry.
Drainage holes are your best friend for soil pots. Without them, water pools at the bottom and slowly turns the roots brown and slimy.
Watch for warning signs like a sour smell or cloudy water. Swap in fresh water right away, and rinse the pebbles if things look murky. Topping off every few days usually keeps the level steady as roots drink more.
Healthy roots look white, firm, and a little bit like cooked noodles. When you see those noodles growing, you know your watering routine is on track.
5. Letting The Roots Dry Out
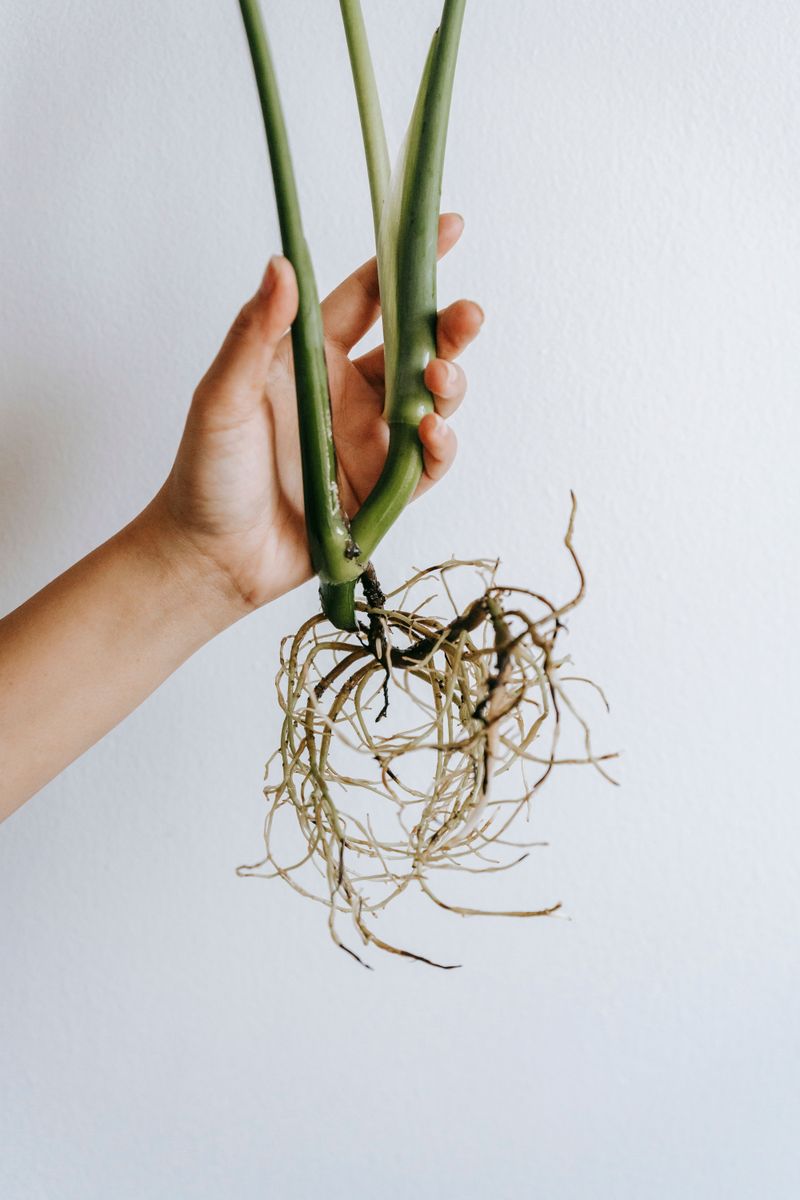
Life gets busy, and the bulb bowl slides to the back of your brain. A week later, the pebbles are bone dry and the shoots look stuck.
Once roots start growing, they get thirsty surprisingly fast. Growing bulbs can drink a bowl nearly dry in just a few warm days, especially near a sunny window.
When roots dry out, the flower buds often stall or shrivel up. The plant decides survival matters more than showing off pretty blooms, so it holds back its best work.
A quick daily peek fixes this problem with almost no effort. Try checking the water while your breakfast toast is browning each morning.
Set a phone reminder if you tend to forget small chores. A simple alarm labeled with a flower emoji works like a charm. Some gardeners even keep the bowl beside the coffee maker so they spot it without trying.
Top up with room-temperature water, not icy water straight from the fridge. Cold shocks can slow growth, and nobody enjoys a surprise ice bath.
Balance is the real goal here, somewhere between a desert and a swamp. Keep the water level steady just below the bulbs, and roots stay happy. A dry bowl needs a slow refill, while a too-full bowl needs a little pour-off.
Kids can make great little helpers for this simple job. A chart on the fridge turns watering into a game they will love.
Give them the watering duty, and they will proudly brag when the first flower opens. Just remind them to wash their hands afterward, since the plants are toxic if eaten.
6. Hiding The Pot In A Dim Corner
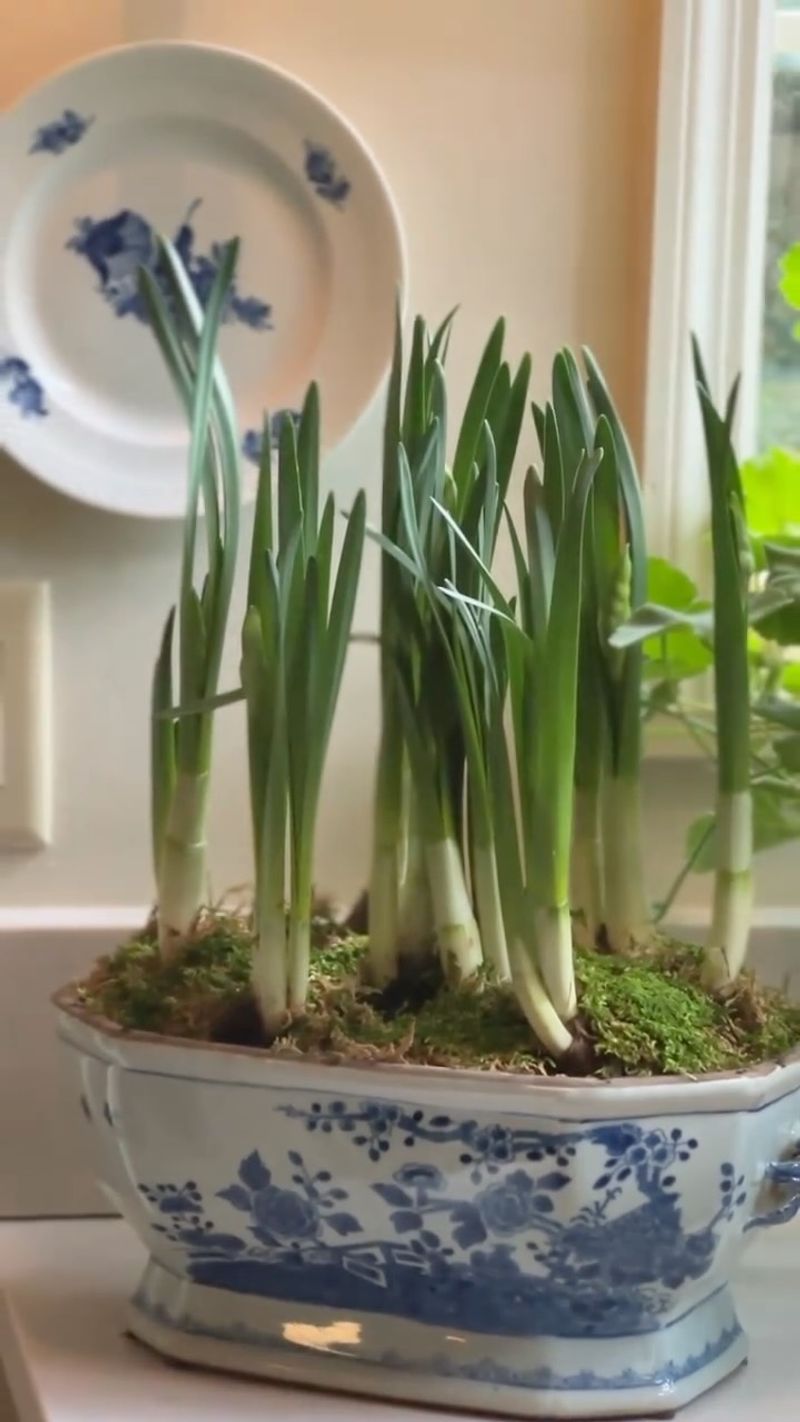
Did you know that light shapes how strong and upright your paperwhites grow? A gloomy corner can leave them pale, stretched, and slow to bloom.
At first, the bulbs can sit somewhere cool and a bit shady. That early stage lets roots grow strong before the leaves shoot upward.
Once green shoots reach a couple of inches, move the pot into bright light. A sunny window facing south or west works best for most homes.
Too little light makes stems stretch like tired cats reaching for a sunbeam. Those long, weak stems often flop over or produce fewer flowers.
Turn the pot a quarter turn every day or two. This keeps the stems growing straight instead of leaning toward the window like curious neighbors.
October light is still strong, but days grow shorter as fall moves along. By November, you may need a small grow light to fill in.
A basic LED grow light placed about a foot above works nicely. Keep it on for around twelve hours to mimic a bright sunny day.
After the buds open, you can move the pot to any spot you like. Blooms last longer in indirect light, so the dining table becomes fair game.
7. Keeping The Room Too Warm
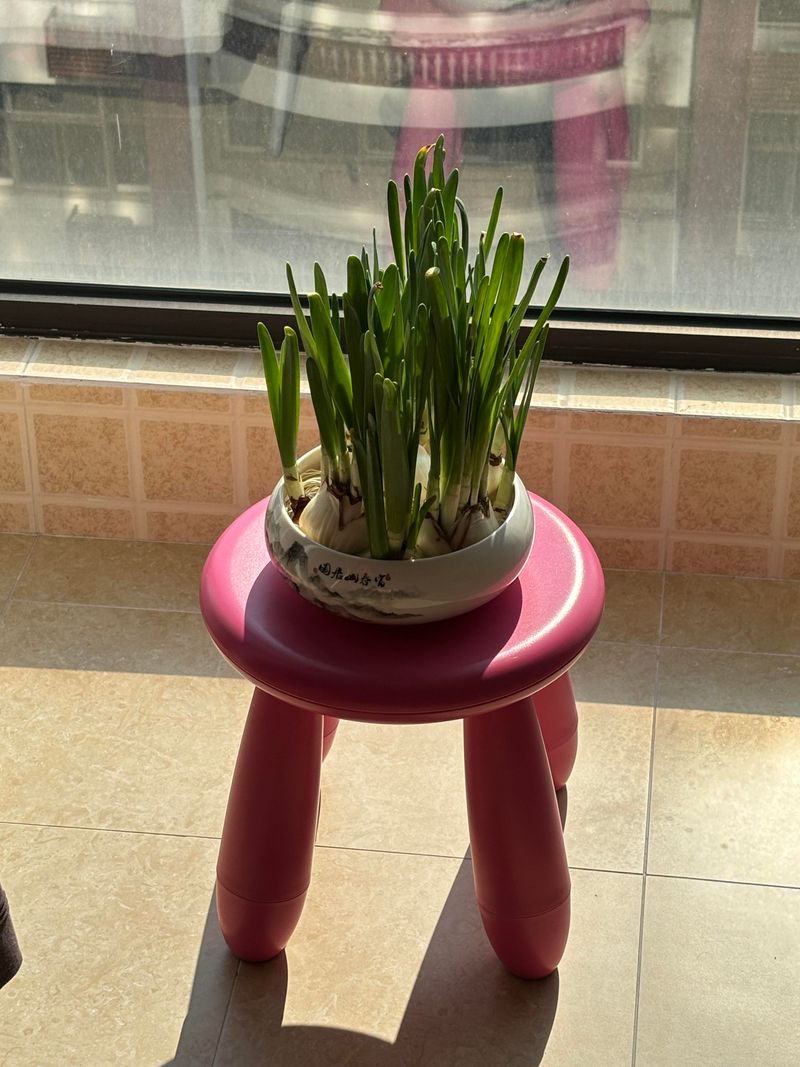
Cozy is lovely for people wearing fuzzy socks, but paperwhites feel differently. A toasty room rushes them along and often ruins the final show.
Warm air makes the leaves and stems race upward way too fast. The plant grows tall and floppy before the flower buds are ready.
Sometimes the buds even dry up before they get a chance to open. Gardeners call this bud blast, and it is a sad sight indeed.
The sweet spot sits around 60 to 65 degrees Fahrenheit. A cool guest room, sunny porch, or bright entryway often fits that range nicely.
Keep pots away from heaters, radiators, fireplaces, and warm appliances. Even the top of the fridge can feel like a sauna to a bulb.
Nights can dip a bit cooler, and the plants usually like that. Cooler evenings help stems grow thicker and flowers last noticeably longer.
Here is a quirky tip many growers swear by for sturdier stems. Replacing plain water with a diluted alcohol solution can keep plants shorter.
Mix one part 40 percent clear liquor with seven parts water, or one part 70 percent rubbing alcohol with ten parts water. Start once shoots reach about two inches, and skip beer and wine, since their sugars are bad for the plants.
8. Expecting Old Bulbs To Bloom Again
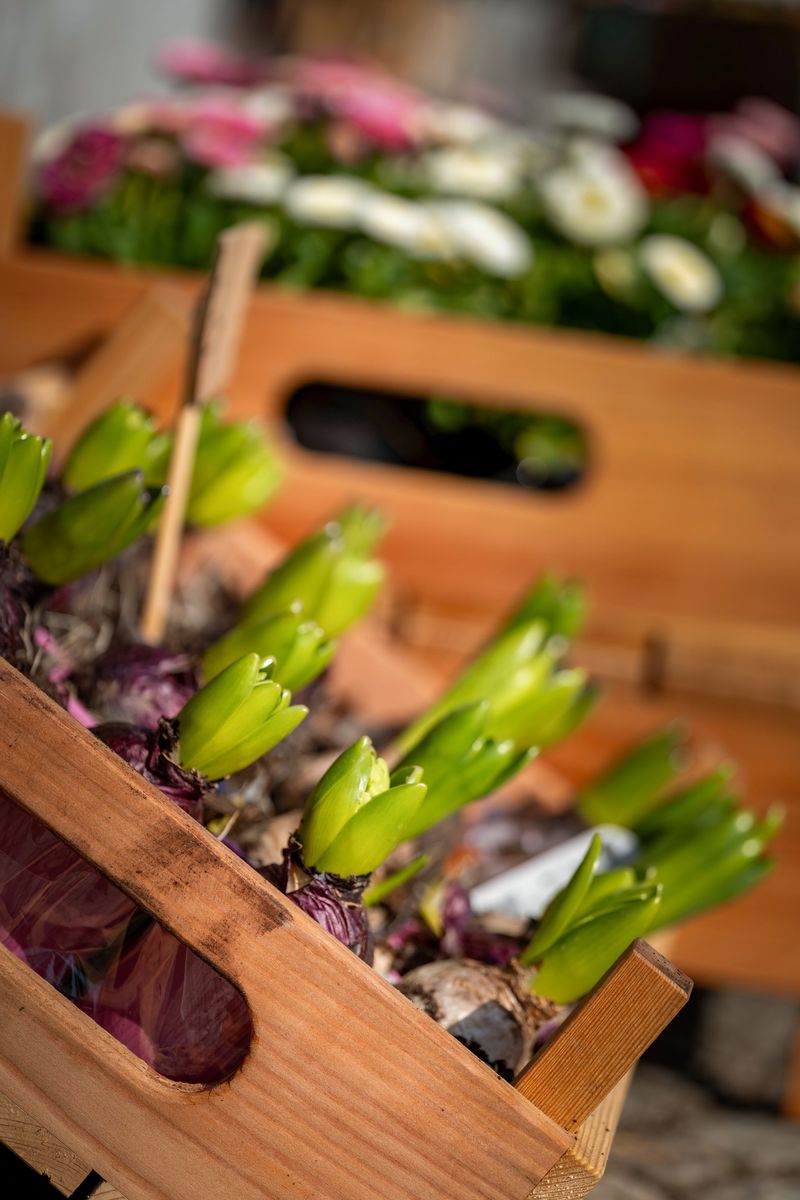
Last year’s bulbs sit in a closet, looking hopeful and a little wrinkly. You plant them again, cross your fingers, and get only leaves.
Forcing paperwhites indoors uses up almost all the food stored in each bulb. After one big show, most bulbs simply have little left to give, so a repeat performance rarely happens.
In warm gardens, spent bulbs can sometimes recover when planted outdoors. They may need a couple of years of sunshine and rest before they bloom again, though.
That outdoor option only works in mild places, roughly zones 8 through 11. Colder regions freeze the ground, and the bulbs cannot handle it. A sheltered spot with good drainage gives them the best chance to return.
For most of us, fresh bulbs each year are the easiest path. Luckily, they are cheap and easy to find at garden centers, hardware stores, and online shops every fall.
Buying a big batch in September lets you plant in waves. Start a new pot every two weeks for flowers from Thanksgiving through New Year. Keep the waiting bulbs cool and dry until their turn comes.
Old bulbs still have uses, so do not feel guilty. Toss them into the compost pile, where they can feed next spring’s garden beds. Chopping them into smaller pieces first helps them break down faster and blend right in.
Think of each bulb as a one-time holiday gift wrapped in brown paper. Enjoy the fragrant surprise, say thanks, and welcome a fresh batch next season.