10 Ways To Keep Pumpkins From Rotting On Your Porch
There is a special kind of heartbreak that smells like old socks and soggy leaves. You step outside, sip your cider, and spot your porch buddy slumping like a tired snowman.
Just last week, it sat there bright orange and proud, ready for every trick-or-treater in town. Now it has soft spots, fuzzy patches, and a face that looks deeply disappointed.
Squirrels treat it like a free buffet, and the afternoon sun bakes it like a potato. Meanwhile, chilly nights sneak in and turn its insides into mush.
Luckily, your front step does not have to become a science fair project. A few simple habits can buy weeks of extra cheer before the candy even arrives.
Your neighbors will wonder how your decorations stay so fresh and perky all season. Tell them it is magic, then hide the squirrel evidence behind the mums.
1. Pick A Pumpkin With A Sturdy Green Stem
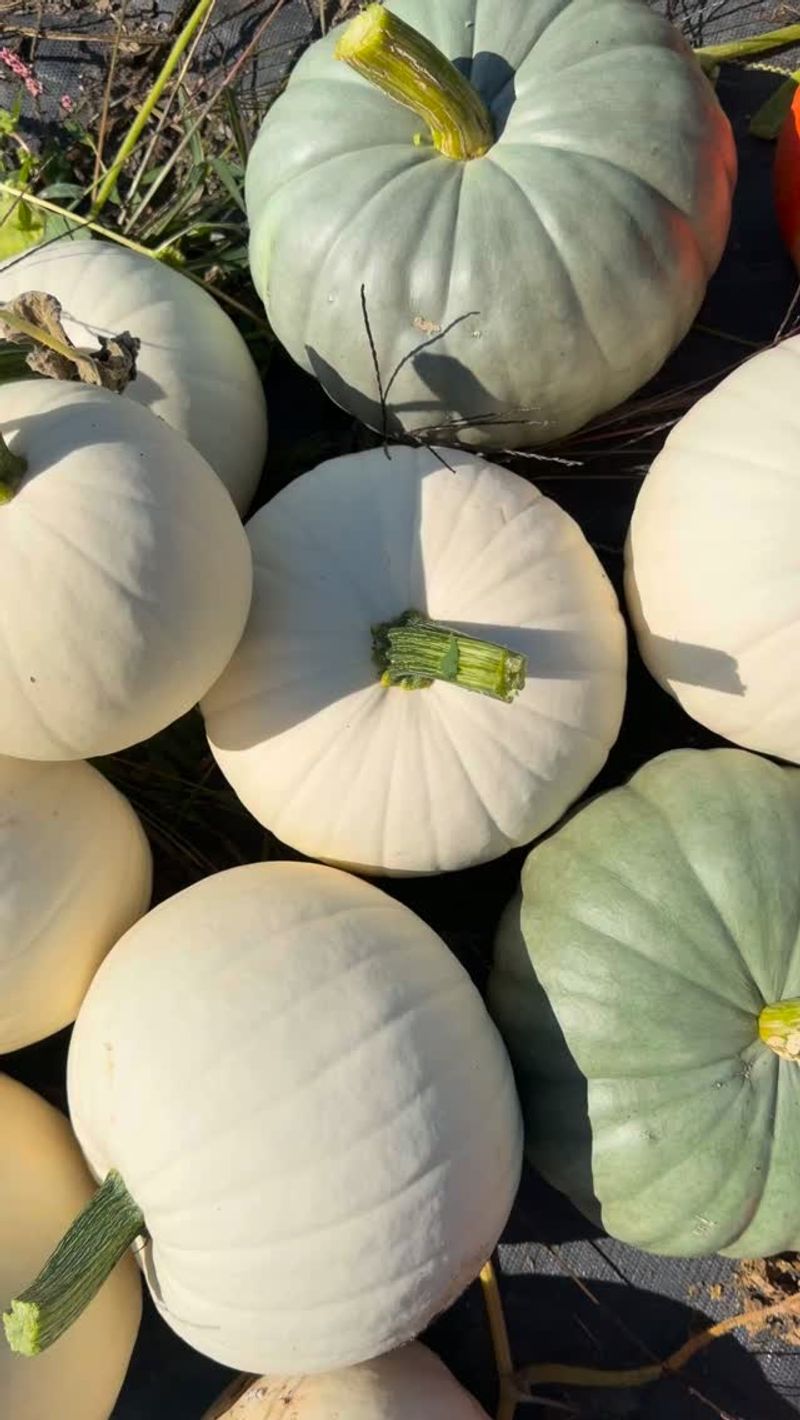
Picture two pumpkins at the farm stand, one with a thick green stem and one with a dry, snapped nub. The first one is clearly your winner, hands down.
A healthy stem works like a cork that seals the inside away from germs and moisture. Once it breaks off, bacteria find an easy doorway right into the flesh.
Try to leave the stem attached from the day you buy the pumpkin until the day you carve it. A pumpkin with its stem intact usually holds up longer on the porch than one without.
Carrying a pumpkin by its stem might look handy, but it can snap without warning. Support the bottom with both hands, just like you would carry a heavy bowling ball.
Before you buy, press gently all around the skin with your thumbs. Skip any pumpkin with soft spots, cuts, bruises, or moldy patches near the base.
Give it a light knock too, because a hollow sound usually means it is ripe and firm. A smooth, evenly colored rind is another good sign that it will hold up for weeks.
Shopping in late September gives you the freshest picks straight from the patch. Early shoppers often find the sturdiest pumpkins, and yours could last until Halloween night.
2. Give Your Pumpkin A Gentle Bleach Bath
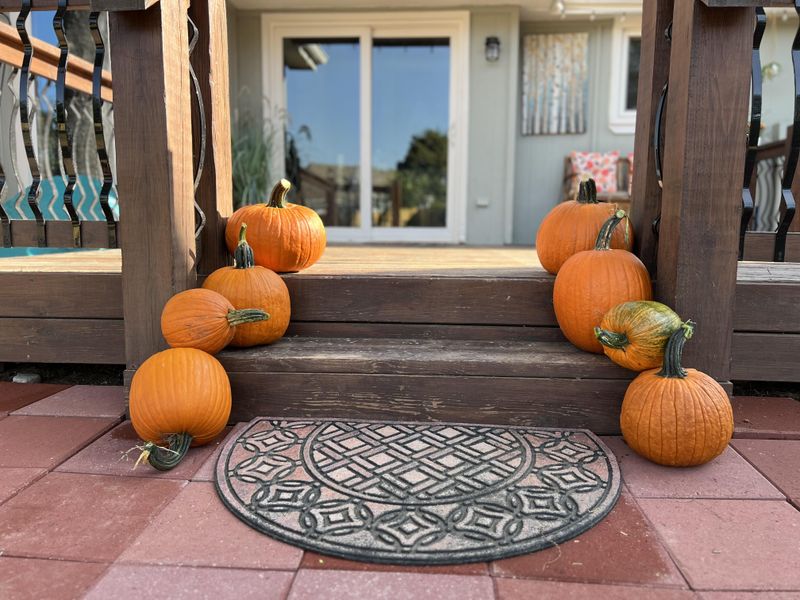
Here is a secret that pumpkin growers have used for years. A quick, mild bleach bath helps reduce the mold spores and bacteria hiding on the skin.
Mix about one tablespoon of bleach into a gallon of cool water. Then dunk or wipe the whole pumpkin, paying extra attention to the bottom and stem area.
Bleach strength varies between brands, so follow the label on your bottle instead of adding extra. A stronger mix does not clean better and can irritate your skin.
Let it soak for a few minutes before you pull it out. Pat it dry with a clean towel, because leftover water invites the very rot you want to avoid.
Wear rubber gloves and work in a spot with good fresh air flowing through. Kids can help with drying using clean towels, but grown-ups should handle the bleach mixture itself.
Carved pumpkins benefit from this trick too, both inside and out. A spray bottle filled with the same mix makes it easy to mist the cut surfaces each day.
Fun fact, farmers sometimes wash their harvest this way before selling it at markets. That simple step helps slow rot so pumpkins stay firm longer on your porch.
3. Wait To Carve Until The Final Week Of October
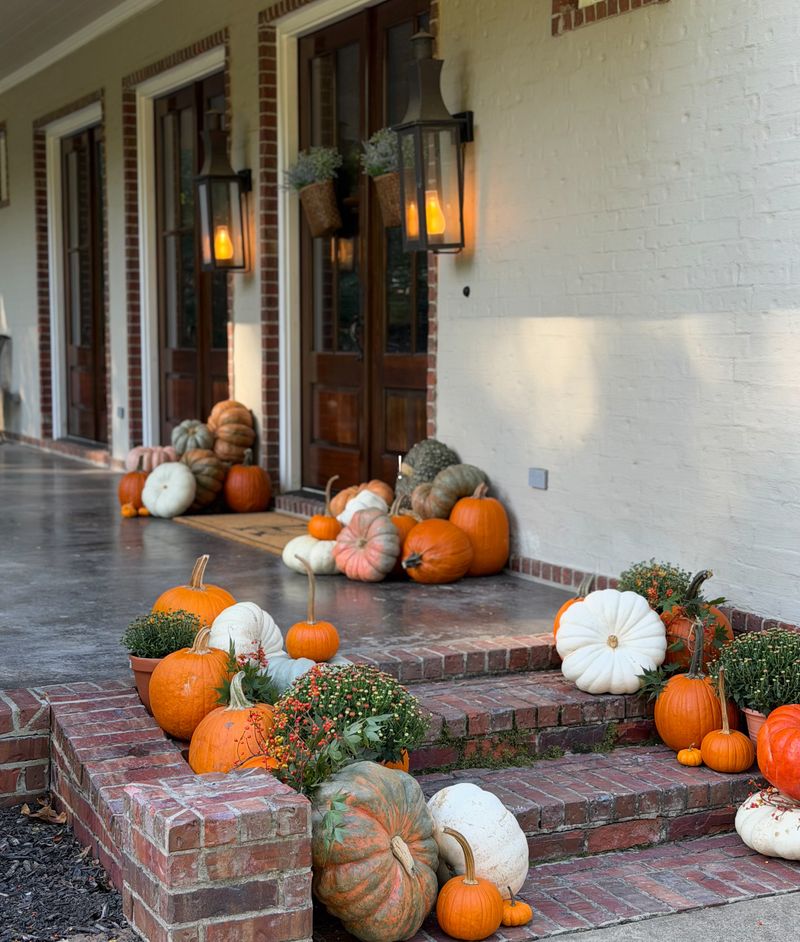
Grabbing a carving knife in late September feels exciting, but your jack-o-lantern may not agree. Once you cut into a pumpkin, the clock starts ticking fast.
A whole pumpkin can stay fresh for two or three months in cool weather. A carved one often lasts only three to seven days before it starts to sag.
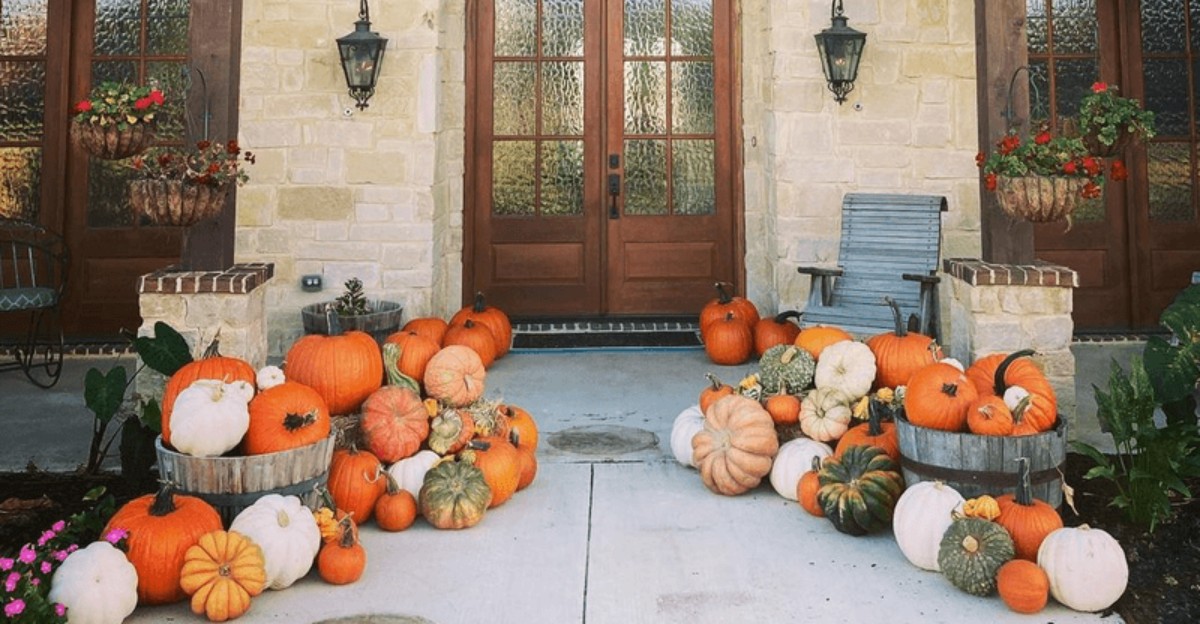
So enjoy the season with a plain pumpkin first, perched proudly on your steps. Stack a few different sizes together for a cozy, harvest-style display.
You can still get creative without cutting anything open at all. Paint, markers, glitter, or stick-on faces let little artists join the fun safely.
Waiting also gives you time to pick out designs and gather your carving tools. Printable stencils and carving kits make the job faster once the big night gets closer.
Plan your carving party for about three to five days before Halloween. That timing gives your masterpiece its brightest glow right when trick-or-treaters arrive at the door.
Think of it like baking cookies on the day of the party instead of a week early. Fresh is best, and your grinning pumpkin will look its finest on the big night.
4. Coat The Cut Edges With Petroleum Jelly
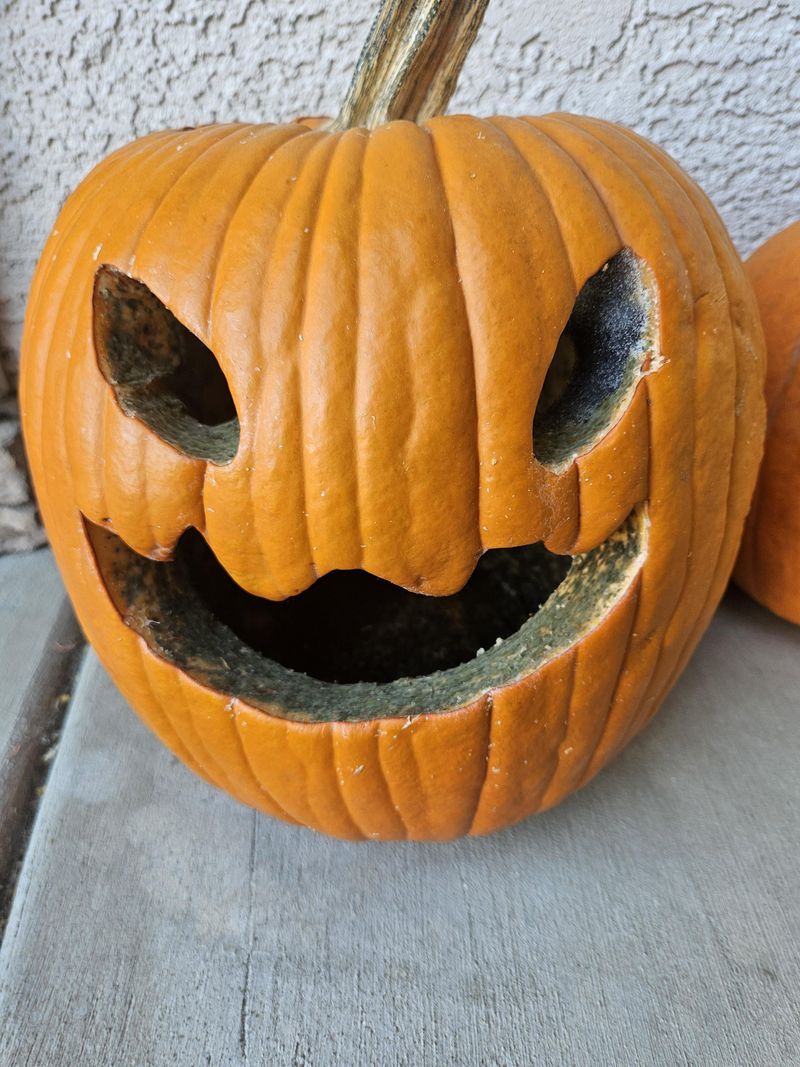
Your bathroom cabinet might hold one of the handiest pumpkin helpers in the house. A simple jar of petroleum jelly can help slow shriveling on carved pumpkins.
Carved pumpkins lose moisture quickly through every freshly cut edge. That drying out causes the wrinkly, caved-in look that makes faces seem grumpy.
After carving and cleaning, rub a thin layer of jelly along all the cut surfaces. Cover the eyes, nose, mouth, and the rim where the lid sits.
The coating helps lock water inside and keeps the cut edges from drying out. Your jack-o-lantern stays plump and cheerful for several extra days this way.
Reapply the jelly every day or two if the cut edges start to look dry. A cotton swab helps reach the small corners around the eyes and teeth.
A word of caution for candle lovers, though, because petroleum jelly is flammable. Switch to battery-powered tea lights, which are safer and give off far less heat.
Some people swap in vegetable oil or a spritz of clear acrylic spray instead. Try a couple of methods on small pumpkins and see which one your family likes best.
5. Keep Your Pumpkin Out Of The Hot Sun
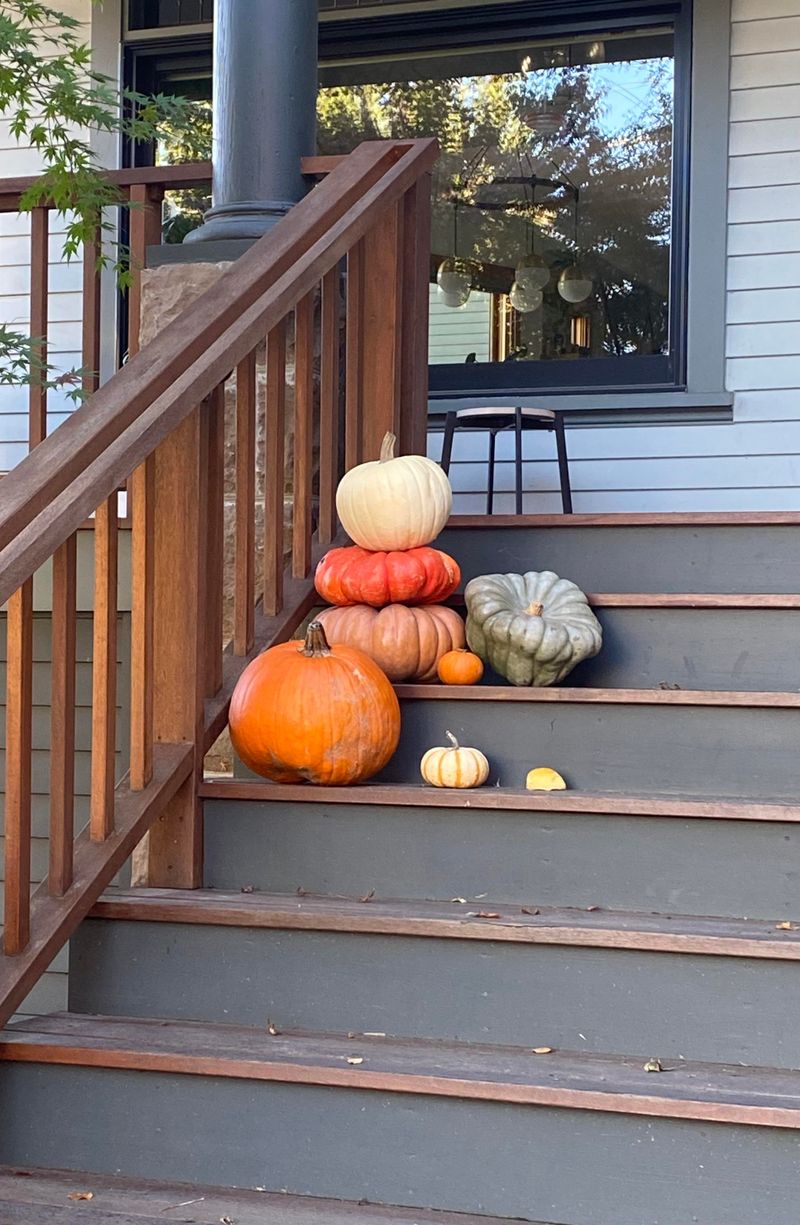
Ever left a chocolate bar on a car seat in warm weather? Pumpkins soften in a similar way when they sit in direct sunlight all afternoon.
Late September can still bring surprisingly toasty days in many places. Heat speeds up the growth of mold and makes carved pumpkins soften much faster.
Look around your porch and find a spot that stays shady most of the day. A covered entry or a corner under a tree works wonderfully.
A porch facing north or east often gets the gentlest light of the day. Those spots stay cooler through the afternoon, which suits pumpkins well.
If your porch gets hit by strong sunshine, rotate your display during the hottest hours. Moving pumpkins a few feet can make a surprising difference in how long they last.
Rain matters too, since water pooling on top creates a soggy mess over time. A roof overhang protects against both strong rays and sudden autumn showers.
Whole pumpkins store best at about 50 to 60 degrees Fahrenheit. Cool, dry, and shaded is the magic recipe for keeping your seasonal decor looking fresh.
6. Lift Your Pumpkin Off The Damp Ground
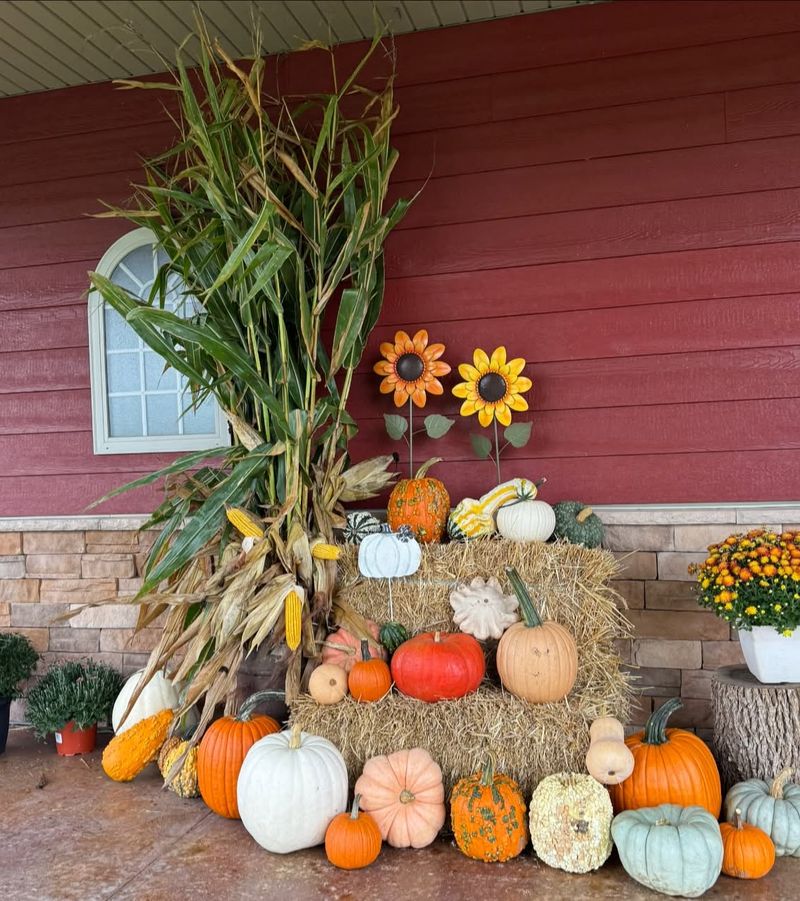
Moisture is sneaky, and it loves to creep up from below. A pumpkin sitting on wet concrete or soil can start rotting from the bottom first.
You might not notice anything until you lift it and find a gooey surprise. Nobody wants that smell greeting guests at the front door.
Place a small piece of cardboard, a wooden board, or a folded towel underneath. These barriers soak up dampness and let air move around the base.
Cardboard works best on dry days, while a wooden board handles wet weather better. Either one keeps the rind from sitting in a puddle after a storm.
Wooden crates, overturned buckets, and hay bales add charming height to your display too. They make your pumpkins look like they belong in a country magazine.
Check under each pumpkin every few days, especially after rain or heavy dew. Swap out soggy cardboard right away so it does not trap water against the skin.
Farmers often set pumpkins on straw in the field for this exact reason. That little cushion helps keep them dry and firm, and it works just as well at home.
7. Bring Your Pumpkin Inside On Freezing Nights
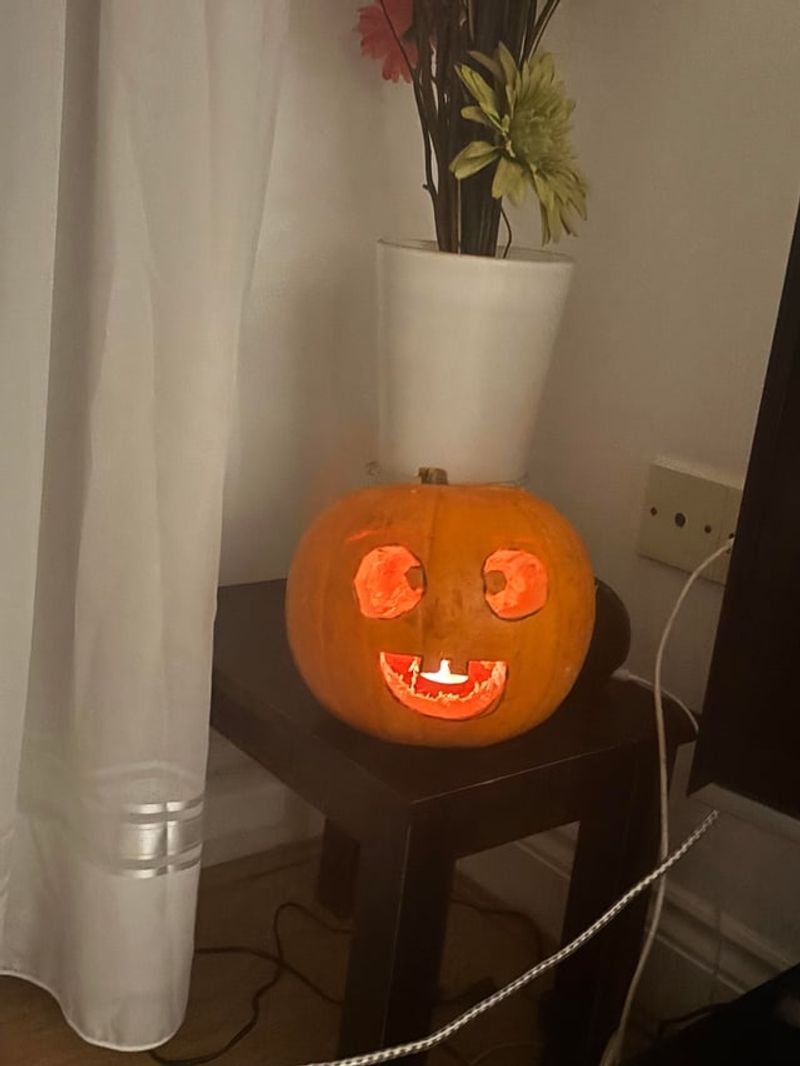
Frost may look pretty on the grass, but it is bad news for your pumpkins. A hard freeze can turn firm flesh into a soft, mushy mess.
Here is what happens inside. Water in the pumpkin freezes and expands, breaking cell walls, and then the flesh turns soft once it thaws.
Keep an eye on the weather app as late September slides into October. When forecasts drop near 32 degrees, give your pumpkins a cozy sleepover indoors.
Temperatures can dip fast after sunset, so plan ahead for cold snaps. A simple reminder on your phone helps you move them before dark.
A garage, mudroom, or chilly basement works great as a temporary shelter. Just avoid spots near heaters, which can dry them out too quickly.
Covering them with an old blanket or sheet is a decent backup plan outside. Tuck the fabric around the base to trap the ground’s warmth.
Carry them back out the next morning once the sun warms things up again. Your porch display stays cheerful, and the neighbors will be none the wiser about their nighttime adventure.
8. Spray Your Pumpkin With A Homemade Pest Shield
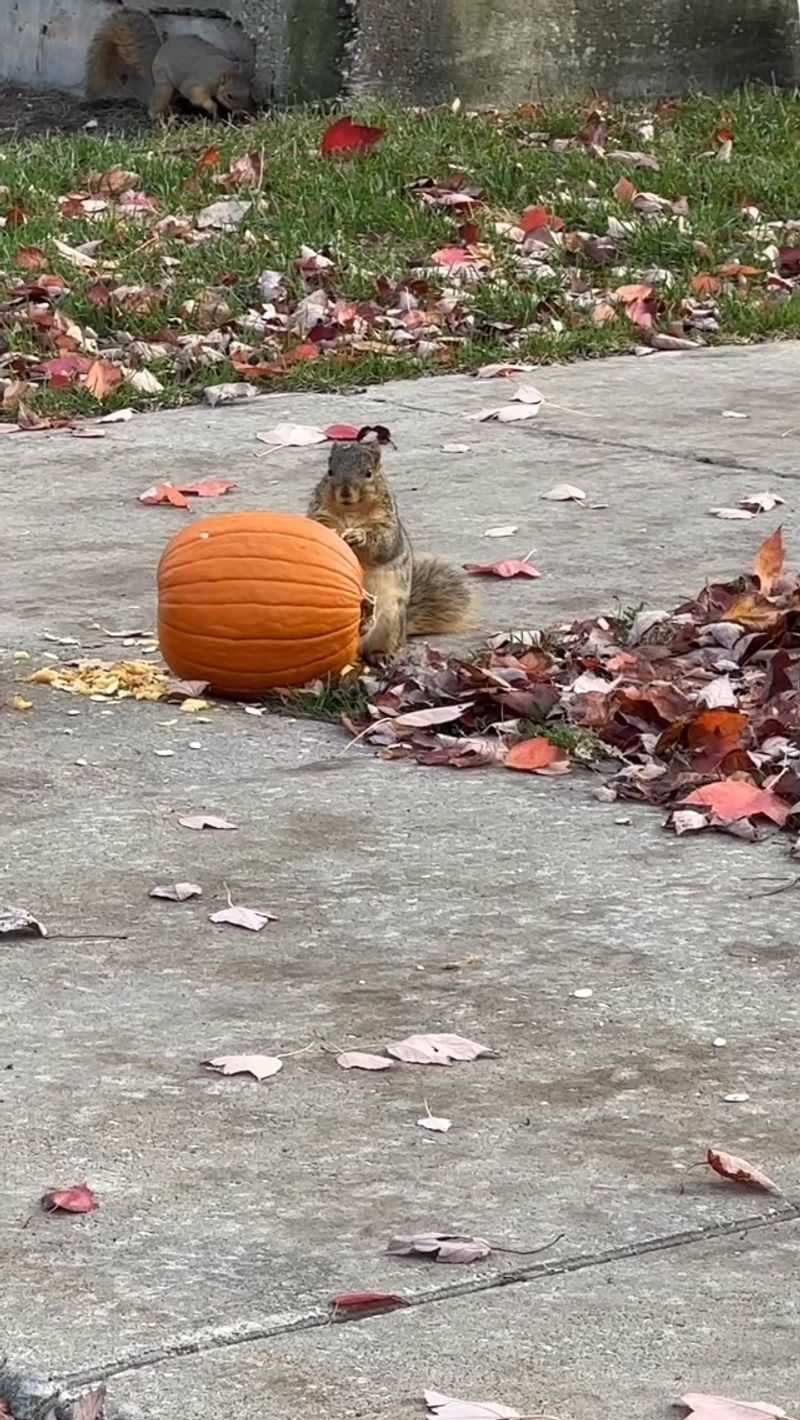
Squirrels see your pumpkin display as an all-you-can-eat autumn buffet. One small nibble opens an entry point where rot and bugs can move in.
Luckily, these furry snackers dislike spicy flavors much more than we do. A homemade pepper spray can send them scampering off to find another meal.
Mix a few tablespoons of hot sauce or cayenne pepper with water in a spray bottle. Add a drop of dish soap so the mixture sticks to the skin.
Test the spray on a small spot first to make sure it does not stain the rind. Most pumpkins handle a light mist well, but a quick check avoids surprises.
Mist the outside of each pumpkin, focusing on the stem and any carved openings. Reapply after rain, since water washes away the spicy coating.
Wash your hands well after spraying, and keep the mix far from your eyes. Pets may get curious too, so watch them around freshly treated decorations.
Some folks sprinkle cinnamon or place peppermint-soaked cotton balls nearby instead. Experiment a little, and you may outsmart the neighborhood critters this season.
9. Scoop Out Every Last String And Seed
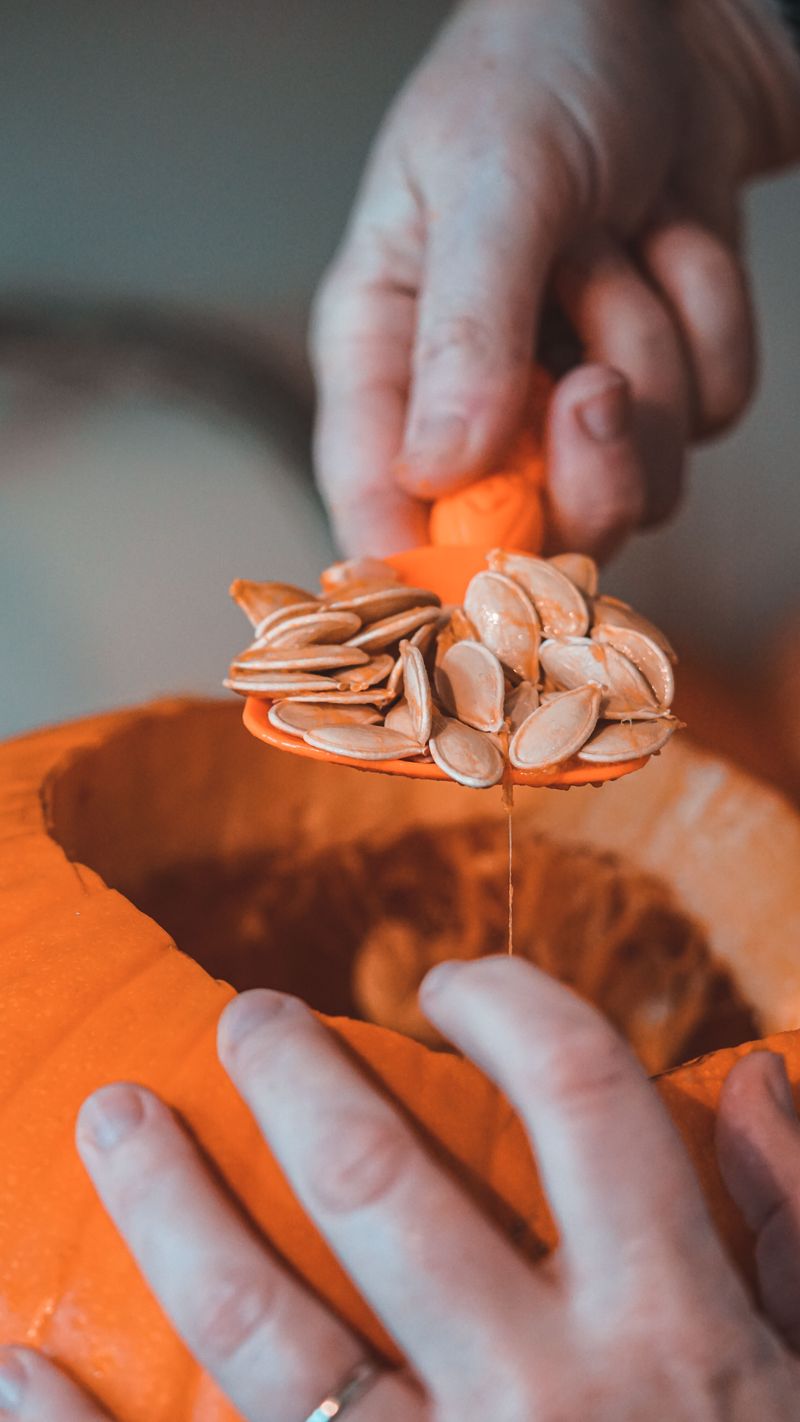
Squishing your hands through pumpkin insides is a messy, giggle-filled tradition. Still, those slimy strings hold lots of moisture that speeds up rotting.
Leftover pulp becomes a cozy home for mold within just a few days. The cleaner the inside, the longer your jack-o-lantern keeps smiling.
Use a large metal spoon or an ice cream scoop to scrape the walls firmly. Aim for smooth, clean surfaces with no hanging bits or loose seeds.
Work over a layer of newspaper to keep the cleanup simple. Once the scooping is done, the whole pile can go straight into the compost bin.
Thin the wall near the face to about one inch thick for easier carving. Then wipe everything down with a paper towel to remove extra wetness.
Save those seeds, because they make a tasty snack when roasted. Rinse them, toss with a little oil and salt, then bake until golden and crunchy.
Did you know people in Ireland once carved turnips before pumpkins became popular? Pumpkins turned out to be much easier to clean, and far bigger for creative faces.
10. Revive A Droopy Pumpkin With A Cold Soak
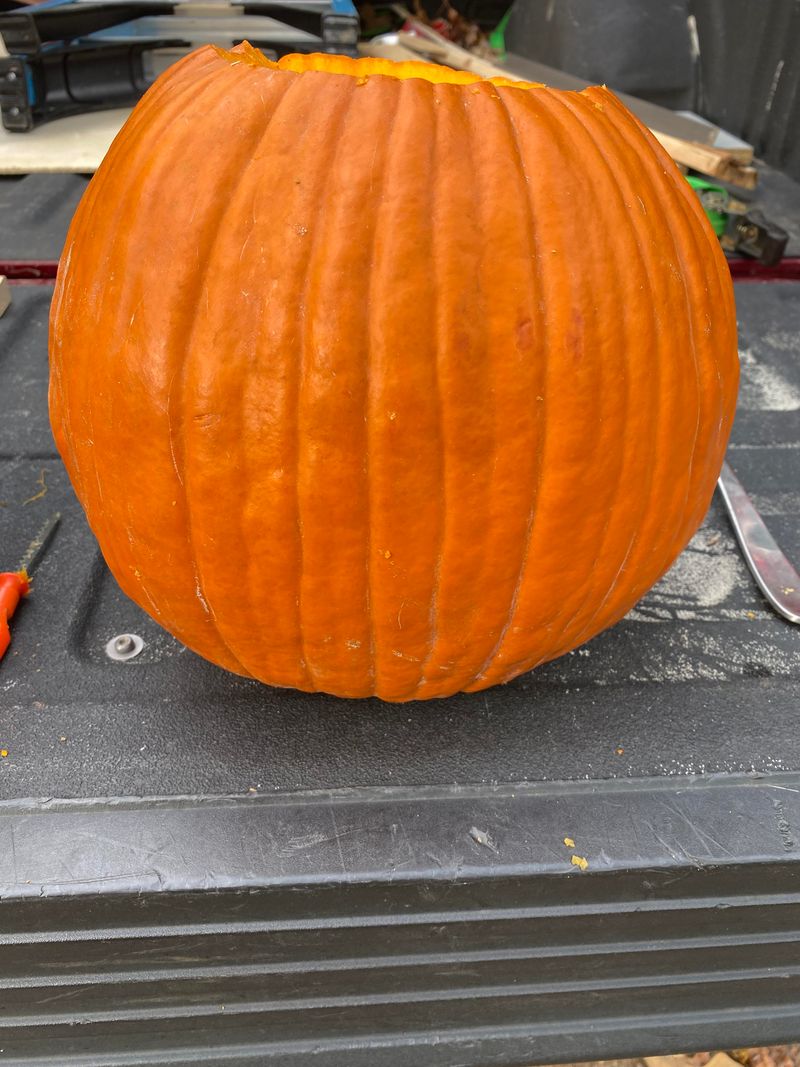
So your jack-o-lantern looks wrinkly and sad, like it just lost its spark. Before tossing it, try giving it a refreshing cold water spa day.
Shriveling happens because the pumpkin loses water through its cuts. A soak lets the flesh drink back up and plump out again.
Fill a bucket, sink, or large tub with very cold water. Place the pumpkin face down and let it rest for one to eight hours.
Check the pumpkin after the soak and press the sides lightly. Firm walls mean the treatment is working, while soft spots suggest the rot has already spread.
Add a splash of bleach to the water if you spot any early mold. Afterward, dry it upside down on a towel so the inside does not stay soggy.
This trick works best on pumpkins that are wilting, not ones already slimy or smelly. Once the mushy stage arrives, it is time for the compost pile.
Some people repeat this soak every few days leading up to Halloween. With a little care, your grinning friend can bounce back looking surprisingly spry.