10 Easy Ways To Set Up Your New York Hostas For A Stronger Spring
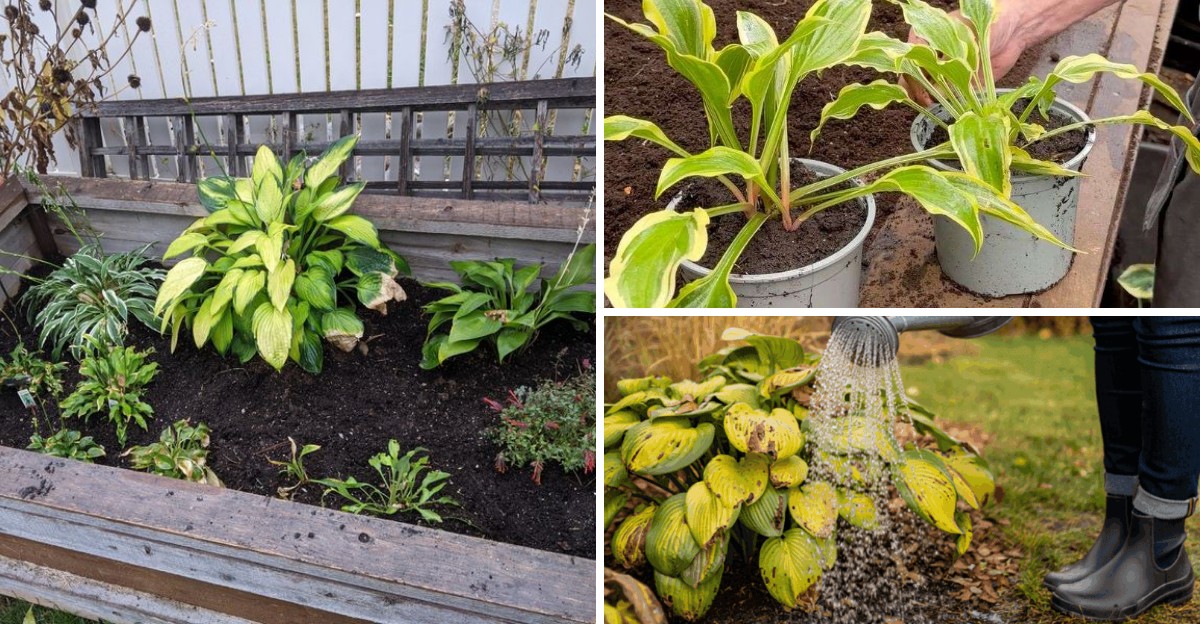
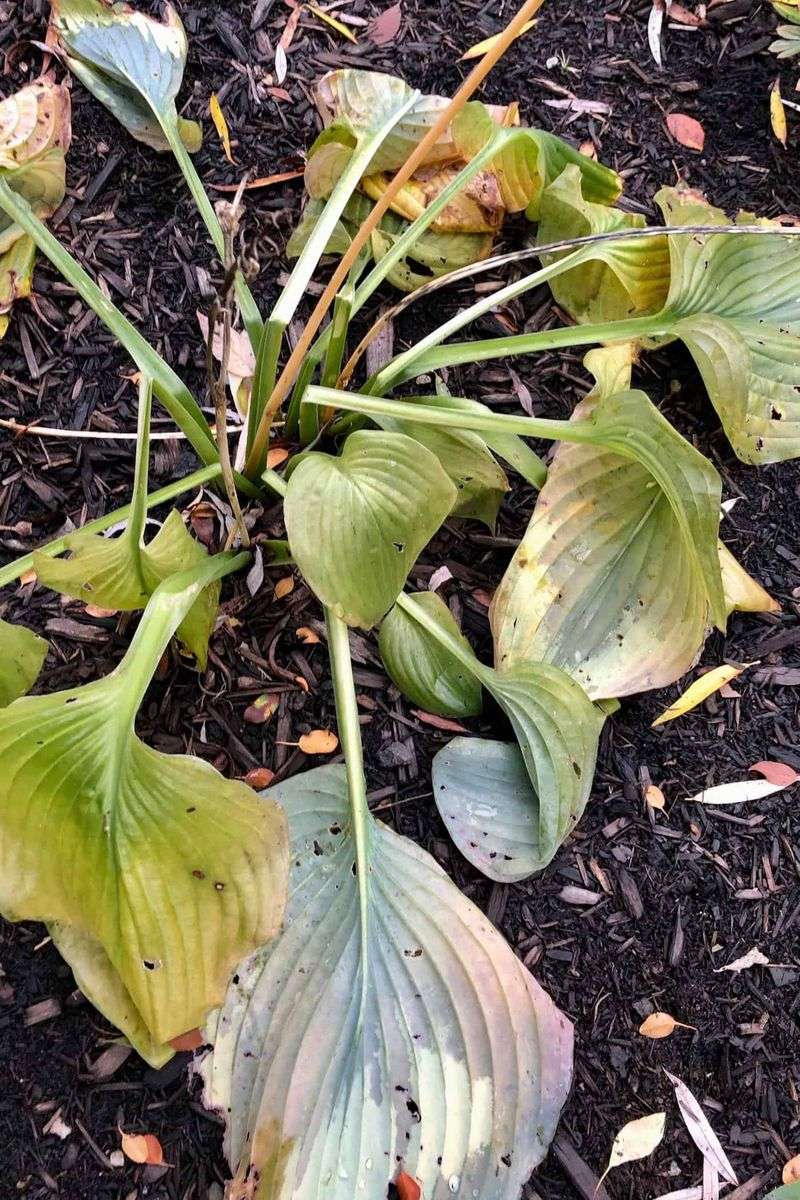
By late October, the hosta bed is all floppy yellow leaves and damp earth that smells like wet coffee grounds. It looks tired, but something important is happening underground.
Those sleepy roots are already storing energy for the big green show next May. Across New York, the weeks before winter settles in can shape how your hostas look all next season.
A few small chores now can mean thicker clumps, fewer chewed leaves, and less guessing in spring. Some take just five minutes, and a couple might surprise you.
You won’t need fancy tools or a big budget to pull them off. A trowel, a few plant tags, and your phone’s camera will cover most of the work.
1. Mark Each Clump With A Plant Tag
Come April, every bare patch of dirt looks exactly the same. Plenty of gardeners have stabbed a shovel right into a sleeping hosta by mistake.
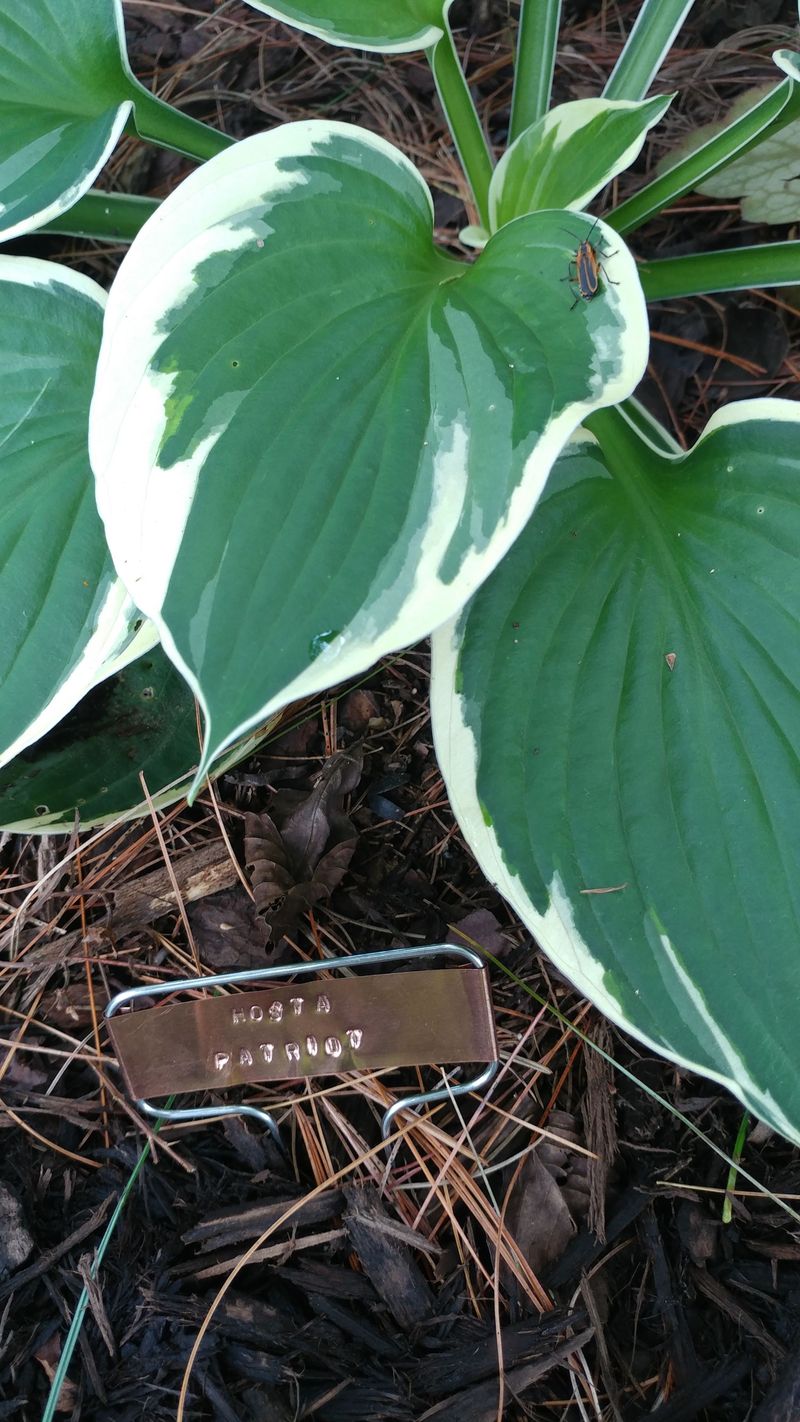
A simple plant tag fixes that problem fast. Push one into the soil beside each clump before the leaves fully fade away.
Write the variety name on it, like Sum and Substance or Blue Angel. Add the year you planted it, if you remember.
Pencil and paint markers hold up better than regular pens. Ordinary ink tends to fade after one snowy winter.
Aluminum tags are a smart pick for long-lasting labels. You press the letters in, so weather cannot wash them off.
Plastic tags work fine too, but they get brittle over time. Replace cracked ones each fall so nothing goes missing.
Place tags on the same side of every plant. Try the north side, for example, so you know where to look.
Tall tags are easier to spot under a pile of leaves. Look for ones at least eight inches long.
Some folks jot extra notes on the back of the tag. Words like divide next year or moved in 2024 are super handy.
Squirrels and frost heave can nudge tags out of place. A quick check in early spring keeps everything lined up.
Kids love helping with this job, honestly. Let them write names while you do the digging and pressing.
Once spring shoots poke up, you will know exactly who is who. No guessing, no oops moments, and no wounded roots.
2. Top-Dress With Shredded Leaf Compost
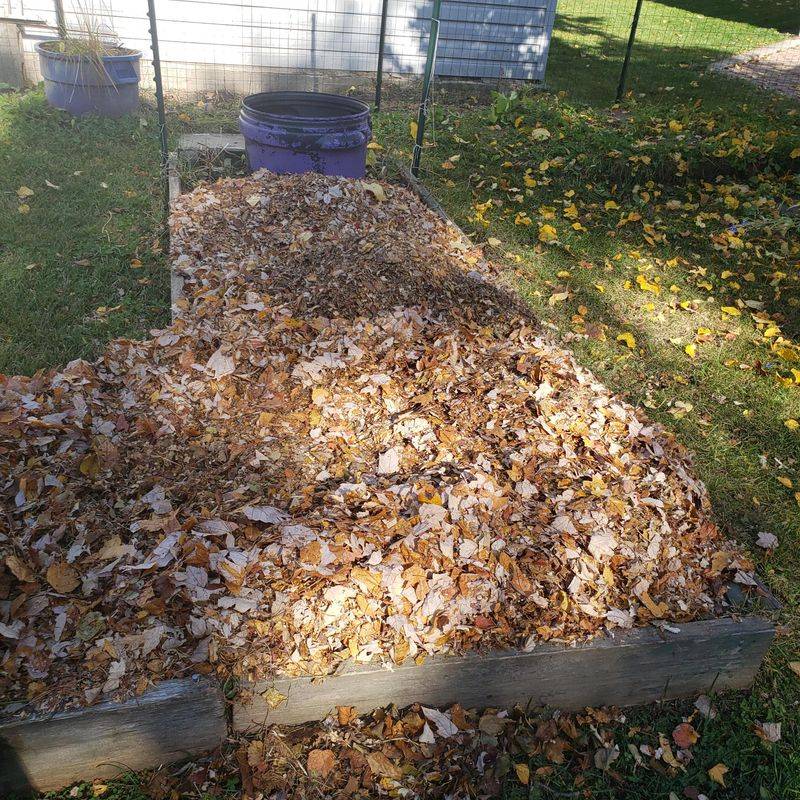
Free fertilizer falls from the sky every October. Those oak and maple leaves piling up on your lawn are pure hosta food.
Shredding them first makes a huge difference. Whole leaves mat down and trap water, but shredded bits break down nicely.
Run your mower over a pile a few times. A bagging mower collects the pieces for you in one easy pass.
Leaf mold is even better if you have some ready. It forms when shredded leaves sit in a pile for a year.
Spread a layer about two to three inches deep. Cover the soil around each hosta, but not the center.
Keep the compost a few inches back from the crown. Crowns packed in soggy material can rot over the winter.
Your New York Garden Changes Every Week. Your Plan Should Too.
Gardening in New York changes quickly throughout the season. Every Friday you’ll receive a simple weekly plan showing exactly what to plant, prune, fertilize, harvest, and protect so you never miss the right timing.
Here is a fun fact for leaf lovers. Leaf mold can hold several times its weight in water.
All that moisture helps roots through dry winter winds. Across New York, cold air can pull water out of bare soil surprisingly fast.
Earthworms will pull the compost down as the seasons change. They basically do your tilling for free, which is a sweet deal.
By spring, the soil feels softer and darker. Hostas love loose, rich ground, and their new shoots show it.
Skip leaves from black walnut trees, though. They contain a natural chemical that can slow the growth of many plants.
A few bags of shredded leaves go a long way. Your hosta bed gets a cozy blanket and a meal at once.
3. Give Them A Deep Drink Before The Ground Freezes
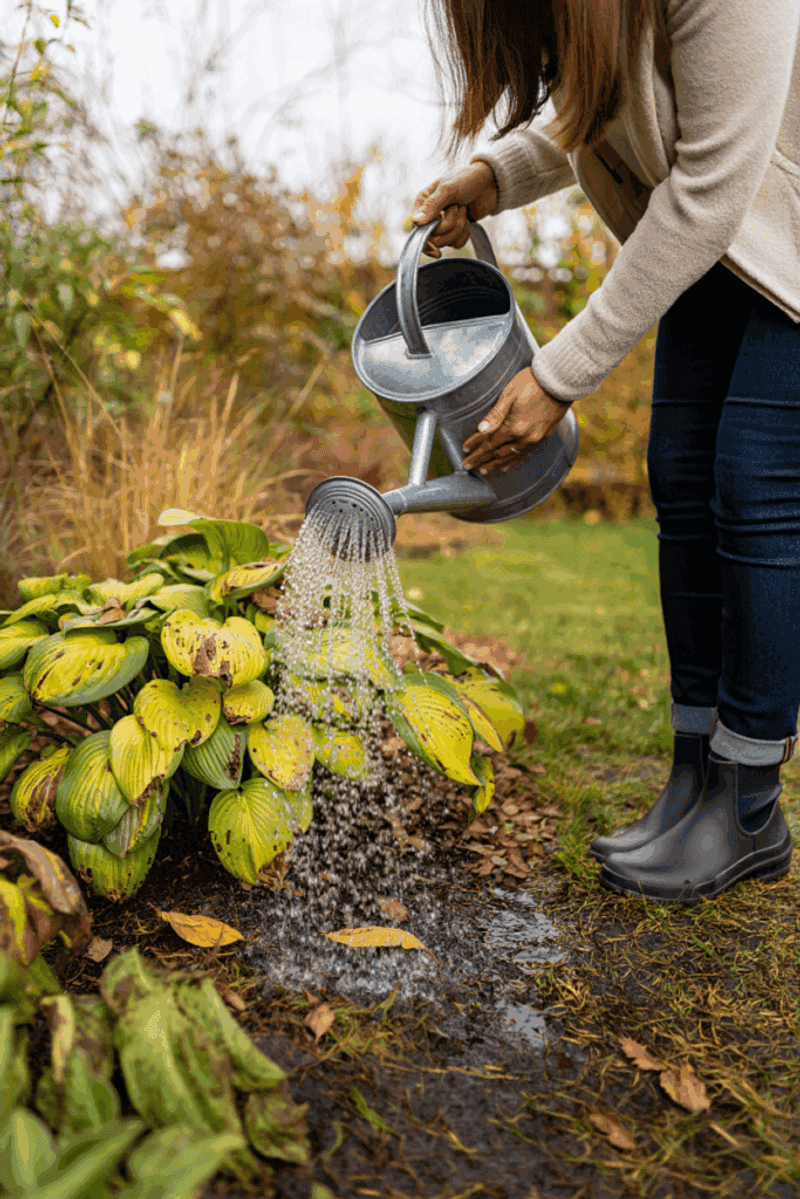
Thirsty roots head into winter at a real disadvantage. A dry fall can leave hostas weak before the snow even shows up.
Many people stop watering once summer ends. Yet roots keep working in cool soil until the ground actually freezes.
Give each clump a slow, deep soak in late fall. Aim to wet the soil six to eight inches down.
A soaker hose or a gently running garden hose works great. Let it trickle at the base for about twenty minutes.
Poke a finger or a trowel into the soil afterward. If it feels damp several inches down, you nailed it.
Timing matters more than you might guess. Water on a mild day when temperatures sit above freezing.
Morning is best, since the water soaks in before night chills arrive. Puddles that freeze on the surface do little good.
Pay extra attention if autumn has been dry where you live. Upstate New York sometimes sees weeks of crisp, rainless weather in October.
Hostas under big trees need the most help. Tree roots steal moisture fast, leaving hostas with slim pickings.
Once the ground starts to freeze, put the hose away. Drain it and store it so it does not crack.
Well-watered roots handle freezing winds and bitter cold much better. They stay plump instead of drying out and cracking.
Think of it like drinking water before a long hike. That one deep drink carries your hostas through months of cold.
4. Sink Potted Hostas Into The Ground For Winter
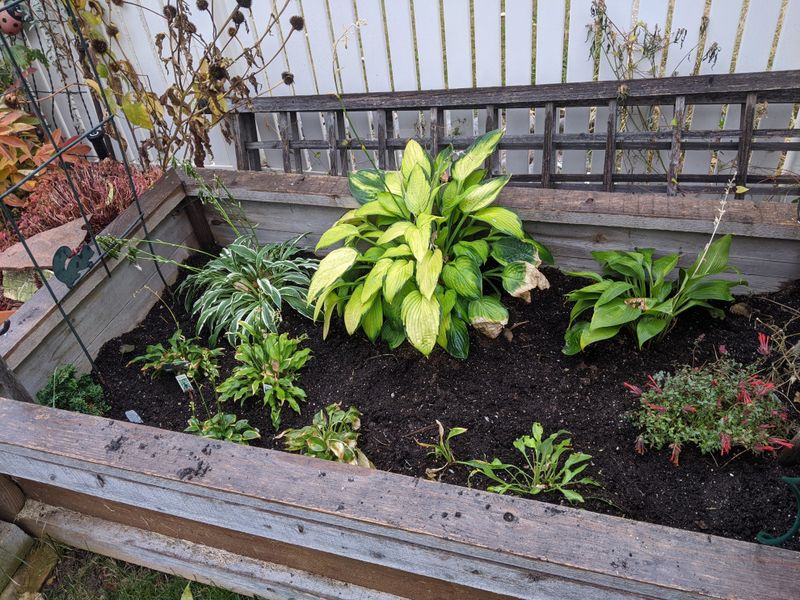
Pots are wonderful in summer but tricky in winter. Roots in a container sit above ground, exposed to cold on every side.
Garden soil works like a warm blanket for roots. Potted hostas miss out on that protection unless you help them.
The fix is pleasantly simple. Dig a hole and sink the whole pot right into the ground.
Bury it up to the rim, so the soil line matches. Pick a sheltered spot, maybe near a fence or shrub.
Plastic nursery pots are ideal for this trick. Clay and ceramic pots can crack when wet soil freezes around them.
Move plants from fancy pots into cheap plastic ones first. Your pretty containers stay safe in the garage.
Add a few inches of shredded leaves over the top. That extra layer keeps soil temperatures steadier through the season.
New York winters love to freeze, thaw, and freeze again. Those wild swings can tear roots and heave plants right up.
Buried pots stay much more stable during those swings. Roots rest quietly instead of getting jostled around all winter.
Mark each buried pot with a tag or stake. Snow cover makes them easy to forget.
No room in the garden? An unheated garage or shed can work too, as long as the pots stay cold and slightly moist.
In spring, simply lift the pots out once the soil thaws. Your hostas will wake up ready for their summer spot.
5. Snap A Photo Of The Bed For Spring Planning
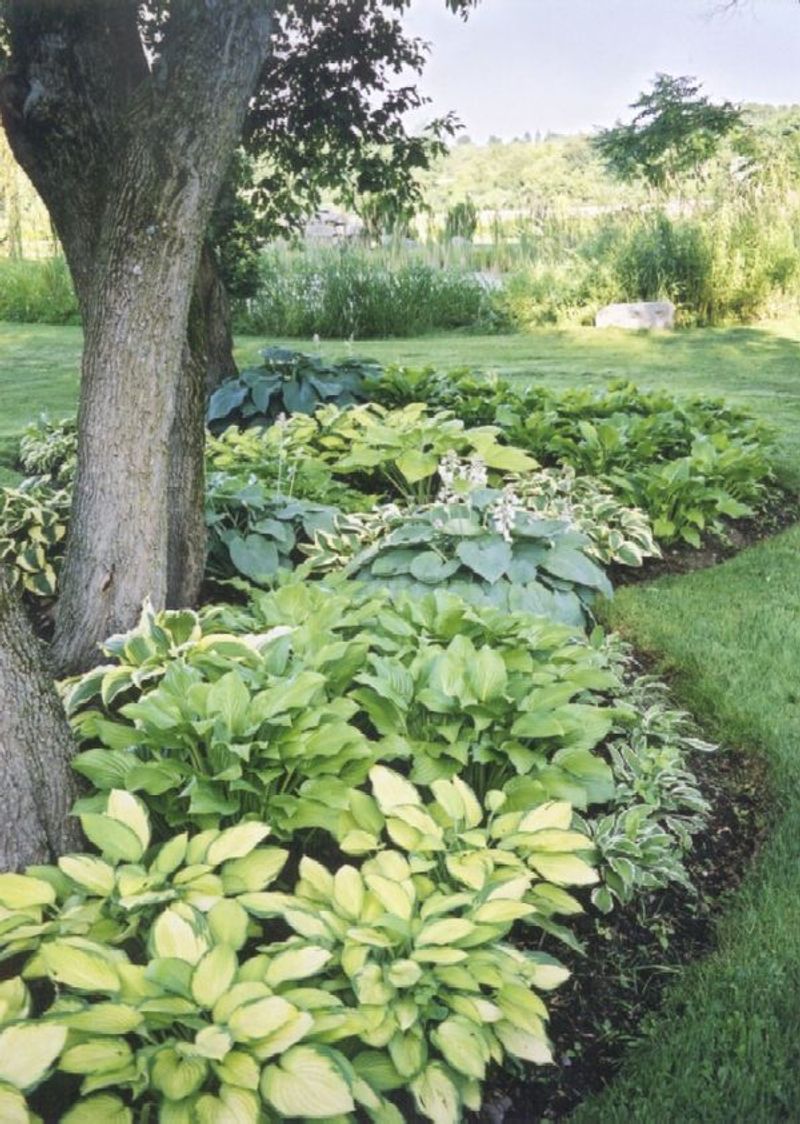
Memory is a sneaky thing in the garden. By March, you may swear that giant blue hosta sat somewhere else.
Your phone camera can save the day. Take a few pictures of every hosta bed in late summer or early fall.
Shoot the whole bed from a distance first. Then grab close-ups of individual clumps and any tags beside them.
Stand in the same spot each year if you can. Comparing photos side by side shows how much each plant has grown.
Look for gaps, crowded corners, and plants that struggled. Those clues tell you exactly what to fix next season.
Many gardeners keep a special album just for the garden. Name it by year, and finding pictures later is a breeze.
Some apps let you draw notes right on the photo. Circle a spot and write add a fern here or move this.
Picture yourself in February, snow piled high across New York. Scrolling through green garden photos feels like a mini vacation.
Those same photos help when shopping for new plants. You can show a nursery worker your bed and ask for advice.
Snap pictures of slug damage or odd spots too. Clear photos make problems easier to identify online or at a garden center.
Honestly, it takes about two minutes. Few garden chores give you so much value for so little effort.
Come spring, you plan with facts instead of fuzzy guesses. Your beds end up looking more balanced and intentional.
6. Set Out Traps For Late-Season Slugs
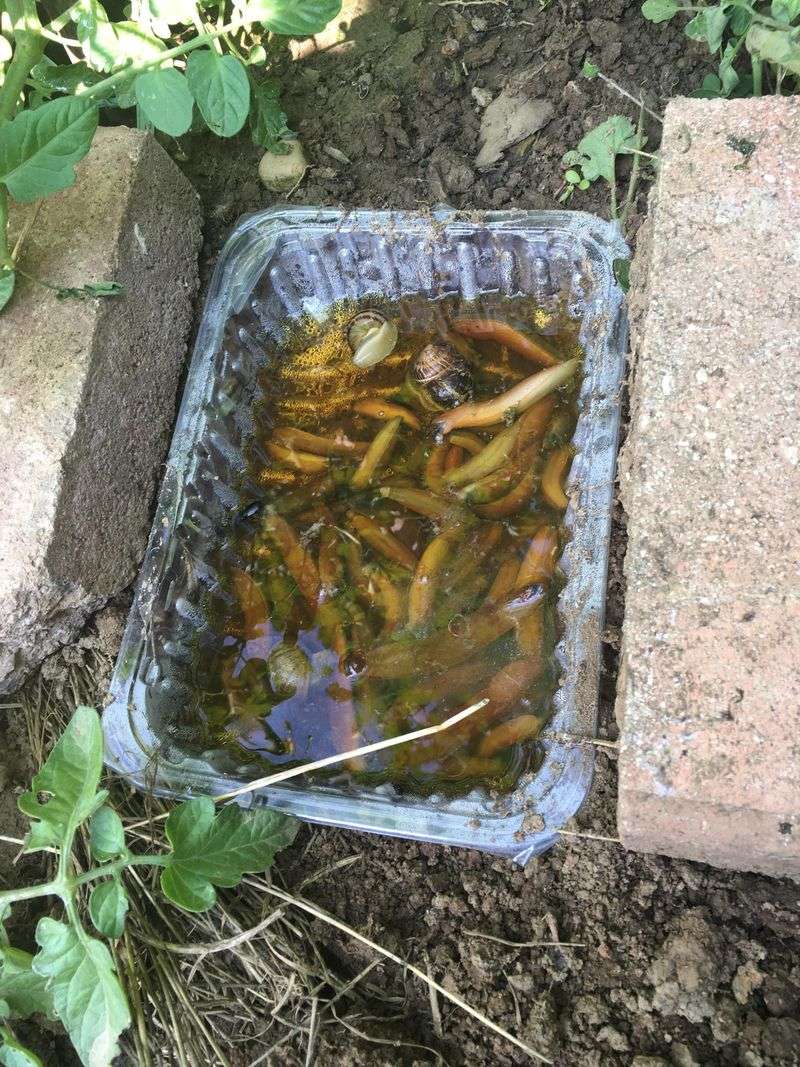
Slugs do not pack up when summer ends. Cool, damp fall nights are basically their favorite party weather.
Worse still, they lay eggs in fall. Those tiny eggs hatch in spring, right when fresh hosta leaves unfurl.
Knocking back slug numbers now pays off later. Fewer adults this fall means fewer hungry babies next May.
Beer traps are a classic, easy option. Sink a shallow container so its rim sits level with the soil.
Fill it halfway with cheap beer. Slugs follow the yeasty smell, crawl in, and cannot climb back out.
Empty and refill traps every few days. Rain can water them down, and full traps stop working well.
Not a beer fan? A board laid flat on the soil works nicely too.
Slugs hide underneath by day, so flip it and remove them each morning.
Cleaning up fallen hosta leaves helps a lot. Soggy leaf piles give slugs a snug place to spend the winter.
Hostas across much of the state face heavy slug pressure. Shady, moist yards are slug paradise, sadly.
Iron phosphate baits are another choice for stubborn cases. They are considered gentler around pets and wildlife than older baits.
A flashlight walk after dark can be oddly satisfying. You will see just how many slimy visitors cruise your beds.
Stay steady with it for a few weeks. Your spring leaves will thank you with fewer ragged holes.
7. Circle Prized Plants With Hardware Cloth Against Voles
Imagine tugging a hosta in spring and it lifts right out. No roots, just a sad little stub.
Voles are often the culprit behind that heartbreak. These small, mouse-like critters tunnel under snow and munch hosta roots all winter.
Unlike moles, voles actually eat plants. Their runways look like narrow grooves across the lawn after snow melts.
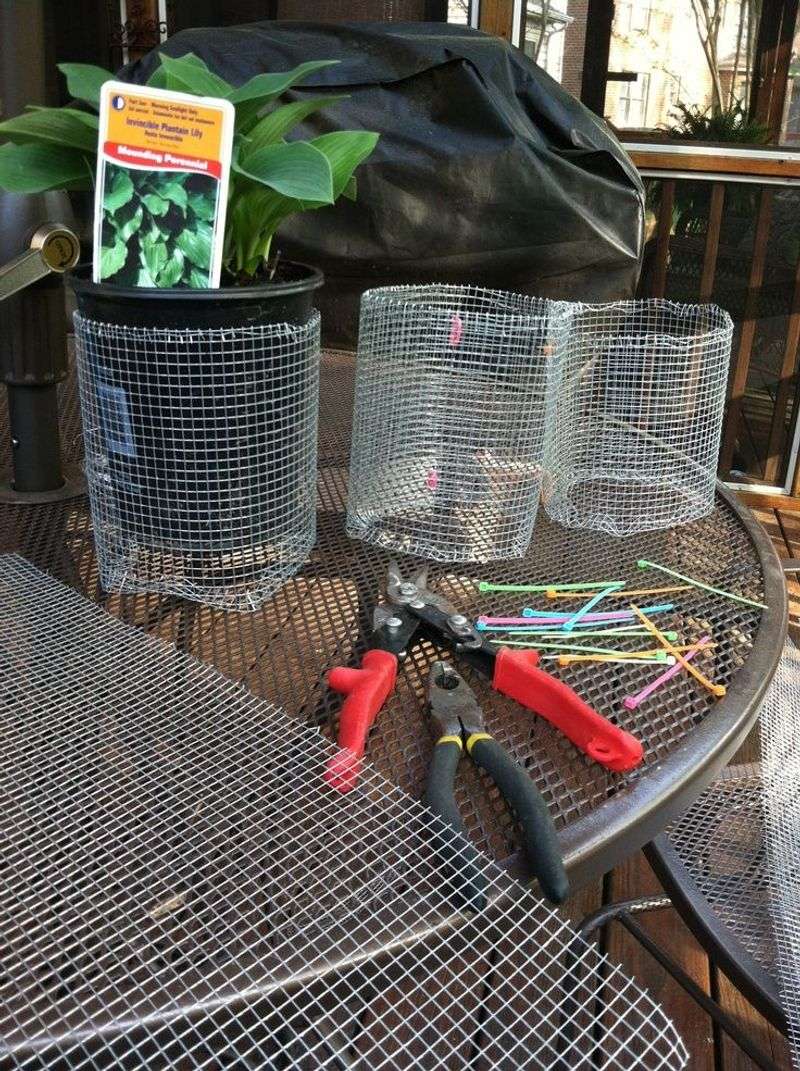
Hardware cloth makes a sturdy barrier they cannot chew through. Choose the quarter-inch mesh, since voles squeeze through bigger holes.
Shape the cloth into a basket around the root ball. Bury it nine to twelve inches deep for solid protection.
Leave an inch or two poking above the soil. Voles sometimes travel on the surface, especially under deep snow.
Doing this for every hosta is a lot of work. Save it for your favorite or most expensive varieties.
Gloves are a must for this project. Cut hardware cloth edges are sharp and scratchy.
Roots grow through the mesh openings without any trouble. The plant stays healthy while the voles stay hungry.
Rural and suburban yards see plenty of vole trouble. Fields and woods nearby give them lots of places to breed.
Pulling mulch back from crowns helps too. Thick mulch against the plant creates a hidden tunnel for snacking.
Galvanized mesh lasts for years underground. One afternoon of effort can guard a treasured hosta for a long time.
8. Plan Spring Divisions For Overgrown Clumps
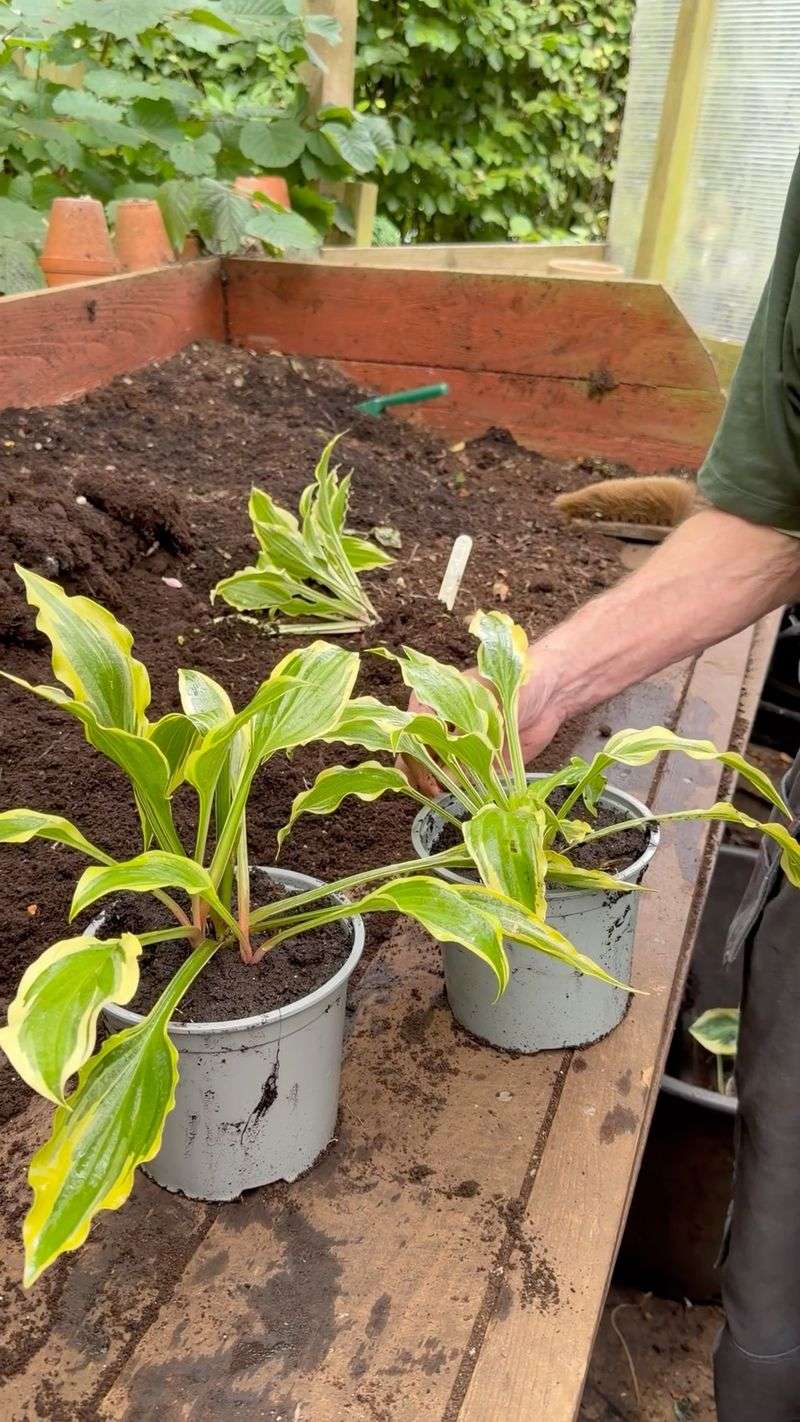
Big hostas are gorgeous until they start acting like crowded apartment buildings. Eventually, the center thins out and the leaves shrink.
Fall is the perfect time to spot these packed clumps. You can see their full size before the foliage collapses.
Watch for a few telltale signs. A hollow middle, smaller leaves, or fewer flower stalks all hint that dividing is due.
Many hosta growers prefer dividing in early spring. Shoots are just poking up, so you can see each eye clearly.
Spring divisions also get a full season to settle in. Roots grow strong before the next winter arrives.
Mark overgrown plants with a bright tag or colored stake now. Write divide on it so there is no confusion later.
Think ahead about where the new pieces will go. A photo of the bed helps you picture fresh spots.
Sharing is part of the fun here. Neighbors and friends usually love free hosta starts.
Prefer to divide in fall anyway? Aim for at least four to six weeks before the ground freezes in your part of New York.
Those weeks give roots time to anchor before cold weather hits. Late divisions can struggle through winter.
A sharp spade or a bread knife works well for cutting. Clean tools help prevent spreading disease between plants.
With a plan ready, spring division becomes a quick job. You get healthier clumps and bonus plants to enjoy.
9. Test Soil pH Before Spring Feeding
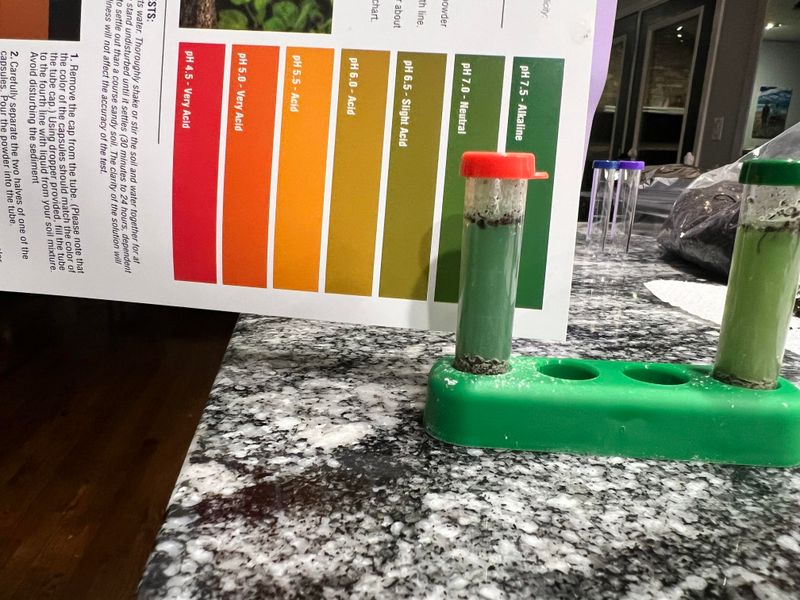
Fertilizer cannot help much if the soil is locking nutrients away. Soil pH decides how well roots can grab that food.
Think of pH as a scale from sour to sweet. Lower numbers mean acidic soil, and higher numbers mean alkaline soil.
Hostas grow happily in a range of about 6.5 to 7.5. Soil that sits far outside that range can cause pale, weak leaves.
Home test kits are cheap and easy to find. Many use a color chart, like a little science project.
For deeper answers, try a lab test. Cornell Cooperative Extension offices can point you toward local soil testing.
Lab reports often list nutrient levels too. You learn exactly what your soil needs instead of guessing.
Gather soil from several spots in the bed. Dig down about four to six inches for each sample.
Mix the samples in a clean bucket before testing. A blend gives a truer picture of the whole area.
Fall testing gives you time to make changes. Lime can raise pH, while sulfur can lower it slowly over months.
Follow package directions carefully with either product. A little goes a long way, and overdoing it causes new problems.
Here is a neat fact. Soil under pine trees often runs more acidic than soil in open lawns.
Once you know your numbers, spring feeding gets smarter. Your hostas can finally use every bit of that fertilizer.
10. Mulch Lightly After The First Hard Freeze
Patience is the secret ingredient with winter mulch. Spread it too early, and critters may move in for a warm stay.
Wait until the ground itself freezes. In much of New York, that’s late November or December.
By then, voles and mice have mostly found other homes. Your hostas are also fully dormant and ready to rest.
Shredded leaves, pine needles, or straw all work well. Pick whatever is easy and cheap for you.
Aim for a layer about two to three inches thick. More is not better here, since heavy mulch stays soggy.
Leave a small open ring around each crown. A few inches of breathing room helps prevent rot.
Mulch keeps soil temperatures steady during wild weather. It stops the ground from thawing on sunny days and refreezing overnight.
Frost heave can push roots right out of the soil. Winters bring plenty of those back-and-forth swings.
Straw should be clean and seed free. Hay often carries weed seeds that sprout in spring.
Pine needles are lightweight and do not pack down much. They let air and water move through easily.
When spring arrives, pull the mulch back gently. Fresh shoots need sunlight and warmth to push through.
After all your fall work, this step tucks everything in for the season. Rest easy, because a stronger spring is on the way.