What To Do With Green Peppers Before The First Frost
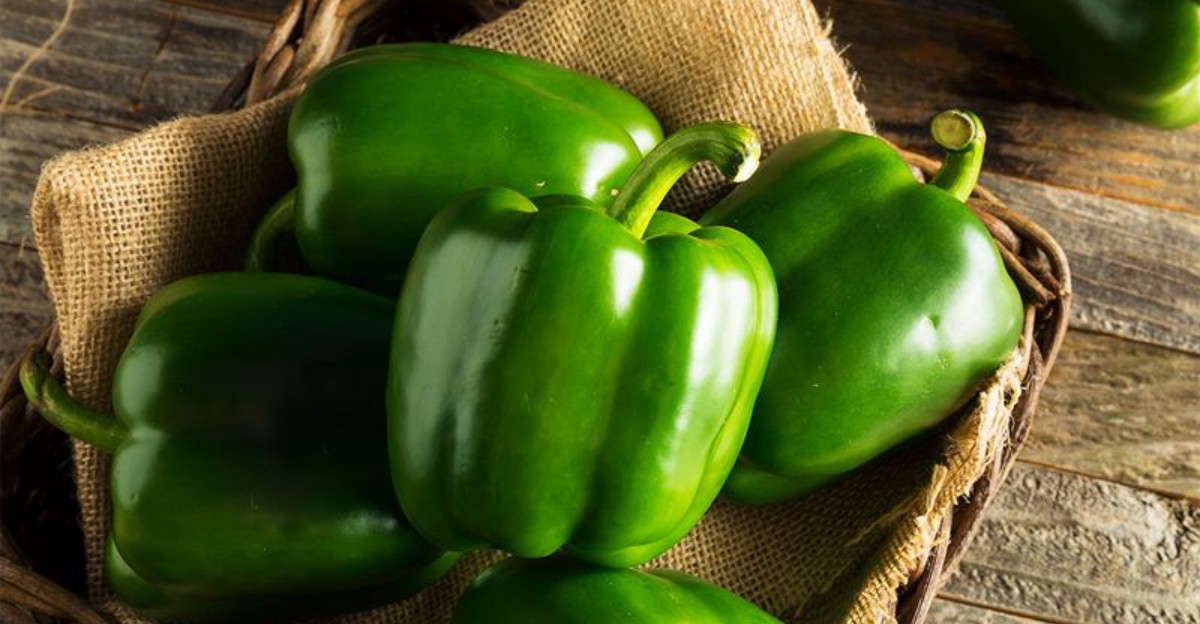
Your peppers have a window, and the first frost controls the clock. Watch the forecast, because icy overnight lows turn glossy fruit dull and limp.
You can still save a full harvest, and the methods are simple and quick. Pick firm, mature fruit first, including the small ones hiding under thick leaves. Cover your plants at dusk, and a bedsheet can shield them overnight.
Ripen mature fruit on your counter beside a banana, which releases ethylene gas. Slice extras into strips and freeze them on a tray for later. Pickle a jar with garlic and dill for tangy crunch on sandwiches.
Dry thin pieces in a dehydrator, or roast whole peppers until the skins blister. Long winters feel much shorter when your freezer holds roasted strips. Frost arrives on its own schedule, so you decide whether it finds fruit still hanging.
1. Harvest Every Pepper Before The Frost Arrives
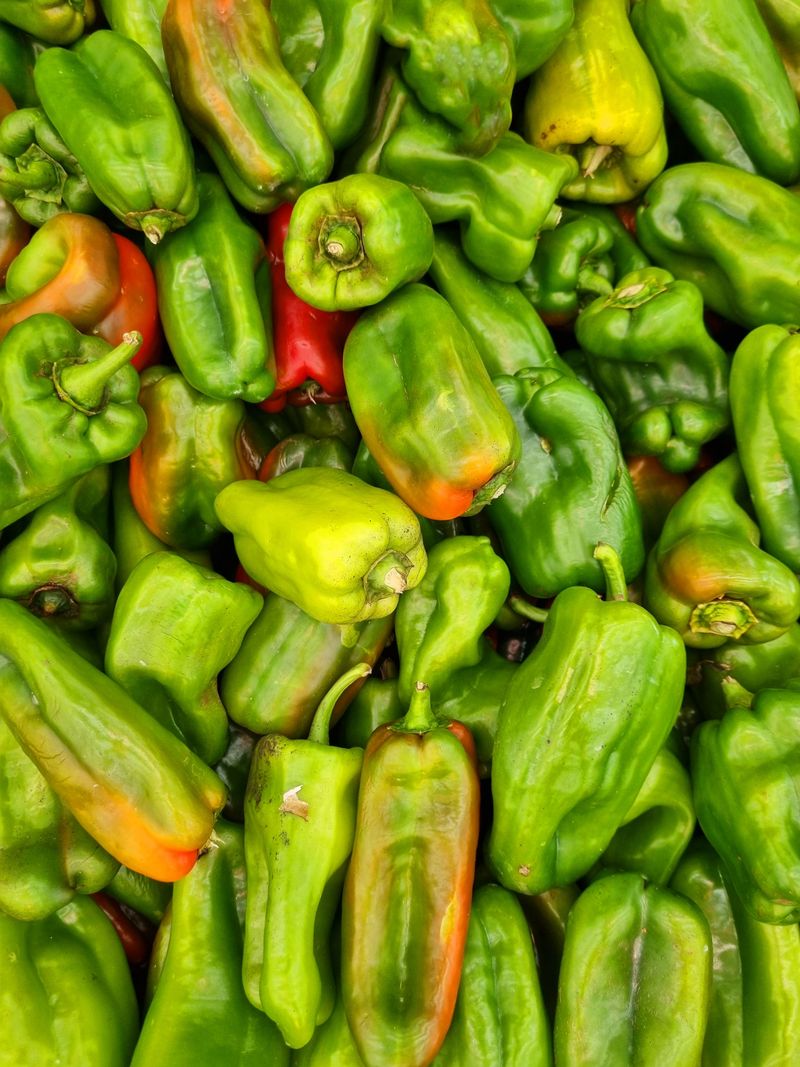
A cold snap can arrive overnight. By sunrise, any pepper left on the vine could be soft, dark, and spotted.
Pepper plants come from warm places, so they handle chilly weather poorly. Temperatures near 32 degrees Fahrenheit can damage the fruit in just a few hours.
Watch your local forecast closely during October and plan a picking day ahead of time. When nighttime lows dip toward the mid-thirties, it is time to grab your basket.
Pick every pepper you see, even the tiny ones hiding under the leaves. Small green peppers still taste great sliced into salads, stir-fries, and omelets.
Use clean garden scissors or pruners instead of yanking the fruit off by hand. Pulling can snap branches and tear the stem, which can allow rot to set in later.
Leave a short piece of stem, about half an inch long, attached to each pepper. That little handle helps the fruit stay fresh for a longer stretch in storage.
Try harvesting in the late morning, after the dew dries but before the afternoon sun warms everything. Dry peppers keep better because moisture invites mold and mushy spots.
Sort your haul into piles as you go, separating firm peppers from bruised ones. Eat the damaged ones first, and save the flawless ones for storing or preserving.
Kids make great helpers here, since hunting for hidden peppers feels like an outdoor treasure hunt. Give each helper a bucket and see who finds the most.
2. Cover The Plants On Chilly October Nights
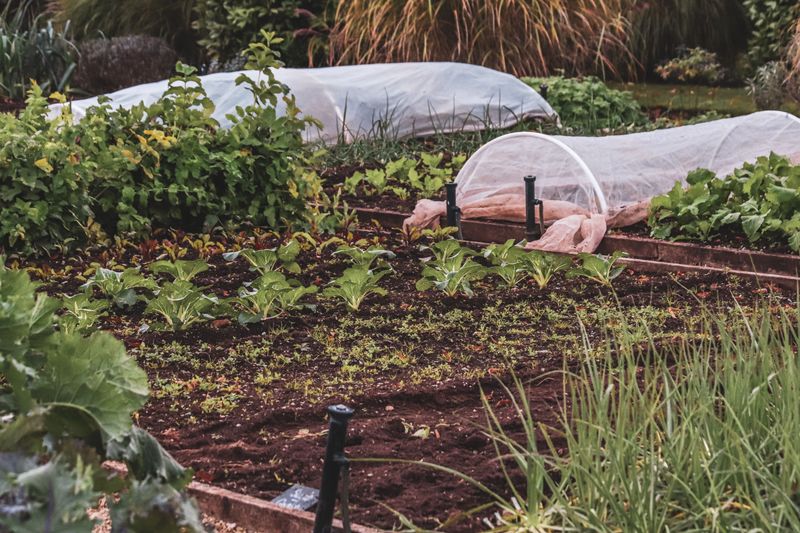
An old bedsheet works as a frost cover. Tossed over plants at sunset, it can protect your peppers through a short cold snap.
Early frosts often arrive on clear, calm nights, then the weather warms up again for days. Protecting plants through one cold night can give unripe peppers more time to grow.
Good covers include frost cloth, old blankets, cardboard boxes, or even large buckets turned upside down. Avoid plain plastic touching the leaves, since it can pass cold straight through.
Drape the cover all the way to the ground and weigh the edges with rocks or bricks. Soil releases stored heat at night, and the cover traps that warmth around the plant.
Put covers on in the late afternoon, before the sun goes down and the air cools. Remove them the next morning so leaves get sunlight and fresh air.
Some gardeners add a string of old-fashioned holiday lights underneath for extra warmth. The bigger bulbs give off gentle heat, though newer LED lights stay too cool to help.
Potted peppers have an easier escape route than plants growing in the ground. Simply roll them into a garage or onto a porch whenever chilly nights show up.
Watering the soil during the day can help, too, because damp ground holds heat better than dry ground. Just keep water off the leaves so they do not freeze.
Covering will not save plants forever, but it stretches the season nicely. Use those bonus days to let a few more peppers fatten up before the final harvest.
3. Ripen Mature Peppers On A Sunny Counter
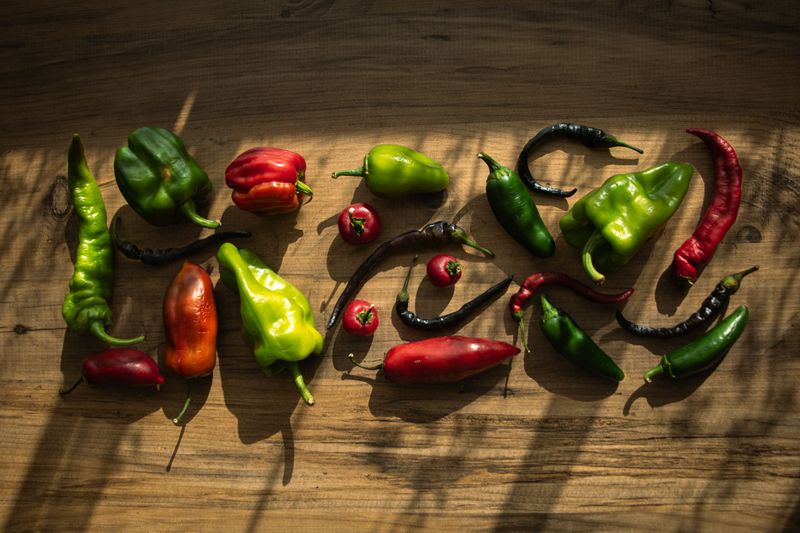
Here is a little kitchen secret: green and red bell peppers often come from the very same plant. The red ones simply stayed on the vine longer and kept ripening.
Mature green peppers that have already started to change color can often finish ripening indoors. The key is choosing fruit that is full-sized and firm with thick, glossy walls.
Peppers that are small, soft, or thin usually will not change color much after picking. Those are better eaten green, which is perfectly tasty and still a good source of vitamin C.
Set your mature peppers on a warm kitchen counter, out of harsh direct sun. A spot around 65 to 75 degrees Fahrenheit works well for steady ripening.
Want to hurry the process along a little bit? Tuck the peppers into a paper bag with a ripe apple or banana for company.
Those fruits release ethylene, a natural gas that nudges other produce to ripen faster. Fold the top of the bag loosely so a little air can still flow.
Check the bag every day or two, and pull out any pepper showing wrinkles or soft spots. A moldy pepper can spread to the others in the bag.
Most peppers start shifting color within one to two weeks, beginning with a few streaks. Patience pays off here, because the riper they get, the sweeter they taste.
Keep in mind that indoor-ripened peppers may taste a bit milder than vine-ripened ones. They are still a cheerful splash of summer color on a gray autumn day.
4. Freeze Sliced Peppers For Winter Meals
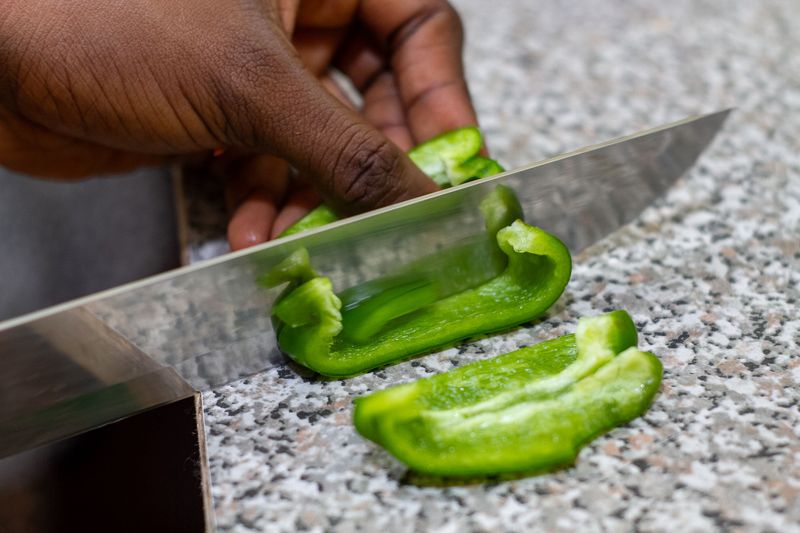
Some families keep a freezer bag of chopped peppers on hand all winter long. It feels like stashing a little piece of summer behind the ice cube trays.
Freezing is one of the easiest ways to save green peppers, and it requires no special equipment. Unlike many vegetables, peppers do not need blanching before they go into the freezer.
Start by washing each pepper well and patting it dry with a clean towel. Cut off the top, scoop out the seeds, and remove the pale inner ribs.
Next, slice or dice the peppers into the sizes you use most often. Strips work well for fajitas, while small cubes are handy for soups, chili, and casseroles.
Spread the pieces in a single layer on a baking sheet lined with parchment paper. Freeze them for one to two hours until each piece feels hard.
That step, called flash freezing, keeps the pieces from clumping into one giant pepper brick. Afterward, you can pour out just a handful without prying apart the whole bag.
Move the frozen pieces into freezer bags, squeezing out as much air as possible. Label each bag with the date so you know which batch to use first.
Frozen peppers stay good for about eight to twelve months. They turn a bit soft after thawing, so save them for cooked dishes instead of fresh salads.
Toss a frozen handful straight into a hot skillet with onions on a snowy January night. The sizzle and smell will remind you of warm summer evenings in the garden.
5. Pickle A Batch For Tangy Snacking
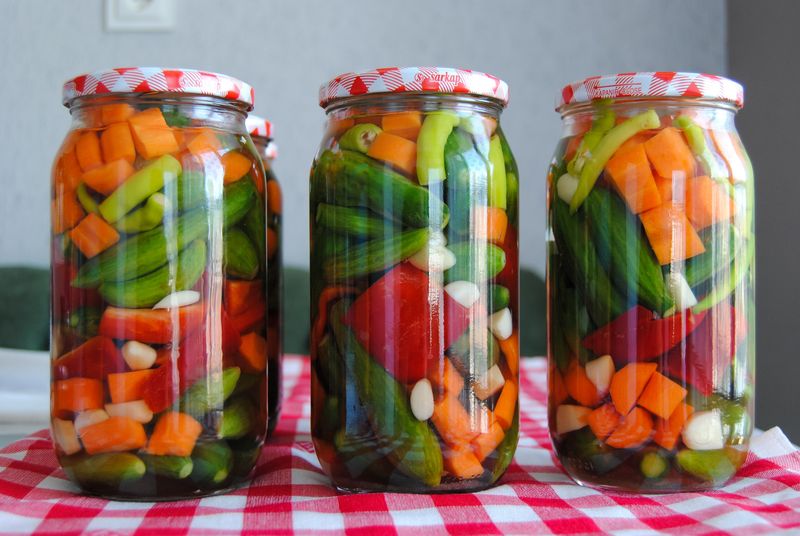
Crunchy, tangy, and bold, pickled peppers add flavor to a plain sandwich. Even Peter Piper, from the old tongue twister, knew a good pickle when he saw one.
Quick pickles, also called refrigerator pickles, are a simple place to start. They skip the canning pot and live in the fridge instead of the pantry.
Begin by slicing washed green peppers into rings or strips and packing them into clean glass jars. Add extras like garlic cloves, onion slices, peppercorns, or a sprig of fresh dill.
For the brine, heat one cup of vinegar, one cup of water, and a tablespoon of salt. Stir in a spoonful of sugar if you like a sweeter, milder flavor.
Once the salt and sugar dissolve, carefully pour the hot brine over the peppers. Leave about half an inch of space at the top of each jar.
Let the jars cool on the counter, then screw on the lids and pop them in the fridge. Wait at least one day before tasting so the flavors can soak in.
Refrigerator pickles usually stay tasty for about a month or two. If you want shelf-stable jars, follow a tested canning recipe from a trusted source.
Pickled peppers shine on burgers, tacos, pizza, and grilled cheese sandwiches. Chop them into tuna salad or potato salad for a bright, zippy crunch.
Small jars also make sweet homemade gifts for neighbors and teachers during the holidays. Tie a ribbon around the lid, and watch people grin.
6. Dry Peppers For Long-Lasting Storage
Long before refrigerators existed, people hung strings of drying vegetables from their kitchen rafters. Dried peppers were a smart way to enjoy garden flavor through the long, cold winter.
Drying works best with thin-walled peppers, but green bell peppers can be dried too. They just need to be cut into small, even pieces first.
Wash and core the peppers, then slice them into thin strips or quarter-inch cubes. Pieces that are close in size will dry at the same speed.
A food dehydrator makes the job simple and fairly hands-off. Set it around 125 to 140 degrees Fahrenheit and let it run for eight to twelve hours, checking the manufacturer’s guide.
No dehydrator in the kitchen cabinet? Your oven can work if it holds close to 140 degrees Fahrenheit, with the door cracked open slightly so moisture escapes. Check the temperature with an oven thermometer first.
Stir or flip the pieces every hour or so to help them dry evenly. Finished peppers should feel crisp or leathery, with no squishy spots left inside.
Let everything cool fully before packing it into airtight jars. Store the jars in a cool, dark cupboard where they can last for many months.
Shake the jars daily for the first week and watch for any moisture on the glass. Fogging means the peppers need more drying time before long storage.
Toss dried pepper bits into soups, stews, and pasta sauces, where they plump up while simmering. You can also grind them into a powder for seasoning popcorn or eggs.
A jar of dried peppers takes up very little space compared to frozen bags. It is a handy trick for anyone with a tiny freezer.
7. Roast A Tray For Smoky Flavor
Many cooks enjoy the scent of peppers blistering under a hot broiler. It is smoky, sweet, and a little bit like a backyard campfire.
Roasting softens the slightly bitter bite of green peppers and brings out a deeper, richer flavor. It works well for peppers with minor cosmetic blemishes, since you peel the skin anyway. Discard any pepper with mold, and cut away small soft or bruised spots first.
Set your oven to broil and line a baking sheet with foil for easy cleanup. Place whole peppers on the sheet a few inches below the heat.
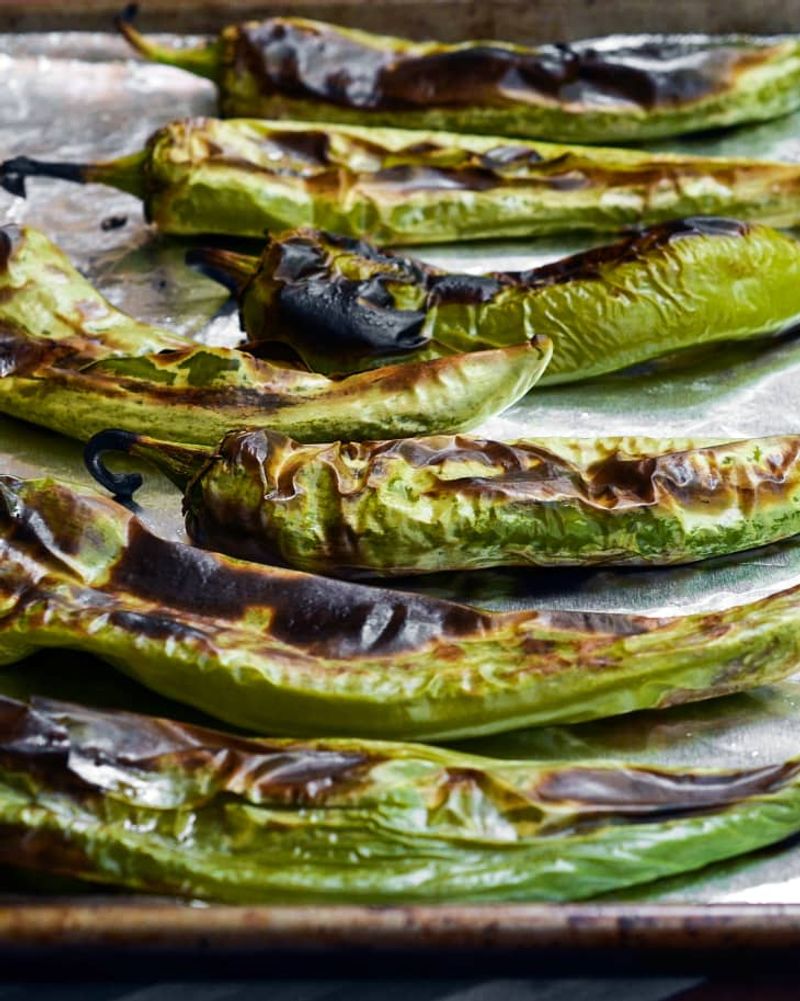
Turn them with tongs every few minutes until the skins look black and puffy on all sides. Charred skin may look burnt, but the flesh underneath stays soft and tasty.
Move the hot peppers into a bowl and cover it tightly with a plate or plastic wrap. Let them steam for about fifteen minutes, which loosens the skins.
Once they are cool enough to handle, slip off the skins with your fingers. Pull out the stems and seeds, but skip rinsing so the smoky juices stay put.
Roasted peppers keep in the fridge for about a week in a covered container. Covering them with olive oil and garlic adds flavor, but garlic in oil can allow botulism bacteria to grow, so keep it refrigerated and use it within four days.
For longer storage, freeze roasted strips flat in bags for quick weeknight dinners. They thaw fast and are ready to toss into pasta, wraps, or soups.
Blend roasted peppers with cream cheese for a dip that disappears at parties. Layer them on sandwiches, or chop them into scrambled eggs for a cozy Saturday breakfast.
8. Pull Whole Plants To Ripen Indoors
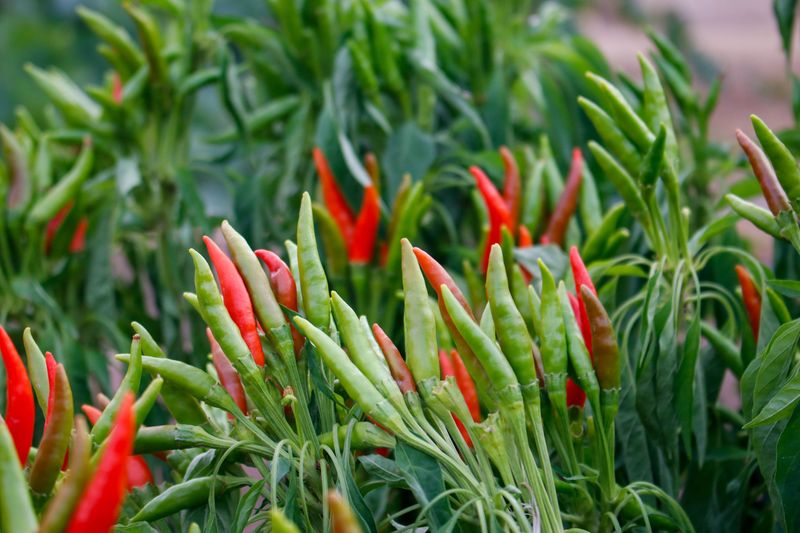
Hanging an entire pepper plant upside down in the garage might sound unusual. Some gardeners use this method to ripen late fruit.
When frost is just hours away and your plant is still crowded with peppers, pull the whole thing. Once pulled, the plant cannot take in new water or nutrients, but the fruit keeps ripening from its own reserves for a while.
Gently loosen the soil around the base with a garden fork before lifting. Shake off extra dirt so the plant is lighter and less messy to move.
Tie twine around the bottom of the stem and hang the plant upside down. A garage, basement, or shed that stays above freezing works nicely.
Spread an old sheet or newspaper underneath to catch falling leaves and soil. The leaves will wilt and drop, but that is normal and no cause for concern.
Check the plant every few days and pick peppers as they finish ripening or start to soften. Many will slowly turn from green to red, yellow, or orange over several weeks.
Larger, mature peppers ripen most successfully with this method. Tiny ones may shrivel, so harvest those early and use them in cooked dishes right away.
Potted plants offer another option, since you can carry the whole container indoors. Set it near a bright window, and it may keep producing into early winter.
Hanging plants take up some space, but the method rewards patience. You get a handful of bonus peppers long after the garden has gone to sleep for the year.