Common Mistakes To Avoid When Planting Bulbs In Fall
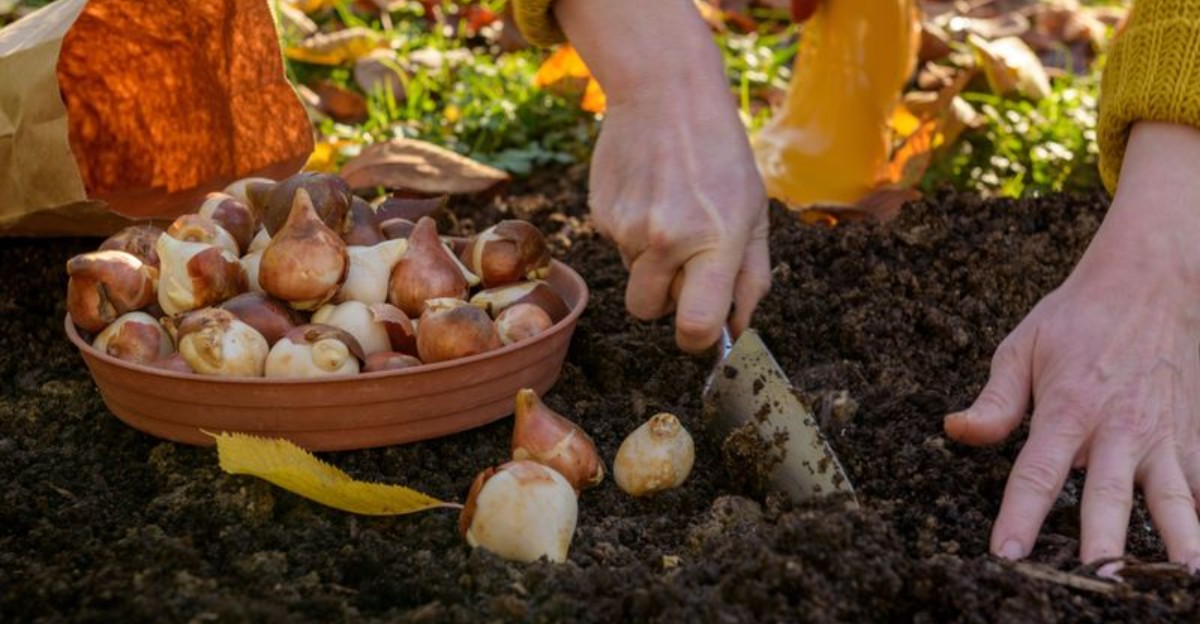
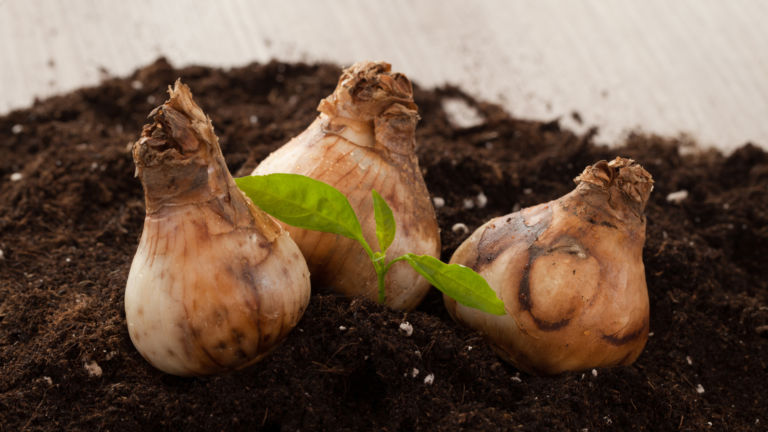
Cool October air smells like crunchy leaves, and the garden center shelves suddenly fill with papery brown treasures. They look like tiny onions wearing paper jackets, yet they promise a burst of color months from now.
Most gardeners grab a bag, dig a few holes, and expect magic to pop up after the snow melts. Sadly, the soil keeps secrets all winter, and small slip-ups stay hidden until the big reveal arrives.
Picture a bare patch where a bright red cup of petals should be swaying in a warm breeze. That empty spot often traces back to a simple choice made on a chilly afternoon months earlier.
Even experienced gardeners with muddy boots and decades of practice slip up more often than they admit out loud. Squirrels, soggy dirt, and bad timing all work against the hopeful person holding a trowel.
1. Planting Them Upside Down By Accident
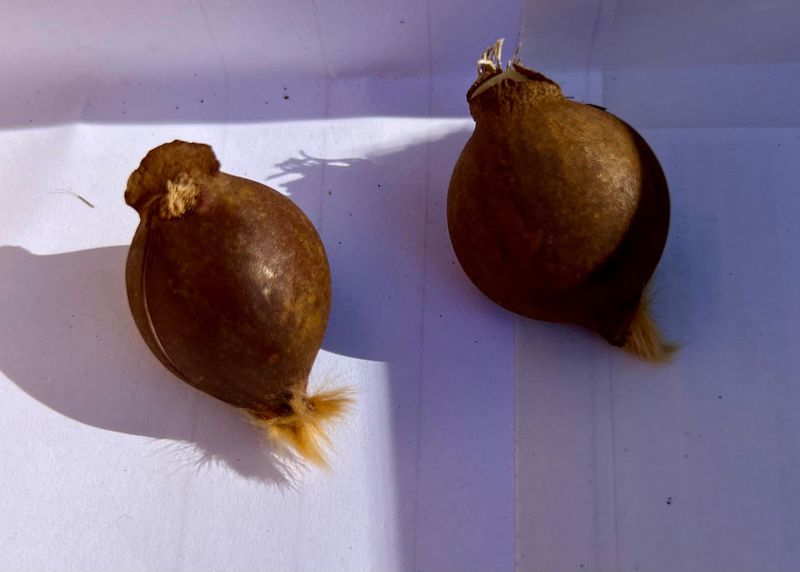
Bulbs planted with their pointed tips facing down can leave a spring bed looking sparse. The shoots have to spend extra energy turning around underground before they can reach the sunlight above.
Most bulbs have a pointy tip on top and a flat bottom where the roots grow. The pointy end should face the sky, while the root side snuggles down into the cool dirt.
Some kinds, like crocuses and anemones, look more like shriveled raisins and can be tricky to read. If you cannot tell which way is up, try planting them sideways and let nature sort things out.
Stems are surprisingly clever and will usually bend toward the surface, even from an awkward starting position. Still, a bulb planted upside down may bloom late, look weak, or skip flowering for a whole season.
Take a quick second to look at each bulb before it drops into the hole you just dug. Hunting for old roots or a dry papery tip makes the job much easier on a busy afternoon.
Fun fact, rare tulip bulbs sold for very high prices in Holland during the 1600s. Treat yours with a bit of that same respect by giving each one a proper, upright start.
Kids often enjoy helping with this step, so turn it into a game of spotting the pointy tops. A few extra seconds of checking now can mean a much fuller, brighter flower bed after winter fades.
2. Digging Holes That Sit Far Too Shallow
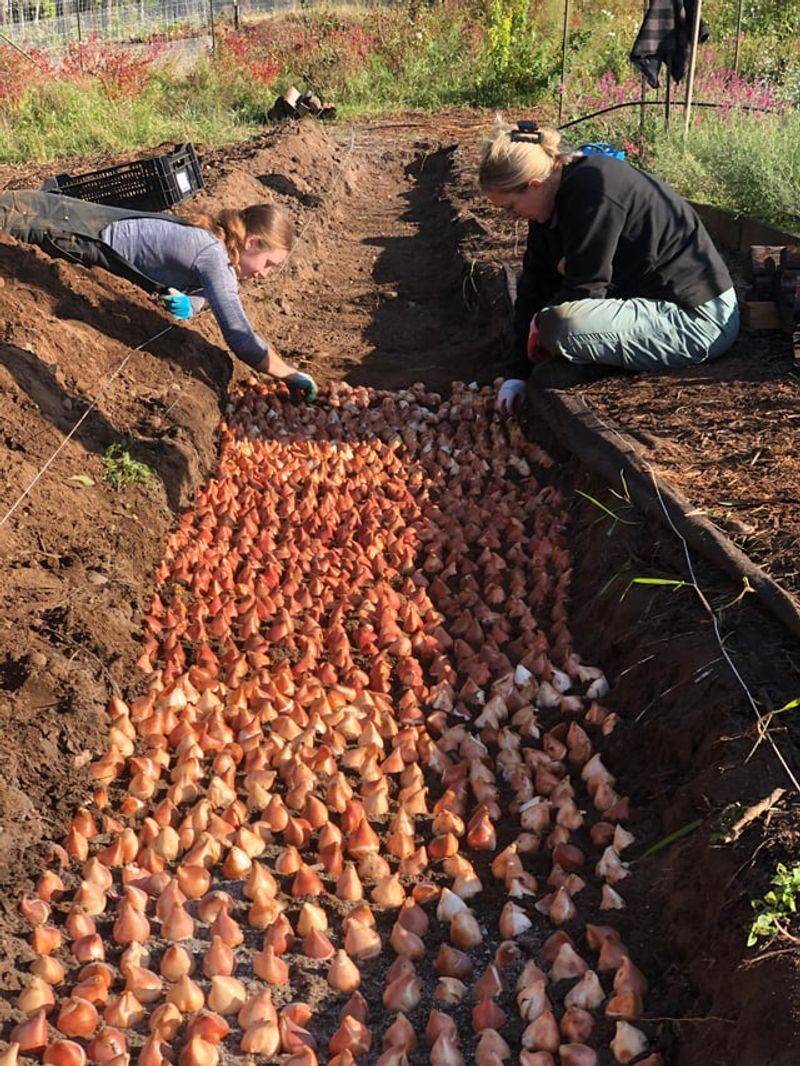
Think of a bulb like a sleepy bear that needs a deep, cozy den to rest through the cold months. Dig too shallow, and the poor thing ends up shivering near the surface all winter long.
A handy rule says to plant each bulb about two to three times as deep as it is tall. So a two-inch tulip bulb should sit roughly four to six inches down, measured from the soil surface to the base of the bulb.
Shallow bulbs face a long list of problems, from freezing temperatures to sneaky critters looking for a snack. They also tend to flop over in spring because their stems lack a strong anchor in the soil.
Ever seen daffodils lying flat after a windy storm, like tired kids sprawled across a living room floor? Shallow planting can be one reason those cheerful yellow trumpets cannot stand tall in the breeze.
A bulb planter tool makes the job faster, especially when you have dozens of holes to dig. Many models even have depth markings printed right on the side, so guessing is much less of a worry.
In heavy clay soil, you can plant a little shallower than the usual rule. Sandy soil, on the other hand, lets you go an inch or two deeper without much worry.
Grab a ruler or a marked stick before heading outside, and check a few holes as you work. Proper depth gives each bulb a snug, steady home where it can rest and gather strength.
3. Planting In Soggy Soil That Causes Rot
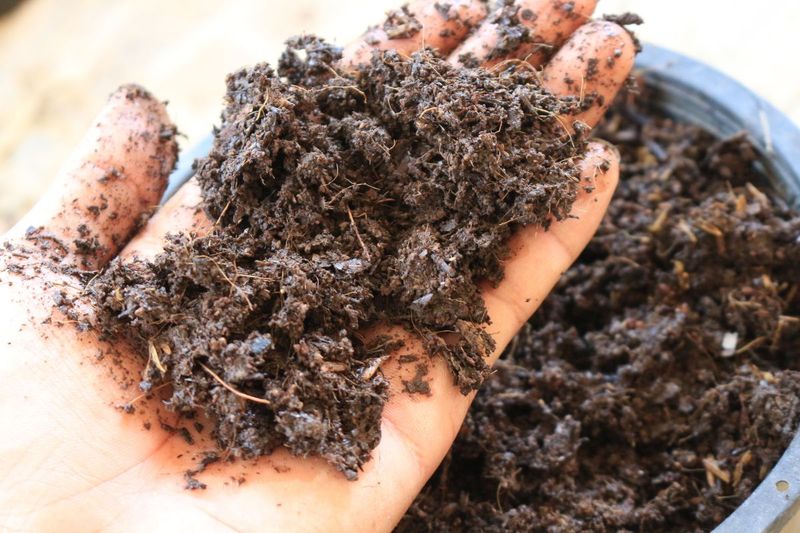
Bulbs hate wet feet more than a cat hates bath time, and soggy soil is their biggest problem. When water sits around them for days, they can turn mushy and start to rot underground.
Before you dig, walk around your yard after a heavy rain and look for puddles that linger. Spots that stay wet for hours are poor choices for tulips, hyacinths, and most other fall bulbs.
A simple drainage test can save you plenty of heartache and wasted money by the time next season rolls around. Dig a hole about a foot deep, fill it with water, and watch how fast it drains away.
If the water is gone within an hour or so, your soil is in great shape for bulbs. Water still sitting there the next morning means it is time to fix the spot or move on.
Mixing in compost or fine pine bark can loosen heavy clay and help water flow through more easily. Raised beds are another smart fix, since they lift the bulbs above the wettest part of the ground.
Low spots near downspouts are sneaky troublemakers, because roof water pours there during every fall storm. Keep bulbs a few feet away from these areas, or redirect the water with a simple extension pipe.
Some flowers, like camassia and certain irises, actually enjoy moist ground and handle damp conditions quite well. Choosing these water-loving types for soggy corners lets you enjoy blooms without fighting the natural landscape each year.
4. Waiting Until The Ground Freezes Solid
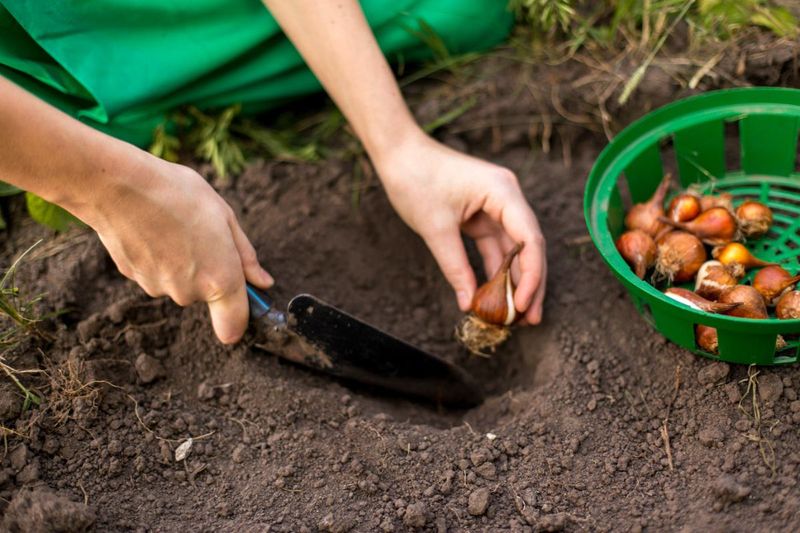
Procrastinators, this one is for you, because bulbs do not like being the last item on the list. Waiting until the ground freezes solid makes digging tough and leaves roots with very little time to grow.
Bulbs need about six weeks in cool soil to settle in before the deep cold arrives. During that window, they send out roots that act like anchors and drinking straws all winter long.
A good clue is soil temperature, which should drop to around fifty-five degrees or a bit lower. In many northern areas, that sweet spot lands in early October, right when the maple leaves turn orange.
Gardeners in warmer southern regions can often wait until November or even early December to get started. A cheap soil thermometer takes the guesswork out and costs less than a fancy coffee drink.
Planting too early can cause trouble too, since warm soil may trick bulbs into sprouting before winter. Those tender green shoots then get zapped by frost and leave the plant weaker for its big moment.
If you find a forgotten bag in the garage after the first hard freeze, do not panic. As long as you can still chip a hole in the ground, getting them planted beats tossing them out.
Set a reminder on your phone or calendar for the first cool week of October each year. Future you will be thrilled to see bright blooms instead of a bag of shriveled bulbs in the shed.
5. Skipping The Squirrel Protection Plan
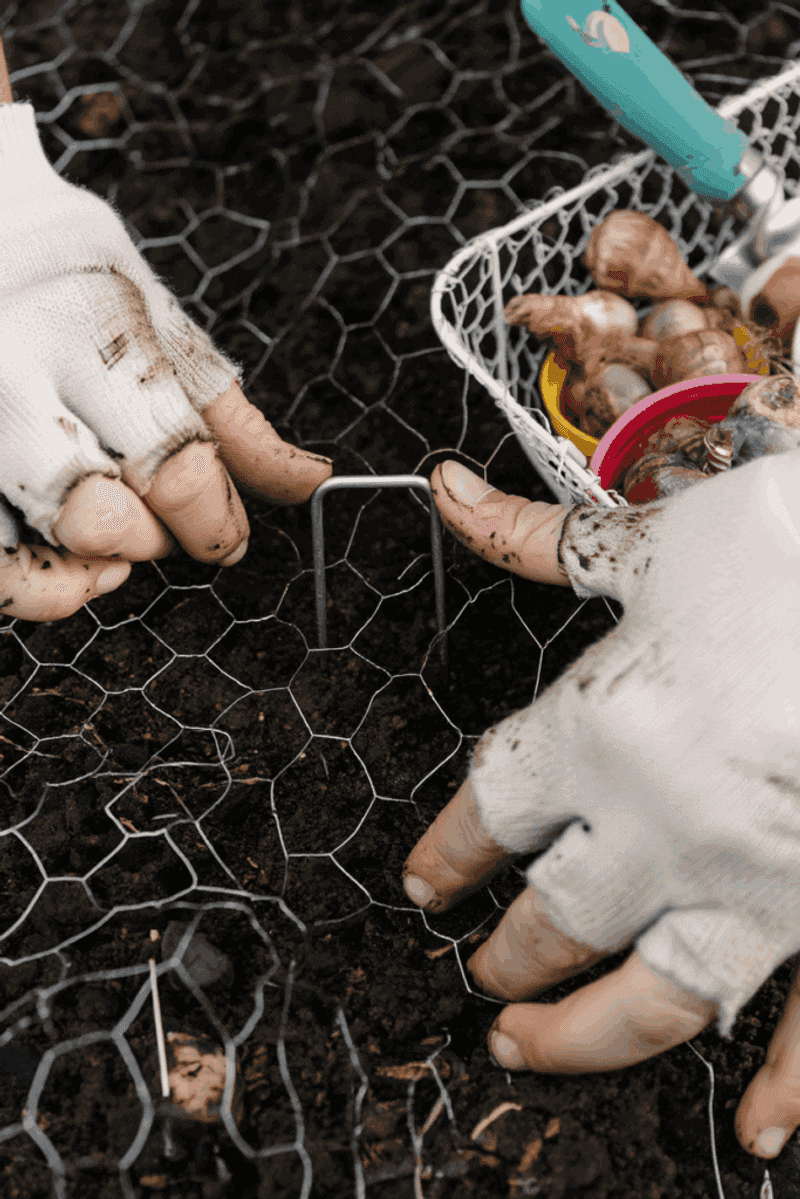
Squirrels are adorable bushy-tailed little bandits, and they think your freshly planted tulips are a free buffet. Many gardeners wake up to find several holes and papery skins scattered across the lawn like confetti.
Furry diggers stay especially busy in fall, since they spend weeks stashing food for the cold season. Fresh soil is a giant sign that something tasty is hiding just below the surface, waiting for them.
One easy trick is to lay chicken wire flat over the bed and cover it with fresh mulch. Shoots can grow right through the gaps in spring, but squirrels find digging through metal pretty annoying.
Cleaning up after yourself matters too, because loose bulb skins and crumbs of soil draw curious noses. Rake the area smooth and pick up any papery bits before you head back inside for the day.
Another smart move is choosing bulbs that squirrels mostly ignore, like daffodils, alliums, and fritillaria with their musky scent. Daffodils contain a bitter compound that tastes awful to rodents, so they usually leave them alone.
Some people sprinkle cayenne pepper around the bed or use store-bought repellent sprays to make the bulbs less appealing. Results vary from yard to yard, so you may need to reapply after heavy rain washes things away.
Mixing a few daffodils among your tulips may also help deter hungry visitors. With a little planning, you can share the yard with squirrels and still enjoy a colorful show.
6. Pouring On The Wrong Kind Of Fertilizer

Grandpa swore by a handful of bone meal in every hole, and plenty of gardeners still follow his lead. Old habits feel comforting, but bulbs already carry most of the food they need for their first bloom.
Inside each bulb is a packed lunch of stored energy, built up during the previous growing season. Adding heavy fertilizer at planting time often does little for that first year’s flowers in the garden bed.
Too much nitrogen can actually cause trouble, pushing leafy growth while weakening the bulb itself over time. Fresh manure is a big no, since it can burn tender roots and invite rot into the soil.
Bone meal also has a quirky side effect, because its smell attracts dogs, raccoons, and other diggers. More than one gardener has found their bed dug up by a curious pup sniffing out a snack.
A smarter choice is a slow-release, low-nitrogen bulb fertilizer, mixed lightly into the soil. Follow the package directions closely, because more is not better when it comes to feeding your hungry plants.
Compost is another friendly option that improves soil texture while gently feeding roots over many months. Spread an inch or two over the bed after planting, and let rain and worms do the rest.
If you plan to keep bulbs coming back each year, feeding matters most once green shoots appear above ground. A light sprinkle at that stage helps refill their energy tanks for the next round of blooms.
7. Spacing Them Out Like Lonely Polka Dots
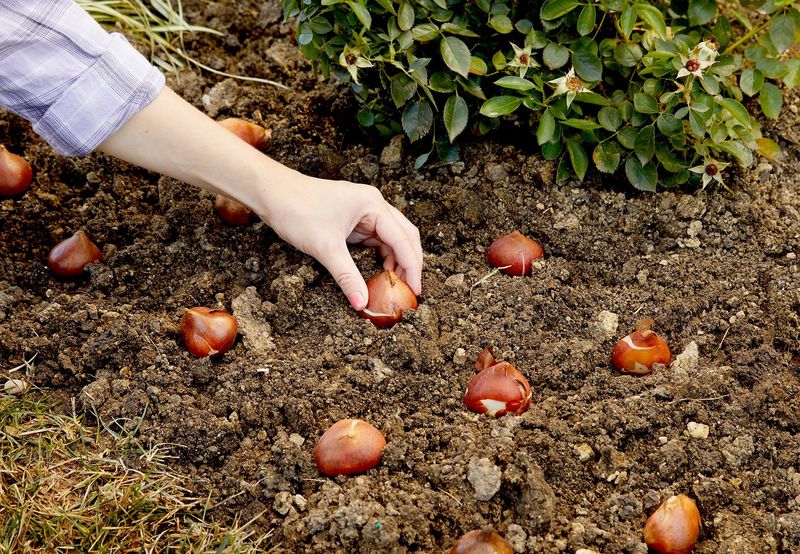
Picture a single tulip standing alone in a big empty bed, looking a little shy and out of place. Spacing bulbs far apart in neat rows often creates that lonely look instead of a joyful splash of color.
Nature rarely plants things in straight lines, which is why clusters tend to look so much more natural. Garden designers often suggest planting in groups of at least seven to ten bulbs for a fuller effect.
Smaller bulbs like crocuses and grape hyacinths look best when dozens are tucked in close together. A handful scattered across the lawn can vanish, but a big drift creates a carpet of purple and white.
A fun trick is to toss a handful of bulbs gently onto the ground and plant them where they land. That random pattern mimics how wildflowers spread and gives your yard a relaxed, meadow-like charm next season.
Crowding them too tightly is a problem as well, since bulbs need room to grow and multiply. Check the package for spacing tips, which usually range from two to six inches depending on size.
Did you know that daffodils can multiply underground and often form bigger clumps over the years? Leaving a little breathing room lets those clumps fill in naturally without fighting for space and food.
Layering is another clever idea, with big bulbs planted deep and small ones placed right above them. Gardeners call this a bulb lasagna, and it packs weeks of blooms into one cozy little container.
8. Forgetting To Water After The Last Bulb
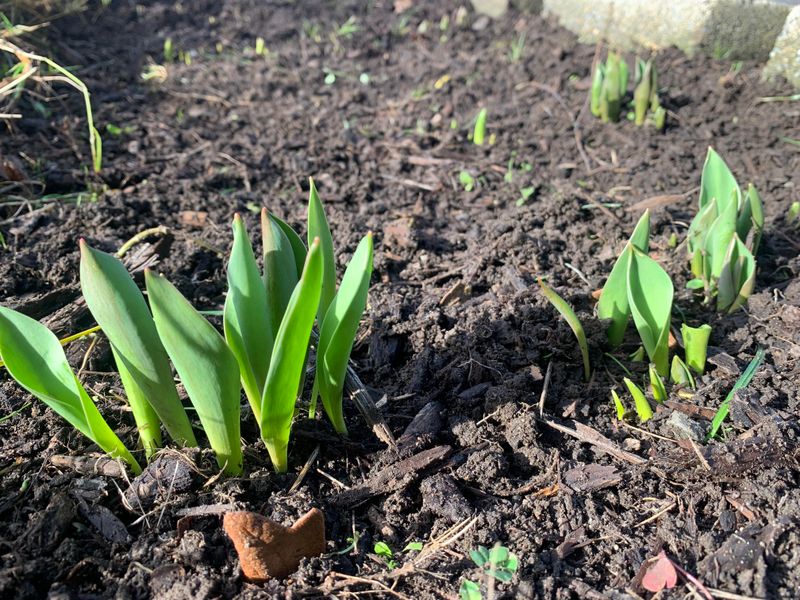
Once the last bulb is tucked in, it feels natural to brush off your hands and call it a day. Skipping that first drink, though, is one of the sneakiest mistakes in the whole fall garden routine.
Bulbs need moisture to wake up their roots and start growing strong before the soil turns cold for winter. A deep soaking right after planting also settles the dirt and removes air pockets around each bulb.
Early October can be surprisingly dry in many places, with crisp sunny days and very little rain. If the weather stays dry for a week or more, give the bed another good, slow drink.
Aim to moisten the soil about six to eight inches down, right where the bulbs are resting. Poke a finger or a stick into the ground to check, since the dry surface can easily fool you.
Of course, too much water brings back the soggy soil problem, so balance is the real goal. Once the ground freezes, you can stop watering and let winter snow handle the job for you.
Containers dry out much faster than garden beds, so potted bulbs need a closer eye this month. Check pots every few days, and water when the top inch of soil feels dry to the touch.
A layer of shredded leaves or straw on top helps hold moisture in and keeps temperatures steady. Think of it as a warm, fluffy blanket that tucks your bulbs in for their long winter nap.