6 Jobs You Should Do With Peonies Before Winter (And 4 To Avoid)
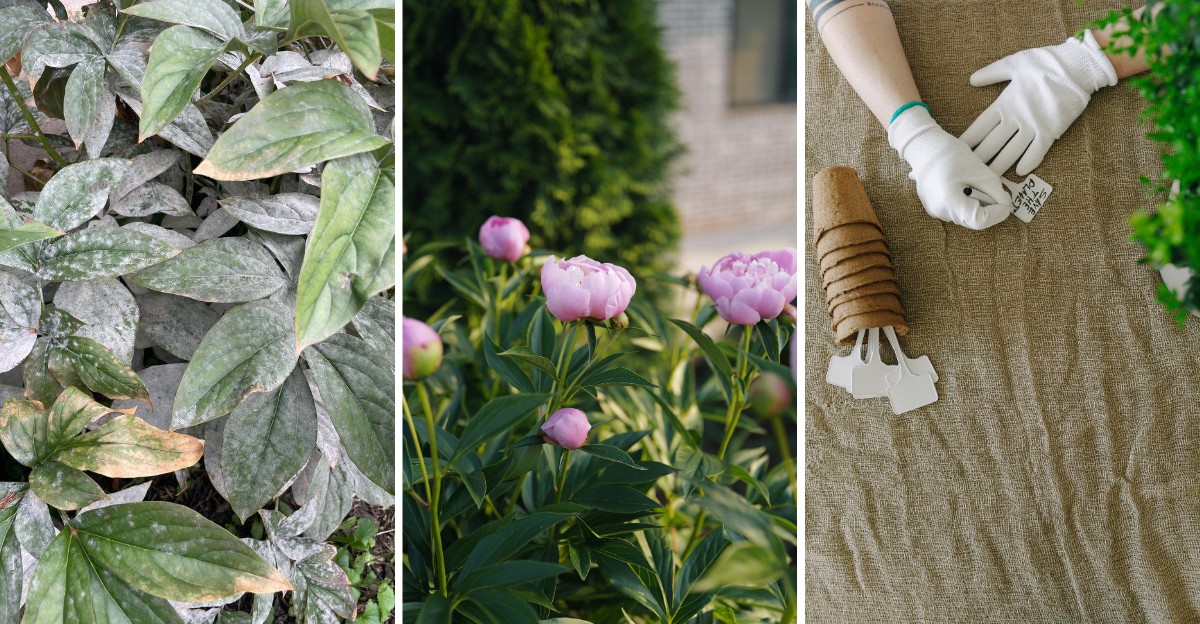
Your peonies are plotting their comeback right now, and you can’t see it. Fat pink buds sit just under the soil, and you decide their fate.
Grab your clippers and trim blotchy stems just above the soil after frost. Spotted leaves can harbor fungal spores that may greet you again in May.
Bin that foliage instead of dropping it onto your compost pile. Bury the eyes too far below ground and you may get leaves, not blooms.
Skip the nitrogen feed since you would grow floppy greenery instead of flowers. Thick mulch traps moisture against the crown, so you should clear it from established plants.
Cold actually helps you here because peonies need winter chill to set blooms. Finish these jobs now and you trade disappointment for armfuls of ruffled blooms. Sugary perfume may greet you at your front door.
1. Trim Herbaceous Peony Stems Close To The Soil
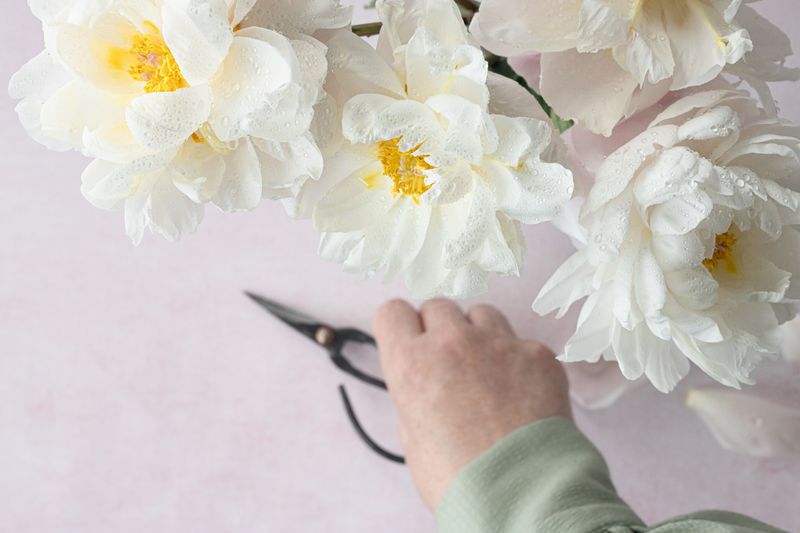
Picture a floppy pile of brown stems slumped over the soil. That messy look is your cue to grab the pruners.
Once frost blackens the leaves, usually in October or later depending on your climate, herbaceous peonies have finished feeding their roots for the year. Cutting the stems now does not harm a plant that has gone dormant.
Snip each stem about one to two inches above the soil line. Leave a tiny stub so you can find the crown later without guessing.
Clean, sharp bypass pruners make the job quick and keep cuts neat. Wipe the blades with rubbing alcohol between plants to avoid spreading germs from one clump to another.
Leaving old foliage standing invites trouble, because fungal spores love to overwinter on soggy leaves. Removing the stems gives those spores fewer places to hide all winter.
Gather all cut material and bin it instead of composting it. Your future self will thank you when fresh red shoots pop up in spring.
Kids can help gather the cuttings while an adult handles the pruners. Give them a bucket and turn cleanup into a quick backyard race.
2. Clear Away And Bin Diseased Leaves
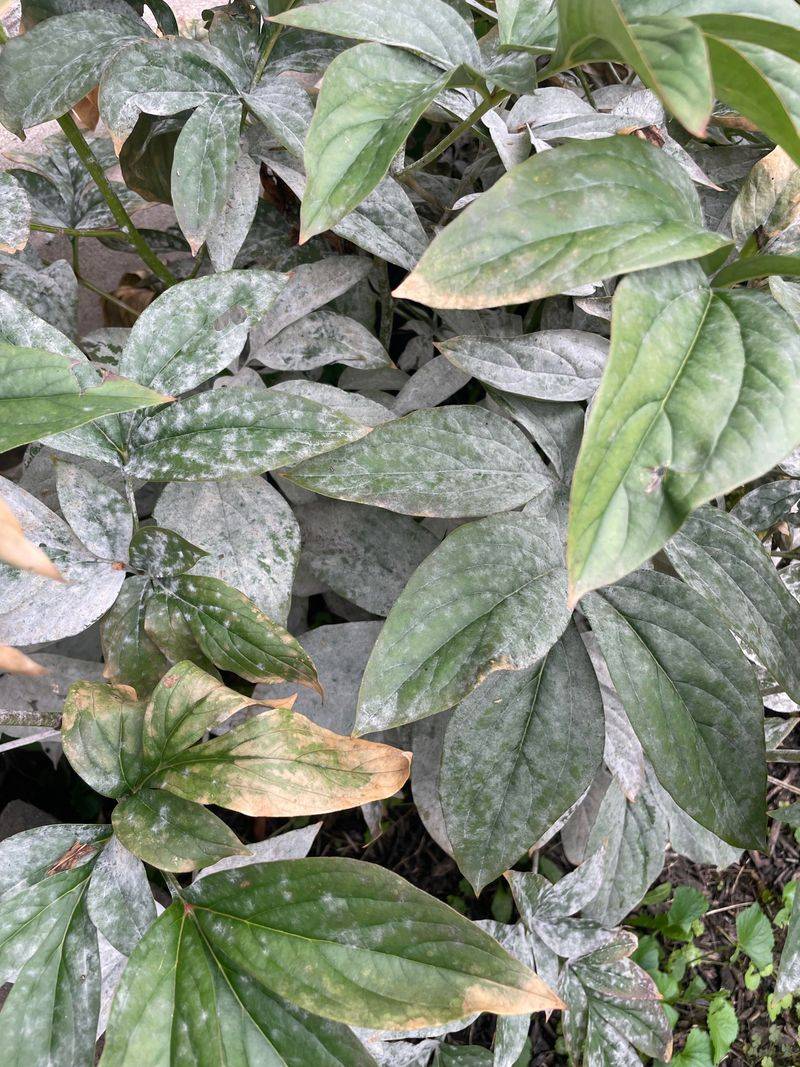
Botrytis blight is a fungal disease that damages buds and stems. This gray, fuzzy fungus browns buds and wilts stems.
Leaf blotch is another common troublemaker, leaving purple and brown spots across the foliage. Both diseases spend winter hiding in old plant debris on the ground.
That makes October cleanup more than a tidy habit. It is an effective way to reduce next year’s disease pressure.
Rake around the base of each plant and collect fallen leaves, petals, and stem bits. Look closely, because small pieces tucked against the crown count too.
Put all spotted material into a trash bag or yard waste bin headed off your property. Home compost piles usually do not get hot enough to destroy fungal spores.
Finish by washing your gloves and tools so spores do not hitch a ride. A clean garden bed now means stronger stems and prettier blooms when spring returns.
Skipping this step can allow the same gray fuzz to return in spring. A ten minute sweep is a small price for healthier plants.
3. Divide Crowded Clumps Only When Needed
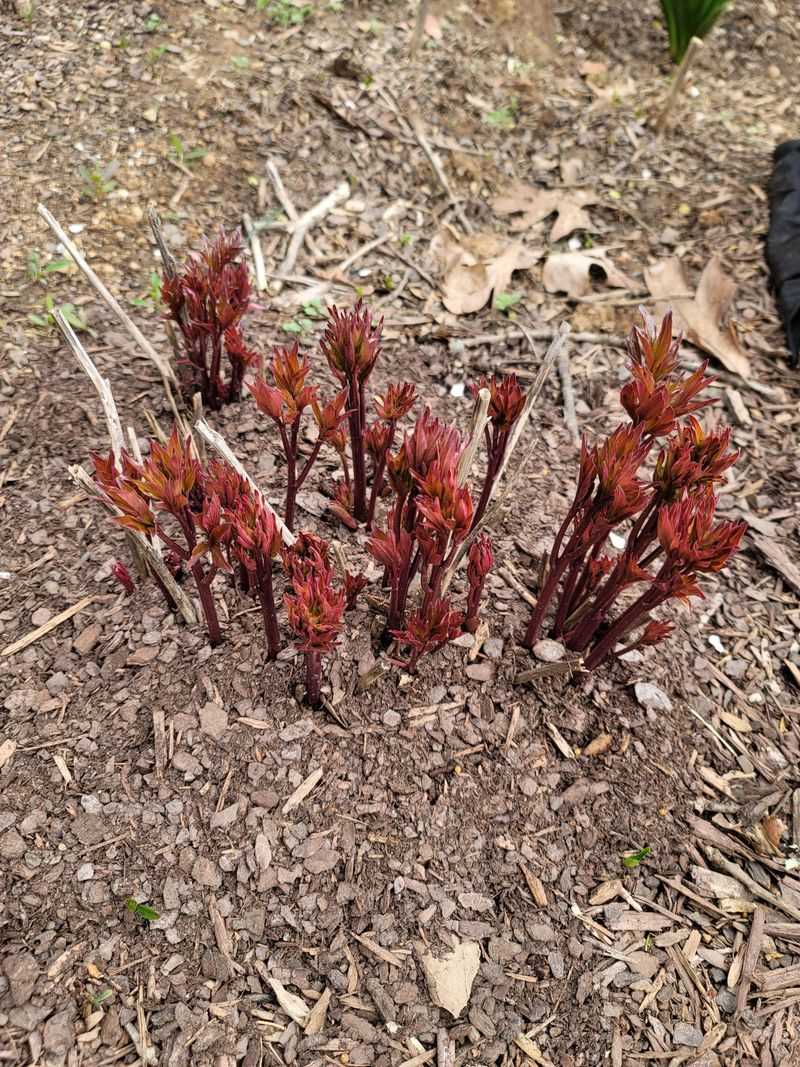
Grandma’s peony that bloomed like crazy for decades may finally be running out of elbow room. Fewer flowers can signal crowding, but shade or planting too deep can cause the same symptoms.
Peonies seldom need dividing, so do it only when a clump is clearly overcrowded or you want more plants.
Early autumn is the best time to divide, ideally about six weeks before hard frost, so September is safer than October in colder regions. Roots settle in before the ground freezes, which gives them a head start.
Start by cutting the stems down, then dig a wide circle around the clump. Gently lift the whole root mass with a garden fork to avoid snapping roots.
Hose off the soil so you can see the pink or white buds called eyes. Each division needs three to five eyes and healthy roots.
Use a sharp knife or clean spade to slice the clump into sections. Toss any soft, mushy, or hollow pieces instead of replanting them.
Replant each piece in a sunny spot with soil that drains well. Water them deeply so the soil settles snugly around every root.
Be patient, because divided plants often skip blooming for a year or two. Think of it as a short nap before a much bigger show.
Share extra divisions with friends, since peonies can thrive for over fifty years. Your gift might bloom in their garden long after this autumn.
4. Plant Bare Root Peonies While The Soil Is Cool
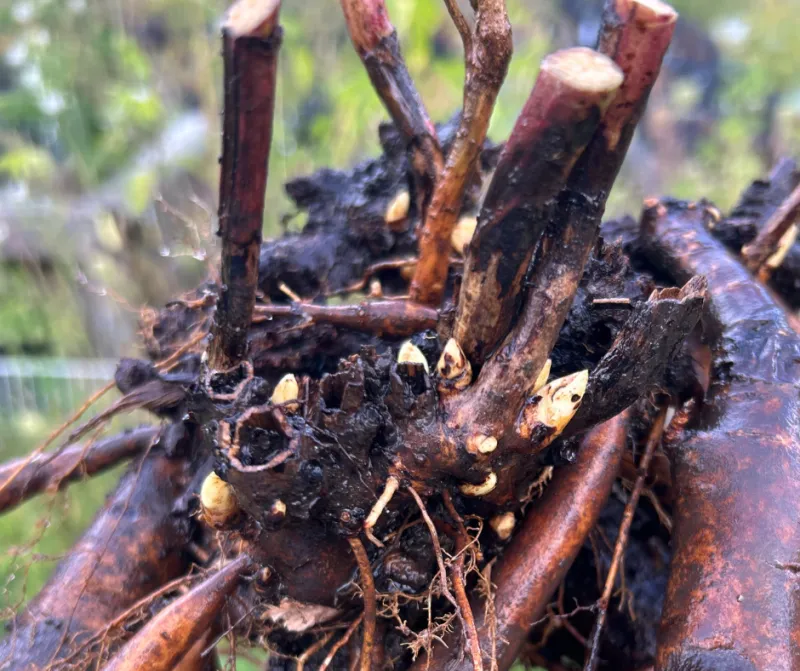
Fall catalogs ship bare root peonies right around now, and there is good reason for it. Sleepy roots settle in best when planted during cool autumn weather.
A bare root looks like a lumpy brown carrot with a few pink bumps. Those bumps are the eyes, and they will become next spring’s stems.
Choose a spot with at least six hours of sun each day. Peonies dislike waterlogged soil, so pick a spot that drains well after rain.
Dig a hole about two feet wide and loosen the soil at the bottom. Mix in a few handfuls of compost to give the roots a cozy start.
Set the root with eyes facing up and cover them with soil. Space plants about three feet apart so air can move between them.
Water well after planting, then let nature take over through the winter months. Roots keep growing underground until the soil gets truly cold.
Plant about six weeks before the ground freezes, which means September or early October in colder regions and later in milder ones. Check your local frost dates if you are unsure.
Expect only a few leaves the first spring and maybe no flowers at all. By year three, most plants reward patient gardeners with armfuls of blooms.
5. Water New Peonies Deeply During Dry Spells
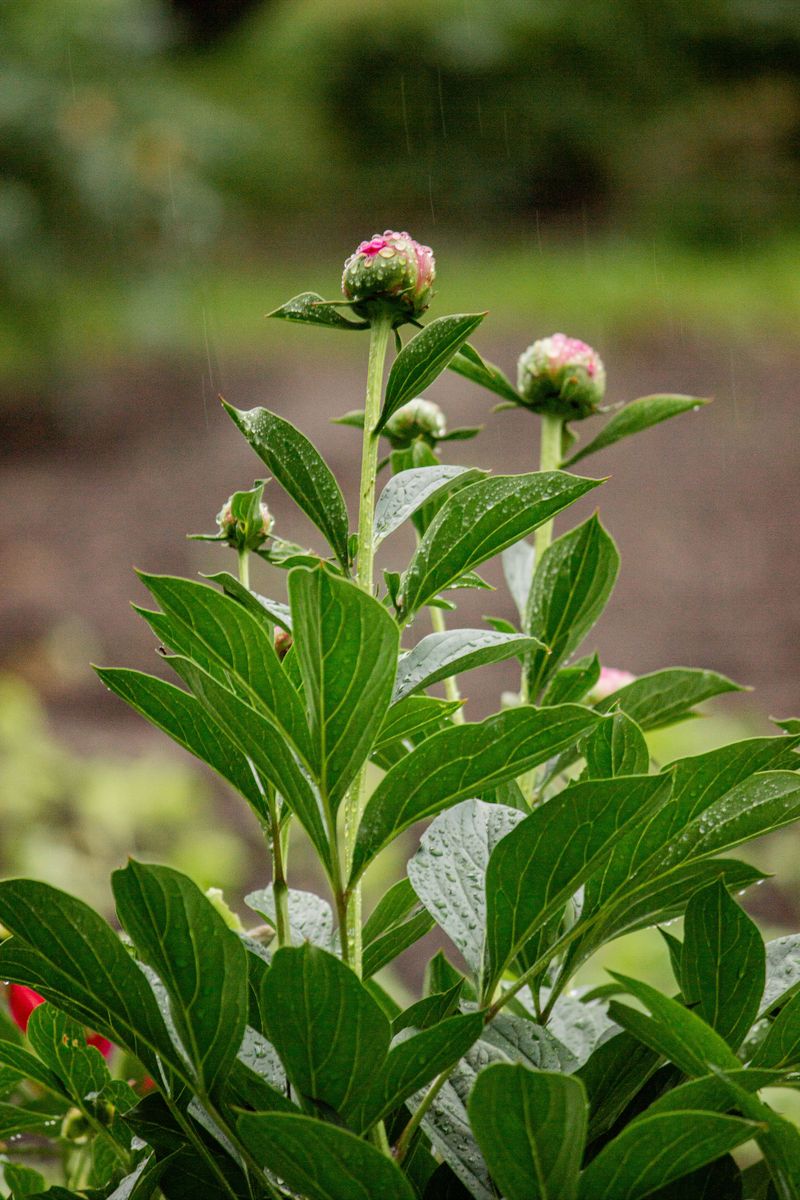
Ever tried sleeping when you are thirsty? Newly planted roots face the same problem when autumn turns dry.
October can bring surprising dry spells, especially in areas with little rain. Established plants usually manage on rainfall and need nothing extra, but new roots still need moisture underground.
Give each new plant a long, slow soak about once a week if rain stays away. Aim for roughly one inch of water, which reaches deep into the root zone.
A soaker hose or watering can works better than a quick spray from a nozzle. Slow water sinks in instead of running off across hard ground.
Morning watering is best, since the soil has all day to soak it up. Wet soil at night in cold weather can invite rot around the crown.
Push a finger two inches into the soil to check moisture before you water. If it feels damp, skip that day and save yourself the effort.
Stop watering once the ground freezes solid for the season. At that point, roots are resting and cannot use extra moisture anyway.
Well watered new roots handle freezing temperatures better than dried out ones. That simple drink now helps young plants wake up strong next spring.
6. Label Each Plant So You Can Find It In Spring

Many gardeners have driven a shovel into the ground in spring and heard an unwelcome crunch. Often, that crunch is a sleeping root that nobody remembered was there.
Once peony stems are cut back, the bed looks bare and easy to forget. Marking each plant now helps you avoid accidental damage in spring.
Sturdy plant labels, painted rocks, or short bamboo stakes all work well. Pick markers that will not blow away or fade during snowy months.
Write the variety name and bloom color on each label with a weatherproof marker. That way, you will know which plant is the pink double and which is the white single.
Some gardeners also snap a quick phone photo of the bed with markers in place. A simple sketch in a notebook works just as well for old school planners.
Markers help with more than digging. They remind you where to avoid piling snow, raking roughly, or planting spring bulbs too close.
If your yard has curious dogs or squirrels, push markers deep into the soil. Shallow stakes tend to wander off by February.
Kids love decorating rocks for this job, so make it a weekend project. Bright colors are easy to spot when the garden looks gray.
7. Skip Thick Mulch On Peony Crowns
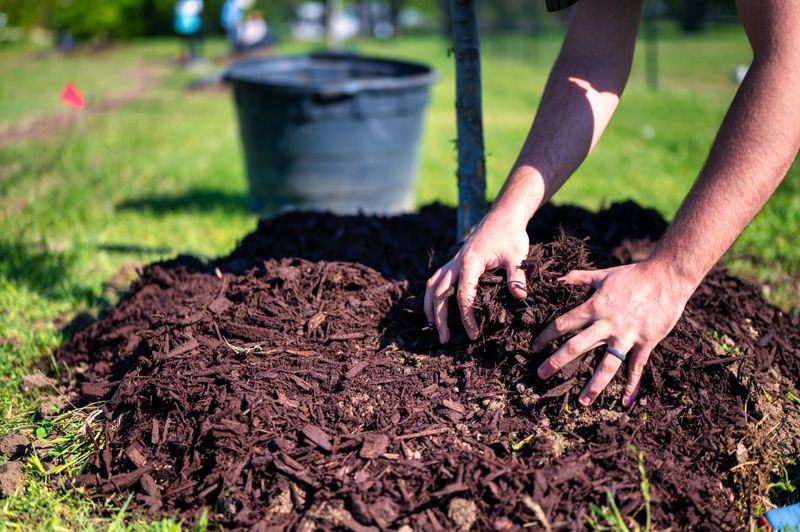
Tucking plants under a fluffy blanket of mulch feels kind and caring. For established peonies, though, that blanket can cause more harm than good.
Peonies actually need a cold winter to set flower buds for spring. Heavy mulch can dampen the winter chill peonies rely on, which may reduce blooms.
Thick layers also trap moisture right against the crown. Soggy, airless conditions are perfect for rot and fungal problems to settle in.
Mature plants in cold regions usually handle winter without any covering. Their roots evolved in places with harsh, snowy winters.
Newly planted roots are the one exception worth knowing about. A loose, two inch layer of pine needles or shredded bark helps them through their first winter.
Remove that light mulch in early spring before new shoots push upward. Shoots trapped under mulch can bend, rot, or grow weak.
Keep wood chips and leaf piles a few inches away from the crown itself. Think of it like giving your plant a little breathing room.
Snow cover is a natural insulator, and it costs nothing. Let winter do the insulating while you stay warm inside.
8. Hold Off On High Nitrogen Fertilizer

Fertilizer seems like a nice goodbye gift before winter. Unfortunately, the wrong kind can promote leaves over flowers.
High nitrogen products push leafy growth, which peonies do not need in autumn. Feeding also gives little benefit to plants that have been cut back and gone dormant.
Too much nitrogen also leads to lush leaves and few flowers, even the following year. Many gardeners blame weather when the real culprit is the fertilizer bag.
Peonies are light feeders and grow happily in average garden soil. A healthy plant can bloom for decades with surprisingly little help.
If your soil is poor, wait until early spring when shoots are a few inches tall. A balanced or low nitrogen fertilizer works best at that time.
Bone meal is a traditional choice that supplies phosphorus, but it helps mainly when a soil test shows low levels, and it can attract dogs and rodents. Mix a small amount into the soil rather than dumping it on top.
A soil test from a local extension office or lab shows what your soil is missing. That takes the guessing out and saves money on products you do not need.
Lawn fertilizer can add excess nitrogen too, since it often runs into nearby flower beds. Keep spreaders aimed away from your peony patch this fall.
9. Leave Tree Peonies Uncut

Not every peony plays by the same rules. Tree peonies grow woody stems that stay standing all winter, just like small shrubs.
Those bare brown branches might look lifeless in October, but they are holding next year’s flower buds. Cutting them down means losing that spring’s blooms.
Herbaceous types fade back to the ground each fall, so they need a trim. Tree peonies keep their framework, so they need a hands-off approach instead.
Not sure which kind you have? Look for stiff, woody stems that feel like twigs rather than soft green stalks.
Itoh or intersectional peonies are a mix of both types. Their stems usually go soft, so cut them to a few inches above soil.
For tree peonies, simply pick off fallen leaves and remove any broken branches. Save bigger shaping jobs for late spring after the flowers fade.
In windy areas, a burlap wrap can protect stems from snow and ice damage. Keep the wrap loose so air still moves around the branches.
Tree peonies grow slowly, so a hard cut can set growth back several years. A little restraint now pays off with dinner plate sized flowers in May.
10. Check Planting Depth Before Blooms Disappear
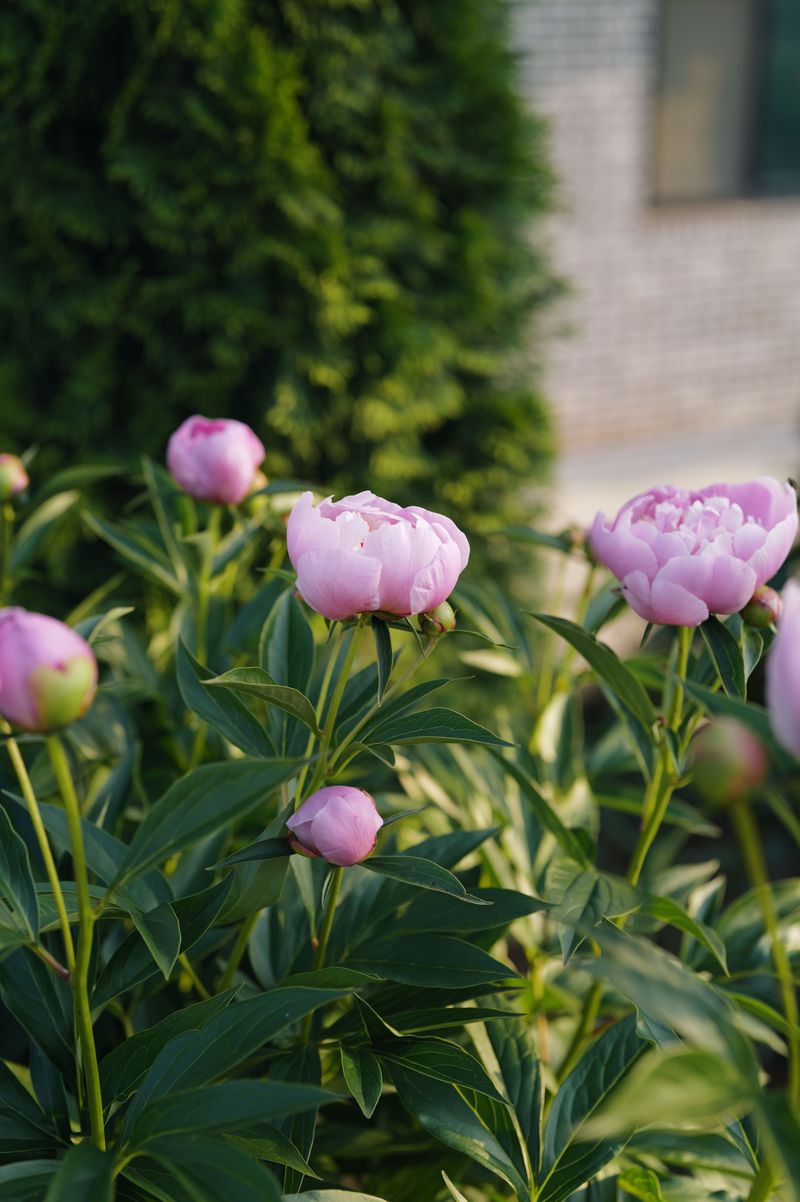
A puzzling truth surprises plenty of new gardeners every spring. Peonies planted too deep may not bloom for several years.
Healthy leaves may appear, but flowers often do not. Planting depth is often the hidden reason behind this frustrating mystery.
In cold climates, the eyes should sit about two inches below the soil surface. In warmer southern areas, one inch or less works better.
Loose soil tends to sink after watering, pulling roots deeper than you intended. Firm the hole gently and check the depth again before finishing.
A ruler makes measuring easy. Laying a stick across the hole shows exactly where ground level sits.
Already have a plant that fails to flower? Early autumn is a good time to lift it and reset it at the proper height.
Avoid burying the eyes under extra compost or mulch after planting too. Those layers add depth over time, even if the original hole was perfect.
Write the planting date on your marker so you can track progress. Most well placed roots start flowering within two or three years.
Getting this detail right takes only a few extra minutes. Your reward is a plant that blooms happily for many decades to come.