How To Propagate Geraniums In California Without Special Equipment
Some of the best garden gifts arrive without a price tag. A single stem, a little patience, and a few household basics can turn one cheerful plant into many.
No heat mats, misting systems, or plastic domes are required. The process feels almost too easy, which makes it all the more satisfying.
California’s mild autumn weather gives young starts a gentle season to settle in.
Tired, woody plants get a fresh chance. Treasured varieties stay in the family for years. Frosty corners of the state gain a way to keep favorites safe through winter.
A kitchen counter can transform into a tiny nursery. All it takes is a sharp blade and a willingness to wait a few weeks.
1. Take Cuttings From Healthy Stems
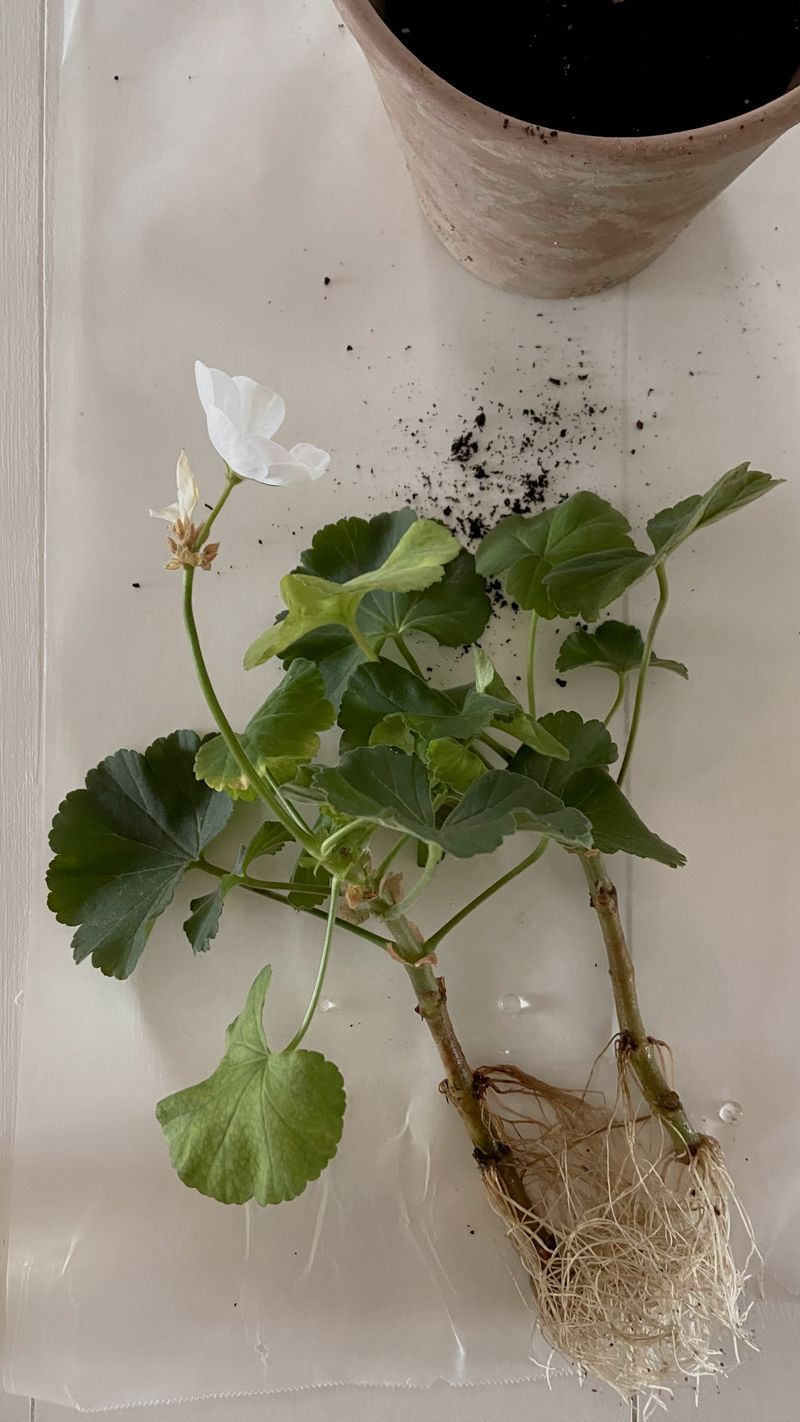
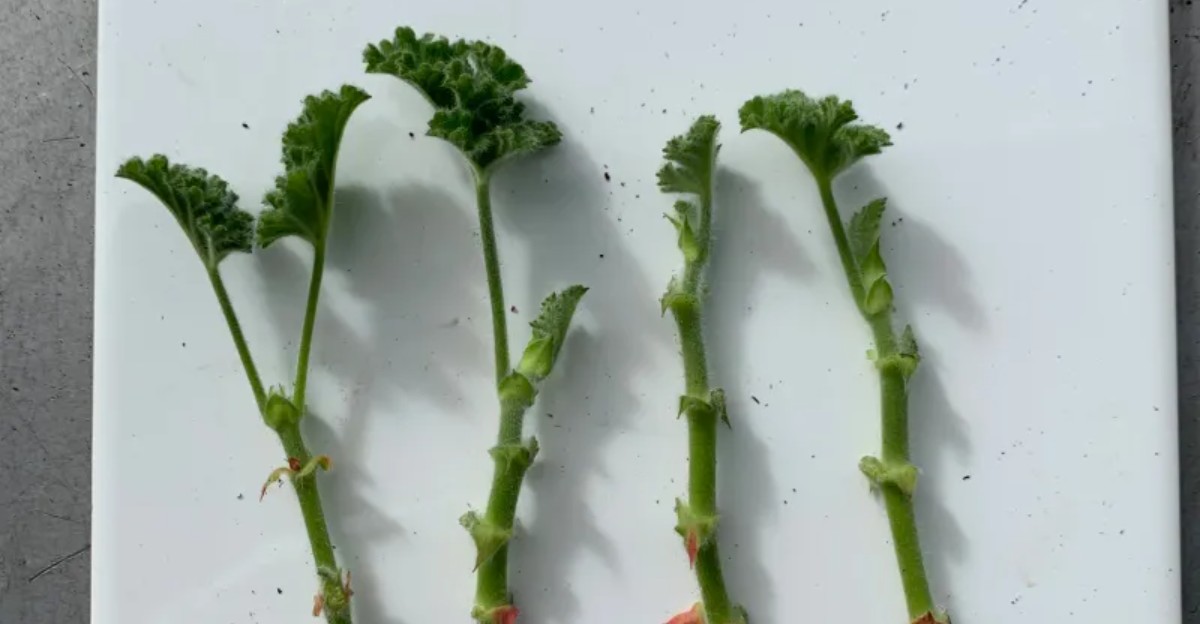
Two stems on the same plant can tell very different stories. One looks plump, green, and covered in fresh leaves, while the other appears thin, yellowing, and crowned with a big cluster of blooms.
The first one makes the better choice nearly every time. Strong, leafy shoots carry the stored energy a cutting needs to grow roots.
A stem busy flowering has already spent much of its fuel on petals and seeds. That leaves less in reserve, so it tends to root more slowly.
Lightly budded stems can still work. Non-flowering shoots, though, offer the best odds.
A close look before snipping pays off. Stems with brown spots, mushy patches, curled leaves, or tiny insects hiding underneath are best passed over, since problems travel right along with a cutting.
Firm stems that snap cleanly signal good health. Those make ideal candidates.
Timing matters, too. UC ANR resources note that late summer and fall work nicely for geranium cuttings, and spring is fine as well. Mid-October fits right in.
In much of coastal California, cuttings can be taken almost any time the plant grows actively and isn’t stressed by a heat wave. Inland gardeners usually wait for cooler stretches.
A good drink for the parent plant the day before helps, since a well-hydrated stem holds up better once separated from its roots.
Morning offers the best gathering time, while leaves stay cool and full of moisture.
2. Cut Four To Six Inches Below A Node
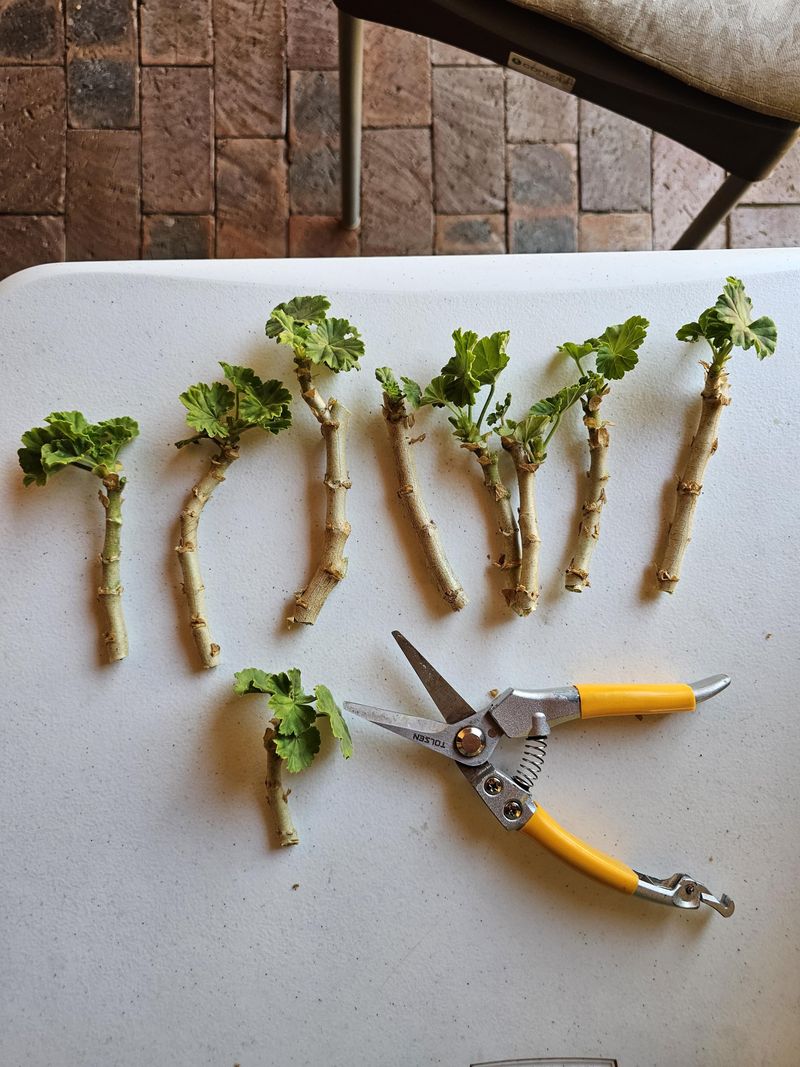
The sharpest knife in the kitchen drawer makes the best tool. A clean blade slices through the stem instead of crushing it, and crushed tissue tends to rot.
Wiping the blade with household disinfectant first keeps germs off the fresh wound. That quick step takes seconds.
Nodes come next. These slightly swollen bumps along the stem mark where leaves attach.
Nodes hold special cells that can turn into roots, which makes them the most important spot on any cutting. Finding them is the key to success.
Measuring down about four to six inches from the shoot tip sets the length. The cut goes just below a node, roughly a quarter inch under that bump.
Shorter cuttings may lack enough stored energy. Much longer ones can wobble and lose too much water through their leaves.
Your California Garden Changes Every Week. Your Plan Should Too.
Gardening in California changes quickly throughout the season. Every Friday you’ll receive a simple weekly plan showing exactly what to plant, prune, fertilize, harvest, and protect so you never miss the right timing.
A straight cut works fine. Some gardeners prefer a slight angle because it shows which end goes down, though geraniums aren’t picky.
Either way, the bottom of the cutting should end right near a node rather than in the middle of a long, bare stretch of stem.
No ruler? A dollar bill measures about six inches long, which makes a handy guide. The length of a hand from wrist to fingertip lands close for many adults, too.
A few extra cuttings make sense while the knife is out. Not every one will succeed, and extras turn into lovely gifts for neighbors.
3. Strip Lower Leaves And Flower Buds
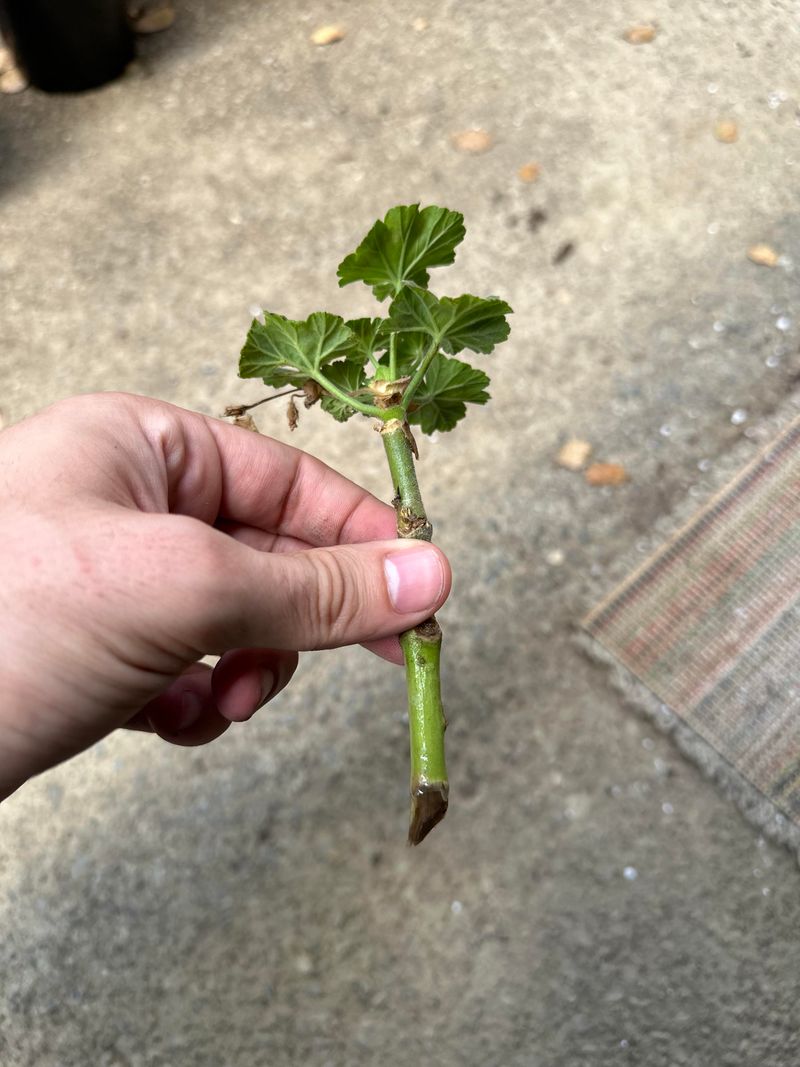
A cutting with a full head of leaves and a bouquet of buds looks pretty for about a day. After that, it often wilts, droops, and struggles.
A quick trim fixes the problem. Leaves on the lower half of the stem come off first, either pinched or snipped gently.
Any leaf left below the soil line sits in damp mix and starts to rot. Two or three healthy leaves near the top are plenty.
Those top leaves still make food from sunlight without draining the cutting of water. Big leaves can be a little greedy otherwise.
Without roots, a cutting can’t replace the moisture it loses through its foliage. Fewer leaves mean less thirst while new roots form.
Every flower and bud comes off next. It may feel a bit harsh, but blooms soak up plenty of energy.
Removing them signals the plant to focus on roots instead of putting on a show. The performance simply takes a short intermission.
Care helps avoid tearing the stem. Tiny leaf stubs that cling tightly are best left alone, since yanking them can rip the outer skin. Clean, small wounds heal quickly.
The common garden geranium isn’t a true Geranium at all. It belongs to the genus Pelargonium, which comes mostly from South Africa.
That dry native climate helps explain why it handles California summers so well and dislikes soggy feet.
4. Let Cuttings Callus For A Day
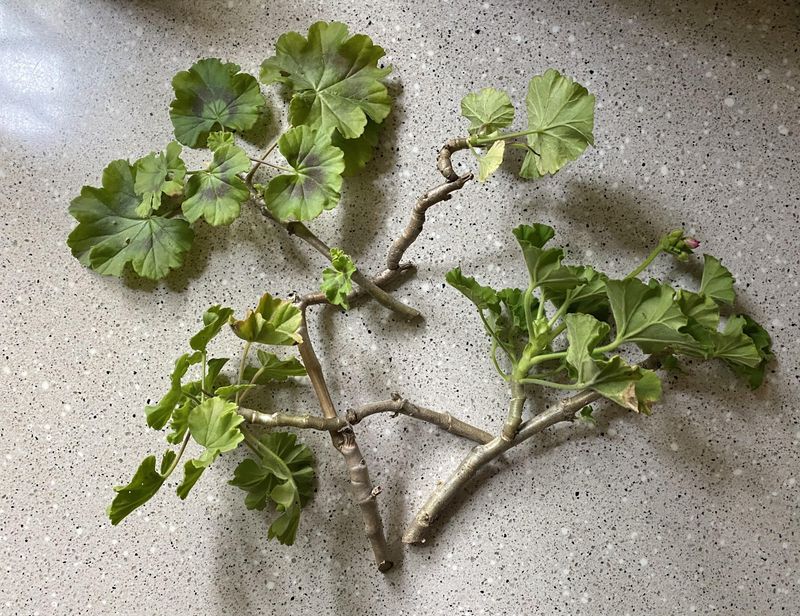
Patience pays off at this step, and it costs nothing. Fresh geranium stems are juicy, and a wet, open cut makes an easy target for rot.
A little drying time helps seal the end. Trimmed cuttings resting on a paper towel or a clean plate do well in a shady spot, out of direct sun.
A kitchen counter or a covered patio table works nicely. About a day usually does the trick, or until the cut end looks dry and slightly sealed.
That dry layer is called a callus. The tip may turn a bit lighter or feel firm instead of sticky.
The callus acts like a natural bandage. It keeps out the fungi and bacteria that thrive on moist, freshly cut plant tissue.
Leaves may look a bit limp after a few hours, and that’s no cause for worry. Mild wilting is normal and usually bounces back once the cutting goes into a pot.
Leaving cuttings out for many days, though, is best avoided. Stems can shrivel too much with extended drying.
California weather can speed or slow this step. On a dry, breezy Santa Ana or Diablo wind day, a few hours may be enough.
A foggy coastal morning calls for a full day or slightly longer. The waiting period makes a good time to gather pots and potting mix.
By the time everything is ready, the cuttings usually are, too.
5. Skip The Rooting Hormone
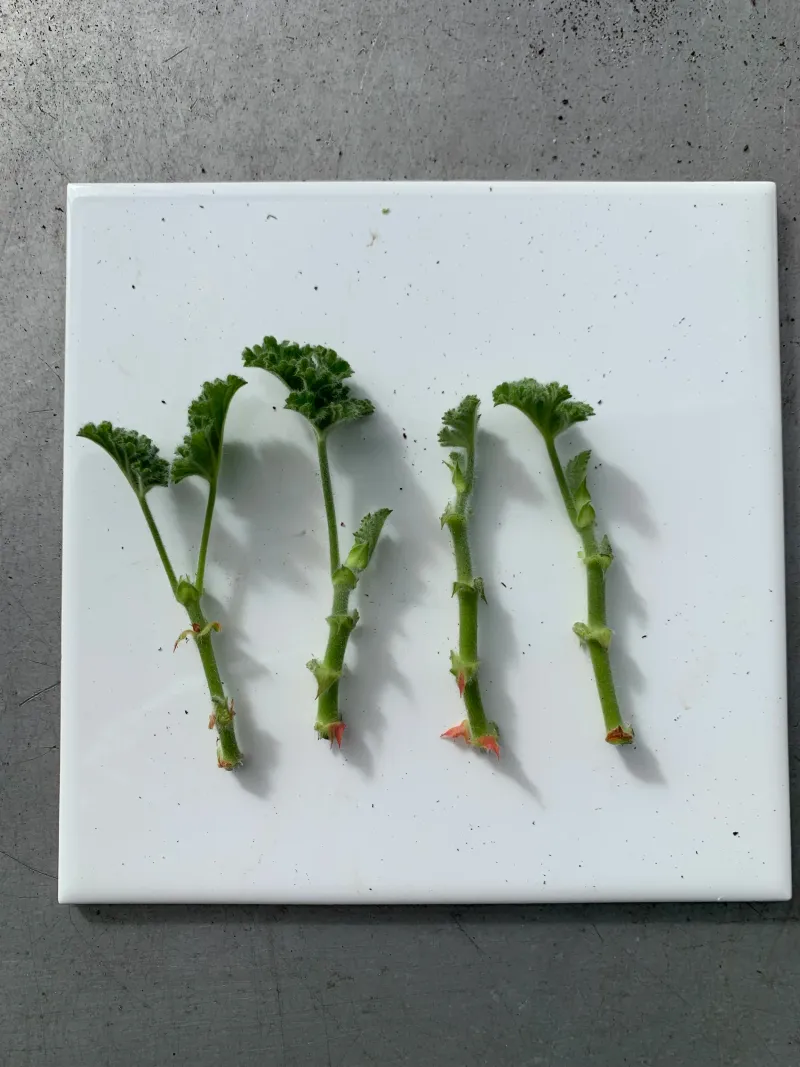
Garden centers love selling little jars of rooting powder. For geraniums, that jar can stay on the shelf.
These plants root so readily that most cuttings grow roots just fine on their own. They’re natural survivors.
Their stems hold plenty of the natural growth chemicals that trigger root formation.
Commercial nurseries grow huge numbers of geraniums from cuttings each year, and that eager rooting habit explains much of their popularity.
Rooting hormone is optional rather than wrong. A light dusting on the cut end won’t hurt, and it may speed things up slightly or help older, woodier stems.
Tapping off the extra matters, since a thick coating works no better than a thin one. A little goes a long way.
Skipping it saves money and keeps things simple. It also means one less product to store away from children and pets.
A kitchen knife, a pot, and some potting mix already cover everything the cutting truly needs. Little else is required.
Some gardeners experiment with home remedies like honey or cinnamon. Curiosity is fine, but geraniums don’t need them.
Clean tools, a dry callus, and the right soil matter far more than any coating. A simple side-by-side test settles the question.
A few cuttings rooted with hormone and a few without, each pot labeled with masking tape, usually show both groups rooting nicely. Chances are good that the results will speak for themselves.
6. Use A Gritty Well Draining Mix
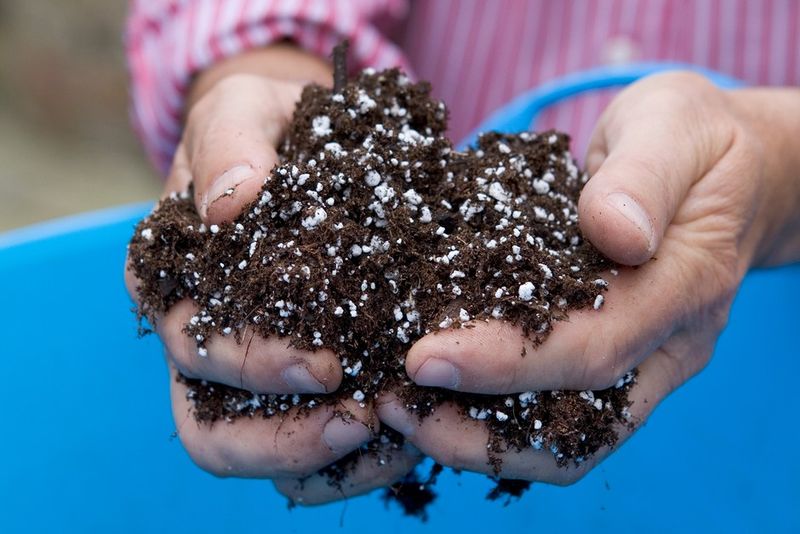
Soggy soil ranks as the biggest threat to a new geranium cutting. Roots need air as much as they need water.
A heavy, wet mix can cut off oxygen to the stem and invite rot before roots ever appear. Regular bagged potting mix makes a good starting point.
Perlite, pumice, or coarse sand added in makes it grittier. A simple recipe calls for about half potting mix and half perlite or sand, mixed by hand in a bucket or an old storage tub.
Dirt scooped straight from a garden bed is best avoided. Many California yards have dense clay soil that holds water like a sponge.
Garden soil can also carry fungus and insects that young cuttings struggle to handle. A clean mix gives them a safer start.
Containers need drainage holes. Small clay pots work wonderfully because the clay breathes and dries evenly.
Plastic nursery pots, yogurt cups with holes poked in the bottom, or even a cut milk carton work at zero cost. Creativity counts here.
Moistening the mix lightly before planting, until it feels like a wrung-out sponge, sets the stage. A pencil or chopstick pokes a hole about two inches deep.
The cutting slides in with at least one node below the surface, and the mix gets firmed gently around it.
Several cuttings can share one wider pot, spaced a couple of inches apart, then move into their own homes once rooted.
7. Give Bright Indirect Light
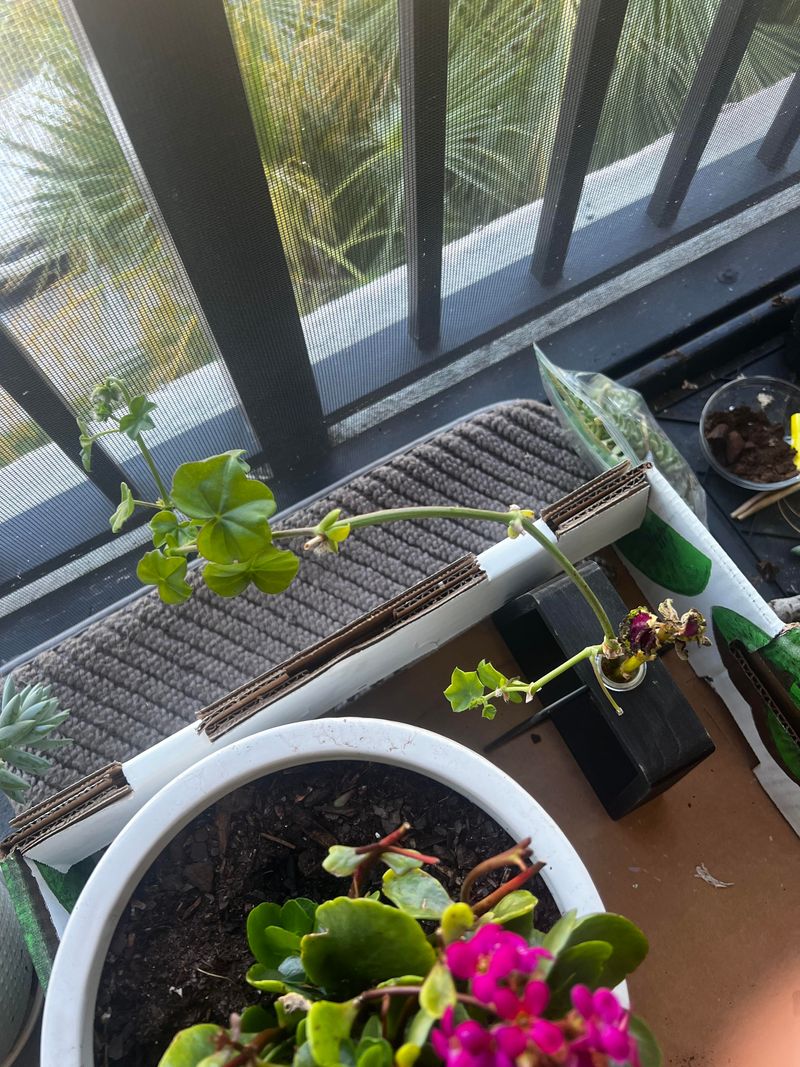
Hot afternoon sun can scorch a rootless cutting in a single day. Deep shade, on the other hand, leaves it weak and slow, so the sweet spot sits right in between.
Bright indirect light offers plenty of brightness without harsh rays beating down. An east-facing window with soft morning sun works beautifully.
A bright room near a south or west window works, too, with a sheer curtain softening the glare.
Outdoors, a covered porch, the north side of the house, or a spot under a lacy tree all fit the bill.
California sunshine runs strong, especially in inland valleys like Fresno or Riverside. Conditions that feel pleasant to people can overwhelm a cutting with no roots to drink.
Plastic bags and domes are unnecessary here. Many guides push sealed covers, but geraniums don’t need extra humidity.
Trapped moisture actually raises the risk of mold and rot on their fuzzy leaves. Open air keeps them healthier.
The leaves offer helpful clues. Pale, stretched stems leaning hard toward the window suggest dim light, while crispy brown edges or bleached spots point to too much sun.
Turning pots every few days keeps growth even. That small habit prevents lopsided plants.
In frosty parts of the state, such as the Sierra foothills, this indoor window setup does double duty. Cuttings taken in fall can root and spend winter inside, then head back outdoors once spring warms up.
A favorite variety stays safe until frost fades.
8. Water Lightly To Avoid Rot
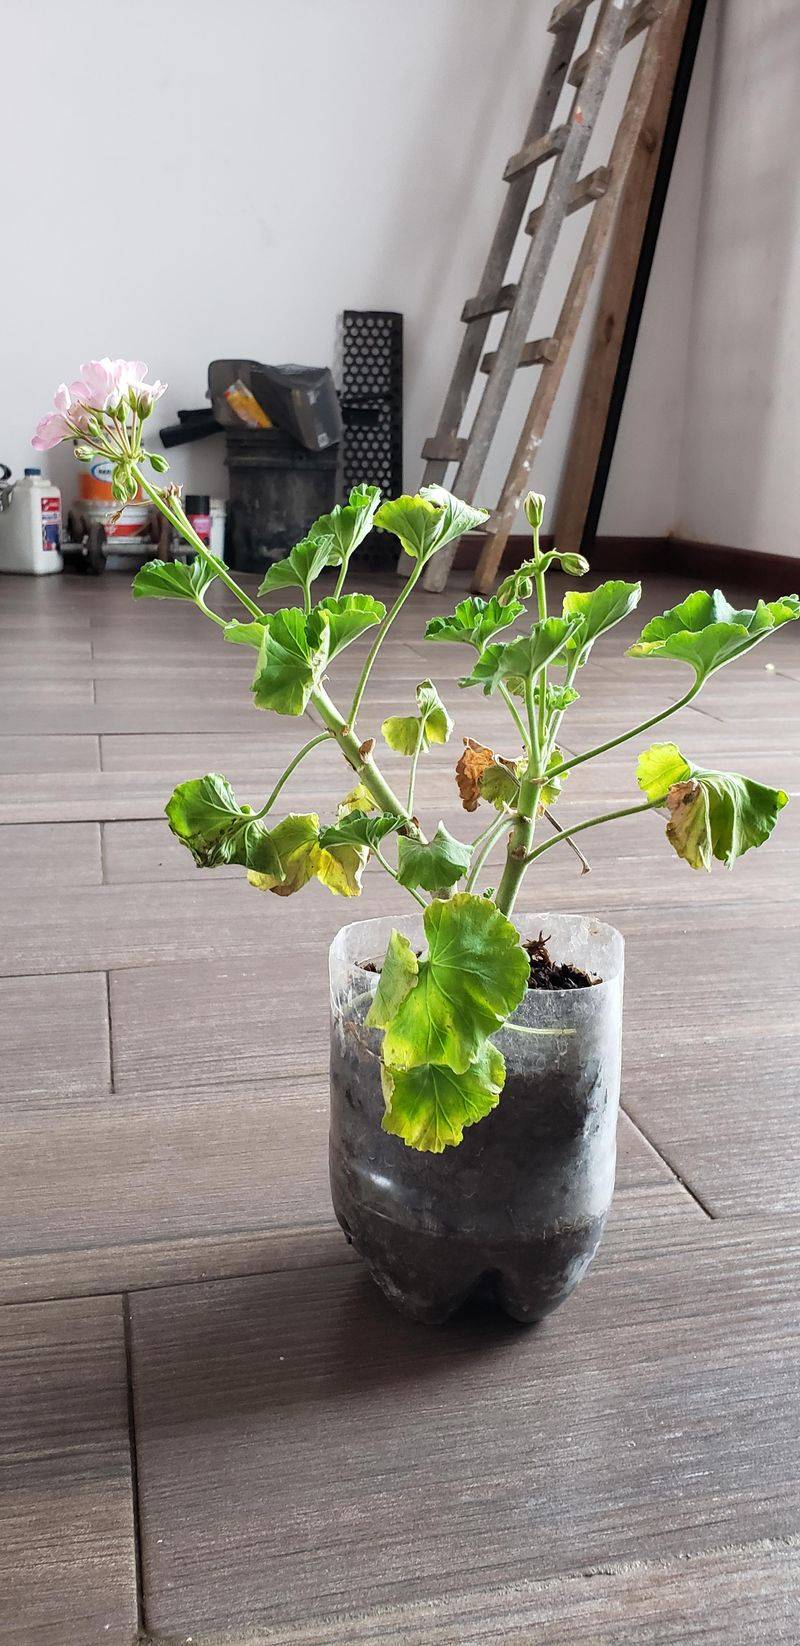
Too much affection can sink a cutting fast. Many beginners water every day, thinking more is better, and end up with black, mushy stems.
Geraniums prefer a lighter touch. A gentle watering right after planting settles the mix around the stem.
After that, waiting until the top half inch of soil feels dry works best. A fingertip check takes the guesswork out, and cool weather may stretch the gap to about once a week.
A small cup or squeeze bottle beats a heavy hose stream. Pouring slowly near the pot’s edge, rather than right onto the stem, keeps things gentle.
Saucers underneath are best emptied, so the pot rarely sits in a puddle. Standing water invites trouble quickly.
Warning signs deserve attention. A stem turning black at the base, starting from the soil line, usually signals too much water.
Removing any rotting cutting right away keeps the problem from spreading to its neighbors. Quick action protects the rest of the batch.
Roots typically form in about three to four weeks, sometimes a little sooner in warm weather. Fresh new leaves at the tip offer the first happy hint.
A very gentle tug that meets resistance confirms roots are holding on.
Once established, each young plant can move into its own pot of regular potting mix or into the garden. A knife, a pot, and some patience have turned one stem into a whole new geranium.