How To Propagate A Jade Plant From A Single Leaf
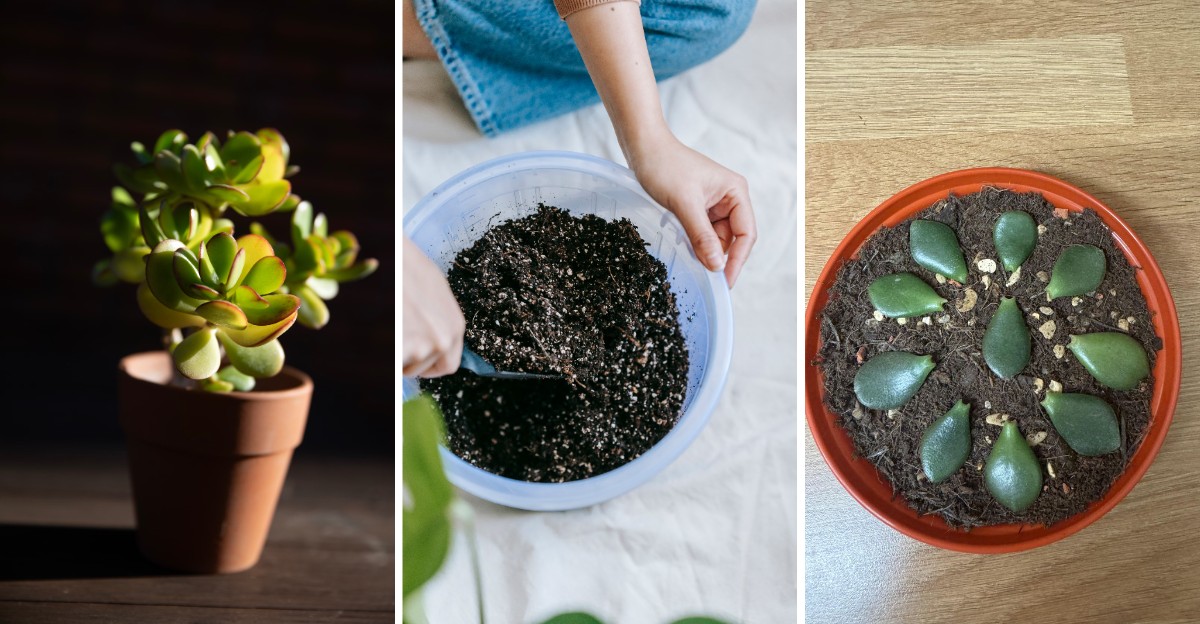
You are about to overlook a free plant. That plump leaf resting on your saucer holds a blueprint for a whole plant.
Check the base, since you need that clean tip intact. Let it dry for a few days, then lay it on gritty, fast-draining soil and let it rest on top.
Park your tray where bright, indirect light meets the glass. Skip watering until roots appear, then water lightly when the soil feels dry.
Soon you will spot hair-thin pink roots emerging from the base. Expect a tiny rosette smaller than your pinky nail to follow.
Meanwhile, the original leaf shrinks gently, feeding your newcomer along the way. Weeks of waiting separate you from a thriving new plant.
Grab a spare saucer today and gather the leaves your plant already released. Free clones multiply your collection while your wallet stays comfortably full. Congratulations, you now have a free plant to share.
1. Choose A Plump And Healthy Leaf
Think about picking apples at a busy farmers market. You grab the shiny, firm one, not the soft apple at the bottom of the crate.
Picking a leaf works the same way, and your choice sets up everything that follows. A strong start gives the new roots plenty of stored food and water.
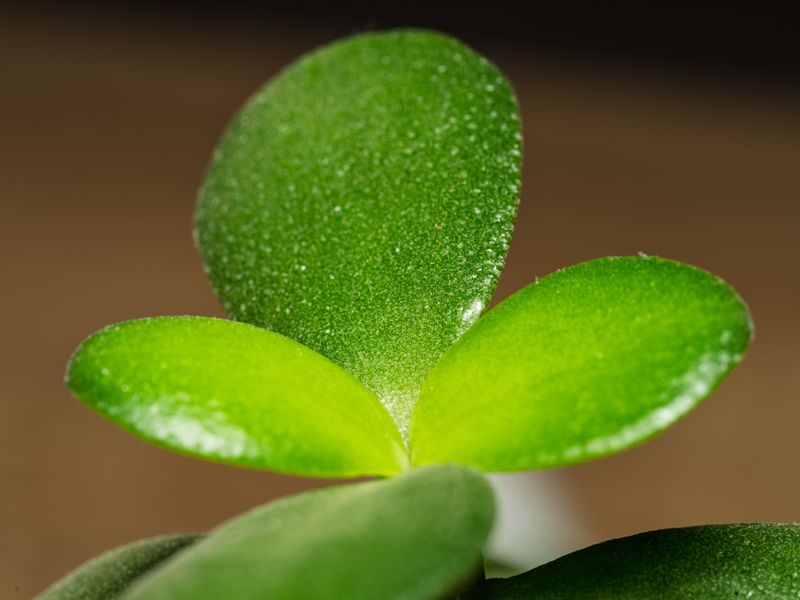
Look for a leaf that feels thick, smooth, and a little heavy between your fingers. Good color matters too, so aim for rich green with no yellow patches.
Skip any leaf with brown spots, soft areas, or deep wrinkles. Those signs usually mean the leaf is unhealthy or low on moisture.
Healthy, mature leaves from the middle of a stem are good picks. Tiny tip leaves are too young, while the oldest bottom leaves may be less vigorous.
Try to choose a leaf from a parent plant that looks happy and well watered. A thirsty parent plant may produce leaves that wrinkle before rooting.
Taking extra leaves improves your odds. Take three or four leaves instead of one, since a few may not root at all.
Spring and summer are the best seasons for this project, since jade plants grow most actively then. If you start in autumn, a grow light can help. Your extra leaves can also become cute gifts for friends later.
Did you know some old houseplants in families have been passed along this way for decades? Your chosen leaf could start a green story that lasts for years.
2. Wiggle The Leaf Off With A Clean Break
Snap, wiggle, done. Removing the leaf takes about two seconds, yet the way you do it matters more than you guess.
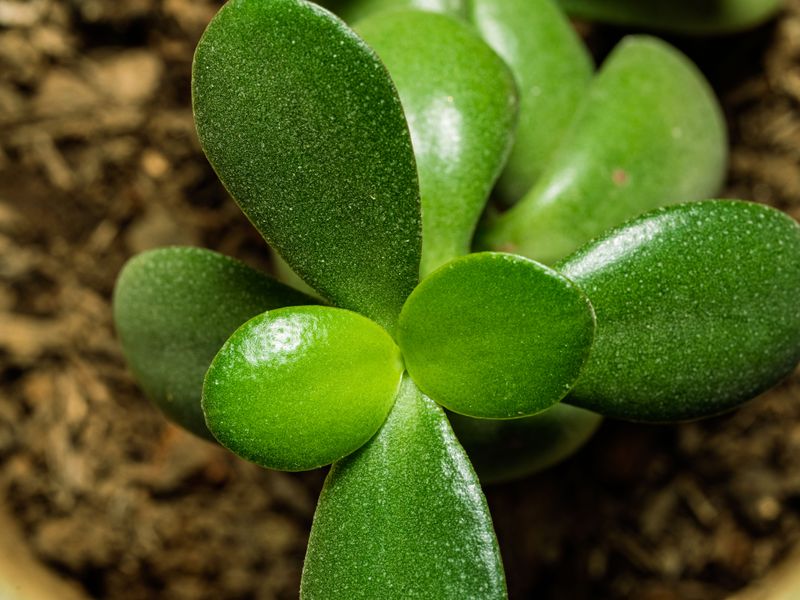
The goal is to remove the whole leaf, including the tiny base where it meets the stem. That little base holds the special cells that grow roots and new shoots.
Hold the leaf gently between your thumb and finger. Then wiggle it softly from side to side until it pops free from the stem.
A clean break looks smooth and complete, with no leftover fragments. If part of the base stays stuck on the stem, the leaf may struggle to root.
Some people like using a clean, sharp knife or small scissors instead. That method works, but cut right against the stem so the full base comes along.
Clean hands and tools help keep germs away from the freshly detached end. A quick wipe with rubbing alcohol on your blade takes only a moment.
Avoid pulling hard or tugging straight down, since that can split the leaf. A damaged leaf leaks juice and makes decay more likely.
Feel free to practice on a couple of extra leaves first. Within a few tries, you will hear that satisfying little click of a perfect release.
Once your leaf is off, resist the urge to plant it. That fresh end needs some quiet time, which comes next.
Jade plants are toxic to cats and dogs, can upset the stomach if eaten, and the sap may irritate skin. Keep leaves away from pets and children, and wash your hands afterward.
3. Let The Leaf Dry And Form A Callus
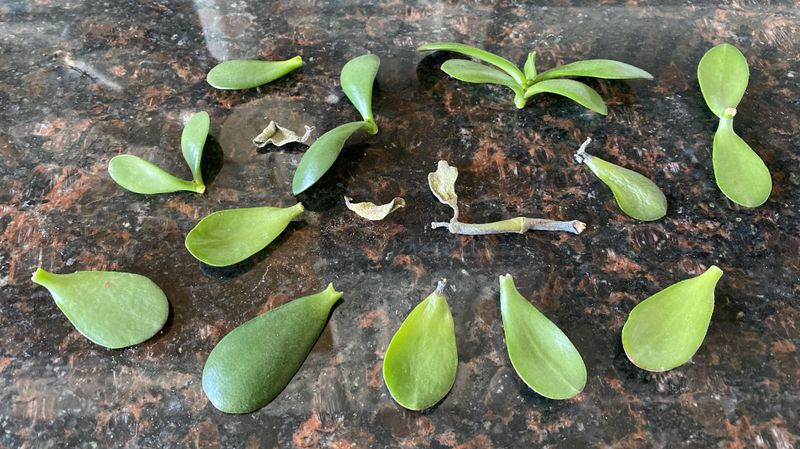
Patience helps at this stage. A freshly picked leaf has a moist, open end right where it left the stem.
Planting that moist end in soil is like putting a fresh scrape into dirty water. Germs and fungus can enter and cause the leaf to break down.
Instead, set the leaf on a dry paper towel or plate. Place it somewhere out of direct sun, like a shelf or counter.
Over the next few days, the broken end will dry out and seal itself. Growers call this protective layer a callus, and it works like a natural bandage.
Most leaves need about three to seven days to callus well. Thicker leaves may take a little longer, especially in cool or humid rooms.
Check the end by looking closely at it, no poking required. A good callus looks dry, slightly shrunk, and maybe a bit whitish or tan.
Indoor air is often drier once the heat clicks on, which helps this step. Just keep the leaves away from heater vents that blow hot air.
Do not worry if the leaf looks a little wrinkly during this time. It is living off its own stored water, just like a succulent in a dry season.
Some leaves even start sprouting tiny roots while sitting on the plate. That is a happy sign that your leaf is ready to move on.
Use this waiting period to gather supplies for the next step. A little planning now makes planting day smooth and stress free.
4. Mix A Gritty Soil For The Leaf
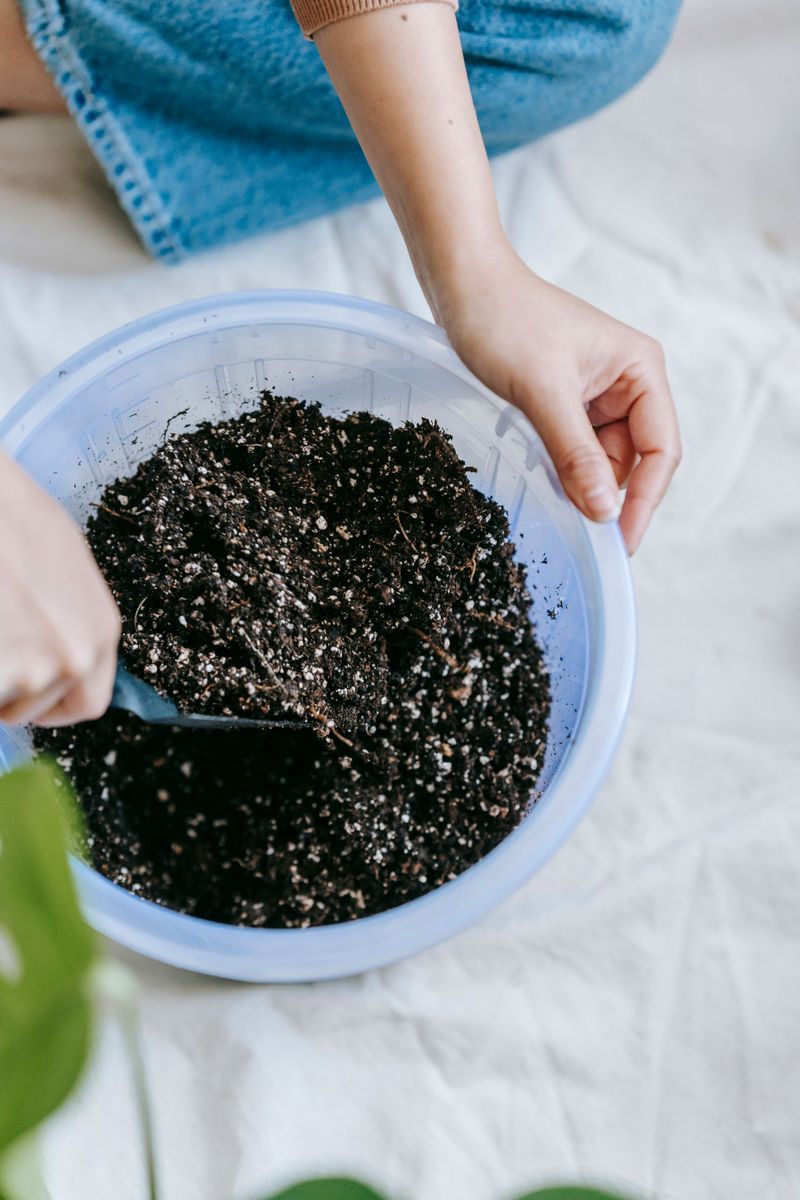
Succulents prefer soil that dries out quickly. Regular potting soil holds too much water for a tiny leaf with no roots.
A fast-draining mix keeps the leaf safe from rot while roots get started. Think of it like baking, where the right recipe makes all the difference.
The easiest option is a bag of cactus and succulent soil from any garden store. It already contains sand or grit, so water rushes through quickly.
Want to make your own blend at home? Mix equal parts regular potting soil and perlite, or add coarse sand for extra drainage.
Perlite looks like tiny white foam balls, but it is actually heated volcanic glass. It keeps soil loose and airy, so roots can breathe easily.
Avoid beach sand, since it often contains salt that can harm young roots. Fine play sand also packs down too tightly and blocks drainage.
Pick a shallow tray or small pot with drainage holes in the bottom. Deep pots hold extra moisture that a tiny leaf cannot use.
Fill the container almost to the top, then gently level the surface. Do not pack it down hard, because loose soil helps roots spread.
Lightly dampen the mix before you add any leaves, so it feels like a wrung-out sponge. Dry soil can repel water at first, while damp soil welcomes roots.
Store any leftover mix in a sealed bag for later. You will likely need it again when your baby plants outgrow their first home.
5. Set The Leaf On Top Of The Soil
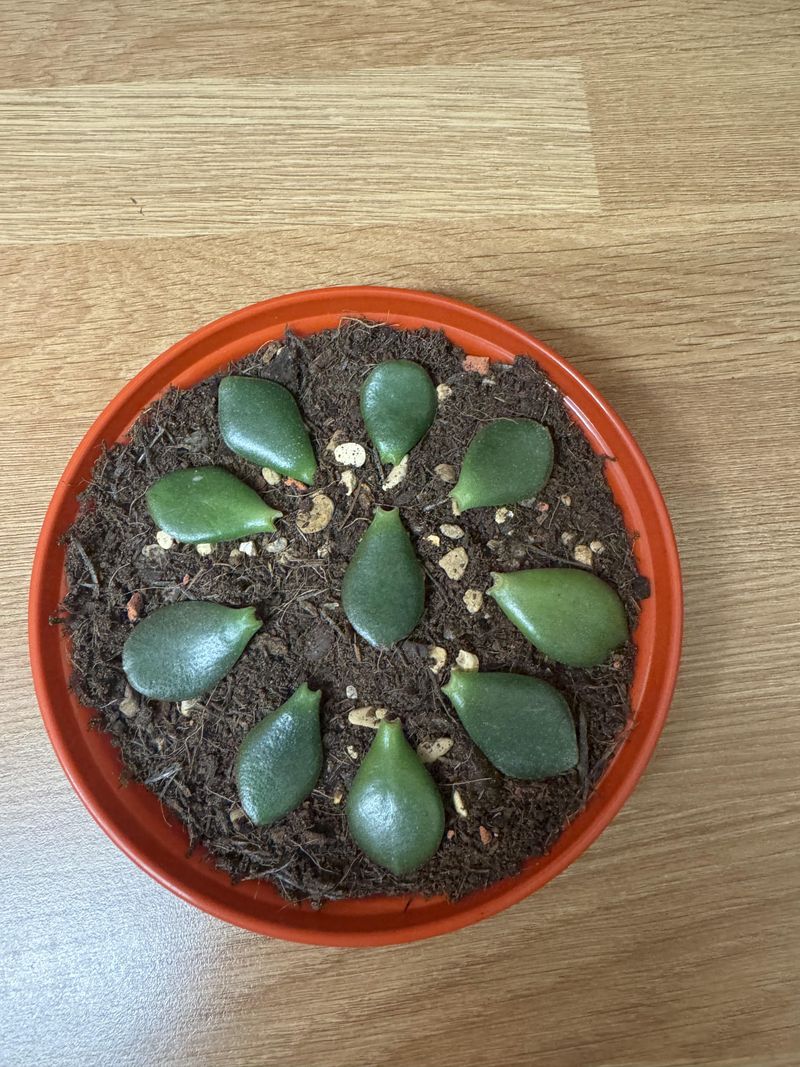
This step may surprise you. You do not need to cover the leaf with soil. Simply lay the callused leaf flat on top of the damp soil mix. Roots will find their own way down, kind of like a curious explorer.
Some growers prefer to tuck the end just slightly into the surface. Either way works, as long as most of the leaf stays above ground.
Keep the bottom end touching the soil so new roots have something to grab. Gently press it down if the leaf keeps rolling or tipping over.
Leave a little space between leaves if you are planting several at once. About an inch apart gives each one room to grow without crowding.
Do not water after placing the leaves on the soil. The damp mix already gives enough moisture, so wait until roots appear before adding more.
Curved leaves can be placed with the cupped side facing up. This position helps them sit steady, and it looks pretty neat in the tray too.
A clear plastic lid or bag over the tray is optional. Leave plenty of air holes if you use one, since stuffy air encourages mold.
Label your tray with the date using a craft stick or marker. Tracking the days helps you notice progress and stay patient during slow weeks.
Now the real waiting begins, so pick a spot where you will see the tray daily. Watching for that first tiny root becomes a quiet little thrill.
6. Give The Leaf Bright And Indirect Light
Sunlight is like breakfast for plants, but even breakfast can be too much. A rootless leaf needs gentle brightness, not intense light.
Direct afternoon sun can overheat the leaf and dry it out fast. Without roots, it cannot take up water to replace what evaporates.
A spot near an east-facing window is often perfect. Morning light there is soft, and the leaf gets a nice glow without overheating.
South or west windows can work if you place the tray a few feet back. A thin, sheer curtain also filters strong rays nicely.
Autumn and winter days get shorter, so natural light may fade earlier each evening. If your home feels dim, a small LED grow light makes a great helper.
Set a grow light about twelve inches above the tray. Run it for twelve to sixteen hours daily, and a simple timer makes this effortless.
Warmth matters as much as light during this stage. Room temperatures between 65 and 75 degrees Fahrenheit help roots form faster.
Keep leaves away from chilly windows at night in cooler months. Cold glass can chill the tray and slow growth.
Watch the leaf color for clues about the light. Pale or stretched baby shoots mean more light is needed, while reddish edges show plenty.
Rotate the tray every week or so for even growth. Little plants lean toward light, and turning them keeps their posture straight and tidy.
Kitchen windowsills are popular choices because you pass by them often. A quick glance while grabbing a snack lets you check progress every day.
7. Mist The Soil With A Light Touch
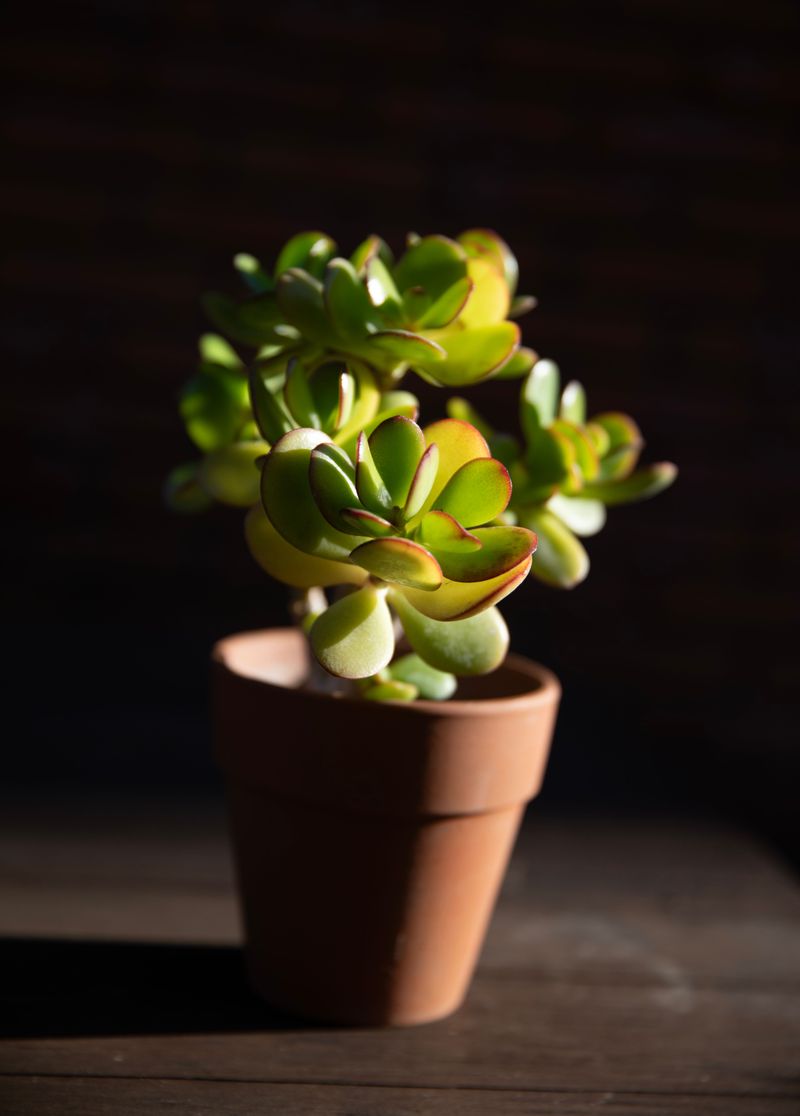
Too much water can harm a baby succulent. Overwatering is a common reason leaf cuttings fail.
Until roots appear, the leaf lives off its own stored water, so skip watering. Once roots form, give the soil a light misting when it feels dry.
Grab a small spray bottle and spritz the soil surface, not the leaf itself. Water sitting on leaves can lead to decay or mold spots.
Touch the soil with your fingertip before each misting. If it feels dry, give a few sprays, but if it feels cool, wait another day.
After roots appear, mist lightly every three to five days. Cooler rooms dry out slower, so you may stretch that gap a little. Cooler October rooms dry out slower, so you may stretch that gap a little.
Once tiny roots dig into the soil, you can water a bit more deeply. Pour slowly around the edges until the top inch feels moist.
Let the soil dry out between drinks, even after roots appear. Succulents love a soak-and-dry rhythm, like a sponge that gets squeezed and refilled.
Watch for warning signs that the leaf is getting too much water. Soft, translucent, or darkened leaves usually mean the soil stayed wet too long.
Wrinkled leaves are normal, especially once a baby plant starts growing. The original leaf slowly shares its stored food with the new sprout, which is expected.
A handy habit is keeping a tiny watering log on your phone. Jotting dates helps you spot patterns and avoid accidental double drinks.
8. Pot Up The Baby Plant With Care
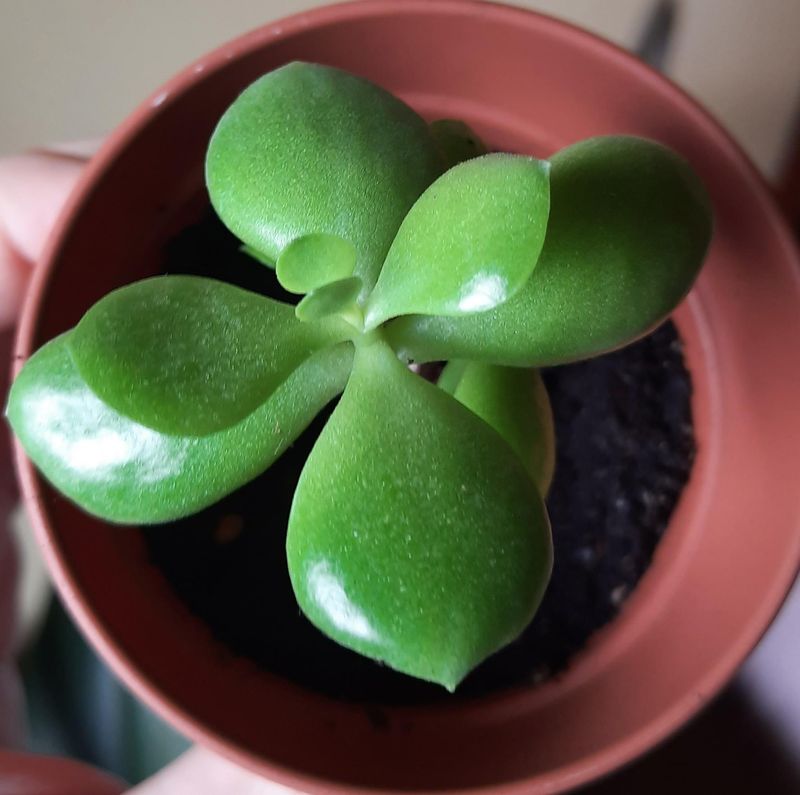
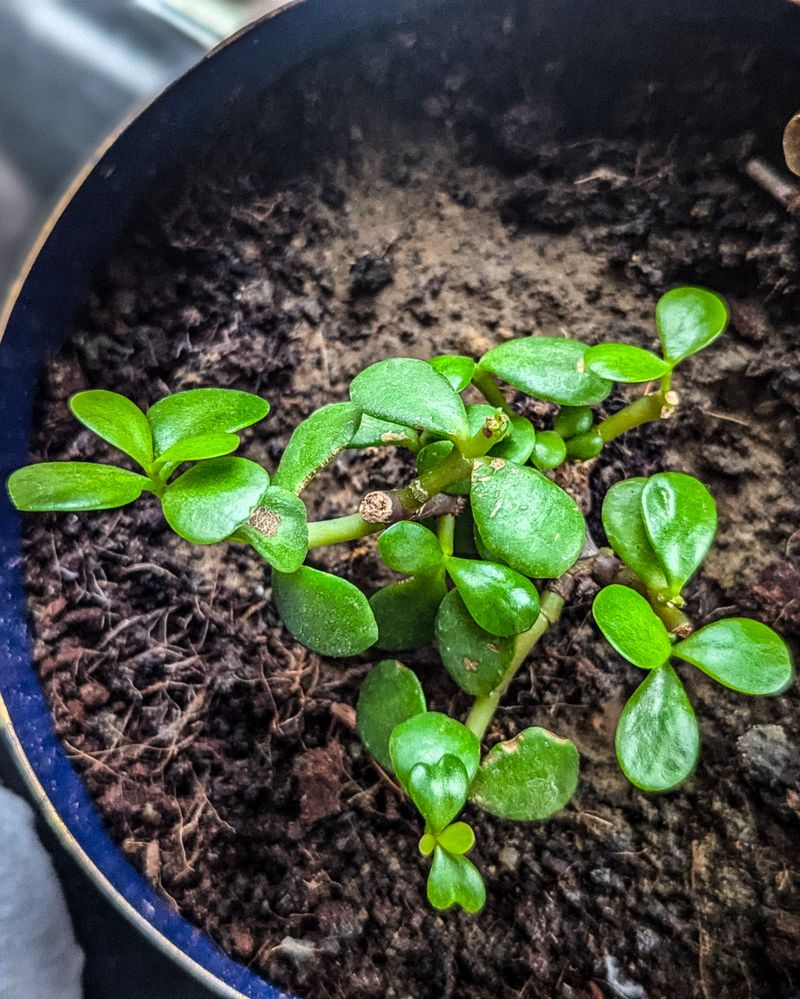
Weeks later, you peek at the tray and spot a perfect mini plant. That first sight is a rewarding moment.
Roots often appear within two to six weeks, and baby shoots can take several more weeks. Some leaves take longer. Moving them too early can disturb fragile roots, so give them time.
A good rule is waiting until the new plant has several leaves of its own. Its roots should also be about an inch long or more.
Choose a small pot around two to three inches wide with a drainage hole. Terracotta pots are a great pick, since clay lets extra moisture escape.
Fill the pot with fresh cactus mix and make a small hole in the center. Gently lift the baby plant with a spoon, keeping soil around its roots.
Leave the original leaf attached if it still looks plump. It will shrink and detach by itself when the baby no longer needs it.
Settle the plant into its new home and lightly firm the soil around it. Wait about a week before watering, giving any bumped roots time to heal.
Keep your new plant in bright, indirect light for a while before moving it to stronger sun. Sudden full sun can cause light damage on young leaves.
With good care, your tiny plant can grow into a sturdy little tree over many years. Some folks say these plants bring good luck, which makes them sweet holiday gifts.