How To Build A Cold Frame Before The First Frost Reaches North Carolina
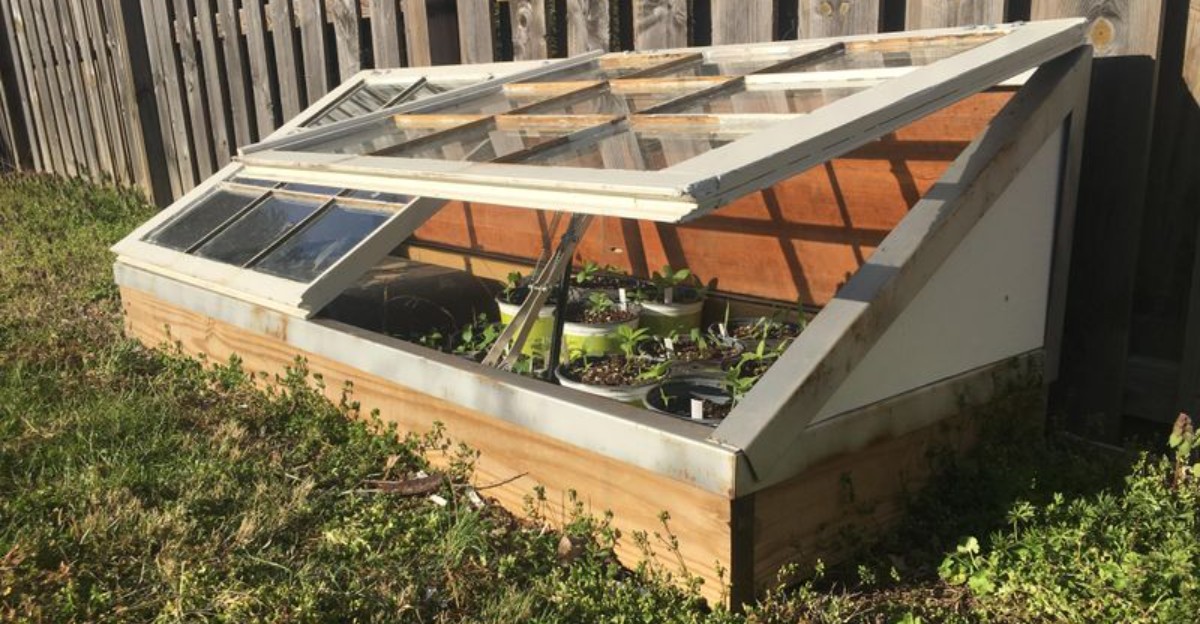
A cold frame is nothing more than a box with a lid, yet it can keep salad greens growing weeks after the neighbors’ gardens have gone quiet. North Carolina gardeners often hear about this trick and then wait too long to try it.
The first frost arrives, and the building project turns into a cold, muddy chore. The good news is that the materials are cheap, and some people already have them in the garage.
Where you place the box matters more than how fancy it looks. So does one small habit on sunny winter days, which beginners often forget until a whole crop of seedlings is scorched.
Build it this month, and your fall garden gets a long second act. The details are simple once someone walks you through them.
1. Build It Before The First Frost Arrives
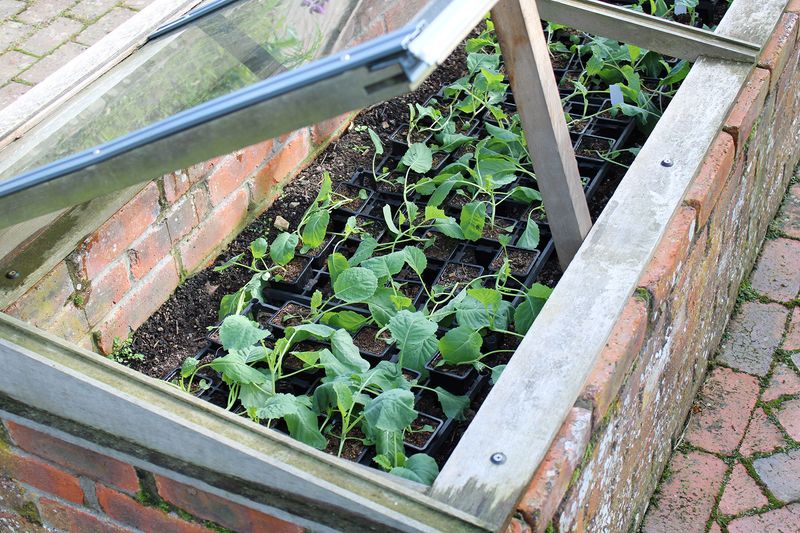
Timing is the secret ingredient most gardeners forget. You could build the finest cold frame on your street, but if you finish it after the first frost, your plants will be playing catch-up all winter long.
Cool season crops like lettuce, spinach, and kale need time to grow strong roots. When you plant them while the soil still holds some summer warmth, they settle in quickly.
By the time chilly nights roll around, they are sturdy and ready to handle the cold instead of struggling to get started.
North Carolina makes timing a little tricky because frost dates change a lot depending on where you live. The state stretches from tall mountains to sandy beaches, and the first frost can arrive several weeks apart from one region to the next.
A gardener in Boone and a gardener in Wilmington are working on very different calendars. Here is a simple guide to follow. In the Mountains, aim to finish building by early October.
Piedmont gardeners around Raleigh, Charlotte, and Greensboro should wrap up by mid to late October. Down in the Coastal Plain, you can usually wait until late October or early November.
Once the frame is built, plant seeds or move transplants inside a few weeks before your average first frost date. That head start gives young plants a chance to grow a few true leaves while days are still fairly long and bright.
Not sure of your frost date? Your local NC State Extension office can tell you, and their website has handy charts for every county.
Mark that date on your calendar, then count backward. A little planning now means crisp, homegrown greens on your table when your neighbors are buying wilted lettuce at the store.
2. Choose Safe, Long-Lasting Materials
Wood, block, or straw? Each one can make a great cold frame, but the choice you make will decide how long your project lasts and how safe it is for the food you grow.
Moisture is the biggest enemy here. North Carolina summers are steamy, and winters often bring plenty of rain.
Untreated pine soaks up that dampness and can start to rot in just a few seasons, which means you will be rebuilding sooner than you hoped.
Your North Carolina Garden Changes Every Week. Your Plan Should Too.
Gardening in North Carolina changes quickly throughout the season. Every Friday you’ll receive a simple weekly plan showing exactly what to plant, prune, fertilize, harvest, and protect so you never miss the right timing.
Cedar and cypress are smart picks because they naturally resist rot without any chemical treatment. They cost a bit more, but they often last many years.
Concrete blocks are another sturdy option, and they even soak up heat during the day. If you only need a frame for one season, straw bales arranged in a rectangle work surprisingly well and can go into your compost pile come spring.
Some materials should stay out of your garden completely. Skip old railroad ties, since they are soaked in creosote.
Also avoid wood treated with older preservatives, which may contain chemicals you do not want near your vegetables.
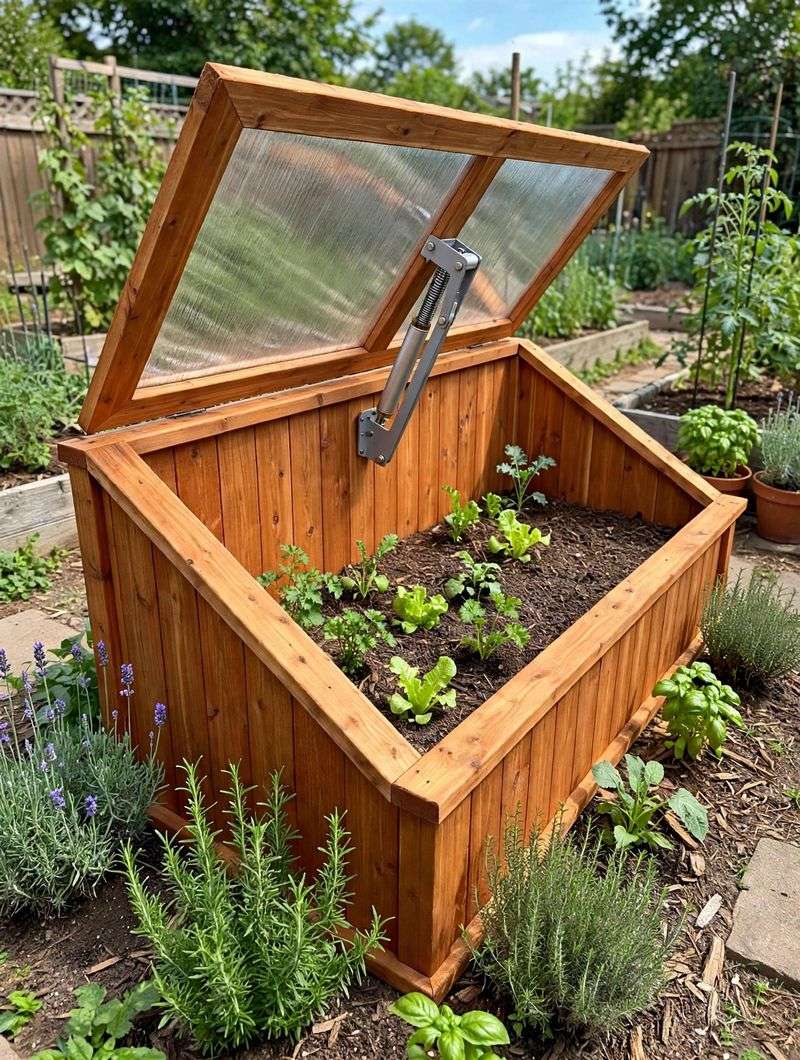
For the lid, twin-wall polycarbonate panels are a favorite. They are lightweight, tough, and the air pockets inside help hold in warmth.
Clear plastic sheeting stretched over a wooden frame is a cheaper choice that still does the job. Old windows are a classic, budget-friendly option, but be careful. Windows made before 1978 may have lead paint on the frames.
Pick up an inexpensive lead test kit at a hardware store before using one. A few minutes of testing keeps your soil and your family safe while giving that vintage window a useful second life.
3. Size It So You Can Reach Every Plant
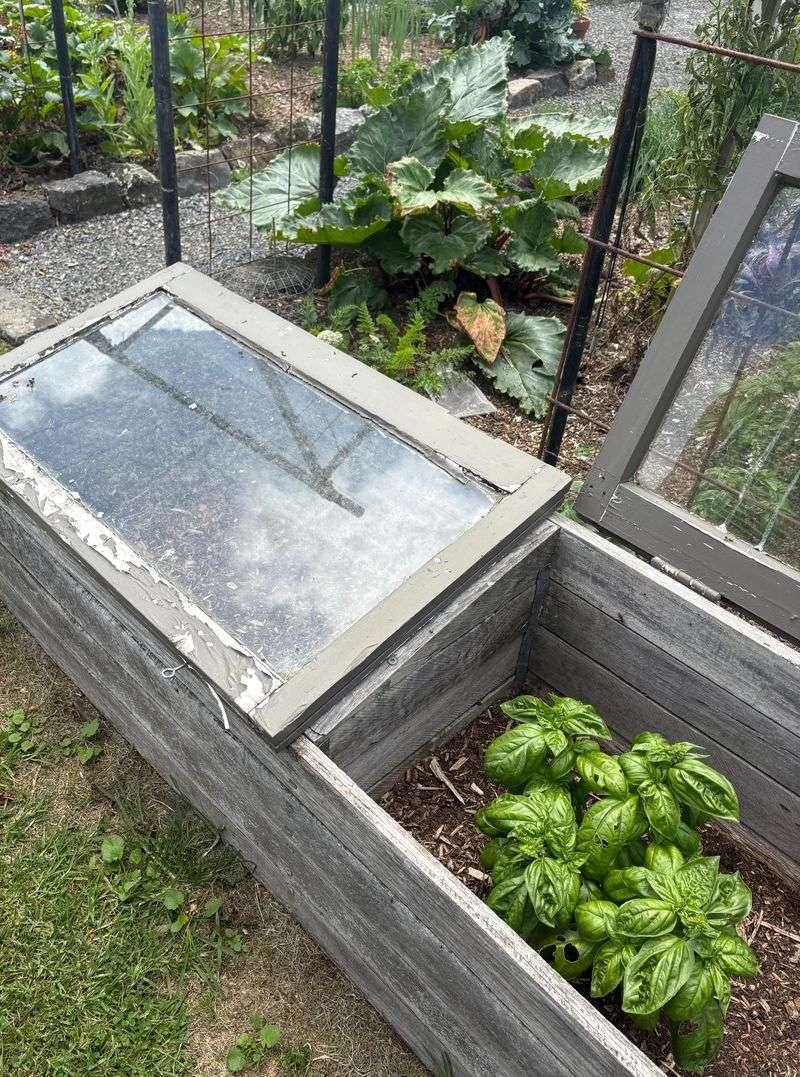
Ever tried to grab a carrot from the back of a deep garden box and nearly toppled in headfirst? Size matters more than most people think when it comes to cold frames.
A frame that is too deep forces you to lean way over or even climb inside just to reach the back row. That gets old fast, especially on a frosty morning when you just want to snip a few leaves for lunch.
A well-sized frame makes planting, watering, and harvesting quick and easy. The sweet spot is about 3 feet deep from front to back. Most adults can comfortably reach that far from the front edge.
For length, 4 to 6 feet gives you plenty of growing room without making the lid too heavy or awkward to lift.
Height plays a big role too. Make the back wall about 18 inches tall and the front wall around 12 inches tall.
That difference creates a gentle slope so the lid tilts toward the sun, catching more light and letting rain run right off.
Here is a clever trick that saves money and headaches. Find your lid material first, then build the box to fit it.
If you have an old window or a polycarbonate panel, measure it and size your frame to match. Cutting wood is much easier than trying to piece together a lid.
A manageable frame also means you are more likely to use it. Big projects can feel like chores in the middle of a gray North Carolina winter.
A neat, reachable box invites you outside for a quick check, a splash of water, and a handful of fresh greens.
4. Face The Slope South For Maximum Sun
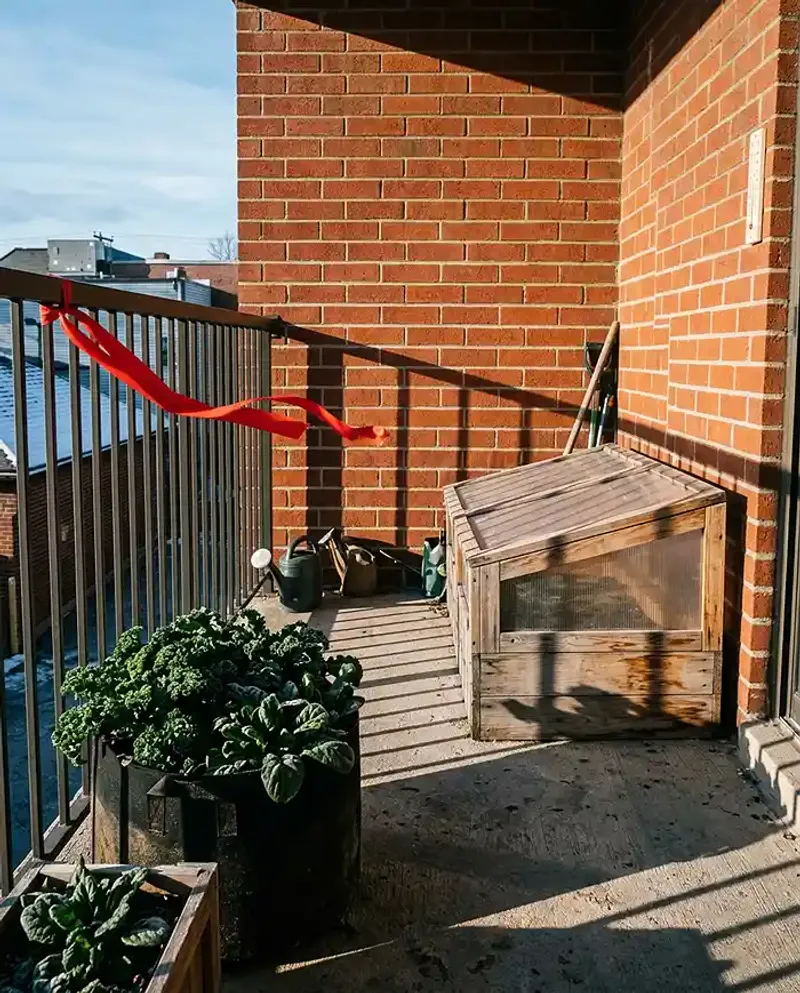
Sunlight is free heat, and your cold frame should grab every bit of it. The direction you face your frame can make a real difference in how warm it stays on short winter days.
When the sloped lid points toward the south, it catches the most sunshine possible. That light passes through the clear top and warms both the soil and the air inside.
As a bonus, the angled lid helps rain and the occasional snowfall slide right off instead of piling up.
Winter sun behaves differently than summer sun. In North Carolina, it sits low in the sky from November through February.
A tree or building that barely mattered in July can suddenly cast long shadows across your garden in December. Evergreens are especially sneaky since they keep their needles all year.
Before you build, spend a day watching your yard. Notice which spots get full sun from midmorning through afternoon.
Pay attention to shadows from your house, your neighbor’s fence, and tall pines, which are common across much of the state.
The best location of all is right up against a south-facing wall or fence. The wall blocks cold north winds, and brick or wood soaks up heat during the day and gives some back after sunset.
Many gardeners find this spot keeps their frame noticeably warmer. A good compass app on your phone makes finding south simple. Line up the low front edge toward the south, and the tall back toward the north.
With that one smart choice, your plants will soak up warmth all winter, and you will see the results in faster, healthier growth.
5. Use A Thermometer To Know When To Vent
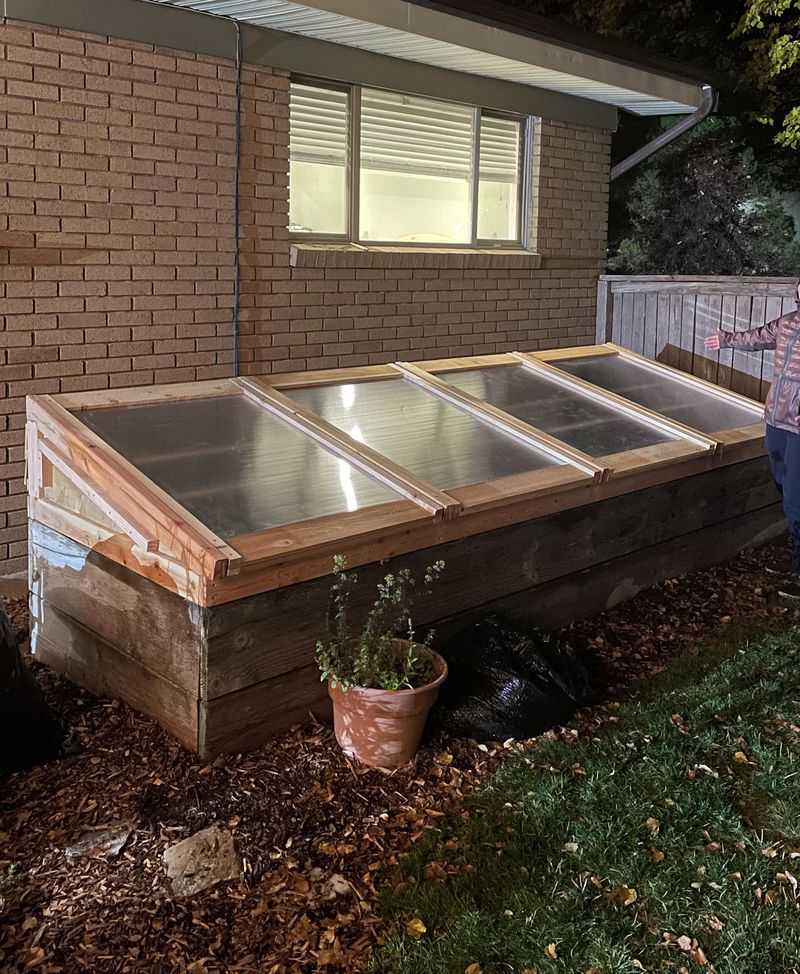
Surprise! A cold frame can get too hot, even in January. Many new gardeners are shocked to learn that their winter box can turn into a mini oven on a bright afternoon.
On sunny days, sunlight streams through the clear lid and the heat has nowhere to go. Inside temperatures can soar far above the air outside, sometimes reaching levels that stress or damage cool season crops.
Lettuce may wilt, and tender greens can scorch in just a few hours. North Carolina winters are famous for this. One week brings frosty mornings, and the next week feels like spring with sunny skies and temperatures in the 60s.
Those mild days between cold snaps are lovely for people, but they can be rough on a sealed cold frame.
The fix is simple and cheap. Place a basic thermometer inside the frame where you can read it easily through the lid.
A digital one with a max and min feature is handy because it shows how warm and cold it got while you were away.
When the inside temperature climbs above about 70°F, prop the lid open. A stick, a brick, or a notched board works fine.
Then close it again in mid to late afternoon so the frame can trap warmth before the night turns chilly. Busy schedule? An automatic vent opener might be your new best friend.
These clever gadgets use a wax-filled cylinder that expands as it warms, lifting the lid without any electricity. When things cool down, the lid lowers by itself. Your plants stay comfortable even when you are at work or school all day.
6. Add Insulation For Colder Nights
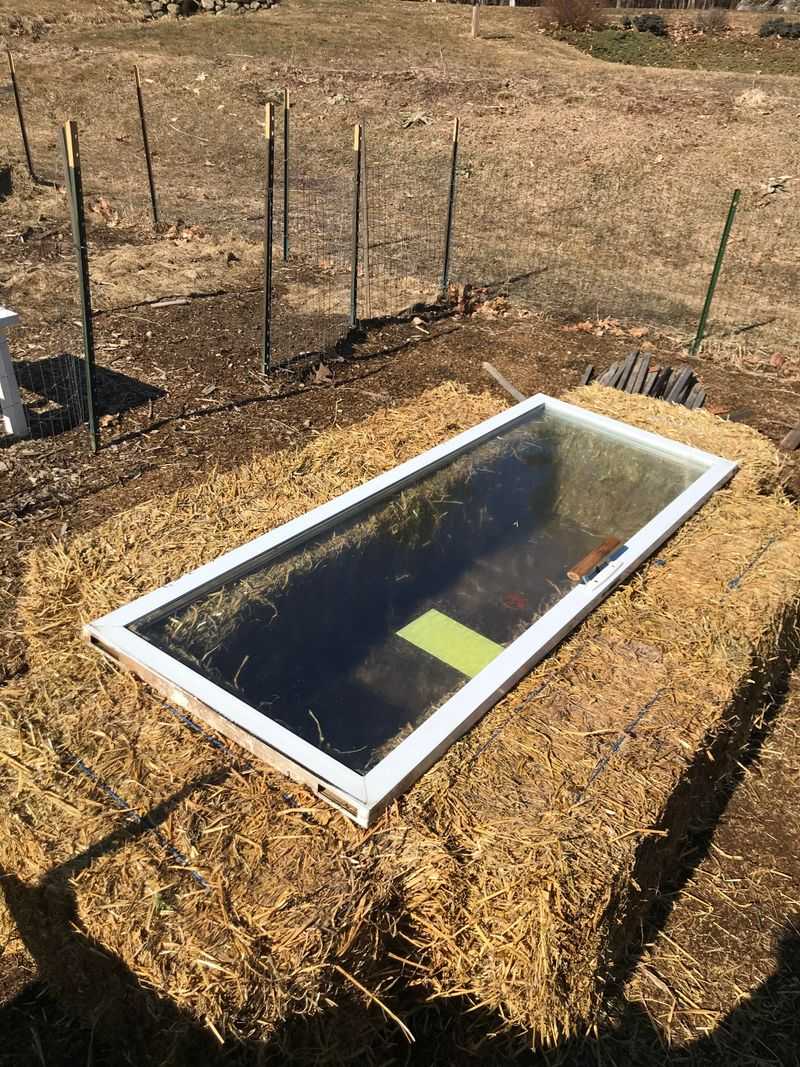
Think of insulation as a cozy winter coat for your cold frame. On most nights, the frame does fine on its own, but a hard freeze can test even the toughest kale.
Heat slips out through the walls and lid after sunset. Extra insulation slows that loss, helping your crops ride out bitter nights that might otherwise damage their leaves.
It does not take fancy supplies, either. Start on the outside. Stack straw bales or bags filled with fallen leaves against the walls.
Those bags of leaves you raked in November? They make perfect free insulation. For even more protection, line the inside walls with rigid foam board from the hardware store.
Next comes a neat trick called thermal mass. Fill a few plastic jugs with water and paint them black or dark brown, or simply use dark containers.
Set them inside the frame. During the day they soak up the sun, and at night they slowly release that stored warmth to the plants around them.
When the forecast calls for a deep freeze, toss an old blanket or tarp over the lid at dusk. Weigh the edges down with bricks so the wind does not steal it.
Just remember to pull it off in the morning so sunlight can warm things up again. These steps really pay off in North Carolina. Weeks of mild weather can lull gardeners into relaxing, and then an arctic blast swoops in overnight.
The Mountains and Piedmont feel these sudden drops the most. Keeping a blanket and a few jugs nearby means you are always ready when temperatures take a sudden plunge.
7. Turn It Into A Hotbed For Extra Warmth
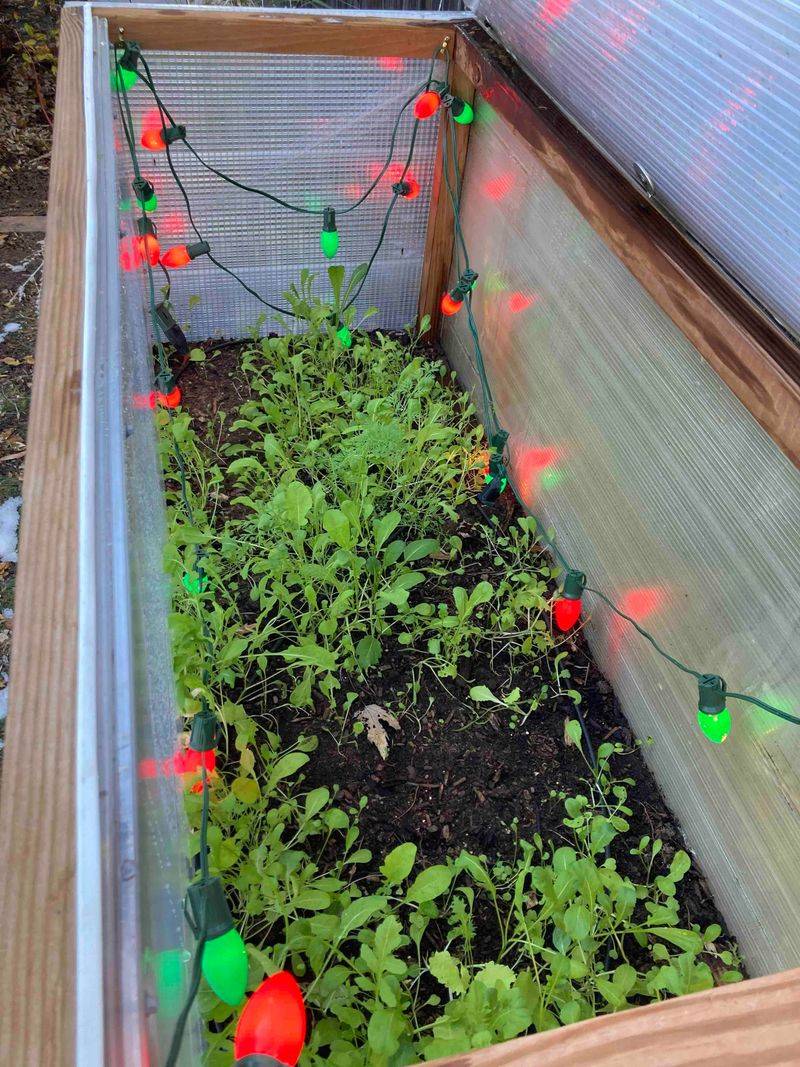
Long before electric heaters, farmers grew winter vegetables using a surprising heat source: horse manure. Gardeners in the 1800s, especially around Paris, used rows of manure-heated beds to grow fresh produce all winter.
A hotbed is simply a cold frame with warmth coming from below. Heating the root zone lets you start seeds in late winter, weeks before the usual planting time. It also helps fall crops keep growing longer when the ground turns cold.
To make the old-fashioned version, dig out the bottom of your frame about 18 inches deep. Fill most of that space with fresh horse manure mixed with straw.
As it breaks down, the mixture gives off a steady supply of heat. Cover the manure with several inches of good garden soil. At first, the heat can be too strong for seeds, so be patient.
Use a soil thermometer and wait until the temperature settles into a comfortable range, usually after a week or so, before you plant. Prefer a cleaner, easier method? A soil heating cable made for gardening does the same job.
You lay the cable under the soil, plug it in, and many models have a built-in thermostat. Always follow the maker’s safety instructions and use an outdoor-rated outlet with a GFCI.
For North Carolina gardeners itching to get a jump on spring, a hotbed is a game changer. You could have tomato, pepper, and broccoli seedlings growing strong by February.
When warm weather arrives, your plants will be ready to move into the garden, giving you an earlier and bigger harvest than ever before.