9 Virginia Tips To Grow New Snake Plants From Leaves In A Glass Of Water
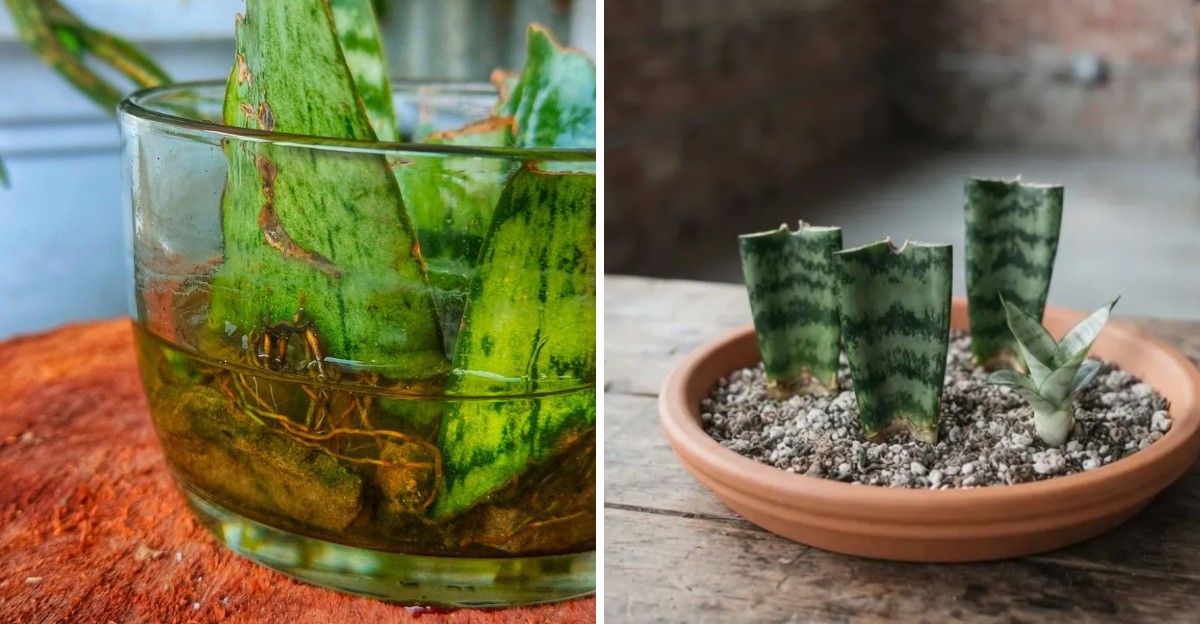
A single leaf slice, no longer than your finger, can grow roots and send up a brand new plant. Even stranger, babies from a yellow-edged parent usually come up plain green, losing the golden trim.
That color switch happens because the yellow edge lives in separate cell layers that a cut leaf cannot copy. Virginia growers often divide striped types instead of cutting leaves, which keeps that golden trim intact.
I started my first batch in a jelly jar on the kitchen sill, mostly out of stubborn curiosity. You might notice the patience part first, because nothing visible happens for weeks while the cut end quietly heals.
After I tested a few tricks, a clear glass of water became my favorite window into the whole process. Could a humid Virginia windowsill turn your spare leaves into a shelf full of free plants this year?
1. Pick A Firm Healthy Snake Plant Leaf
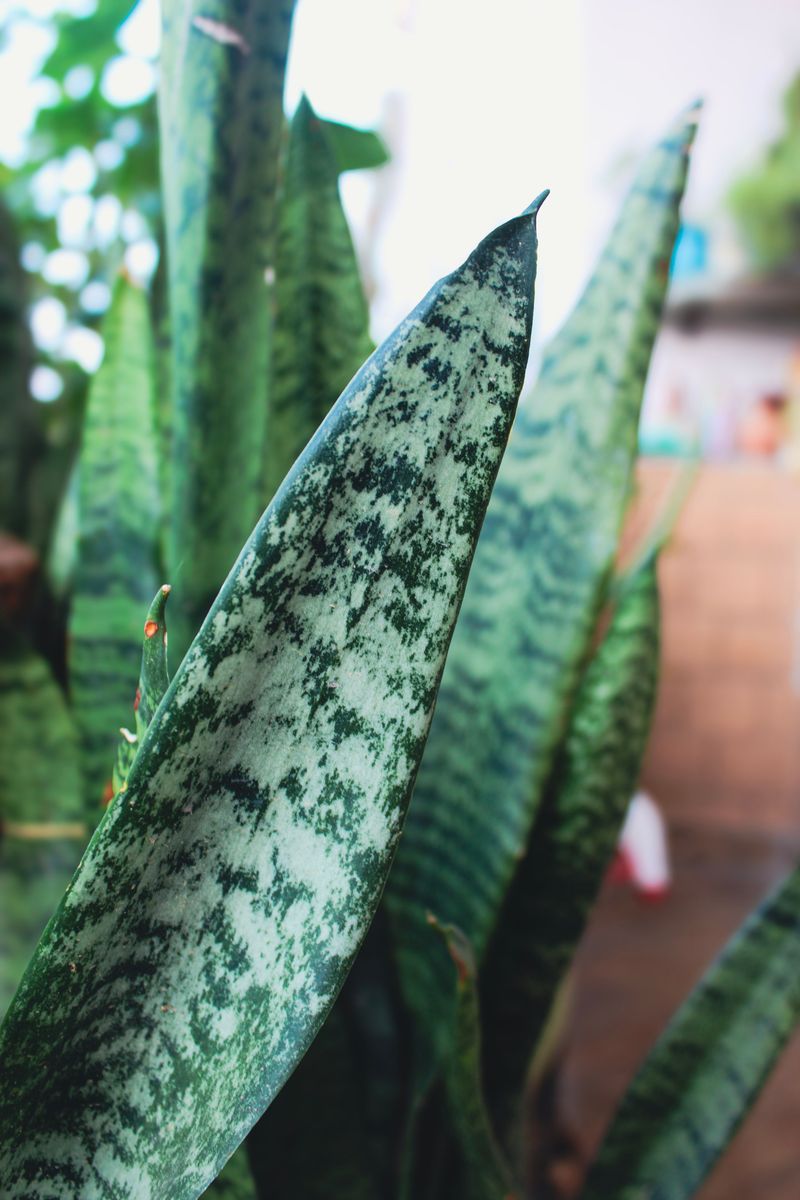
Snake plant leaves are basically water tanks, so a plump, firm leaf carries plenty of stored energy for rooting. I squeeze each candidate gently, and the best ones feel stiff and cool like a fresh celery stalk.
Skip leaves with mushy spots or deep creases, since damaged tissue often rots long before any roots appear. A mature outer leaf works well, while brand new center leaves are still soft and better left growing.
Use clean, sharp pruners or a knife washed in hot soapy water before you make the first cut. Slice the leaf near the soil line so the mother plant looks tidy instead of keeping a ragged stub.
One surprise catches plenty of growers off guard when they choose a leaf from a yellow-edged variety. Cuttings from types like Laurentii usually grow plain green pups, because the golden margin does not carry over.
If you love those stripes, divide the root clump instead, and save leaf cuttings for solid green types. Classic gray-green banded leaves and dark green varieties come back looking just like their parents, which feels reassuring.
Spring and summer are my favorite times to start, since warmer rooms push the cuttings along a bit faster. A cooler winter windowsill still works, but you will likely wait longer before the first roots show up.
2. Cut Snake Plant Leaves Into Short Sections
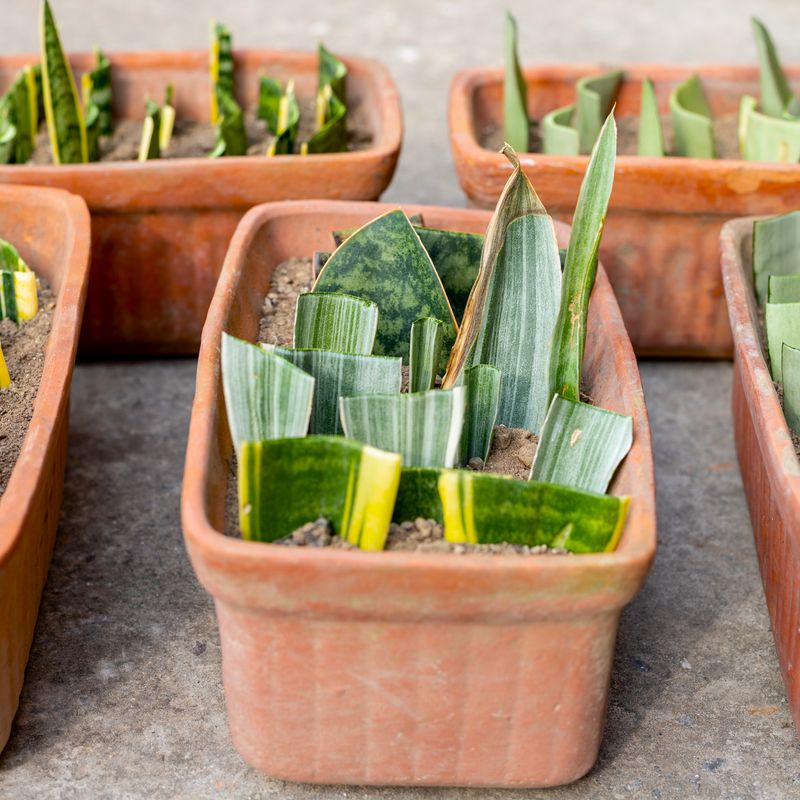
One tall leaf can turn into four or five new plants, which feels like the best bargain in gardening. I still grin every time a single eighteen-inch leaf fills a whole row of jars on my counter.
Lay the leaf flat on a cutting board and slice it into pieces about two to six inches long. Shorter pieces root fine, but sections around three or four inches feel sturdy and easy to handle.
Each piece can grow its own roots from the lower cut edge, so every section is a fresh chance. That means a leaf snapped by a pet or a clumsy elbow does not have to go to waste.
Make clean, straight cuts with one firm push rather than sawing back and forth across the thick tissue. Ragged edges leave more torn cells exposed, and those torn spots invite rot once the cutting sits in water.
Some growers prefer a slight angle on the bottom cut, which gives the new roots a little extra surface area. I like that trick because it also reminds me which end goes down later in the process.
Keep the cut pieces in the same order on your board until you finish marking them properly. Mixing them up now is the easiest way to end up with upside-down cuttings that refuse to root.
3. Mark Which End Of Each Leaf Cutting Points Down
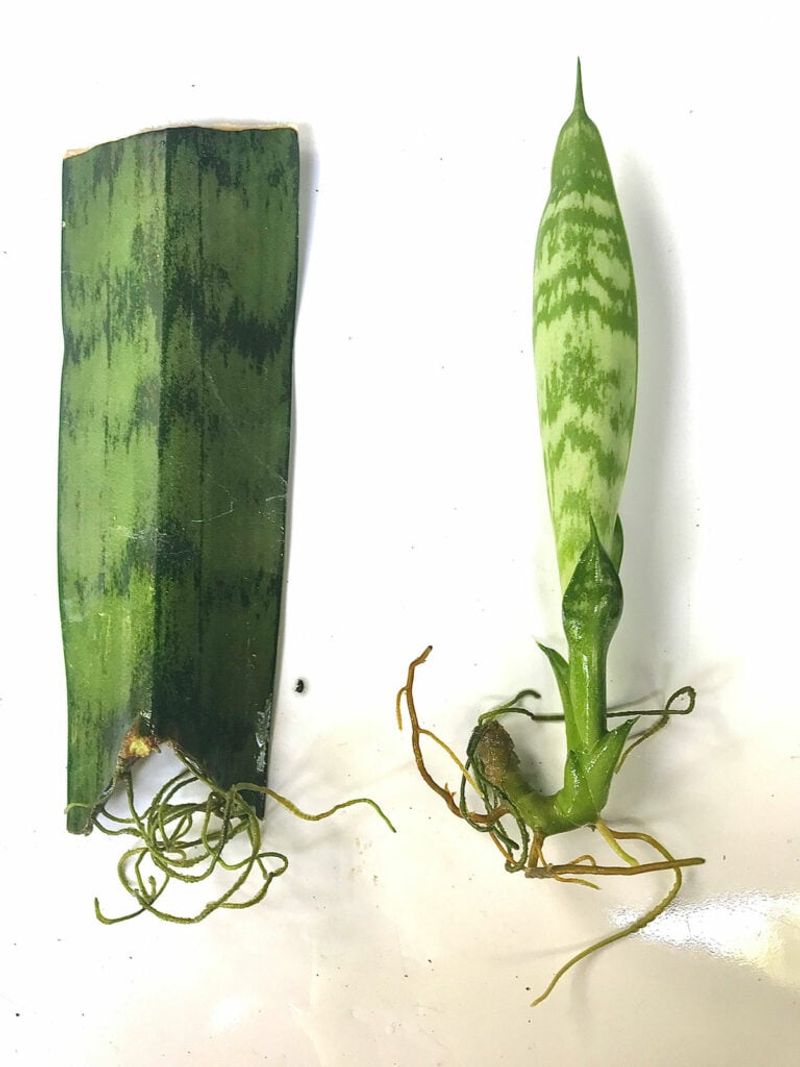
Snake plant cuttings are surprisingly picky about direction, and an upside-down piece will sit in water without rooting. Roots form only at the end that originally faced the soil, so orientation matters more than you might expect.
I learned that lesson the hard way after six weeks of staring at a cutting that did nothing. Turns out I had flipped it while drying, and the poor thing was trying to root from its top.
A quick fix is cutting a small V notch into the top edge of each piece right after slicing. Others snip the bottom at an angle and keep the top flat, which works just as well as a reminder.
You can also draw a tiny arrow pointing down with a permanent marker on the leaf surface. The ink stays put for weeks, and it will not harm the cutting or slow the rooting process.
Kids love helping with this part, so it makes a fun project for a rainy Saturday afternoon at home. Just keep the knife work for grown-ups, and let younger helpers handle the arrows and the labels.
Snake plant sap can mildly upset stomachs in cats and dogs, according to the ASPCA toxic plant list. Keep trimmed scraps and drying pieces off low tables where curious pets might decide to take a nibble.
4. Let Cut Snake Plant Leaves Dry Before Water
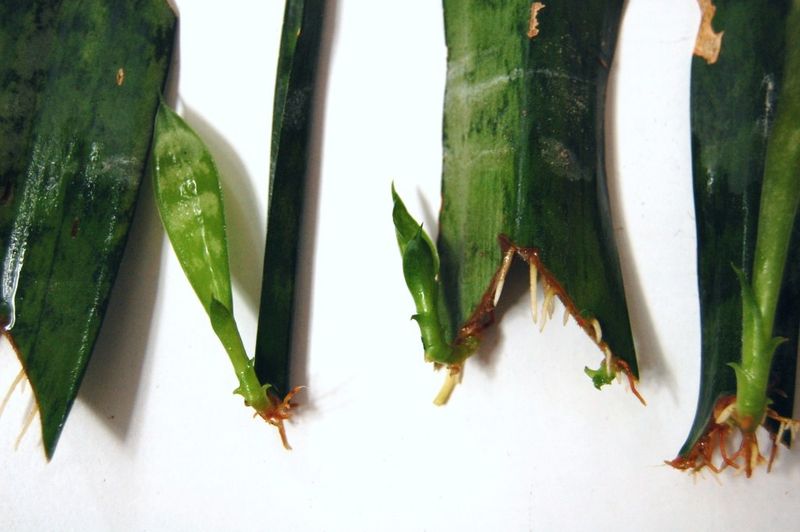
Fresh snake plant cuts look wet and glossy, almost like a sliced cucumber, and that moisture invites trouble. Letting the end dry first gives the cutting a tough little scab that keeps rot bacteria from sneaking inside.
Gardeners call this step callusing, and it is one of the simplest ways to improve your success rate. I spread my pieces on a paper towel in a warm room with steady airflow and indirect light.
Most cuttings need one to three days, though thick, fleshy pieces may take up to a week to seal. You will see the cut surface turn dry and slightly papery, which tells you it is ready for water.
Humid Virginia kitchens can slow the drying a bit, so a spot near a fan or air conditioner vent helps. Avoid direct hot sun during this stage, because strong rays can shrivel the leaf instead of just the cut end.
I skipped this step once out of impatience, and two of my four cuttings turned soft within days. The other two survived, but that coin flip convinced me that a short wait pays off every time.
Some growers also dust the dried end with rooting hormone, though snake plants usually root fine without it. If you try it, tap off the extra powder so it does not cloud the water in your glass.
5. Keep Just The Bottom Of The Leaf In A Clear Glass
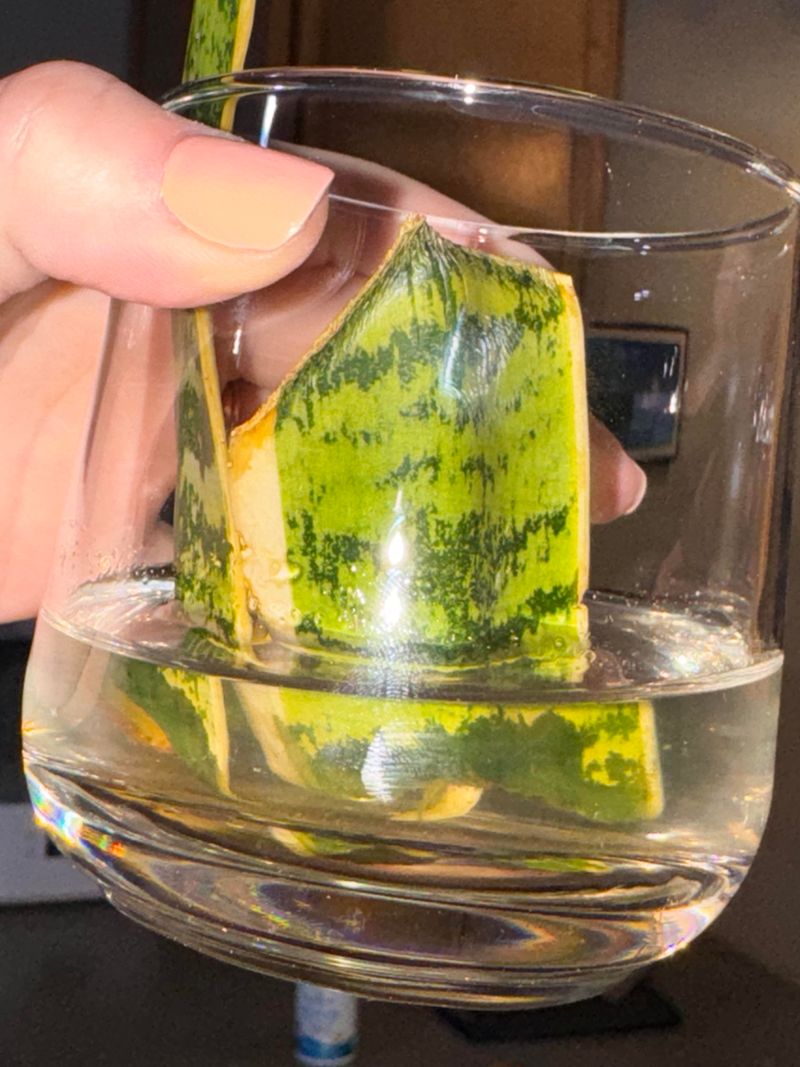
A clear glass turns rooting into a tiny science show, since you can watch every new root from the side. Old jelly jars and narrow drinking glasses both work well, as long as they are clean and see-through.
Pour in enough water to cover only the bottom half inch to two inches of each cutting. The rest of the leaf should stay dry and upright, because a soaked leaf tends to turn mushy fast.
Narrow-necked containers hold cuttings upright on their own, which saves you from fiddling with clips or tape. For wider jars, I rest the leaves against the rim or poke them through a piece of plastic wrap.
Tap water is usually fine, but letting it sit out overnight allows some of the chlorine to escape. Filtered water or rainwater makes a nice option if your local supply tastes strongly of treatment chemicals.
Room temperature water feels gentler on the cut tissue than icy water straight from the refrigerator door. I fill my jars the night before, so the water matches the room by the time cuttings go in.
Group several cuttings in one wide glass if you like, but leave a little space between each piece. Crowded cuttings trap moisture against each other, and one rotting piece can quickly spoil the rest of the water.
6. Set The Glass In Bright Indirect Window Light
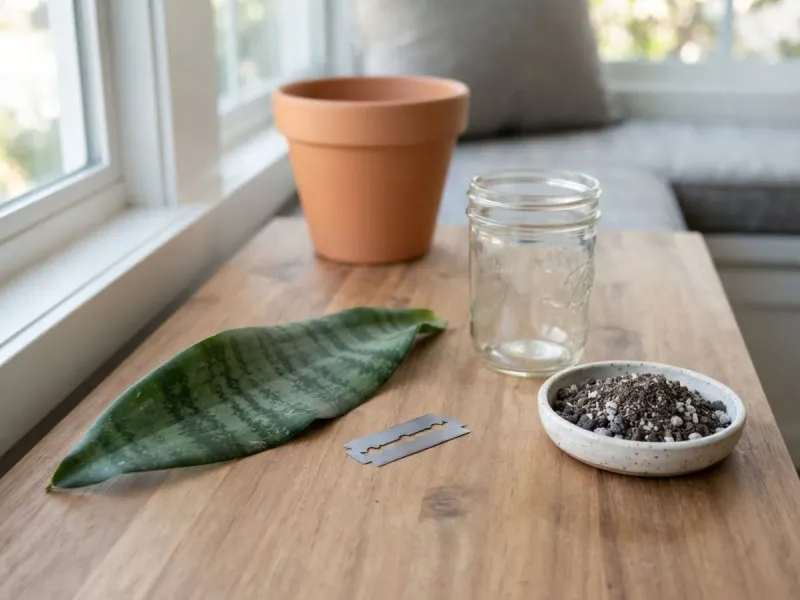
Snake plants hail from dry parts of tropical Africa, so they appreciate warmth and bright light while forming roots. A glass parked in a gloomy corner will still root eventually, but it may take months longer.
Bright, indirect light near an east-facing window is my favorite spot for a row of rooting jars. A sheer curtain on a south or west window works too, softening the harsh afternoon beams nicely.
Direct sun through glass can heat the water quickly and scorch the leaf edges into crispy tan patches. Warm water also holds less oxygen, which slows root growth and gives bacteria a cozy place to multiply.
Aim for room temperatures around 70 to 85 degrees, which most Virginia homes reach easily for much of the year. Keep the jars away from cold window glass in winter and away from blasting air conditioner vents.
You might notice a slight green film forming in very sunny spots, which hints at too much light reaching the water. Algae loves sunshine and still water, so moving the jar a few feet back often solves the issue.
I rotate my glasses every week or so, which keeps the leaves from leaning hard toward the window. That small habit also gives me a reason to check the water level and peek at any progress.
7. Swap The Water Every Week To Stop Rot
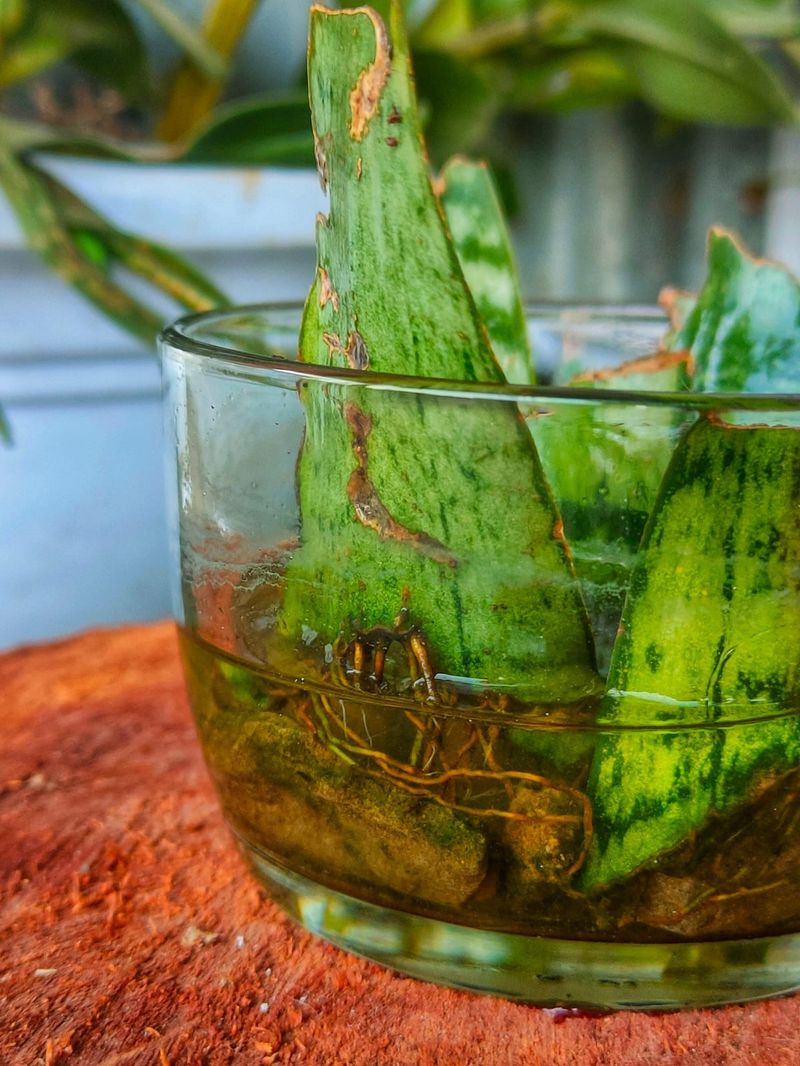
Cloudy, smelly water is the number one warning sign that a snake plant cutting is headed for trouble. Fresh water carries more oxygen, and roots need that oxygen to grow strong instead of turning slimy.
Plan to dump and refill the glass about once a week, or sooner if the water looks murky. I tie this chore to taking out the recycling, so it rarely slips my mind during busy weeks.
While the water is out, give the glass a quick rinse with warm soapy water to remove any film. Rinse away the soap thoroughly afterward, since leftover residue can irritate the tender cut tissue at the base.
Check the bottom of each cutting during every change, and gently feel for soft or darkened spots. Healthy tissue feels firm, while rot shows up as brown mush that smells sour and spreads upward fast.
Rot does not mean the whole cutting is lost, because you can trim above the soft area and start again. Let the fresh cut dry for another day or two, then return it to clean water at a shallower depth.
Top off evaporated water between changes so the bottom of the cutting stays submerged the whole time. In warm, dry rooms, water can drop noticeably within a few days, leaving the callused end high and dry.
8. Wait Patiently For White Roots And Tiny Pups
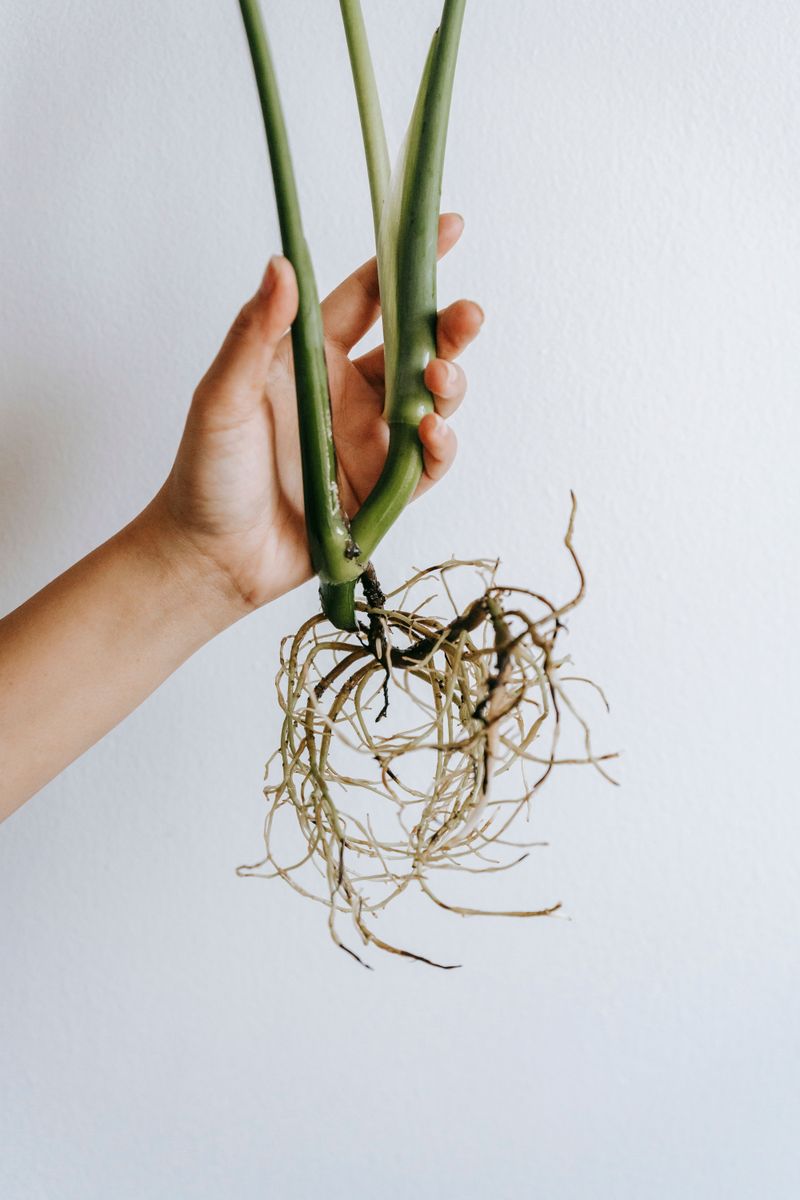
Snake plants take their sweet time, and water rooting can stretch from about four weeks to several months. I check my jars every morning anyway, sipping my tea and hunting for the faintest white bump.
First roots usually appear as tiny white nubs along the bottom edge of the callused cut end. Over time they lengthen and may turn a light orange or tan color, which is normal for this plant.
Later, a small shoot called a pup may poke up from the roots, often just beneath the waterline. That pup is the actual new plant, while the original leaf section mostly acts as a food pantry.
Cooler months slow everything down, so a cutting started in winter may sit quietly far longer than expected. As long as the leaf stays firm and green, it is still working hard on growth you cannot see.
Resist the urge to tug the cutting out every few days to check, since handling can snap delicate roots. A clear glass lets you watch from the side, which keeps curious fingers busy with something other than poking.
Snapping a photo each week gives you a fun progress record and makes the slow pace feel more rewarding. You will be amazed how much changes once the first roots appear and growth picks up speed.
9. Move Rooted Cuttings Into Gritty Succulent Soil
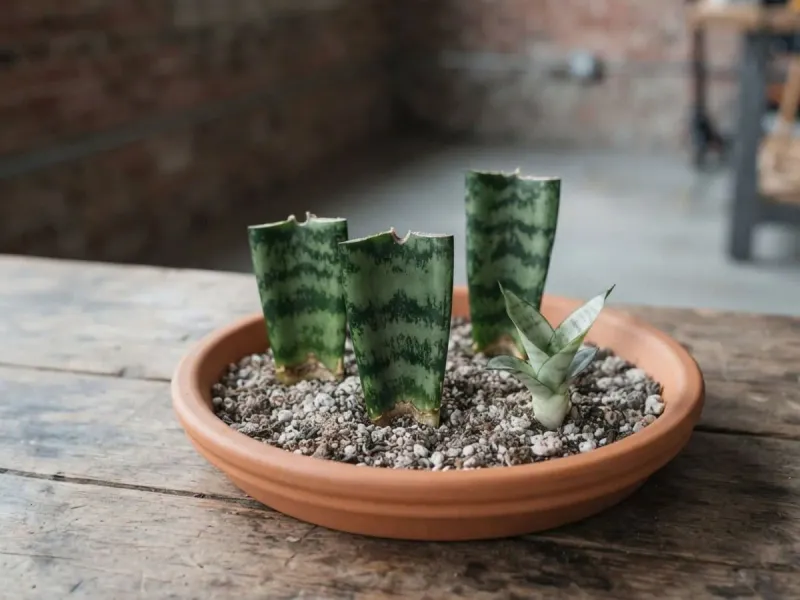
Watching a rooted cutting settle into its first pot feels a bit like sending a kid off to school. Wait until roots reach about one to two inches long, which gives them enough strength for the move.
Some growers wait for a pup to appear, but healthy roots alone are usually enough to make the switch. Leaving cuttings in water for many extra months can make them slower to adjust to drier soil later.
Choose a small pot with a drainage hole and fill it with a gritty cactus or succulent mix. Water-grown roots are tender, so press the soil around them gently instead of packing it down hard.
Keep the soil lightly moist for the first couple of weeks while those water roots adapt to their new home. After that, water only when the top inch or two of soil feels dry to your finger.
Keep new snake plants in containers, since some relatives escape gardens in warmer regions and appear on invasive plant lists. Potted plants still enjoy a shaded patio, and they are easy to bring inside when cold nights arrive.
Hold off on fertilizer for a month or so, then feed lightly during the warm growing season. Before long, that humble leaf slice becomes a sturdy plant ready to share with friends and neighbors.