Why Peas Are A Smart November Crop In California Gardens
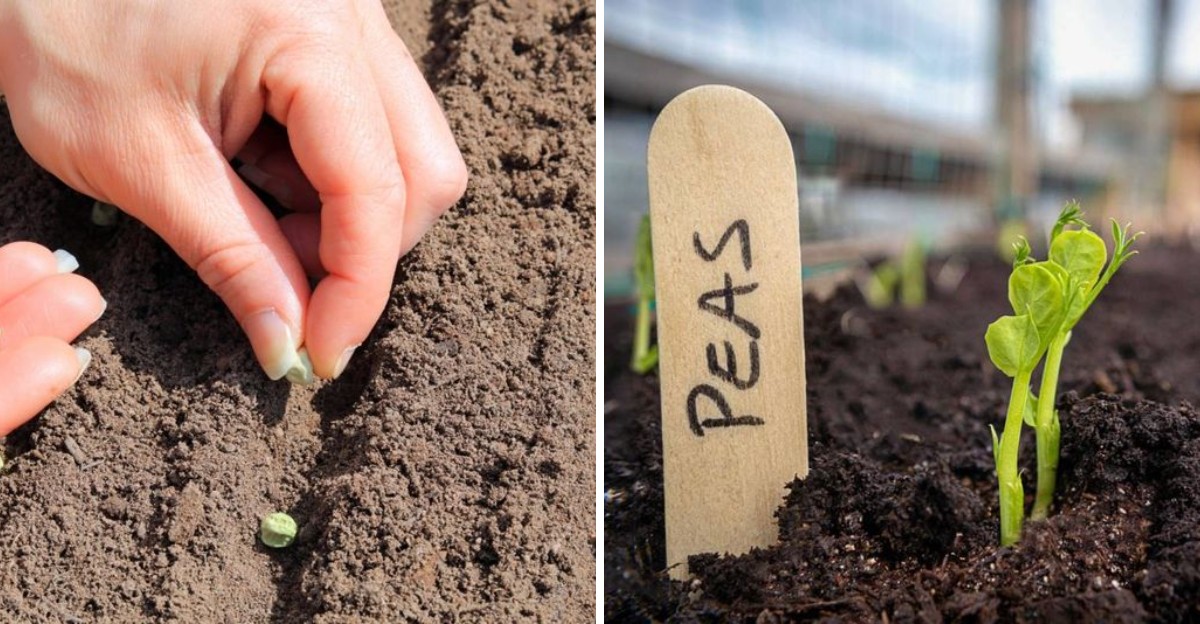
A single pea plant can pull nitrogen right out of the air and stash it in its roots. That trick happens thanks to tiny soil bacteria living in little bumps called nodules.
I find it fascinating that such a humble vine can feed itself and leave the soil richer for whatever you plant next. Even better, it does this work during the chilly, quiet months when most gardens across the country are asleep.
Here in California, many of us get mild winters, steady rain, and cool soil that sticks around for weeks. Those are pretty much dream conditions for one sweet little climber with curly tendrils.
So what if the smartest seed you sow all year goes in the ground right before Thanksgiving? You might be surprised by how early your first crunchy harvest shows up.
1. Cool November Soil Gives Pea Seeds A Quiet Head Start
Peas are cool-season plants at heart. UC Master Gardener programs list fall through late winter as prime pea planting time across much of California, and November sits right in that window.
Seeds sprout in soil as cool as 40 degrees, though germination is quicker when soil is in the 50s or 60s. November soil in most lowland gardens lands in that sweet zone, so seeds wake up without baking.
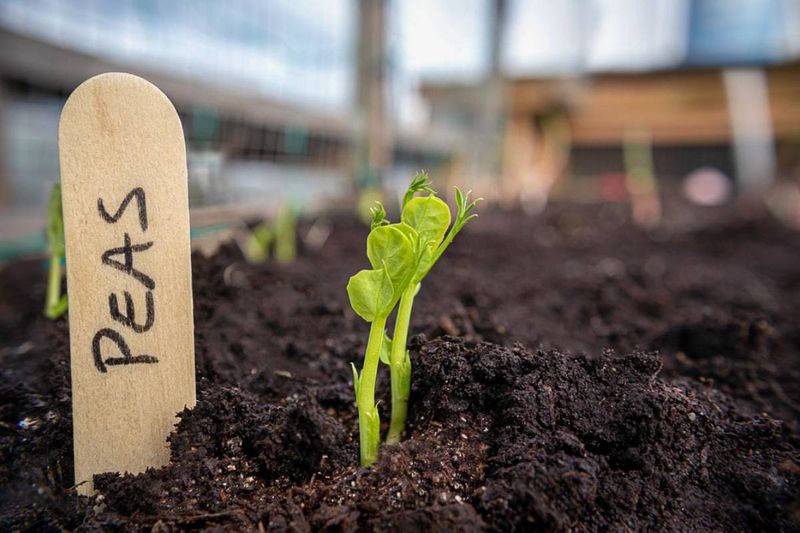
Once they sprout, young plants spend the short days building roots instead of racing upward. That underground work pays off later when longer days arrive and the vines take off.
I love that this timing lines up with our rainy season too. Winter storms often handle much of the watering for you, which saves time and lowers your water bill.
The real advantage is that peas finish their job before heat shows up. Warm spring weather can stop flowering and turn pods tough, so a fall start lets plants produce during the cool stretch they enjoy most.
Plant in November, and you are working with the weather instead of fighting it. For a crop this easygoing, that is about as smart as gardening gets.
2. Sweet Pea Pods Taste Better When The Weather Stays Chilly
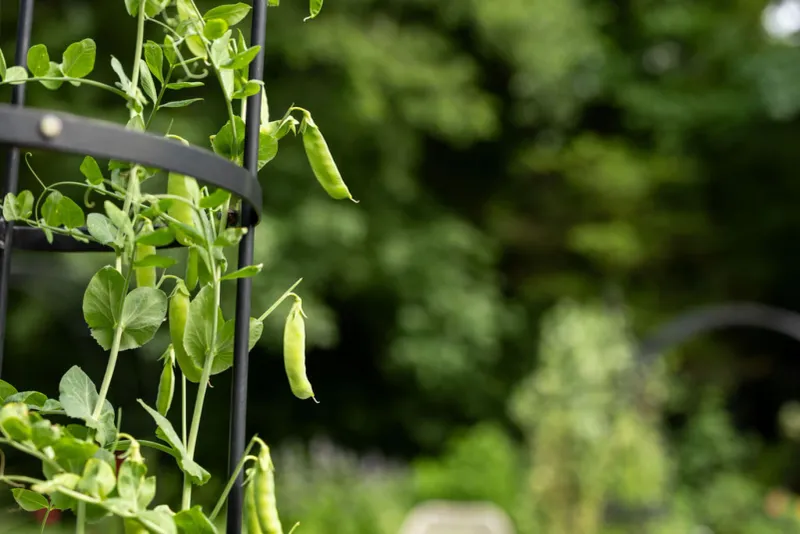
Bite into a pea pod picked on a crisp February morning, and you will taste the difference right away. Cool weather keeps peas sweet and tender.
Peas grow best when temperatures hover roughly between 55 and 70 degrees. In that range, plants produce well and pods stay crisp and full of sugar.
Heat changes the story fast. Once days climb into the 80s, plants often slow down, stop setting new pods, and the peas inside turn starchy sooner.
A November planting dodges that problem nicely. Plants usually flower and fill pods in late winter and early spring, well before most hot spells roll through.
Here’s something worth knowing about disease too. Powdery mildew, that dusty white coating on leaves, tends to show up more on peas as weather warms in late spring.
Fall-planted crops often wrap up before it becomes a big issue.
Mature pea plants handle light frost pretty well, which is handy for chilly nights. Flowers and young pods are more tender, though, so a hard freeze during bloom can set things back a bit.
Cool days, slow growth, and sugary pods make a winning trio. Your taste buds will notice.
3. Planting Pea Seeds Takes Just A Few Simple Steps
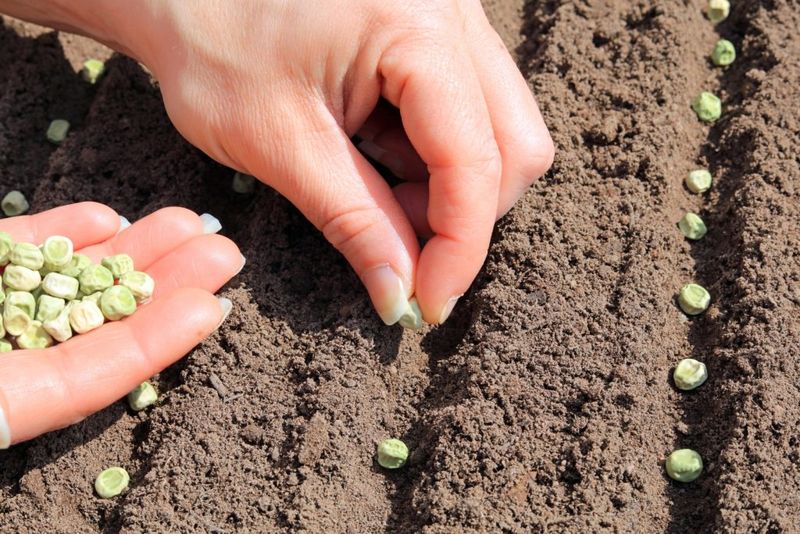
Grab a packet of seeds and a trowel, and you are nearly ready. Planting peas is one of the easiest garden chores of the year.
Choose a sunny spot that gets at least six hours of light. Winter sun sits lower in the sky, so watch for shadows from fences, trees, or your house.
Loosen the soil and mix in some compost. Peas like well-drained ground, and soggy beds can lead to seed rot during wet weeks.
Sow seeds about one inch deep and roughly two inches apart. Space rows or double rows near the support you plan to use.
Some gardeners soak seeds for a few hours before planting to speed things up. Keep it short, though, since soaking too long can harm seeds.
A dusting of pea inoculant, a powder of helpful bacteria, can boost those nitrogen-fixing root nodules. It’s cheap, easy, and especially useful in beds where peas have not grown before.
Water once after planting if the soil is dry. After that, let winter rain help, adding water only during dry spells.
Seedlings typically pop up within one to two weeks. Then the fun begins.
4. Curly Pea Tendrils Will Grab Any Trellis You Give Them
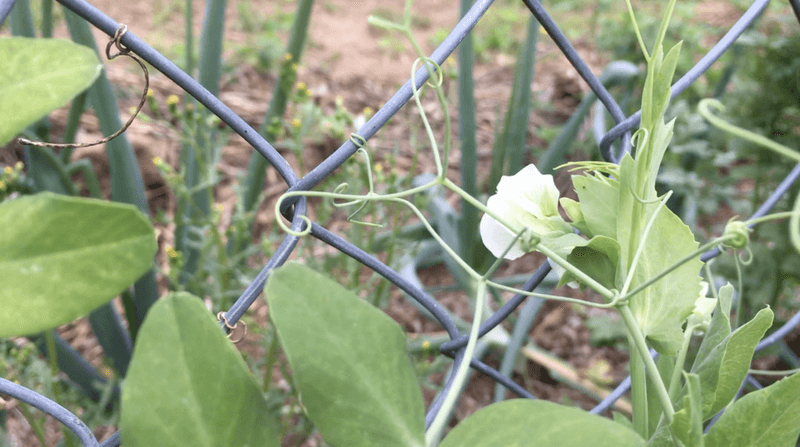
Watch a pea tendril for a few days, and it feels a little like magic. Those thin green coils reach out, find something to grab, and wrap tight.
Tall vining types can climb five feet or more. They need a sturdy trellis, a section of wire fencing, netting, or a row of stakes with string.
Bush or dwarf peas stay much shorter, often around two to three feet. Even these benefit from a little support, like twiggy branches or a short fence.
Set up your support at planting time. Pushing stakes into the soil later can damage those tender roots you worked so hard to grow.
Fun fact: gardeners used to call twiggy sticks for peas “pea brush,” and plenty of folks still use pruned branches today. It’s free, rustic, and the vines love it.
Keeping vines off the ground helps a lot during rainy months. Pods stay cleaner, air flows better, and slugs have a harder time reaching your harvest.
Picking also gets easier when pods hang at eye level. Your back will thank you after a long morning in the garden.
5. Snow Peas, Snap Peas, Or Shelling Peas For Your Winter Bed
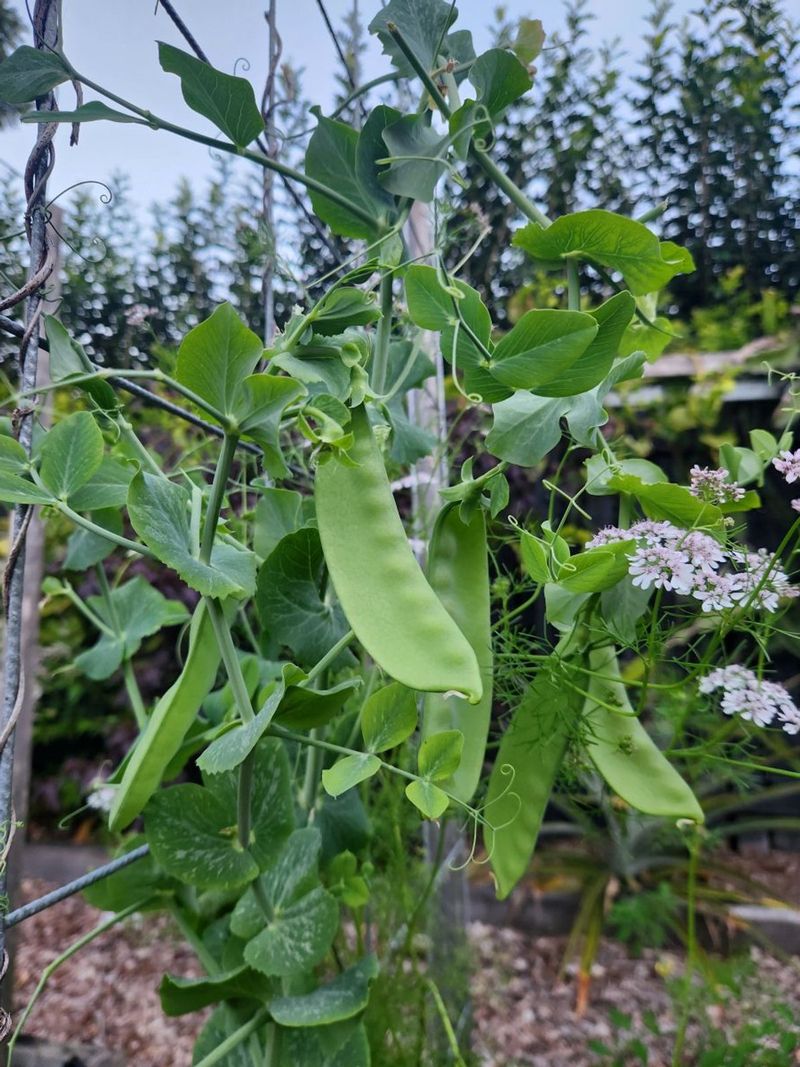
Picking a pea type is half the fun. Three main groups grow well in winter gardens, and each brings something different to the kitchen.
Snow peas have flat, tender pods that you eat whole. They shine in stir-fries and grow quickly, so harvest comes fast.
Snap peas give you the best of both worlds with thick, juicy pods and plump peas inside. ‘Sugar Snap’ is a classic tall climber, while ‘Sugar Ann’ stays compact and matures early.
Shelling peas, sometimes called English or garden peas, are grown for the round peas inside. ‘Green Arrow’ and ‘Little Marvel’ are dependable picks for home gardens.
Look for powdery mildew resistance on seed packets, often marked with “PMR.” That trait helps if your harvest stretches into warmer spring weeks.
Space matters too. If you garden in containers or small raised beds, dwarf varieties make life simpler.
I have a soft spot for snap peas because they rarely make it inside. Kids, neighbors, and I tend to snack on them right in the garden.
Try two types this year. Comparing them is half the joy.
6. Planting Dates Shift Between Coastal, Valley, And Mountain Gardens
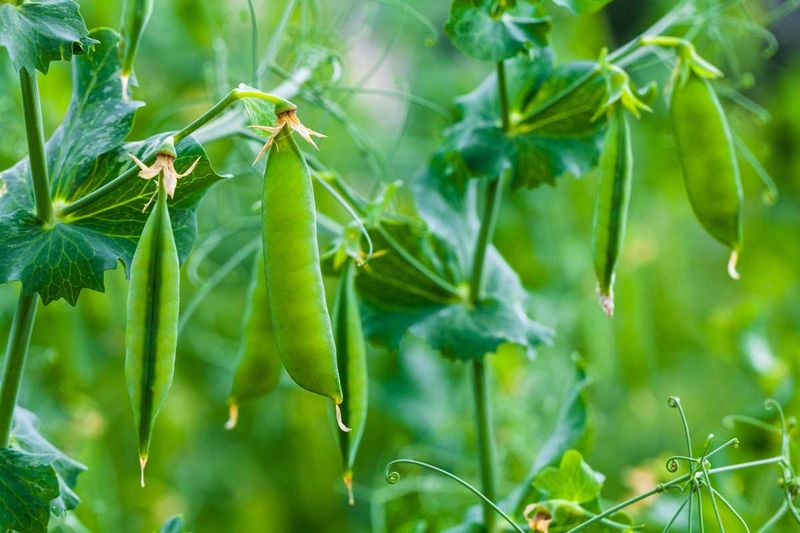
California is a big, varied state, so one calendar does not fit everyone. Your zip code shapes your pea plan.
Coastal gardens from San Diego to the Bay Area have mild winters, often in USDA zones 9 and 10. Peas grow well here from fall through spring, and some coastal gardeners plant them across many months.
Inland valleys, like the Central Valley and Inland Empire, see colder nights and more frost. November planting still works well in many spots, but chilly snaps can slow growth for a while.
Low desert gardens around Palm Springs and the Imperial Valley also treat peas as a fall and winter crop. Plants need to finish before spring heat ramps up sharply.
Mountain and high desert areas are a different story. Hard freezes and snow make spring planting the safer choice in places like Lake Tahoe or the eastern Sierra.
Your local UC Master Gardener program publishes planting calendars for its county. Those charts are free, practical, and tuned to local weather.
Check your area’s typical frost dates before sowing. A little local research goes a long way toward a strong crop.
7. Slugs And Hungry Birds Love Young Pea Shoots As Much As You Do
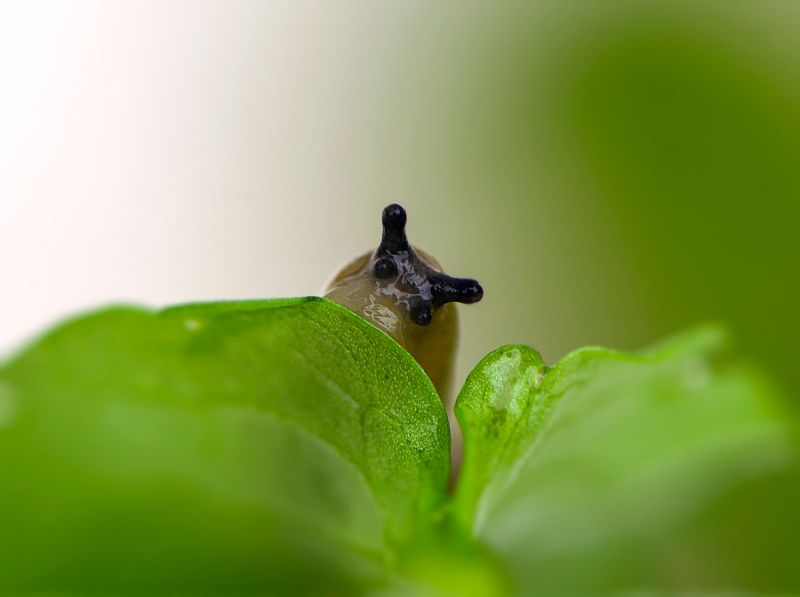
Rainy nights bring out the slime crew. Slugs and snails can chew through tender pea seedlings faster than you might believe.
Check your bed in the evening or early morning with a flashlight. Hand-picking is simple and works surprisingly well in small gardens.
Iron phosphate baits are a common, lower-risk choice for home gardens. Clearing boards, old pots, and leafy debris also removes their daytime hiding spots.
Birds are another sneaky visitor. Sparrows, finches, and others may pluck sprouting seeds or nibble on the first leaves.
A loose cover of bird netting or floating row cover protects seedlings until they get a few inches tall. Remove it once plants start climbing.
Aphids sometimes appear on new growth. A strong spray of water often knocks them back, and ladybugs show up to help.
Watering matters too. Too much water in heavy clay can cause root rot, so let winter rain lead and add moisture only if soil dries out.
Skip high-nitrogen fertilizer, since peas make much of their own. Extra nitrogen often means lush leaves and fewer pods.
Steady attention early on sets you up for a strong season.
8. Frequent Pea Picking Keeps The Vines Producing And Feeds Next Season
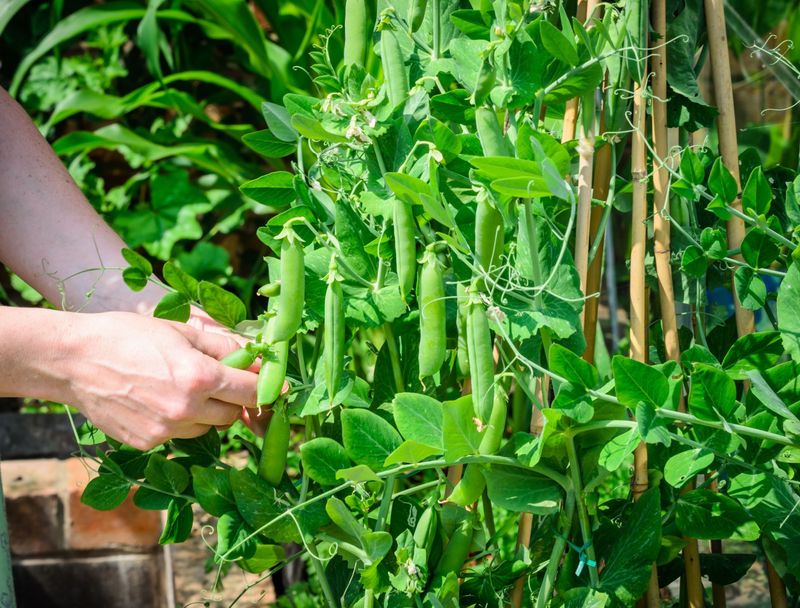
Your first harvest will likely arrive in about two to three months, depending on the variety. Most November plantings start producing in late winter or early spring.
Pick snow peas while pods are still flat and peas inside are tiny. Snap peas are ready when pods look plump and snap cleanly.
Shelling peas should feel full but still bright green. Once pods turn dull or wrinkly, peas get starchy.
Harvest every couple of days during peak season. Frequent picking encourages plants to keep flowering and making more pods.
Use two hands, holding the vine with one and pulling the pod with the other. Vines are fragile, and yanking can snap whole stems.
Don’t overlook the shoots, either. Pea tips are tender, tasty in salads, and popular in many Asian dishes.
When plants finish, cut stems at soil level and leave roots in the ground. Those roots and nodules break down and add organic matter for your next crop.
Tomatoes, peppers, or squash planted afterward get a cozy start. A small packet of seeds this month can set up a whole year of good eating.