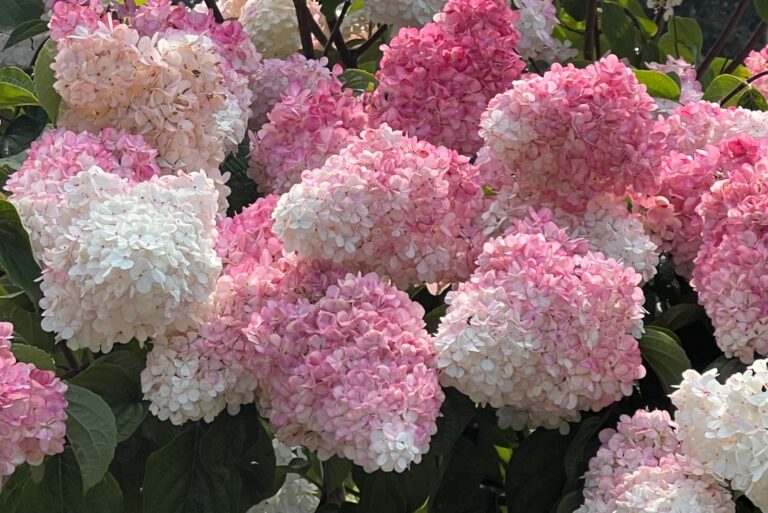
9 Things To Do With Your Hibiscus Before The First Frost
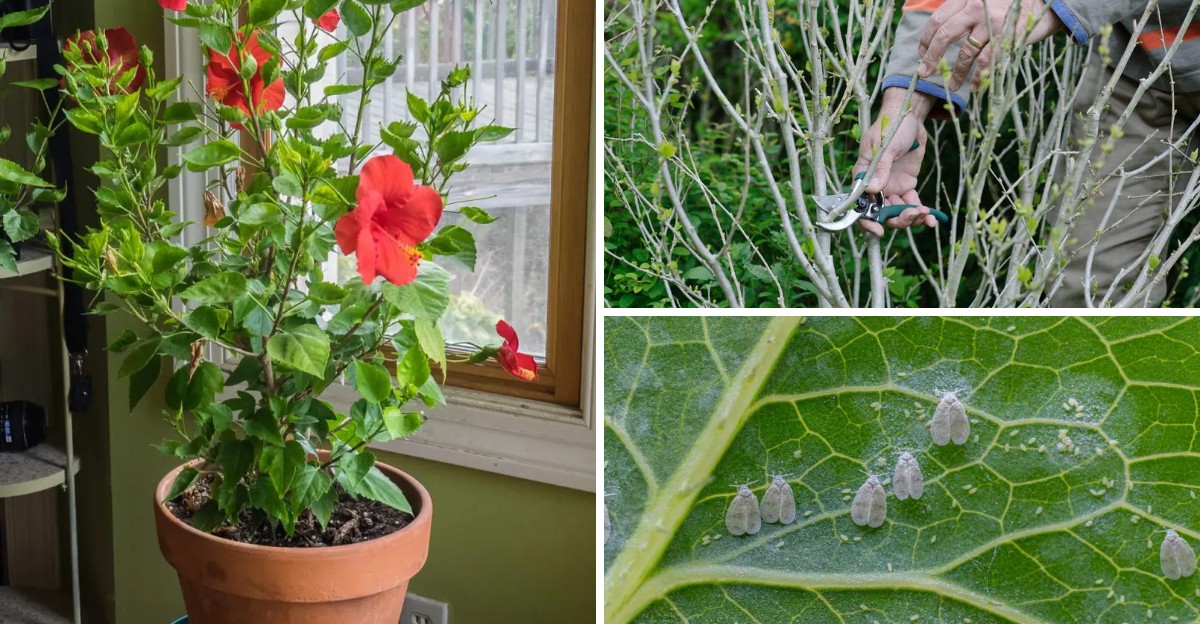
Each glossy blossom on my favorite patio shrub lasts about one day before it twists shut and drops. That flower might be dinner-plate wide, yet it still treats every sunrise like a brand new show.
Certain cousins in the same family shrug off winters down to zone 4 by hiding underground. Their tropical relatives sulk once nights slip into the 40s, and frost turns leaves into brown mush.
I have to admit that I learned this lesson the hard way, with one very sad pot on my porch. You can skip that heartbreak with a few easy chores done during the last warm weeks of the season.
What surprises me most is how little time each step takes once you know your plant type. So which kind is growing in your yard, and is it ready for that first frosty night?
1. Figure Out If Your Hibiscus Is Tropical Or Hardy
Two plants can share the hibiscus name and still act like strangers when cold weather rolls into town. I mixed them up during my first year, and one poor plant paid the price on my porch.
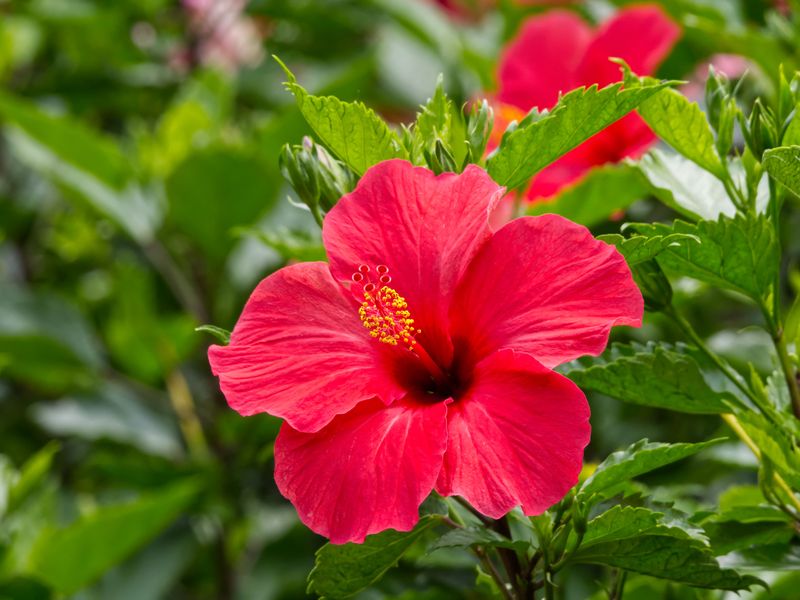
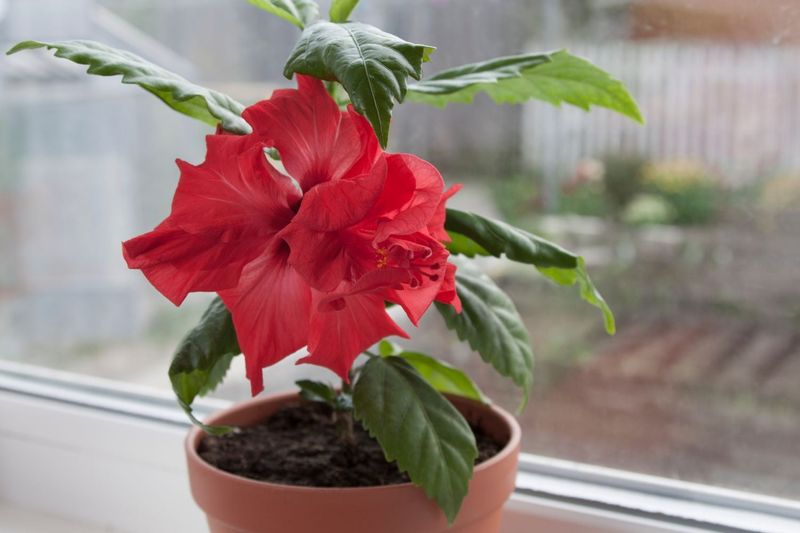
Tropical hibiscus, known as Hibiscus rosa-sinensis, has shiny dark leaves that look almost polished in the sun. Its flowers often come in bold reds, oranges, or yellows, and the plant is hardy only in zones 9 through 11.
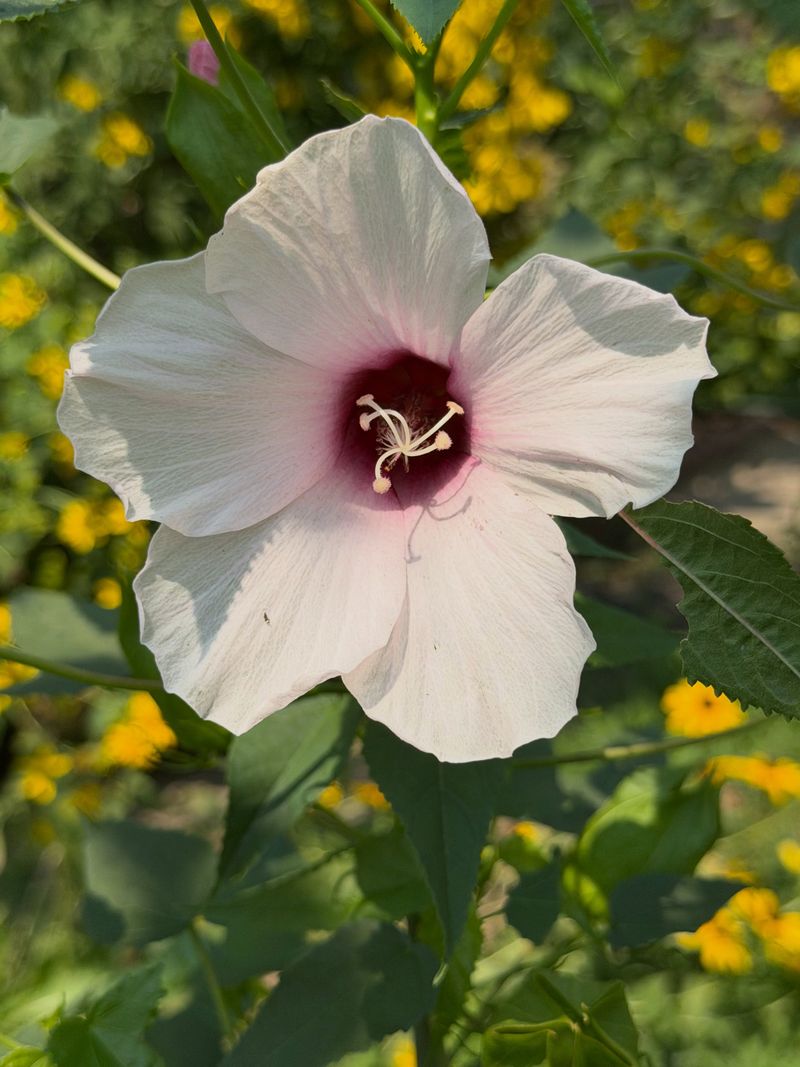
Hardy hibiscus, or Hibiscus moscheutos, usually has duller leaves and enormous blooms that can reach about a foot across. It handles winters down to zone 4 because the roots rest underground while the tops fade away.
Rose of Sharon, Hibiscus syriacus, is another cold-tolerant relative that keeps its woody stems standing through winter. It needs far less fall fuss, though it drops plenty of seeds, so many gardeners deadhead it to limit seedlings.
Personally, I check the plant tag first, then compare leaves and flower size if the tag went missing long ago. Your local garden center or county extension office can also identify a mystery plant from a few clear photos.
Knowing your type shapes every other step on this list, since tropical and hardy plants need very different care. One kind wants a cozy room indoors, while the other prefers a thick blanket of mulch outside.
Spend five minutes on this detective work now, and the rest of your fall chores will feel much easier. I promise your hibiscus will reward that small effort with healthier growth when warm weather finally returns.
2. Bring Potted Tropical Hibiscus Indoors Before Nights Hit 50 Degrees
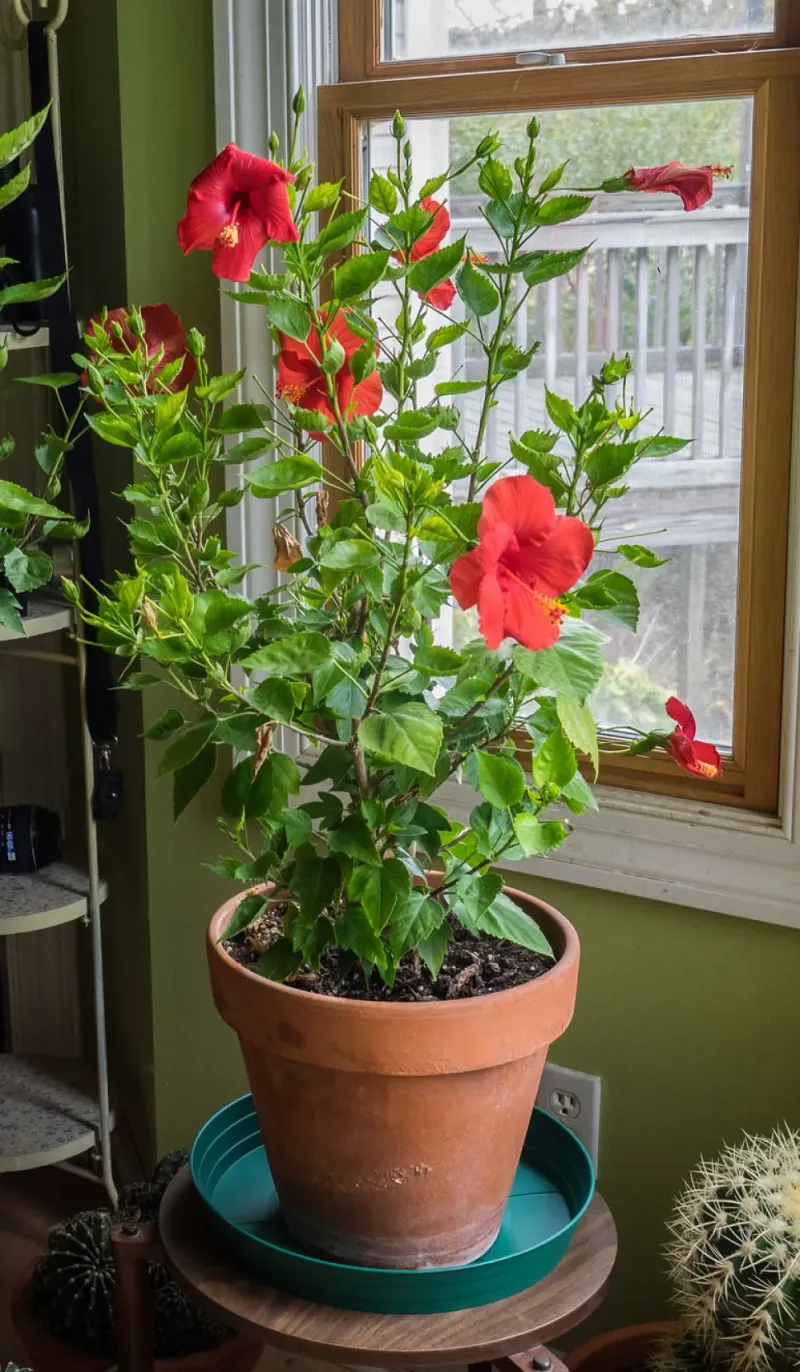
Tropical hibiscus starts grumbling long before frost arrives, often dropping buds once nights dip into the chilly 40s. I keep a cheap outdoor thermometer near my pots, and it has saved my plants more than once.
Most growers recommend moving tropical hibiscus inside when nighttime temperatures begin sliding below about 50 degrees Fahrenheit. Waiting for the first frost warning is risky, because a single freezing night can badly damage tender leaves and stems.
A gradual move helps a lot, since sudden changes in light can trigger heavy leaf drop within days. Try shifting the pot into partial shade for a week or two before it heads through the door.
You might notice some yellow leaves falling during the first couple of weeks indoors, and that is fairly normal. The plant is simply adjusting to lower light, so resist the urge to panic or start watering extra.
Heavy containers can strain your back, so I like using a plant caddy with wheels for my biggest pots. A friend or a hand truck also makes the trip safer for you and gentler on the branches.
Pick a calm, mild afternoon for the move, when the soil is lightly moist rather than soggy or bone dry. Moist soil holds the root ball together and keeps the pot from feeling like a bag of bricks.
Timing this step well makes winter feel like a short vacation for your hibiscus instead of a rough shock.
3. Hose Down Hibiscus Leaves To Evict Aphids And Whiteflies
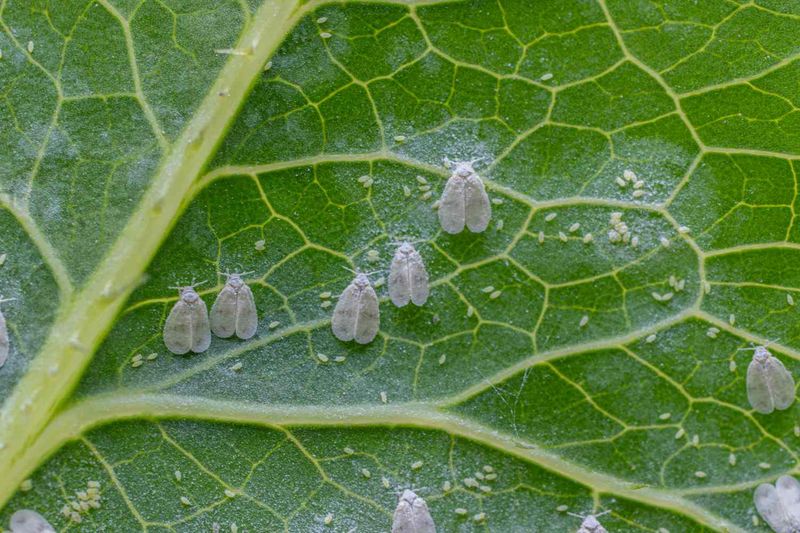
Tiny freeloaders love hitching a ride indoors, where warm rooms and dry air let their populations grow quickly. I once carried in a lovely hibiscus that turned into a whitefly hotel by December.
Aphids, whiteflies, mealybugs, and spider mites are common pests on tropical hibiscus, especially on tender new growth. Flip several leaves over and look closely, because these pests usually hide on the undersides where you rarely glance.
Sticky leaves or black sooty mold often signal aphids or whiteflies feeding nearby, so treat those clues seriously. Fine webbing and speckled, faded leaves usually point toward spider mites, which thrive in dry indoor heat.
A firm spray of water from the garden hose knocks many pests off before they ever reach your living room. Focus on the leaf undersides and stem joints, then let the plant dry in a shady spot afterward.
Insecticidal soap or horticultural oil can help with stubborn infestations, but read every label carefully before spraying anything. Most products need repeat treatments about a week apart, since eggs often hatch after the first round.
I also scrape away the top half inch of potting soil, which can harbor fungus gnat larvae and pest eggs. Fresh potting mix on top gives the plant a clean start and keeps your houseplants safer this winter.
Checking leaves again a week after the move helps you catch any sneaky stragglers early.
4. Trim Leggy Tropical Hibiscus Branches Before Moving Inside
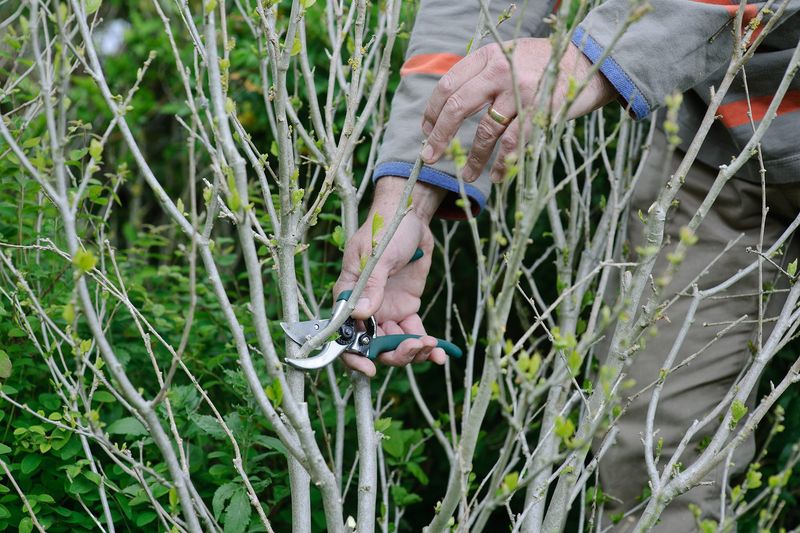
A sprawling summer hibiscus can look magnificent on the deck, yet it may barely squeeze through a doorway. My biggest plant once knocked a lamp over because I skipped the trim and hoped for the best.
A light pruning before the move keeps the plant tidy and easier to fit near a bright window. Many growers suggest removing up to about one-third of the growth, focusing on long, leggy branches first.
Clean, sharp bypass pruners make smooth cuts that heal faster than ragged tears from dull blades. I wipe my blades with rubbing alcohol between plants, which helps prevent spreading disease from one pot to another.
Make each cut just above a leaf node, the small bump where a leaf joins the stem. New shoots often sprout from those spots, so your hibiscus will fill out with a fuller shape later.
Save the heavier shaping for late winter or early spring, when longer days encourage strong new growth. Cutting too hard in fall can leave the plant struggling to recover while light levels stay low indoors.
Remove any weak, crossing, or broken stems while you work, since they rarely bloom well anyway. Healthy cuttings about four to six inches long can even root in water or moist potting mix.
I love sharing those rooted babies with friends, because they carry a little summer color into new homes.
5. Stop Feeding Your Hibiscus Fertilizer As Fall Arrives
Fertilizer in fall works a bit like handing a sleepy toddler a candy bar right before bedtime. The plant gets excited and pushes soft new shoots just when it should be slowing down for winter.
Those tender shoots are especially vulnerable to cold nights, so late feeding can backfire on hardy hibiscus. Most experts suggest stopping fertilizer by late summer, giving stems time to toughen before the first frost arrives.
Tropical hibiscus heading indoors also benefits from a break, since lower light means slower growth for months. Extra fertilizer can build up as salts in the pot, which may burn roots and brown leaf edges.
I keep a sticky note on my fertilizer bag with the date I plan to stop feeding each year. It sounds silly, yet that little reminder keeps me from grabbing the bag out of pure habit.
You can resume regular feeding in spring once new leaves appear and days grow noticeably longer. Hibiscus generally prefers a fertilizer lower in phosphorus, so check the label numbers before buying a new bag.
If your potted plant looks crusty on the soil surface, a slow, thorough watering can help flush out salts. Let the extra water drain freely from the bottom holes, and empty the saucer so roots stay healthy.
Patience now gives your hibiscus a calmer, safer rest through the coldest months.
6. Give Hardy Hibiscus A Deep Fall Soak
Roots keep working underground long after the flowers fade, and they appreciate a good drink before winter. I think of this step as packing a water bottle before sending the plant on a long trip.
Hardy hibiscus is native to wet places like marshes and riverbanks, so it rarely enjoys bone-dry soil. Dry fall weather can stress the roots, especially for young plants still settling into their garden spot.
A slow, deep soaking reaches far below the surface, where most of the important roots spread out. Soaker hoses or a gently trickling garden hose work better than a quick splash from a watering can.
Aim to water in the morning on a mild day, well before the ground freezes solid for the season. Moist soil also holds warmth better than dry soil, which can offer the roots a little extra protection.
Push a finger or trowel a few inches into the soil to check moisture after you finish watering. If it still feels dry below the top layer, give the plant another slow round the next day.
Avoid creating a muddy puddle, since soggy soil that sits waterlogged for weeks can lead to root rot. Well-drained ground with steady moisture is the sweet spot your hardy hibiscus truly wants.
Once the soil freezes, you can coil up the hose and let winter take over.
7. Cut Hardy Hibiscus Stems Back After Frost Turns Them Brown
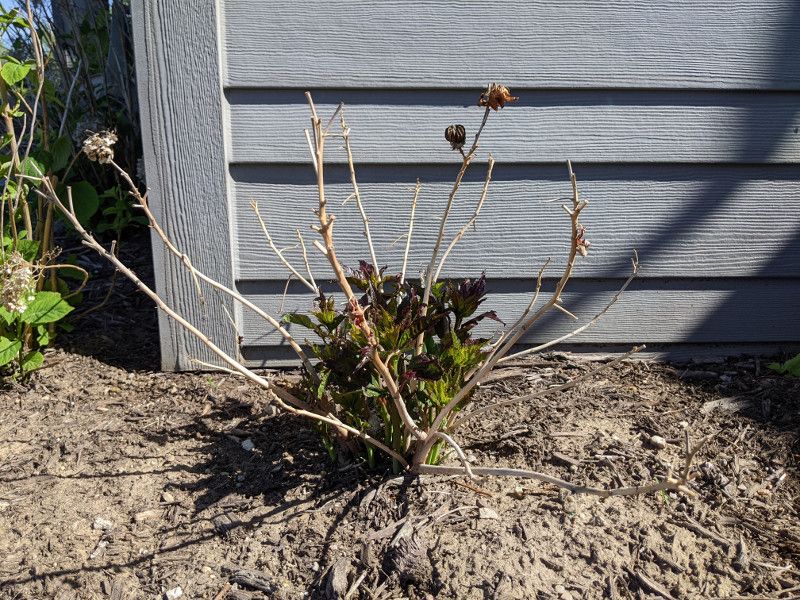
Frost-blackened hardy hibiscus looks pretty rough, almost like a bundle of old broom handles poking from the soil. Underneath that scruffy show, the roots are resting comfortably and planning a big comeback next summer.
Wait until a hard frost turns the stems brown before reaching for your pruners or loppers. Cutting too early can encourage new growth, and those fresh shoots usually struggle once freezing nights arrive.
Many growers cut the stems down to about four to six inches above the ground once they turn woody. Some gardeners leave the stems standing until early spring instead, since hollow stalks can shelter helpful insects.
Personally, I leave short stubs because they mark exactly where the plant sleeps under the mulch. Hardy hibiscus wakes up very late in spring, and I have nearly dug into mine while planting nearby annuals.
A small plant marker or garden stake works great if you prefer cutting the stems lower. You will thank yourself in May when everything else looks green and that spot still looks empty.
Toss disease-free stems into your compost pile, but bag any stems that showed leaf spots or heavy pest damage. That simple habit keeps problems from sneaking back into your garden bed when warm weather returns.
Clean tools afterward, because sap and soil left on blades can dull them over winter.
8. Pile Shredded Leaf Mulch Around Hardy Hibiscus Roots
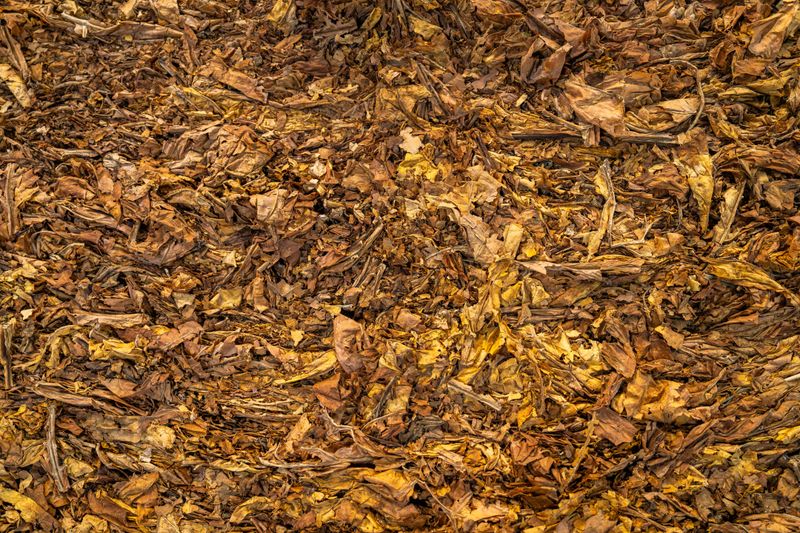
Fallen leaves are free winter blankets, and your hardy hibiscus will happily accept a cozy pile of them. I run mine over with the lawn mower first, because shredded leaves settle nicely and resist matting.
A layer of mulch helps keep soil temperatures steadier through winter, which protects roots from heaving. Freeze and thaw cycles can push young plants upward, leaving their roots exposed to cold, drying winds.
Spread about three to six inches of shredded leaves, straw, or pine needles once the ground starts to cool. Gardeners in the coldest zones often add a thicker layer, especially for plants set out this year.
Leave a small gap of an inch or two around the stems so mulch does not press against the crown. Wet mulch piled directly on the crown can hold too much moisture and invite rot over the winter.
Straw works well, but choose clean straw rather than hay, which often carries weed seeds into your beds. Pine needles stay fluffy and light, so they rarely smother the soil the way whole leaves sometimes do.
In spring, pull the mulch back gradually once the soil warms, letting sunlight reach the sleepy crown. That warmth helps coax new shoots out sooner, though hardy hibiscus often takes its time anyway.
Leftover shredded leaves make a wonderful addition to compost piles for next season.
9. Set Up A Sunny Window Spot For Indoor Hibiscus
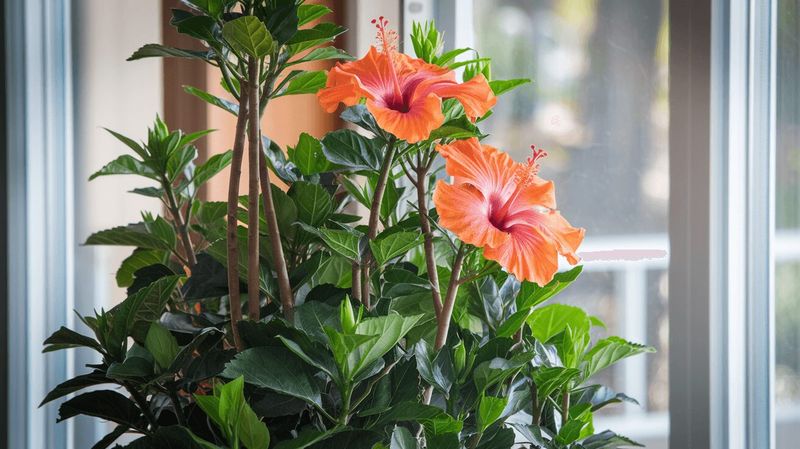
A bright window can turn a gloomy winter living room into a tiny tropical getaway for your hibiscus. I still smile when one stubborn bud opens in January while snow piles up outside the glass.
Tropical hibiscus craves light, so a south or west-facing window usually works best during short winter days. A simple LED grow light can help if your windows face north or sit under deep porch roofs.
Indoor temperatures between about 60 and 70 degrees suit most plants, but cold drafts can cause leaf drop. Keep the pot away from heating vents, drafty doors, and chilly window glass on frigid nights.
Watering needs drop sharply in winter, so wait until the top inch or so of soil feels dry. Overwatering is a common indoor mistake, and soggy roots often lead to yellow leaves and rot.
Dry indoor air can bother hibiscus and invite spider mites, which love warm, parched rooms. A pebble tray filled with water under the pot adds gentle humidity without making the soil wet.
You might see slower growth and fewer flowers until spring, and that resting phase is perfectly normal. Turning the pot a quarter turn every week or so helps the branches grow evenly toward the light.
Once outdoor nights stay above 50 degrees again, your hibiscus can head back outside for summer fun.