The Best Place To Plant Garlic (Your Summer Harvest Will Thank You)
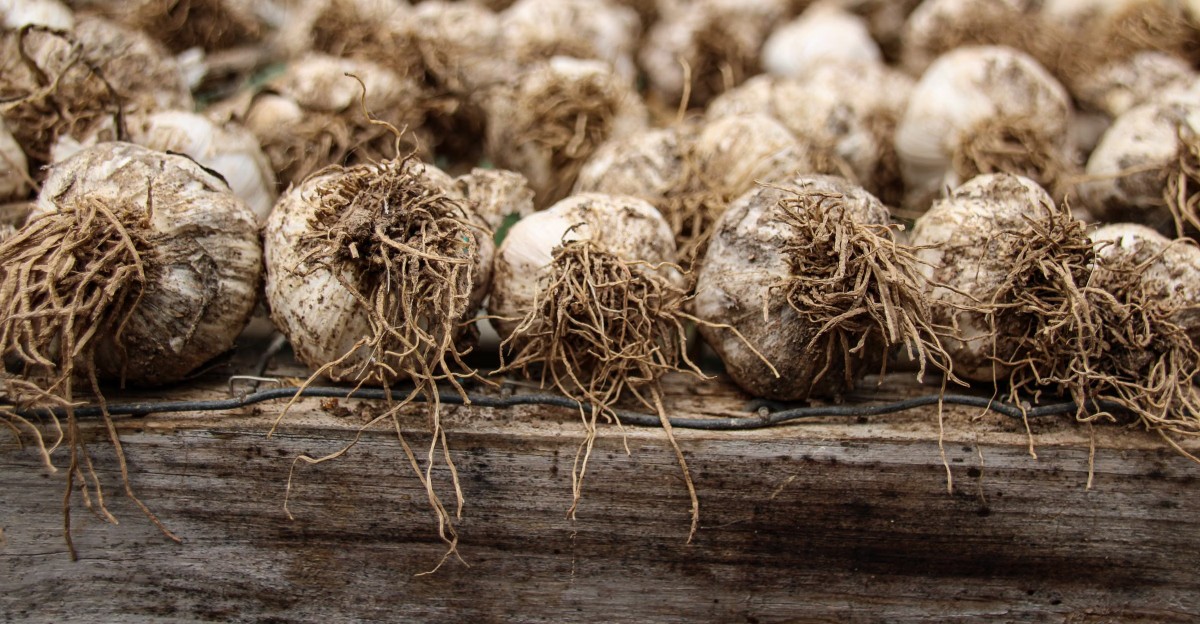
A single clove tucked into cold autumn soil can split into a dozen new cloves by July. That trick only works when the clove spends weeks chilling underground first. I find that detail delightful every single fall.
Growers have learned over the years that this crop rewards patience and suffers in soggy ground. Extension experts agree on one thing: the spot you choose matters more than almost any fertilizer you buy.
I skipped careful site planning one year and paid for it with bulbs the size of marbles. After I tested a brighter, better-drained bed the next fall, the difference shocked me. You build your harvest months before you ever see a green shoot.
So what makes one corner of the yard a winner and another a quiet flop? The answer might be sitting in your backyard right now, waiting for a sunny afternoon.
That Garlic Bed Location Decides Your Bulb Size Before Winter
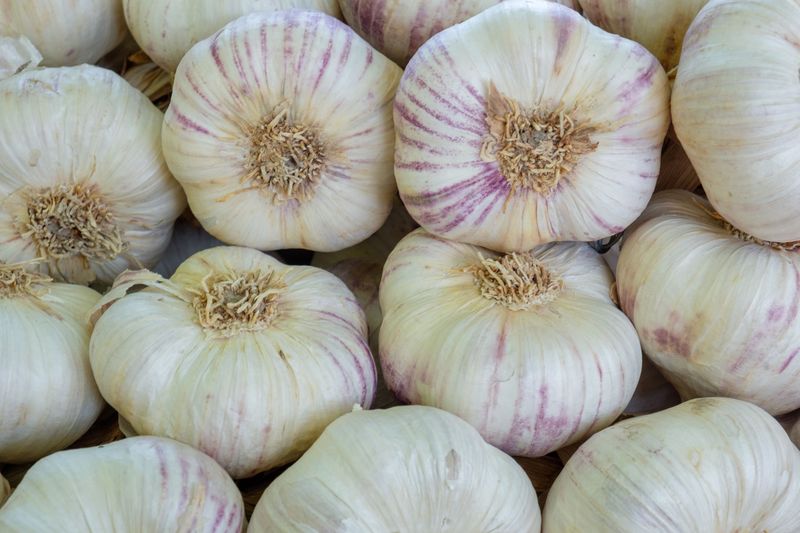
Bulb size gets locked in by choices you make before the first frost. Garlic builds its roots in fall, rests in winter, and then bulks up fast in late spring as days grow longer.
During that spring push, the plant needs every bit of energy it can gather. Leaves act like solar panels, and each healthy leaf adds a layer of wrapper and clove underneath. A cramped, shady, or waterlogged spot slows that process, and the bulbs stay small.
University extension researchers point to three big factors. Sunlight, drainage, and soil quality matter most. Get those right, and the rest of the season gets much easier.
I like to walk my yard on a sunny October afternoon and simply watch. Where do shadows fall at noon?
Which corners stay muddy after a rain? Those little observations tell you more than any seed catalog.
Many gardeners plant garlic wherever an empty patch happens to be. That habit often explains disappointing harvests.
Giving garlic a spot chosen on purpose is the easiest upgrade you can make, and it costs nothing but a little attention. The next sections break down exactly what that ideal spot looks like.
Garlic Leaves Crave Six to Eight Hours of Full Sun
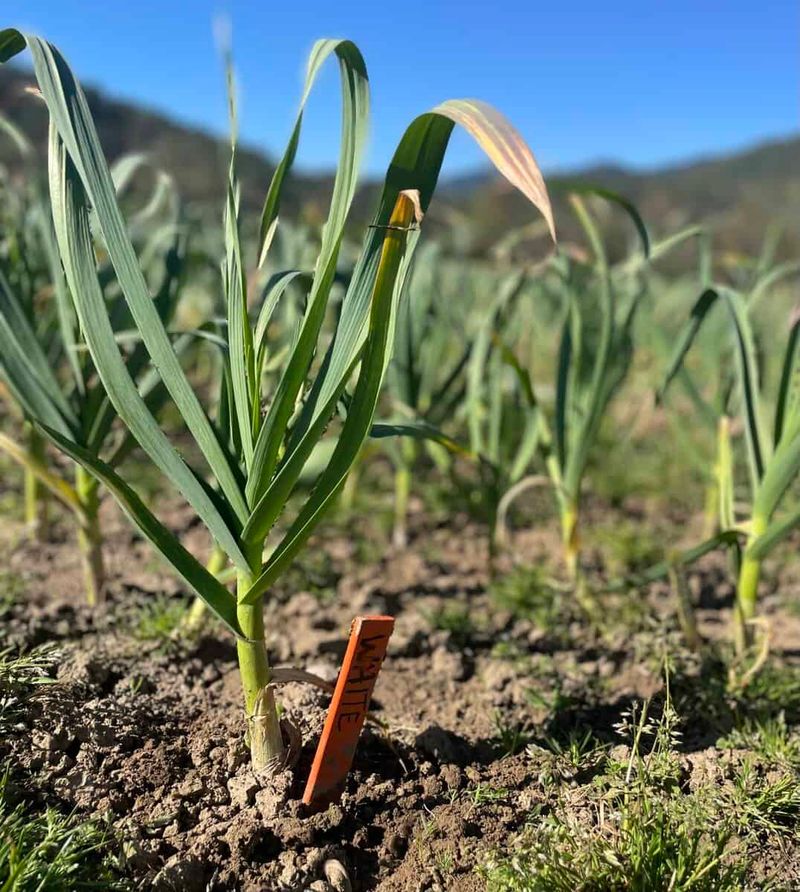
Sunshine is the number one ingredient in a fat garlic bulb. Extension guides recommend full sun, meaning at least six to eight hours of direct light each day.
Garlic leaves are slender, so each one captures less light than a broad lettuce leaf. That makes open sky even more important.
A bed near a tall fence, shed, or young tree that will leaf out in spring can quietly steal hours of light.
Here is a sneaky detail many folks miss. Garlic does its heaviest growing in May and June, when deciduous trees are fully leafed out. A spot that looks sunny in bare October may sit in shade by late spring.
To check, picture where the canopy of nearby trees will spread. South-facing beds with nothing tall on the south side are usually the safest bet. Raised beds in the middle of a lawn often work beautifully too.
If your yard only offers partial sun, garlic will still grow. Expect smaller bulbs, though, and plan to enjoy the green garlic scapes and leaves as a bonus. Your brightest patch deserves this crop, so claim it before the tomatoes do.
Well-Drained Loamy Soil Keeps Garlic Cloves From Rotting
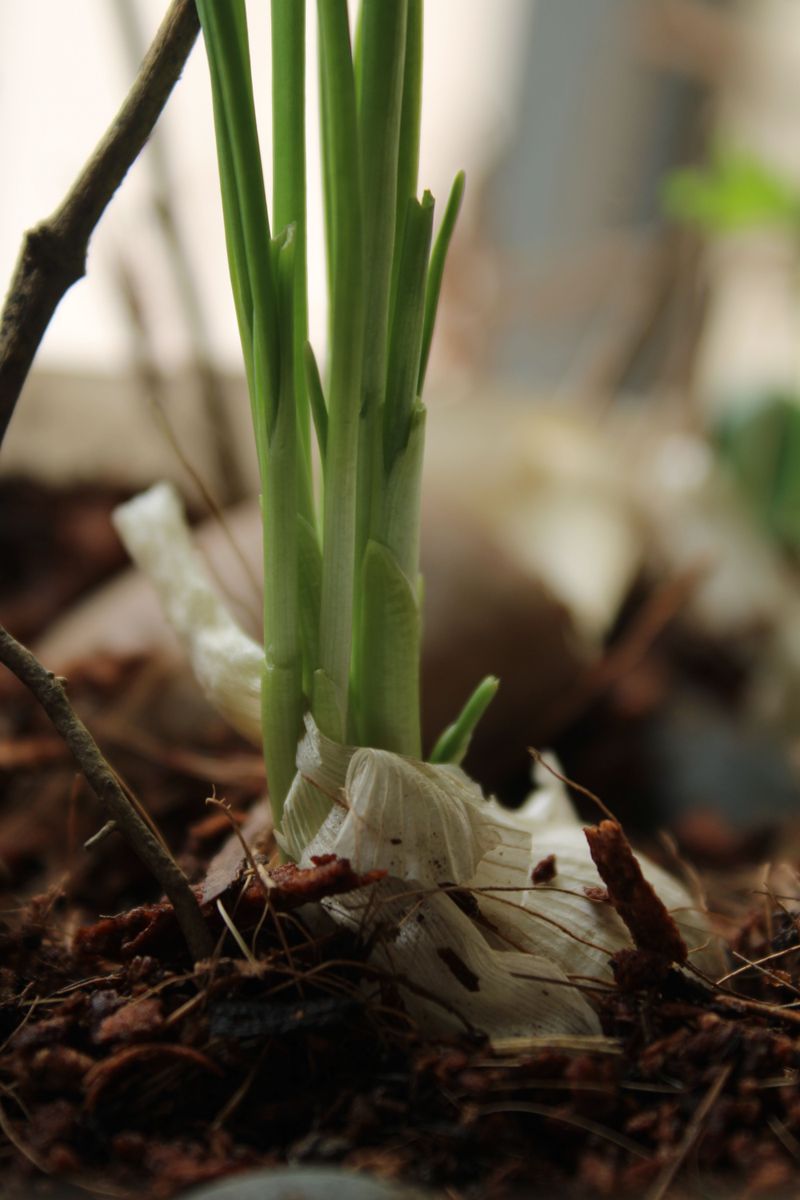
Wet feet are garlic’s worst enemy over winter. Cloves sit in the ground for eight or nine months, and soggy soil invites rot and fungal trouble.
The ideal soil is fertile, loose loam or sandy loam that crumbles in your hand. Extension sources suggest a pH between 6.0 and 7.0, with 6.2 to 6.8 being the sweet spot. Heavy clay holds water and often produces lopsided bulbs that are hard to dig.
A simple drainage test helps. Dig a hole about a foot deep, fill it with water, and see how long it takes to drain. If water lingers for hours, choose another spot or build a raised bed.
Mixing in several inches of well-rotted compost improves both clay and sandy soils. Clay loosens up, and sand holds moisture better. Skip fresh manure, since it can carry harmful bacteria and weed seeds.
I also recommend a soil test from your local extension office. Results usually arrive in a couple of weeks and tell you about pH and nutrients.
With that report, you stop guessing and start amending with purpose. Low spots where puddles form after storms are best left for other plants.
Skip Any Spot Where Onions or Garlic Grew Recently
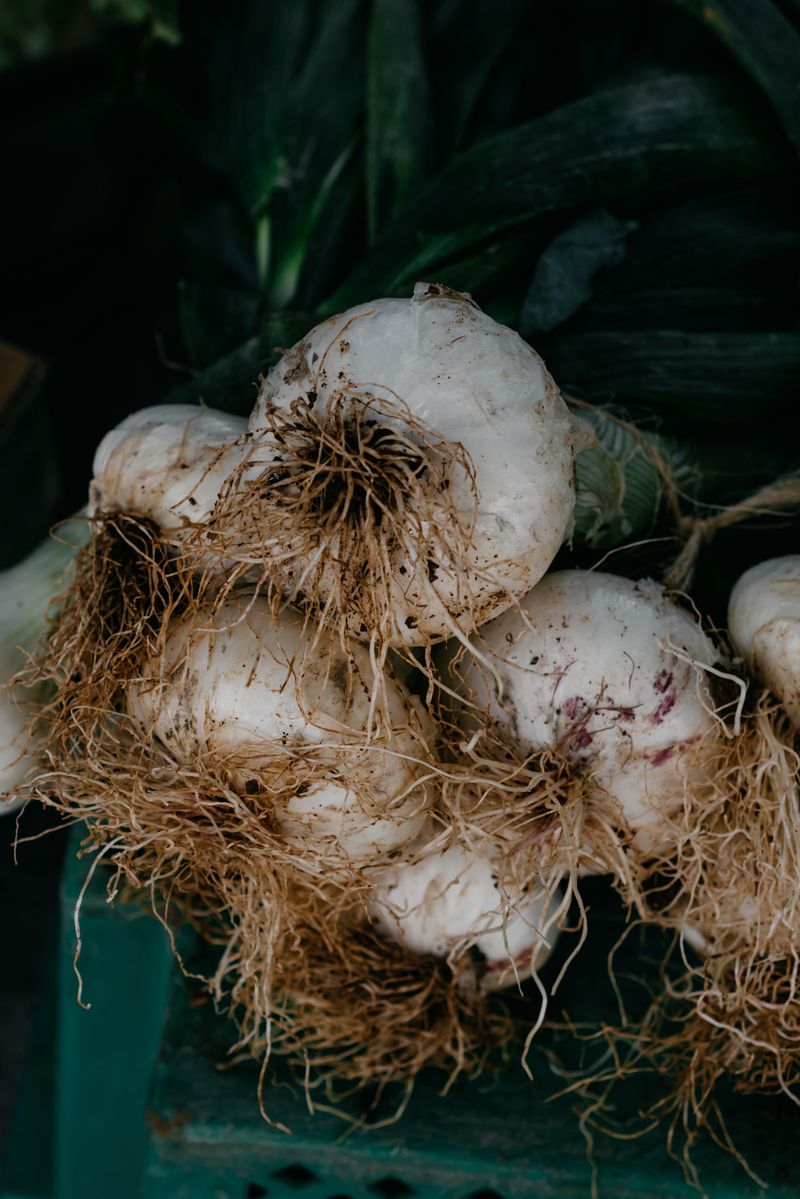
Old allium beds carry hidden baggage. Garlic, onions, leeks, and shallots share many of the same soil-borne diseases, including white rot and fusarium basal rot.
White rot is especially stubborn. Its tiny resting structures can survive in soil for many years, according to plant pathologists. Planting garlic in the same spot season after season gives these problems a cozy home.
Most extension experts recommend waiting three to four years before returning alliums to the same bed. That sounds like a long time, but a simple garden map makes it easy. I sketch my beds every fall and jot down what went where.
Good follow-up crops include beans, squash, or leafy greens. Some gardeners even plant a cover crop like oats or clover the year before garlic. The roots loosen soil and add organic matter when turned under.
Starting clean also means buying certified disease-free seed garlic. Grocery store bulbs are sometimes treated to prevent sprouting and may carry diseases.
Local garden centers and specialty growers offer varieties suited to your climate. A fresh bed plus healthy cloves gives your summer harvest a strong head start. Think of rotation as cheap insurance for your future pasta sauces.
Plant Garlic Cloves Pointy End Up and Properly Spaced
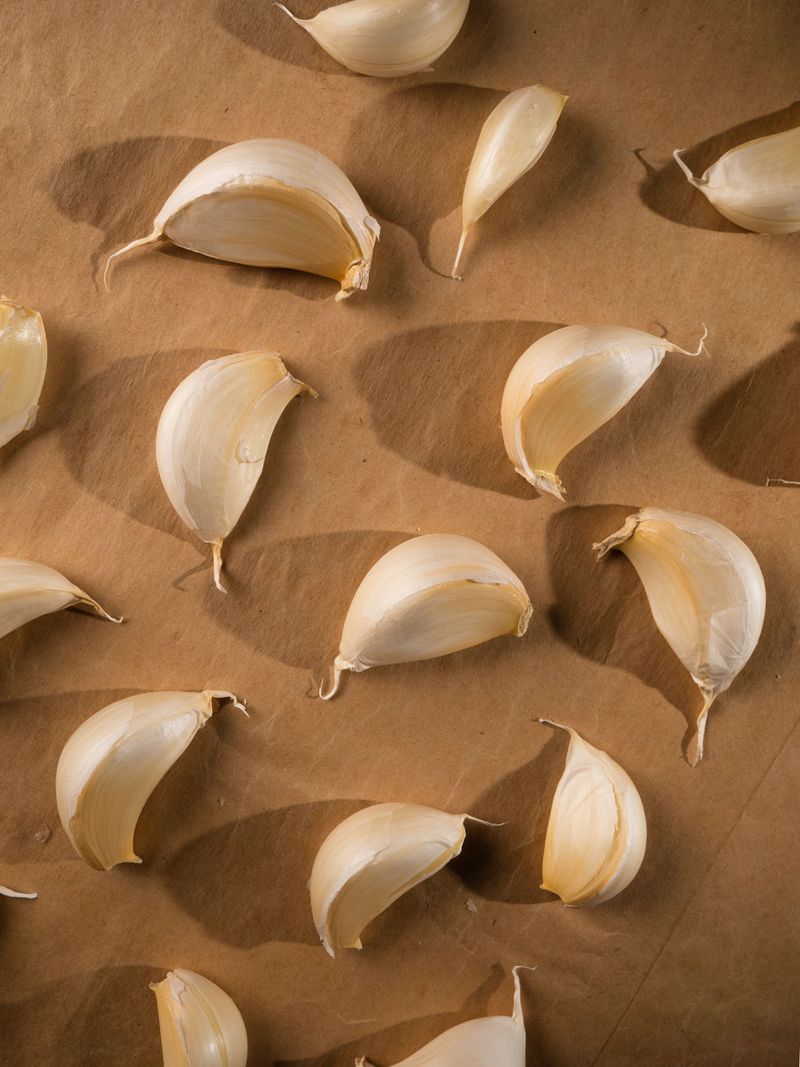
Spacing feels boring until you see the difference at harvest. Crowded cloves compete for light, water, and nutrients, and every bulb ends up smaller.
Plant each clove two to four inches deep with the pointed tip facing up. The flat root end goes down. Leave four to six inches between cloves and about 12 to 24 inches between rows.
Choose the biggest cloves from your seed bulbs. Larger cloves generally grow larger bulbs, a pattern backed by extension trials. The tiny inner cloves are better saved for the kitchen.
Separate bulbs into cloves only a day or two before planting. Keep the papery skin on each clove, since it offers a little protection. Peeled cloves are more likely to struggle.
In colder regions, deeper planting helps. Shallow cloves can get pushed up by frost heave as soil freezes and thaws. Gardeners in colder places often aim for the deeper end of the range.
Raised beds let you use a grid pattern instead of rows. Six inches apart in every direction works nicely. You get more plants per square foot and an easier time weeding later in spring.
Fall Planting Timing Gives Garlic Roots a Winter Head Start
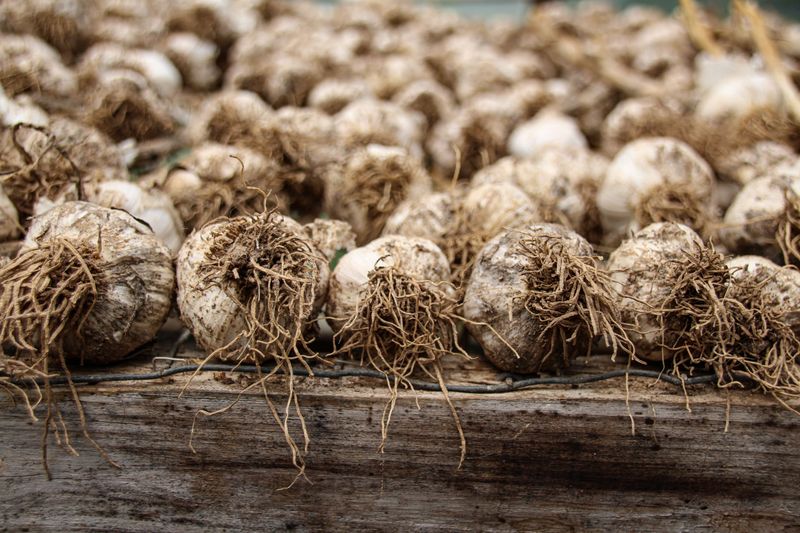
Cold weather is not a problem for garlic. It is actually part of the recipe. Most hardneck types need weeks of chilling, called vernalization, to form separate cloves.
The best window is about four to six weeks before the ground freezes. That gives cloves time to grow roots without pushing much green growth above ground. In northern regions, that often means late September through October.
Timing shifts with your climate. Gardeners in mild areas may plant in November or even December.
Planting too early causes a lot of leafy growth that winter may damage. Planting too late means weak roots and smaller bulbs. Aim for the middle and you usually do fine.
Spring planting is possible, but results are often disappointing. The cloves miss most of their chilling period. Some growers chill cloves in the fridge for several weeks first to help.
I mark my planting date on the calendar the moment the first maple leaves turn orange. It is a cheerful little ritual that reminds me summer flavor starts now.
A Thick Straw Mulch Blanket Protects Garlic Through Winter
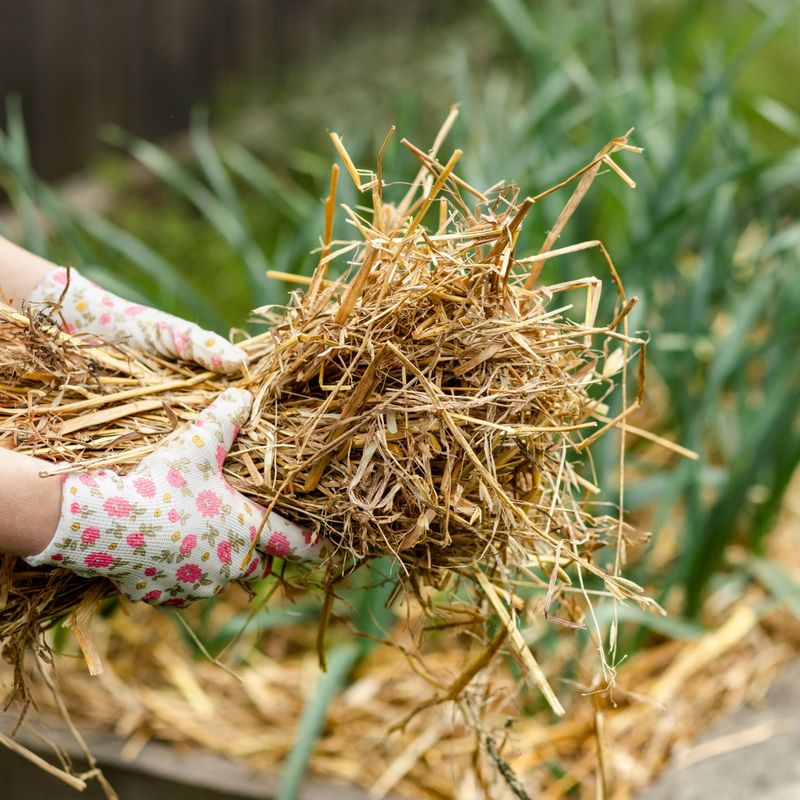
Straw is garlic’s favorite winter coat. After planting, spread three to six inches of clean straw, shredded leaves, or seed-free hay over the bed.
That layer evens out soil temperatures. It reduces frost heave, which can lift cloves right out of the ground. It also keeps weeds from sneaking in during early spring.
Wait until the soil starts to cool before mulching in very cold areas. Some gardeners apply it right after planting, and that works fine in many places. Either way, avoid hay full of seeds unless you love pulling grass in May.
Come spring, you have two choices. Pull the mulch back slightly so shoots emerge easily, or leave it in place to hold moisture. I usually leave most of it, since garlic struggles when it competes with weeds.
Spring is also feeding time. A side-dressing of nitrogen-rich fertilizer as leaves grow helps fuel bulb development. Stop feeding by late May so the plant can focus on maturing.
Hardneck growers get a fun bonus in June. Curly flower stalks called scapes appear, and snipping them may redirect energy to the bulb. They taste wonderful in pesto or stir-fries.
Yellowing Lower Leaves Signal Garlic Bulbs Are Ready to Dig
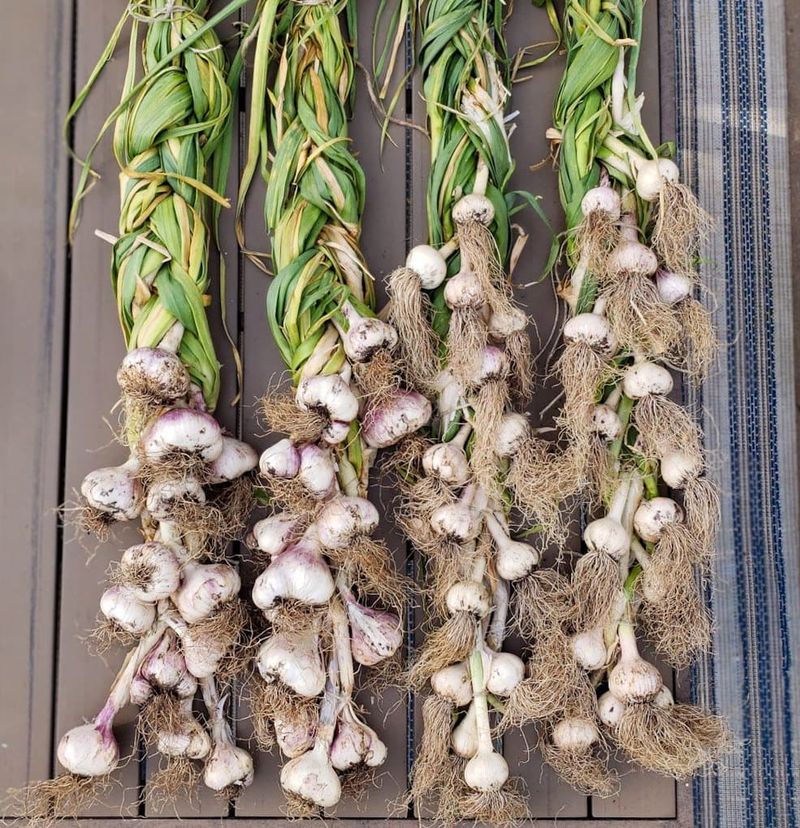
Summer harvest is the payoff for all that careful site planning. Garlic is usually ready from late June through July, depending on your region and variety.
Watch the leaves. When the lower few turn brown while five or six upper leaves stay green, it is time. Each green leaf represents a wrapper protecting the bulb, so waiting too long leaves cloves exposed.
Stop watering about two weeks before digging. Drier soil helps the wrappers firm up and reduces mold. Loosen soil with a garden fork rather than yanking stems, which can snap.
Brush off loose dirt, but skip washing. Then cure bulbs in a shady, dry, airy space for two to four weeks. Hang them in bunches or lay them on screens.
Once skins feel papery and necks are dry, trim roots and stems. Store bulbs somewhere cool and dry. Softnecks often keep for many months, while hardnecks usually last a bit less.
Save your biggest, healthiest bulbs for replanting in fall. Over a few seasons, those cloves adapt to your garden.
Pick that sunny, well-drained spot again, rotate wisely, and next July might be your best harvest yet.