Why California Camellias Start Blooming In November And How To Care For Them
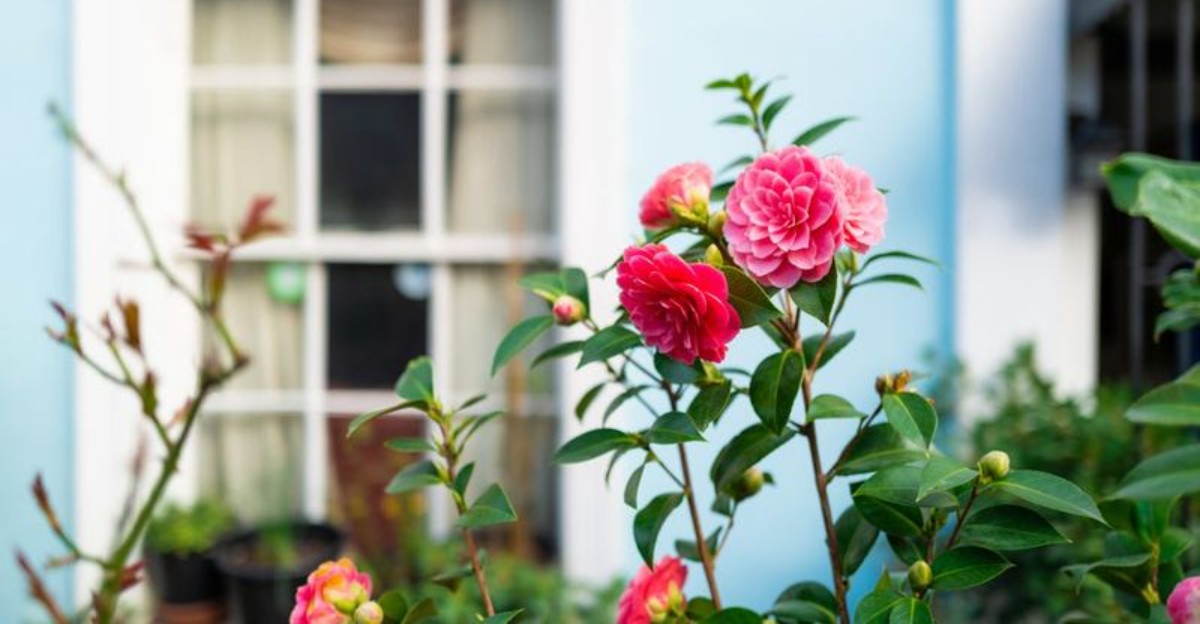
A close cousin of the shrub that gives us breakfast tea throws its biggest party when most gardens are going quiet. Its glossy buds have been sitting on the branches since summer, quietly waiting for cooler nights to arrive.
Across California, those buds start cracking open right around the time you pull out sweaters and rake leaves. I love how pink and red petals suddenly appear beside pumpkins that are still sitting on the front porch.
You might notice that some shrubs bloom in fall while others wait patiently for January or even March. That timing is no accident, and it depends on which type you planted years ago or bought last weekend.
I have to admit the care routine surprised me, because these shrubs prefer a lighter touch than I expected. So what makes California gardens such a cozy home for these winter flowers, and how do you keep them happy?
Sasanqua Camellias Open The Show In Late Fall
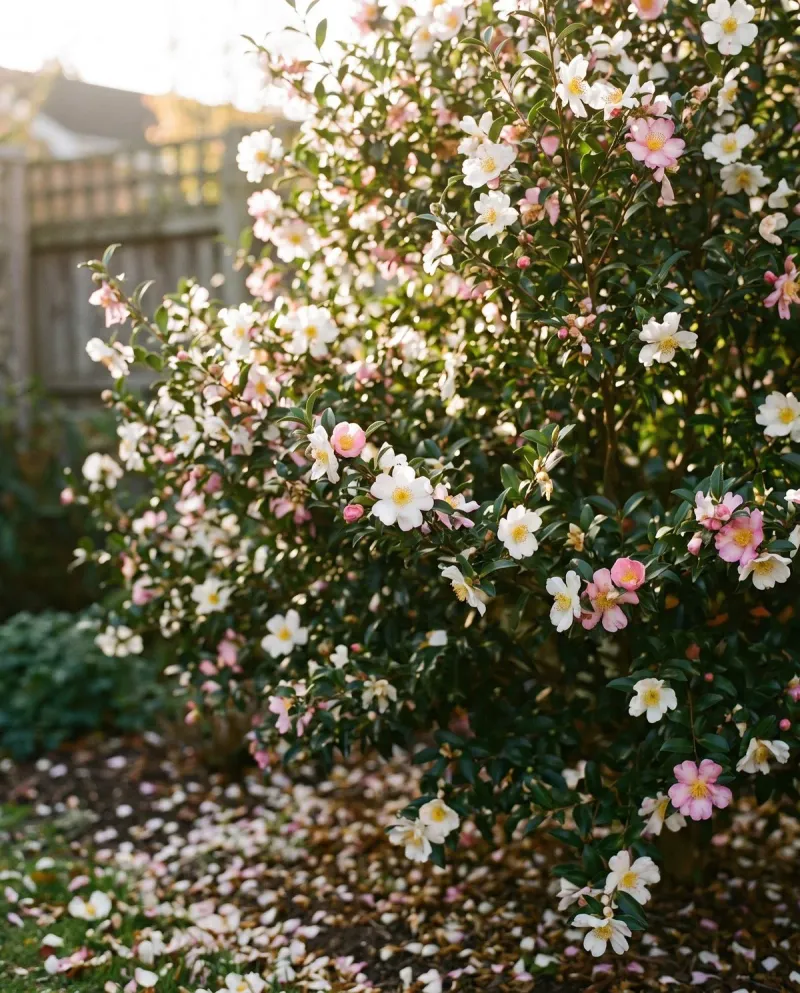
Sasanqua camellias are the early birds of the family, and their petals often start falling like confetti by Thanksgiving. I love stepping outside on a crisp morning and finding a pink carpet scattered under the shrub.
Their blooms usually run from mid-fall into early winter, while japonica types tend to wait for winter and spring. Many sasanquas also carry a light, sweet scent, which is a treat when few other flowers are open.
Flower buds form during summer, and the shrub holds them until cooler autumn weather nudges them to open. Mild winters across much of California let those blossoms unfold with little threat from hard freezes.
Japonica camellias carry bigger flowers, sometimes up to five inches wide, on larger and bolder evergreen shrubs. A few japonica varieties begin opening in fall, but most hold their main show for January through March.
Personally, I think the smartest move is mixing both types so the garden stays colorful for months. Pairing early sasanquas with later japonicas can stretch your flower season from fall clear into spring.
Fall is also a great time to shop, because nurseries stock blooming plants and you can see the colors yourself. Planting now gives roots a head start during the cool, rainy months before summer heat returns next year.
Read plant tags carefully, since they usually list bloom season along with the mature height and width. Camellias can reach six to twenty feet over time, so give your new shrub plenty of elbow room.
Morning Sun And Dappled Shade Keep Camellia Leaves Glossy
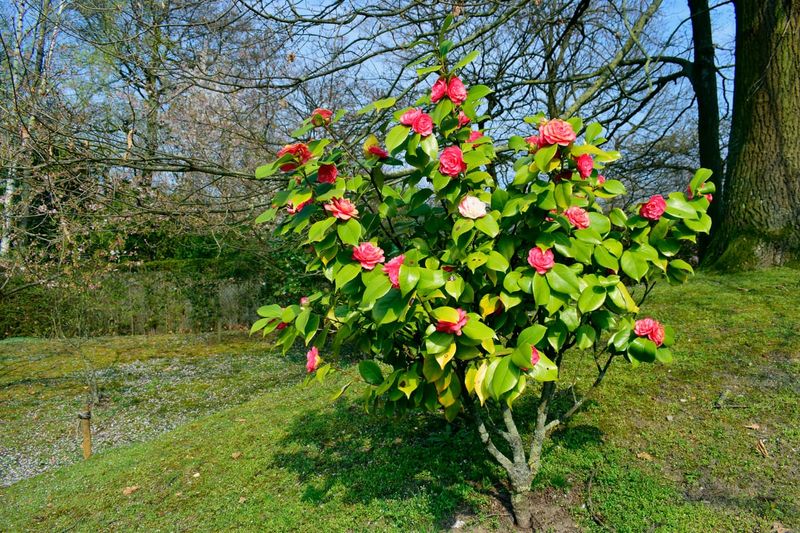
Camellia leaves act like little sunburn meters, turning yellow or scorched brown when afternoon rays hit them too hard. I learned this the hard way after planting one against a bright west-facing wall that baked all summer.
Most camellias prefer partial or dappled shade, with special protection from the intense heat of late afternoon. Morning sun works beautifully, since it is gentle enough to warm the leaves without crisping the edges.
A spot under tall, high-branched trees is ideal, because the shifting shade mimics the woodland edges where camellias evolved. Their wild ancestors grew in parts of China and Japan, often tucked among taller forest plants.
Sasanquas tend to handle more sun than japonicas, and some varieties even do well in full sun. That extra toughness shines brightest near the coast, where marine air keeps summer afternoons from getting brutally hot.
Inland gardeners face a different story, since valley heat can quickly stress shrubs sitting in open, unshaded beds. Your best choice there is an east-facing wall or the north side of the house with bright indirect light.
Most camellias grow well in USDA zones 7 through 10, which covers a big share of California gardens. Still, you need to match the variety to your local microclimate, because coastal fog and desert sun behave differently.
Watch your shrub through its first summer and note where shadows fall during the hottest part of each day. If the leaves look bleached or burned, moving a young plant during the cool season is usually manageable.
Acidic Soil With Good Drainage Feeds Healthy Camellia Roots
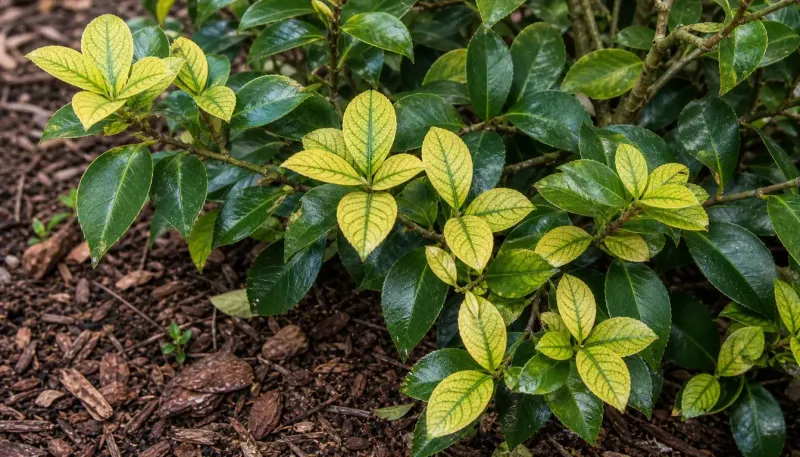
Soil pH sounds like a boring science class topic, but camellias care about it more than almost anything else. They like slightly acidic ground, ideally sitting somewhere between 5.5 and 6.5 on the pH scale.
Many yards have alkaline soil or hard water, which can slowly push the pH higher than these shrubs enjoy. Yellow leaves with green veins often hint that the plant is struggling to pull iron from the soil.
Before planting, I like to run an inexpensive soil test so I know exactly what I am working with. Local extension offices and garden centers can point you toward kits or labs that check pH and nutrients.
Mixing in organic matter helps a lot, and ground fir bark or composted oak leaves are favorite choices. Those materials loosen heavy clay while gently nudging the soil toward the acidic side over time.
Drainage matters just as much, since camellias are highly prone to root rot when their roots sit in soggy ground. Plant the root ball slightly above the surrounding soil level so excess water runs away from the trunk.
Container growers have an easier time controlling soil, which makes pots a smart option for tricky yards. Choose a potting mix made for acid-loving plants, and pick a container with generous drainage holes underneath.
Finish with a few inches of mulch, keeping it a hand’s width away from the main stem. Mulch keeps roots cool through summer, and it slowly breaks down into the rich, crumbly soil camellias adore.
Deep Slow Watering Helps Camellia Buds Stay Put
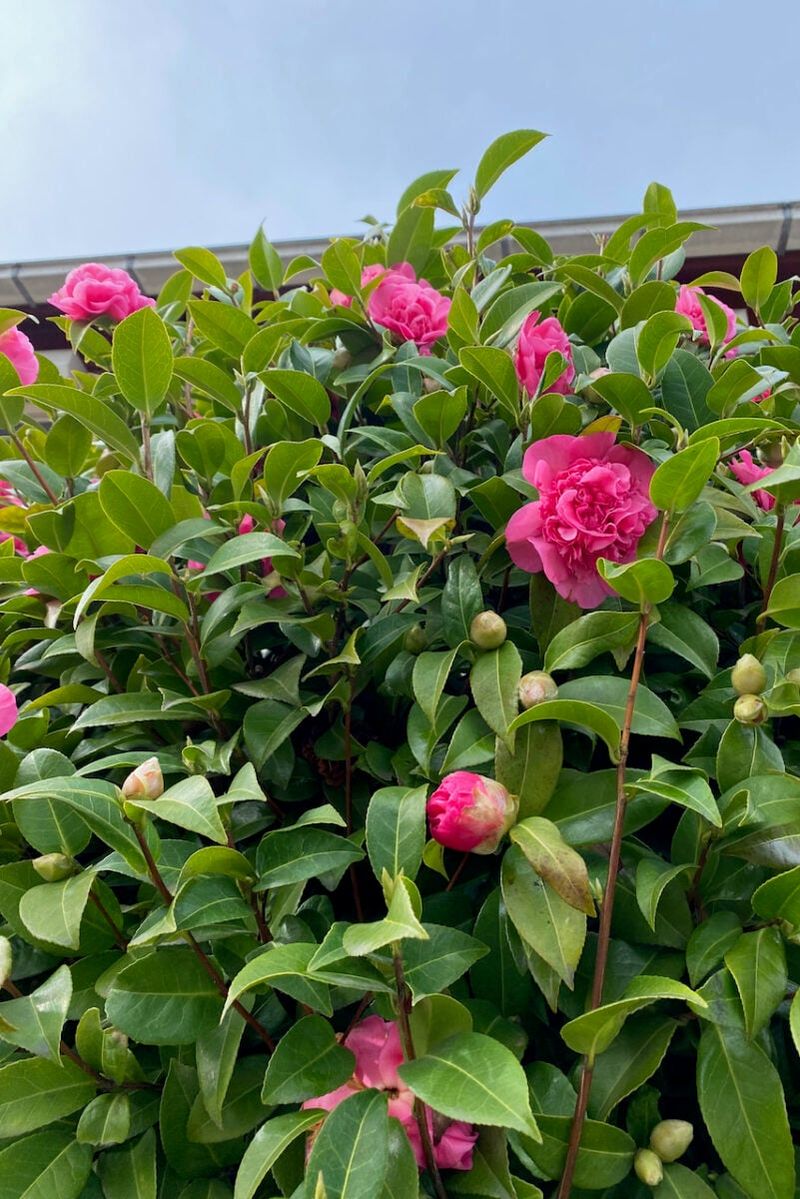
Nothing stings quite like finding fat flower buds scattered on the ground weeks before they had a chance to open. Bud drop often traces back to dry soil during late summer and fall, when those buds are still developing.
Camellias want soil that stays evenly moist, but they also dislike roots sitting in water for long stretches. Think of a wrung-out sponge, which is damp to the touch without dripping when you squeeze it.
New plants need regular deep soaks so water reaches roughly fourteen to eighteen inches below the surface. Shallow sprinkles mostly wet the top layer, which encourages weak roots that struggle when hot weather arrives.
After about three years in the ground, established shrubs become moderately drought tolerant and need less help from you. Even then, I keep an eye on them during dry spells, especially while buds are swelling in autumn.
Rainwater makes a lovely choice when you can collect it, because its slightly acidic nature suits these plants. California winter storms can fill a rain barrel quickly, giving you a handy supply for drier months later on.
Potted camellias dry out much faster than ground plants, so check them every few days during warm weather. Stick a finger into the mix, and water deeply whenever the top inch or so feels dry.
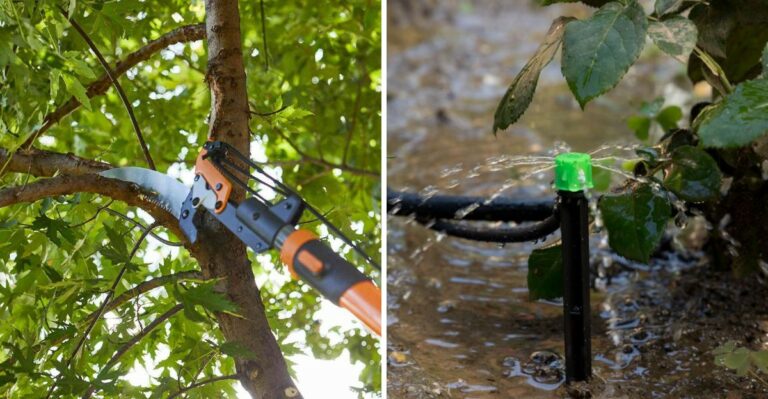
Drip lines or soaker hoses work well because they deliver water slowly right at the root zone. Morning watering also keeps leaves and petals drier at night, which helps reduce fungal trouble later in the season.
Feed And Prune Camellias Right After The Flowers Fade
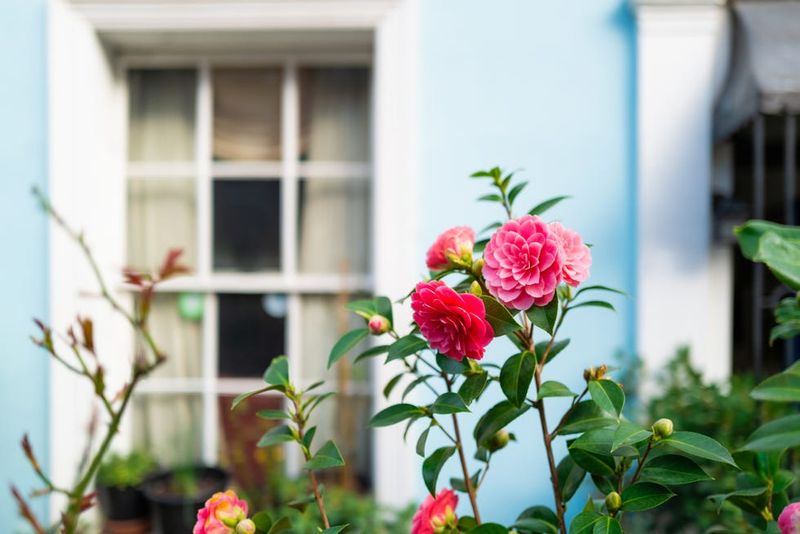
Timing is the secret ingredient here, because camellias start building next year’s flower buds during summer. Feeding or snipping at the wrong moment can mean fewer blossoms when your favorite season rolls around again.
The best window for fertilizer opens right after flowering ends, usually in late winter or early spring. Many gardeners give one feeding, though a second light meal in late April or May can help hungry shrubs.
Stop feeding by late July or early August so fresh growth has time to toughen up before cooler weather. Pick a fertilizer labeled for acid-loving plants like azaleas and camellias, and follow the package directions closely.
Cottonseed meal is a popular organic choice, since it breaks down slowly and feeds roots over several weeks. Water the soil well before and after applying any fertilizer to protect tender roots from burning.
Pruning follows the same rule, so grab your shears soon after blooms fade and before summer bud formation begins. For fall-blooming sasanquas, that usually means late winter, while japonicas wait until late spring or early summer.
Start by removing broken or diseased branches, then thin crowded inner stems to let air and light inside. Better airflow helps leaves dry faster after rain, which lowers the chance of fungus settling in.
When shrinking an overgrown shrub, take off no more than one third of its growth in a single season. Sharp bypass pruners make clean cuts that heal faster, and I wipe the blades between plants to stay tidy.
Brown Petals And Scale Insects Need Quick Attention
Brown blotches spreading across a gorgeous flower can turn a proud gardener grumpy in about five minutes flat. That rapid browning often signals camellia petal blight, a fungal problem that loves wet winter and spring weather.
Infected blossoms develop spreading brown spots and darker veins, then often drop from the shrub much earlier than normal. The fungus forms tough resting bodies in fallen petals, which can linger in soil and infect next season’s flowers.
Sanitation is your best tool, so pick up fallen flowers and toss them in the trash, not the compost. A fresh layer of clean mulch under the shrub also helps cover leftover debris on the soil surface.
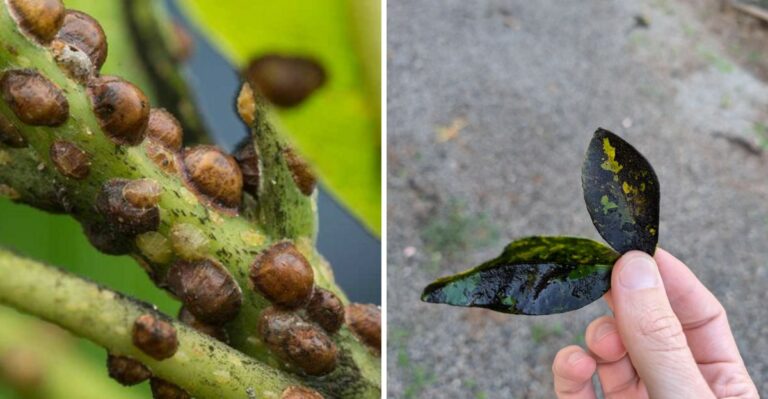
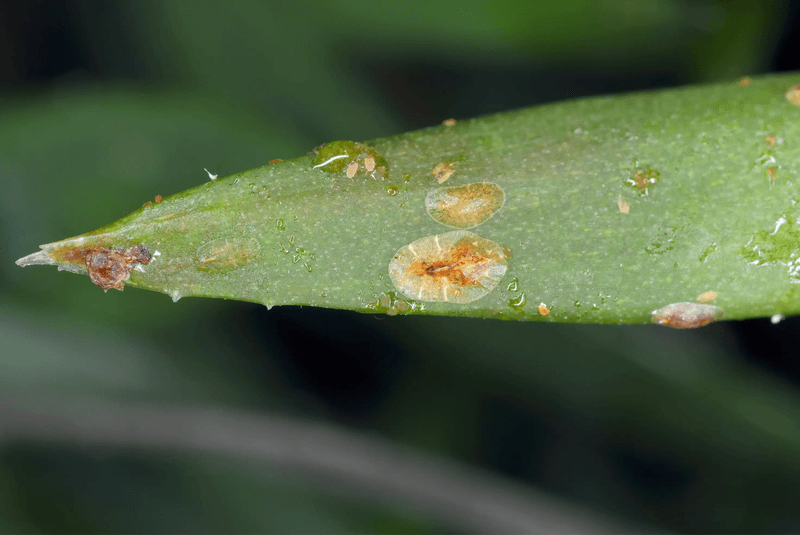
Scale insects are another sneaky visitor, clinging to leaf undersides like tiny bumps that barely move at all. They can cause yellow leaves and sticky honeydew, which sometimes leads to a black coating called sooty mold.
Aphids and mealybugs show up too, and mealybugs look like fuzzy white cotton tucked into stems and leaf joints. Spider mites prefer dry conditions, so a gentle rinse with the hose can reduce their numbers on dusty leaves.
Phytophthora root rot is the most serious concern, and it usually starts when roots sit in soggy soil. Watch for stunted growth with yellow or wilting leaves, which often points to drainage trouble below the surface.
Honestly, healthy shrubs handle most of these issues well when they get steady water and enough air circulation. On frosty nights, draping a light cover over young plants can also protect tender buds until morning sunshine returns.