How To Grow A Plum Tree From A Plum (And 5 Mistakes To Avoid While Growing It)
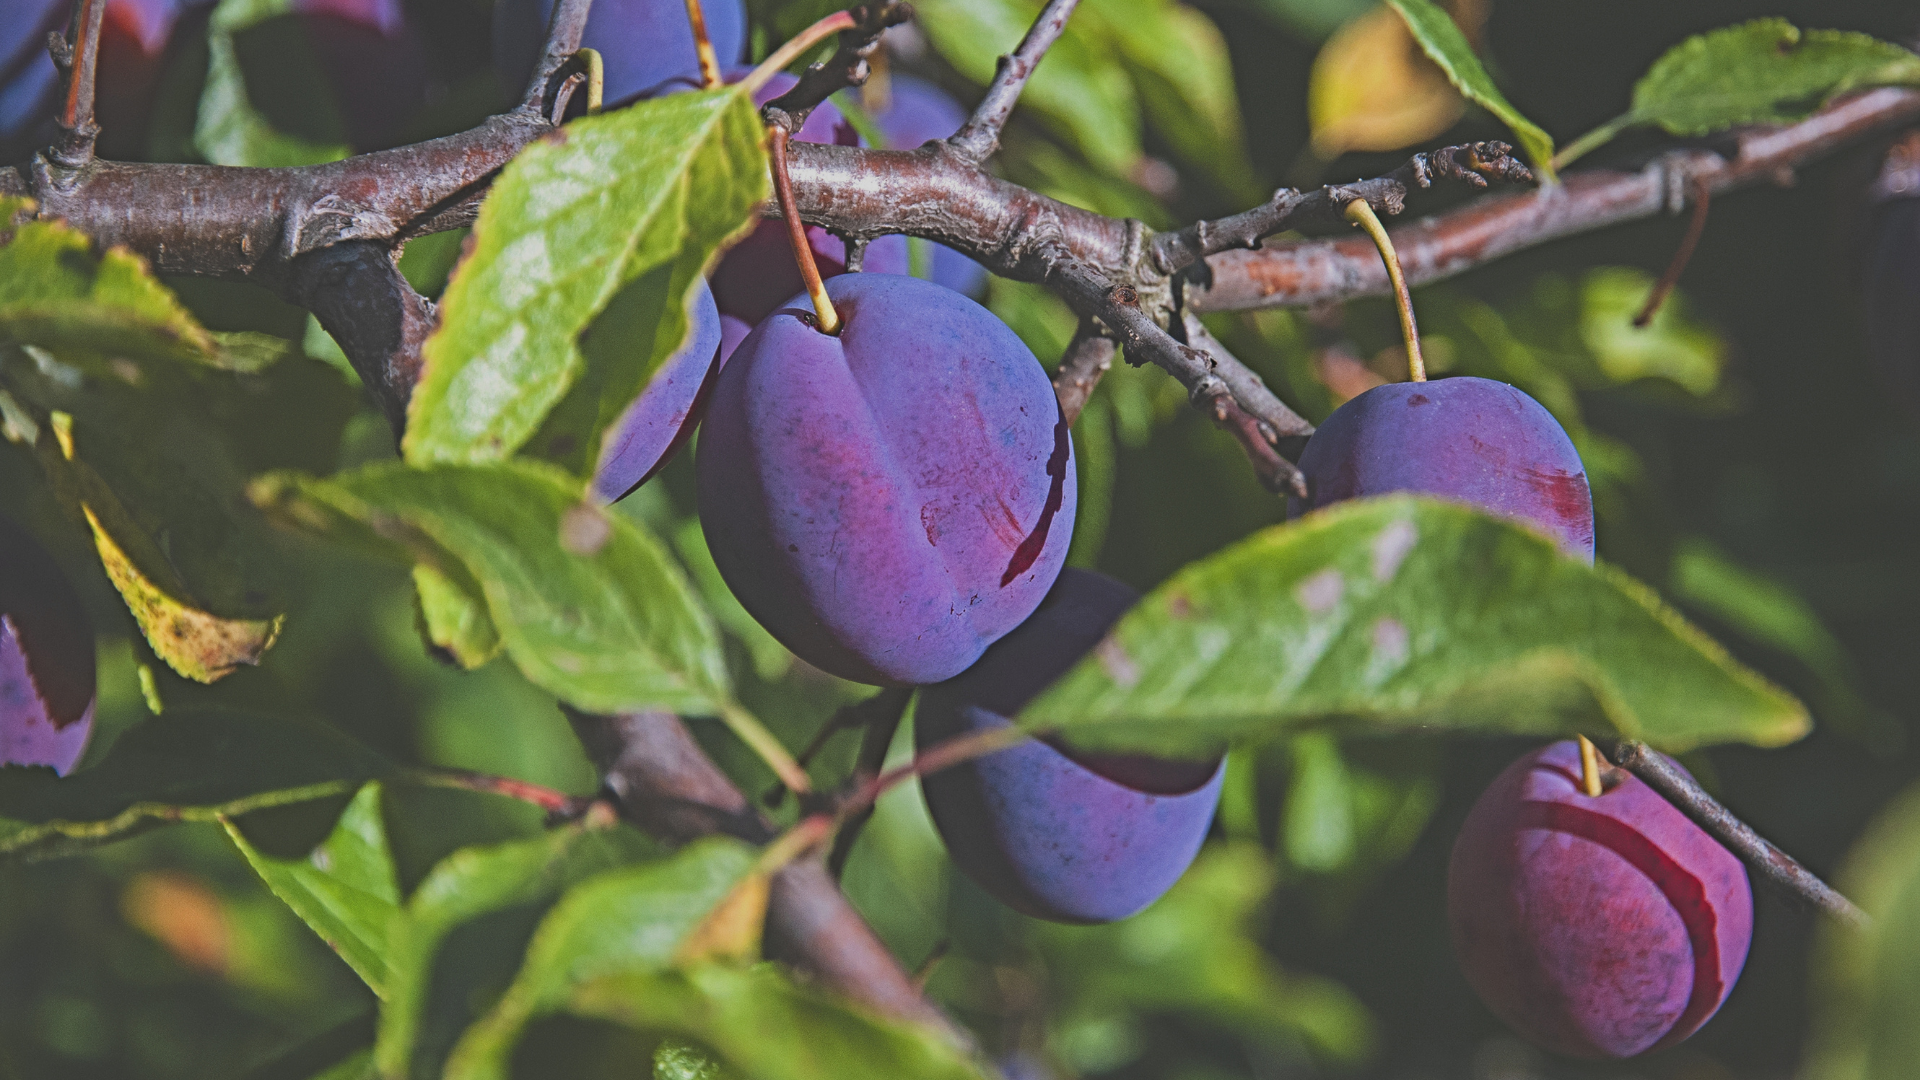
Have you ever thought about turning a humble plum into a thriving tree? Well, I have, and let me tell you, it’s a surprisingly fun journey!
From extracting the seed (which feels a bit like treasure hunting) to nurturing the sapling, growing a plum tree from scratch is an adventure in patience and care.
I’ve learned that while it sounds simple, each step is full of little surprises. Some good, some not so much! But that’s all part of the fun, right?
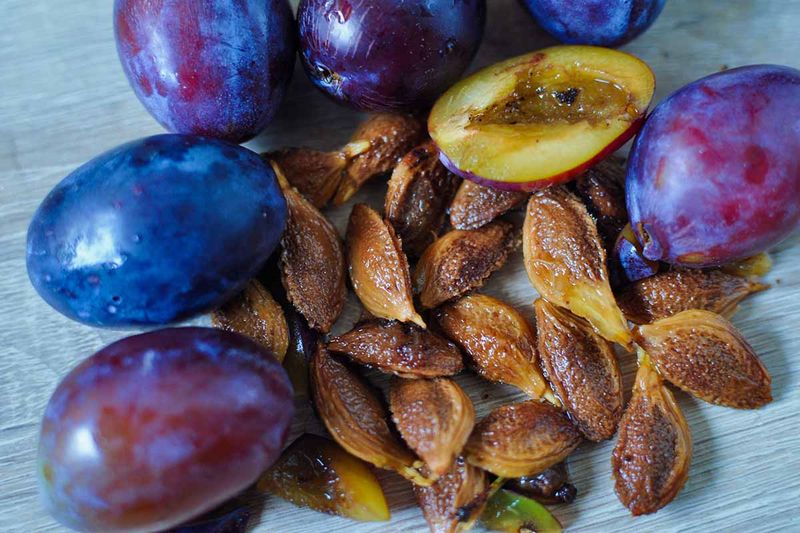
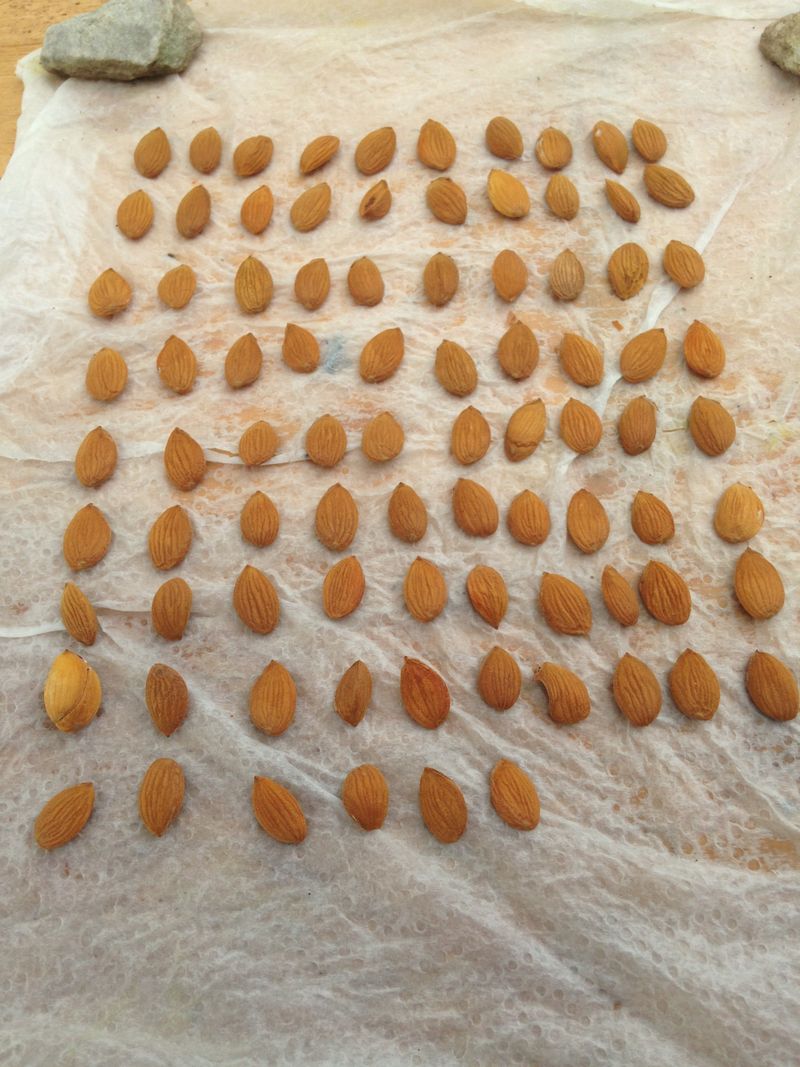
1. Extract the Seed
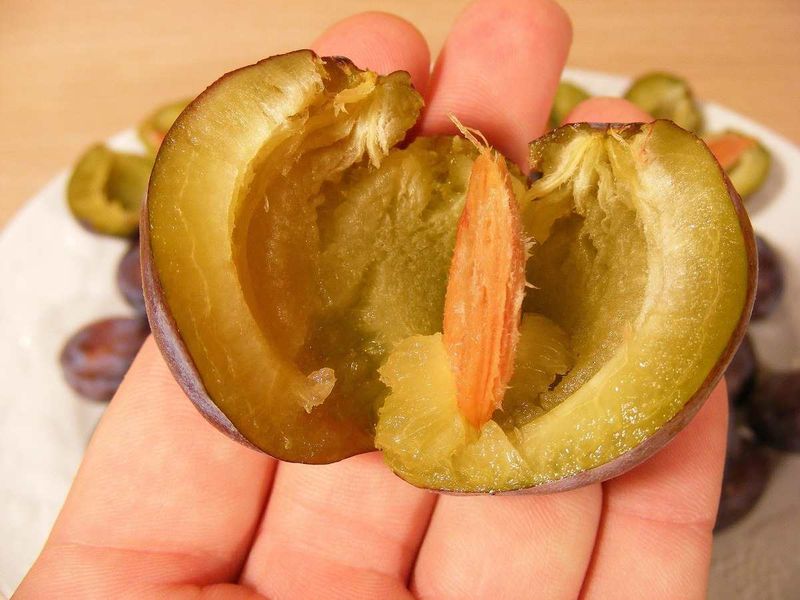
Starting this journey requires a steady hand and a ripe fruit. Plums hide their secrets well, but a gentle squeeze will reveal the treasure inside—the seed.
A delicate process, sure, but also a bit messy. Once extracted, ensure no fruit clings to the seed. It’s like giving it a tiny bath!
This is your first step in the grand adventure. Remember, patience is key here; rushing might crush the fragile seed. Every seed has a story, waiting to be told.
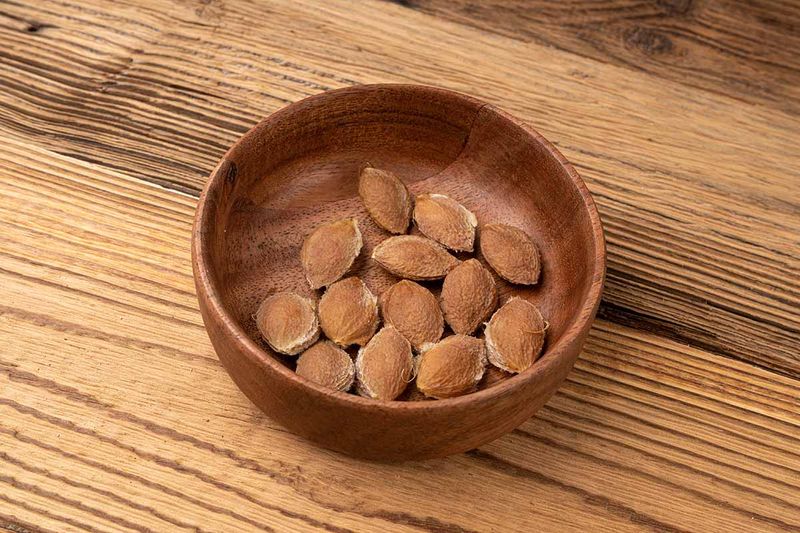
2. Clean the Seed Thoroughly
Washing a plum seed is akin to preparing it for a spa day. With gentle care, remove every trace of fruit remnants.
A clean seed is a happy seed, ready to start its transformation. This step is often overlooked, yet it’s crucial. Why? Leftover fruit can lead to mold, sabotaging growth from the start.
Think of it as giving the seed a fresh start. As you rinse, imagine the potential this tiny, smooth entity holds within.
3. Dry the Seed
After a refreshing wash, it’s time for the seed to bask in the open air. Drying might seem insignificant, yet it plays a pivotal role.
Place the seed on a paper towel, allowing it to air dry thoroughly. Imagine it sunbathing, preparing for its next big move. Skipping this step could mean disaster, as moisture might hinder its readiness to sprout.
Consider this a brief pause before the adventure resumes. The seed is now ready to rest, waiting patiently for its moment.
4. Stratify the Seed
Ever thought of a fridge as a nursery? For plum seeds, it’s a cozy incubator. Wrap your seed in a damp paper towel and find it a nice spot in the fridge.
This cool period mimics winter, signaling the seed to prepare for growth. It’s a test of patience too—10 to 12 weeks of waiting.
But as every gardener knows, good things come to those who wait. Think of it as a seed’s version of hibernating. A quiet promise of what’s to come.
5. Plant the Seed in a Pot
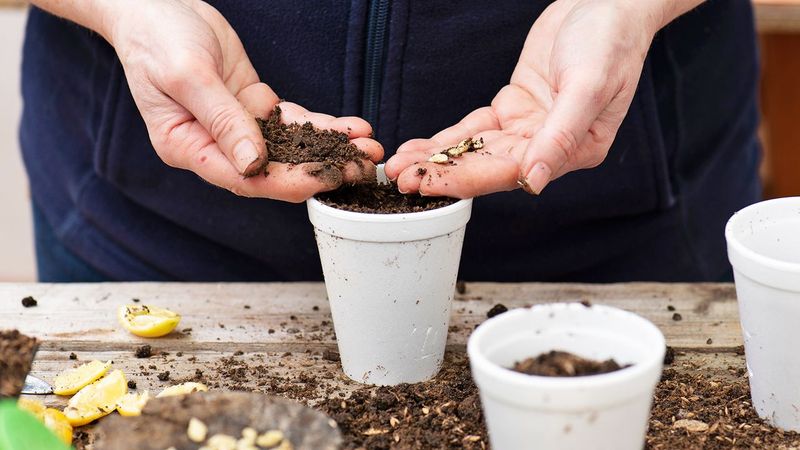
Finally, the seed emerges from its winter slumber. The pot becomes its new home, filled with well-drained soil. Imagine this as setting the stage for your botanical play.
Plant the seed just deep enough to be covered. Here’s where the magic begins. The environment in this pot will nurture the seed’s first signs of life.
Remember, it’s more than just planting; it’s about providing a foundation for success. A little care goes a long way.
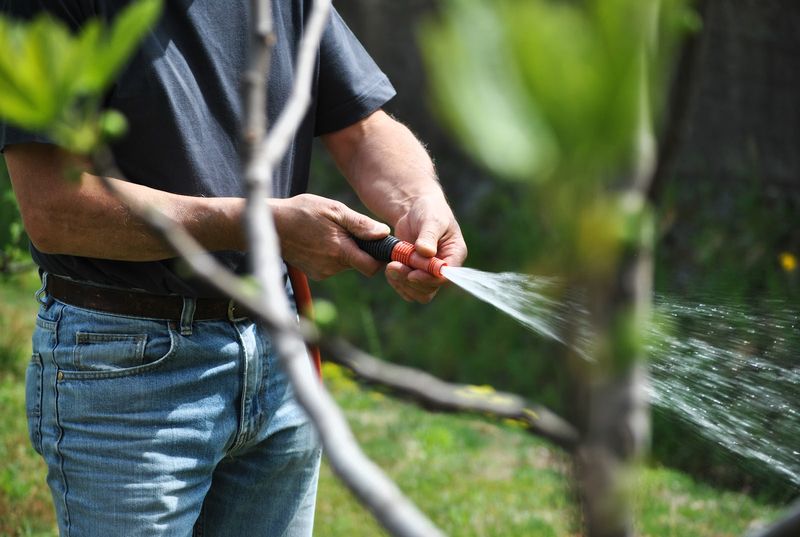
6. Water Regularly
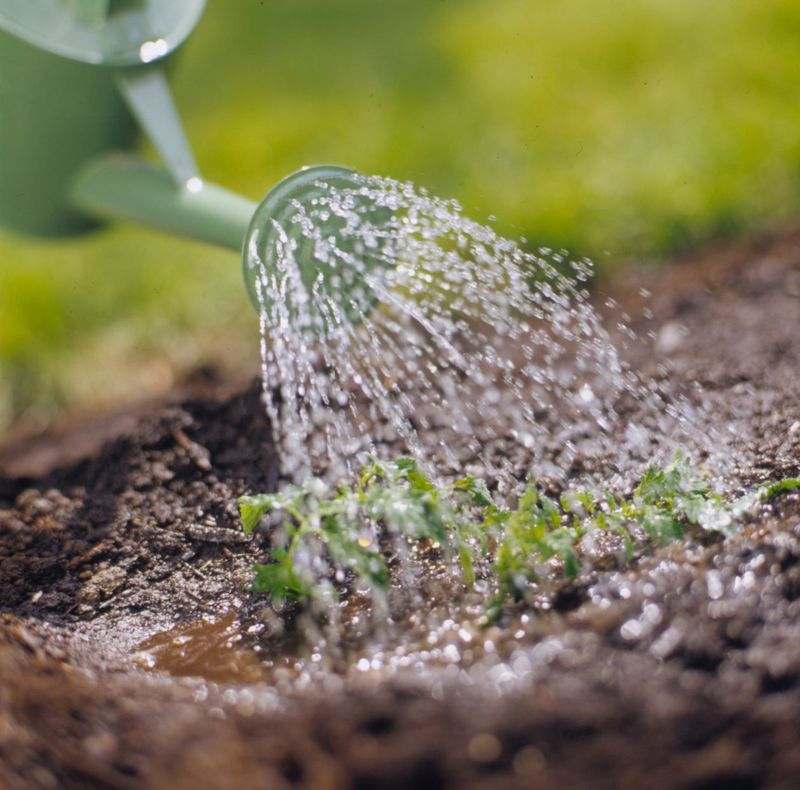
Watering is a tender dance between too much and too little. The seed, now nestled in its pot, craves moisture but fears drowning.
Regular watering helps maintain the delicate balance the seed needs. Picture it as a nurturing routine, like reading a bedtime story. Water is life, but it’s also about moderation.
Overdoing it could spell doom, while neglect is equally perilous. Keep the soil moist, but never soggy. This routine becomes a daily meditation.
7. Sunlight and Warmth
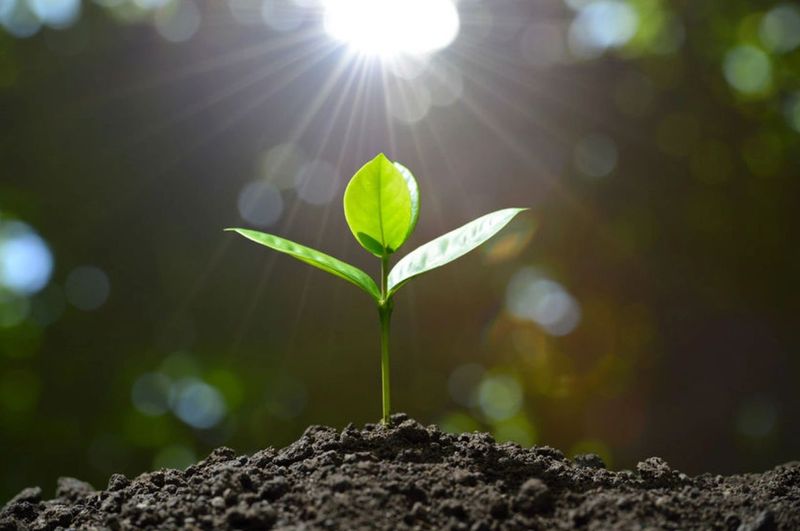
A cozy spot by the window is an ideal retreat for the seed. Sunlight and warmth are its allies, nudging it towards growth.
Think of it as the seed’s spa treatment; each ray of sun a gentle massage. Providing the right amount of light and heat transforms potential into reality.
This environment encourages the seed to stretch and grow. Like any relationship, it’s about finding balance. Too much of a good thing can be harmful, yet the right dose does wonders.
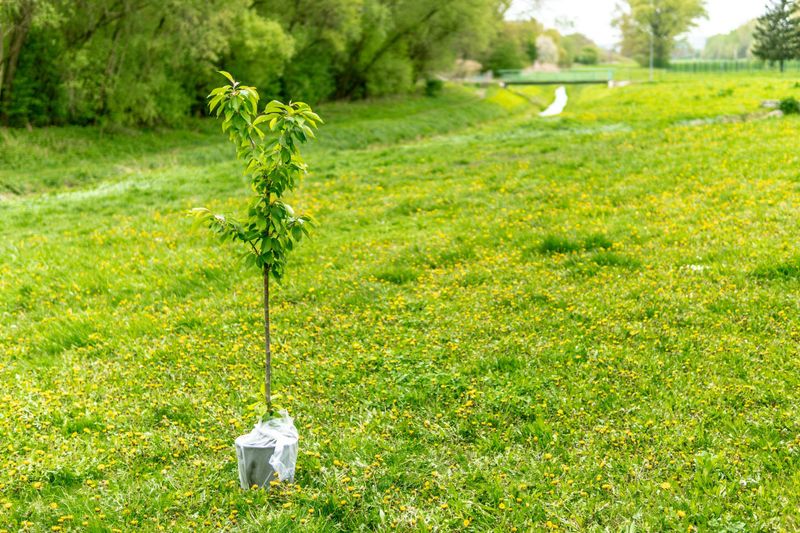
8. Transplanting Outdoors
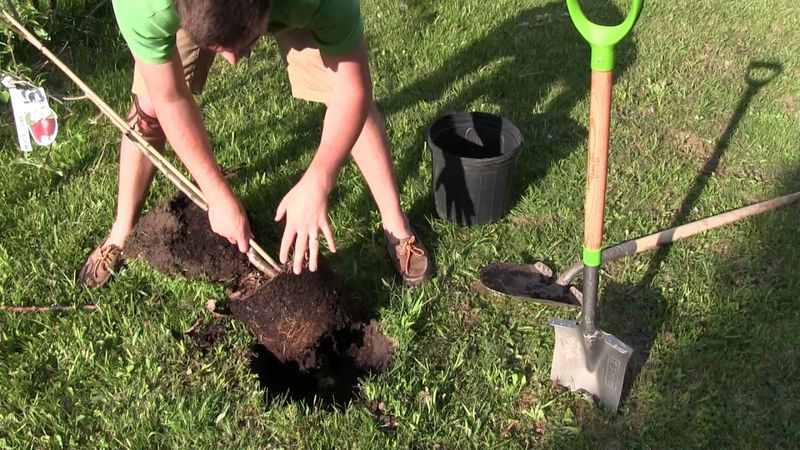
Reaching this milestone is a gardener’s delight. Once the seedling is sturdy, it’s ready for the great outdoors. The garden awaits, where the seedling can stretch its roots further.
Transplanting is a careful operation, almost like moving into a new neighborhood. Ensure the conditions are just right—good soil, ample space, and favorable weather.
This step is where dreams take root, quite literally. Watching the seedling adapt is both thrilling and rewarding. It’s a rite of passage for both tree and gardener.
9. Avoid Over-Watering
Here lies a common pitfall for eager growers: over-watering. Control is essential. The roots need air to breathe as much as they need water to drink.
Over-watering leads to rot, sabotaging your efforts. Imagine bathing in a suit of armor; it simply doesn’t work. Knowing when to stop watering is a skill honed over time.
Your plum tree will tell you what it needs if you listen closely. Maintaining this balance is crucial for a healthy tree.
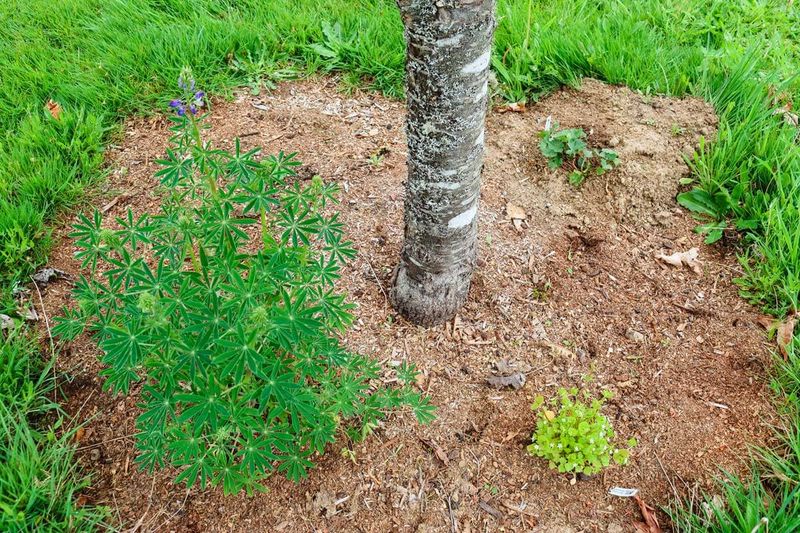
10. Select Proper Soil

Not all soil is created equal. For plums, well-drained soil is a must. The earth you choose will either cradle the tree’s roots or stifle them.
Think of it as picking the right mattress, comfort leads to growth, discomfort leads to problems. Testing different soils can be like shopping for shoes; the right fit makes all the difference.
This choice influences growth profoundly. With well-drained soil, your tree is set for success. It’s the bedrock of your gardening journey.
11. Planting Depth Matters
Plant depth can make or break your tree’s future. Too deep, and the seed might suffocate, too shallow, and it might dry out.
It’s like wearing shoes that are too big or too small. Just right is the sweet spot of growth. Ensuring the seed is just covered with soil is an art.
This seemingly small detail has a significant impact on growth. Mastering this step sets the stage for what follows. The seed’s journey is as much about precision as passion.
12. Protect from Temperature Fluctuations
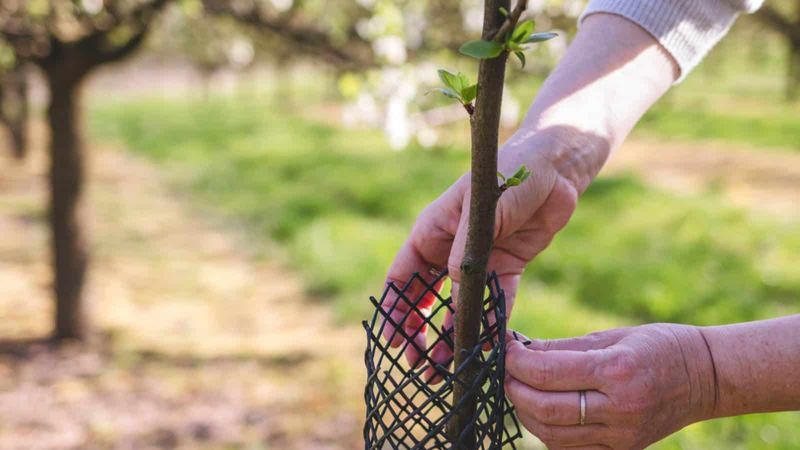
Weather can be unpredictable, much like life itself. Protecting young trees from extreme temperatures is critical. They’re fragile, like a new-born learning to walk.
Cover with a garden fleece or move to a sheltered spot during harsh conditions. Consider this a protective embrace, ensuring safety from harm.
Extreme weather can stunt growth or worse, cause irreversible damage. This step is about being vigilant. It’s about creating a stable environment where the tree can flourish.
13. Fertilize Sparingly
Fertilizer is to trees what vitamins are to humans—necessary, but in the right doses. More isn’t always better. Too much can burn young roots, halting progress.
Picture it as feeding a child; overfeeding has consequences. The key is moderation. Fertilizing sparingly encourages healthy growth. Knowing when to say ‘enough’ is part of the wisdom of gardening.
This careful approach ensures your tree grows strong and healthy, not overwhelmed by excess. It’s about nurturing, not overindulging.