15 Brilliant Tips For Planting Ground Cover Roses (And 4 Mistakes You’ll Want To Avoid)
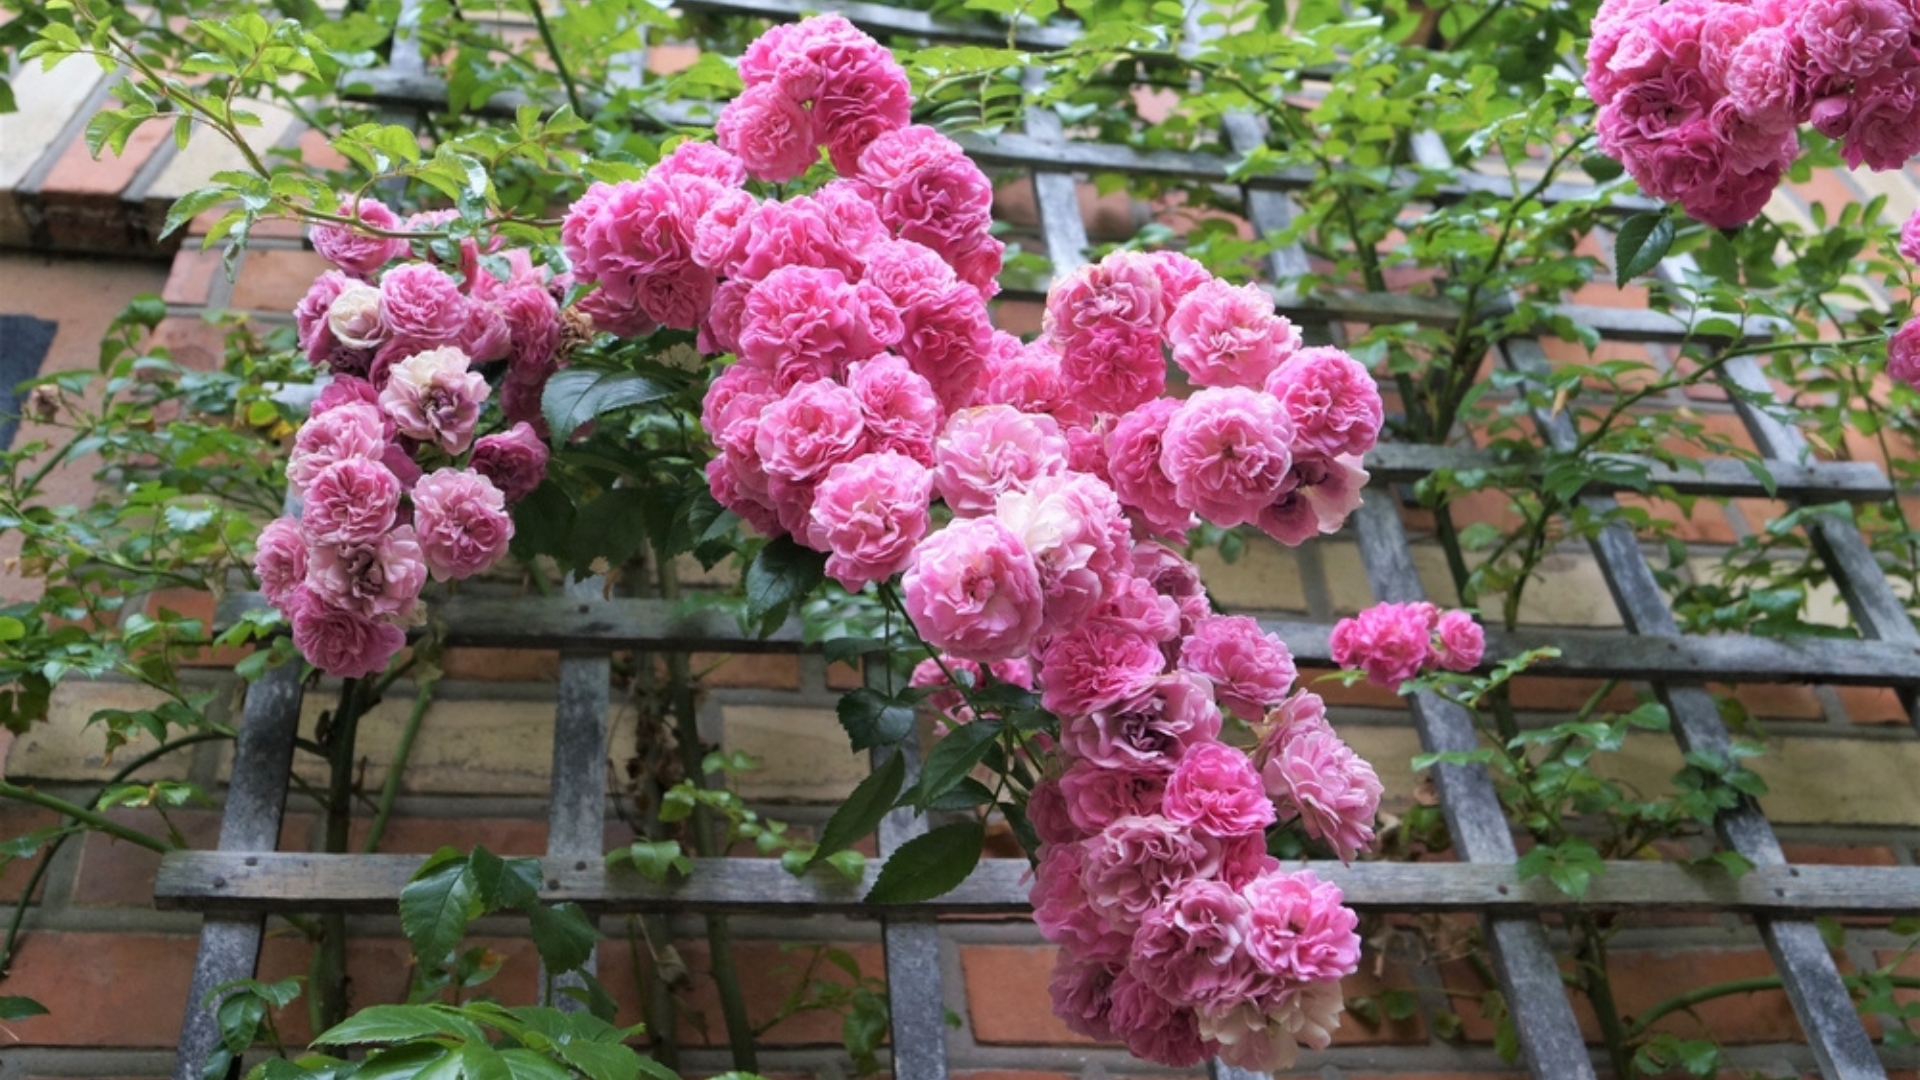
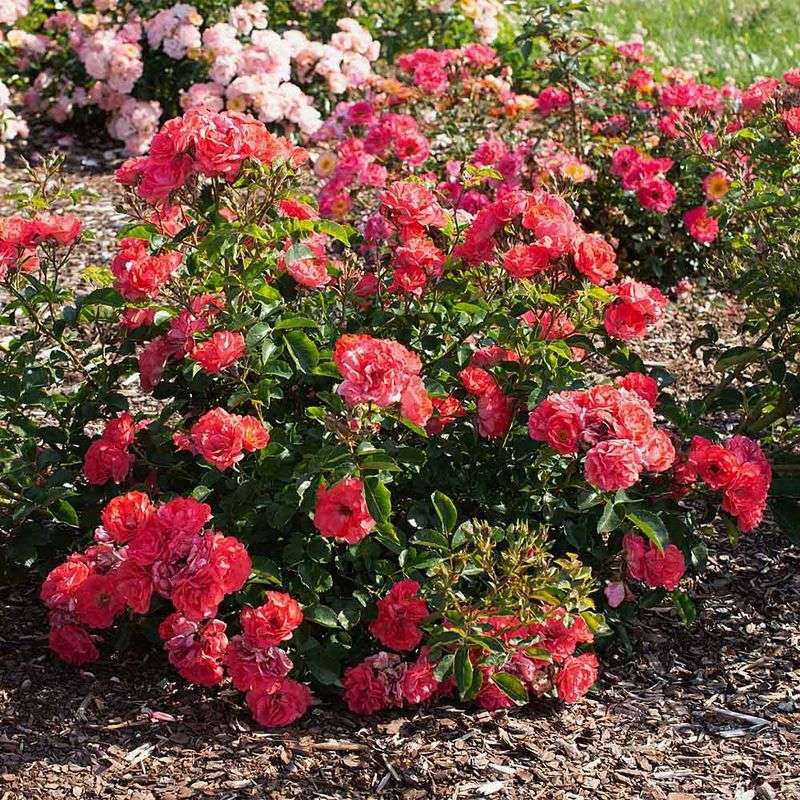
Ground cover roses offer stunning beauty while solving tricky landscape problems like erosion and weedy areas. These low-growing, spreading roses create carpets of color with minimal maintenance, making them perfect for slopes, borders, or anywhere you want eye-catching ground coverage.
Ready to transform your garden with these versatile plants? Let’s explore how to plant them successfully—and avoid common mistakes that could derail your rose-growing dreams.
1. Choose the Right Variety for Your Space
Not all ground cover roses are created equal! Some spread wide and low, while others grow more upright. Match the growth habit to your garden needs.
For steep slopes, try ‘Red Cascade’ or ‘Flower Carpet’ series that rapidly spread outward. If you’re covering a smaller area near a walkway, compact varieties like ‘Nozomi’ won’t overtake your path.
Consider mature size carefully—most varieties spread 2-3 feet but some can stretch much further over time.
2. Prepare Your Soil Thoroughly
Great soil creates happy roses! Start by removing all weeds and grass from your planting area, then dig down 12-15 inches to loosen compacted earth.
Mix in plenty of compost or aged manure to improve drainage and add nutrients. Ground cover roses aren’t super picky, but they absolutely thrive when given this special soil preparation.
For clay soils, add extra organic matter and consider raising the bed slightly to prevent waterlogging during rainy seasons.
3. Space Plants Strategically
Proper spacing is crucial for ground cover roses! Plant them too close and they’ll compete for resources. Too far apart and weeds will grow between them.
Most varieties should be placed 2-3 feet apart, but check your specific plant’s mature spread. Fast-growing types like ‘Flower Carpet’ can be spaced slightly farther apart since they’ll fill in quickly.
Create a zigzag pattern rather than rows for faster ground coverage and a more natural appearance in your garden.
4. Plant at the Right Depth
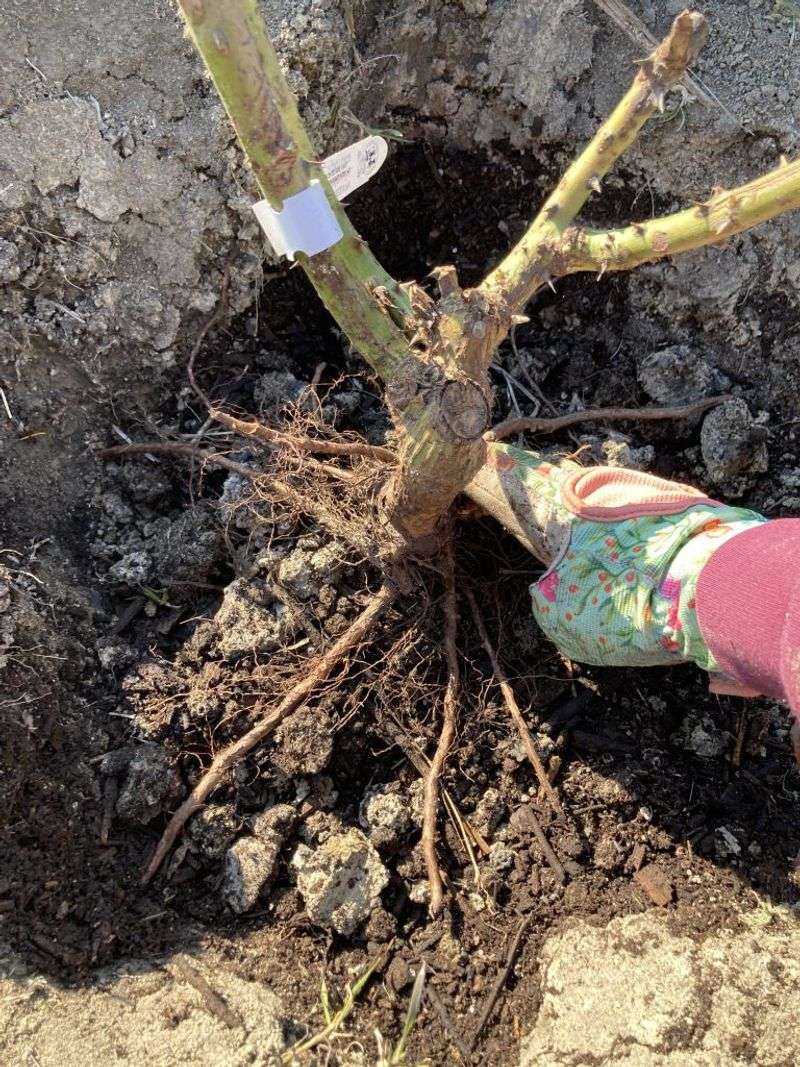
Depth matters tremendously when planting ground cover roses! The graft union (that knobby part where the rose is joined to the rootstock) should sit right at soil level in mild climates.
In colder regions, plant slightly deeper—about 1-2 inches below soil level—to protect the graft during winter. The roots should spread outward, not be cramped or circling in the hole.
After placing your rose, backfill halfway with soil, water thoroughly, then add remaining soil to eliminate air pockets.
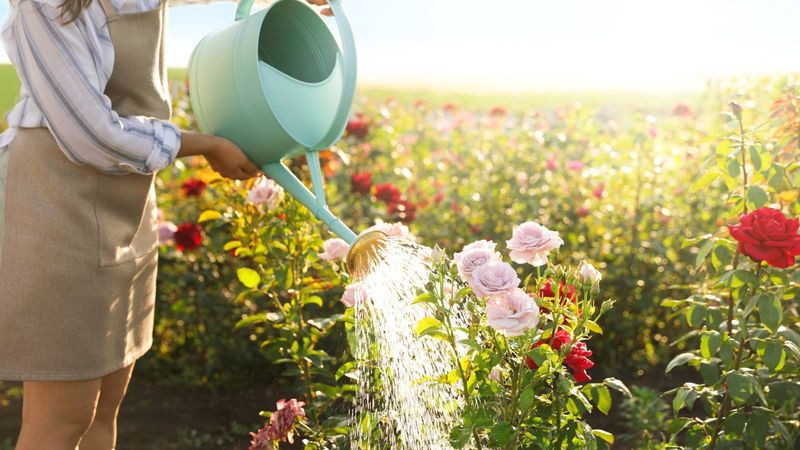
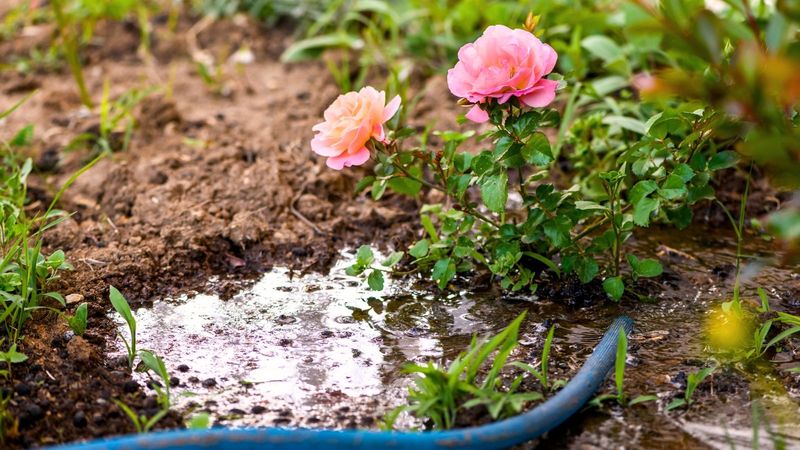
5. Water Deeply After Planting
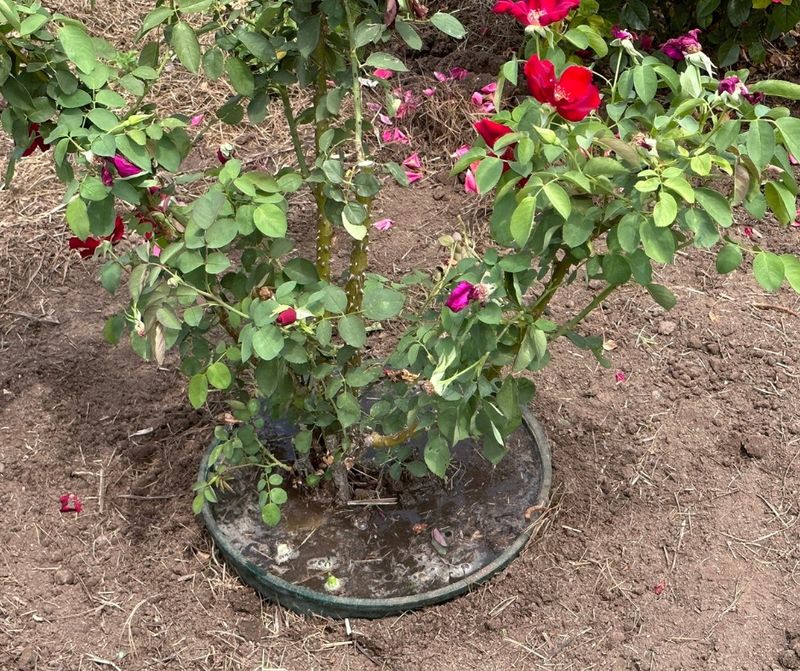
Your newly planted ground cover roses need a proper welcome drink! Create a small soil basin around each plant and fill it completely with water, allowing it to slowly soak in.
This initial deep watering helps settle the soil and eliminates air pockets that can dry out roots. It also encourages roots to grow downward rather than staying near the surface where they’re vulnerable to drought.
Repeat this deep watering every 3-4 days for the first two weeks after planting.
6. Apply Mulch Immediately
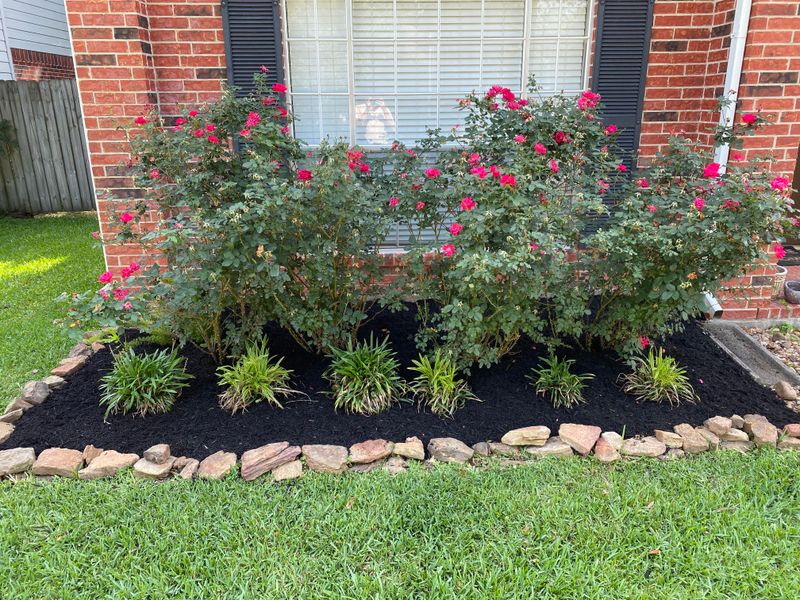
Mulch is your ground cover roses’ best friend! Apply a 2-3 inch layer around your newly planted roses, keeping it pulled back slightly from the stems.
Good choices include shredded bark, pine straw, or compost. The mulch suppresses weeds (your roses’ biggest competitors), retains moisture, and gradually improves soil as it breaks down.
As an added bonus, mulch creates a clean backdrop that makes your rose blooms really pop visually when they start flowering.
7. Feed with Rose-Specific Fertilizer
Ground cover roses are hungry plants that perform best with proper nutrition! Apply a slow-release, rose-specific fertilizer in early spring when new growth appears.
Look for formulas with balanced NPK ratios like 10-10-10 or ones slightly higher in phosphorus to encourage flowering. Sprinkle the recommended amount around the drip line of the plant, not directly against the stems.
For organic gardeners, alfalfa meal, fish emulsion, and composted manure make excellent natural alternatives that won’t burn your roses.
8. Establish a Smart Watering Schedule
Ground cover roses need consistent moisture to establish properly. Water deeply twice weekly for the first month, then once weekly during the growing season if rainfall is insufficient.
Morning watering is ideal since it allows foliage to dry before evening, reducing disease risk. Focus water at the base of plants rather than overhead to keep leaves dry.
After the first year, these tough roses become relatively drought-tolerant, needing supplemental water only during extended dry periods.
9. Prune for Shape in Late Winter
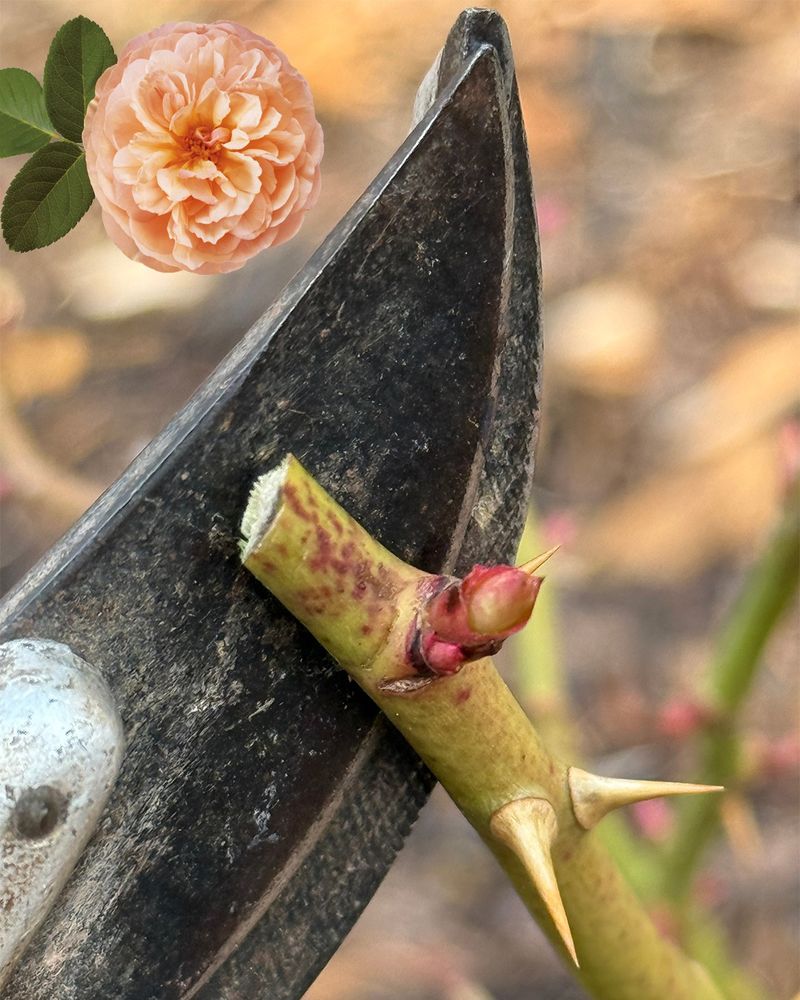
Late winter pruning sets your ground cover roses up for success! While these roses don’t need the intensive pruning of hybrid teas, they benefit from annual shaping.
In late winter before new growth starts, remove any dead or damaged branches. Then trim back the overall plant by about one-third its size to encourage dense, compact growth.
Use sharp, clean pruners and cut at 45-degree angles just above outward-facing buds to direct new growth away from the center of the plant.
10. Control Weeds Until Established

Weed competition can seriously slow down your ground cover roses! During the first year, be vigilant about removing weeds that pop up between plants before they can set seed.
Hand-pulling is safest near your roses, though careful use of a hoe works for spaces between plants. Avoid chemical weed killers that might drift onto your roses and damage them.
Once established, your ground cover roses will naturally suppress weeds by shading the soil and outcompeting unwanted plants.
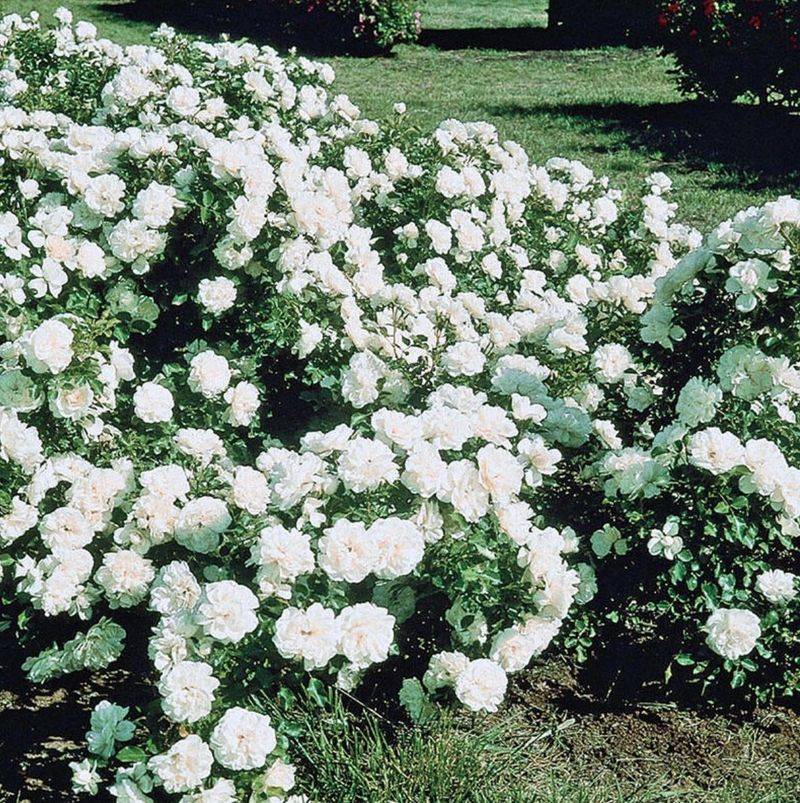
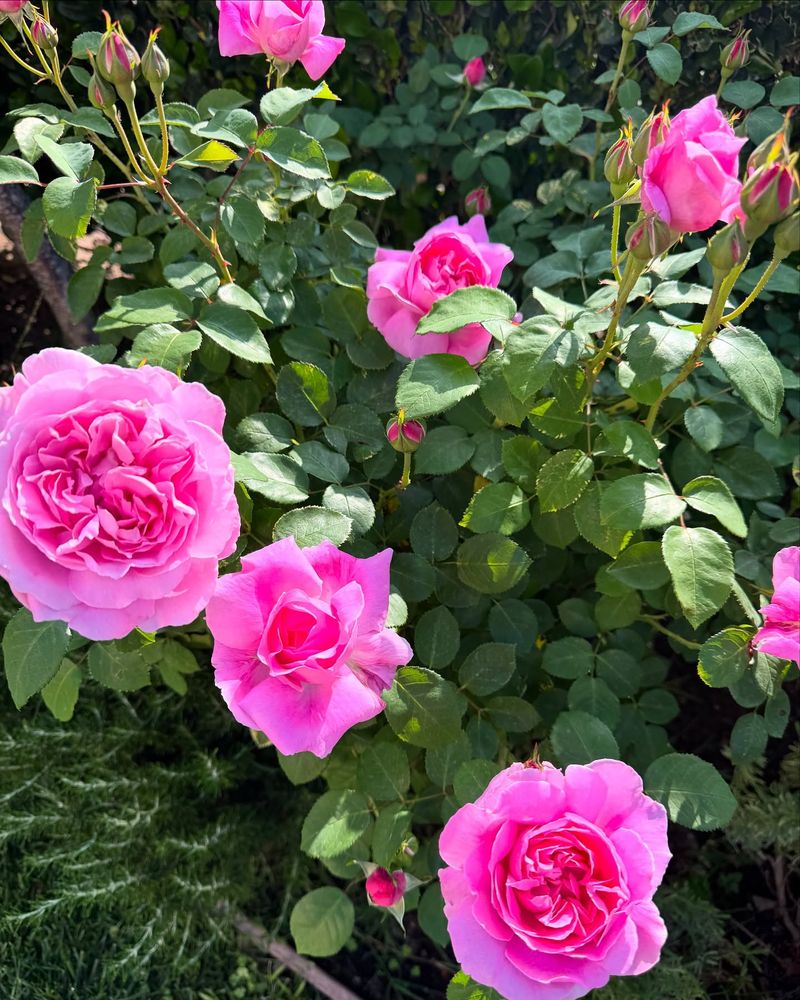
11. Plant in Groups for Maximum Impact

Ground cover roses create magic when planted in groups! Instead of placing single plants here and there, cluster 3-5 of the same variety together for dramatic effect.
This mass planting approach creates continuous color when in bloom and faster soil coverage. It also helps your roses outcompete weeds more effectively than isolated plantings would.
For large slopes, consider groups of 7-9 plants of the same variety to create impressive drifts of color that can be seen from a distance.
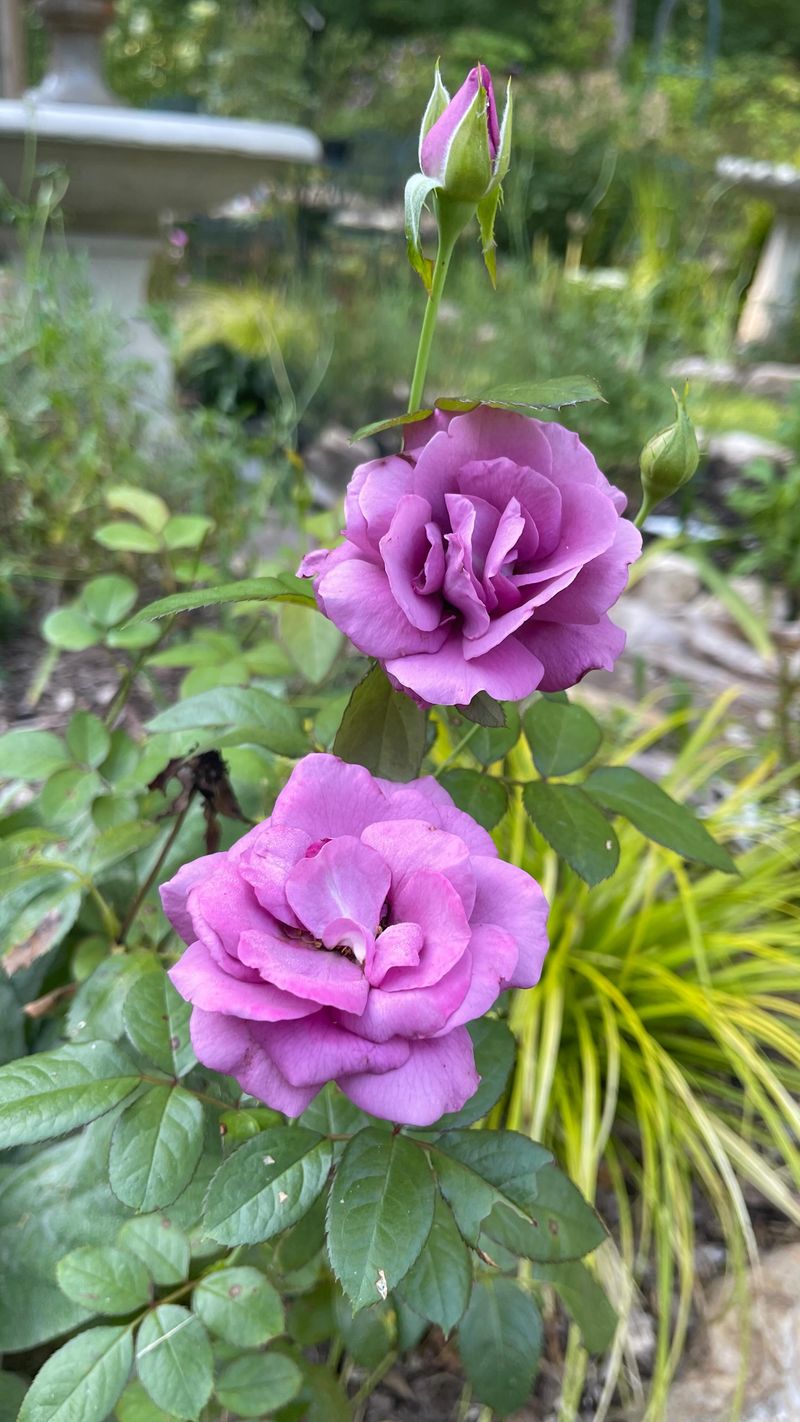
12. Deadhead Spent Blooms Regularly
Snipping off faded flowers keeps your ground cover roses looking fresh and encourages more blooms! Many varieties are self-cleaning, but all benefit from occasional deadheading.
Simply cut spent flowers back to the first set of five leaflets on the stem. This redirects the plant’s energy from seed production back to making more flowers.
For varieties with decorative rose hips in fall, stop deadheading in late summer to allow these colorful fruits to form for winter interest.
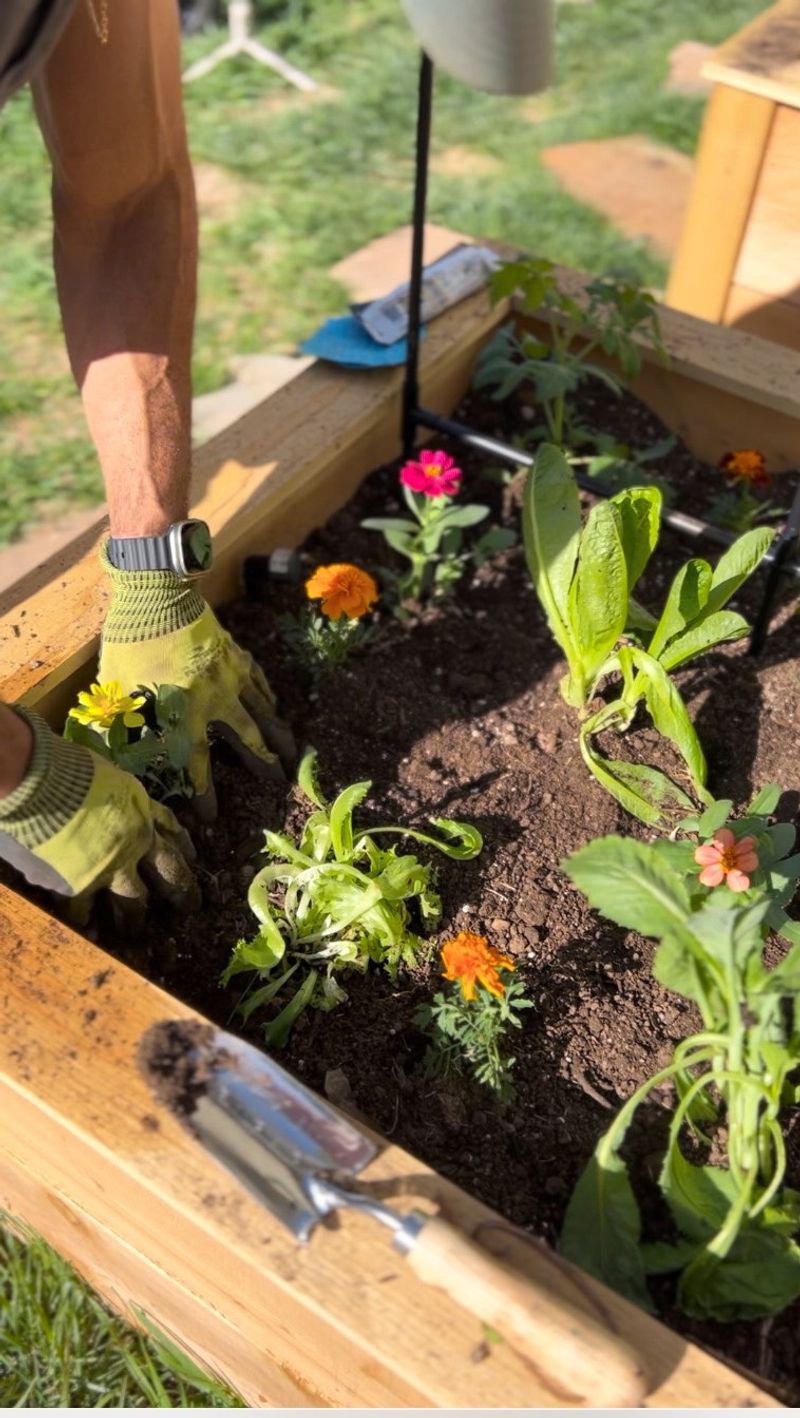
13. Consider Companion Plants Carefully
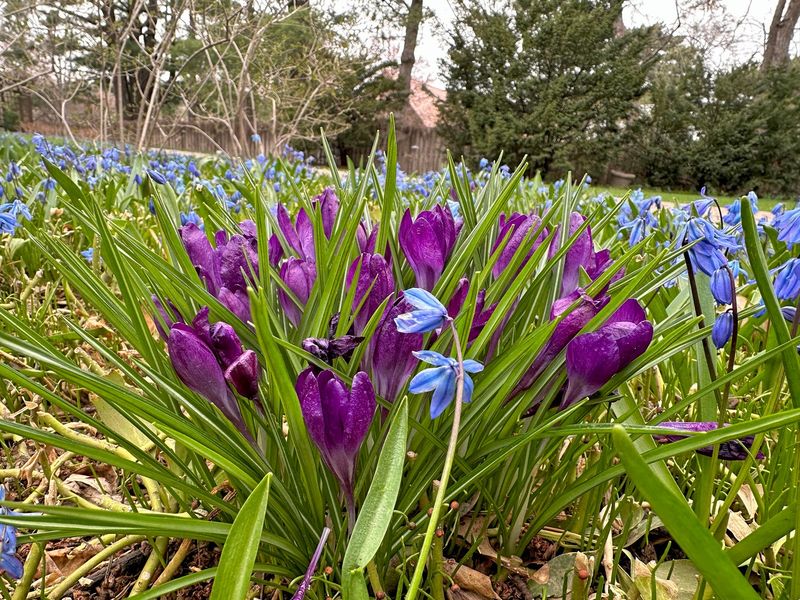
Partner plants can enhance your ground cover roses’ beauty! Choose companions that share similar water and sun requirements but won’t compete aggressively for space.
Spring bulbs like daffodils and tulips work beautifully, blooming before roses leaf out fully. Low-growing lavender, catmint, or salvias complement roses with contrasting foliage and flowers.
Avoid planting thirsty perennials or aggressive spreaders that might overwhelm your roses or create too much competition for resources.
14. Protect New Plantings from Pests
Young ground cover roses are vulnerable to damage from deer, rabbits, and insect pests! Consider temporary fencing or protective netting for the first season if wildlife pressure is high in your area.
Watch for common rose pests like aphids and spider mites, especially on new growth. A strong spray of water often dislodges these pests before they become problematic.
For organic pest control, introduce beneficial insects like ladybugs or use insecticidal soap sparingly on affected areas.
15. Provide Winter Protection in Cold Climates
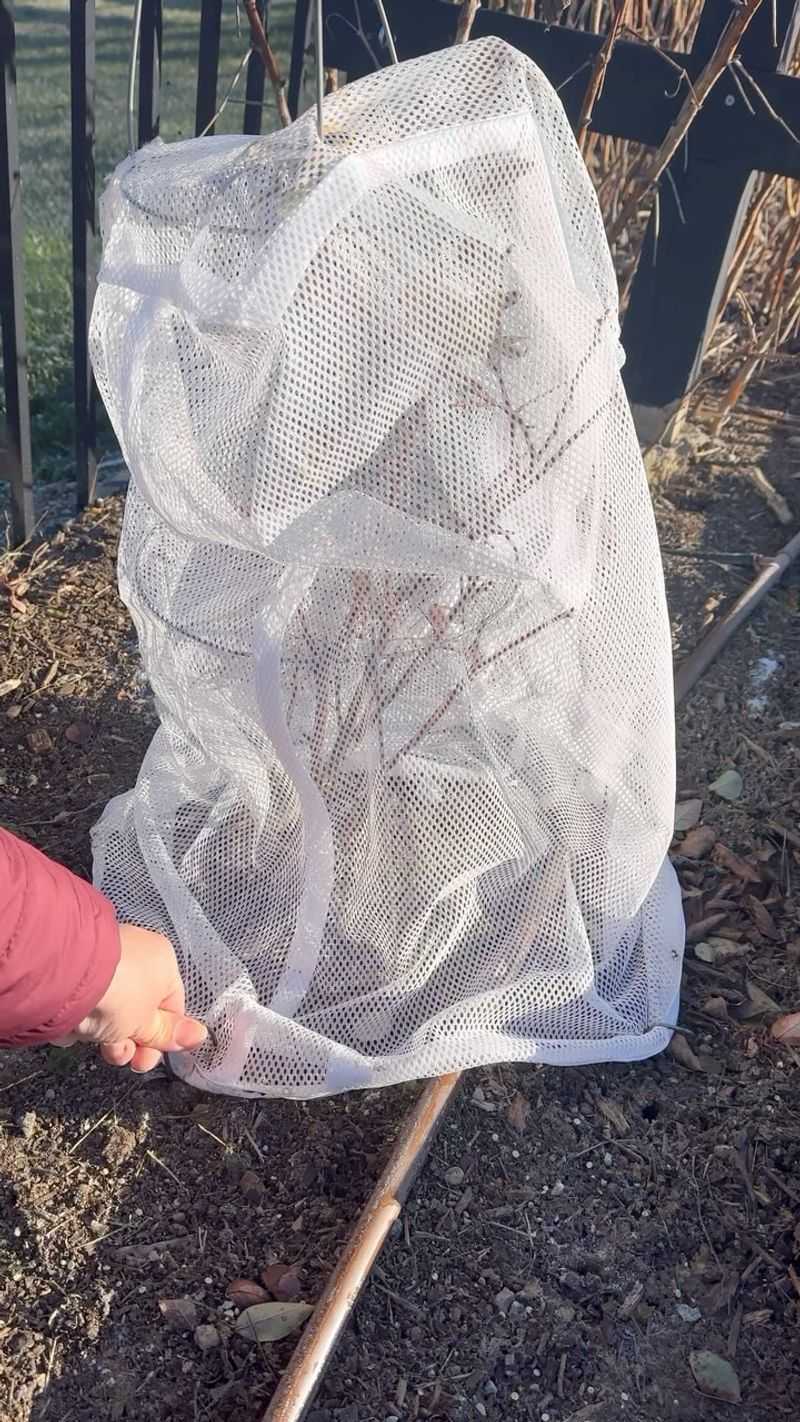
Ground cover roses are tough, but extra winter protection helps in cold regions! After the first hard frost, apply a 3-4 inch layer of mulch around the base of plants.
Shredded leaves, straw, or pine needles work well as insulating materials. This mulch mound protects the crown and root system from freeze-thaw cycles that can damage or kill roses.
Remove this extra protection gradually in spring after the threat of hard freezes has passed to prevent plants from breaking dormancy too early.
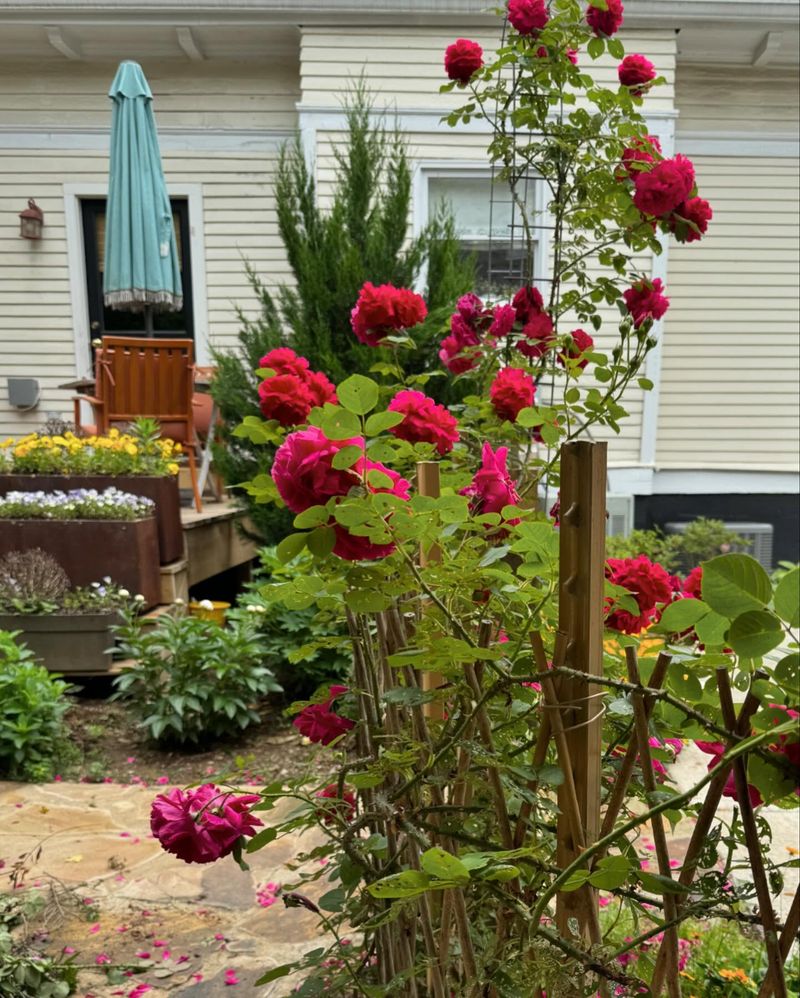
16. NEVER Plant in Heavy Shade

Even the most shade-tolerant ground cover roses need significant sunlight to thrive! Planting in deep shade leads to leggy growth, few flowers, and increased disease problems.
Most varieties require at least 4-6 hours of direct sun daily to produce abundant blooms. Morning sun is particularly beneficial as it helps dry dew from foliage, reducing fungal disease risk.
If your area receives less than 4 hours of sun, consider shade-loving ground covers like ajuga or pachysandra instead of struggling with unhappy roses.
17. NEVER Skip Testing Your Soil
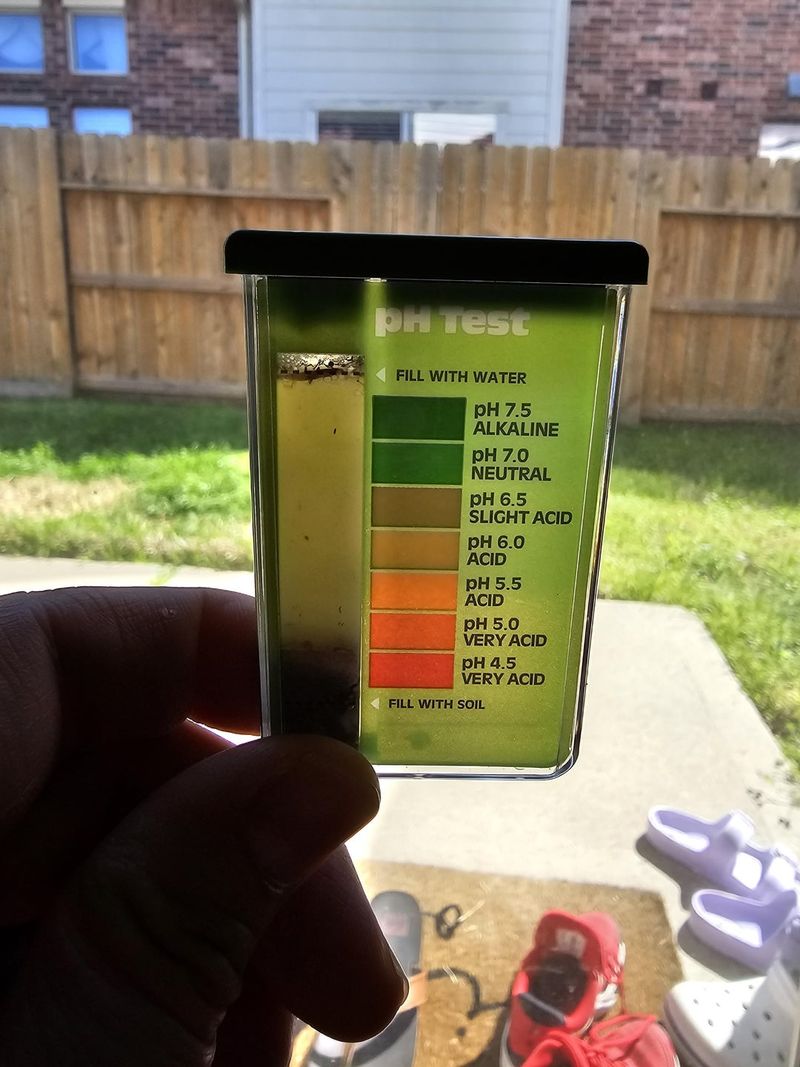
Planting without knowing your soil conditions is like baking without measuring ingredients! Get a soil test to determine pH and nutrient levels before planting ground cover roses.
Roses prefer slightly acidic soil (pH 6.0-6.5), and knowing your starting point helps you amend appropriately. Most county extension offices offer affordable testing services with specific amendment recommendations.
This simple step prevents future problems like yellowing leaves, poor growth, or nutrient deficiencies that can plague roses in improper soil.
18. NEVER Overwater Established Plants
Drowning your ground cover roses with too much water is a common mistake! Once established (after the first year), these plants are relatively drought-tolerant and actually perform better with slightly dry conditions.
Overwatering leads to root rot, fungal diseases, and shallow root systems that make plants less resilient. Check soil moisture by inserting your finger 2 inches into the soil—if it feels moist, hold off on watering.
During rainy periods, you may not need to water at all for weeks at a time.
19. NEVER Use Overhead Sprinklers
Overhead watering is asking for trouble with ground cover roses! Water sitting on leaves creates perfect conditions for black spot, powdery mildew, and other fungal diseases that can quickly defoliate your plants.
Instead, use soaker hoses, drip irrigation, or hand-water at the base of plants. These methods deliver water directly to the roots where it’s needed without wetting foliage.
If you must use sprinklers, run them early in the morning so leaves have time to dry completely before evening.