16 Bucket Gardening Ideas For Growing More In Small Outdoor Spaces

Bucket gardening became my go-to when I realized I didn’t have room for raised beds or big containers. All it took was a few five-gallon buckets, some potting soil, and a little creativity to get started.
Whether you’re growing tomatoes on a stoop or herbs outside your kitchen door, buckets make it all feel possible—even with limited space. They’re lightweight, budget-friendly, and easy to move when the sun shifts or storms roll in.
Over time, I’ve grown everything from peppers to strawberries in mine, and I’m always amazed at how productive such a simple setup can be. If you’re short on space but big on garden dreams, a bucket might be all you need.
1. Multi-Tiered Bucket Tower
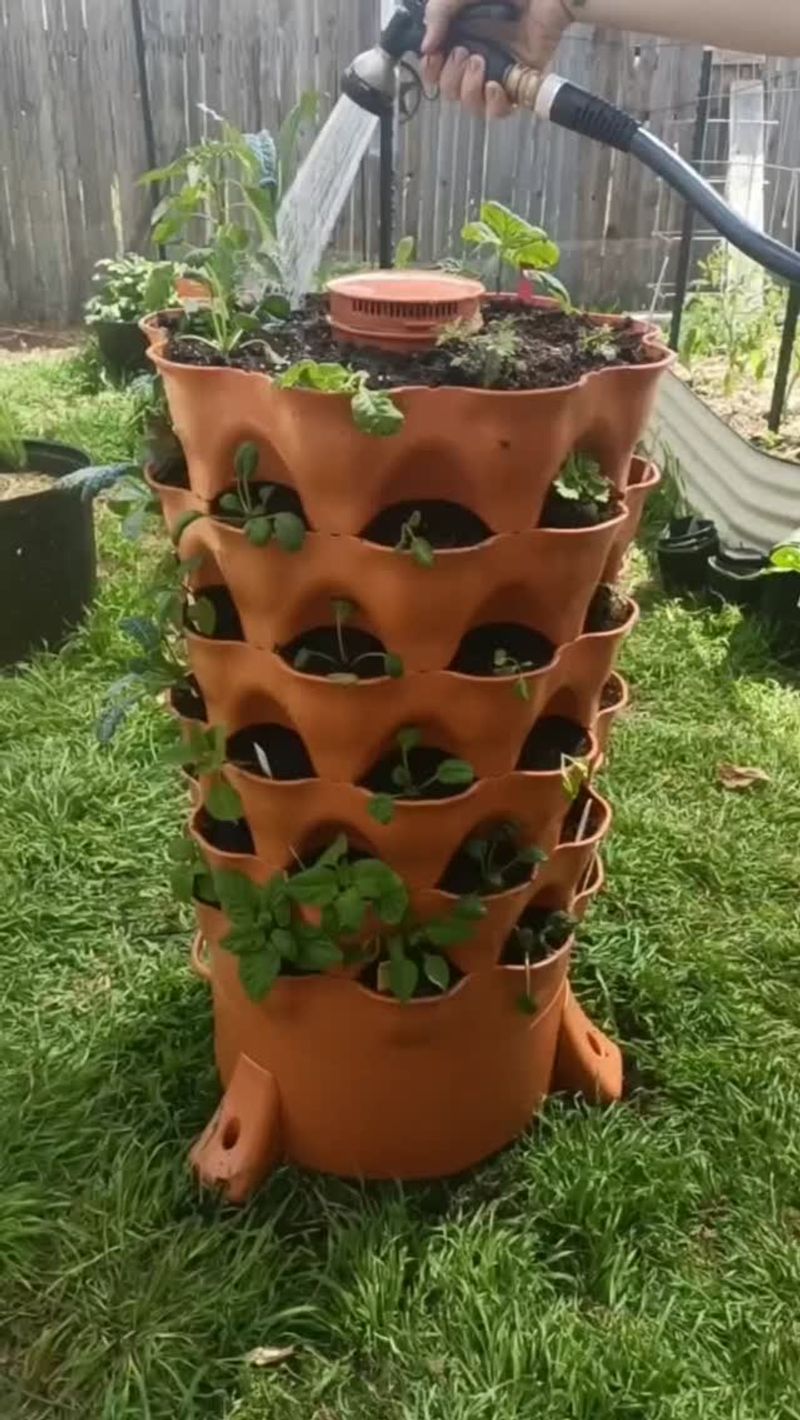
Stack several buckets vertically with each one slightly offset, creating a spiral tower of growing spaces. Cut holes in the sides of each bucket where plants can grow outward while the top remains open for another plant.
The tower design maximizes your growing area in a tiny footprint—perfect for strawberries, herbs, and trailing plants that can cascade down the sides. I’ve grown over 20 strawberry plants in a single tower that took up just two square feet of my patio.
Make sure to drill drainage holes between levels so water filters down through the entire system. The bottom bucket catches excess water, preventing messy runoff on your balcony or deck.
2. Self-Watering Bucket System
Create a reservoir in the bottom of your bucket by placing a smaller container inside, surrounded by soil. Fill this inner container with water and connect it to the soil using wicks made from cotton rope.
The beauty of this system is how it delivers consistent moisture without daily watering chores. My self-watering buckets only need refilling once a week, even during hot summer days, which has been a game-changer for my busy schedule.
Use food-grade buckets for this project, especially when growing edibles. The system works wonderfully for thirsty plants like tomatoes and cucumbers that need steady moisture to produce well.
3. Hanging Bucket Garden
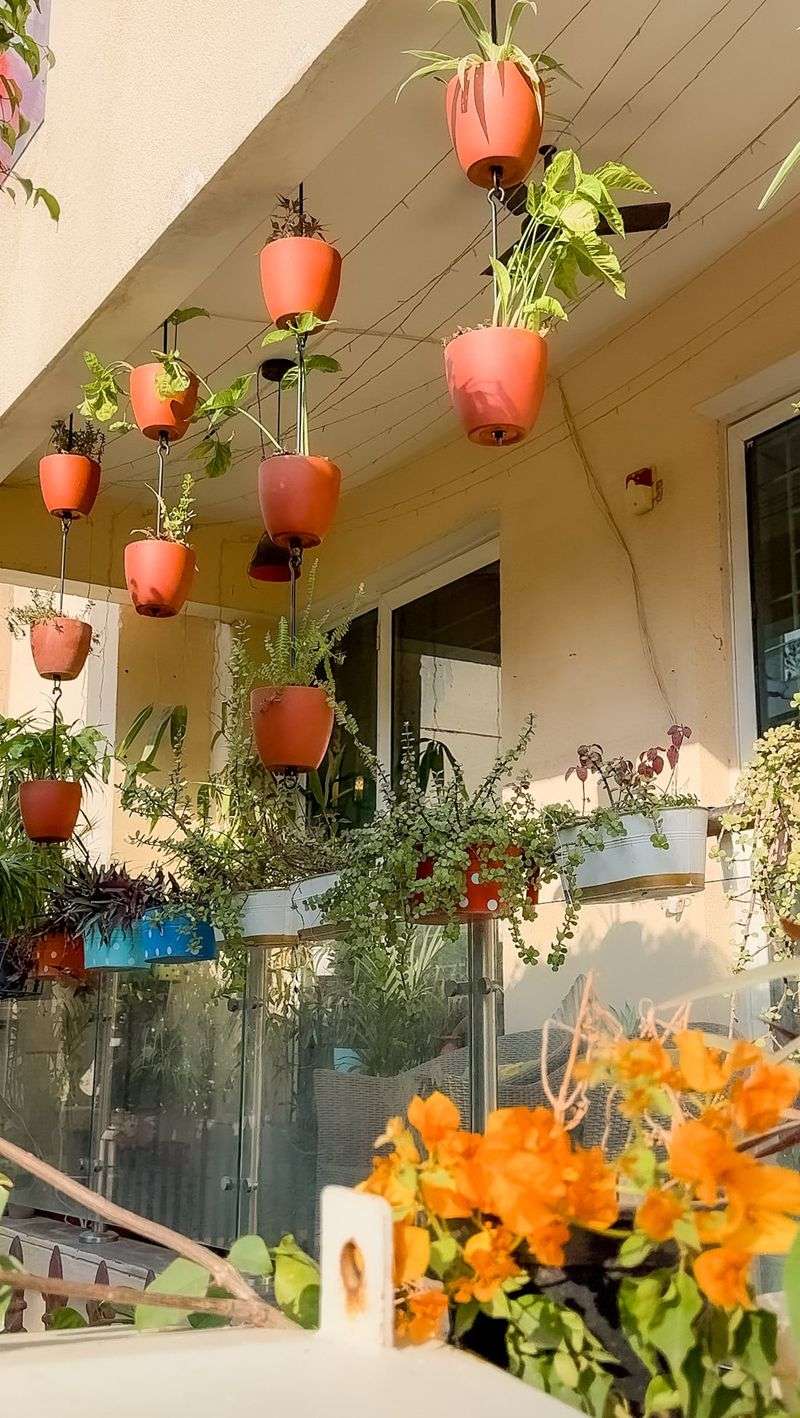
Drill strong holes near the bucket rim and attach sturdy rope or chain to create suspended planters. Hang these from railings, pergolas, or specialized hooks mounted on walls or ceilings.
Hanging your buckets frees up valuable floor space while creating a stunning visual display. For my apartment balcony, I hung buckets at different heights, creating a living privacy screen of cascading flowers and herbs.
Lighter plants like herbs, salad greens, and trailing flowers work best in this setup. Remember that hanging buckets dry out faster than ground-level containers, so check soil moisture frequently and consider adding water-retaining crystals to the soil mix.
4. Rolling Bucket Garden
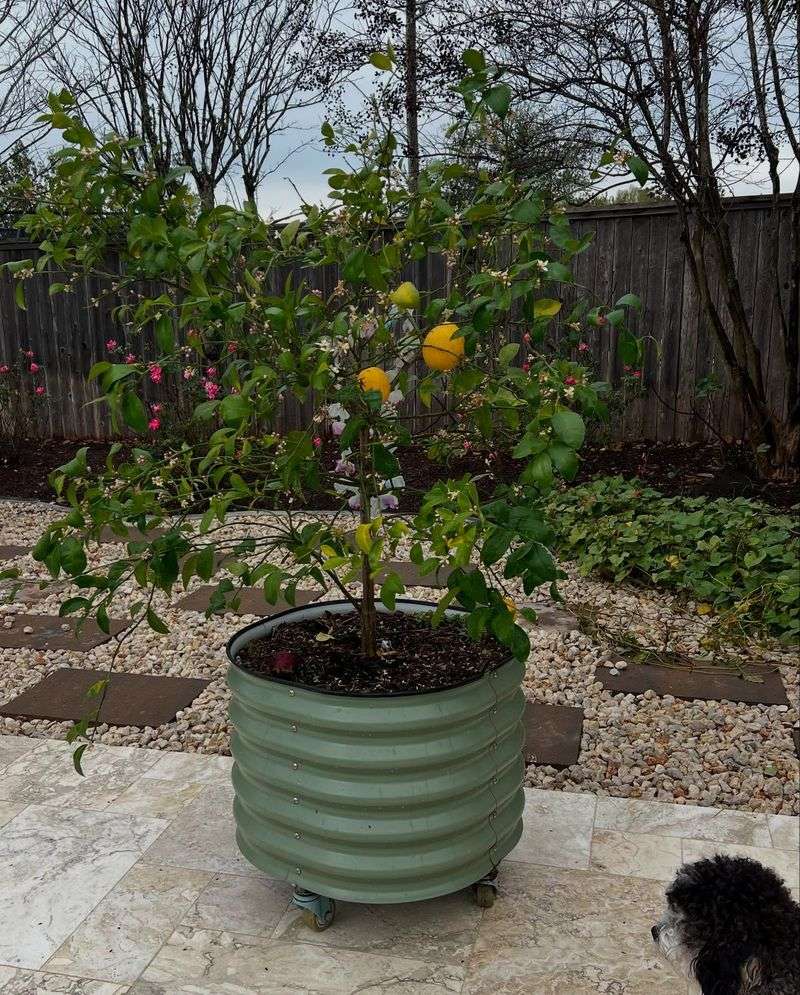
Mount heavy-duty casters to the bottom of large buckets, instantly creating mobile gardens that can follow the sun or be moved for parties and gatherings. Use a sturdy base plate to distribute weight evenly.
Mobility is incredibly practical in challenging spaces. Last summer, I rolled my tomato buckets to follow the shifting sunlight patterns on my partially shaded patio, resulting in a much better harvest than previous years.
Larger plants like tomatoes, peppers, and dwarf fruit trees thrive in these rolling gardens. Just remember that taller plants may become top-heavy, so choose casters rated for at least twice the expected weight of your filled bucket.
5. Upside-Down Tomato Buckets
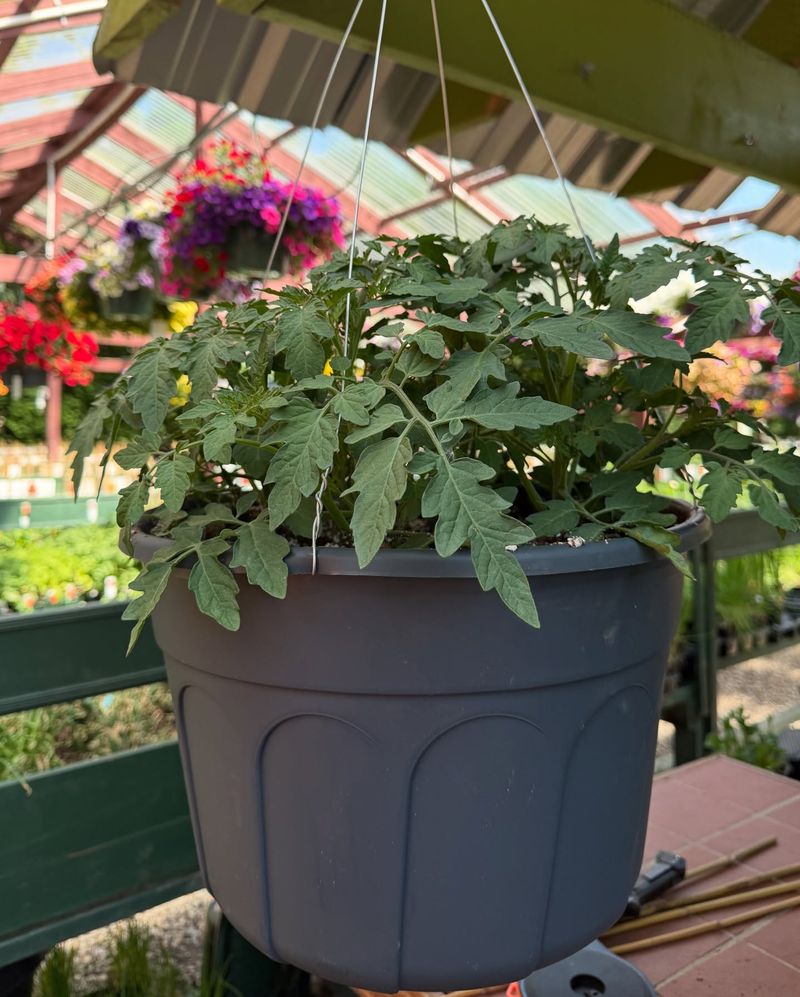
Flip your gardening perspective by growing tomatoes from the bottom of suspended buckets. Cut a hole in the bucket base, carefully thread a tomato seedling through so the roots remain in soil while the plant grows downward.
Growing upside-down eliminates the need for staking or caging. The plants naturally follow gravity, making maintenance simpler in tight spaces. My cherry tomatoes grown this way produced abundantly without taking up precious floor space on my tiny balcony.
Fill the top surface with soil and plant shallow-rooted herbs or flowers for a dual-purpose container. The bucket needs to be hung securely from a strong support that can handle the considerable weight of wet soil plus a full-grown tomato plant.
6. Potato Production Buckets
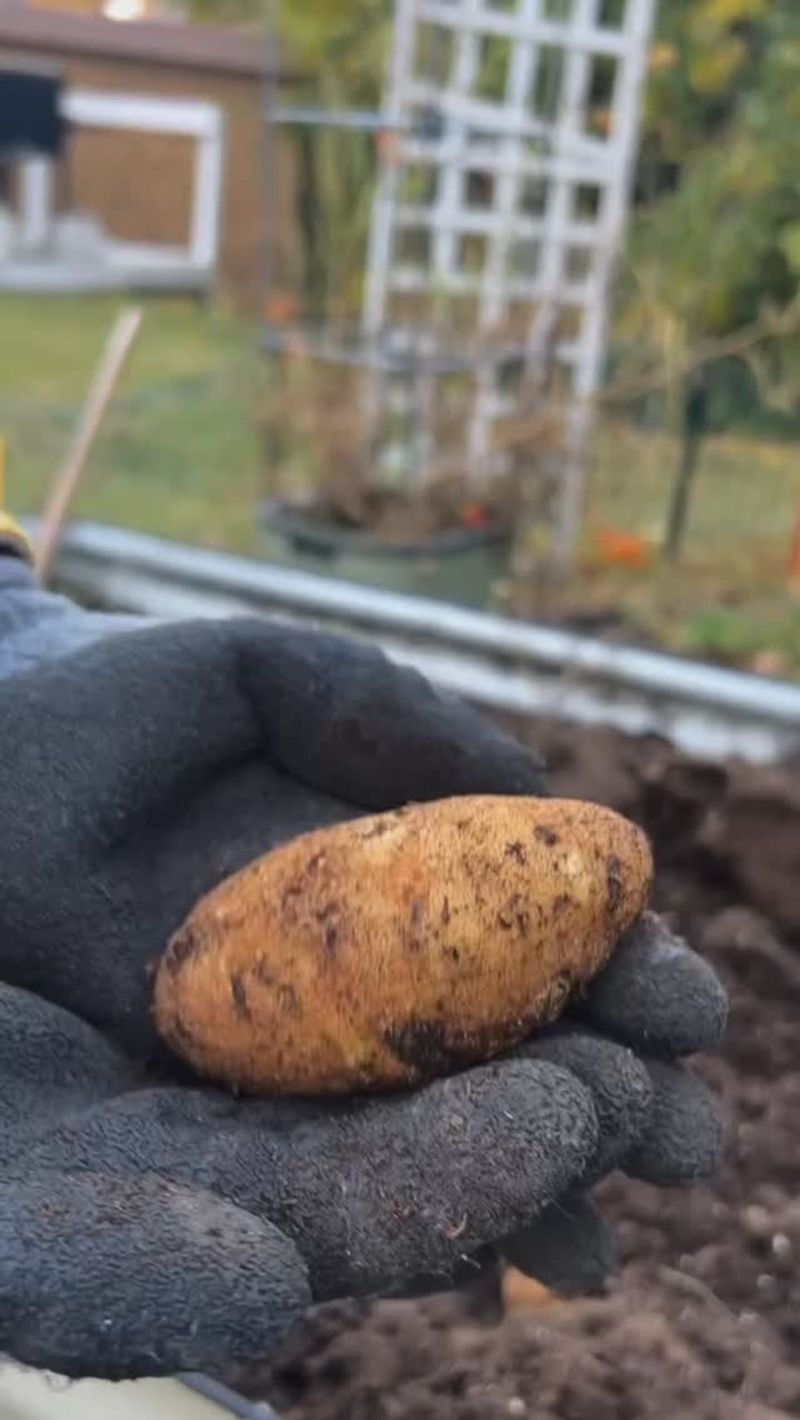
Start by placing seed potatoes in just a few inches of soil at the bucket bottom. As green shoots emerge, gradually add more soil, covering all but the top leaves. Continue this process until the bucket is full.
The layering technique tricks potatoes into producing tubers along the buried stem, multiplying your harvest in the same footprint. When I harvested my first bucket potato crop, I was amazed to pull nearly 8 pounds of spuds from a single 5-gallon container.
Harvesting couldn’t be easier—simply dump the entire bucket onto a tarp at season’s end. For continuous harvests, stagger your plantings by starting new buckets every few weeks, or try the side-access method by cutting doors in the bucket sides.
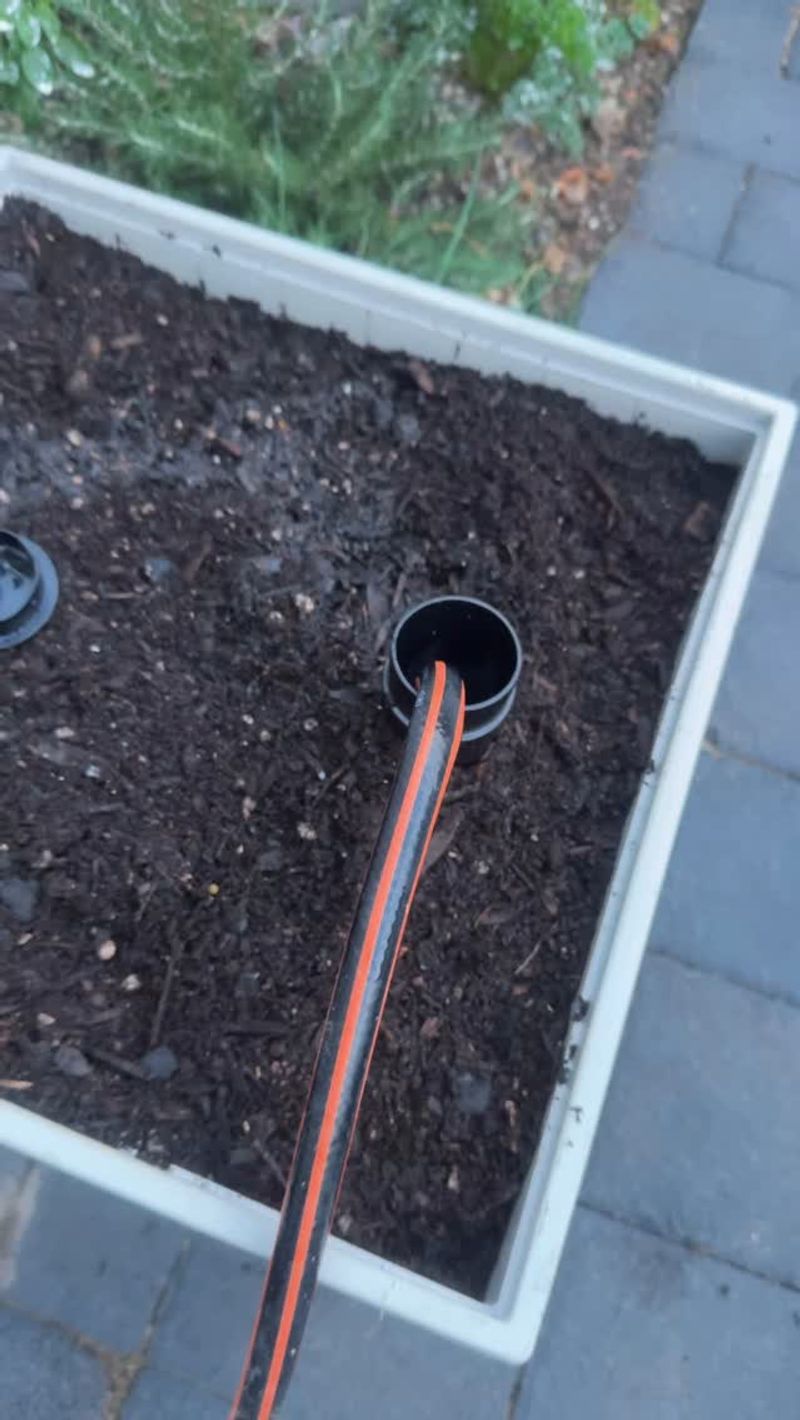
7. Bucket Drip Irrigation System
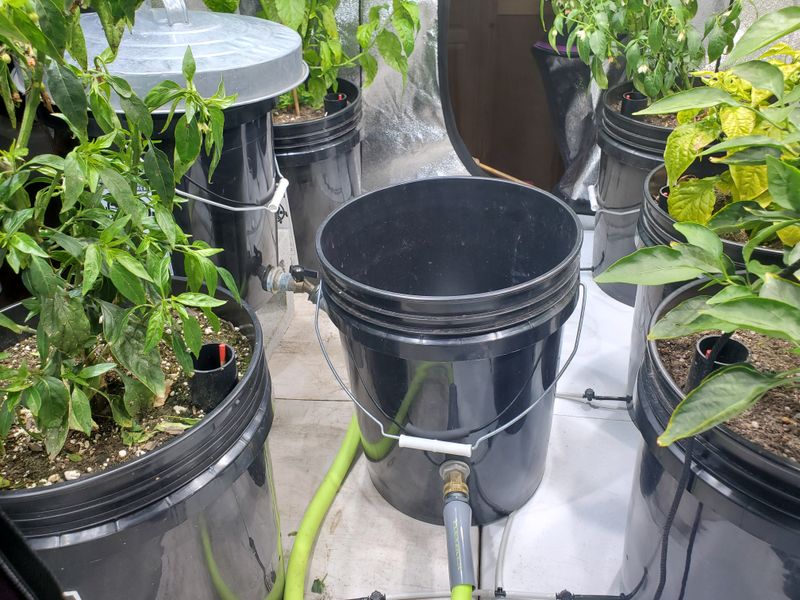
Elevate a water-filled bucket above your garden and attach thin tubes with adjustable drippers leading to each plant container. The height creates natural water pressure, delivering slow, consistent moisture directly to plant roots.
This gravity-fed system works without electricity or complex parts. On my rooftop garden, I use a 5-gallon bucket that waters twelve container plants for nearly two days before needing a refill, saving me daily watering trips up four flights of stairs.
For best results, elevate the water bucket at least 3 feet above your plants. Adding a basic timer valve to the main line creates an almost fully automated watering system that’s perfect for weekend trips away from your urban garden.
8. Salad Bar Buckets
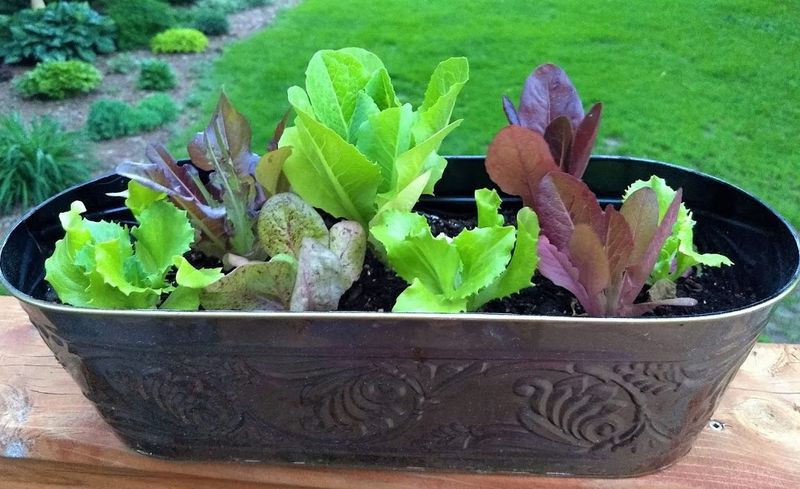
Divide a wide, shallow bucket into sections using plastic dividers, creating a compact salad garden with different lettuces, spinach, and quick-growing microgreens all in one container. The shallow depth is perfect for these surface-rooting plants.
The compartmentalized approach lets you harvest one section while others regrow. For months, I’ve been cutting fresh salad greens three times weekly from my kitchen balcony bucket, which takes up barely two square feet of space.
Plant cut-and-come-again varieties for continuous harvests throughout the season. With this method, a single 24-inch diameter bucket can produce enough salad greens for daily individual salads, saving significant money compared to store-bought organic greens.
9. Bucket Worm Composting
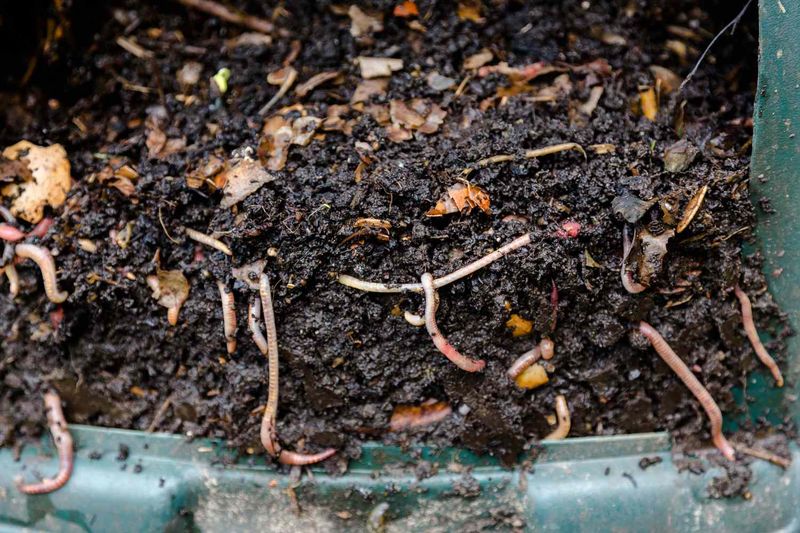
Transform kitchen scraps into rich garden fertilizer using a simple bucket system. Drill air and drainage holes in a bucket, add bedding material like shredded newspaper, introduce composting worms, and begin adding food scraps regularly.
The compact design fits easily under a sink or on a balcony. My apartment worm bucket produces enough rich compost to fertilize all my container plants, completing the growing cycle without leaving my small space.
Red wiggler worms work best for this system, processing about half their weight in food scraps daily. Avoid adding meat, dairy, oils, or citrus peels, which can create odors or harm the worms in a confined space.
10. Herb Spiral Bucket Cluster
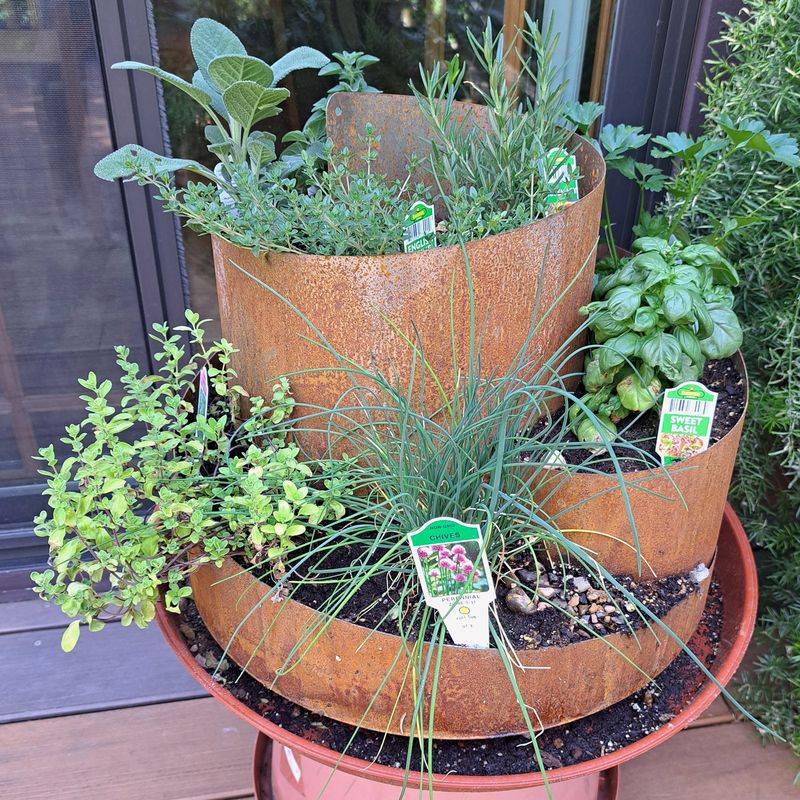
Arrange buckets of different heights in a spiral pattern, creating a compact herb garden with varied growing conditions. Taller buckets in the center gradually step down to shorter ones on the perimeter, mimicking a traditional herb spiral in bucket form.
The design creates natural microclimates. On my tiny deck, sun-loving Mediterranean herbs like rosemary and thyme thrive in the taller, more exposed center buckets, while moisture-loving cilantro and mint do better in the lower, shadier outer positions.
Use buckets in graduating sizes, or place same-sized buckets on hidden supports of different heights. The spiral arrangement not only maximizes growing space but creates an attractive focal point that makes my small garden feel intentionally designed rather than just a collection of containers.
11. Bucket Hydroponics System
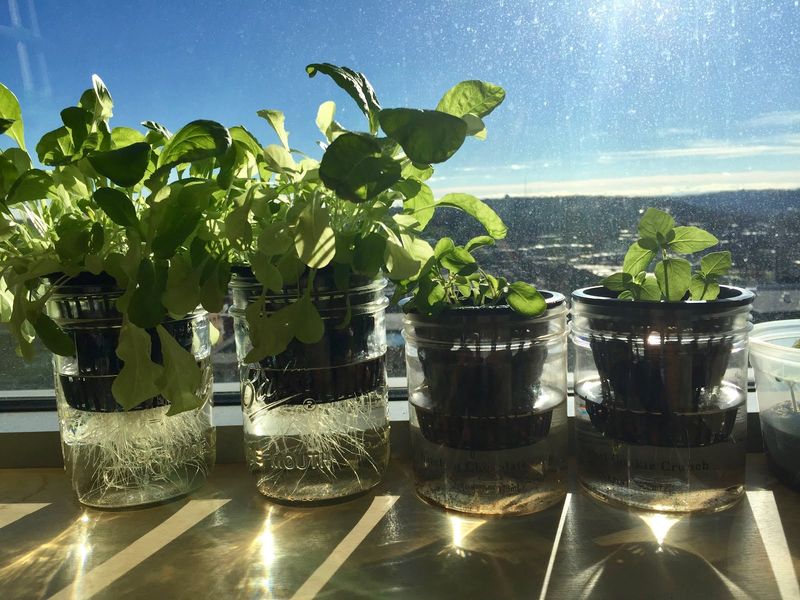
Convert a standard bucket into a soil-free growing system by adding an air stone, nutrient solution, and floating plant holders. The plants’ roots dangle directly in the nutrient-rich water while an air pump provides necessary oxygen.
Hydroponic buckets produce incredibly fast growth with minimal mess. My hydroponic lettuce buckets grow ready-to-harvest greens in just 30 days—about half the time of soil growing—and there’s never any soil to spill on my apartment balcony.
Start with easy crops like lettuce, spinach, and herbs before trying more demanding plants. The beauty of bucket hydroponics is that even in winter, you can move the entire system indoors near a sunny window or under grow lights, providing year-round fresh produce.
12. Pollinator Paradise Buckets
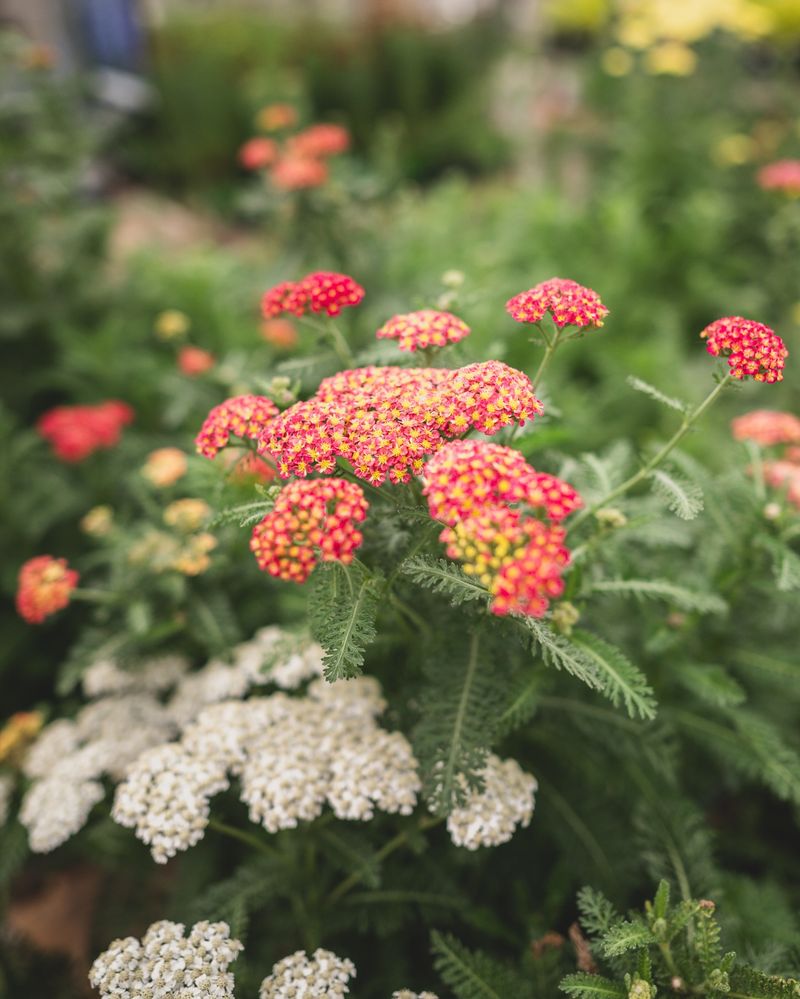
Create a mini wildlife habitat by planting native flowering plants in a cluster of buckets. Choose varieties that bloom at different times throughout the season to provide continuous nectar sources for bees, butterflies, and hummingbirds.
Even the smallest spaces can support local pollinators. My narrow apartment entrance walkway features five pollinator buckets that have attracted three butterfly species and countless bees, bringing movement and life to an otherwise static space.
Include shallow water sources by placing pebble-filled saucers on top of some buckets. Plant native milkweed for monarchs, coneflowers for bees, and salvias for hummingbirds—all of which grow beautifully in bucket containers with proper drainage.
13. Bucket Bog Garden
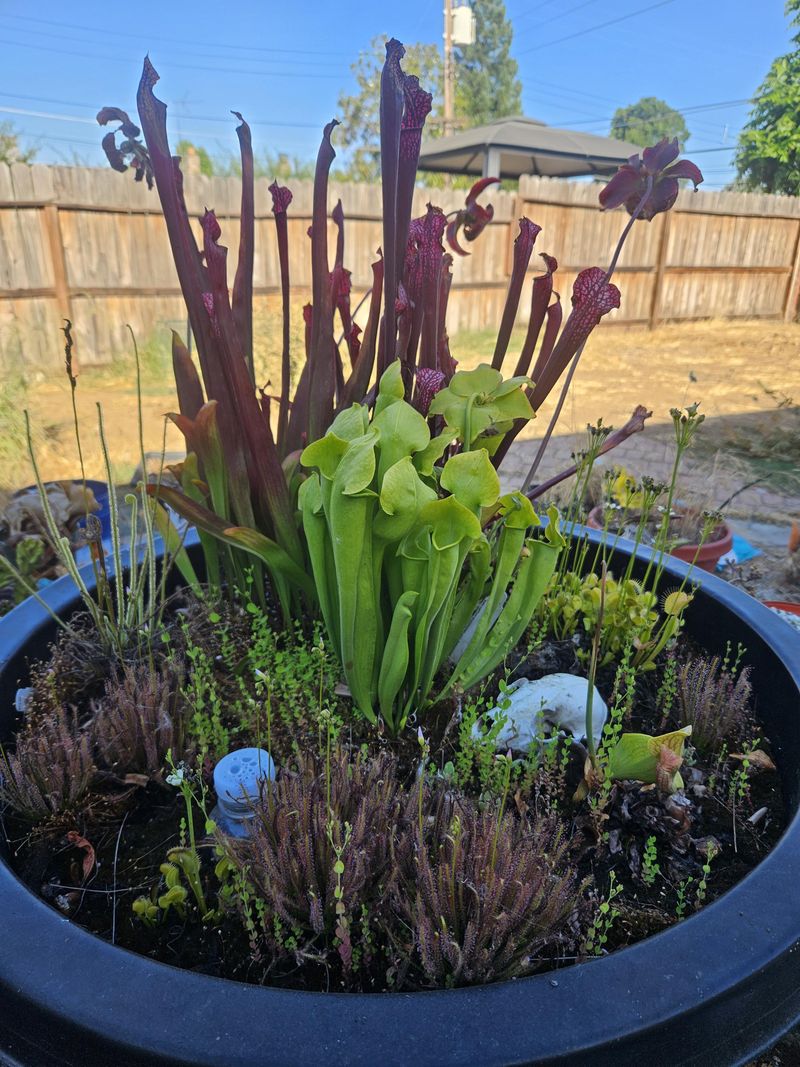
Create a specialized container for moisture-loving plants by sealing drainage holes and adding a water-retaining mixture of peat moss and perlite. Keep the soil consistently wet, creating a miniature bog environment in your bucket.
This unique garden style opens possibilities for growing fascinating plants that wouldn’t thrive in regular containers. My bucket bog garden houses carnivorous plants like sundews and pitcher plants that always become conversation starters when friends visit my small patio.
Use distilled or rain water rather than tap water, as many bog plants are sensitive to minerals and chemicals. Position the bucket in a spot that receives morning sun but afternoon shade to prevent overheating, which can be problematic in these water-rich environments.
14. Winter Vegetable Storage Buckets
Repurpose your growing buckets during the off-season by filling them with layers of damp sand to store root vegetables. Harvest carrots, beets, and turnips from your garden or farmers’ market and arrange them in alternating layers of sand inside food-grade buckets.
The sand method keeps root vegetables crisp for months without refrigeration. Last winter, I stored garden carrots in my bucket system from October through February, pulling out perfectly fresh vegetables for holiday meals straight from my apartment’s unheated storage closet.
Place the buckets in a cool, dark location between 32-40°F for best results. Check occasionally for any spoiling vegetables and remove them promptly. This traditional storage method works surprisingly well in modern small-space living situations.
15. Bucket Aquaponics System
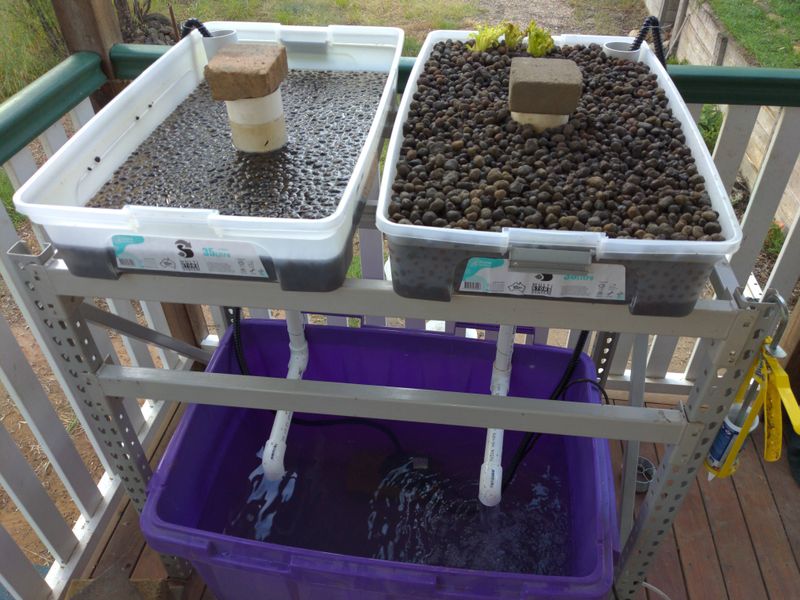
Combine a small fish tank with plant growing by creating a two-bucket system—lower bucket houses fish while the upper one contains growing medium and plants. Water circulates between them, with fish waste fertilizing the plants while plants clean the water.
The symbiotic relationship creates an almost self-sustaining ecosystem. My small balcony aquaponics bucket has successfully grown basil, lettuce, and spinach for months using just a tiny pump and two goldfish, requiring minimal intervention once established.
Start with hardy fish like goldfish before attempting more delicate species. A simple submersible pump moves water from the fish bucket to the plant bucket, where it filters through growing medium before draining back to the fish. The entire system can operate in less than three square feet of space.
16. Bucket Ollas Watering System
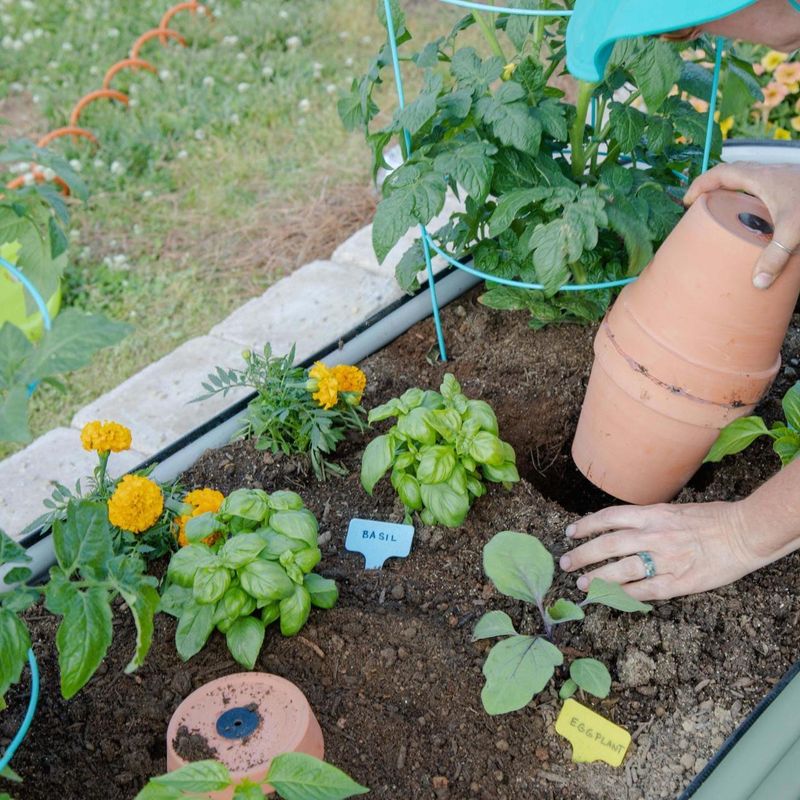
Bury unglazed terracotta pots or purpose-made ollas in the center of your growing buckets before adding soil and plants. Fill these porous vessels with water, which slowly seeps through the clay to deliver moisture directly to plant roots.
The ancient irrigation method dramatically reduces water usage. My bucket-olla system cut watering frequency from daily to just twice weekly during summer, even with moisture-loving vegetables like cucumbers growing in full sun on my south-facing balcony.
Leave the olla’s neck exposed above soil level for easy refilling. The system works through soil tension—plants pull moisture through the clay only as needed, preventing both overwatering and underwatering. It’s particularly valuable for apartment dwellers who can’t always maintain strict watering schedules.