20 Budget Landscaping Hacks That Make Your Yard Look High-End
Want a gorgeous yard without draining your savings? Trust me, you don’t need a landscaping crew or fancy materials to make it happen.
With a little creativity and some weekend effort, you can turn even the plainest yard into a space that looks straight out of a magazine.
I’ve picked up a few budget tricks over the years that really deliver that polished look—without the price tag. Your neighbors might start asking who you hired, but your secret’s safe with me.
1. Define Edges With Brick Borders
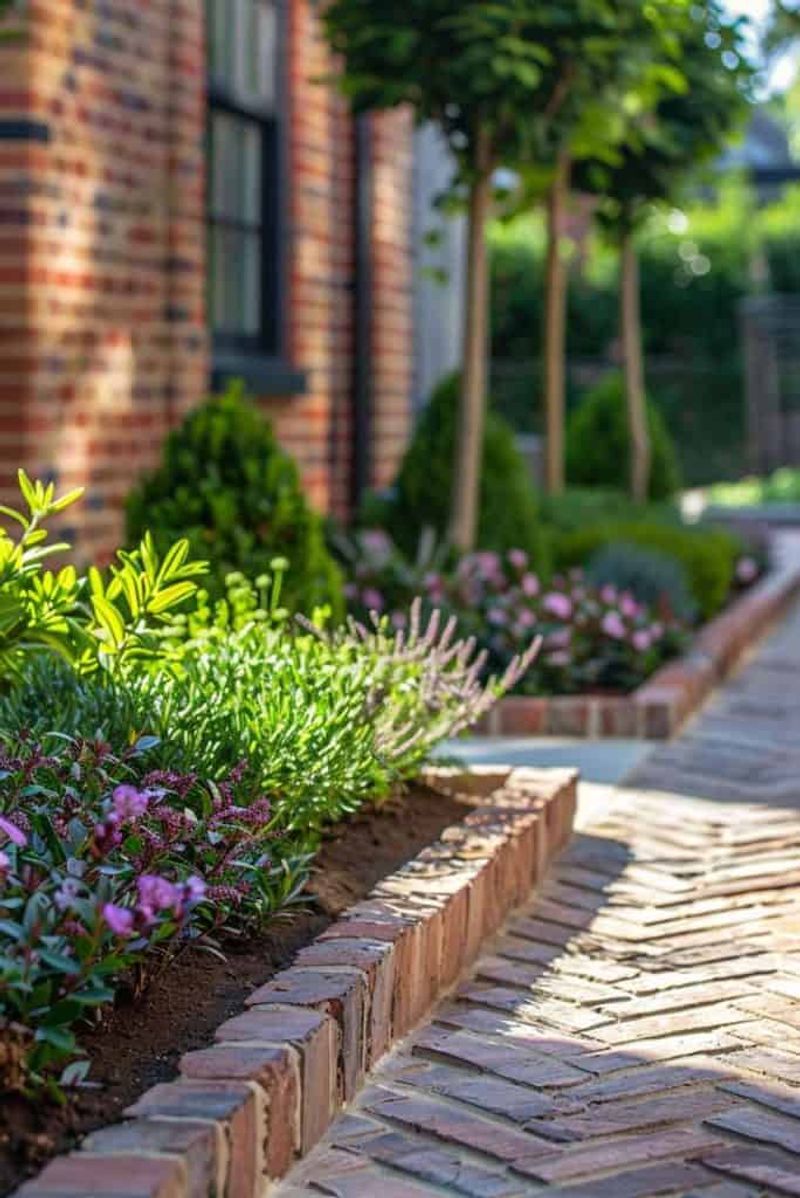
Clean, crisp edges instantly elevate any garden. I installed brick borders around my flower beds last summer using reclaimed bricks from a local construction site – totally free!
Lay the bricks at a slight angle in a shallow trench, creating a mowing strip that eliminates the need for trimming. The defined border gives gardens that manicured, professional appearance that’s usually associated with high-end landscaping.
For extra polish, sweep sand between the bricks to prevent weed growth and keep everything in place during heavy rains.
2. Mulch Magic For Instant Polish
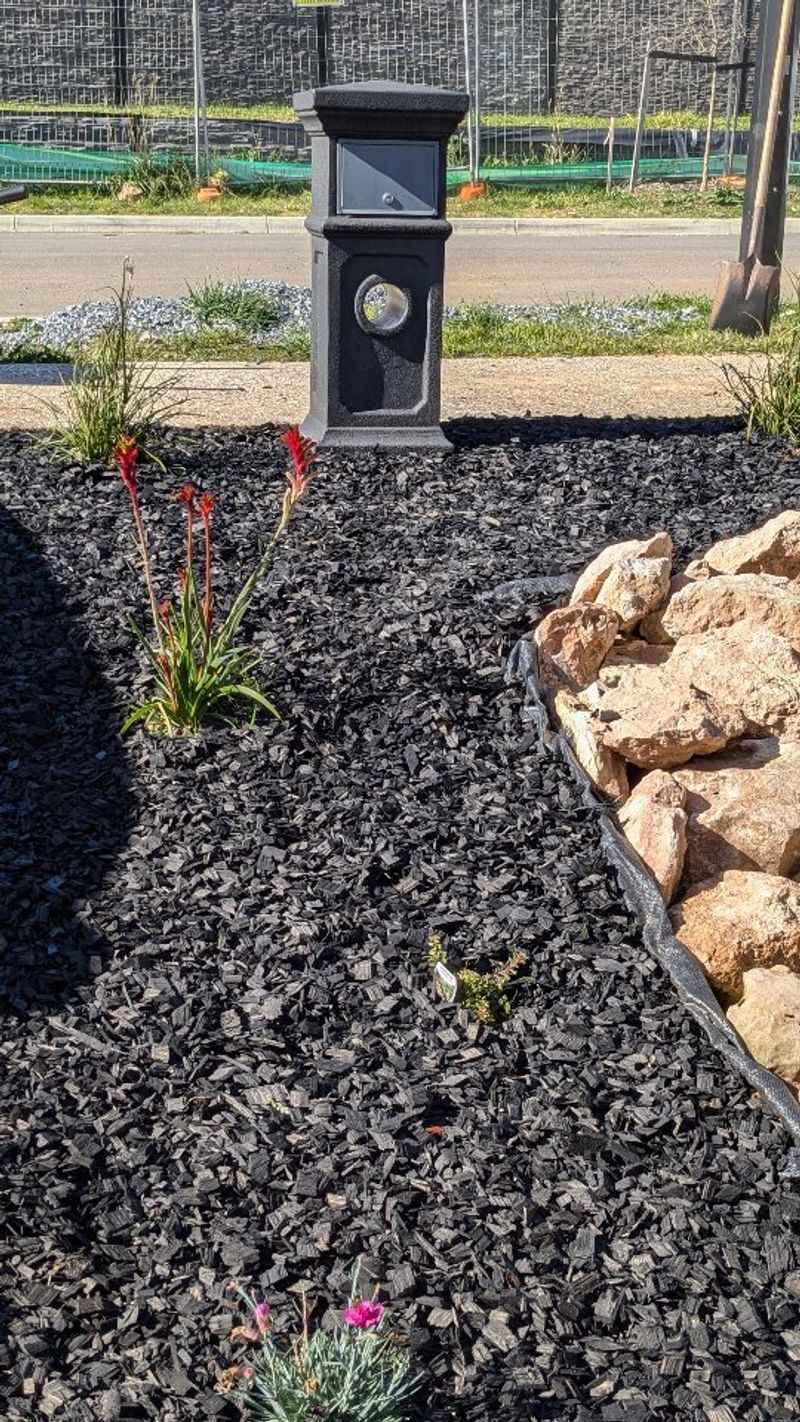
Fresh mulch transforms garden beds faster than almost any other budget-friendly tactic. Dark mulch creates striking contrast against greenery and flowers while suppressing weeds and retaining soil moisture.
Many municipalities offer free mulch from tree trimming operations – just bring containers and load up. Spread a 2-3 inch layer around plants, keeping it pulled back slightly from stems and trunks to prevent rot.
The rich color makes plants pop against the background, creating that carefully maintained look that expensive properties have. When my budget was especially tight, this simple refresh made the biggest visual impact.
3. Strategic Solar Lighting
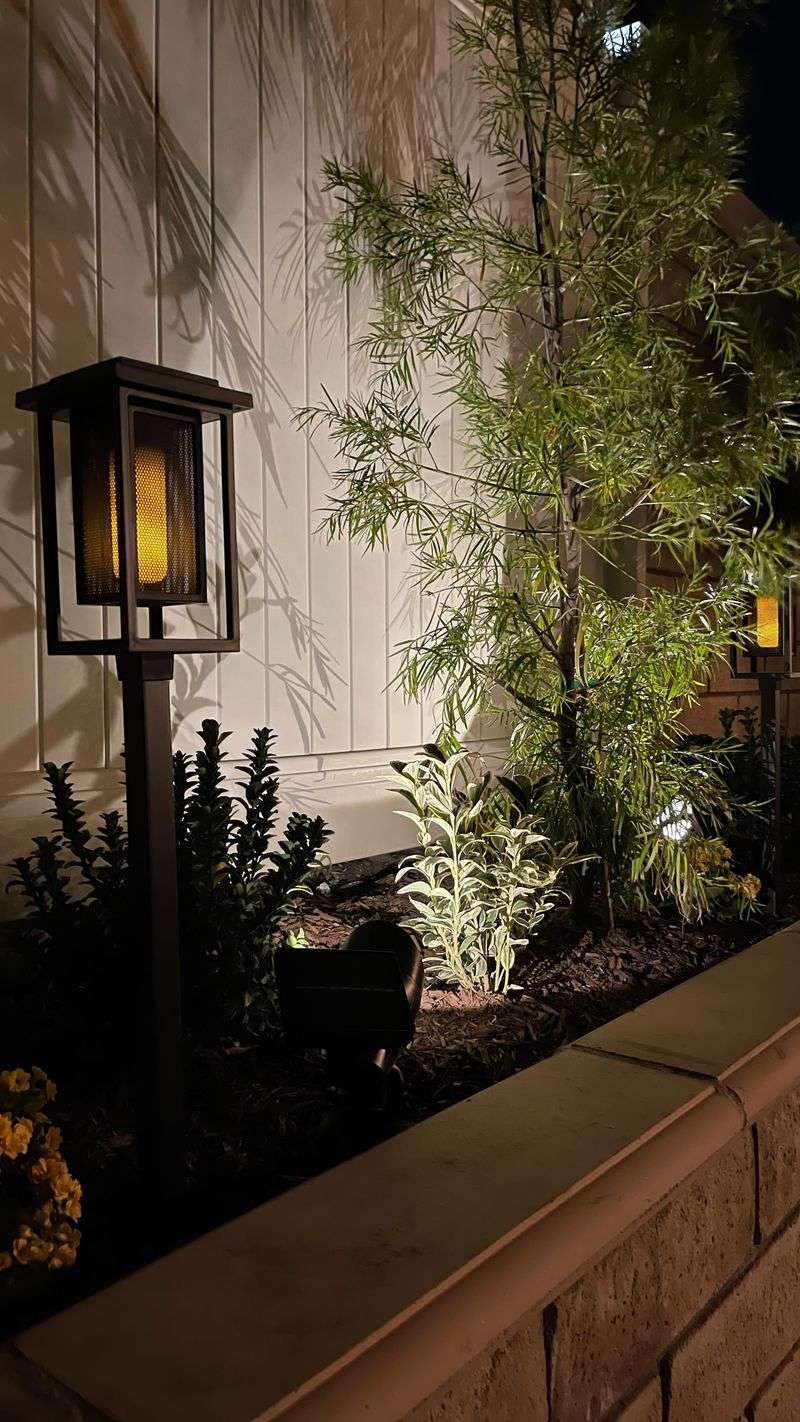
Landscape lighting typically costs hundreds when professionally installed, but solar stakes can achieve similar drama for under $30. Position lights to highlight specimen plants, illuminate pathways, or accentuate architectural features.
The gentle illumination creates magical evening ambiance while extending your outdoor enjoyment hours. After experimenting with different placements, I found that angling lights upward through foliage creates the most dramatic shadows.
For maximum impact, cluster several lights around focal points rather than spacing them evenly. This creates pools of light and shadow that mimic expensive professional lighting designs.
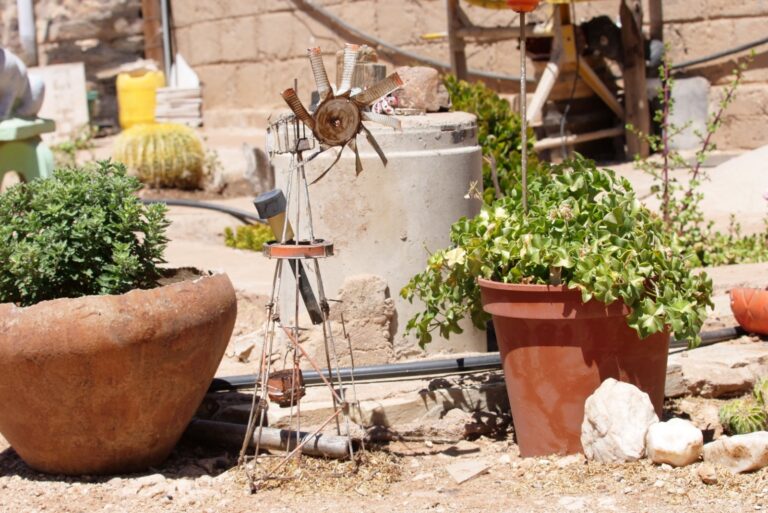
4. Cluster Potted Plants For Impact
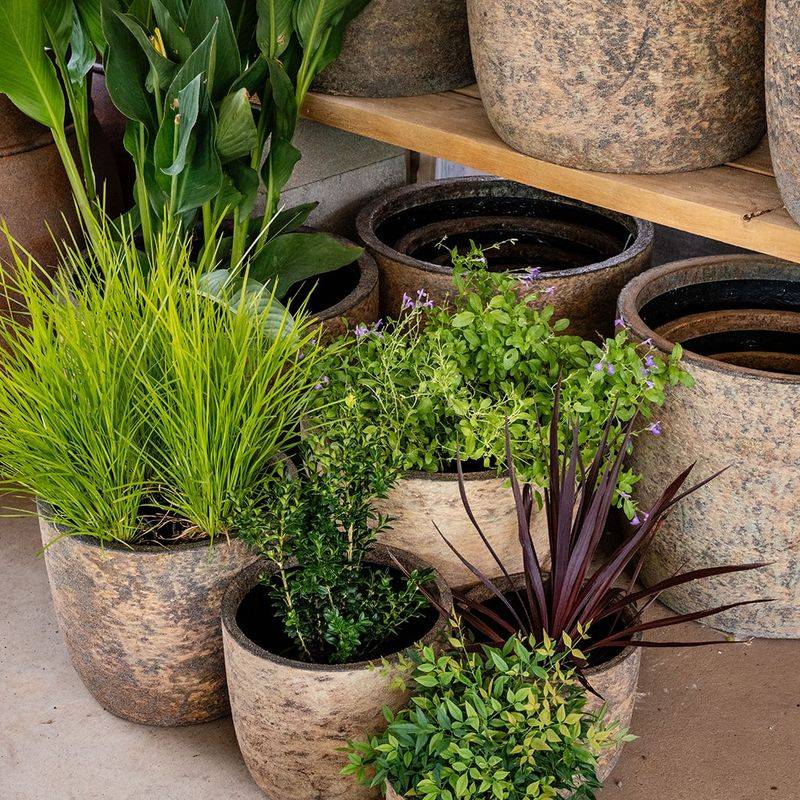
Garden centers often discount plastic pots, but grouped together, they create the look of an expensive container garden. Collect various sizes and cluster them in odd numbers (3, 5, or 7) for visual interest.
Unify mismatched containers with a quick coat of spray paint in coordinating colors. Varying heights creates dimension – place taller plants behind shorter ones, or use upturned pots as pedestals to elevate some containers.
My front porch went from bland to grand with this trick, using $1 clearance perennials and spray-painted thrift store containers. Visitors always ask who did my container design!
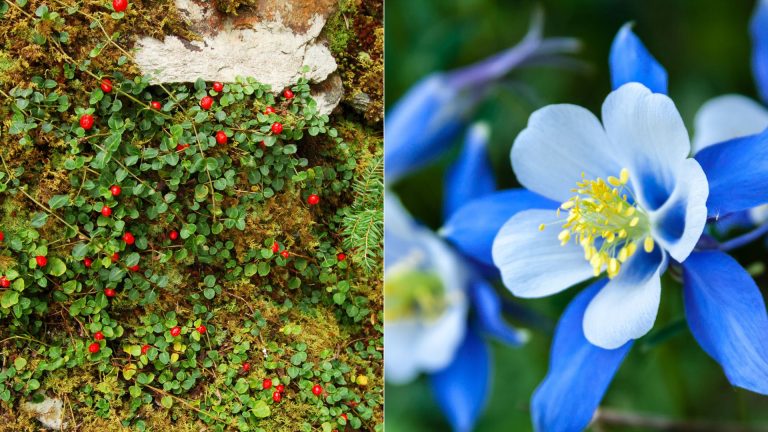
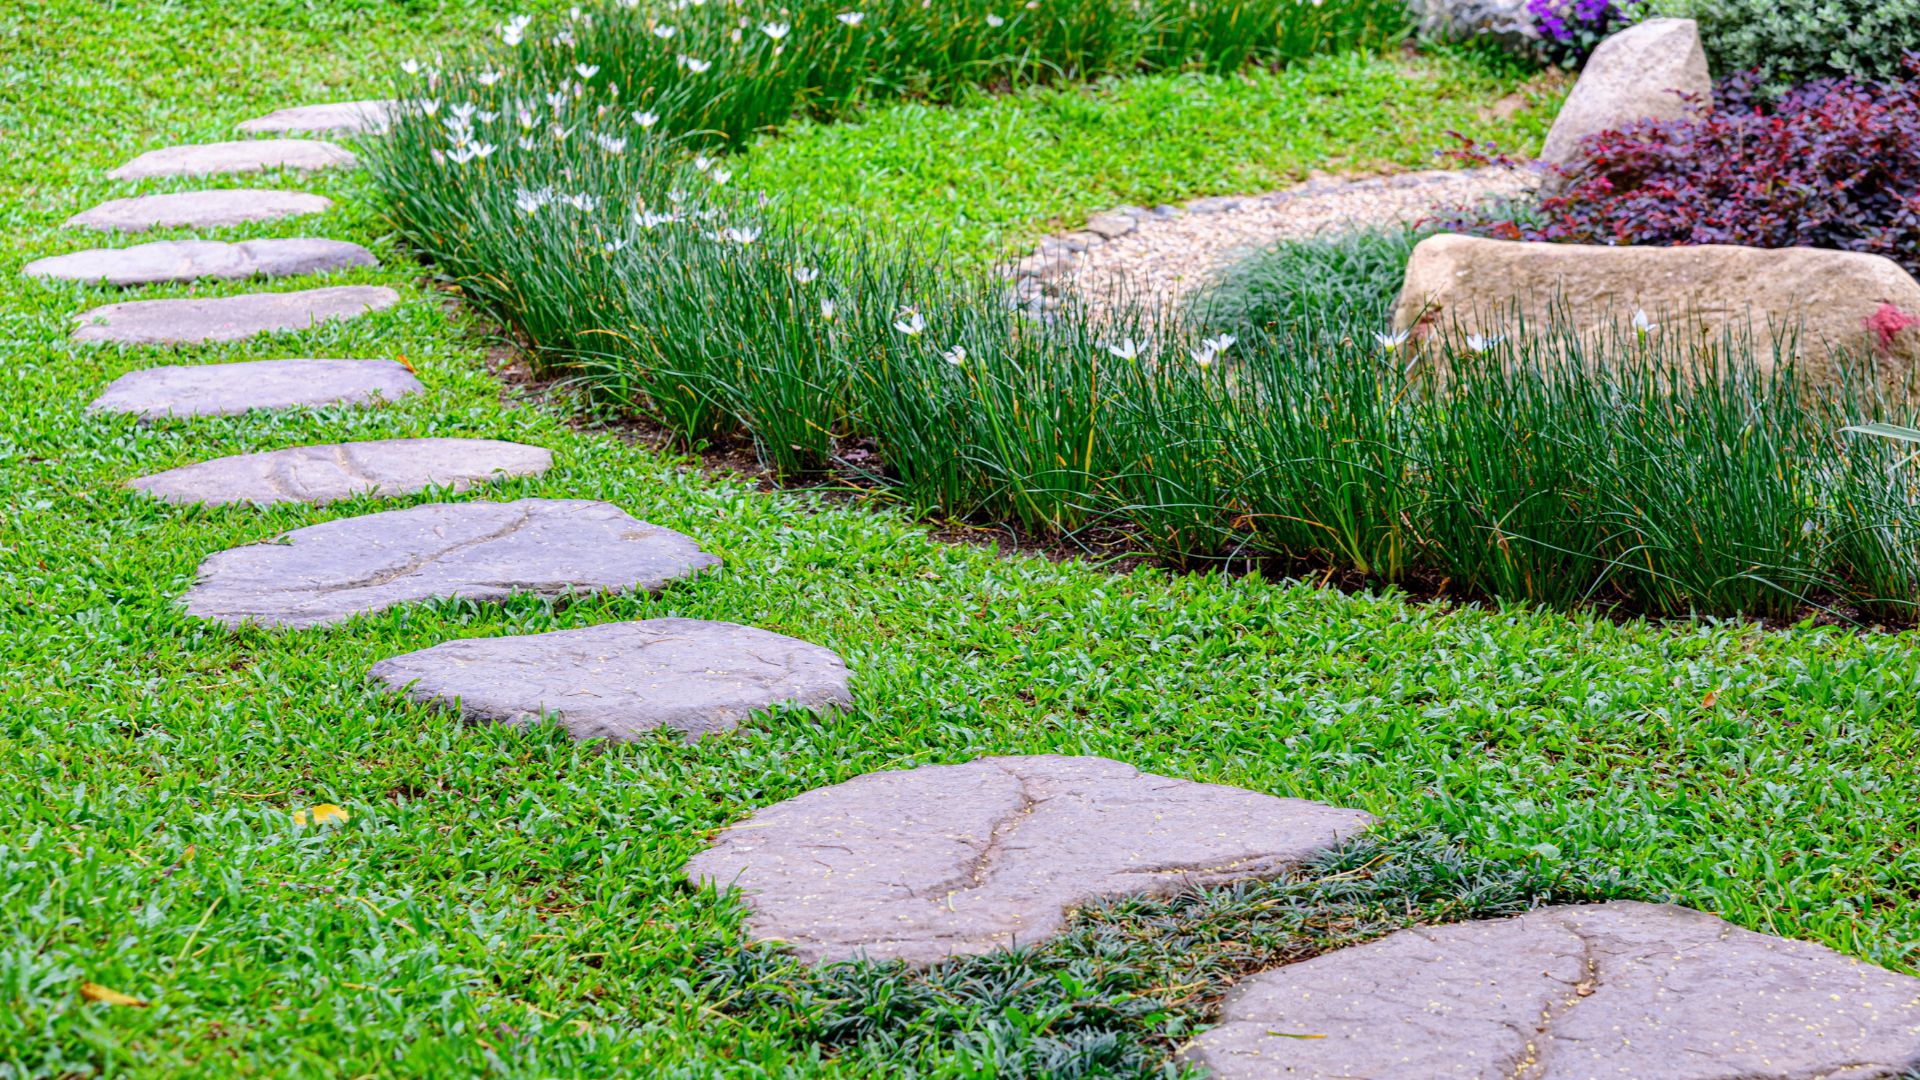
5. Repurposed Stone Pathways
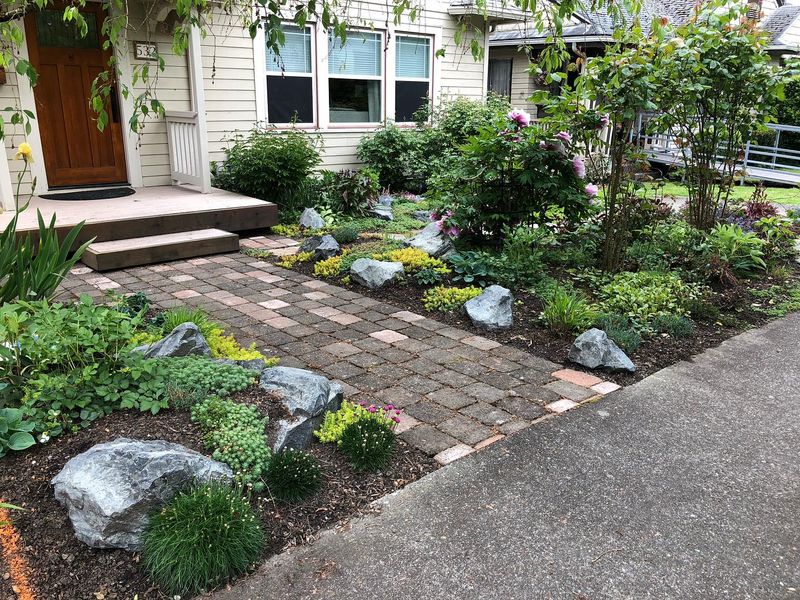
Salvaged materials make charming garden paths that look custom-designed. Check Craigslist or Facebook Marketplace for free or cheap broken concrete, flagstone remnants, or brick pavers from renovation projects.
Lay stones in a bed of sand, leaving small gaps between pieces. Plant creeping thyme or moss in these spaces to create a lush, established look that softens the hardscape and appears intentionally designed rather than pieced together.
The varied textures and natural weathering of reclaimed materials actually look more authentic than brand new products. My recycled stone path cost under $20 but looks like it was installed by professionals.
6. Paint Your Concrete Patio
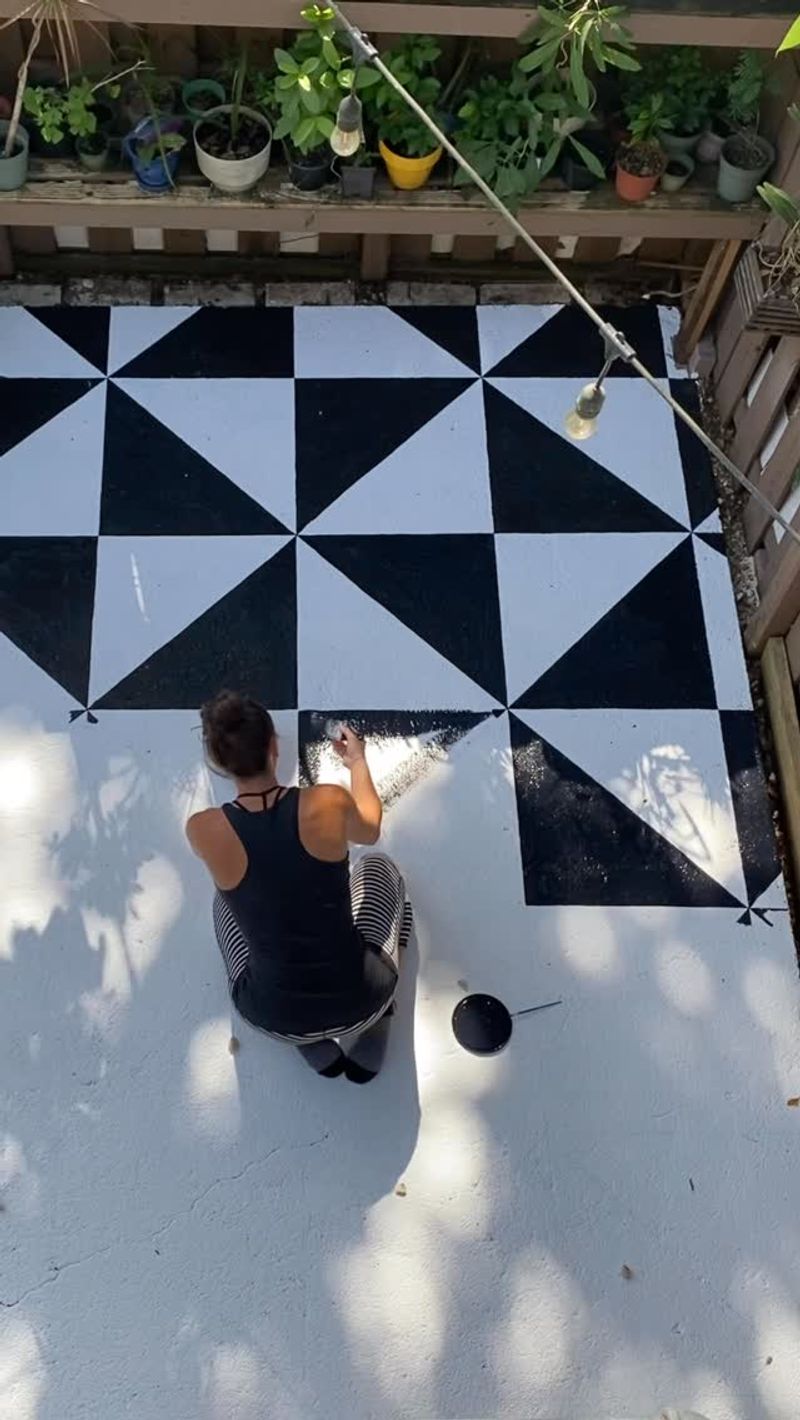
Stained, cracked concrete slabs drag down your yard’s appearance, but specialized concrete paint transforms them instantly. After pressure washing our dingy patio, I applied a concrete stain in a warm sandstone color that complemented our home’s exterior.
For extra sophistication, use stencils to create a tile pattern or faux rug design. The transformation cost under $75 but completely changed the feel of our outdoor space, making it look like expensive custom stonework.
Finish with a clear sealer to protect your work and enhance the color. Friends who visited couldn’t believe we hadn’t replaced the entire patio with expensive pavers!
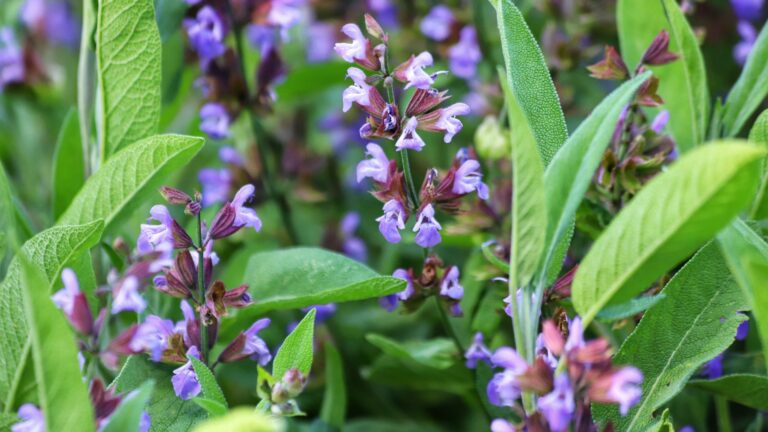
7. Strategic Ornamental Grass Placement
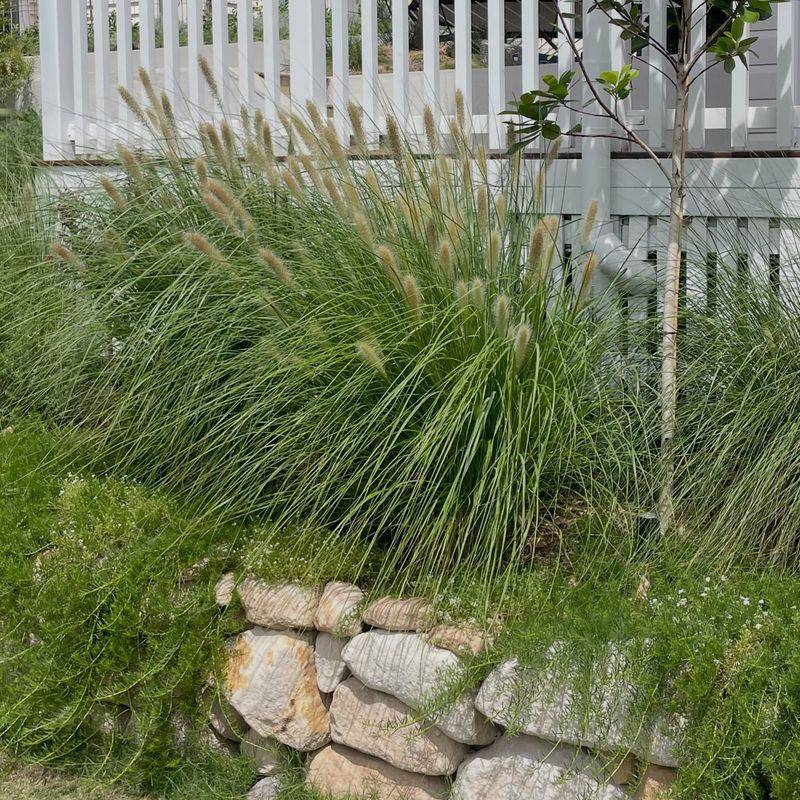
Ornamental grasses deliver maximum visual impact for minimal cost. A single $10 grass clump grows quickly into a statement specimen that adds movement, texture, and year-round interest to your landscape.
Place taller varieties like maiden grass or pampas grass as focal points or privacy screens. Shorter types like blue fescue work beautifully along borders or in mass plantings. The varied heights and textures create depth and visual rhythm.
Unlike fussy perennials, these drought-tolerant workhorses require almost no maintenance. When we needed to screen an unsightly utility box, three strategically placed miscanthus grasses created an elegant solution that looks intentional rather than corrective.
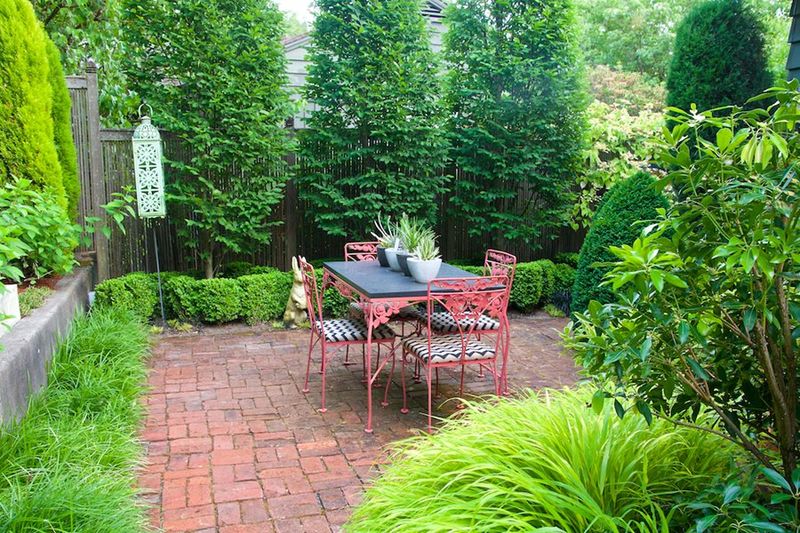
8. DIY Bamboo Privacy Screen
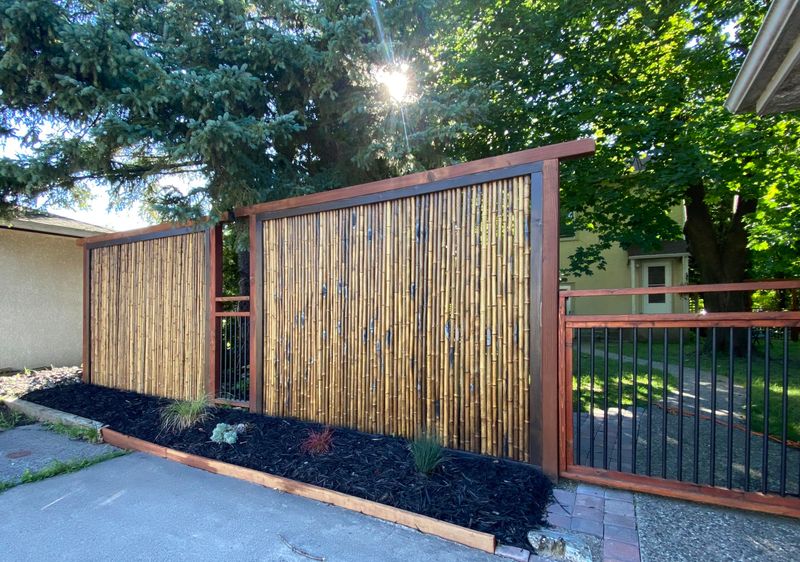
Create instant privacy with an inexpensive bamboo fence that looks like a custom installation. Bamboo rolls from home improvement stores cost a fraction of traditional fencing but deliver exotic appeal.
Secure the rolls to existing structures or create a freestanding screen using pressure-treated posts. The natural material weathers beautifully over time, developing a silvery patina that looks deliberately aged and high-end.
For added stability in windy areas, weave wire through the bamboo and attach it securely to the posts. Our bamboo screen not only hides our neighbor’s cluttered yard but has become a beautiful backdrop for climbing plants.
9. Create Zones With Outdoor Rugs
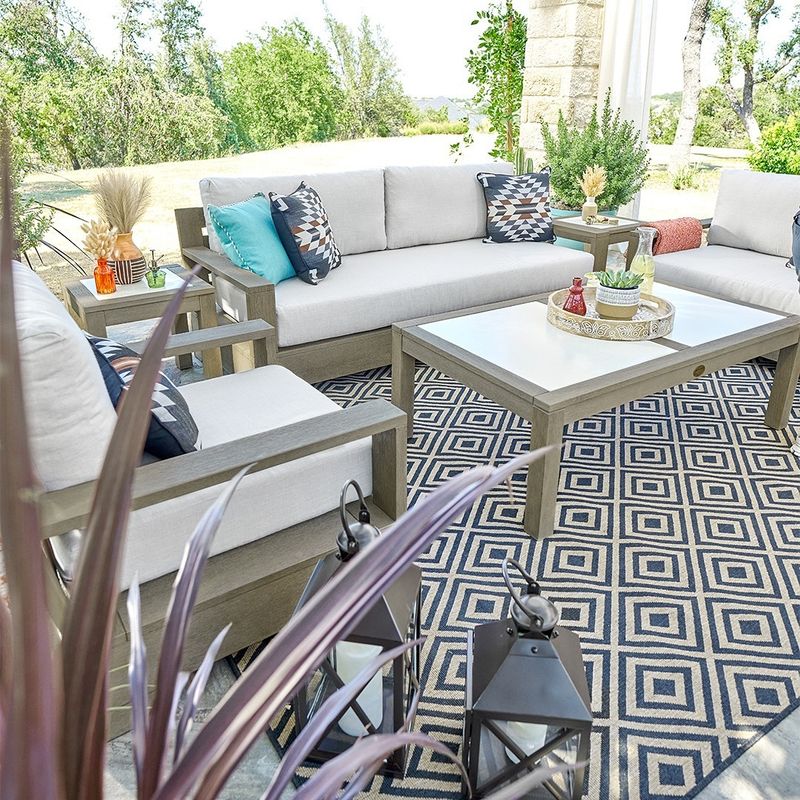
Outdoor rugs instantly define seating areas and add a finished look to patios. Budget retailers like HomeGoods and Wayfair frequently offer stylish options under $50 that mimic designs from high-end stores.
Choose patterns that complement your home’s color scheme and outdoor furniture. The simple addition of a rug anchors furniture groupings and creates the impression of an intentionally designed outdoor room rather than randomly placed pieces.
After trying several arrangements in our backyard, I found that placing the furniture completely on the rug (rather than just front legs) created the most cohesive, designer-worthy look. This small investment completely transformed our concrete slab into an inviting outdoor living space.
10. Gravel Revolution
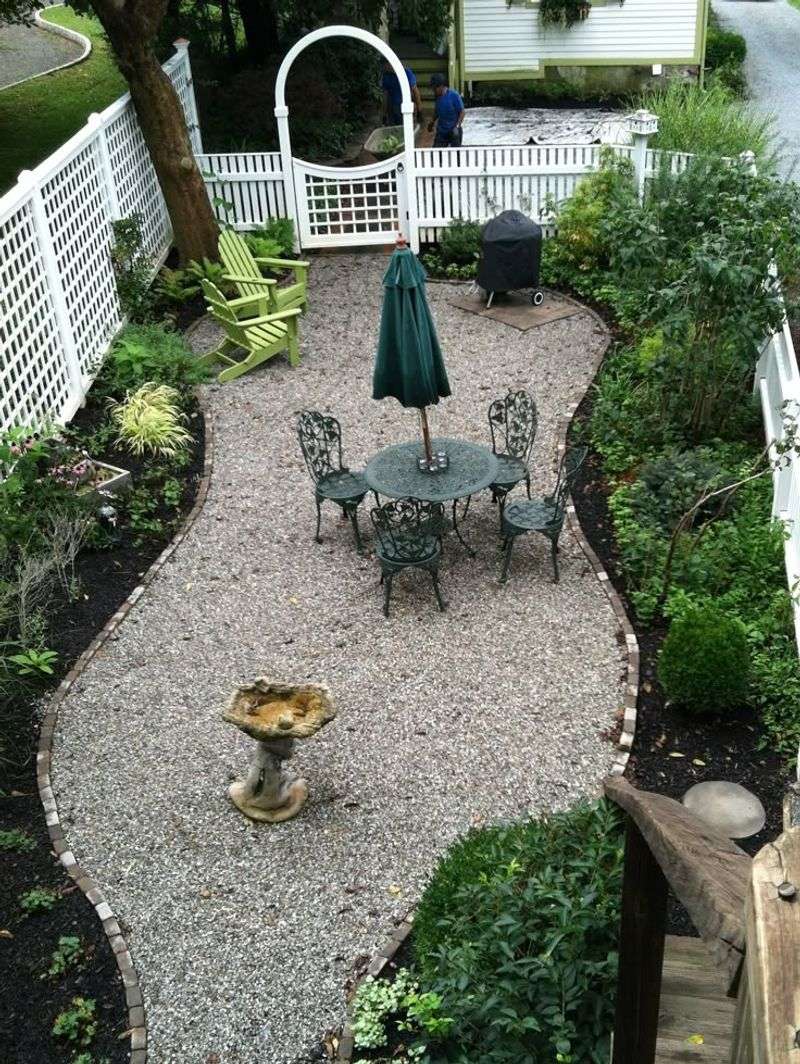
Pea gravel creates European-inspired courtyards and pathways for a fraction of the cost of pavers or concrete. A few bags from the home improvement store can transform barren dirt patches into elegant, usable spaces.
Install landscape fabric underneath to prevent weeds, then add a 2-3 inch layer of gravel. The satisfying crunch underfoot and clean appearance instantly elevate your yard’s sophistication level. Edge with metal strips or pressure-treated lumber for a crisp finish.
We created a French-inspired dining area under our oak tree using gravel, and the texture contrast between the stones and surrounding greenery makes it look like something from a design magazine. Total cost? Less than $100.
11. Painted Garden Accessories
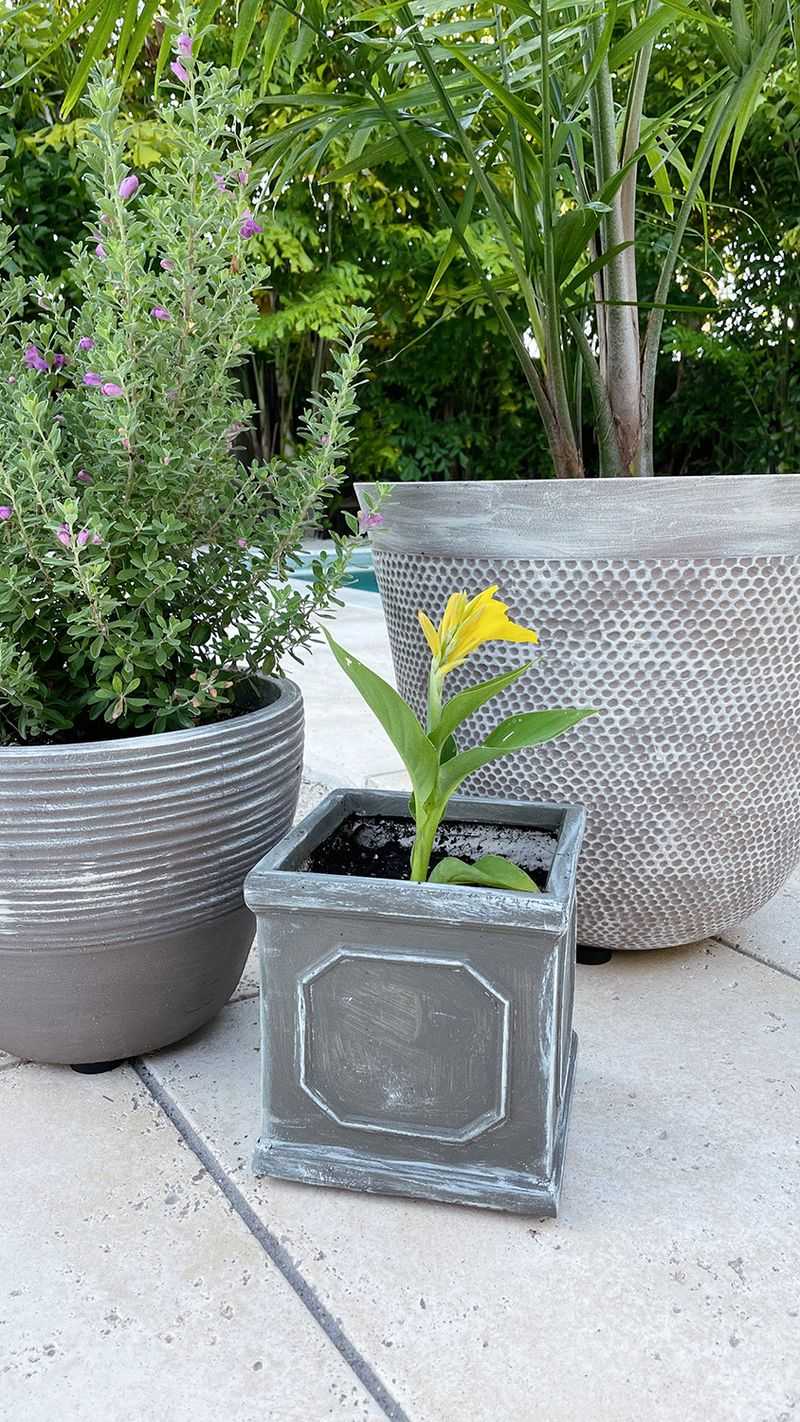
Unify mismatched planters, bird baths, and garden ornaments with a coat of quality exterior paint. Choose a sophisticated color that complements your home’s exterior for a curated, intentional look.
Matte black creates modern drama, while creamy neutrals or aged bronze finishes impart timeless elegance. Even plastic items can look expensive when painted thoughtfully. Sand lightly between coats for a smooth, professional finish.
My collection of thrift store finds and discount garden accessories looks like a designer collection after I painted everything in complementary shades of charcoal and bronze. The cohesive palette makes everything appear more expensive than its humble origins.
12. Limewash Brick For Instant Age
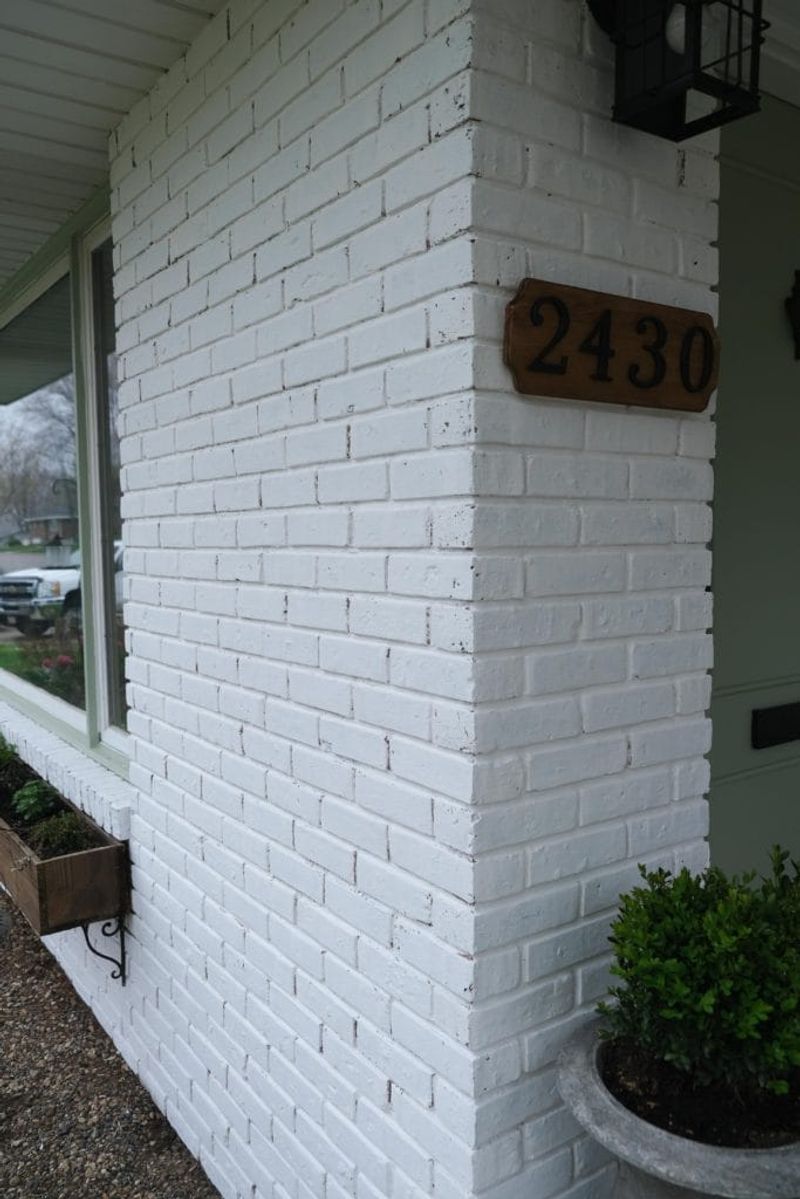
New brick looks stark, but limewashing creates that coveted old-world patina seen in expensive European gardens. Mix hydrated lime with water (or use pre-mixed products) and brush onto brick surfaces for a softly weathered appearance.
Unlike paint, limewash penetrates the brick and creates a breathable finish that becomes more beautiful with age. The technique allows some of the original color to show through, creating depth and character that looks authentically aged.
We limewashed our garden wall last spring, and the transformation was remarkable – it went from looking like a new construction afterthought to a charming antique feature that anchors the entire garden. The materials cost less than $30.
13. Thrift Store Furniture Transformation
Rescue cast-off furniture pieces and transform them into weather-resistant garden features. An old wooden chair becomes a charming plant stand; a discarded dresser transforms into a potting bench with personality.
For wood pieces, sand thoroughly and apply exterior paint or marine-grade varnish for weather protection. Metal items can be wire-brushed and spray-painted with rust-resistant formulas in classic colors like black, white, or verdigris.
My favorite garden bench came from a $15 yard sale find that I reinforced and painted a deep forest green. It’s now the focal point of my shade garden, and visitors always ask about its history, assuming it’s an expensive antique.
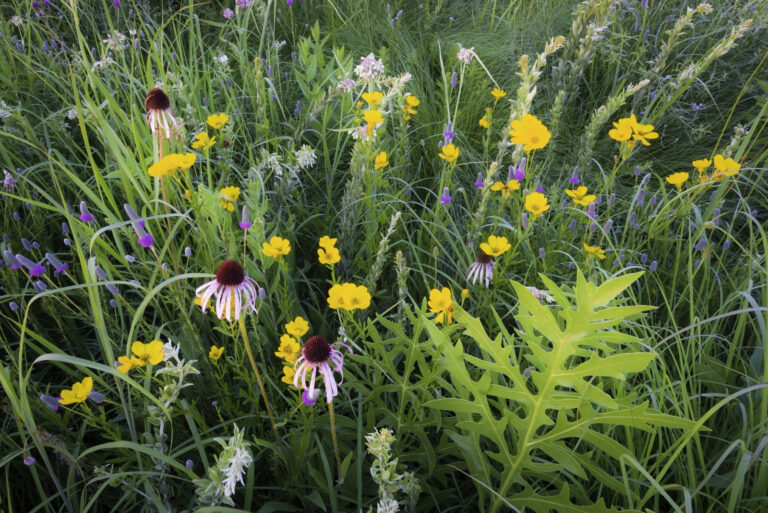
14. Strategic Specimen Plants
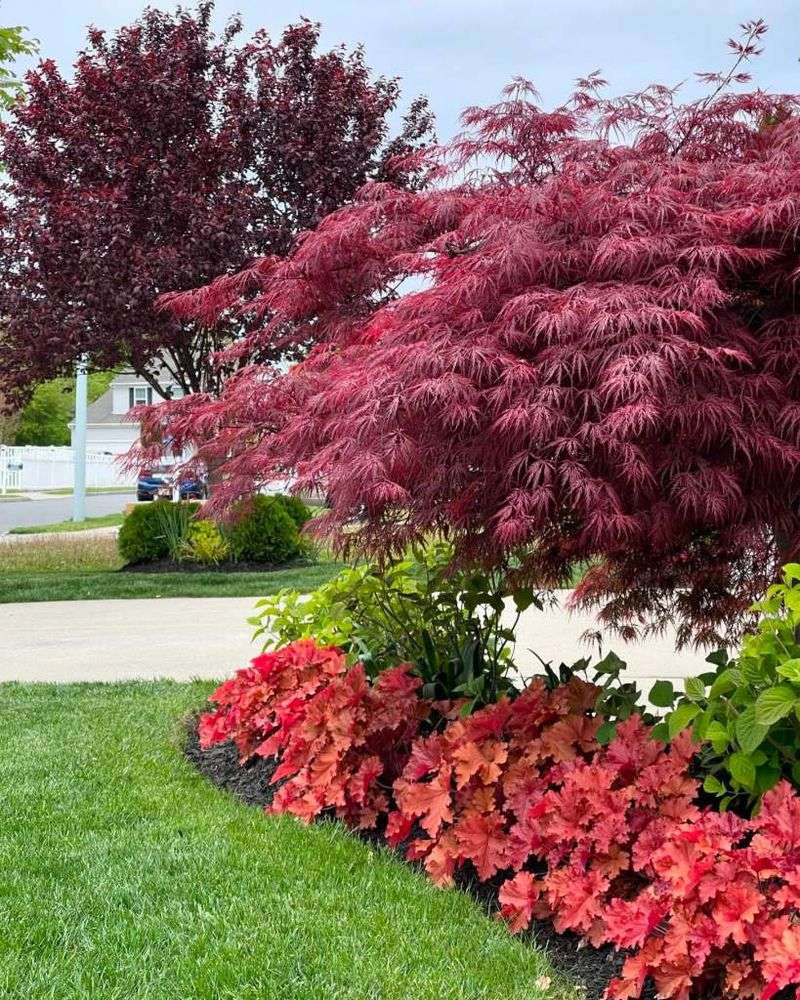
Instead of filling beds with numerous small plants, invest in one or two architectural specimens that command attention. A single Japanese maple or contorted hazelnut becomes a focal point that elevates the entire yard.
Position statement plants where they’ll be viewed from multiple angles – near entrances, at the end of pathways, or visible from indoor living spaces. Underplant with simple groundcovers to highlight the specimen’s unique form.
After watching garden center sales for months, I snagged a unique weeping evergreen for 75% off. Planted prominently by our front walk, this single tree gives our landscape a designed quality that belies its modest price tag.
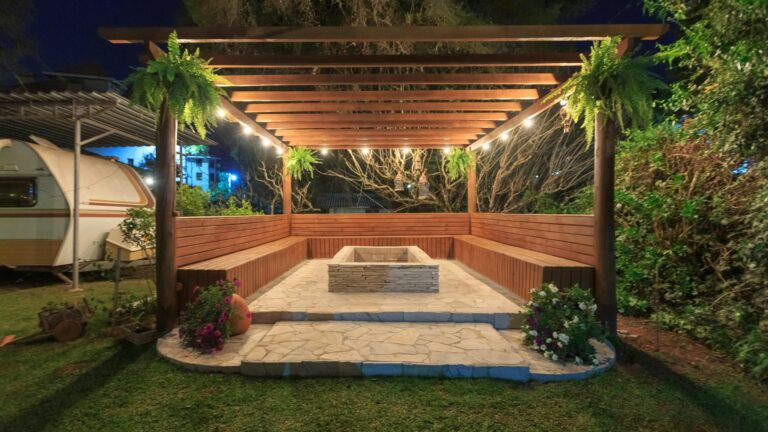
15. String Light Canopies
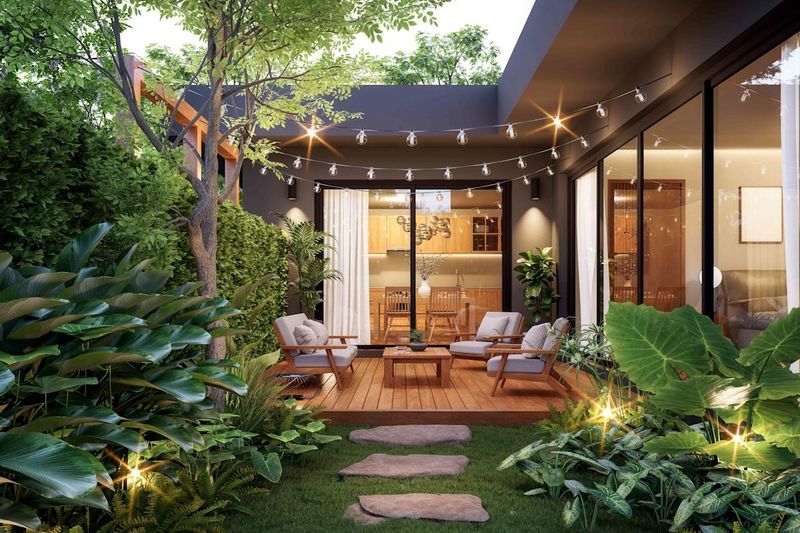
Create magical outdoor rooms by installing string lights overhead. The soft illumination transforms ordinary spaces into enchanting retreats that feel like exclusive restaurants or boutique hotels.
Use sturdy poles or existing trees as anchor points, and secure lights with proper outdoor-rated hardware. Criss-cross patterns create a ceiling-like effect that defines the space below and draws the eye upward, making the area feel larger and more intentional.
For our daughter’s graduation party, we installed string lights over our patio. The simple addition was so transformative that we’ve left them up year-round, and they’ve turned our basic concrete slab into everyone’s favorite gathering spot.
16. Vertical Garden From Pallets
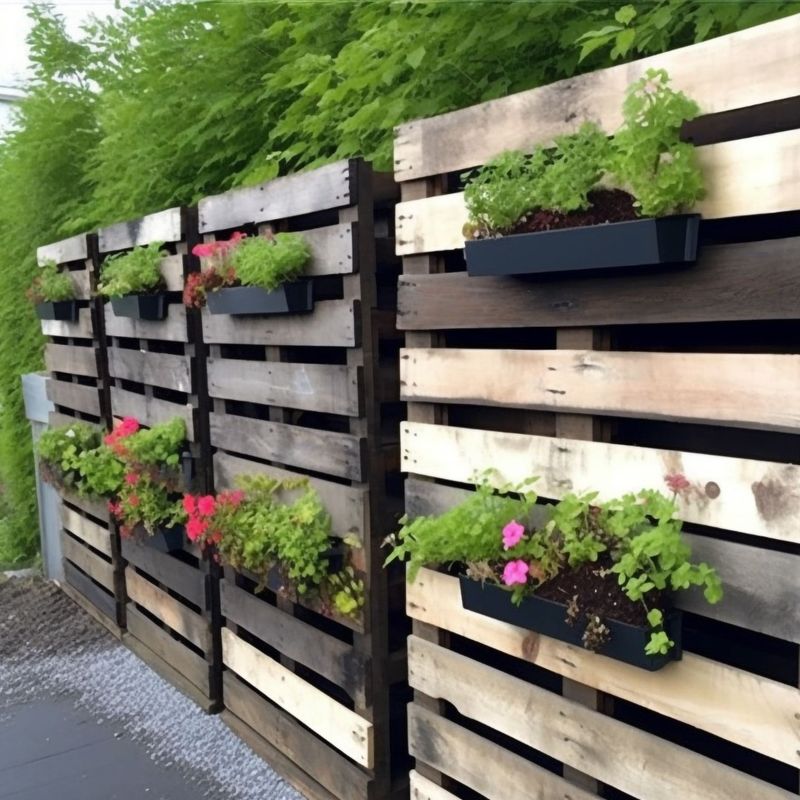
Transform free wooden pallets into striking vertical gardens that maximize space and create living wall art. Sand rough edges, line with landscape fabric, and fill with soil and trailing plants for dramatic effect.
Mount securely to fences or walls in full sun or shade, depending on your plant selection. Succulents, herbs, and trailing flowers all work beautifully in these structures. The vertical orientation draws the eye upward, creating height and dimension in small spaces.
Our narrow side yard seemed hopeless until I installed two pallet gardens filled with shade-loving ferns and coleus. Now it’s a lush corridor that feels intentionally designed rather than an awkward leftover space.
17. Painted Concrete Stepping Stones
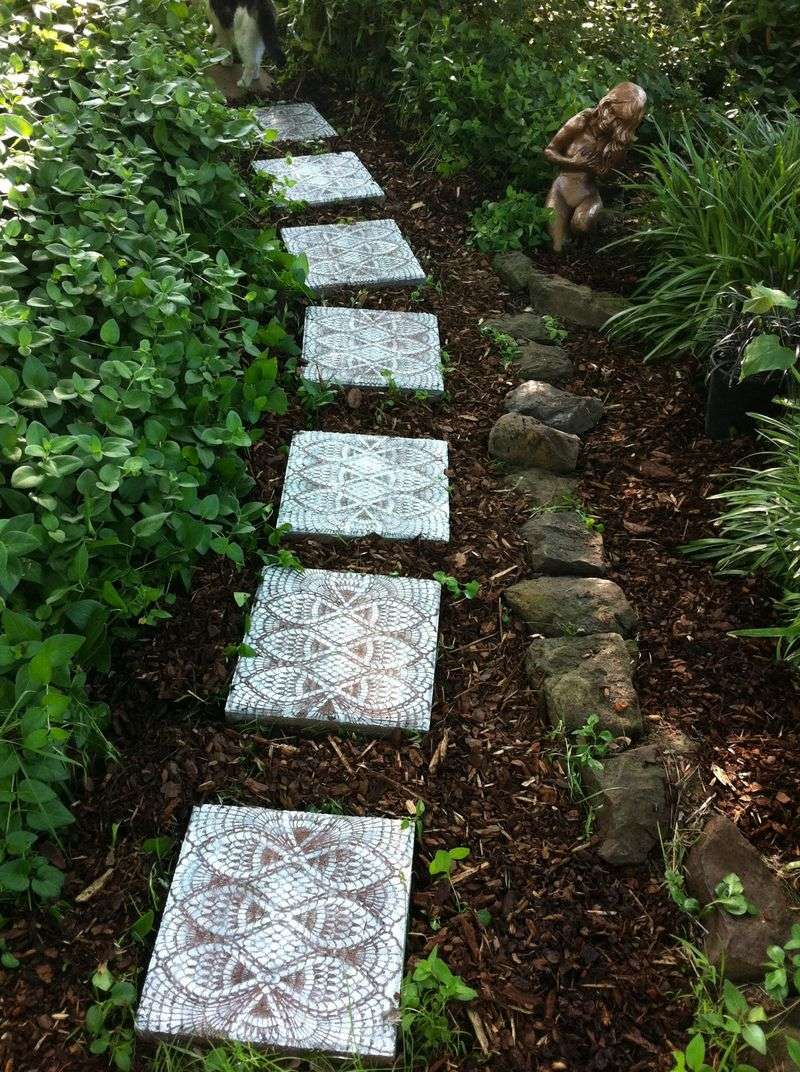
Plain concrete pavers become custom art pieces with a little paint and creativity. Use exterior concrete paint to create faux tile patterns, mandala designs, or even stenciled house numbers for a fraction of the cost of specialty stones.
Arrange painted pavers as stepping stones through garden beds or as a decorative pathway. The handcrafted touch adds personality while the practical function improves garden access. Seal finished stones with clear exterior sealer for longevity.
When we couldn’t afford the beautiful Moroccan-style tiles I coveted, I painted similar patterns on $2 concrete squares. Visitors always comment on our “custom” pathway, never guessing the high-end look came from budget materials and an afternoon of painting.
18. Dramatic Focal Water Feature
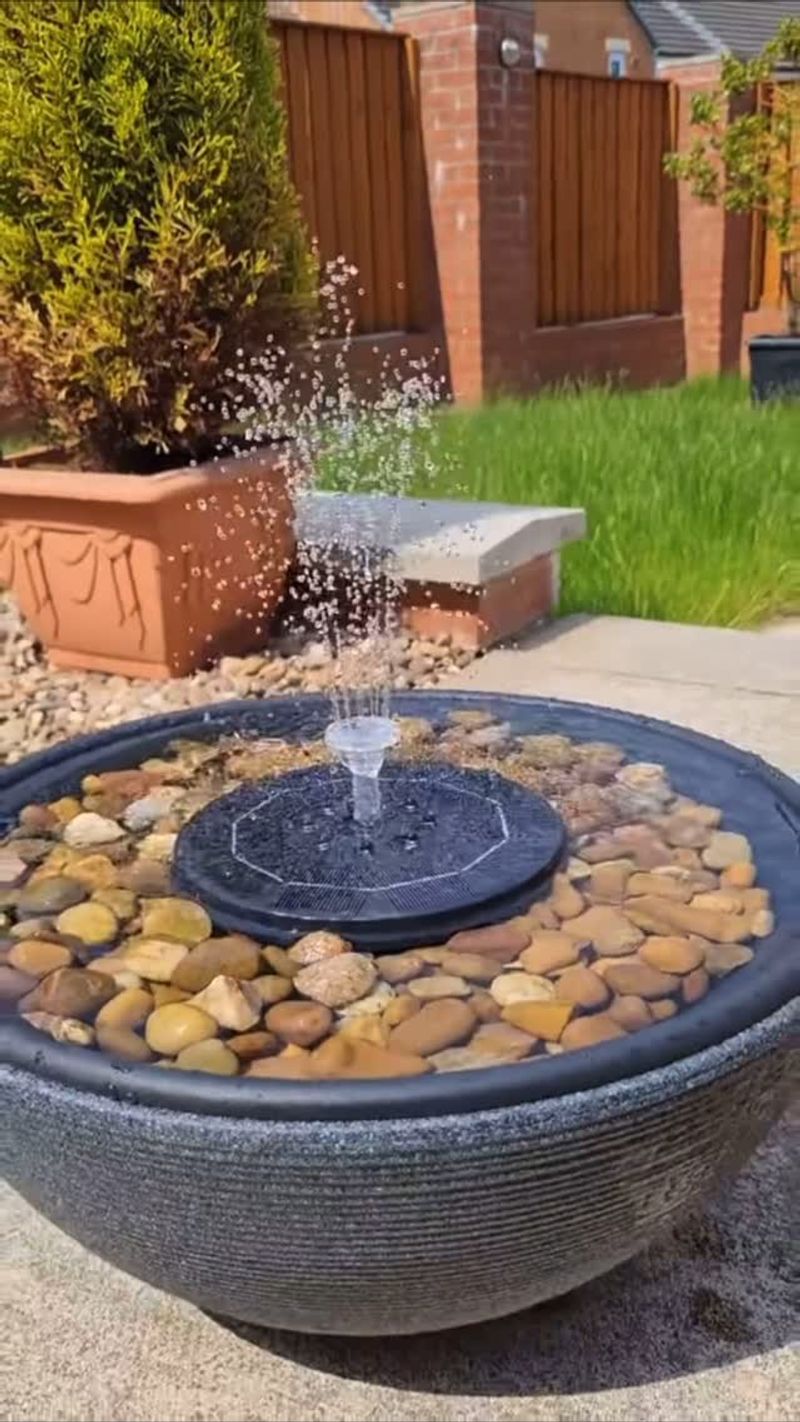
Create a high-end water feature using a large ceramic pot, small pump, and some river rocks. The sound of trickling water adds sensory richness that’s typically associated with expensive landscaping.
Position your fountain where it can be enjoyed from seating areas or viewed through windows. The reflective quality of water catches light and movement, adding dimension to the garden. Solar pumps eliminate the need for electrical connections, simplifying installation.
For under $100, I created a pot fountain that became the centerpiece of our patio. The gentle bubbling sound masks road noise and creates a peaceful atmosphere that makes our modest backyard feel like a luxury retreat.
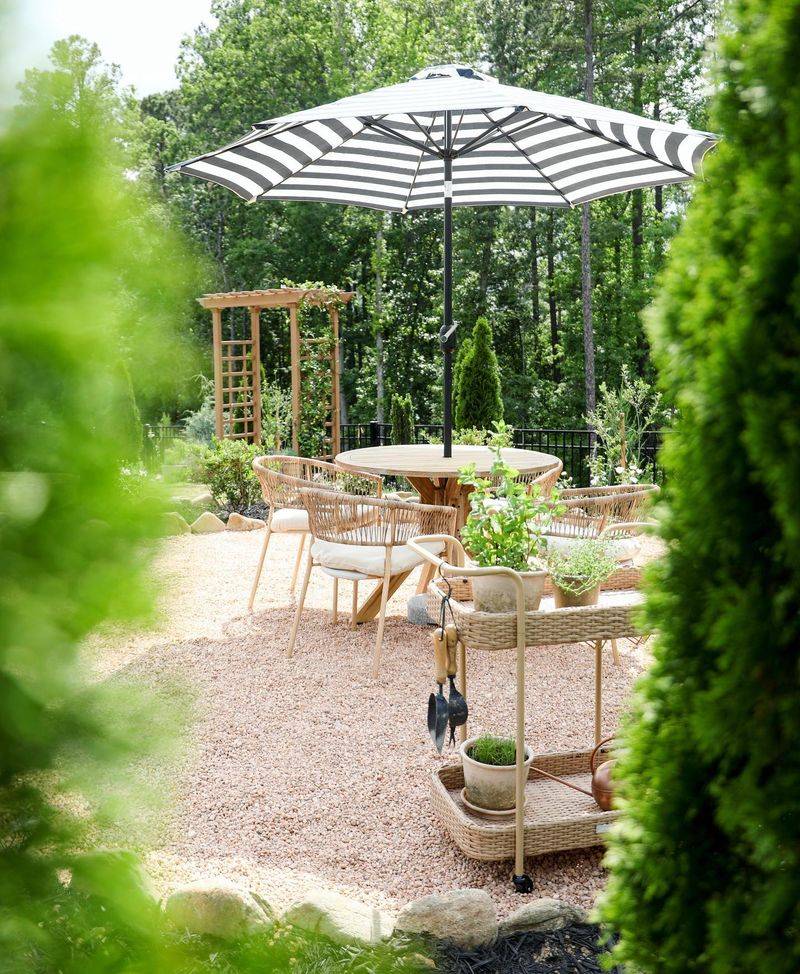
19. Defined Dining Area With Gravel
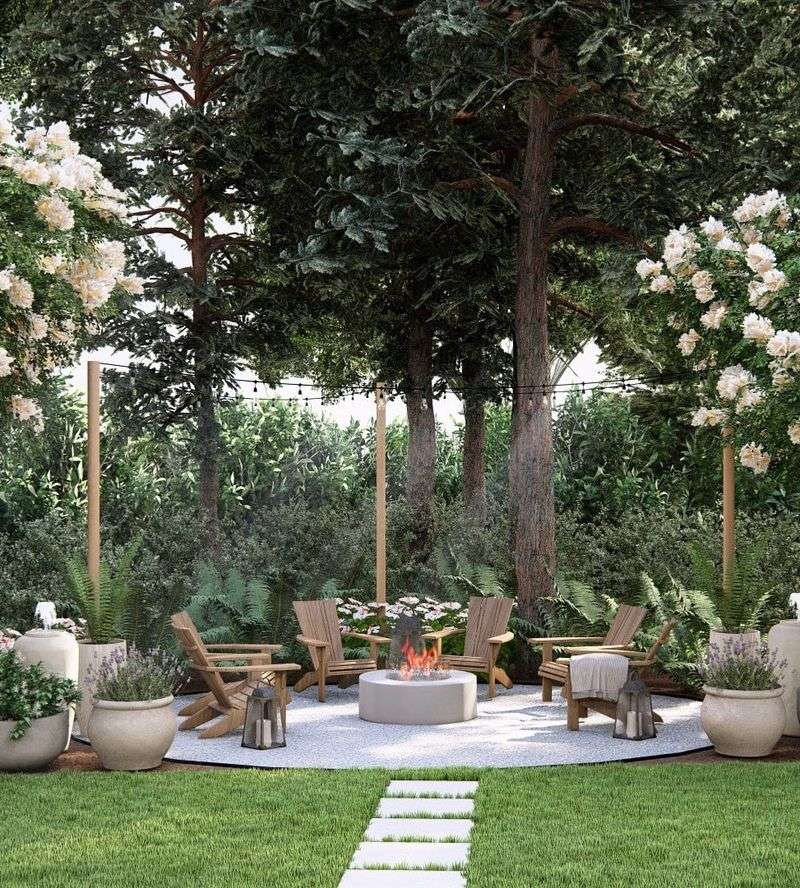
Carve out a dedicated dining space using a simple circle of gravel and strategic furniture placement. The defined shape creates the impression of an intentional “room” within your landscape, even without expensive hardscaping.
Edge the circle with brick, stone, or metal edging for a crisp boundary. Center a table and chairs within the space, and add potted plants at the perimeter to enhance the room-like feeling. The contrasting texture separates this area from the surrounding lawn.
Our backyard dining area cost less than $200 to create but completely changed how we use our outdoor space. The simple circle of gravel feels like an extension of our home rather than just furniture placed randomly on grass.
20. Create Garden Rooms With Tall Grasses
Use inexpensive ornamental grasses to create living walls that divide your yard into intimate “rooms.” Fast-growing varieties like miscanthus or pampas grass quickly reach heights of 6+ feet, providing privacy and structure.
Plant in staggered rows to create depth and prevent a rigid appearance. The gentle movement adds kinetic energy to the garden while the height creates mystery – you can’t see everything at once, making even small yards feel larger and more interesting.
When we couldn’t afford traditional fencing, we planted a boundary of mixed ornamental grasses. Within two seasons, we had beautiful, low-maintenance living walls that rustle soothingly in the breeze and look far more sophisticated than budget privacy panels.