The 9 Cabbage Growing Stages + How To Grow This Vegetable
Cabbage is a vegetable packed with vitamin C and antioxidants, which is why we should all incorporate it into our diets.
Of course, buying these veggies can sometimes be quite expensive, especially if you go to a farmer’s market and opt for organic ones.
But there’s a solution to this – growing your own!
Growing leafy greens isn’t that hard, and once you understand the cabbage growing stages you’ll be able to nurture healthy heads and help them mature in no time.
We’ll also include a couple of tips for taking care of these plants, but before we get to all that, let’s learn more about cabbage itself:
[table id=660 /]
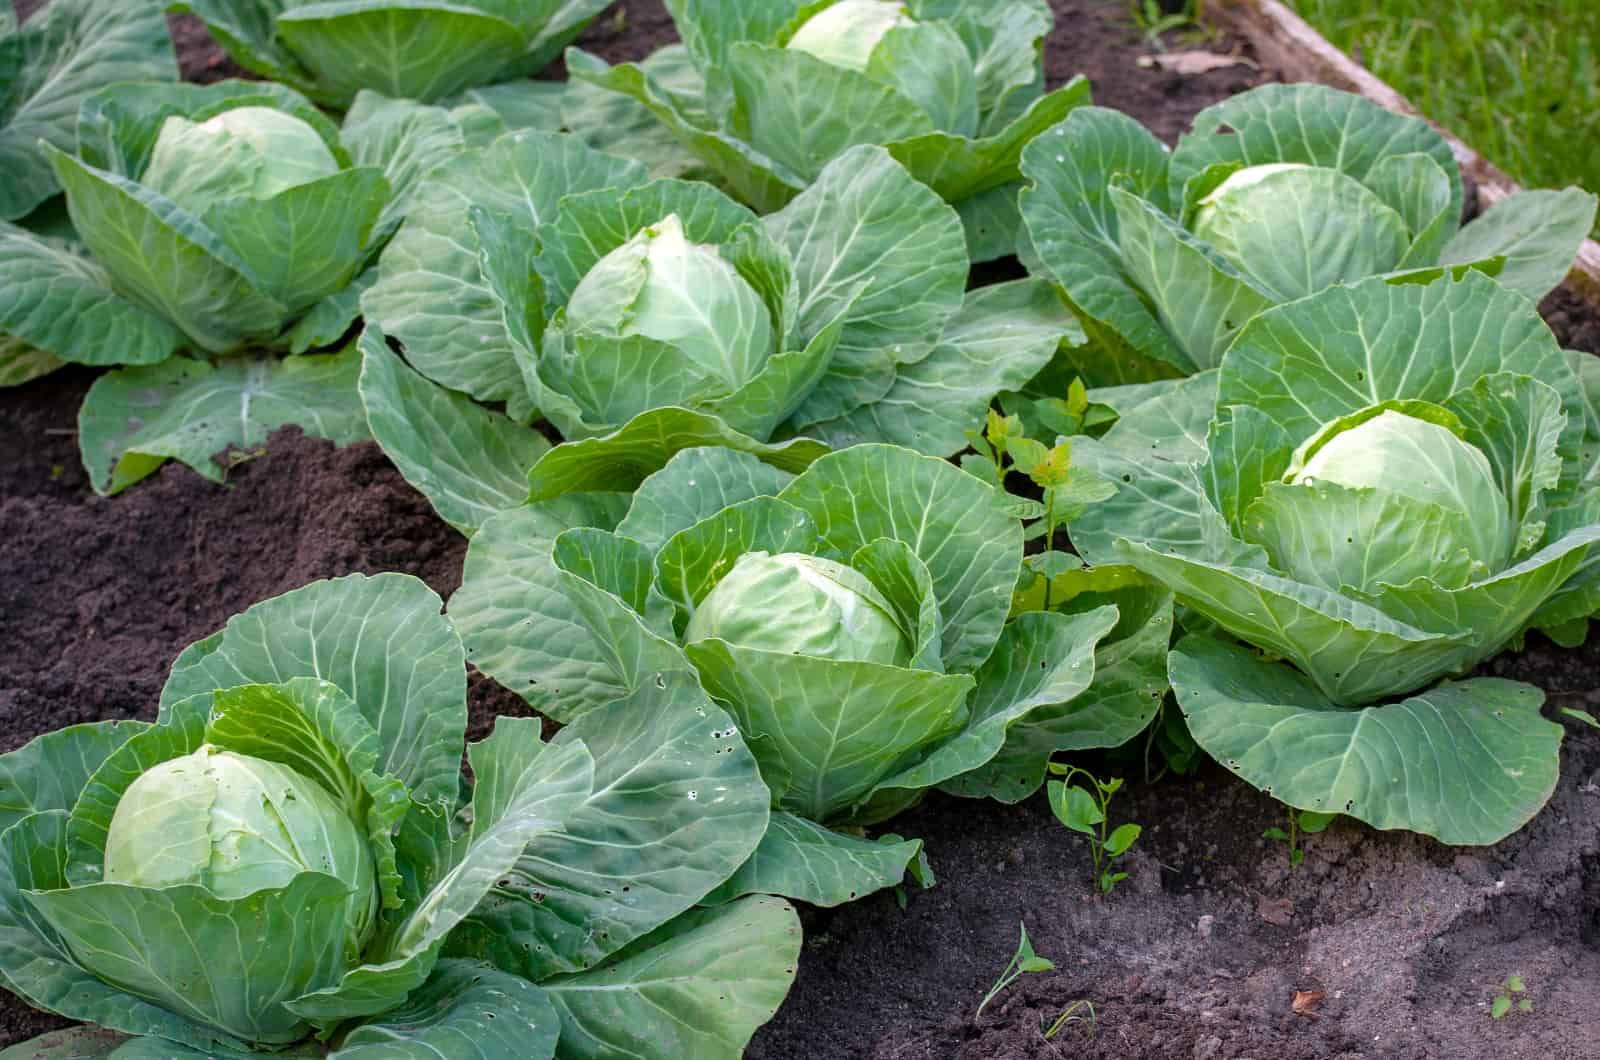
Cabbage Growing Stages
There are nine cabbage growth stages: seed germination, sprouting, 6-8 true leaves appearing, 9-12 true leaves appearing, precupping, cupping, early head formation, head fill, and maturation.
Before we get to all that, we first have to choose the best soil for vegetables and whether we want to germinate the seeds or plant the cabbage in it, as the plant won’t be able to develop properly without it.
Now, we usually grow cabbage for its tasty heads, but if you want this cool-weather crop to develop seeds, you’ll have to overwinter it, replant it in spring, and allow it to produce flowers.
The insects will pollinate the blooms, and you’ll notice yellow and brown pods that contain the seeds.
Let’s first discover some more details about the cabbage life cycle since this plant requires different care at different stages.
1. Seed Germination
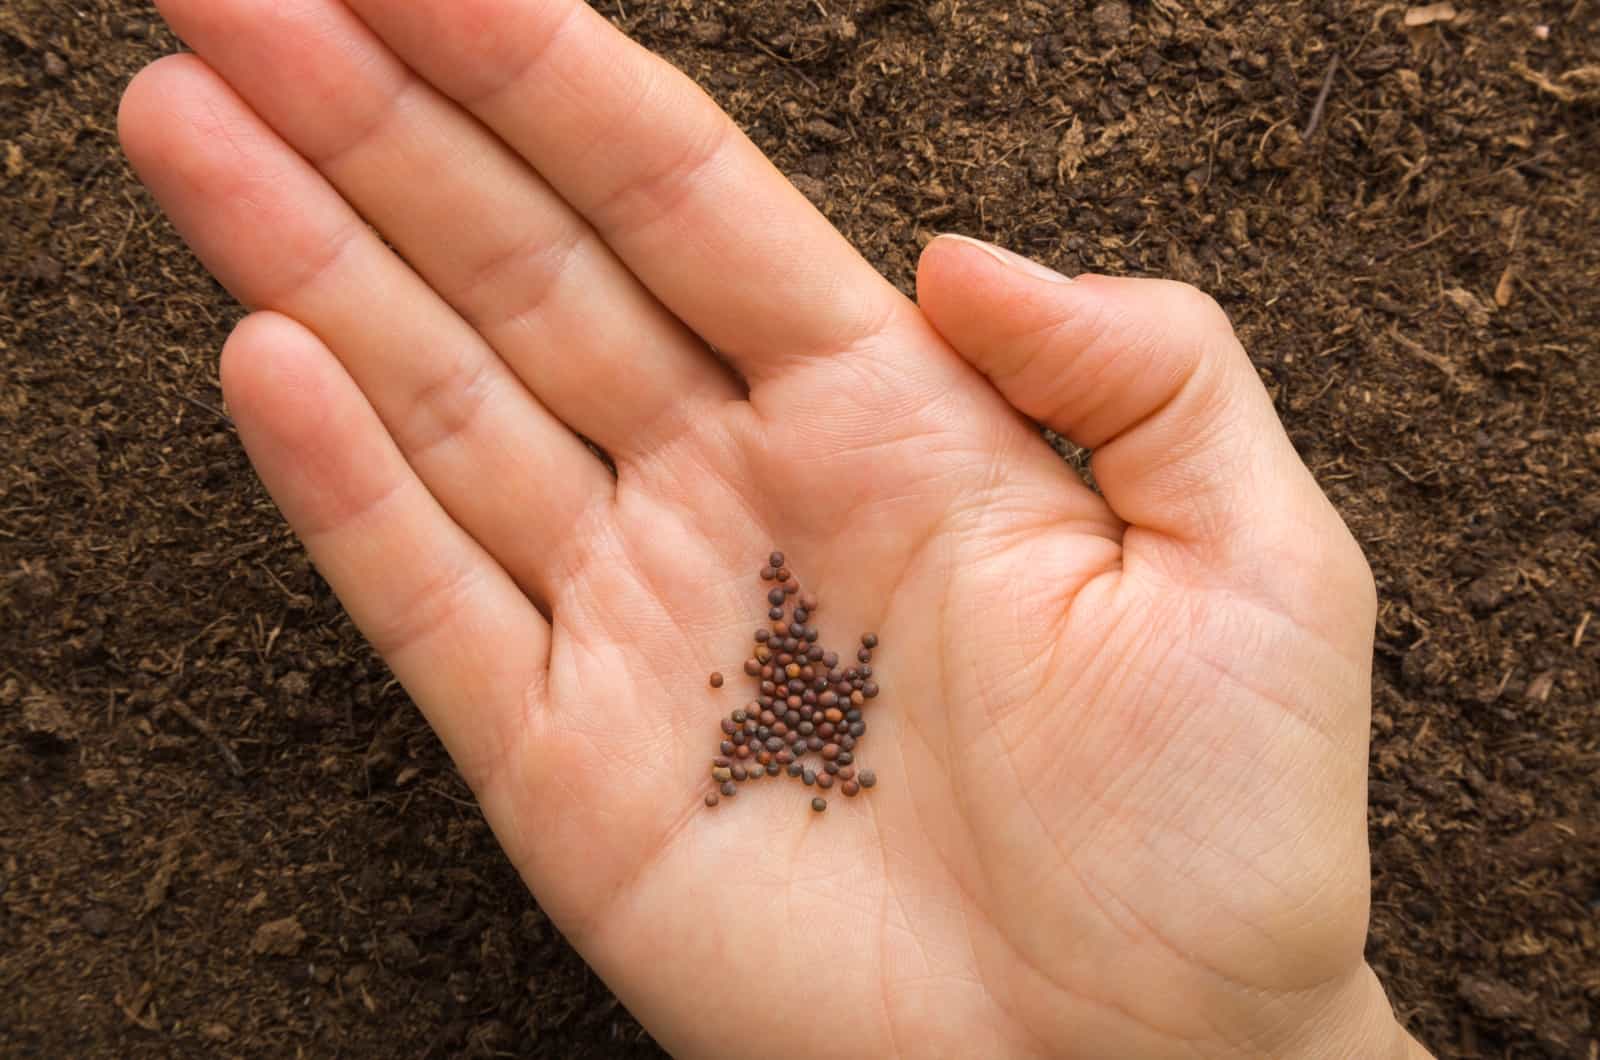
You can start cabbage seeds directly in the ground or plant them in a nursery tray or pot filled with seed-starting mix.
The seeds typically take 3-4 days to germinate, and you’ll quickly notice cotyledons, which are seed leaves that start photosynthesizing and supplying the young plant with food and energy.
To support this phase, there are a couple of tips for germinating seeds, such as enriching the medium with compost to ensure fast rooting, keeping the seeds in a warm location, and ensuring that the potting mix is consistently moist.
You don’t have to expose the seeds to light until they develop cotyledons since the seeds have no use for it (except for its warmth, but you can replicate that by placing the container on a heating mat or keeping the room temperatures warm).
Watch out for flea beetles at this stage, as they can damage the cotyledons and stunt plant development.
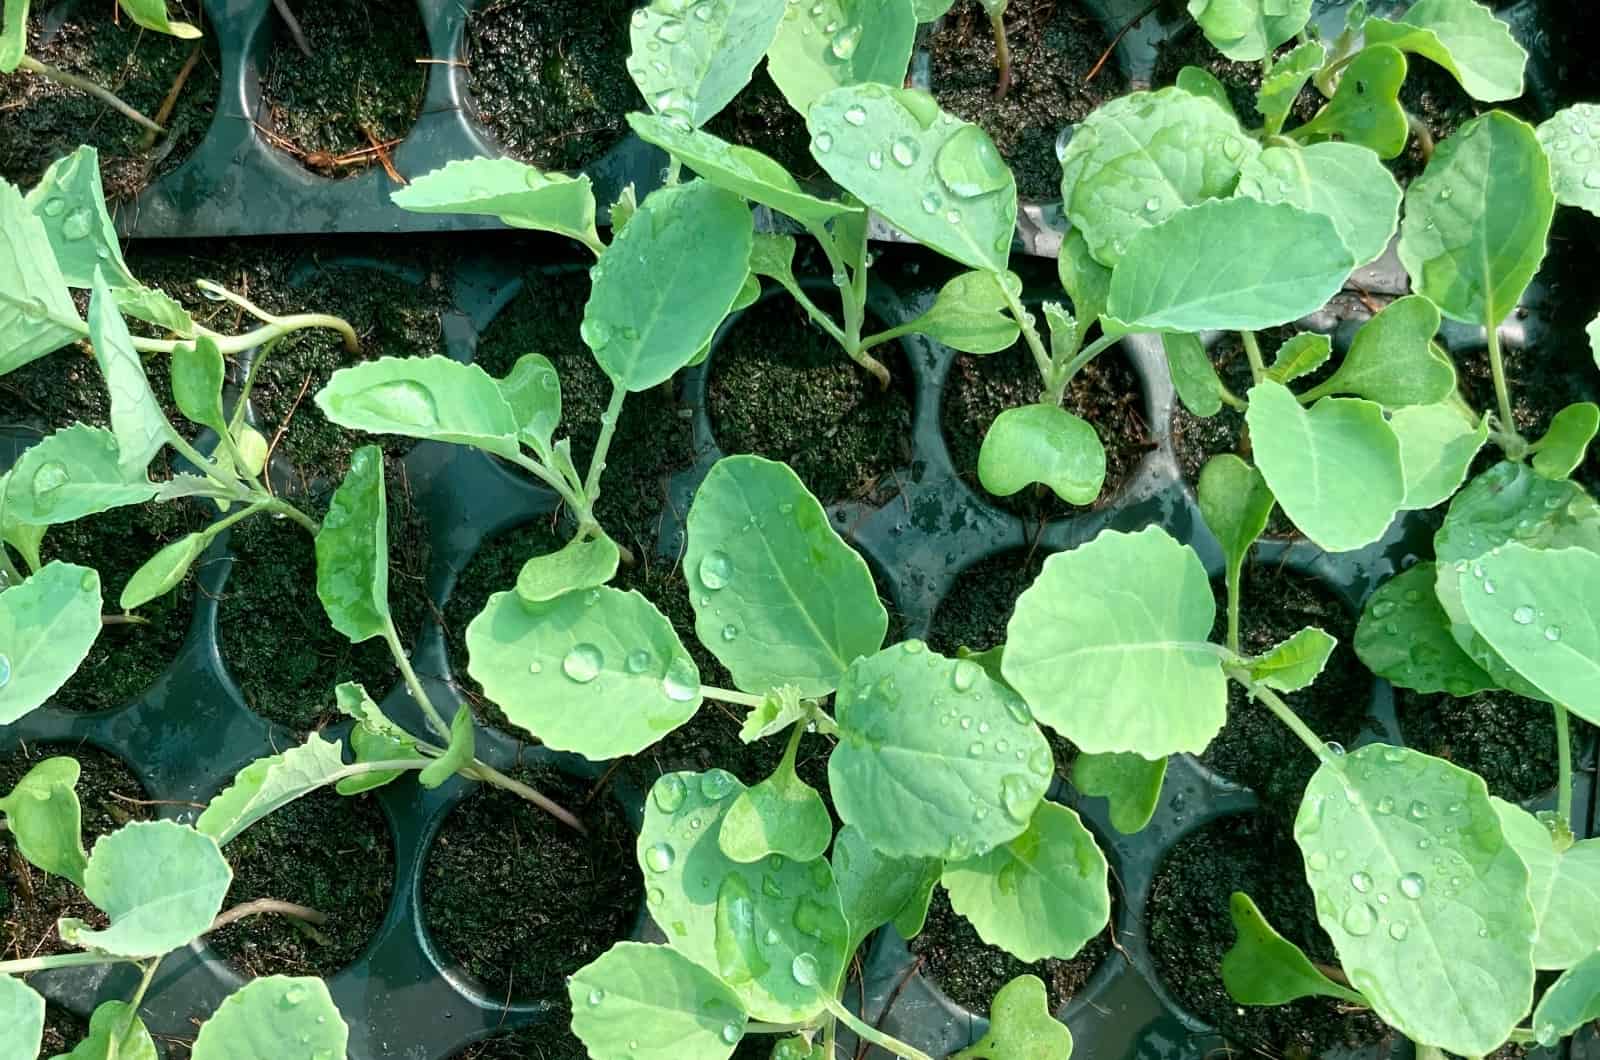
2. Seedlings
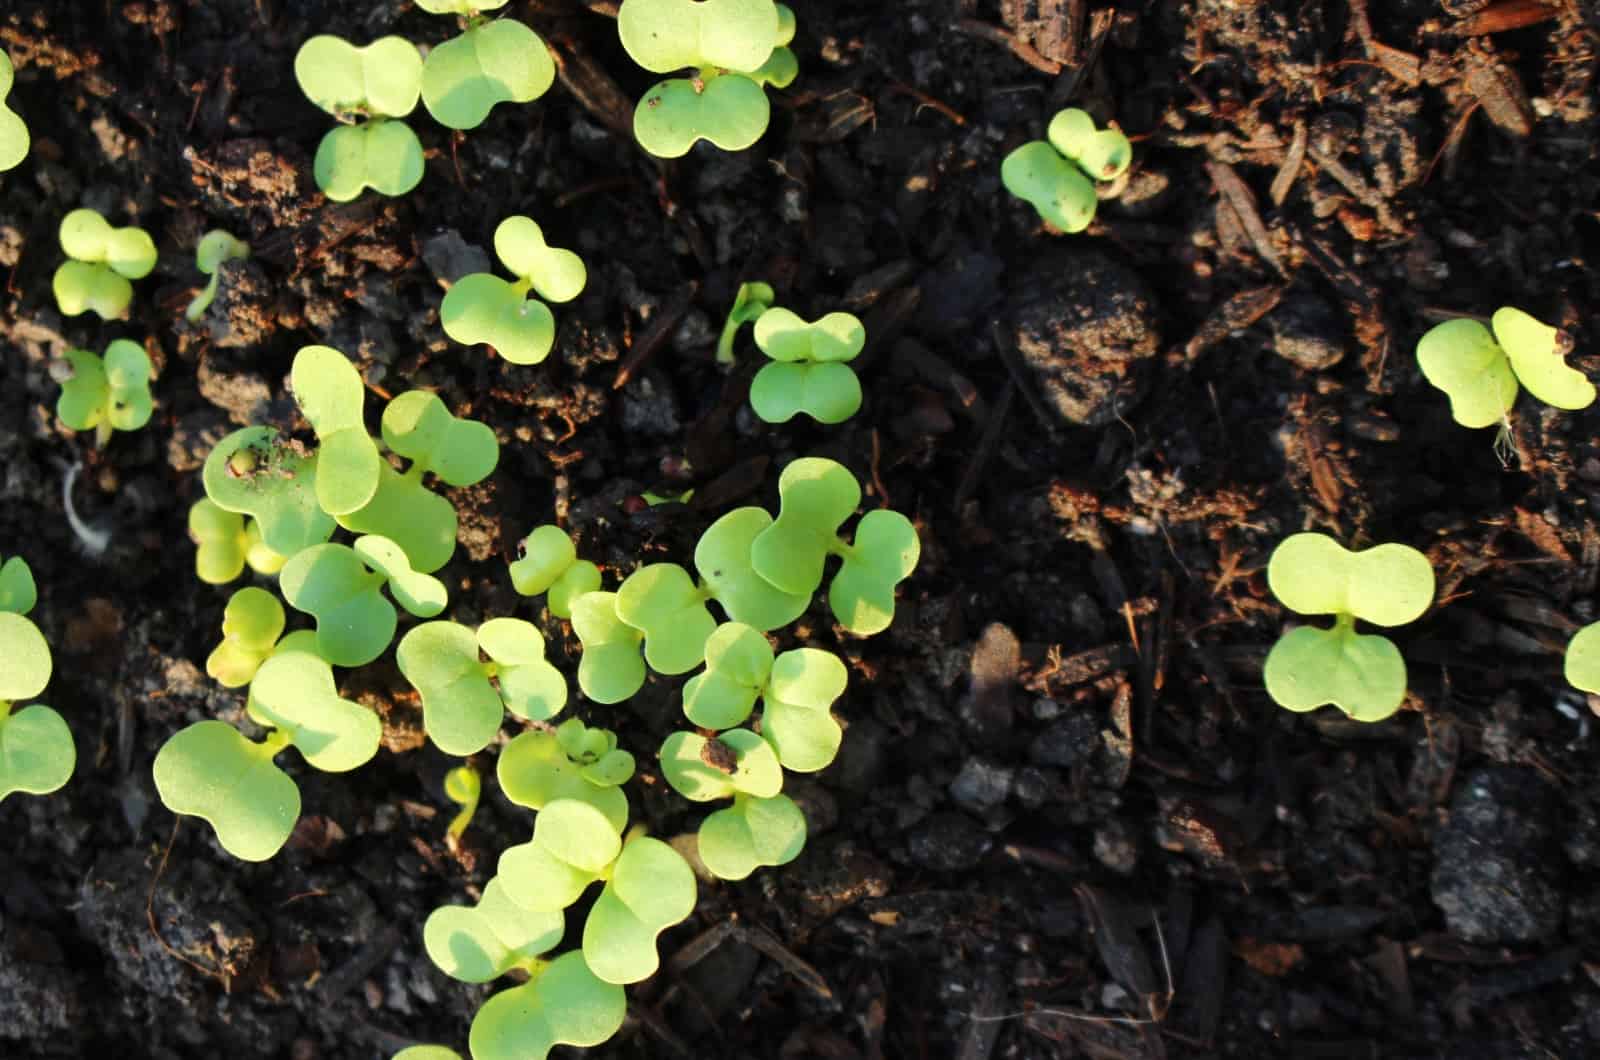
About two weeks after germination (or 10 days if the conditions are perfect), you’ll notice the first set of true leaves appearing, and that’s when plant growth really takes off!
The plant will develop its root system even more and you’ll notice stems appearing.
This stage lasts until about 5 true leaves have developed, and that’s when you can transplant the plant in the ground or to a larger container (or you can wait until 2-3 sets of true leaves appear).
You should also start fertilizing your cabbage plants at this stage using well-balanced fertilizers, fish emulsion, or diluted compost tea (if you started the seeds indoors).
Flea beetles are less active at this stage, although they can still cause damage, so make sure to monitor your plant and look out for these bugs.
The real problem are cabbage maggots, which damage the roots and can kill the plant if not caught early.
3. 6-8 True Leaves Appearing
At this point, the cabbage plant has become strong enough to perform basic functions on its own, such as photosynthesis and transpiration, uptaking nutrients and moisture from the soil, and sending them to various parts of the plant.
From this point on, the plant continues to develop and put on new growth, and is completely safe to transplant because it can handle the shock a lot better.
Flea beetles are usually not an issue at this stage, but cabbage maggots can still wreak havoc on the plant roots.
4. 9-12 True Leaves Appearing
As the vegetative growth of the plant continues, it uses more and more nutrients from the soil, and if you haven’t added fertilizer before planting the seeds, or you notice that the growth rate has slowed down a bit, you can add some triple 14 fertilizer.
The cabbage plant now has many leaves, but you can still discern the stem.
At this stage, you should look out for cabbage loopers and worms since they can hurt the young plant.
5. Precupping
In the precupping phase, the cabbage plant usually develops between 13-19 true leaves, depending on the variety and the amount of available nutrients.
At this point, the stem is no longer visible from a bird’s eye view. The central leaves are growing upright, so we can easily notice them.
From this stage on, you don’t have to worry about cabbage maggots any longer, unless there’s a really large infestation.
Another pest that can appear at this phase is thrips, and although they cannot cause enormous damage, they can hide behind the innermost leaves, so you should look for them and treat the infestation accordingly.
6. Cupping
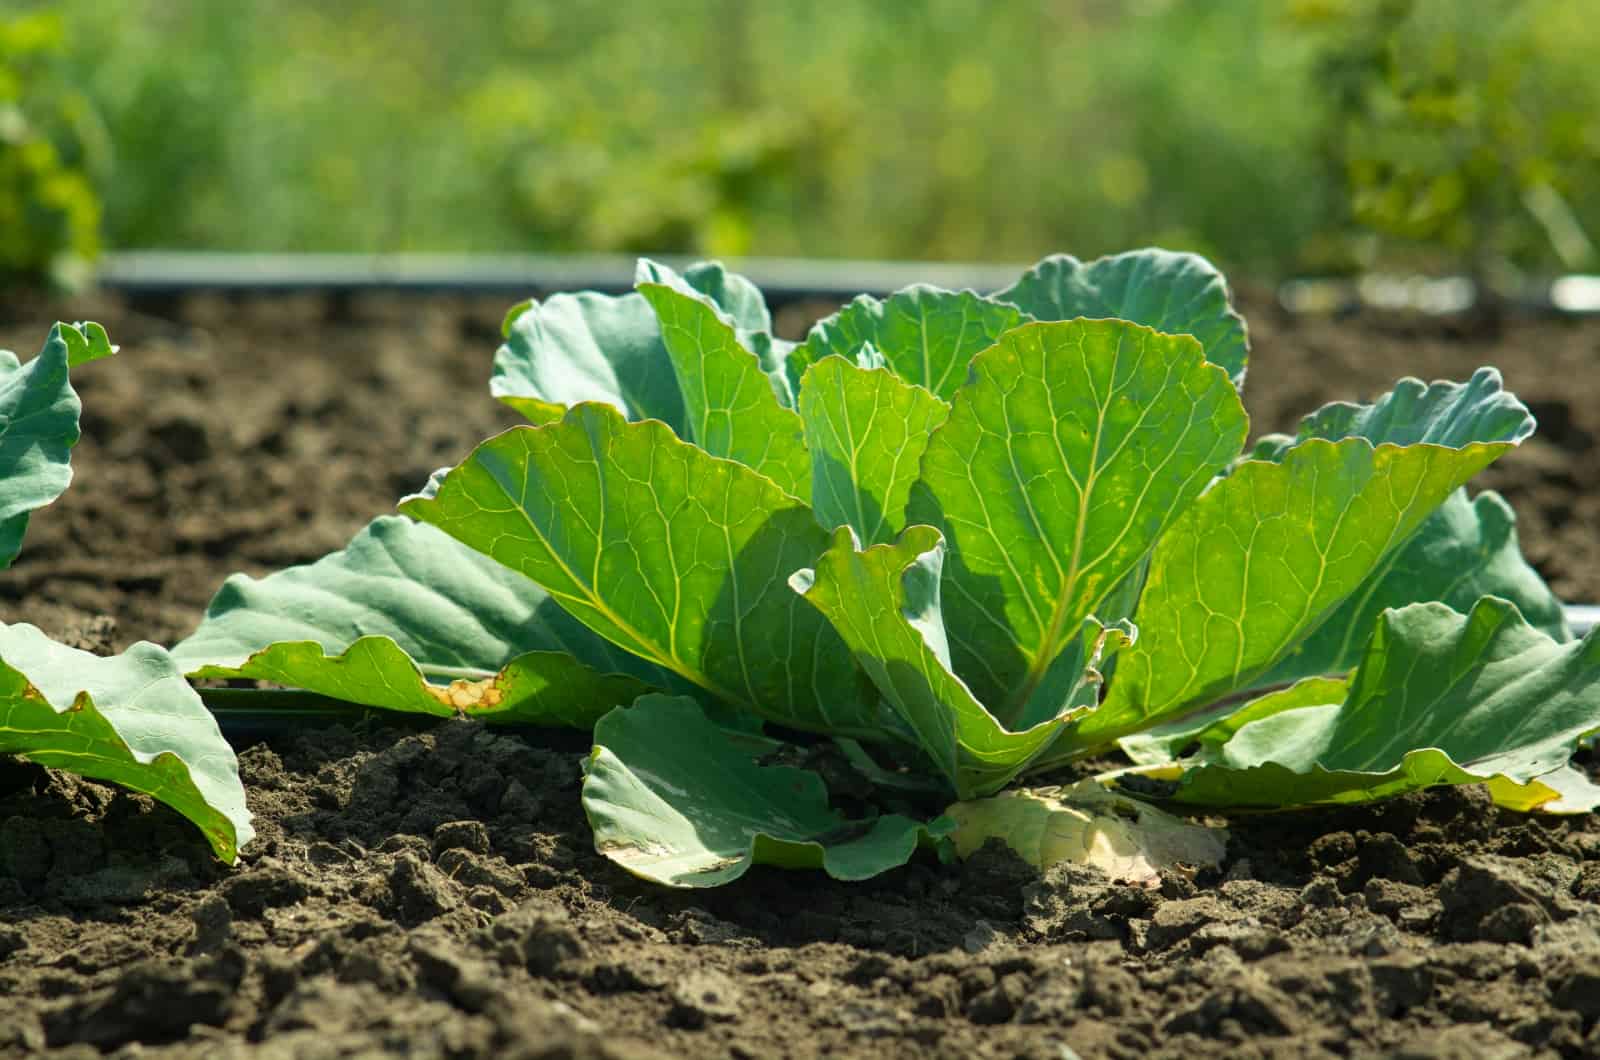
At this stage, 20-26 true leaves appear and make it harder for us to see the inner foliage. And all these leaves you see at this stage will turn into so-called frame foliage (those that aren’t in contact with the mature cabbage head).
As for pests, if you haven’t dealt with thrips effectively in the last stage, the large foliage will provide them shelter and make pesticides mostly inefficient.
7. Early Head Formation
At this point, we can already see the small cabbage head taking shape, not larger than 2-4 inches.
The inner foliage is forming a signature ball, while the foliage from the previous stage is enveloping and hiding it. Luckily, they don’t press it firmly, which is why they can develop into the framing leaves.
There’s still danger of thrips, especially spreading to the main head, which is why you shouldn’t forget to keep an eye on your cabbage.
Irrigation is also important. The worst period to irrigate your plants is midday and at night. If you irrigate your cabbage during the hottest part of the day, the moisture will quickly evaporate and leave your plant dehydrated.
And if you water it at night, the moisture cannot evaporate, which increases the risk of rot and downy mildew.
8. Head Fill
The cabbage head continues to develop and grows up to 3-8 inches, and we can clearly discern it from the outer foliage.
However, it is still not ready for harvest, so you should have a little more patience.
The head will take a huge blow if you don’t deal with thrips in the earlier stages, because pesticides cannot penetrate its dense foliage.
Also pay attention to any bugs nibbling on the foliage since they can cause a lot of damage as well.
Finally, the cabbage plant requires quite a fertile substrate, but make sure to use fertilizers suitable for this plant.
For instance, the leaf margins can break down (known as tipburn) and the petiole or the midrib can turn black due to inadequate amounts of phosphorus and potassium, and too much nitrogen.
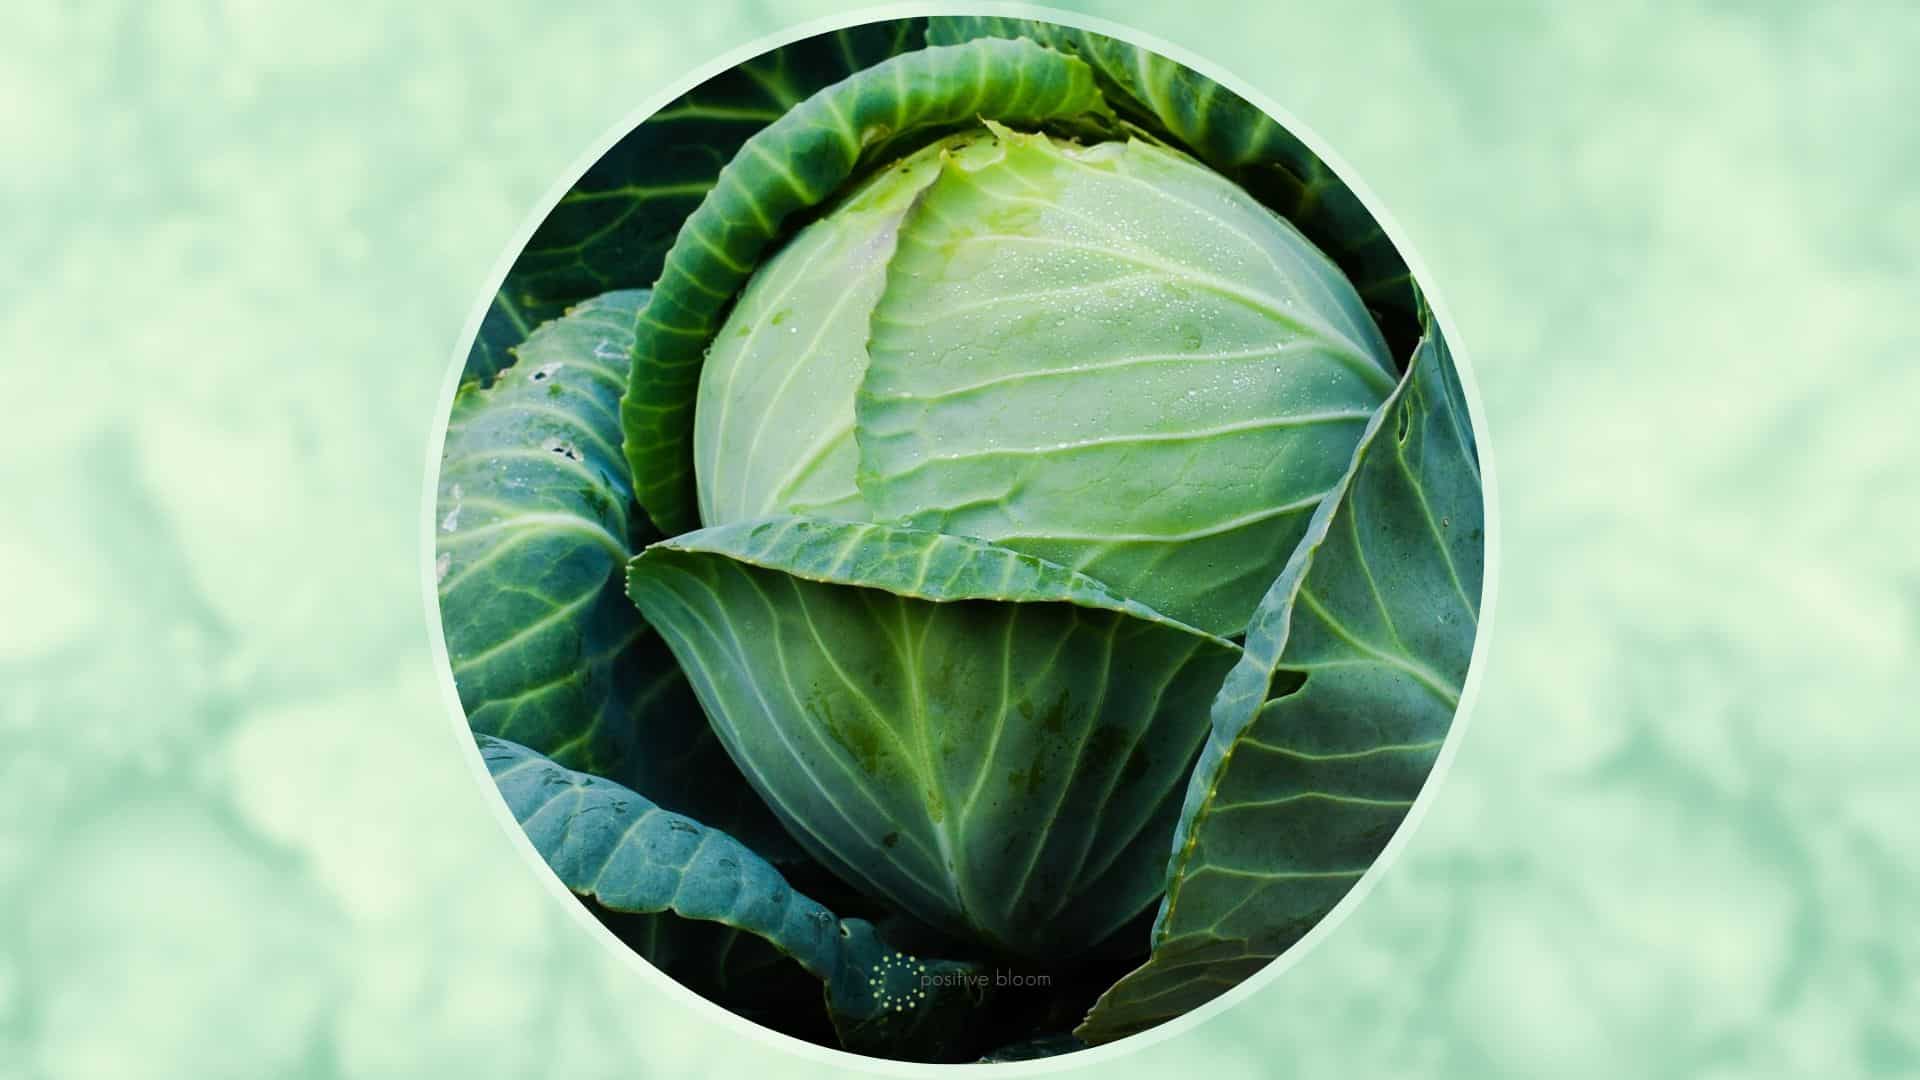
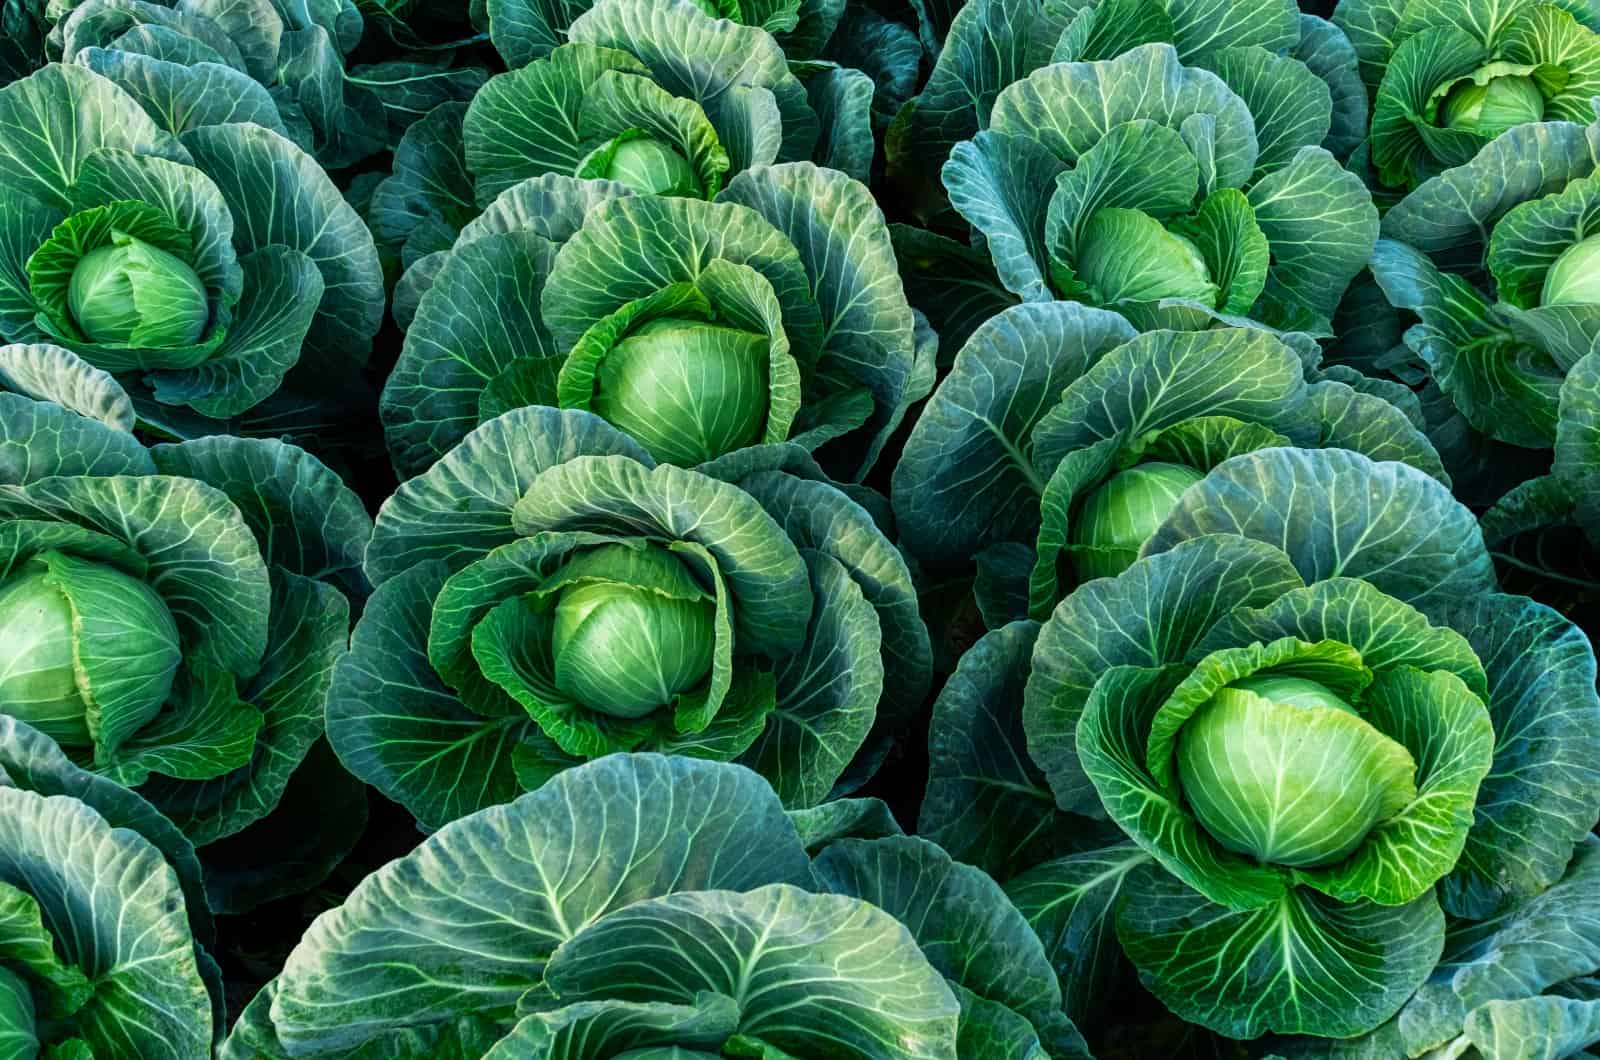
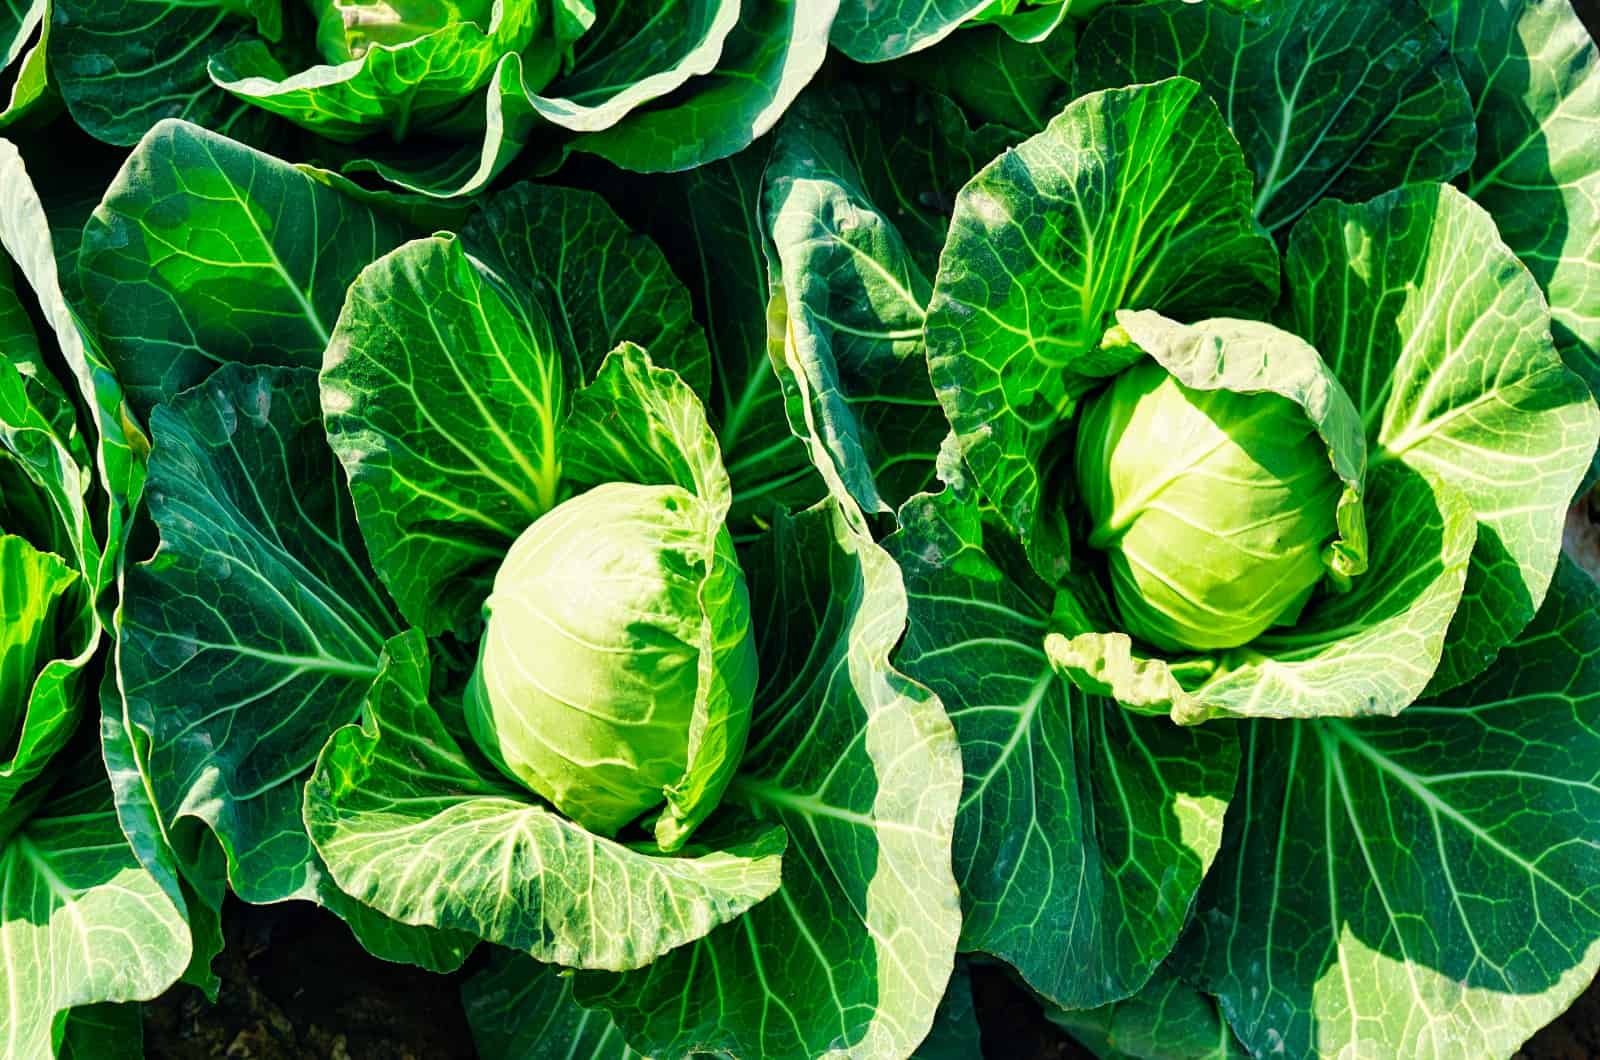
9. Maturation
The last stage of the cabbage life cycle is ripening/maturation. At this phase, the size of the head is about 6-12 inches, depending on the variety and the growing conditions.
Once it fully develops, you won’t notice any new leaves growing, which is your cue to harvest it.
And if you don’t pick it on time, it’ll split (I know this due to experience, sadly).
Quick Cabbage Care Guide
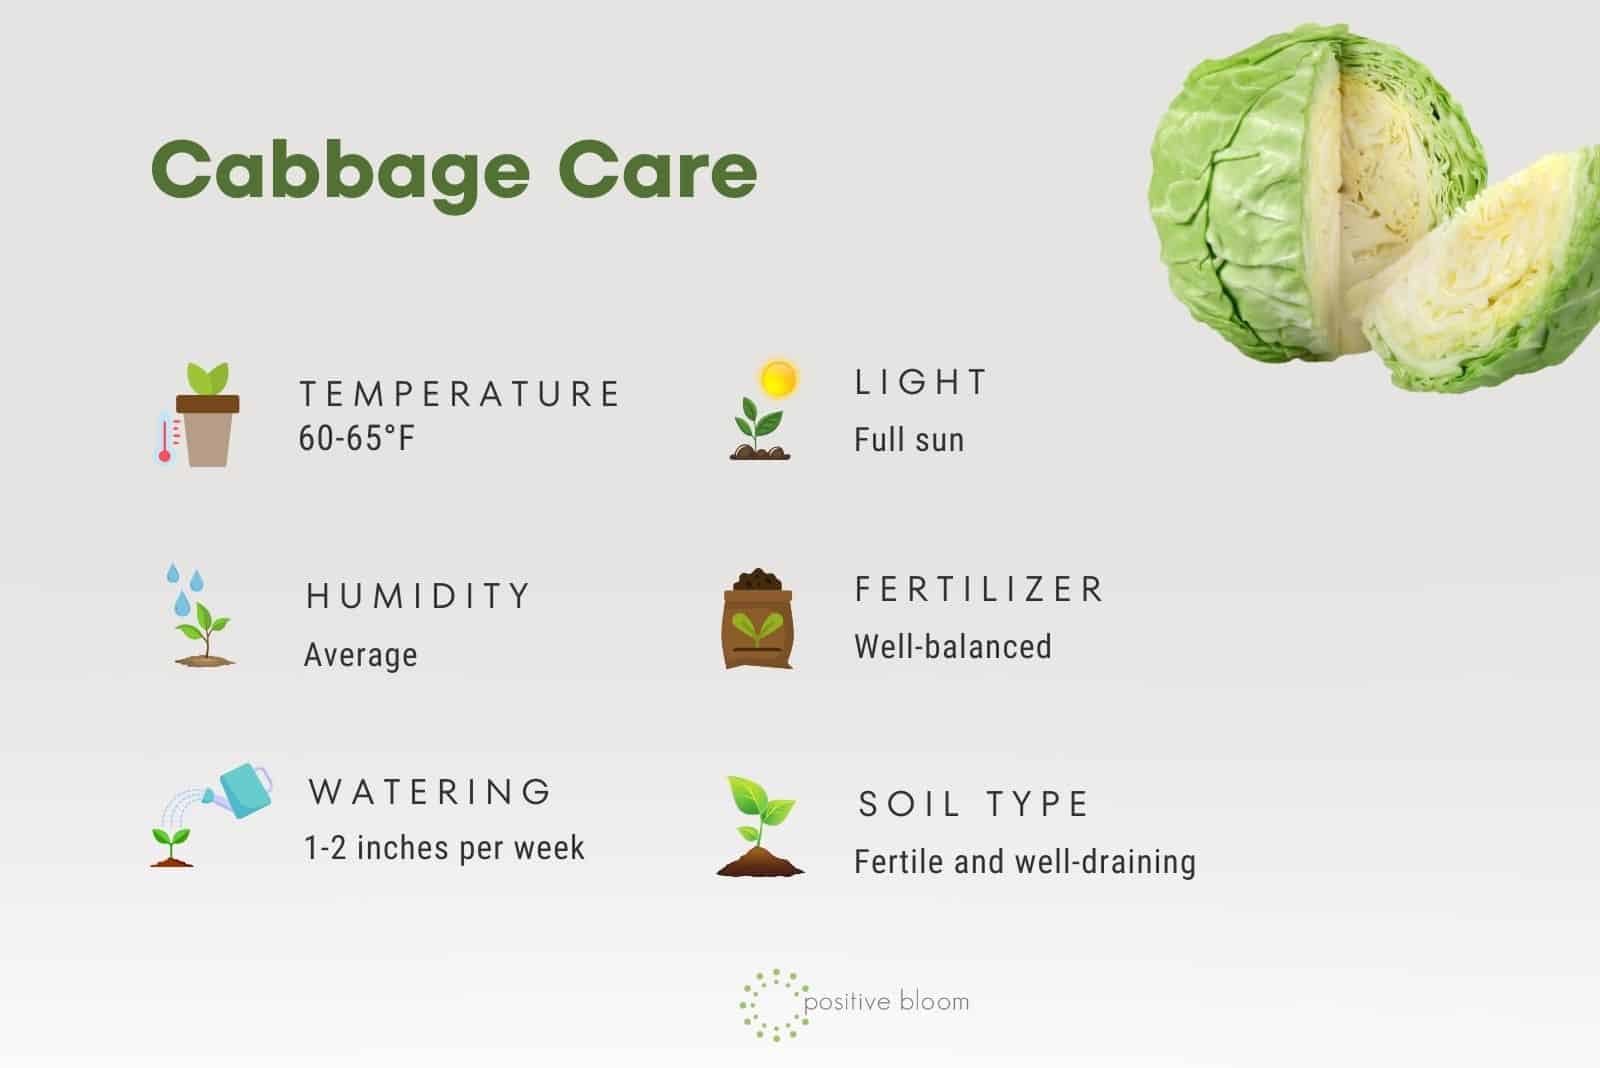
Now that you know how cabbage looks at every stage, what to do to keep it healthy, and how to deal with potential issues at each phase, let’s talk about some of the requirements this plant has.
These plants thrive in well-draining and fertile growing mediums that retain some moisture, and the best thing you can do is amend your garden soil with the best compost for vegetables (you can use aged manure, leaf clippings, worm compost, etc.).
You can also work some well-balanced fertilizer into the substrate before spring planting, or start feeding the seedlings once they develop 2-4 sets of true leaves if you decided to germinate them indoors.
Plant (or transplant) the cabbage to a full sun location where they get at least 6-8 hours of light each day, and give them about 1-2 inches of moisture each week (preferably in the morning so that the foliage can dry out and not suffer from fungal infections).
This vegetable is a cool-season crop, so make sure that the temperatures are always between 60-65 degrees Fahrenheit (or at least no higher than 75). That’s why we always grow it in spring or fall.
FAQ
How long does it take for cabbage to grow?
It usually takes about 4-6 months for cabbage to grow, depending on the variety you chose and the growing conditions.
Therefore, many growers decide to start these plants indoors and then transplant the young plants into their outdoor garden.
What is the best month to plant cabbage?
The best month for planting cabbage really depends on the variety, and if you have a summer cabbage (which is the most popular one), you should start it in late February or early March, and transplant it outside in May or June.
Spring cabbage is best sown in July or August so that you can move it in September or October, while winter cabbage should be started in late April or early May in order for you to transplant it in June or July
.
Final Thoughts
There are nine cabbage growing stages, and understanding them can help you care for these plants and save them from pests at each stage.
For instance, flea beetles are quite dangerous for newly germinated seeds, but then cabbage loopers, worms, and maggots take over that role.
Cabbage also requires a lot of nutrients, so it’s important to know when to start feeding it in order to have healthy plants without any tipburn or black midribs.
We also included a quick care guide for growing cabbage so that you know where exactly you should plant it, which soil you should use, and how much water to give your plant.
Until next time!