Can You Revitalize And Reuse Old Potting Soil For Your Next Planting?
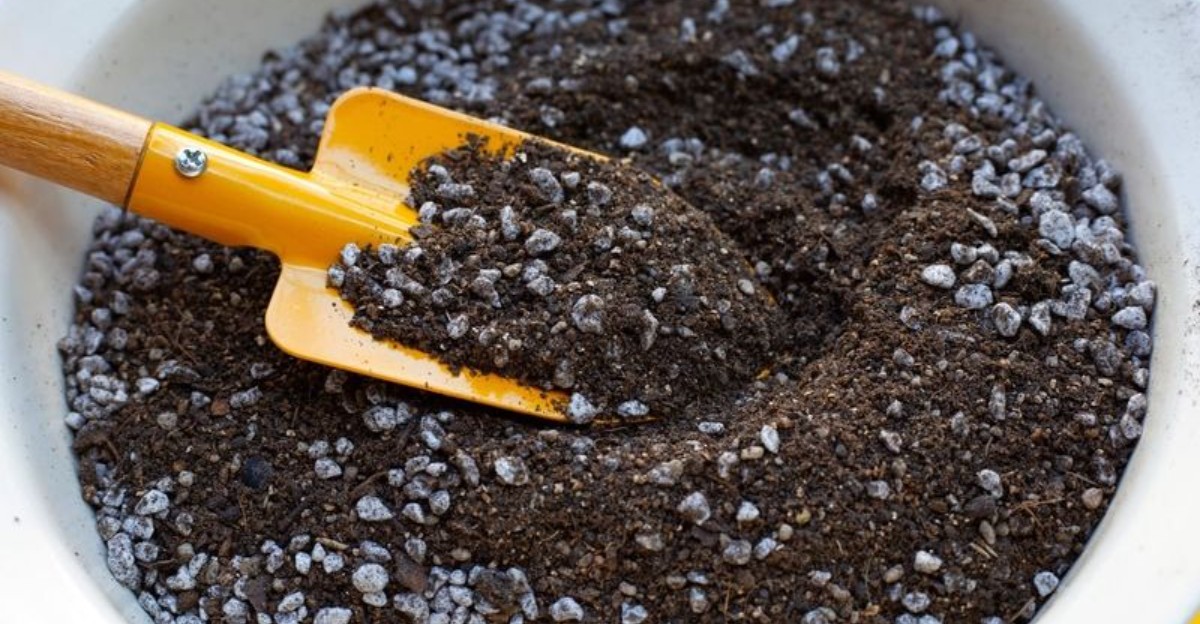
Bagged potting mix often contains no actual soil at all. Most of it is peat moss or coconut coir, plus bits of perlite, bark, and a dose of fertilizer.
That explains why last year’s pots look so sad by fall. The fluffy stuff breaks down, the fertilizer washes away, and the mix settles into a dense, tired brick.
Guilty as charged, I used to dump every spent pot into the trash. Then I checked my receipts and winced at how much I spent each spring on fresh bags. Extension specialists say much of that old mix can come back with a little work.
But what separates a pot worth saving from one that belongs in the trash? The answer depends on what grew there, how it grew, and a few simple fixes that cost less than you might expect.
That Tired, Compacted Potting Mix Is Still Hiding Some Value
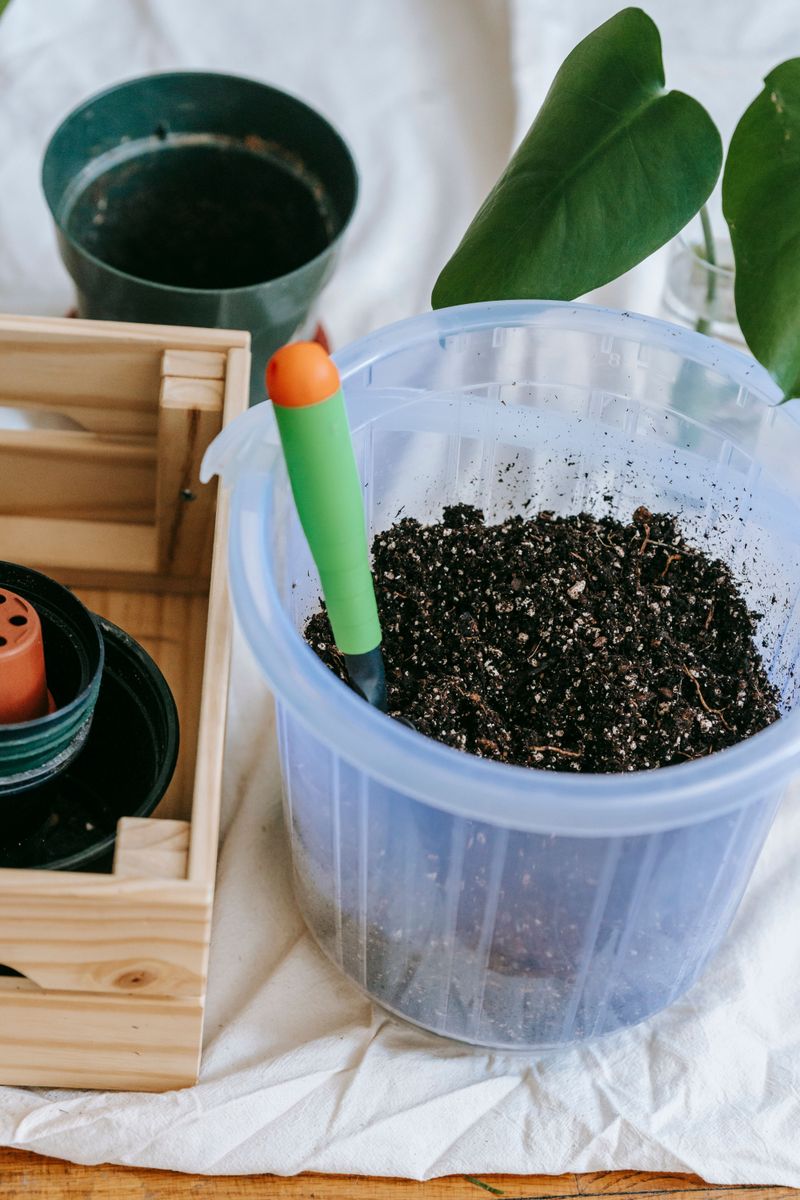
Grab a handful of last summer’s container mix and squeeze. It probably feels heavier and denser than the fluffy stuff you poured from the bag in spring.
Peat moss, coir, and bark slowly break down as microbes feed on them. Those pieces get smaller, the air pockets shrink, and the mix slumps lower in the pot. Roots then have a harder time finding oxygen, and water drains more slowly.
Nutrients take a hit too. Most bagged mixes include a starter fertilizer that lasts only a few months, and regular watering flushes much of what remains out the drainage holes. Hungry tomatoes or petunias use up the rest.
Still, the material itself is not worthless. Perlite barely breaks down, so those white specks keep working for years. Partly decomposed organic matter still holds moisture and supports helpful microbes.
Think of old mix like a stale loaf of bread. It is not great on its own, yet it makes a solid base once you add the right ingredients.
University extension services, including Oklahoma State and LSU AgCenter, agree that healthy used mix can be refreshed instead of tossed. The trick lies in knowing which pots qualify and which ones need a fresh start.
Diseased Plants Mean That Pot Of Soil Should Go
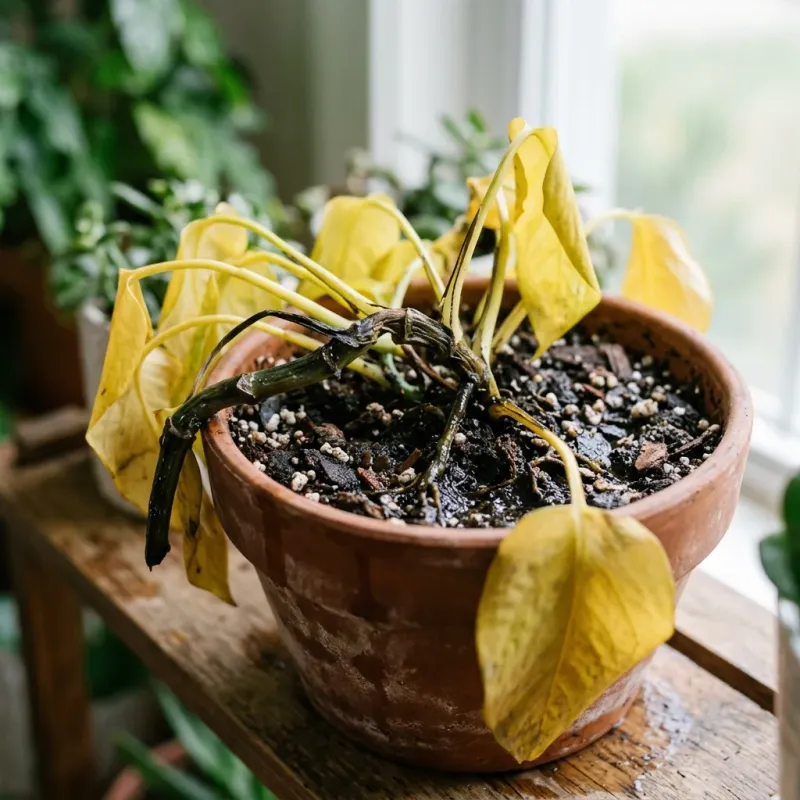
Last August, my container tomatoes wilted from the bottom up, even with steady watering. I learned the hard way that some problems stay in the mix long after the plant is gone.
Soilborne pathogens such as Fusarium, Verticillium, and Pythium can survive in old potting mix. Root rot organisms, root-knot nematodes, and fungus gnat larvae can also tag along into next season. If your plants showed wilting, sudden collapse, mushy roots, or stunted growth that watering did not fix, skip reuse.
So where should that mix go? Avoid tossing it on your vegetable beds or into a cool home compost pile, since backyard piles often do not get hot enough to wipe out pathogens. Many gardeners bag it for the trash or spread it in an out-of-the-way area far from edible crops.
Now for the brighter side. Plants that simply finished their season, like annual flowers after frost, usually leave behind mix that is safe to revive. The same goes for plants that struggled from too much sun, drought, or a forgotten watering can.
A quick look at the roots helps. White, firm roots point to healthy mix, while brown, slimy, or knotted roots suggest trouble.
Fresh Compost And A Bag Of New Mix Bring Old Soil Back
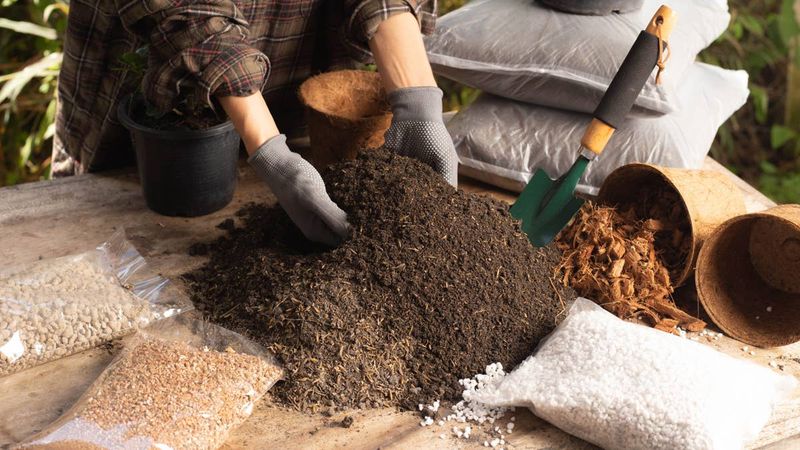
My favorite revival recipe is wonderfully simple. Equal parts old mix and fresh potting mix, plus a scoop or two of finished compost, bring most tired pots back to life.
Many gardeners and extension sources suggest a blend of about half old and half new. Fresh mix restores the light texture and steady drainage roots crave. Compost adds organic matter, a little slow nutrition, and a crowd of beneficial microbes.
Aim for roughly one part compost to every four or five parts of the blend. Too much compost can make the mix heavy and soggy in containers, so go easy. Worm castings work well too, and a little goes a long way.
Mix everything in a wheelbarrow, on a tarp, or in a big storage tub. Break up clumps with your hands and stir until the color looks even.
Fun fact: compost is not the same as potting mix. Garden soil and straight compost both pack down hard in pots, which is why containers need that airy blend.
Save the richest blends for hungry crops like peppers and tomatoes. Herbs such as rosemary and thyme prefer a leaner mix with a bit less compost.
Pull Out Those Old Root Balls Before Anything Else
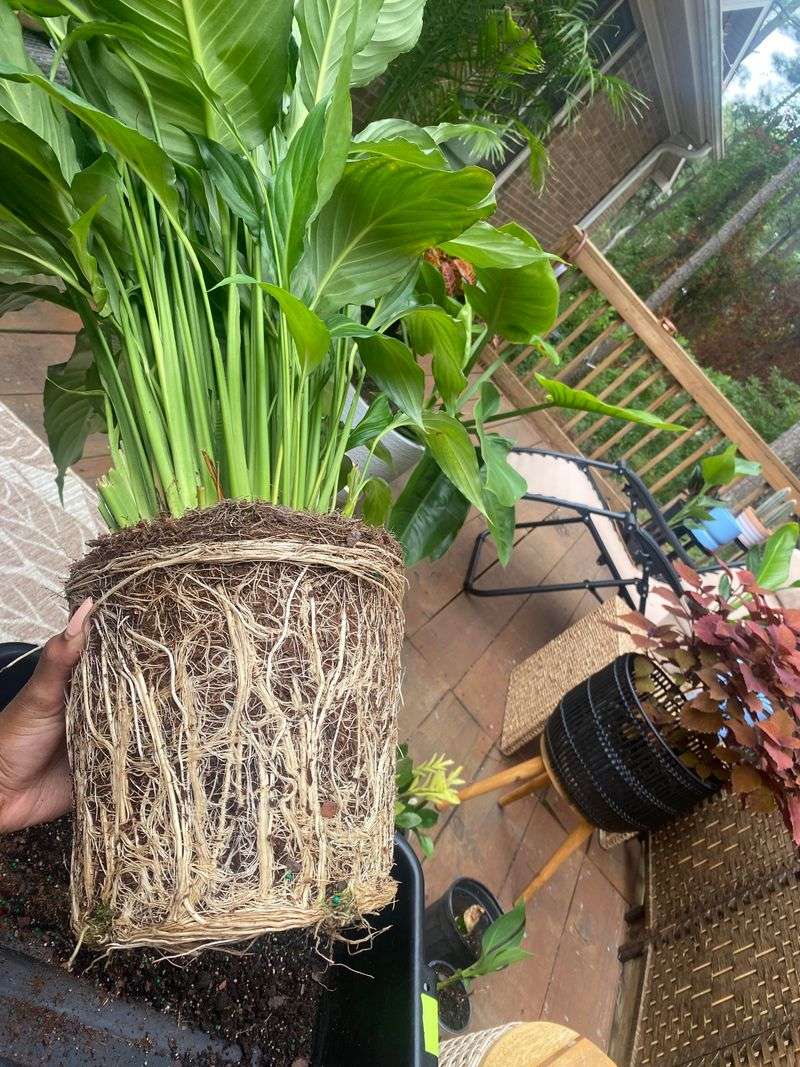
Dumping a pot onto a tarp feels a bit like opening a mystery box. Out tumbles a tight wad of roots shaped exactly like the container.
Removing that root mass is the first real step. Pull or cut away thick roots, stems, and leftover plant parts, then shake the loose mix free. Tiny fine roots can stay, since they break down and add organic matter over time.
Big woody chunks are another story. They can take up space, tie up nitrogen as they decay, and leave odd pockets where water collects.
While you work, keep an eye out for surprises. Grubs, slugs, or clusters of small white eggs mean the mix needs a closer look, or a trip to the trash pile.
Crumble any hard clods with your fingers or a hand cultivator. A cheap kitchen colander or a hardware cloth screen speeds things up when you have several pots to sort.
Spread the loosened mix out to dry a little if it feels soggy. Damp clumps are hard to blend and slow down every step that follows. A sunny afternoon and a little patience make this messy job surprisingly satisfying.
Perlite Puts The Fluff Back In Flat Potting Mix
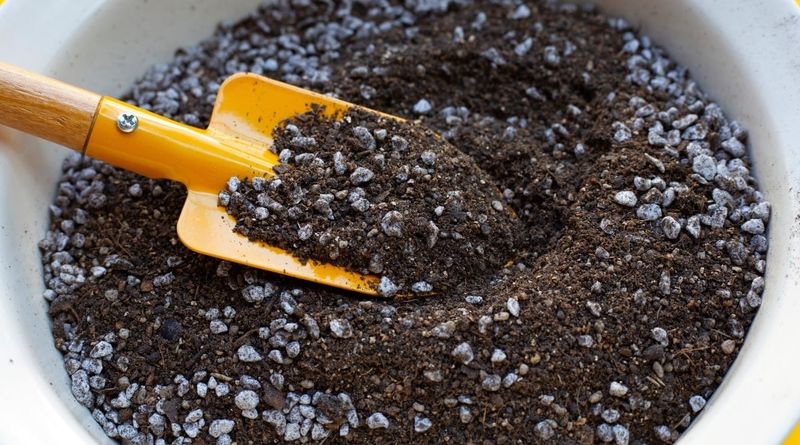
Those white pebbles in bagged mix are not foam. Perlite is volcanic glass that gets heated until it pops, a bit like popcorn, leaving a featherlight puffed stone.
Because it does not rot, perlite brings lasting air space to compacted old mix. Roots need oxygen as much as water, and a dense pot leaves them gasping. Adding a few handfuls per gallon of mix helps water drain and lets air move back in.
Vermiculite is another option, though it works a little differently. It holds onto water and nutrients, so it suits thirsty plants and seed starting better than drainage-loving herbs or succulents.
Fine pine bark is a third choice. Many nursery mixes use it because it stays chunky for a long time and resists packing down.
Fair warning: perlite dust can irritate your lungs. Lightly dampen the bag before pouring and work outdoors when you can.
How much should you add? For general containers, about one part perlite to five or six parts mix is a reasonable start. Cactus and succulent blends can handle much more, often up to half the volume, for that fast-draining feel those plants love.
Slow-Release Fertilizer Restocks The Pantry For New Plants
Old mix is a little like a fridge after a holiday weekend. The shelves look full of stuff, yet most of the good food is gone.
Container plants depend on you for nutrition because their roots cannot wander off to find more. Fresh compost helps, but it rarely supplies enough nitrogen for heavy feeders through a whole season.
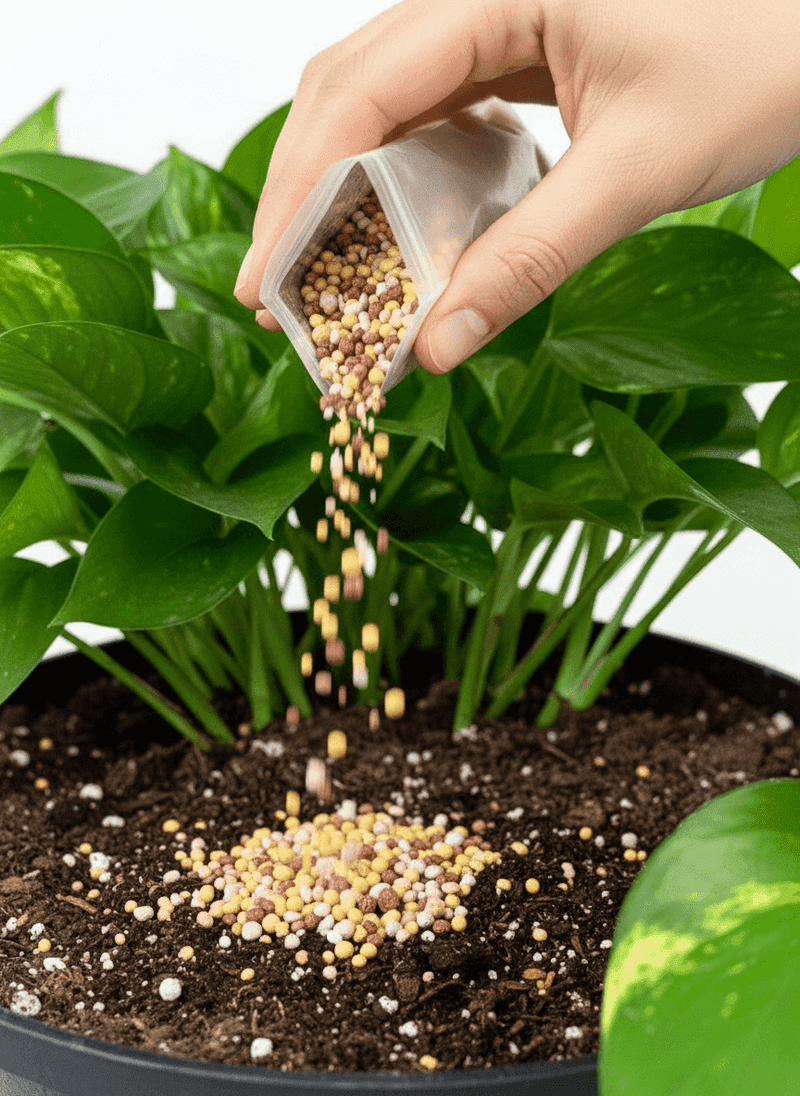
A slow-release granular fertilizer fills that gap nicely. Coated pellets let out nutrients a little at a time as you water, often over three to six months depending on the product and temperature. Mix it into the blend at planting, following label rates closely.
More is not better here. Too much fertilizer can scorch tender roots and build up salts, which shows up as a white crust on pot rims.
Organic gardeners can lean on options like kelp meal, alfalfa meal, or a balanced organic fertilizer. Bone meal adds phosphorus, though many garden soils and mixes already carry plenty.
Later in the season, a diluted liquid feed every few weeks keeps hungry plants like basil and petunias going strong. Watch the leaves for clues, since pale yellowing on older foliage often signals a nitrogen shortage.
A Black Plastic Bag Can Solarize Questionable Soil
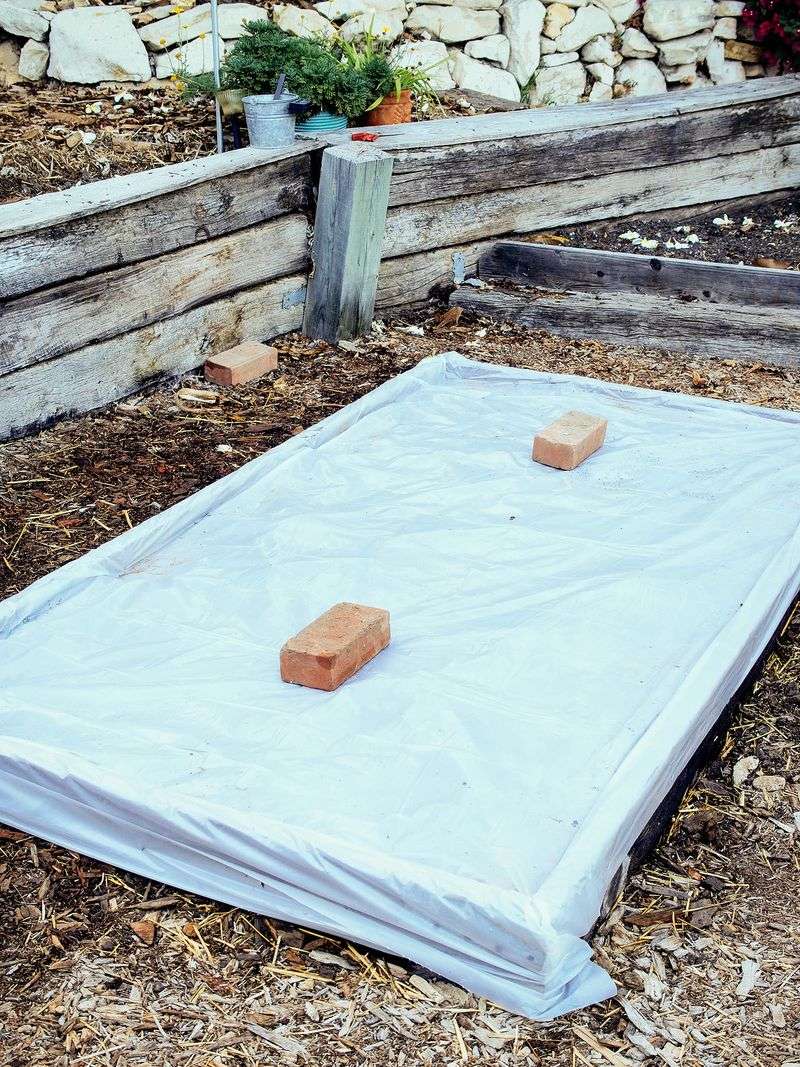
Summer sun can do more than ripen tomatoes. It can also cook some trouble out of used potting mix.
Solarization means heating moist soil inside plastic until it gets hot enough to reduce weed seeds, insects, and many disease organisms. Spread damp mix a few inches deep in clear or black plastic bags, seal them, and lay them flat on pavement in full sun.
Timing matters. This method works best during the hottest stretch of summer, roughly four to six weeks, and it struggles in cool or cloudy weather. Gardeners in the South and Southwest have the easiest time reaching useful temperatures.
Some people bake small batches in an oven at about 180 degrees Fahrenheit for 30 minutes instead. Be ready for an earthy smell in the kitchen.
Not going to lie, heat treatment has a downside. It lowers helpful microbes along with harmful ones, so mix in some compost afterward to rebuild that life.
Keep in mind that solarization is a cleanup tool, not a cure-all. Mix from plants with serious soilborne disease is still safer to replace than to treat at home.
Lidded Bins Keep Revived Potting Soil Ready For Spring
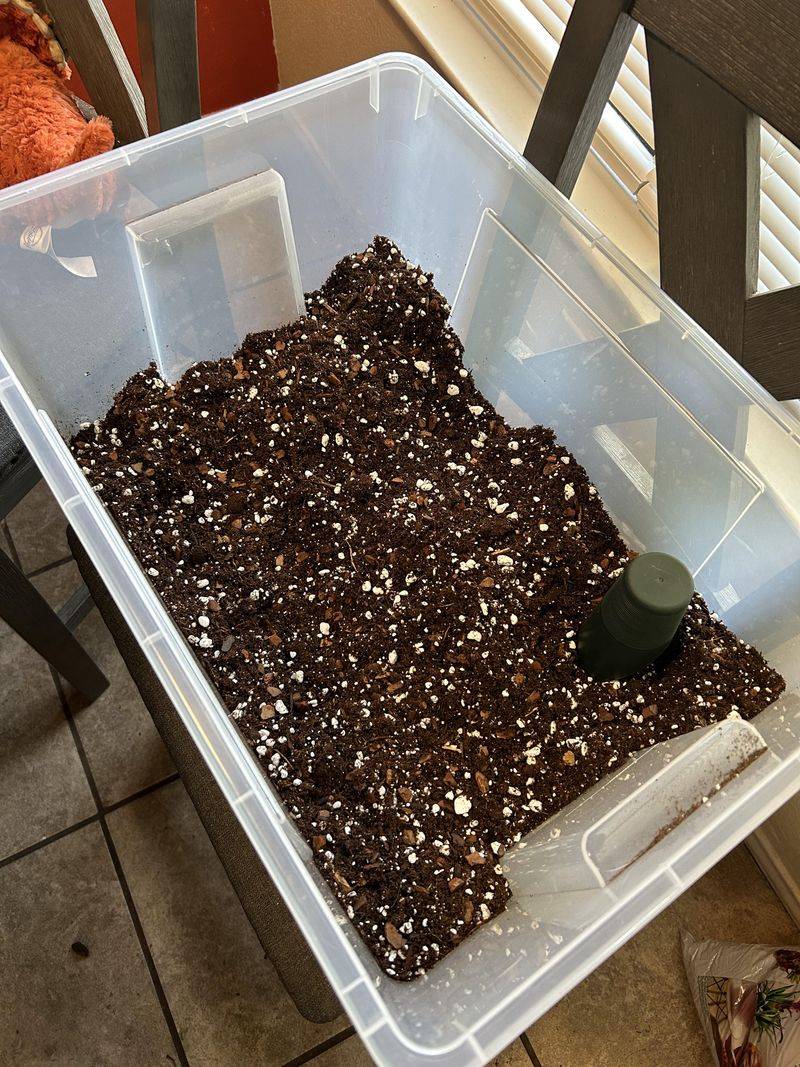
Every fall, I line up a row of big plastic bins in the garage. Come spring, that stash of revived mix saves me several trips to the garden center.
Storage keeps your hard work in good shape. Use clean bins or heavy bags with lids, so rain, weed seeds, and curious critters stay out. Let the mix dry until it feels barely damp before sealing it, since soggy mix can turn sour and moldy.
A shed, garage, or shady corner of the porch works well. Freezing temperatures will not ruin the mix, though bins kept outside should be covered and tucked away from standing water.
Label each container with what you added and what grew there before. A quick note like “half new mix, compost, perlite” helps you match blends to plants later.
Hold off on adding fertilizer until planting time if you store mix for months. Slow-release pellets can start releasing nutrients in warm, moist conditions.
Rotating crops helps too. Try not to plant tomatoes in the same refreshed mix that held tomatoes last year. Switching to flowers or herbs gives you one more layer of protection and stretches every bag a little further.