How To Harvest Leaf Mold + Its 5 Uses In Your Garden
Have you ever wondered why plants don’t require fertilizer in their natural habitats, but they do in our gardens?
They deplete the soil of nutrients, but nature takes care of her own. Deciduous trees drop their foliage in fall, creating a thick forest floor. These leaves decompose and turn into organic matter that enriches the soil.
Our gardens don’t have such a high functioning ecosystem, so we have to take care of their nutrition. However, you can still do what nature has been doing for millions of years.
You can collect the fallen leaves and turn them into humus. This process does take a long time, but you’ll be able to use leaf mold to improve soil structure and enrich it with nutrients, apply it as mulch, and support sustainable living practices.
Let’s see how to harvest and use this black gold!
Signs Leaf Mold Is Ready For Harvest
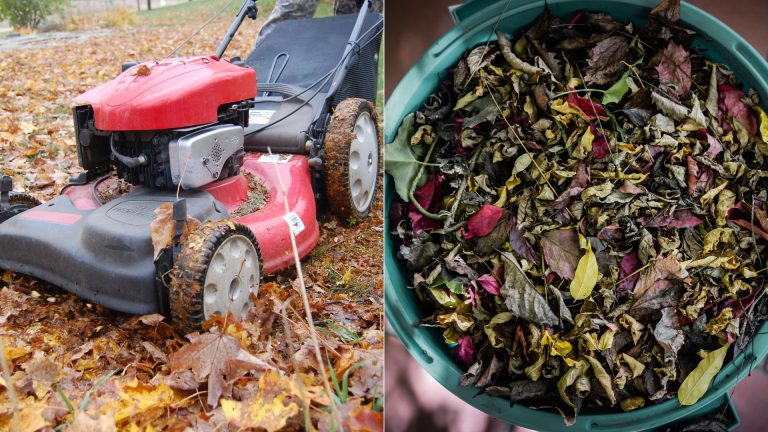
When composting leaves, you have to shred them and place them in a pile. You can enclose them with a cylindrical mesh to keep them in place.
Stack the leaves to the brim and give nature some time. Within 1-2 years, you’ll notice that the pile has seriously decreased in size.
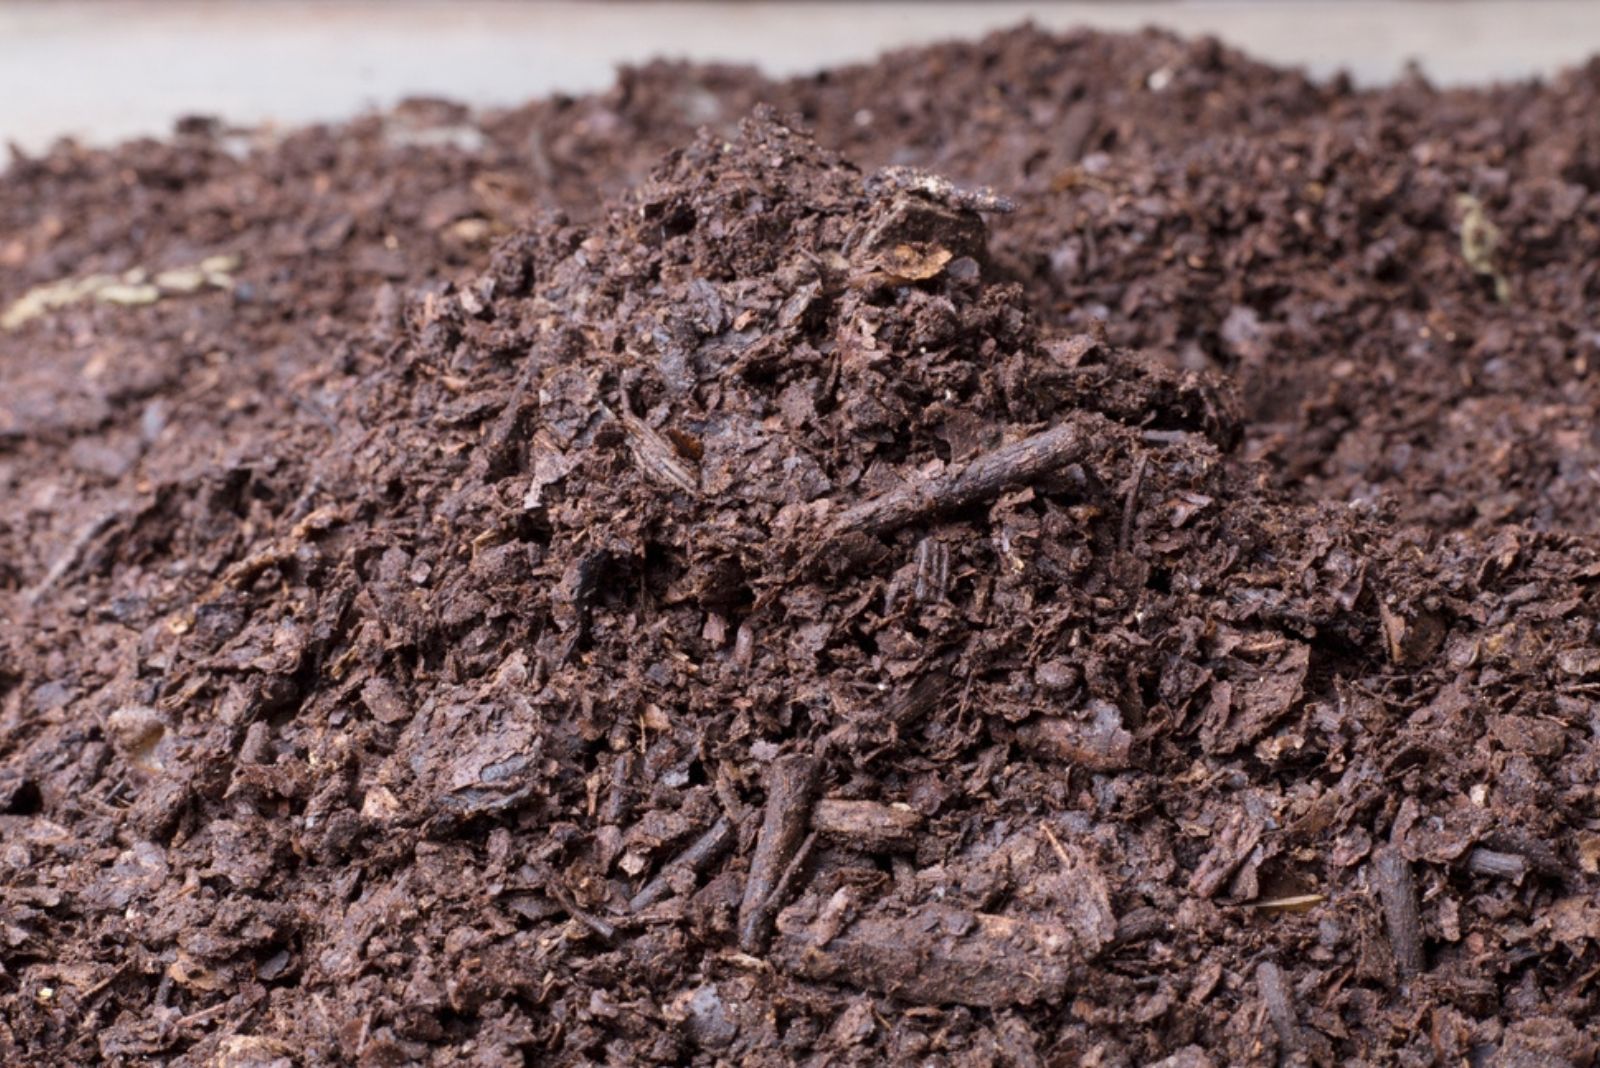
This is a sign to check the insides of the heap. Outer parts may still be intact, but the insides should look like a regular compost – dark, crumbly, and without any distinct leaf shapes.
You have to wait until the interior fully decomposes. If you can still distinguish individual leaf matter, leave the mold “cooking,” keep it moist, and it’ll be finished within a year or less.
Harvesting Leaf Mold
Outer parts of the leaf pile will decompose much slower because the sun dries them out fairly quickly. However, it is the insides that matter to us.
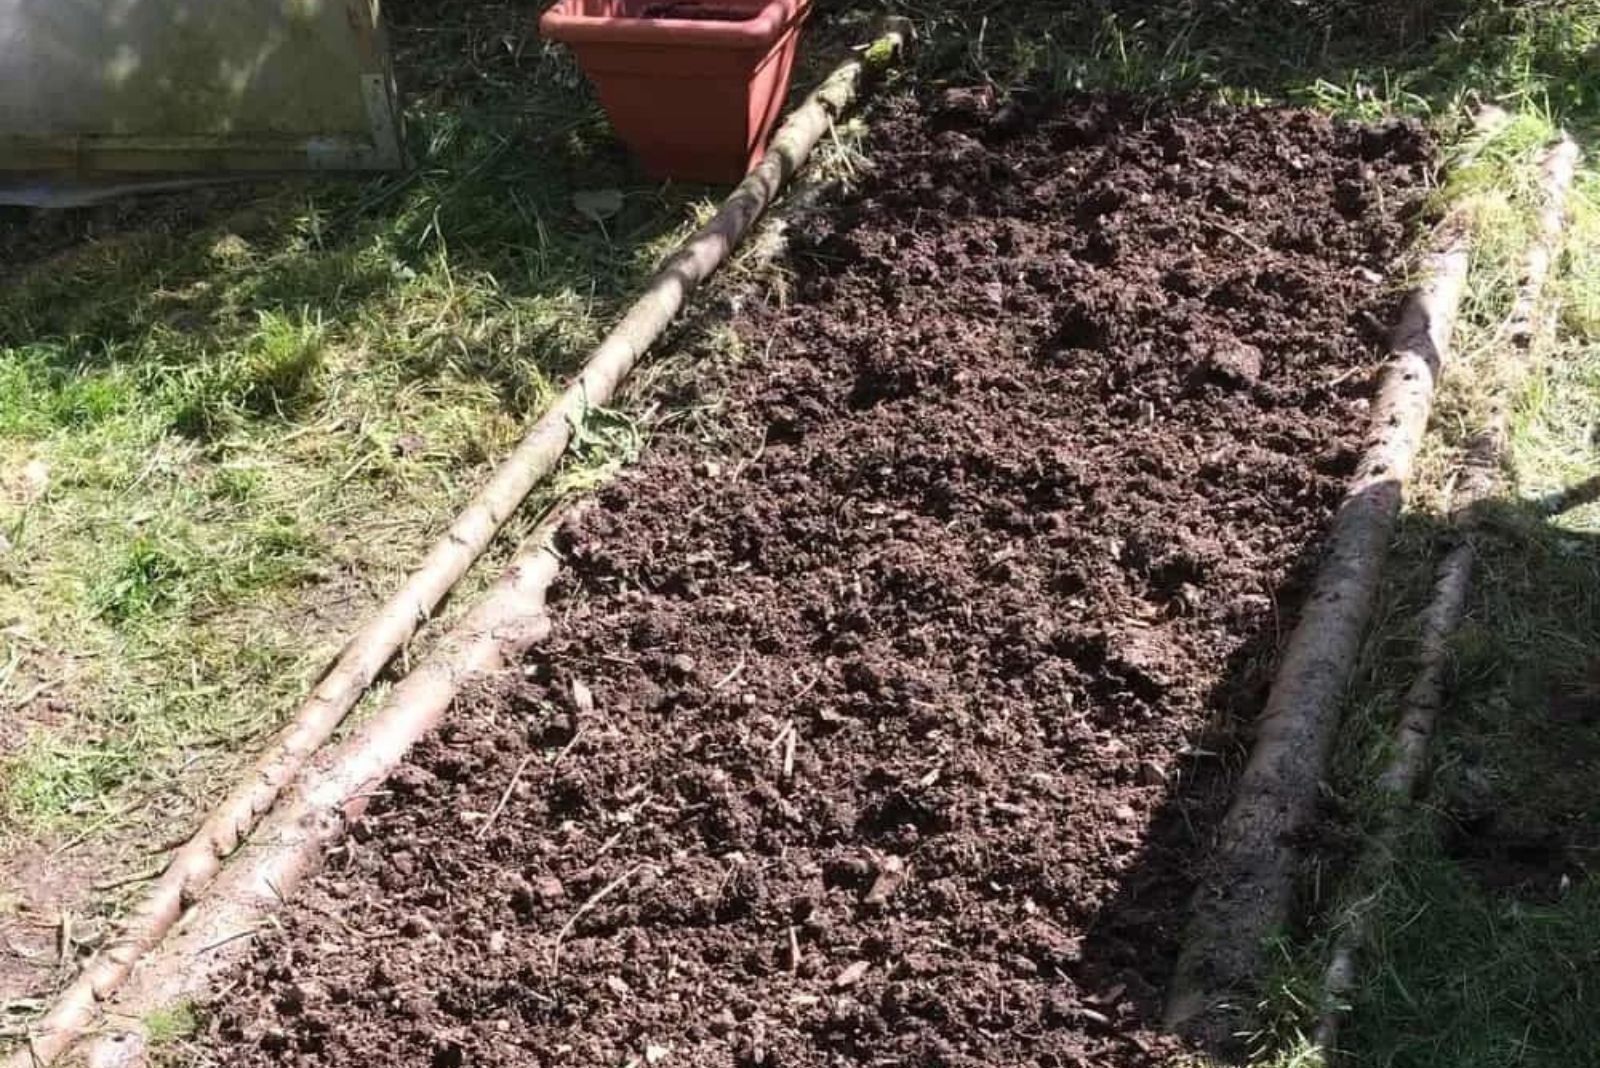
Remove the leaves that haven’t fully decomposed and set them aside. Once you get to the good stuff, you can take it out with a shovel and spread it around your garden as mulch or a soil amendment.
You can also sift it through a fine sieve and use it for potting mixes.
When sifting, you may come across earthworms, which love this type of organic matter. Release them into the soil, take them back to your leaf mold pile, or add them to your vermicompost.
5 Ways To Use It
There are many ways you can use leaf mold, from brewing it into a tea, adding it to your potting mixes, or simply spreading it around your no-till garden.
Here are some of the most common uses of this type of compost.
1. As A Soil Amendment
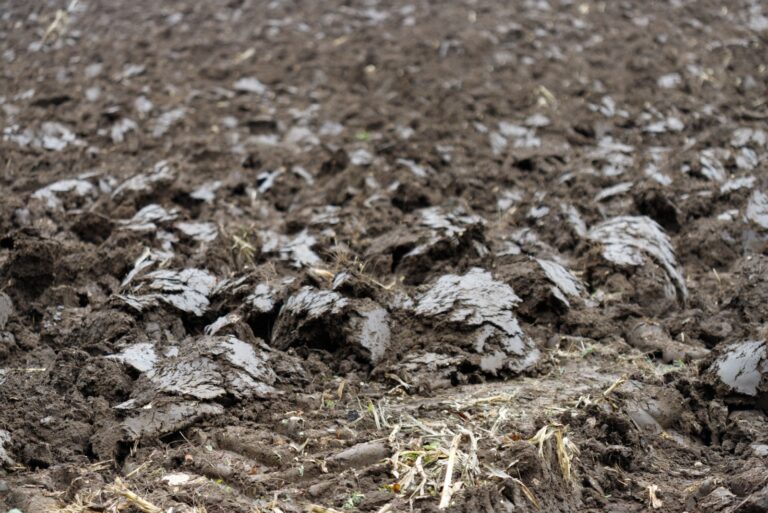
Fully broken down leaf mold is a great soil amendment. Add it any time of the year to increase the fertility of your substrate and improve its texture.
Leaf mold can help with poor drainage and increase airflow in heavy clay soils or improve moisture retention in sandy mediums.
It adds organic content back to the soil, reducing the need for synthetic fertilizers and saving you money along the way.
Leaf mold is an excellent food source for earthworms and beneficial microbes that take it further down the soil and decompose it into nutrients plants can use. That’s why you can just top your garden with it without any need for tilling.
2. As A Winter Mulch
If your leaf mold hasn’t fully decomposed yet, you can still use it. Apply it as a coarse winter mulch to enrich the soil and prepare it for next spring’s plantings.
Spread a three-inch layer of leaf mold over it, and that’s it. This method will also prevent the wind from dispersing the substrate and keep weeds in check.
Partially decomposed organic material will provide a home to many beneficial organisms that will further break it down, enriching the soil with minerals.
3. Brewing A Tea
It’s not tea for you, but your plants! And it’s an excellent way to add more nutrients to the soil since teas release minerals faster than the solid form.
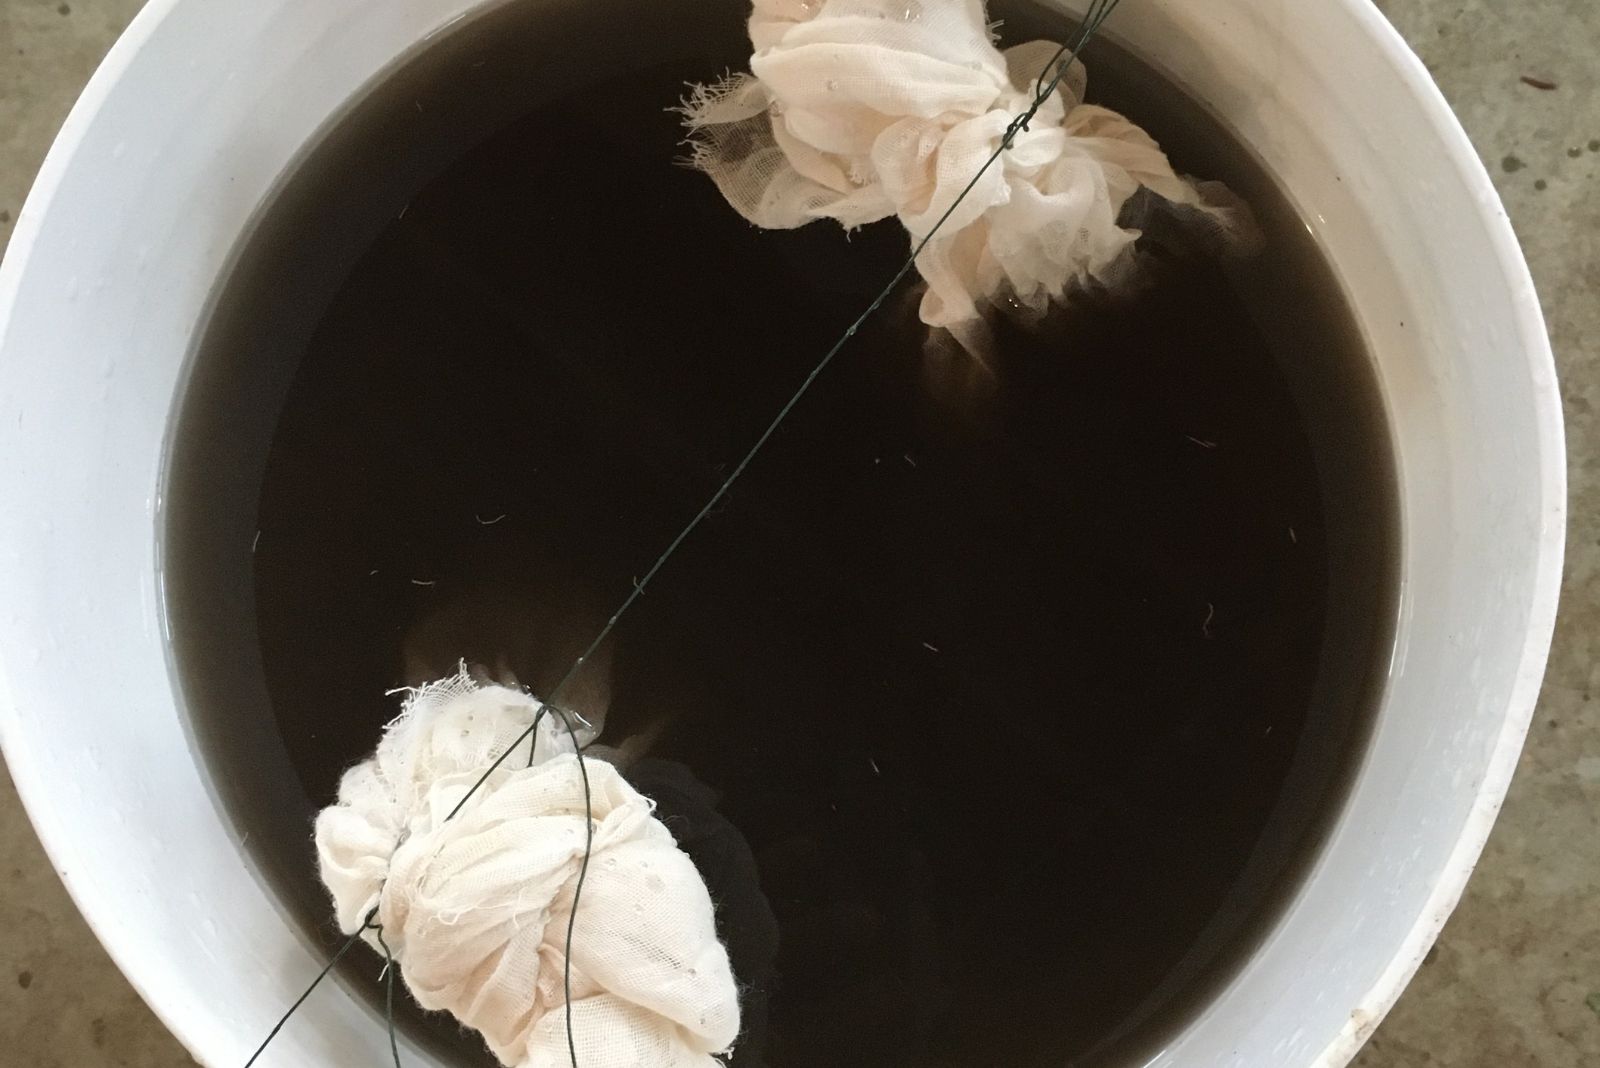
Simply place a cup of leaf mold into a cheesecloth or some similar fabric and steep it in four gallons of water.
Cover the bucket with cardboard or a wooden plank to keep animals away and still have some air circulation.
Let it steep between 2-6 days, depending on the temperature or until you notice tiny bubbles appearing on the surface. The process is faster in warmer conditions, so bear that in mind if you need the tea to be done quickly.
Once your leaf mold tea is done, dilute 2 cups of tea in 2 gallons of water and irrigate your plants with it for a fast nutrient release.
4. For Making Potting Mix
Add a bit of sifted leaf mold to your homemade potting mediums and you’ll enrich it tremendously, reducing the need for adding artificial plant food.
It is a more sustainable option than peat moss, with excellent abilities to hold in moisture while providing enough air circulation and drainage.
Use it as a substitute to peat moss and coco coir or to make a soilless growing medium composed of two parts compost and leaf mold and one part pumice.
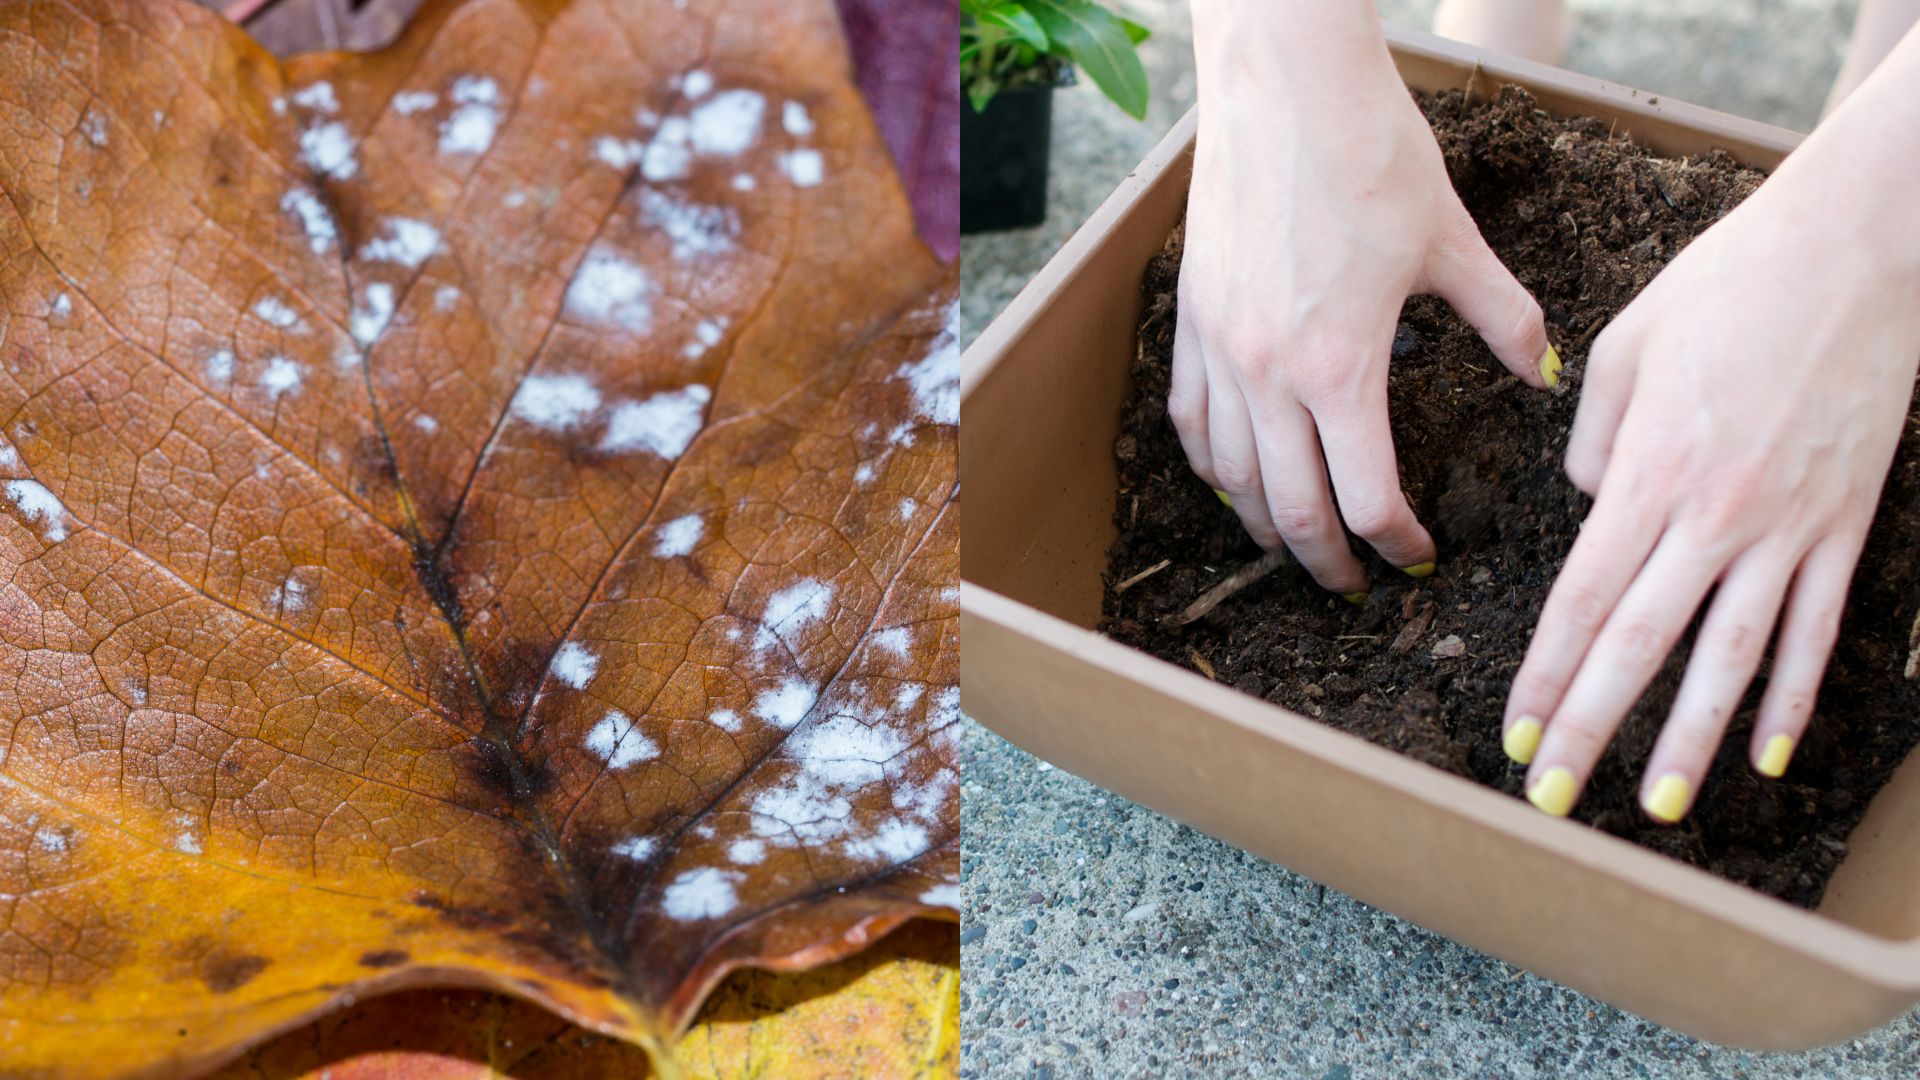
5. For Starting Seeds
If you don’t have a seed starting mix at hand or you don’t want to use peat-moss-based ones anymore, stick the seeds or cuttings in leaf mold.
It has everything your plants or seeds need – aeration, moisture retention, drainage, and enough nutrients (but not so much it’ll burn the newly emerging roots).
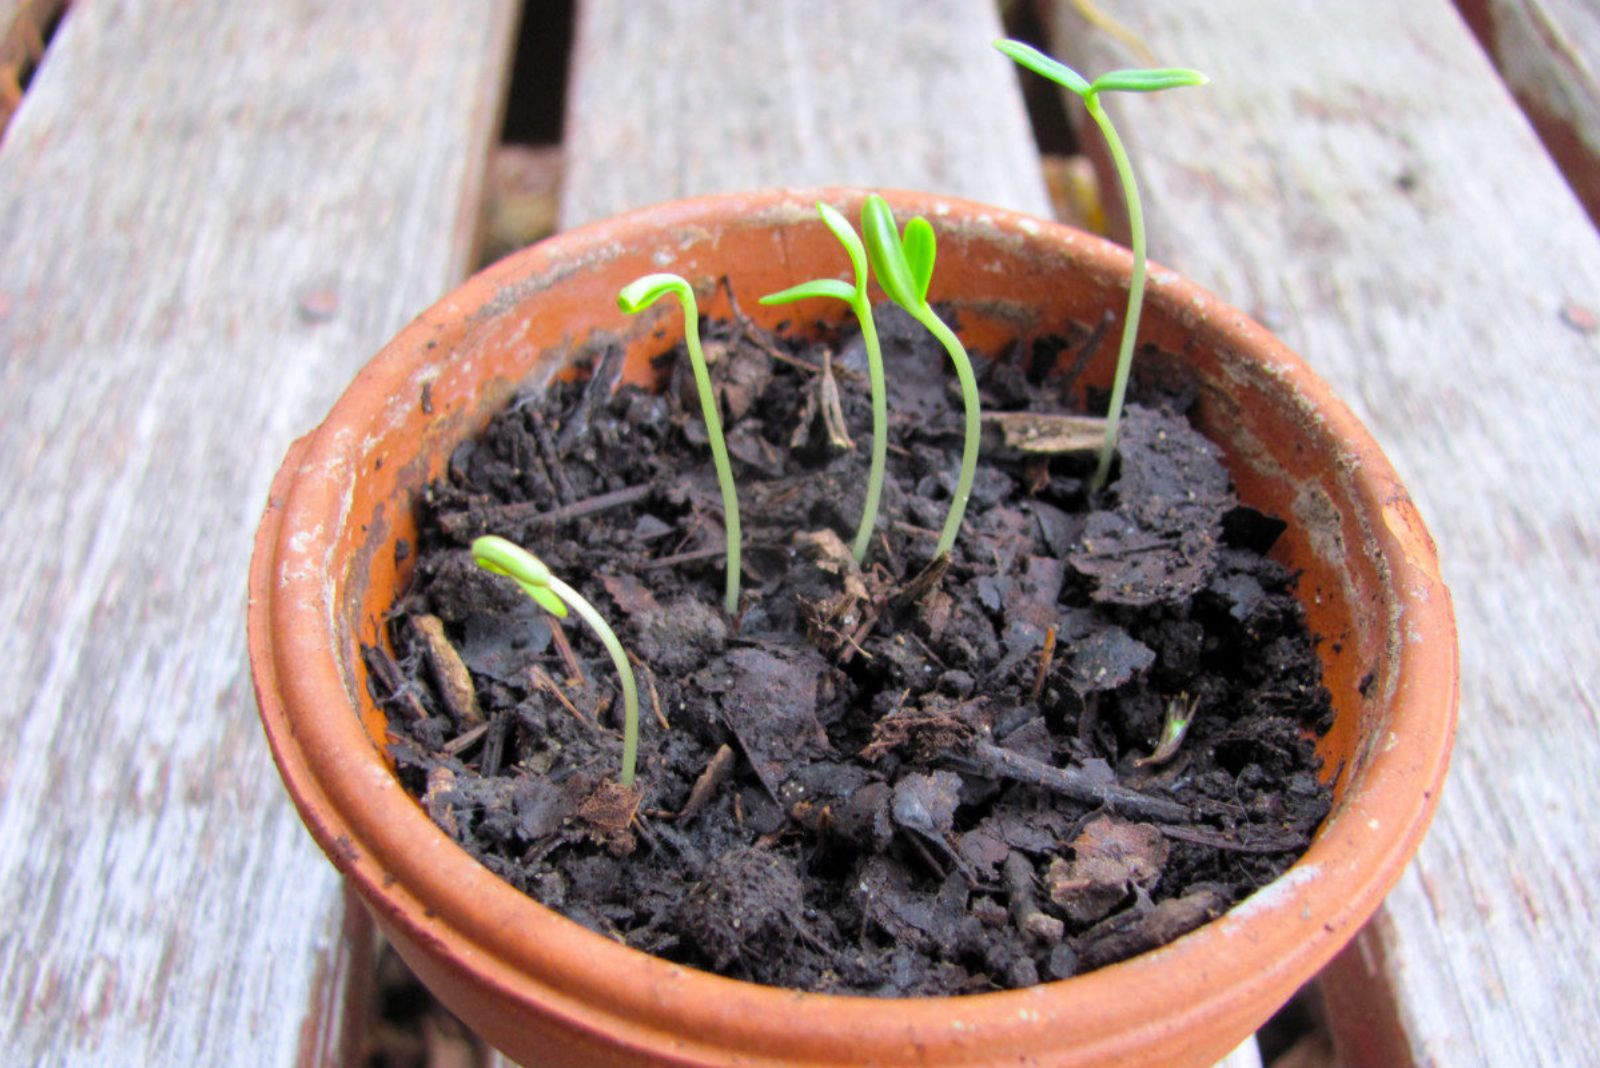
And it’s incredibly easy to use. Fill your nursery pots or trays with pre-moistened leaf mold and plant the seeds in each cell (or space the seeds a bit if using pots).
Cover the seeds with a plastic wrap or a humidity dome to trap moisture in, prevent drying, and encourage germination.
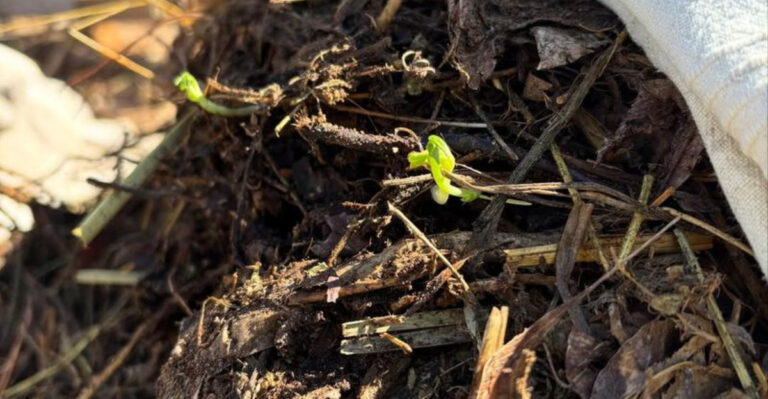
The seedlings will quickly emerge, depending on the heirloom seeds or plants you’re using.
And once the seedlings grow a bit taller and develop a couple of sets of true leaves, you can move them to a more nutritious growing medium.