Carrot Growth Stages: What Does The Carrot Plant Look Like?
Carrots are root vegetables with many excellent health benefits, which is just one of the many reasons every gardener should grow them in their vegetable gardens! Even if you live in an apartment, you can grow them in pots and containers pretty easily.
It’s kind of difficult to observe the carrot growth stages as they are root vegetables that grow beneath the soil surface. However, we can always look at the upper parts of the plant to determine where a carrot is in its life cycle.
Carrot plants are biennial, which means that they can grow in two growing seasons. Many folks don’t know this, so they only harvest carrots during one growing season as if they were annual plants.
Read on to learn more about the carrot growth stages as well as how to deal with certain difficulties that may arise.
Let’s get started!
What Are The Carrot Growth Stages?
As we mentioned earlier, carrots, also known as Dacus Carota, are biennial plants, which means that they can grow in more than one growing season. However, the growth stages are different in both seasons.
For instance, if you plant carrot seeds in the first season the stages will go as follows: planting, germination, formation of true leaves and taproot, vegetative growth, and harvesting.
Before the second season starts, your plant will enter dormancy. As the spring comes, your sleepy carrots will wake up and continue growing!
The carrot growth stages for the second season are flowering, development of an umbel, and seed production.
I personally grow them as annual plants, although sometimes you will find perfect carrots and the only way to get the seeds is by waiting for the plant to produce them.
Now, let’s go through the stages one by one to see how carrots look throughout their life cycle.
1. Planting Of Carrots
Before you plant your carrot seeds, you must first find the location in your garden that is most optimal for growing carrots. They prefer sunny locations and sandy, well-draining soil. If you only have clay soil in your garden, I would suggest you plant the seeds in raised beds with proper soil.
Bear in mind that carrots are cool-season vegetables, which means that they like growing in lower temperatures than other fruits and vegetables. There are two ways to grow them: in early spring for a summer harvest, or in late summer for a fall harvest.
If you are growing them in a container, make sure that you buy appropriate potting soil, spread the seeds over the top, and then cover them again with the same soil. Water them regularly and put the container somewhere it can get enough sunlight throughout the day.
How To Plant Carrots
1. Prepare the soil by making sure that there are no clumps or rocks for at least 10 inches down, otherwise they will affect carrot root growth. Make sure that the soil has good drainage and isn’t too compact, as heavy soils tend to slow down growth.
2. Sow seeds directly into the soil about a ¼ of an inch deep and separated by about 2 or 3. The rows should be separated by at least 1 foot.
3. Water them shallow to keep the soil moist. This will ensure the seeds are able to germinate.
4. If you planted them early in the spring (about 2 or 3 weeks before the last frost), then you should use row covers to keep the soil temperature warm and optimal for germination!
2. Germination Process
Germination will usually occur 10 to 12 days after planting, however this might vary because germination depends on soil temperature and moisture. It can take a few weeks to germinate in colder regions.
At this stage, the primary root, or “radicle”, will form. The radicle will help the plant anchor into the ground and absorb the moisture and nutrients necessary for growth and development.
Quickly after this radicle grows, a little sprout will come out of the soil and grow towards the sunlight. It is recommended to remove any weeds growing around the sprout, but use your hands as it’s too early to apply mulch.
3. Formation Of True Leaves And Taproot
Before formation, your baby carrot plant relies on nutrients that have been stored for quite some time, and they only decrease, which is why they grow slowly.
The taproot will be formed first, which is the central root, and the secondary roots will also develop. We eat the taproots as they are going to develop into actual carrots. You can think of taproots as miniature carrots!
After that, the true leaves will form and the plants will finally be able to perform photosynthesis and provide food for themselves. I am always happy to see leaves forming because that means my baby carrot is growing!
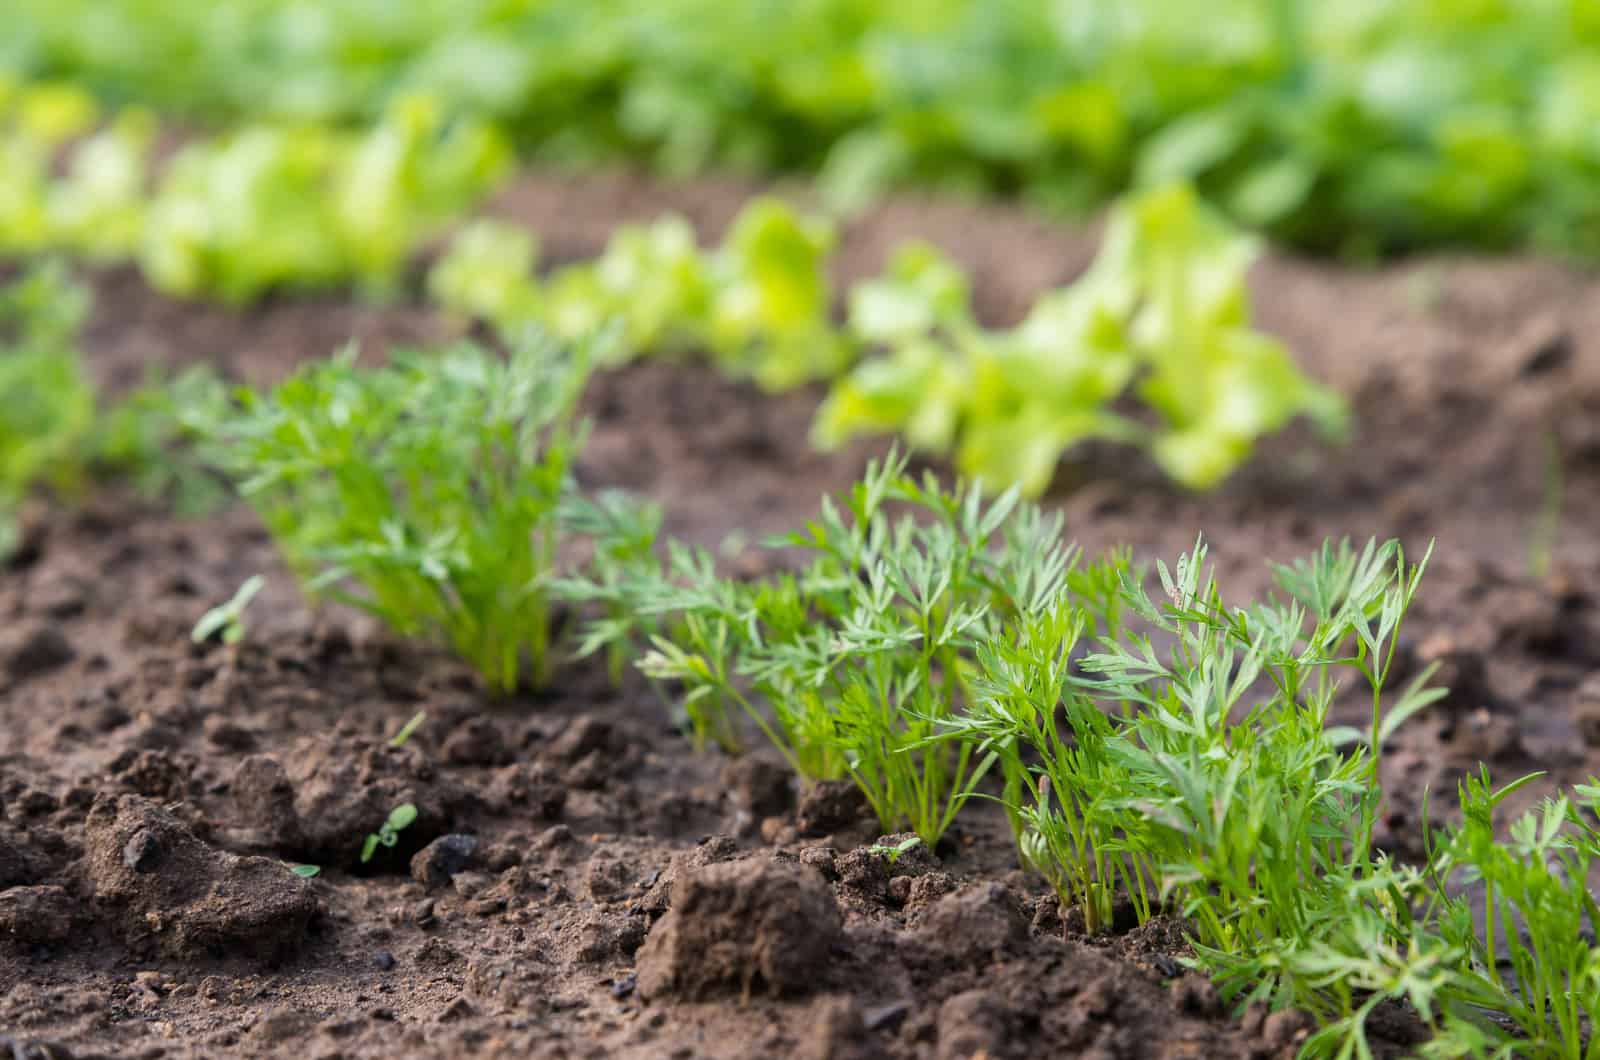
4. Vegetative Growth
By vegetative growth, I mean the growth of the entire plant, including taproot expansion, new leaves and stem formation, and tubular extension.
This stage will be much faster because the leaves have already formed and the plant has all the necessary nutrients available for further development.
Once your carrot plant reaches about 3 inches, you can add mulch around the base to retain soil moisture and prevent weed growth.
Taproot Expansion
The taproot will continue to absorb more nutrients and grow even longer and wider! It is important to prepare the soil before planting because rocks and soil clumps can affect taproot growth at this stage.
For instance, if your taproot comes across a rock while growing, it will swirl around it and continue to grow, but you will end up with a malformed taproot. It will still be edible in this case, but it certainly won’t win any prizes for its looks!
You should start fertilizing your carrots at this stage, and I would recommend you use fertilizers with high levels of potassium and phosphorus. This is because they promote root growth, so you should also avoid using nitrogen heavy fertilizers as they solely focus on foliage development.
New Leaf Formation
As new leaves start forming, they will be able to perform photosynthesis at a much faster pace, so the plant will grow rapidly. This all happens thanks to the phytohormones that are working constantly to develop new true leaves.
At this point, your plant should have at least 5 leaves that are all absorbing sunlight and producing glucose.
Tubular Extension
Once you see the carrot tops are nice and established, they will be able to produce enough glucose to store in the tuber, which leads to tubular extension.
Growers should water these veggies regularly to boost carrot growing and prevent them from cracking. Soon, you will be able to see the shoulders of your young carrots emerging from the soil.
5. Harvesting Time

When you can see the shoulders, or the upper part of your root crops, then it’s usually time for harvesting. Home gardeners tend to harvest carrots as annual plants, however you can leave them overwinter and they will flower and produce seeds the next year.
The best way to harvest carrots is by loosening the soil, and you can either use a spade or a gardening knife or fork. You should do this very carefully to avoid damaging your carrots!
I would also suggest you wait for rain because it will soften the soil and make the whole harvesting process a lot easier. Slowly pull the carrot tops and your plant will come out of the soil.
How long does it take for carrots to grow?
How long it takes for carrots to be ready for harvesting depends on the type. They usually take about 55 to 65 days until they are ready to be harvested, although you can sometimes pick a few early and eat them as baby carrots.
For instance, types like Nantes, Chantenay, and Imperator are slower compared to others, and take about 70 days to mature. However, the Danvers carrot can take about 75 days to be ready for harvesting!
How to store carrots
If you are looking for long-term storage, it would be best to put them in a sealed container with mulch, leaves, or moist sand. These can help keep your carrots fresh for a couple of months! Put the container in a cold and dry place like a basement or cellar.
For short-term storage, you should put them in a refrigerator to double their shelf life. You can also wrap wet paper towels around them and leave them in a colder section of the fridge.
6. The Dormancy Stage
When winter comes, carrots that weren’t harvested will enter a dormancy stage and stop growing. The carrot tops will disappear from the surface, but don’t worry, they’re still there!
This stage is necessary for seed production and can be disrupted if the weather gets warmer. In this case, the process of “bolting” won’t occur, which prevents the carrot plant from blooming and producing seeds.
If the winter season doesn’t have any warm periods, then everything should be fine and the plants will continue growing a few weeks before the last frost.
7. Flowering
Now we are entering season 2 of the carrot growth stages, which is flowering. As the soil temperature rises, a process similar to germination occurs, and as the root system has already been established, your plant will mainly focus on sending its shoots to the surface to catch the sunlight and produce glucose.
The shoots will eventually turn into a flowering stem. With the temperatures of both air and soil rising, umbels will form, which are umbrella-like structures that carry the seeds.
8. Seed Production
The last stage of a carrot’s life cycle is seed production. At this point, your plant will transfer all of its resources to making seeds and the tubers in the soil will become woody and stringy.
After this, your plant has reached full maturity and will enter senescence, which eventually leads to death.
At last, you can also check out this video on how to grow carrots from seed to harvest:
Common Problems During Carrot Growth Stages

Growing carrots is pretty easy, however you might run into certain issues during the different growth stages.
Problems usually include cracked roots, failed germination, insects, absence of the main root, malformed roots, and stunted growth.
Let’s go through these issues and see how to deal with them.
1. Cracked Roots
Though this issue is not a deal breaker as you will still be able to eat cracked carrots, it makes them more susceptible to pests and diseases.
The reason this happens is inadequate watering. They’re either watered so much that the soil becomes soggy, or you aren’t watering them enough so the soil gets dry and compact.
You should water them at least once a week, although this depends on the temperature and humidity levels in your area. I would suggest you check if the top few inches of the soil have dried out, and water them again if so.
2. Failed Germination
If more than a few weeks pass from the day you planted the carrot seed, and no sprouts have appeared on the surface, then there must have been some kind of issue with the germination process.
It might be a lack of moisture or overly compact soil.
This makes it difficult for the little shoots to move in heavy soil, which is why we recommended that you should loosen up the soil before planting earlier in the article. You can also apply compost to soften the soil.
Growers tend to grow carrots and radishes together because they grow fast, and as they grow they will make the soil soft for taproot development. Radishes are harvested before carrots, so they won’t interfere with their growth.
3. Insect Invasion
Carrot flies lay eggs that form root-eating maggots, which snack on your root crops and ruin them.
To avoid this, you can plant your carrot seeds in raised beds to prevent the maggots from reaching your plant. You can also try companion planting to drive these annoying pests away from your plant.
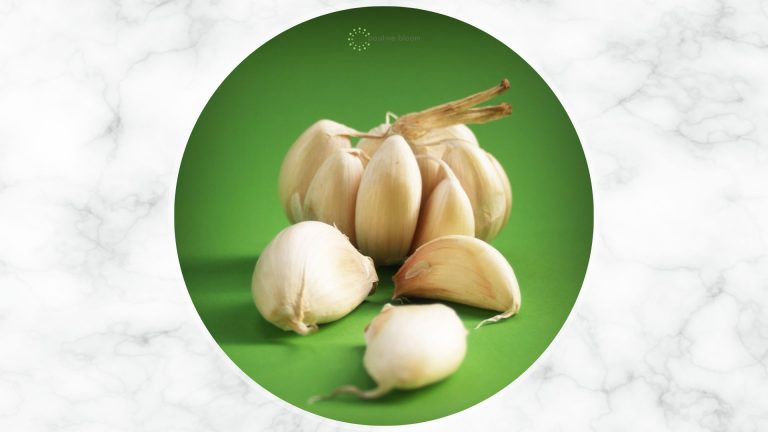
For instance, onions are the perfect companion plants for carrots. Onion growing stages are somewhat similar to those of carrots, and they are both biennial plants grown mainly for their roots!
You can also use insecticides to kill them, however this might affect the size and taste of your crops.
4. Main Root Not Formed
Instead of one main root that will develop into carrots, you end up with numerous secondary roots that are unfortunately inedible and unable to form into carrots.
The reason your plant mainly focuses on forming secondary roots is excess nitrogen in the soil. These roots will continue to grow and develop, and at the same time absorb the nitrogen used for foliage production.
To avoid this, use low nitrogen fertilizer and switch to a different one with phosphorus and potassium, which solely focuses on producing roots.
5. Malformed Roots
You won’t be aware of this issue until you harvest your root crops. They can be twisted or forked and it happens due to improper soil conditions.
The soil might not be loose enough or you may have failed to remove all the rocks, stones, and soil clumps from where you planted the carrots.
Another reason this might happen is the application of compost or manure before the roots have been established, which is too early.
6. Leggy Seedlings
If you notice that the seedlings are leggy, it means that the roots are going to be spindly. Spindly roots are mainly formed because of low temperatures and overcrowded planting.
To avoid this, remove weeds using your hands during the first few carrot growth stages, and then apply mulch to keep the optimal soil temperature.
7. Green Tops
It isn’t unlikely that the shoulders of your carrots will turn green as they are eventually going to be above the soil surface and exposed to sunlight. This reflects chlorophyll and turns the carrots green.
These parts are safe to eat, though they can have a somewhat bitter taste compared to regular orange carrots.
To avoid this, you can add mulch or an extra layer of soil to cover them up and protect them from the sun.
8. Green Cores
Sometimes your carrots might have green cores, and this happens due to improper or constantly changing conditions.
For instance, if your plant has been left dry for a long period and suddenly gets wet, it won’t be able to adapt quickly to its new environment.
The same goes for fertilizing low-quality soil.
9. Root Knot Nematodes
If your root crops have knots all over them, it means that you probably have nematodes in your soil.
To get rid of them, you can use neem oil or fungicide, and you should thin the seedlings earlier to avoid these pests.
10. White Mold On The Soil
Southern blight is a common disease caused by a fungus called Sclerotium rolfsii. This disease can lead to root rot, which is kind of the worst thing that can happen to these root vegetables as they are grown for their nutritious roots.
Fluffy white mold will appear on the soil in this case, which is an indicator that your carrots have been infected with Southern blight.
In this case, you can use fungicides or nitrogen-rich fertilizers to get rid of it. You should definitely make sure you have planted them in proper soil that is fungus-free!
11. Stunted Growth
Temperature fluctuations can affect the growth of your carrot plant and stop the growth and development of the most important part of your plants: the roots.
This includes temperatures over 80 degrees Fahrenheit and lower than 50 degrees Fahrenheit. Sometimes overcrowding can also result in stunted growth as the plants have to compete for the nutrients and water in the soil.
To Sum Up

Carrots are essential root vegetables for every garden, and they have numerous health benefits because of the high amount of carotene present in them.
Not only will carrots improve your eyesight, but they can also lower bad cholesterol levels, improve gut health to promote weight loss, and reduce the risk of developing cancer!
Growing carrots doesn’t take too much time and energy, you just have to properly prepare the soil before planting and give them enough water.
The plant will act differently during the carrot growth stages, and you can observe them to see the growth stage your plant is currently at and if everything is running smoothly.
Don’t overcrowd your plants as it may lead to stunted growth. Plant the seeds in raised beds to avoid the numerous fungi and insects that can infect your plant and destroy your carrots!
Until next time!
Like this post? Share or pin it for later!