15 Clever Ways To Keep Containers From Drying Out Too Fast (And 2 That Just Don’t Work)
Finding my container plants wilted beyond recognition after just a day away was my gardening wake-up call. Something had to change if I wanted thriving potted plants without being chained to a watering can.
Last summer, I tested dozens of methods to keep my containers from drying out so quickly, discovering some genuinely effective tricks that have cut my watering time in half. That simple layer of mulch I finally tried made more difference than all the fancy gadgets I’d bought previously.
Whether you’re growing flowers, herbs, or vegetables in containers, keeping moisture where it belongs—in the soil—is the secret to success. Here are solutions that actually work (and a couple that definitely don’t).
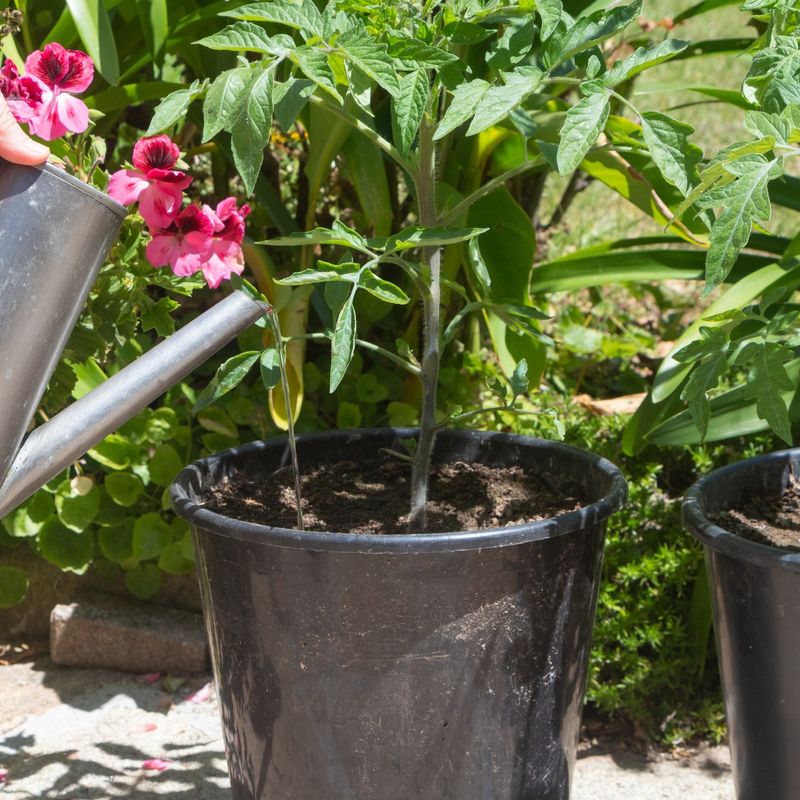
1. Add Mulch On Top

A 2-inch layer of mulch works like a protective blanket over your soil. It blocks the sun from directly hitting the soil surface, dramatically reducing evaporation rates.
Pine bark, straw, or even shredded leaves create this crucial barrier. When I added mulch to my tomato containers, I immediately noticed they stayed moist nearly twice as long.
For small pots, try coconut coir or fine wood chips that won’t overwhelm the plant. Just keep the mulch from touching stems directly to prevent rot issues.
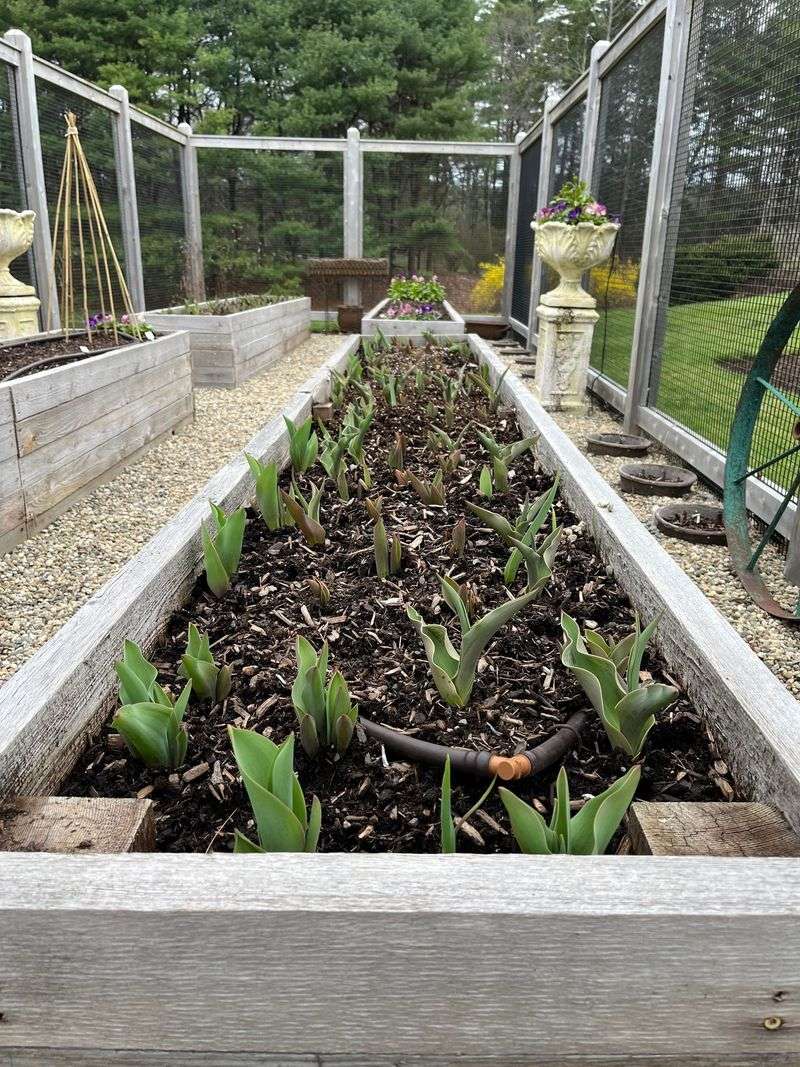
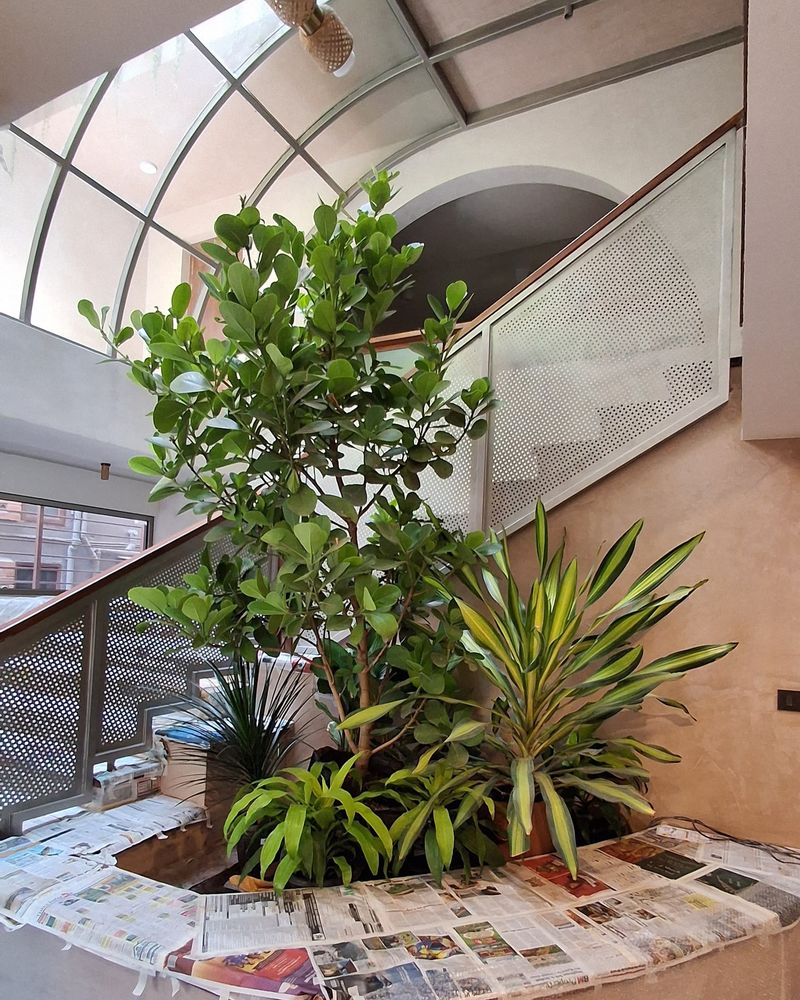
2. Group Containers Together
Plants naturally create their own microclimate when clustered. By arranging pots in groups rather than spreading them out, you’ll create a more humid zone where they protect each other from drying winds and intense sun.
My herb containers used to dry out daily until I clustered them on the patio. Now the collective humidity they generate means I water every 2-3 days instead.
This approach works especially well for shade-loving plants that can share their moisture needs. Just make sure air can still circulate between pots to prevent fungal issues.
3. Use Self-Watering Containers
Self-watering pots have changed my container gardening game completely. These clever containers feature a water reservoir at the bottom that slowly releases moisture to the soil through a wicking system.
Plants take up exactly what they need when they need it. My basil used to wilt dramatically between waterings, but in a self-watering pot, it’s been thriving for weeks with minimal attention.
You can buy ready-made versions or DIY one using two nested containers with a wick made from rope or fabric. The investment pays off quickly in plant health and reduced watering frequency.
4. Apply Polymer Moisture Crystals
These tiny crystals expand dramatically when wet, storing water and slowly releasing it back to plant roots as the soil dries. I was skeptical until mixing a small amount into my hanging basket soil.
The difference was remarkable – my petunias stayed hydrated through hot afternoons when they previously wilted by lunchtime. Use sparingly though – about half a teaspoon per gallon of potting mix is plenty.
Too many crystals can cause soil to expand out of pots when watered. They’re especially effective for hanging baskets and window boxes that typically dry out fastest.
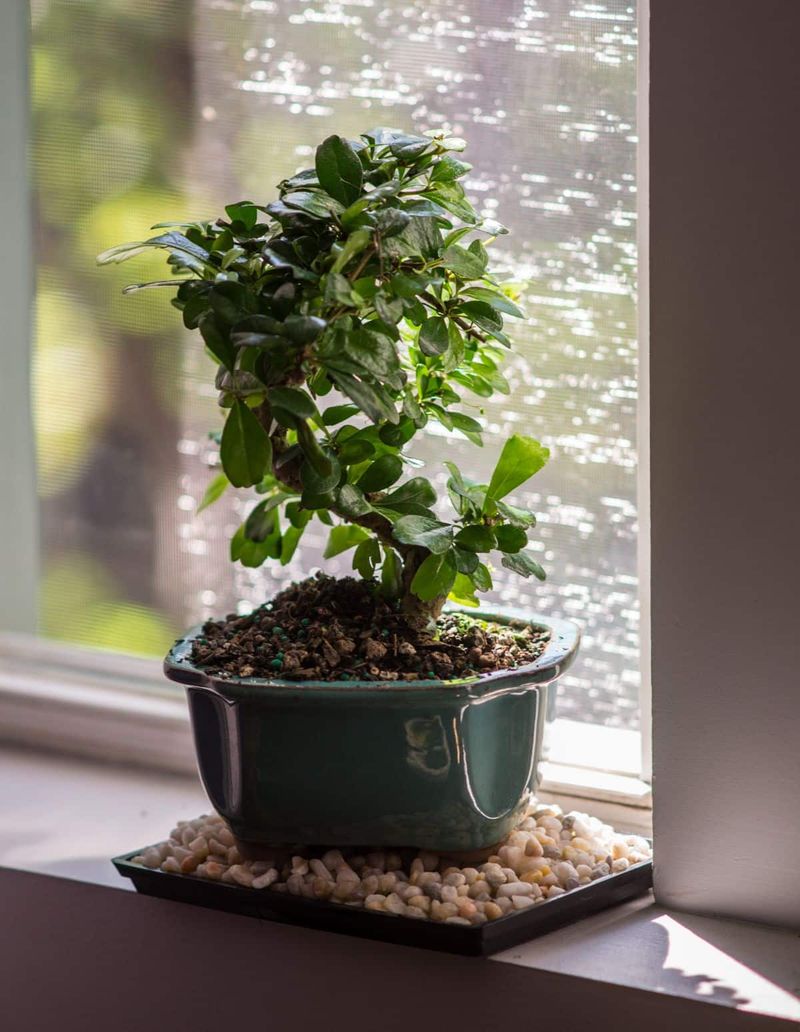
5. Switch To Glazed Or Plastic Pots
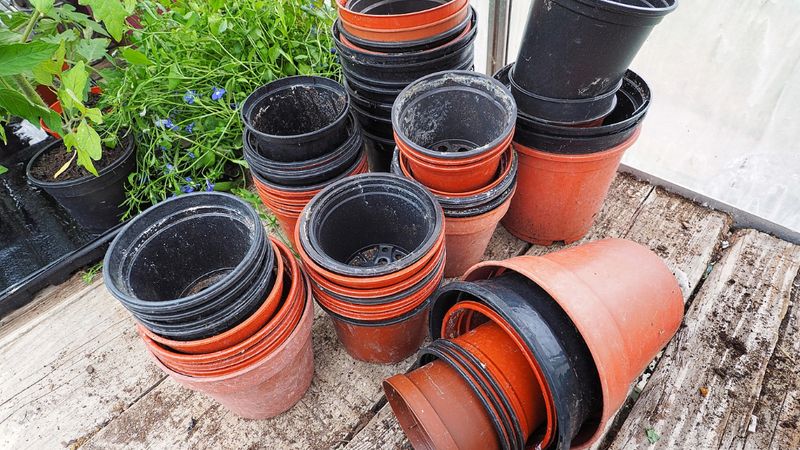
Terra cotta might look classic, but those porous clay walls are literally wicking moisture away from your plants. When I switched my constantly-thirsty ferns to glazed ceramic pots, the difference was immediate.
Plastic, glazed ceramic, or resin containers trap moisture inside where plants can use it. The soil in my glazed pots stays damp nearly twice as long as identical plants in unglazed containers.
If you love the look of terra cotta, try this compromise: use plastic pots inside decorative terra cotta ones. You’ll get the moisture retention benefits while keeping the aesthetic you prefer.
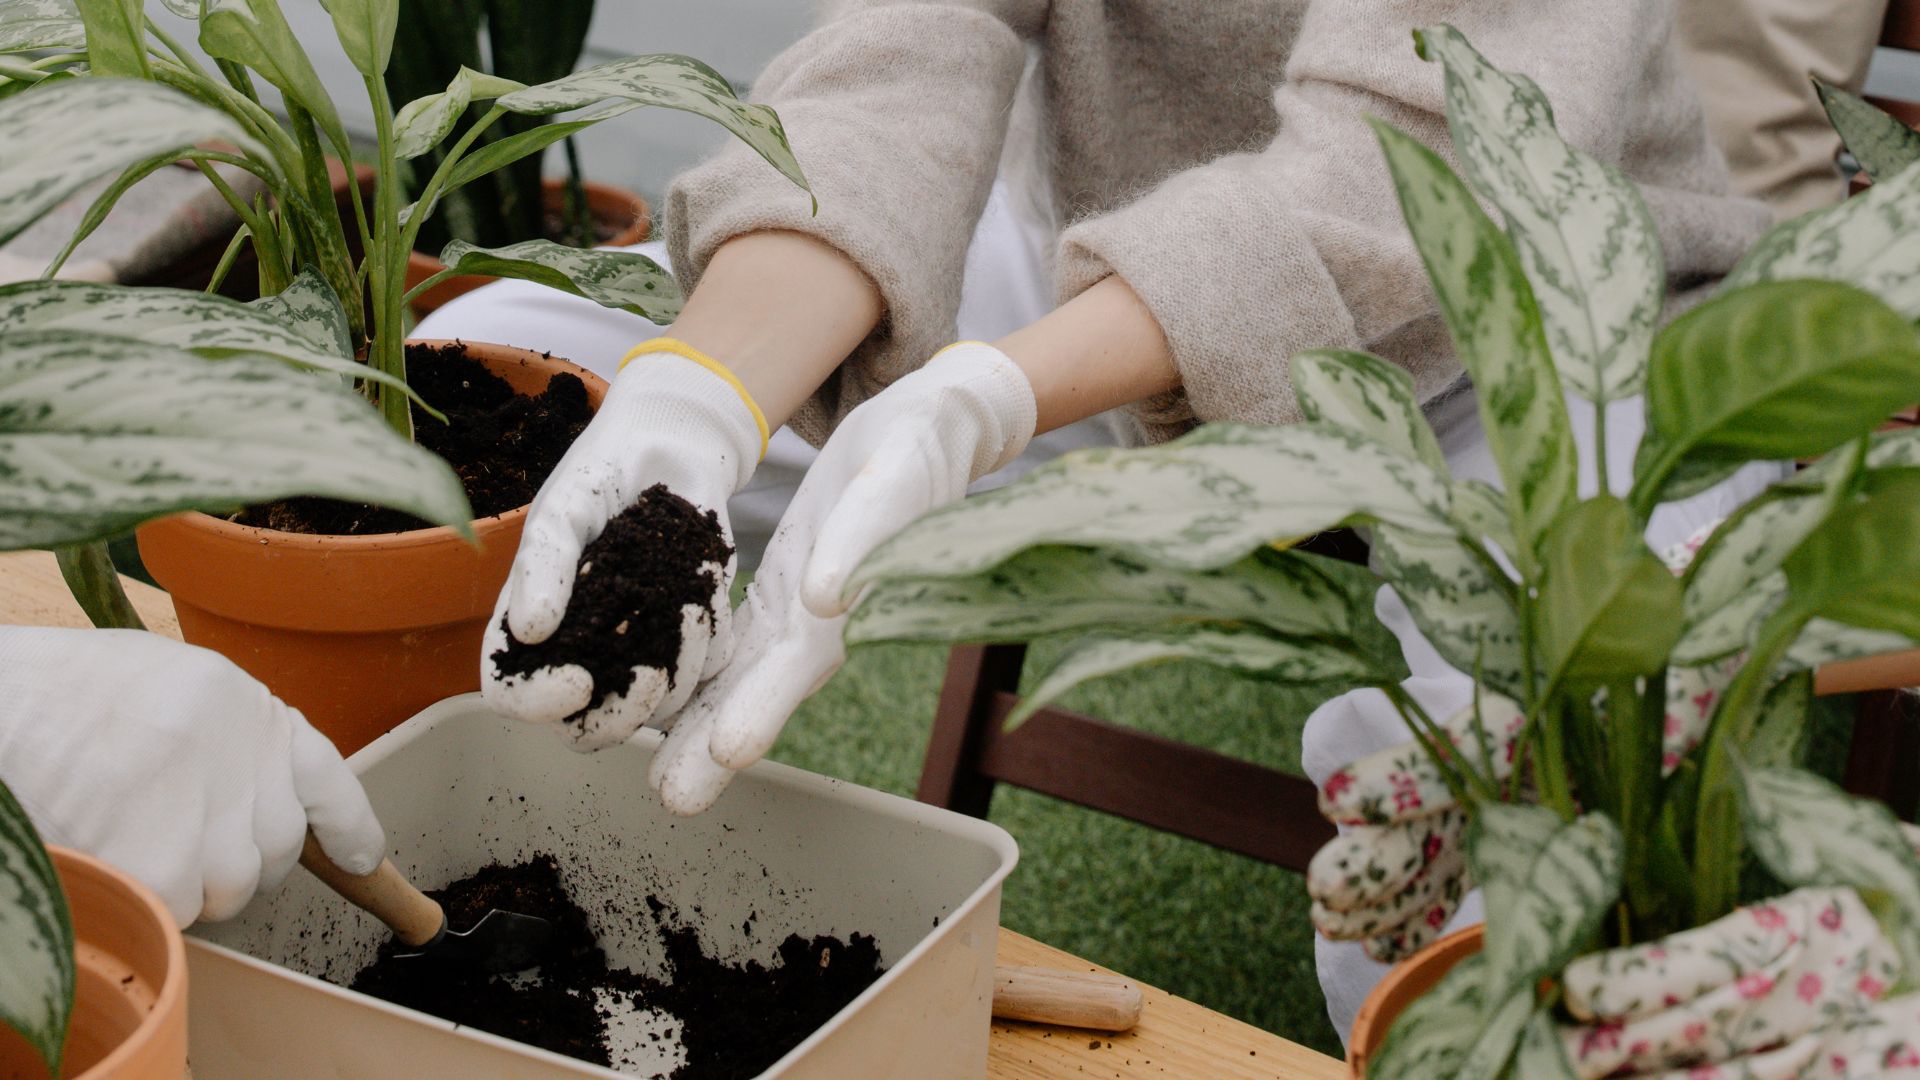
6. Add Organic Matter To Soil
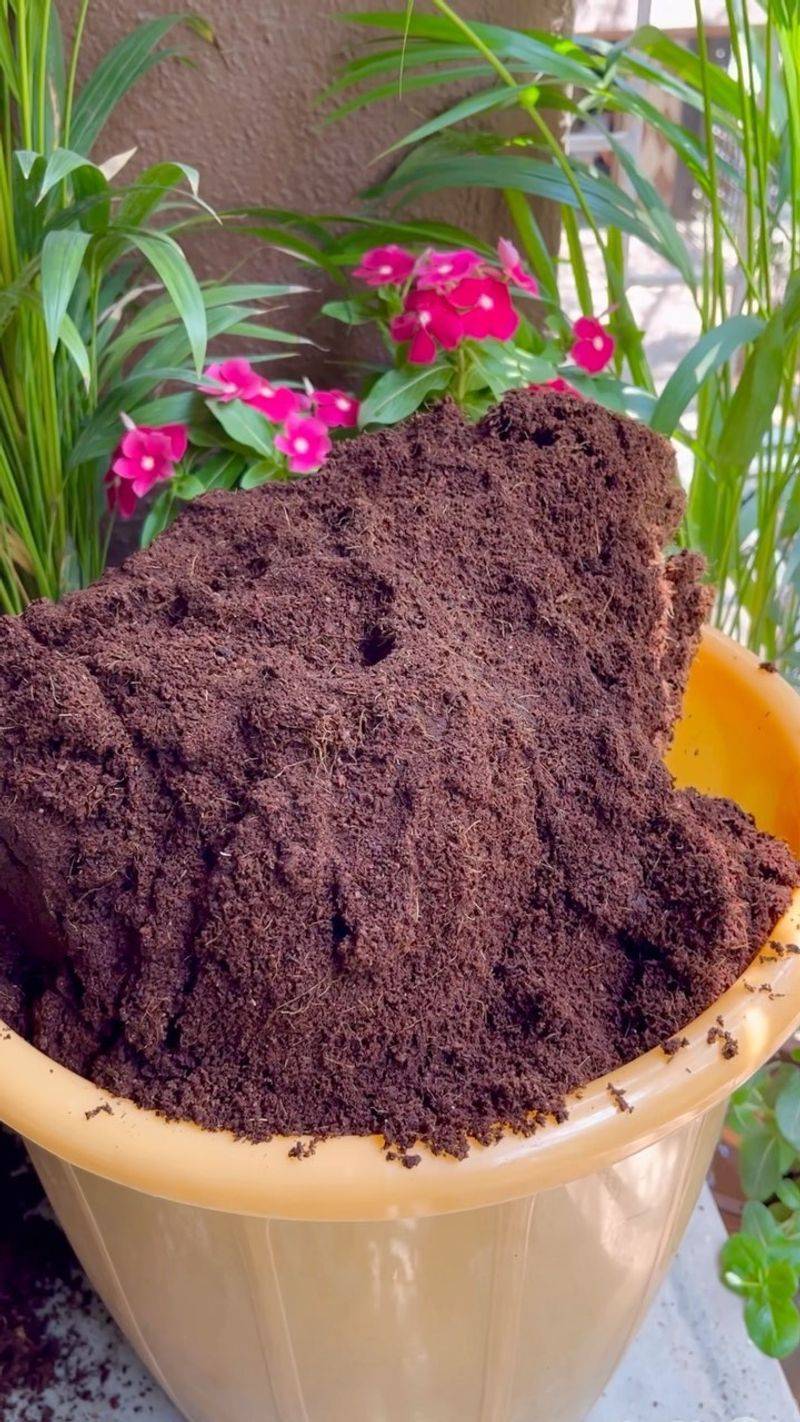
Potting soil with generous amounts of compost, coconut coir, or aged manure holds water like a sponge. These organic materials improve soil structure while creating tiny pockets that capture and hold moisture.
My container vegetables struggled until I started mixing 25% compost into my potting mix. The improved soil now holds water longer while still draining well enough to prevent root rot.
As an added bonus, these organic materials slowly release nutrients to feed your plants. Just avoid fresh manure or compost, which can burn tender roots – always use well-aged organic matter.
7. Use Drip Irrigation With Timers
Consistent, measured watering beats sporadic drenching every time. A simple drip system with emitters positioned at each container delivers water directly to the soil at a slow, steady rate that plants can actually absorb.
Adding a timer makes this method nearly foolproof. My container garden thrived during a two-week vacation thanks to this setup, with each pot receiving exactly 10 minutes of slow dripping each morning.
Modern drip systems are surprisingly affordable and easy to install. Even a basic hose-end timer with soaker hoses weaving through your containers will dramatically improve moisture consistency.
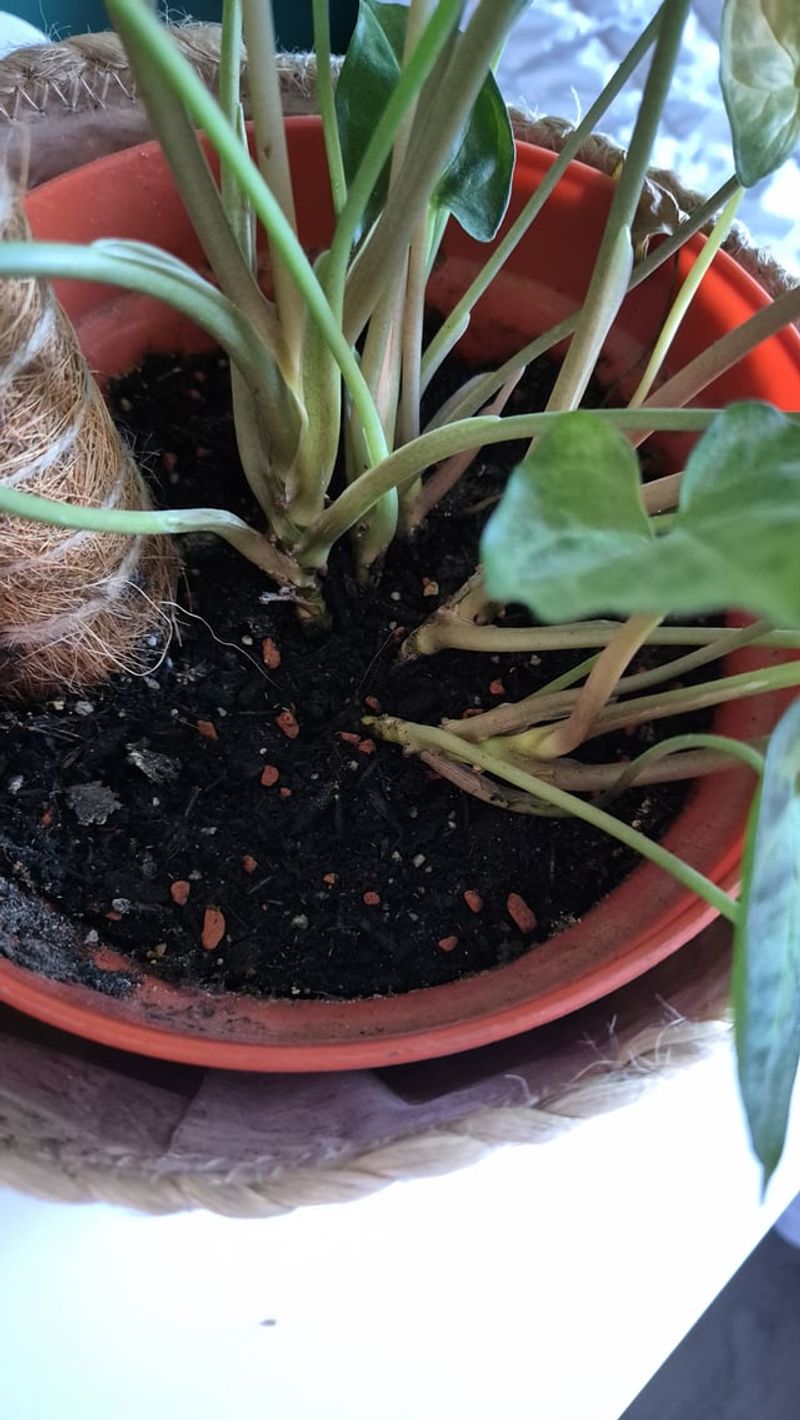
8. Double-Pot Your Plants
Creating an insulating air gap between two pots helps regulate soil temperature and slow evaporation. Simply place your planted container inside a slightly larger decorative pot.
The technique has transformed my patio containers. My peppers in double-potted arrangements stayed consistently moist while identical single-potted plants required twice the watering.
For extra effectiveness, stuff the gap between pots with shredded newspaper or moss. This method works especially well for heat-sensitive plants like lettuces and herbs that struggle in direct sun. The outer pot shields the inner one from temperature extremes.
9. Create A Humidity Tray
Placing containers on top of water-filled trays lined with pebbles creates a microclimate of higher humidity around your plants. As the water evaporates, it moistens the air immediately surrounding your containers, reducing overall water loss.
I’ve used this method successfully with moisture-loving herbs and tropical plants. The pebbles keep pots elevated above the water level, preventing roots from becoming waterlogged.
This approach is particularly effective for groups of smaller pots or during hot, dry periods. Just remember to refill the tray regularly as water evaporates, and occasionally clean the pebbles to prevent algae growth.
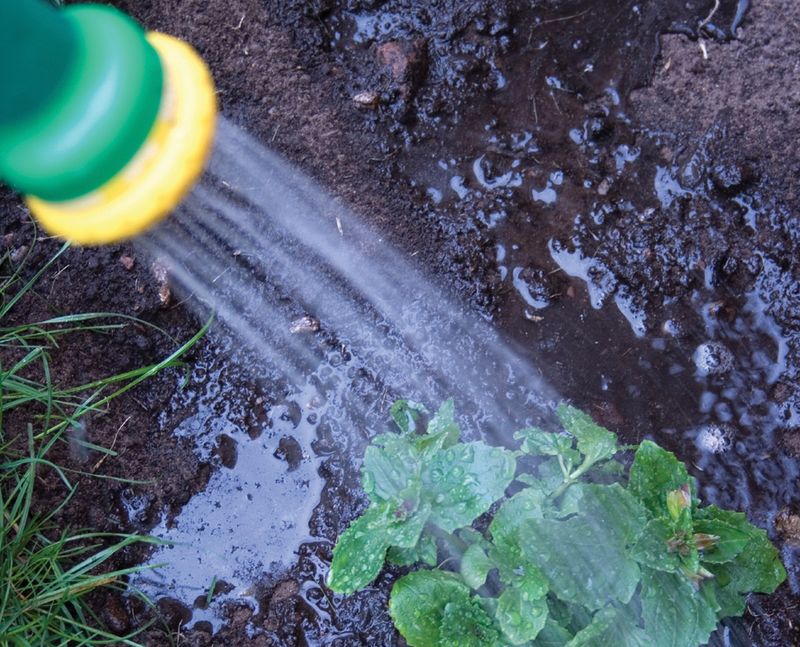
10. Water In The Evening
The timing of watering makes a surprising difference in moisture retention. Evening watering gives plants hours of cool darkness to absorb moisture before the sun returns to evaporate it away.
When I switched from morning to evening watering, my containers stayed visibly moister throughout the following day. The soil had those crucial overnight hours to fully absorb the water.
This works especially well in hot climates where daytime evaporation is extreme. Just be cautious with plants prone to fungal issues – in humid climates, morning watering might still be better to allow foliage to dry during the day.
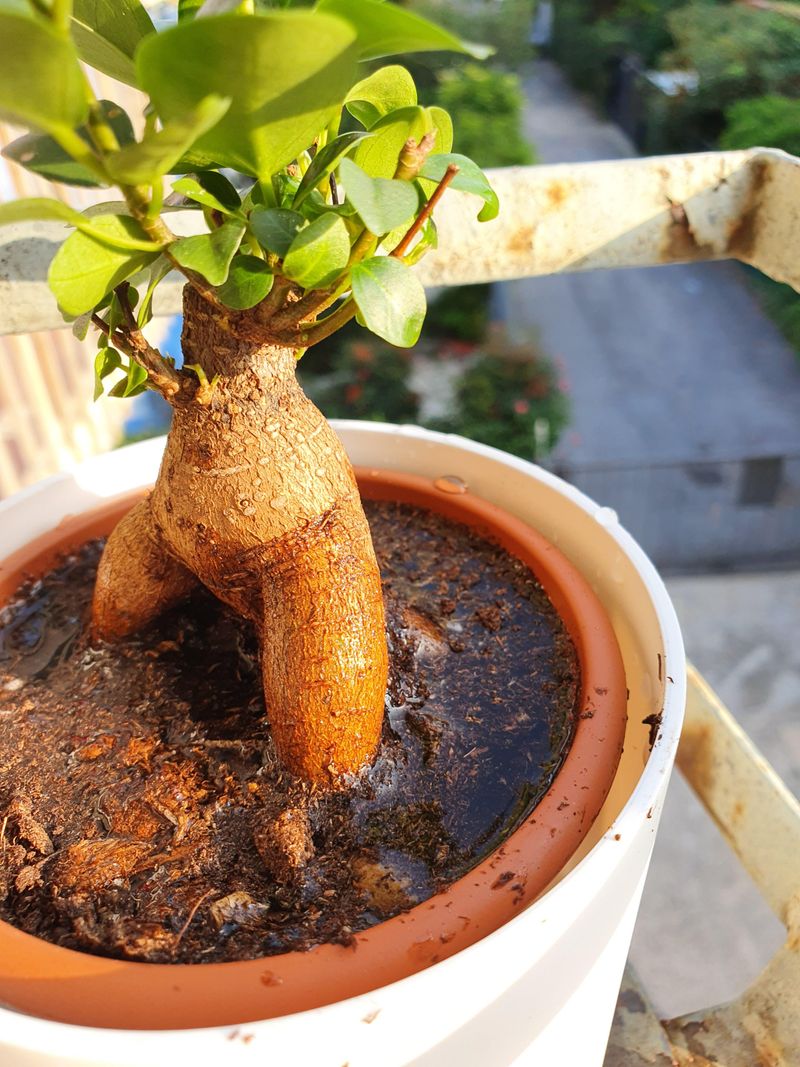
11. Bury A Water Reservoir
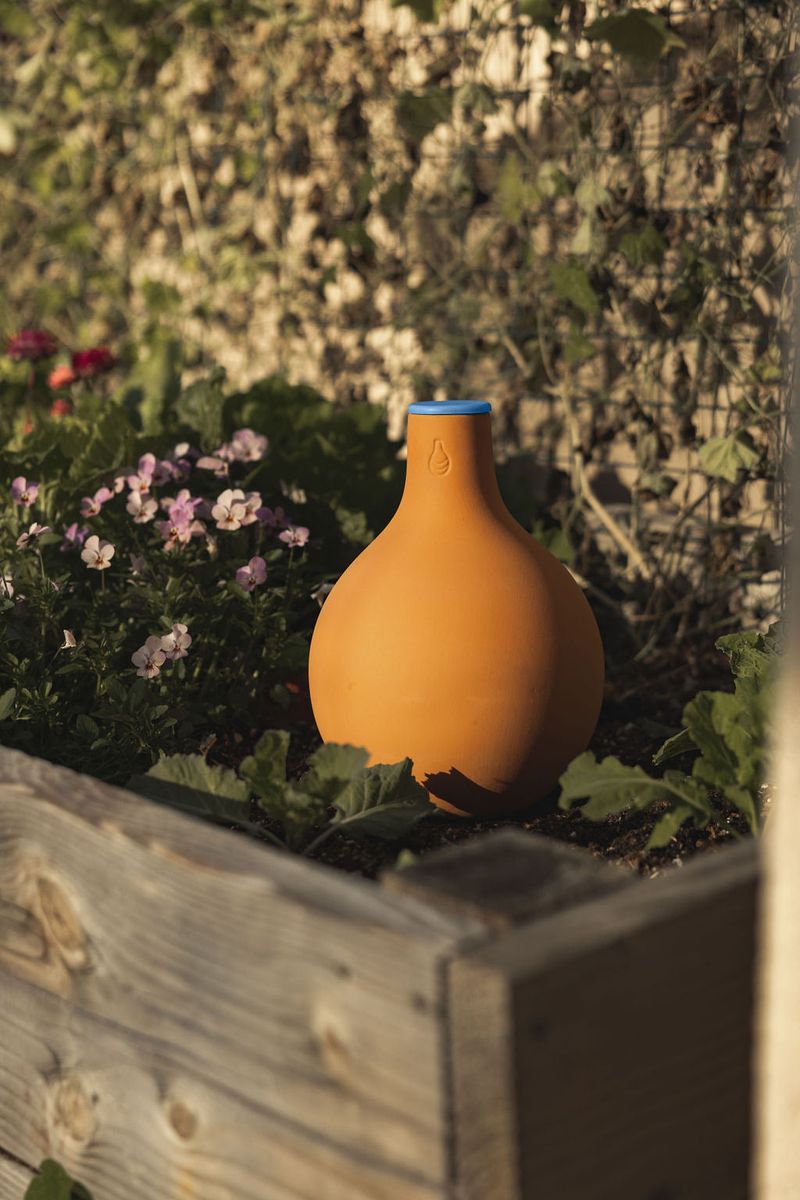
A water bottle or clay pot buried in your container creates a slow-release watering system right where plants need it most. Simply bury a perforated plastic bottle or unglazed clay pot in the center of your container with the opening accessible above soil level.
Fill this reservoir when watering, and it slowly seeps moisture directly to the root zone. My large tomato containers went from daily watering to every third day using this method.
For plastic bottles, poke small holes in the sides and bottom before burying. With clay pots (called ollas), the porous material naturally allows water to seep through at the perfect rate.
12. Apply Wetting Agent
Potting soil can become hydrophobic (water-repelling) over time, causing water to run straight through without being absorbed. Wetting agents break this surface tension, allowing water to penetrate evenly throughout the soil.
A few drops of dish soap in your watering can works as a simple DIY version. When I started adding this to my watering routine once monthly, my containers began holding moisture more uniformly.
Commercial options like Yucca extract are even more effective and plant-safe. This method is especially helpful for containers that have completely dried out or older potting soil that’s become compacted and resistant to wetting.
13. Top With Moss Layer
Sphagnum or sheet moss creates a living mulch that retains exceptional amounts of moisture while adding natural beauty to containers. The moss acts like a sponge, holding water that would otherwise evaporate and slowly releasing it back to the soil.
My shade containers transformed after I topped them with moss collected from a wooded area. The soil stayed consistently moist, and the natural green carpet looked far more appealing than bare soil.
For best results, tuck small pieces of moss around plants, overlapping slightly. Mist occasionally to keep the moss itself healthy. This works beautifully for woodland plants, ferns, and shade-loving containers.
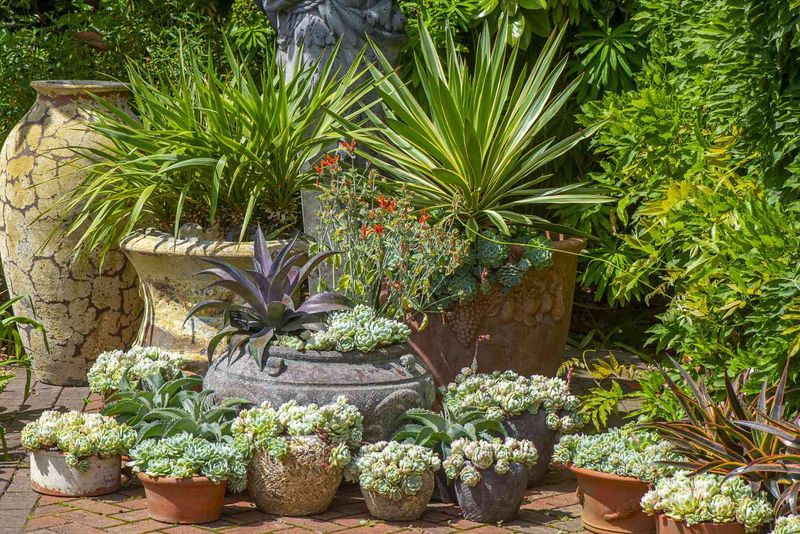
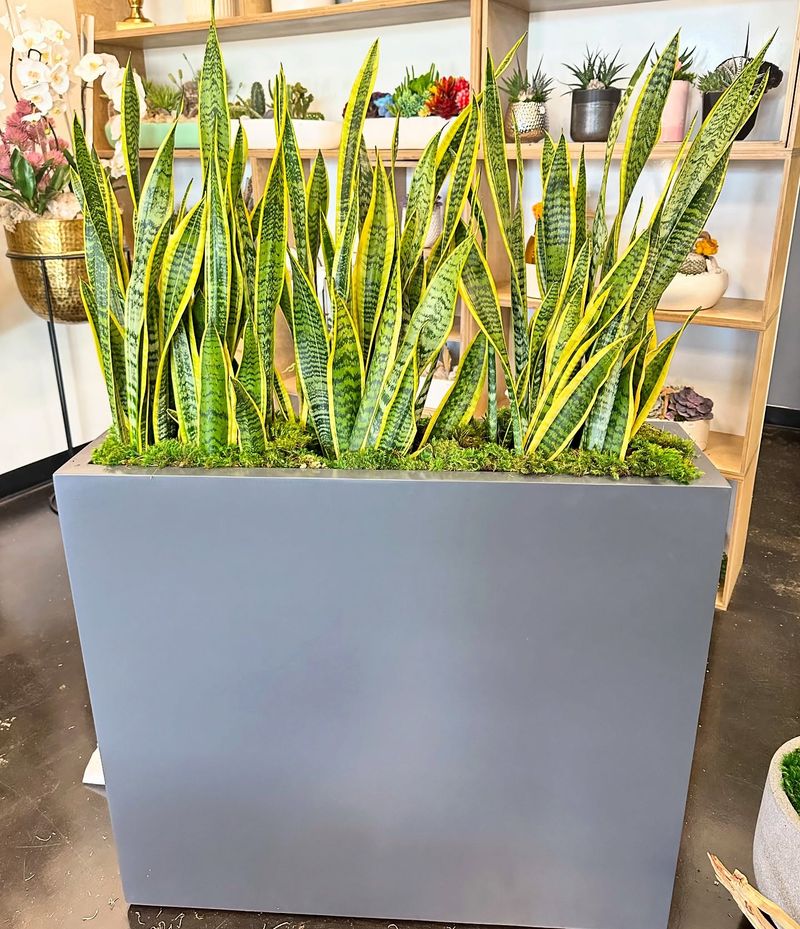
14. Choose Drought-Tolerant Plants
Sometimes the smartest solution is working with nature rather than against it. Selecting naturally drought-resistant plants for containers dramatically reduces watering needs without sacrificing beauty.
Succulents, lavender, rosemary, and many native plants have evolved to thrive with minimal water. My succulent containers only need watering every 7-10 days, even in summer heat that would wilt traditional container plants within hours.
Look for plants with silvery, fuzzy, or waxy leaves – these adaptations help plants conserve moisture naturally. Grouping plants with similar water needs ensures none suffer from over or under-watering.
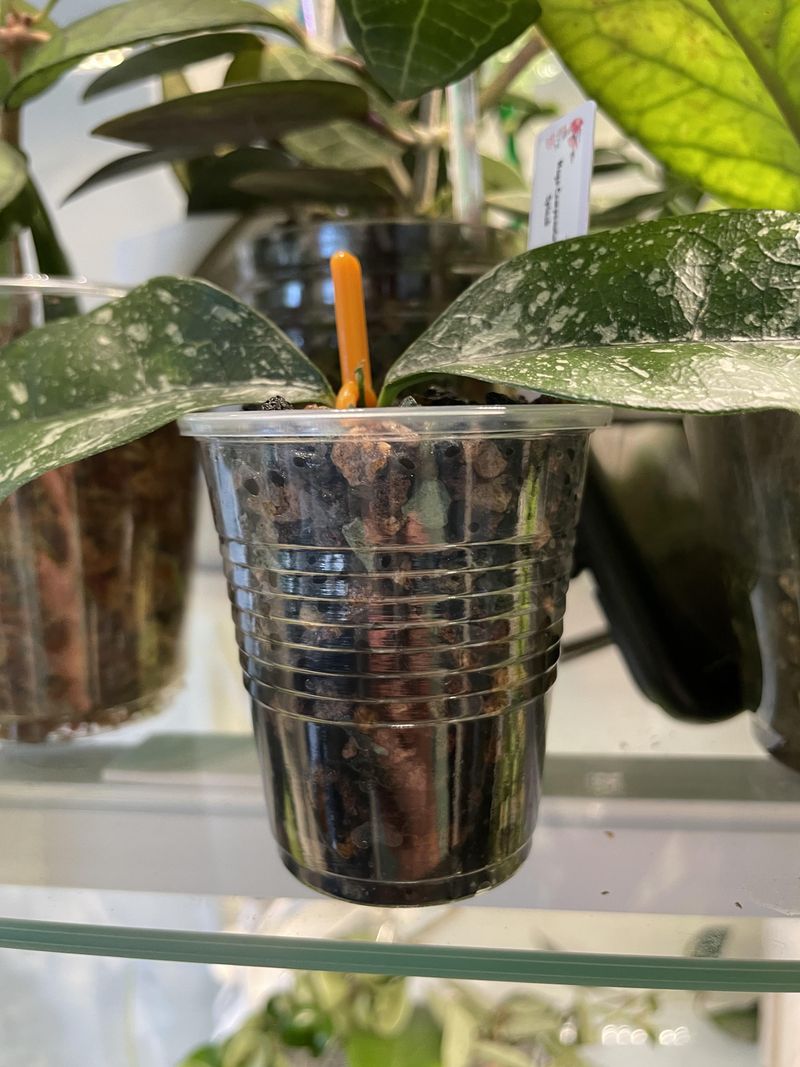
15. Create A Wicking System
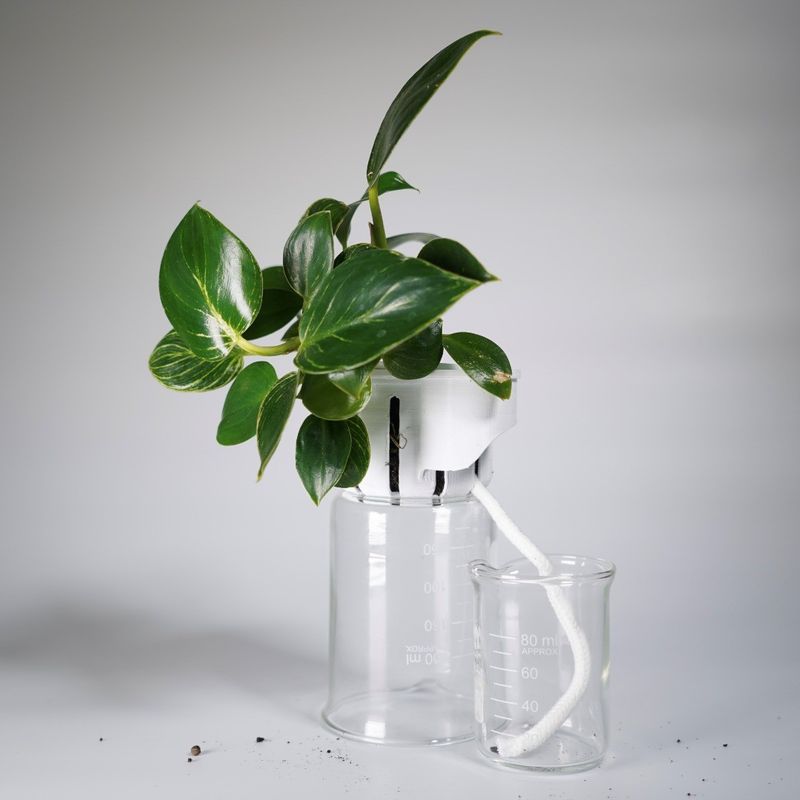
Wicking systems use capillary action to draw water from a reservoir into the soil as needed. A simple version involves threading cotton rope or fabric strips through drainage holes into a water reservoir below the container.
The material pulls water upward into the soil at a steady rate. My African violets, which hate both drying out and wet leaves, have thrived with this method, staying perfectly moist for weeks.
For multiple containers, try a larger-scale approach with a central reservoir connected to several pots via wicking cords. This is particularly effective for vacation care or containers that are difficult to reach for regular watering.
16. Adding Pebbles At The Bottom
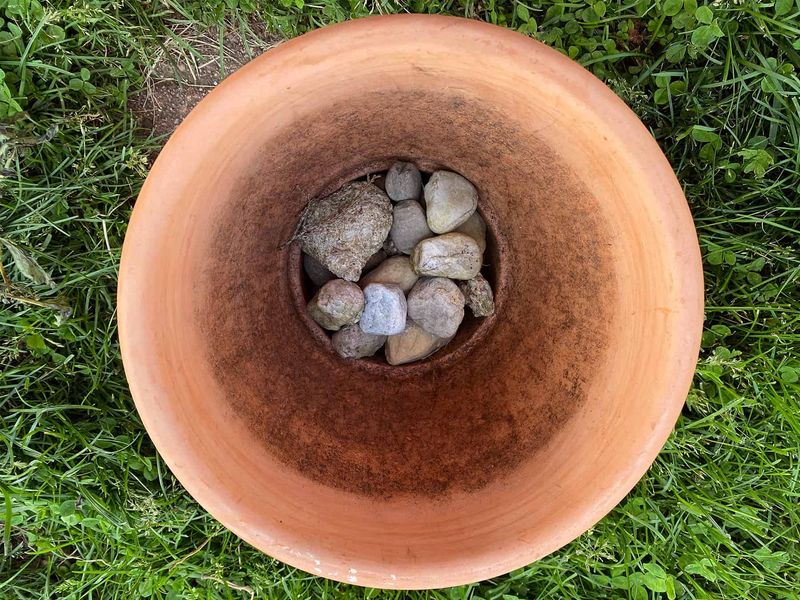
Contrary to popular belief, adding a layer of pebbles or rocks at the bottom of containers doesn’t improve drainage – it actually makes it worse! This common practice creates what scientists call a “perched water table” where water accumulates above the rock layer.
I learned this the hard way after losing several plants to root rot. The soil needs to be completely saturated before water will move into the different texture of the rock layer.
Instead of improving drainage, those pebbles actually reduce the soil volume available for roots and create a zone where water collects. Skip this method entirely and use proper potting mix throughout the entire container.
17. Burying Diapers Or Sponges
The internet suggestion to bury diapers or sponges in containers sounds clever but creates more problems than it solves. While they do hold moisture, they also prevent proper root growth and create pockets where roots can’t access nutrients.
My experiment with sponge-lined containers led to stunted plants with shallow root systems. The sponges compressed over time, creating air pockets and unstable soil conditions.
These materials also break down unpredictably, potentially releasing chemicals into your soil. Stick with proper soil amendments like compost or coconut coir that improve moisture retention while supporting healthy root development throughout the entire container.