14 Clever Ways To Turn An Old Mason Jar Into A Water Feature For Pollinators (And 3 Mistakes To Avoid)
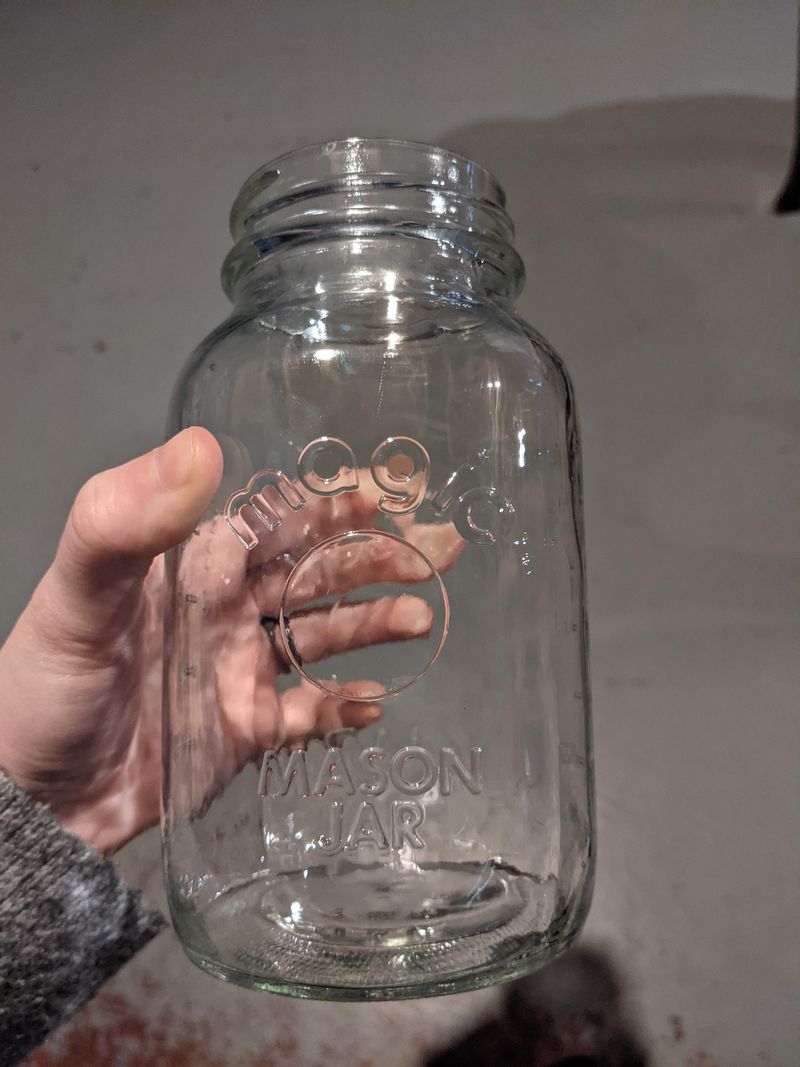
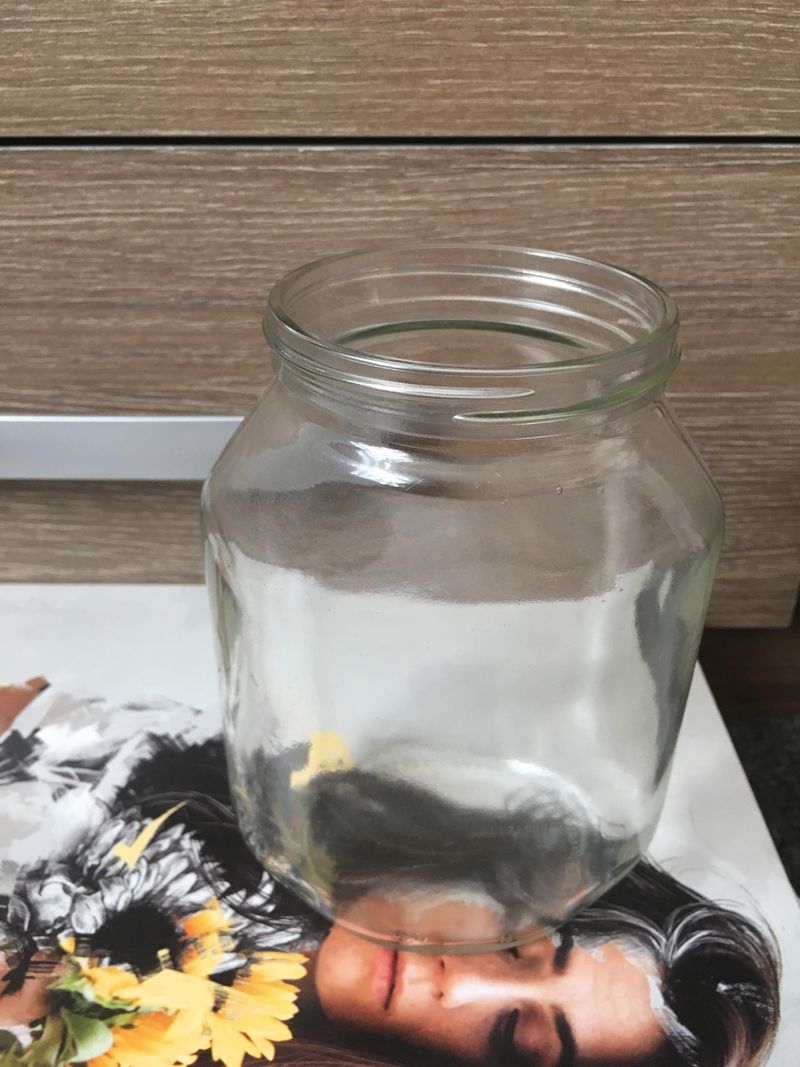
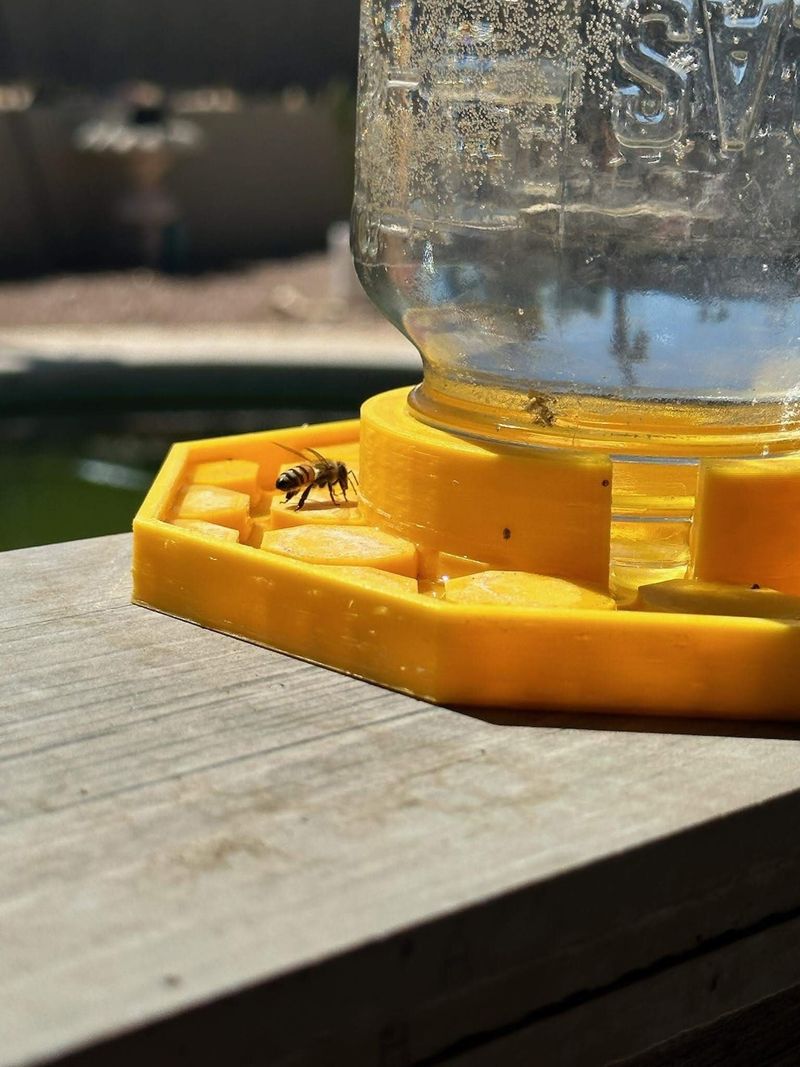
I used to think mason jars were just for homemade jam—until I discovered how handy they are in the garden. One summer, I turned a few into little watering stations for bees and butterflies, and they quickly became a hit with the garden’s smallest visitors.
It doesn’t take much—just a jar, some pebbles, and water—and suddenly you’ve got a safe, inviting spot where pollinators can pause and drink. Watching them flutter in for a sip became one of my favorite parts of the day.
Not only are you helping these vital creatures, but you’re also adding something sweet and rustic to your garden décor. It’s a simple, meaningful project that makes a real difference.
1. Floating Flower Oasis
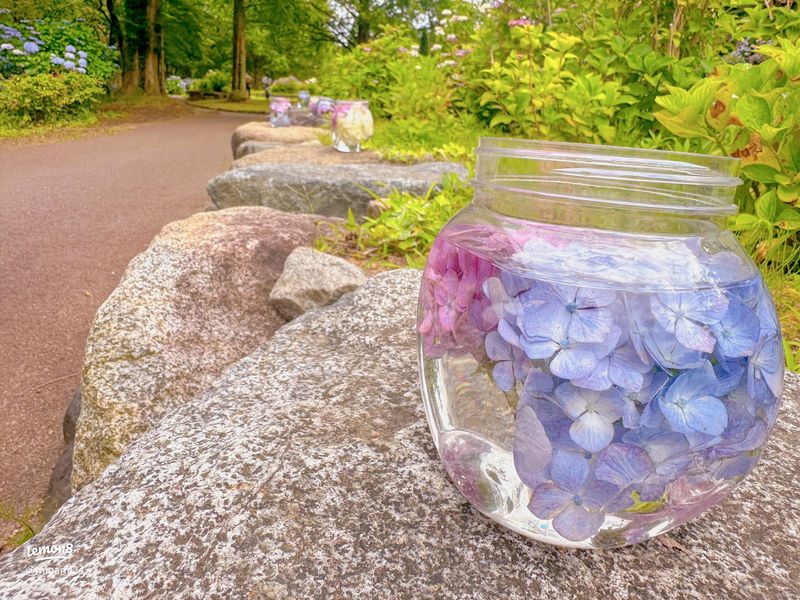
Creating a safe drinking spot doesn’t have to be complicated. Fill your mason jar with water, then float several small flowers or petals on the surface to provide landing spots for thirsty bees and butterflies.
Secure a piece of string around the jar’s neck and hang it from a tree branch or shepherd’s hook at eye level. The height makes it visible to passing pollinators while keeping it away from curious pets.
I’ve found that replacing the flowers every few days keeps the water fresh and continues to attract visitors. During hot summer days, this simple setup can become the most popular spot in your garden.
2. Pebble Pathway Feeder
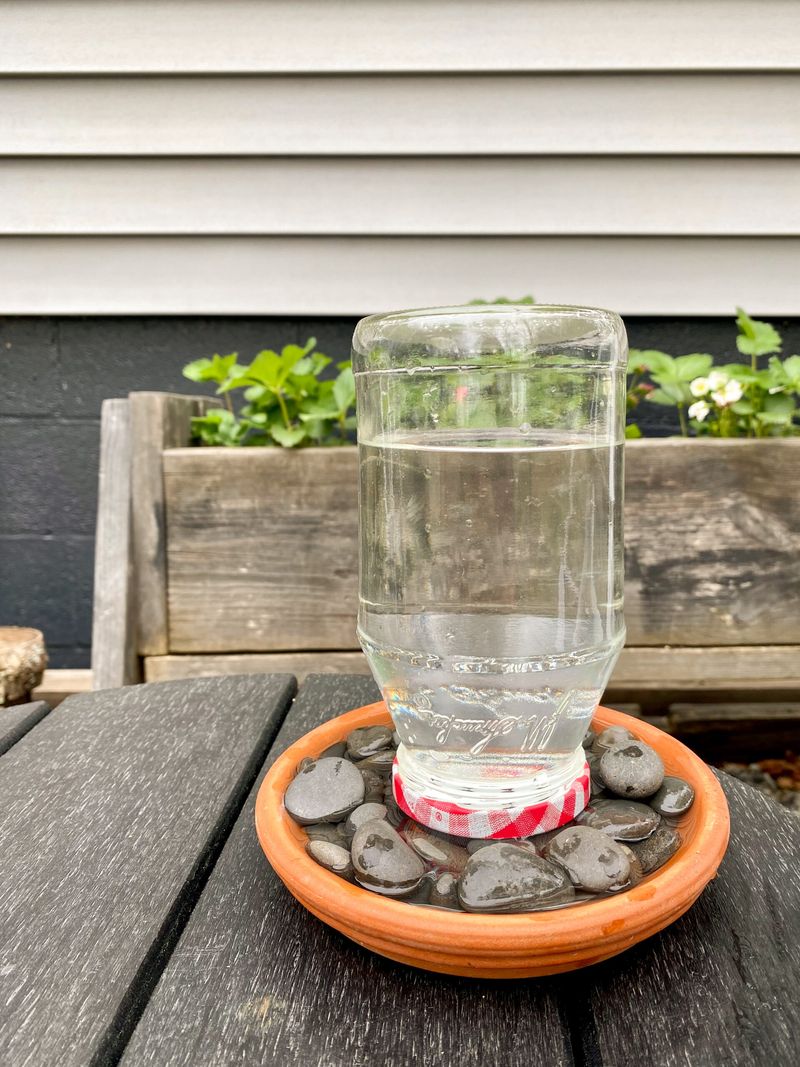
Smooth river stones create perfect stepping stones for pollinators to safely reach water. Fill your jar about three-quarters full with water, then add colorful pebbles until they break the surface, creating little islands for insects to perch on.
Place this creation near flowering plants in your garden where pollinators already visit. The familiar territory makes them more likely to discover and use your water feature regularly.
My grandmother taught me this trick years ago, and I’ve watched countless bees safely drink without risk of drowning. Remember to top off the water every couple of days as it evaporates, especially in hot weather.
3. Sponge Soaker Station
Natural sea sponges work wonderfully for this pollinator-friendly design. Cut a natural sponge to fit snugly inside the jar opening, then fill the jar with water so the sponge remains constantly damp but not submerged.
The texture of the sponge gives tiny insects perfect footing while they drink. Set this jar on a flat surface near your vegetable garden or herb patch where pollinators frequently visit. After making one of these for my community garden, I noticed tomato yields improved significantly!
Just be sure to rinse and refresh the sponge weekly to prevent mold growth and keep your tiny visitors healthy.
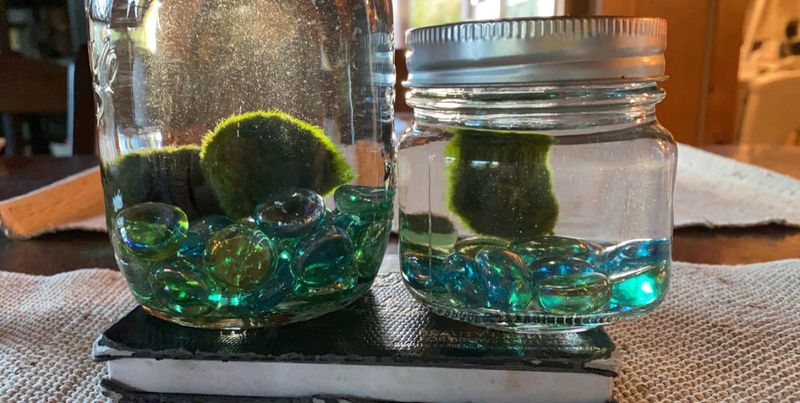
4. Marbles And Moss Mix
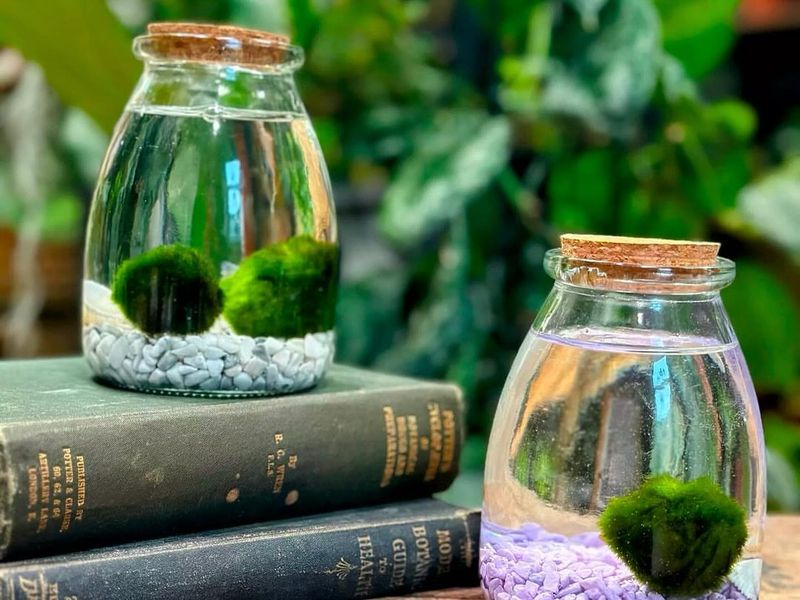
Glass marbles create an eye-catching water feature while providing safe landing spots. Fill your jar halfway with colorful marbles, add water until it just covers them, then tuck small bits of moss between the marbles to create soft landing pads.
Set this creation in a shallow dish to catch any overflow and place it in a partly shaded spot. Too much direct sun can heat the glass and water to temperatures that might harm delicate visitors.
During a particularly dry summer, I counted over 30 different pollinators visiting my marble jar in a single afternoon. The contrast of colors seems to attract them from surprising distances.
5. Twine-Wrapped Wicking System
Cotton twine creates a simple yet effective wicking system for thirsty pollinators. Fill your jar with water, then thread several pieces of cotton twine through the lid’s holes, ensuring they reach the bottom of the jar and hang about two inches outside.
The twine draws water up and creates a perpetually damp surface where insects can safely drink without drowning. Mount this jar on a post or hang it from a branch near flowering plants.
My neighbor copied this design after seeing mine and reported hummingbirds stopping by to drink from the damp twine. For extra appeal, use colorful twine that might catch the eye of passing pollinators.
6. Wooden Spoon Bridge
Wooden utensils make perfect bridges for pollinators to access water safely. Fill a wide-mouth mason jar with fresh water, then lay wooden spoons or craft sticks across the opening, creating a series of bridges that lead to the water’s surface.
Position several sticks at different heights, with some touching the water and others slightly above. This creates various access points for different-sized pollinators from tiny bees to larger butterflies.
After setting this up near my raspberry bushes, fruit production noticeably improved. The simple wooden bridges seem particularly attractive to native bees who return day after day for a safe drink.
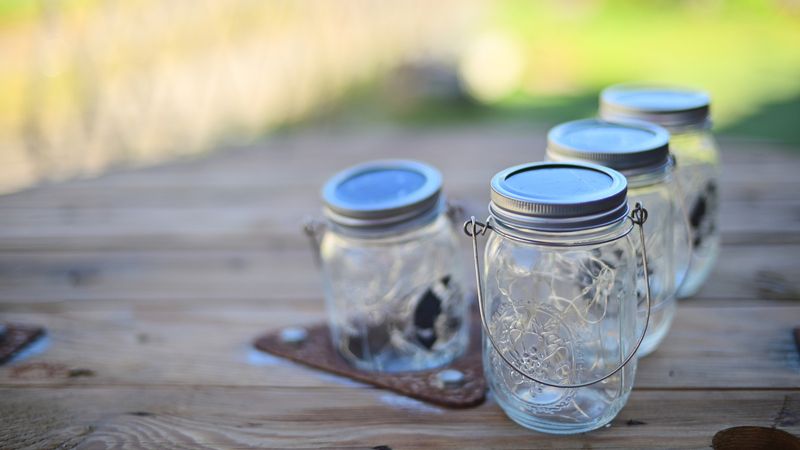
7. Solar Light Nighttime Attractor
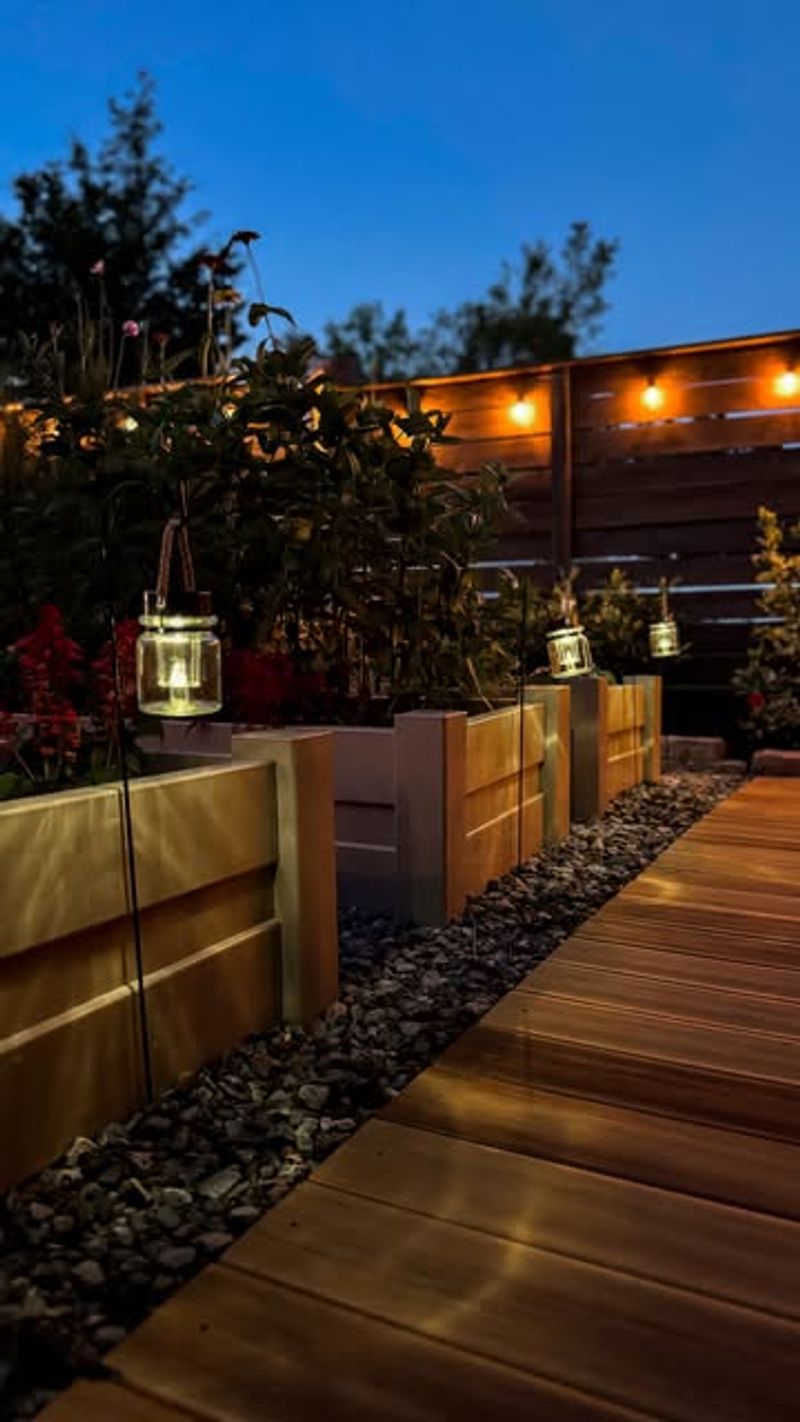
Evening pollinators need water too! Start with a clear mason jar and insert a waterproof solar light inside. Fill the jar halfway with water and add floating elements like corks or wood pieces that break the surface.
During the day, the solar light charges, then glows softly at night, attracting moths and other nocturnal pollinators. Place this illuminated water feature near night-blooming flowers for maximum effectiveness.
The first time I tried this, I was amazed to discover how many different moth species visited after dark. Just be sure the light isn’t too bright—a gentle glow works better than harsh illumination that might scare away sensitive visitors.
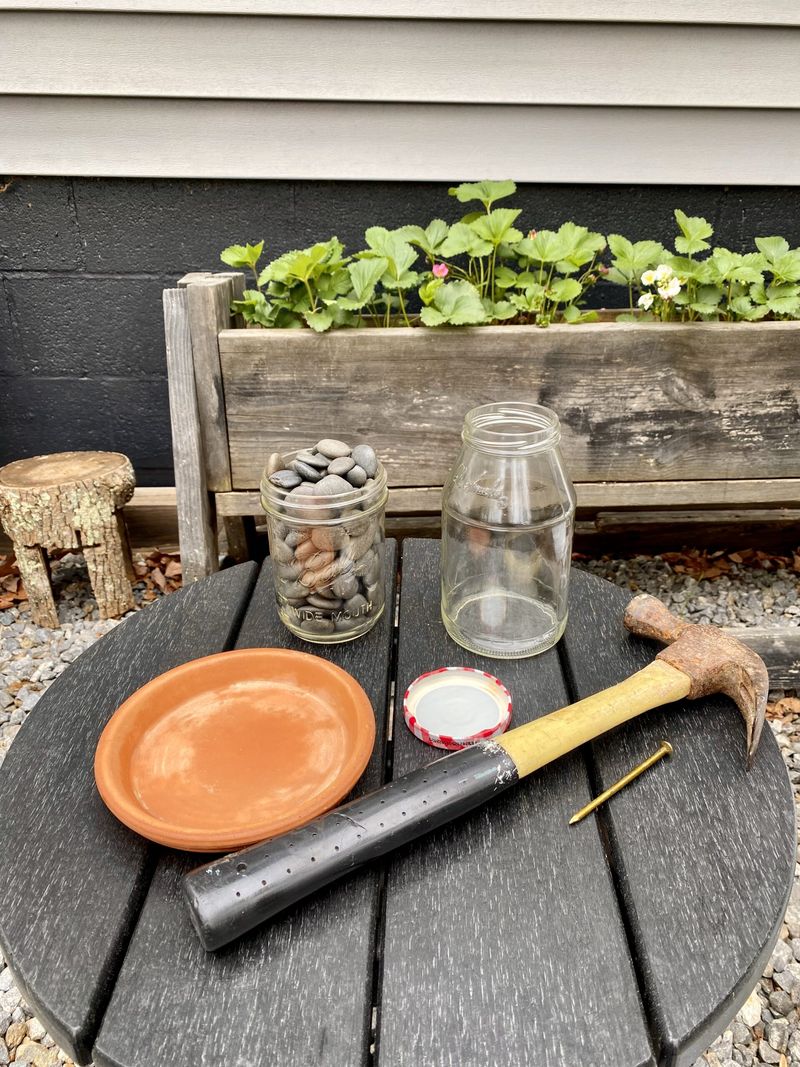
8. Terracotta Pot Combination
Combining natural materials creates an ideal drinking station. Place a mason jar inside a shallow terracotta pot saucer, then fill both with water. Add small stones around the jar in the saucer to create varied drinking depths.
The porous terracotta gradually absorbs and releases water, creating damp edges perfect for tiny insects. Position this arrangement near herb gardens where pollinators already gather looking for nectar.
During last summer’s drought, this setup became so popular I had to refill it twice daily. The different water depths accommodate everything from tiny sweat bees to larger butterflies, making it one of the most versatile designs I’ve tried.
9. Hanging Mesh Screen Cover
Fine mesh creates the perfect safety net for pollinators. Cover your water-filled mason jar with window screen mesh, securing it with the jar’s ring or a rubber band. The screen prevents drowning while allowing insects to drink safely.
Hang this jar using wire wrapped around the neck, positioning it near flower beds at varying heights. Different heights attract different species—lower jars often attract ground-dwelling pollinators while higher ones appeal to flying insects.
The local butterfly garden adopted this design after seeing how well it worked in my yard. Their volunteer coordinator mentioned it’s now their standard water feature because it’s so safe for even the smallest beneficial insects.
10. Cotton Ball Water Dispenser
Cotton balls provide perfect drinking spots for the smallest pollinators. Fill your jar with water, then place several cotton balls on the surface where they’ll float and remain partially saturated, creating ideal drinking spots.
Position this simple feeder in a shallow dish and place it in dappled shade near flowering plants. The white cotton balls are highly visible to insects while providing safe landing zones.
A friend who keeps mason bees swears by this method for supporting her tiny pollinators. She refreshes the cotton balls every few days to keep them clean and free from mold—an important maintenance step for this particular design.
11. Wine Cork Floating Islands
Wine corks create perfect floating islands for pollinators to land on. Fill a wide-mouth mason jar with water, then float 5-7 wine corks on the surface, creating a network of safe landing spots for insects to drink from.
Place this simple creation on a stable surface near flowering plants, making sure it won’t tip over in the wind. The natural cork material provides excellent footing for even the smallest visitors.
My sister and I both maintain these in our gardens, comparing notes on which pollinators visit most frequently. She’s noticed that slicing some corks in half lengthwise creates even more stable platforms that butterflies seem to prefer.
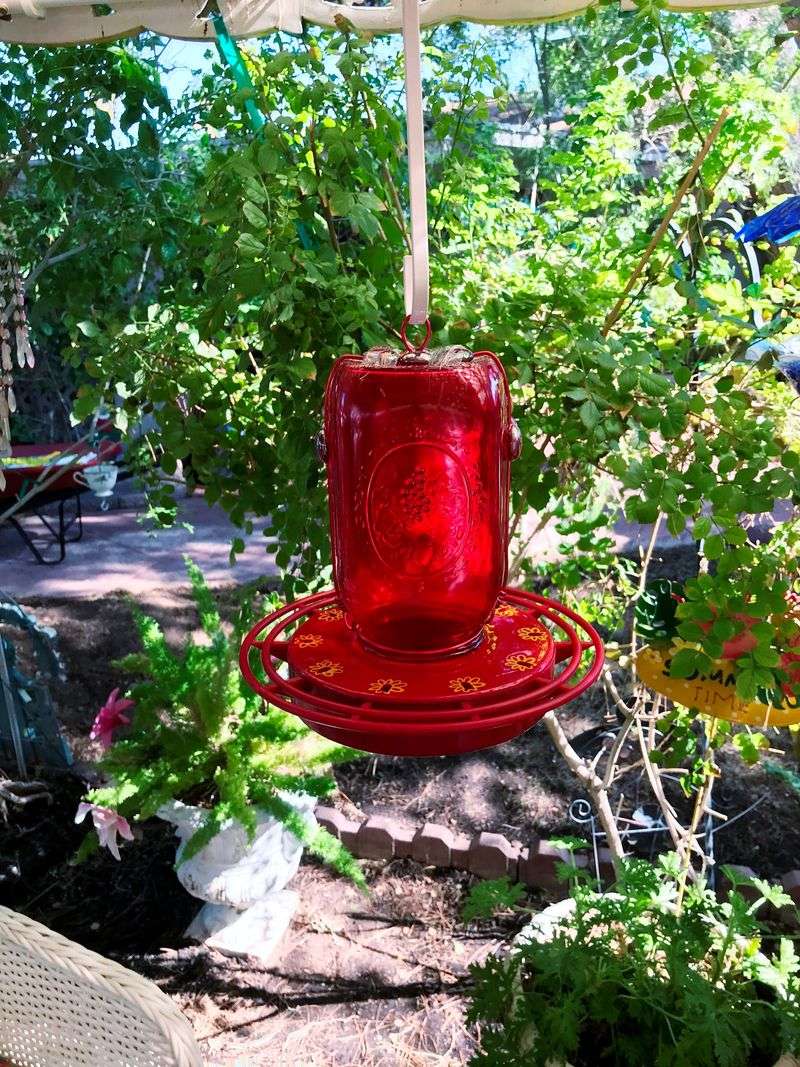
12. Painted Rim Bee Attractor
Bees are naturally attracted to blue and purple colors. Paint the rim of your mason jar with non-toxic blue or purple paint, then fill it with water and add small twigs that extend above the surface for landing spots.
The colored rim catches the attention of passing bees while the twigs provide safe access to water. Place this eye-catching jar near vegetable gardens where pollination is especially beneficial.
When I added this to my squash patch, pollination rates visibly improved. Just make sure to use paint that won’t leach toxins—milk paint or natural food coloring mixed with a bit of sugar water works perfectly and is completely safe.
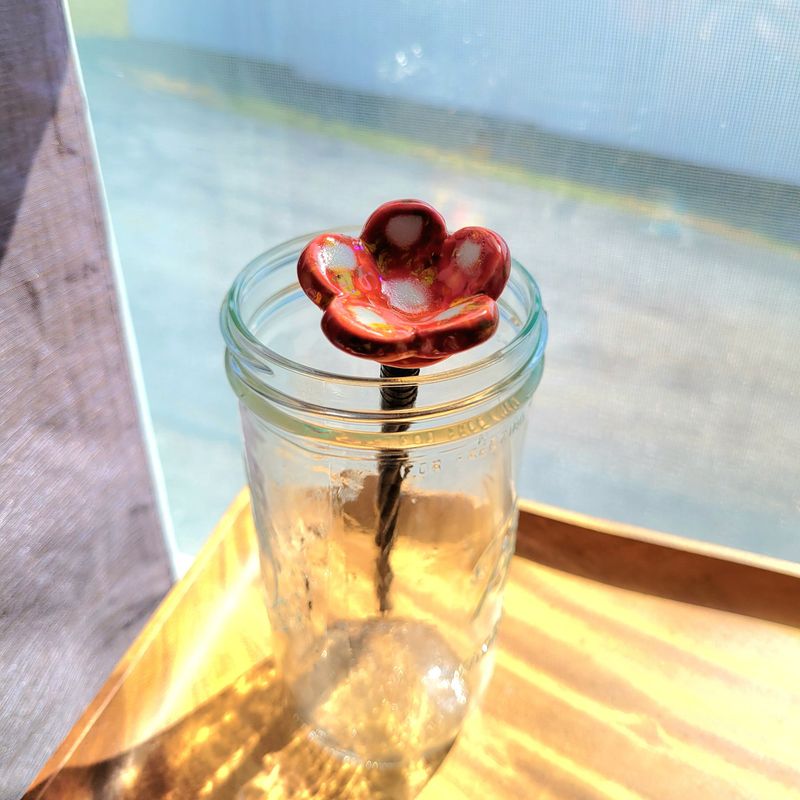
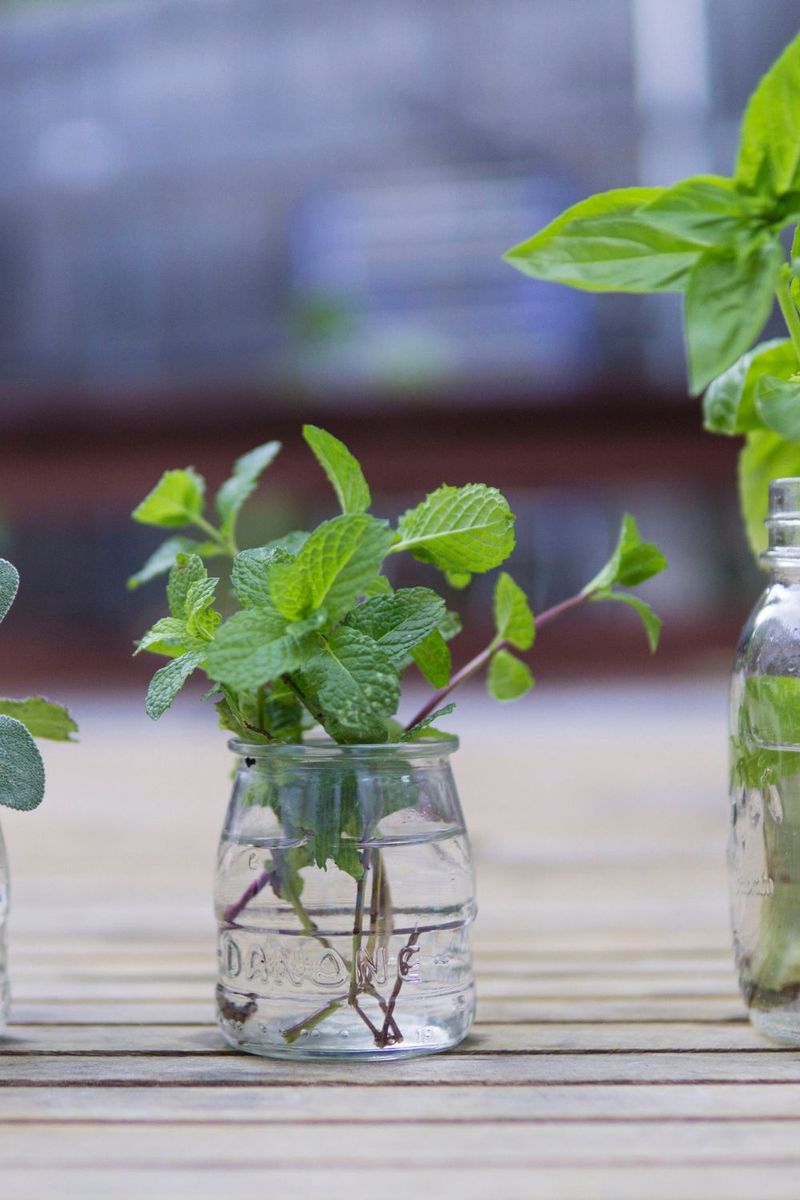
13. Seasonal Flower Stem Support
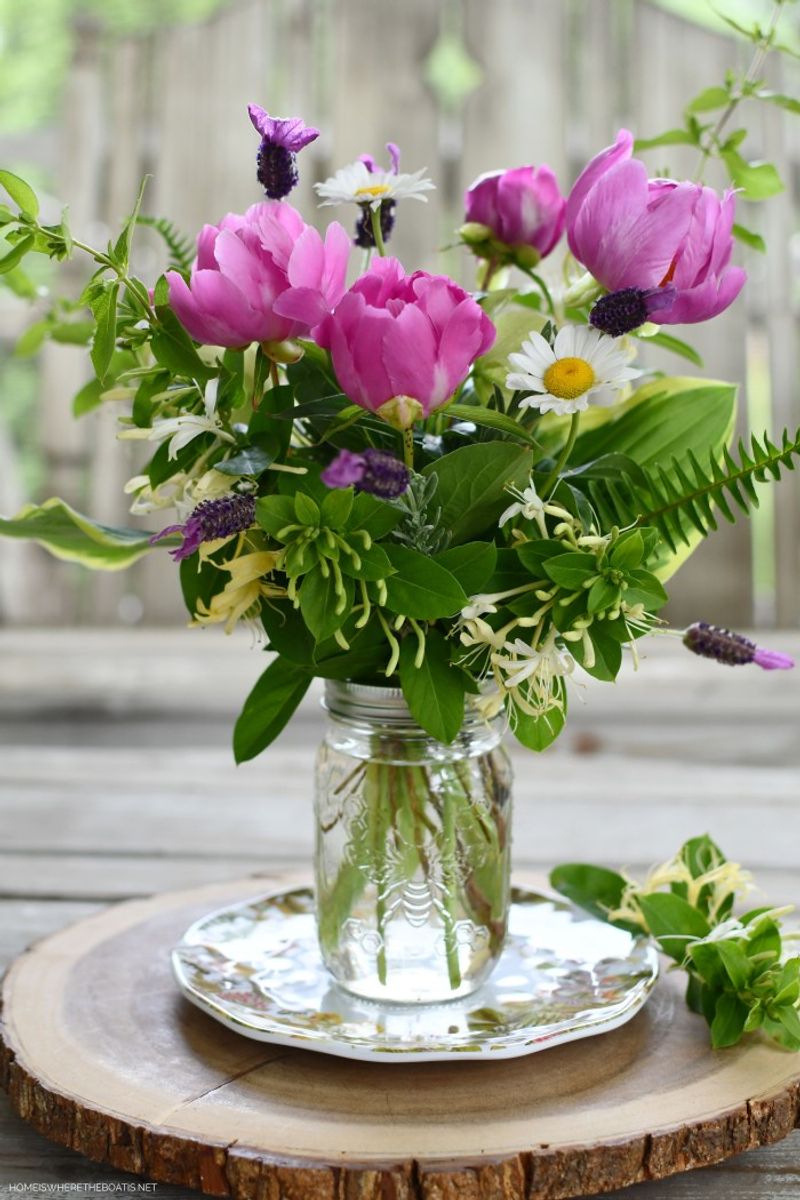
Fresh-cut flowers and water access combine beautifully in this dual-purpose design. Fill your mason jar with water, then add a few stems of pollinator-friendly flowers like zinnias or cosmos, leaving plenty of space between stems.
The flower stems create natural bridges to the water surface while the blooms attract pollinators. Position this living water feature on a porch or patio table where you can enjoy watching the visitors it attracts.
During family gatherings, this has become a favorite conversation piece as guests watch hummingbirds and butterflies visit for both nectar and water. Just remember to change the water every few days to keep it fresh.
14. Moss-Lined Drinking Trough
Moss creates a natural, spongy drinking surface pollinators love. Line the inside of a mason jar lid with a layer of living moss, then place the lid on a jar filled with water so the moss stays constantly damp from below.
The moss-filled lid becomes a shallow drinking trough that’s perfectly safe for all sizes of beneficial insects. Place this green oasis near herb gardens or fruit trees that benefit from increased pollination.
The community garden coordinator borrowed this idea for their educational display on pollinator support. Children especially enjoy watching tiny bees gather on the bright green moss surface—it’s a wonderful way to teach the next generation about pollinator conservation.
15. Using Deep Water Without Landing Spots
One of the biggest errors gardeners make is creating water features that become death traps for pollinators. A jar filled with water but no landing spots forces insects to balance precariously on the rim, often resulting in drowning.
Always include stones, sticks, or other materials that break the water’s surface and provide safe footing. These simple additions transform a potential hazard into a pollinator paradise.
I learned this lesson the hard way after finding several drowned bees in my first attempt at a water feature. Now I never set up any water source without ensuring multiple safe access points.
16. Placing In Full Sun Without Shade
Glass magnifies heat, making sun-baked mason jars dangerous for pollinators. Water in direct sunlight quickly becomes too hot for insects to drink safely, and the glass can create uncomfortable or even harmful conditions around the water source.
Always position your mason jar water features in dappled shade or move them throughout the day to prevent overheating. Morning sun with afternoon shade often provides the ideal balance for most gardens.
After noticing pollinators avoiding my perfectly designed water feature during hot afternoons, I added a small plant nearby to cast protective shade. Visitor numbers immediately increased once the water temperature moderated.
17. Forgetting Regular Maintenance

Neglected water features quickly become breeding grounds for mosquitoes or develop harmful algae. Stagnant water defeats the purpose of helping pollinators and can actually harm your garden ecosystem. Commit to changing the water every 2-3 days, especially during hot weather.
Weekly cleaning of any accessories like stones or sticks prevents buildup of harmful bacteria or fungi that could sicken visiting pollinators. My neighbor created a beautiful mason jar water feature but rarely maintained it.
Within weeks, mosquito larvae appeared and beneficial insects stopped visiting. Regular maintenance only takes minutes but makes all the difference in creating a truly helpful pollinator resource.