This Amazing Hack With Coffee Filters Will Turn Seed Starting Into An Incredibly Easy Job
I tried numerous gardening hacks for seed starting, and after the last one I told myself I wouldn’t try any unconventional methods again. Don’t get me wrong, but newbie gardeners do tend to use weird things!
And then I saw the coffee filter method, and I honestly don’t know why but I decided that would be the hack I’d try. Luckily, this time was different and I had huge success.
You already know that giving the seeds a head start is half the job, and they won’t have trouble turning into happy and thriving plants after that.
If you’re a coffee addict, the idea of sharing filters with seeds may not sound tempting. But once you witness the magic, you’ll be more than happy to do it!
Before we dig any deeper, I must explain why you should use coffee filters in the first place. It’s actually pretty simple. The seeds are fussy little things and they won’t germinate until you provide them with these three conditions:
🌱 Ideal temperature range
🌱 Consistently moist environment
🌱 Good air circulation
It’s no wonder beginners give up on seed starting and purchase seedlings. But coffee filters provide the seeds with a perfect environment. How come?
The material the coffee filters are made of is porous and your seeds will have enough oxygen to produce new growth.
You’ll need to wet the filters after placing the seeds, which will ensure consistent moisture levels.
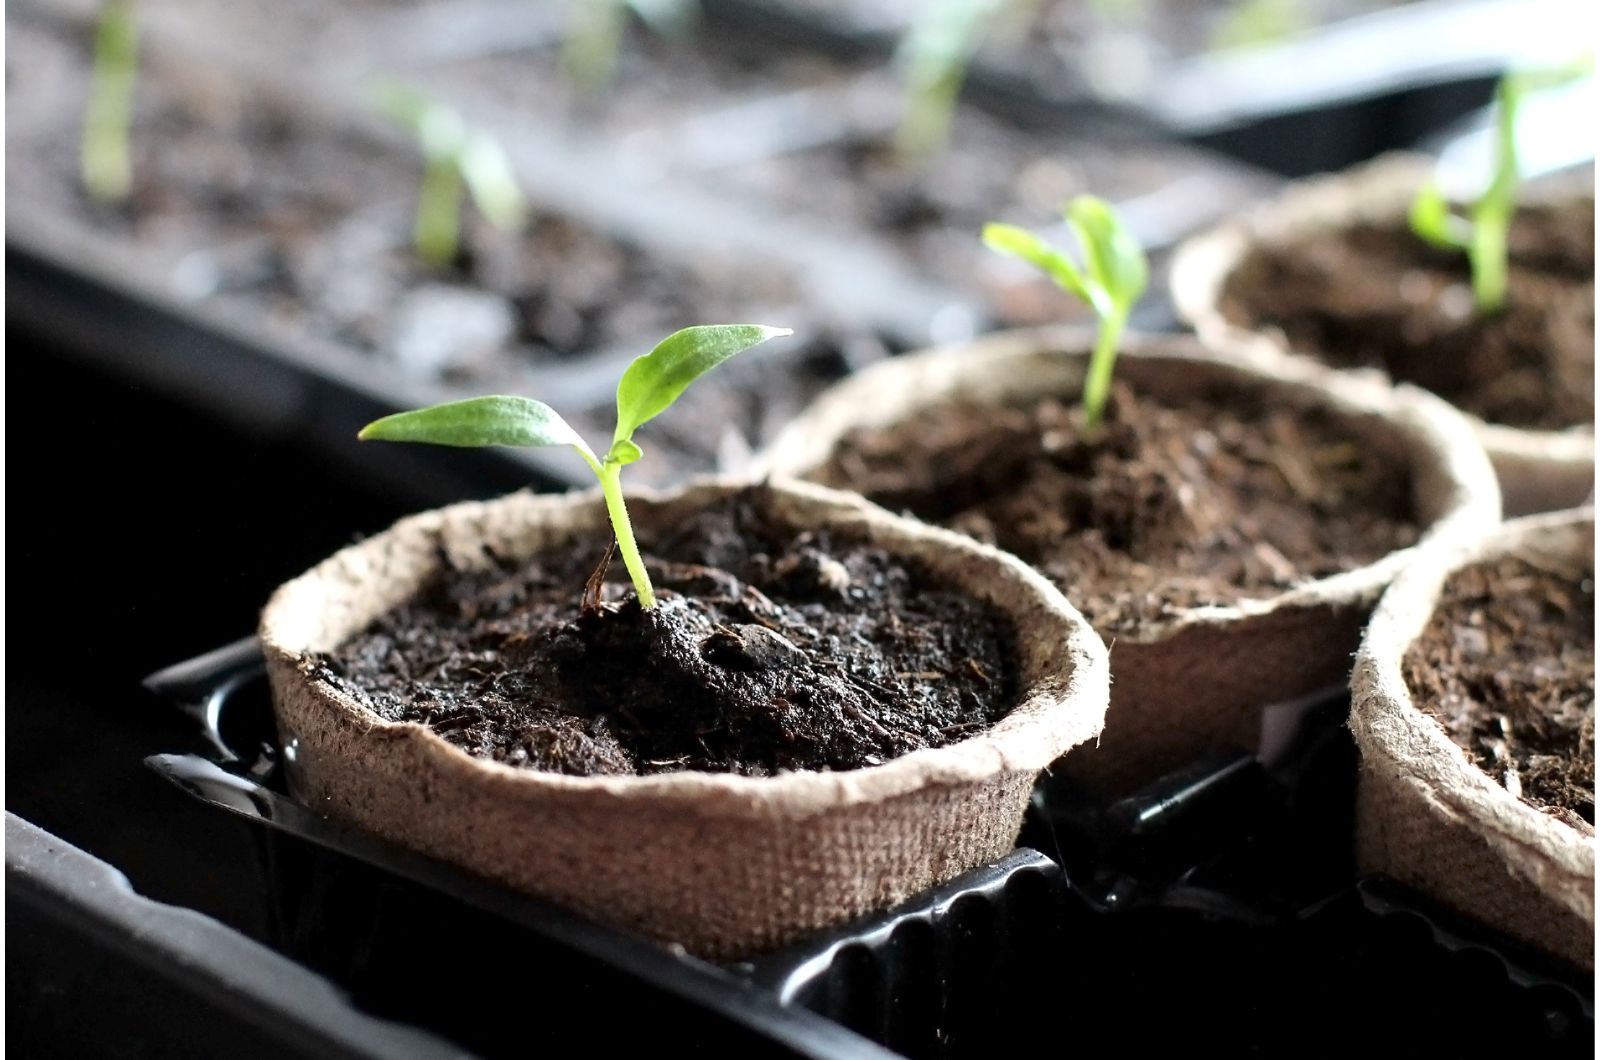
If you’ve tried to start the seeds using different methods, you may have struggled with transplanting the seedlings. Well, filters make things easy for you and you can remove them quickly!
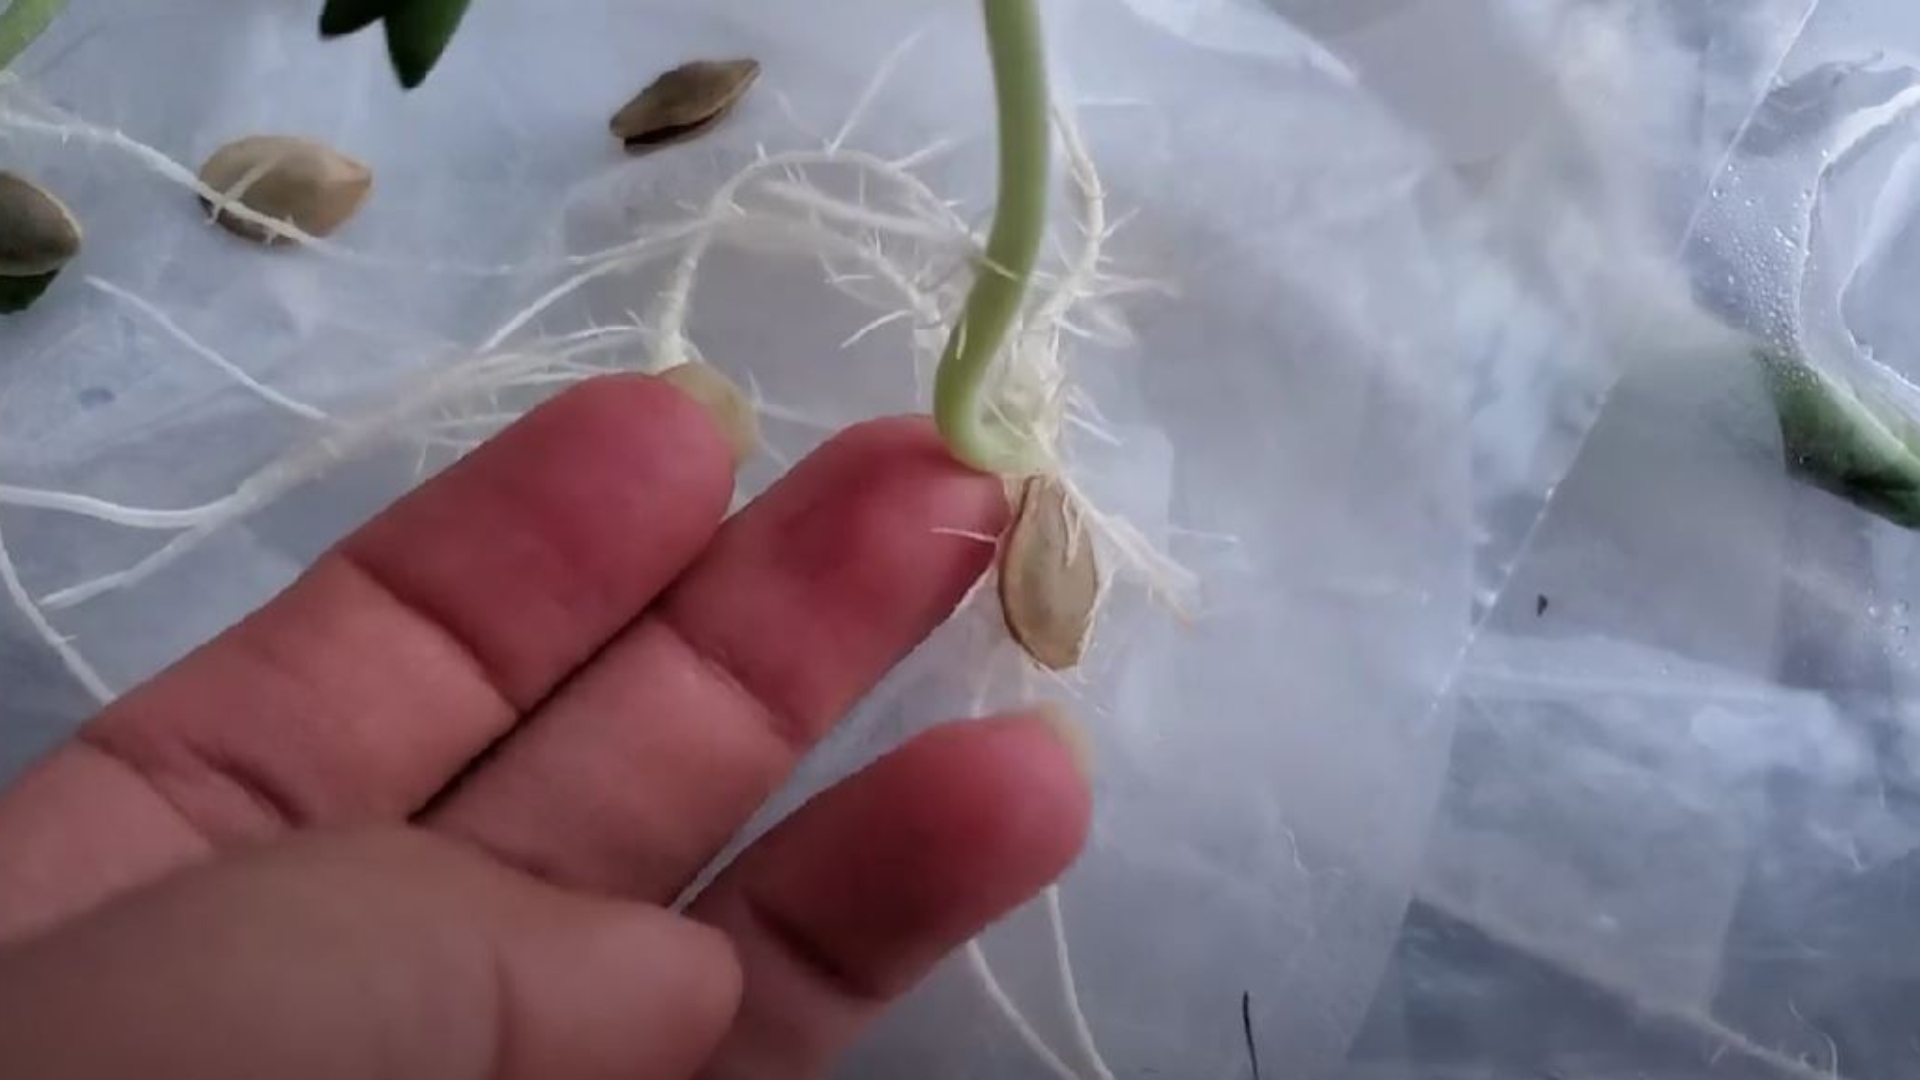
What I especially liked about this method is that these filters are translucent, so I was able to watch the entire process and it was super satisfying.
Ready to try this brilliant technique? Here’s what you need to do!
6 Steps For Starting Seeds In Coffee Filters
Before you start the seeds, you’ll need to get a few things. Of course, you’ll need a few coffee filters and the seeds.
When purchasing the seeds, always go with those of the highest quality and make sure the sellers are reputable. I buy most seeds in Home Depot and I’ve always had a good experience.
Here’s a list of other items you’ll need.
• Hydrogen peroxide (I bought a 32oz bottle of 3% hydrogen peroxide at Target for less than $1)
• A spray bottle
• A permanent marker
• A resealable plastic bag
Got everything? Let’s start!
1. The first step you need to take is to set filters on a flat surface and place a few seeds on each. I leave about an inch of space between each seed.
2. Now add 1 tbsp of hydrogen peroxide to a container and pour approximately a quart of water over it. Mix the ingredients with a spoon, pour the mixture into a spray bottle, and give it a good shake.
3. It’s time to lightly mist the seeds on the coffee filters with this magical substance! I’m sure you’re wondering what the purpose of this is, so let me explain it briefly. Hydrogen peroxide will help your seeds fight mold and allow them to germinate undisturbed.
4. Next, take a dry filter, place it over the moist one with the seeds, and press them gently.
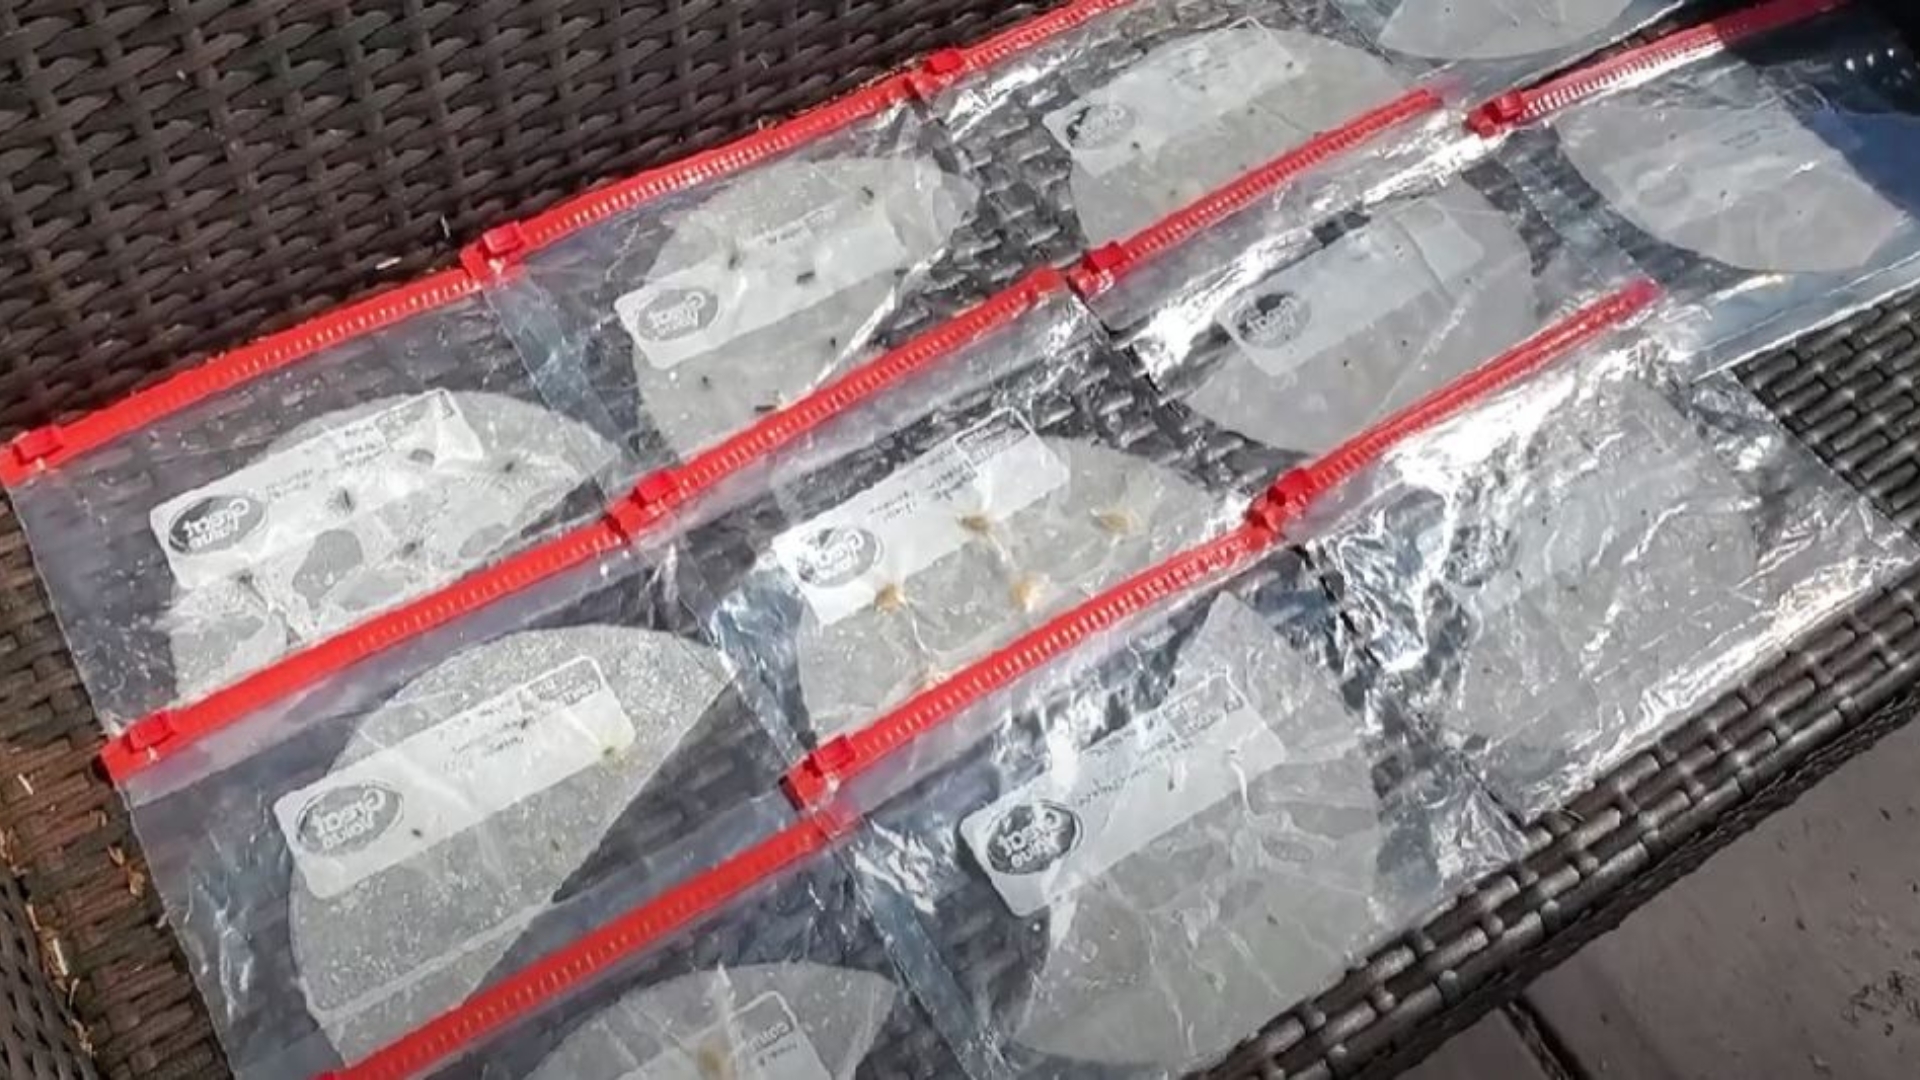
5. Take your sealable bags. Before you put the filters, there’s one important thing to do. Label the bag and make sure to write the date and type of seeds you used.
Trust me, no matter how good your memory is, you don’t want to skip this step. Let’s just say I planted peonies in my veggie garden once… 🤫
6. Now to the final step! Carefully transfer the filters with seeds into a bag and seal it, leaving about 5 inches of the seal open. Find a warm and dark spot in your home and keep the bags there for a few days.
My seeds needed a few days to germinate and I transplanted the seedlings when they developed 3-4 roots.
But Bear These Things In Mind
Nothing is perfect in this world and this method isn’t an exception. There are a few things to consider if you’re using coffee filters.
1. First and most importantly, you need to watch out for mold growth! Unfortunately, this is a common condition in seeds but the chances are even bigger with this method.
Warmth and excess moisture are the two main culprits for mold, so you’ll need to inspect the seeds regularly. I had a few coffee filters with mold and, luckily, got rid of them in time.
2. Remove all the coffee filters that have any fungal growth on your seeds because they won’t germinate and fungus travels easily!
Yes, we used hydrogen peroxide, but it doesn’t guarantee success 100%; nothing does, to be more precise.
3. The next thing you should know is that this method works best with average-sized seeds. I tried carrot seeds but they were too small and I broke the roots while I was trying to transplant the seedlings (and I’ve never been that gentle in my life).
Moonflower seeds performed best, most likely because their seeds aren’t too tiny or too large. Large seeds of avocados and peaches won’t germinate this way. They need 2 months to germinate and spending that much time on a damp coffee filter will result in mold.
So, coffee filter seed starting method: to use or not to use? Definitely use. Even though there’s a risk of mold involved, it shouldn’t scare you off.
All you need to do is follow all the steps above carefully and inspect everything regularly. Once the seeds sprout, trust me, you’ll be happy you gave it a try!