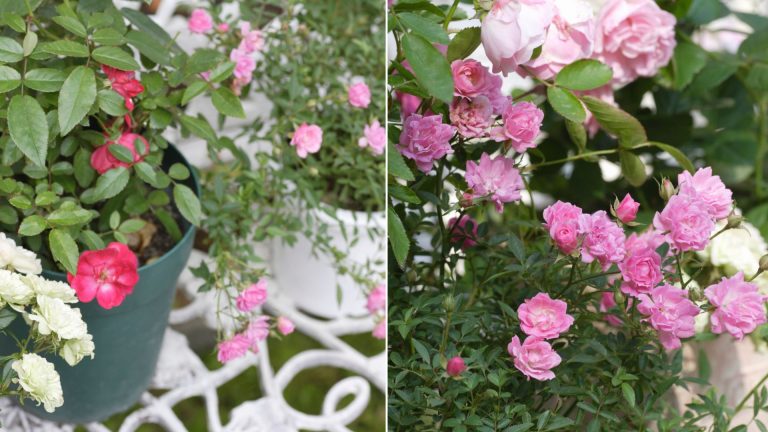
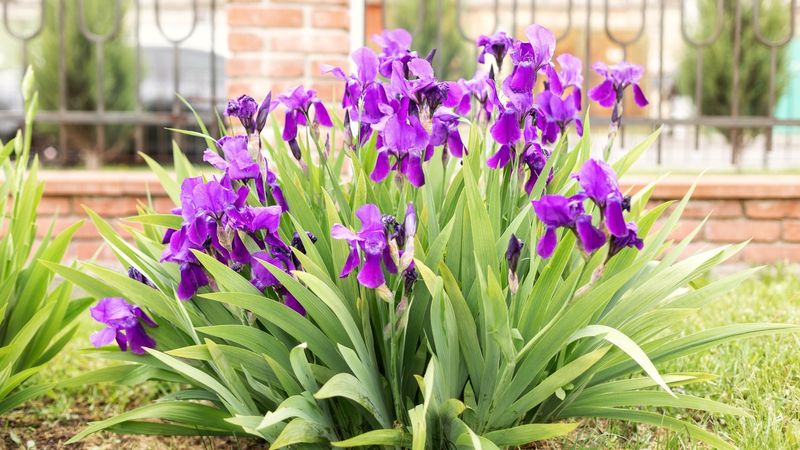
13 Common Iris Bulb Planting Mistakes (Plus 3 Smart Habits To Get Them Blooming Beautifully)

Growing irises has completely changed the way my garden looks in spring—their bold blooms and spiky leaves bring such a dramatic flair. But I’ll be honest, it took me a few failed attempts to really figure them out.
These beauties are a bit picky, and small mistakes can make a big difference. I’ve planted them too deep, watered them too much, and even ignored their sunlight needs—and each time, they let me know. Learning what they like (and what they absolutely don’t) has been key to finally getting reliable blooms.
So, if your irises are struggling or just not blooming like you hoped, you’re not alone. Here are the most common mistakes I’ve made—and how you can avoid them for a garden full of stunning, happy irises.
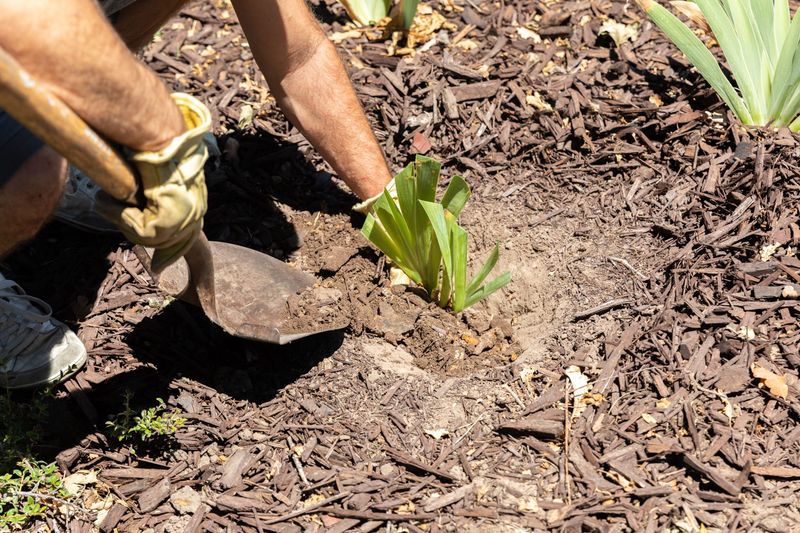
1. Planting Too Deep
Many gardeners bury iris rhizomes completely underground, treating them like typical bulbs. The rhizome actually needs to be partially exposed to sunlight—think of it as sunbathing with its back above soil level.
I once lost an entire season of blooms after planting my new iris collection too deep. The plants produced plenty of foliage but not a single flower appeared.
Position rhizomes with their tops just barely visible at the soil surface. This exposure helps prevent rot while ensuring proper development of both roots and future bloom stalks.
2. Overcrowding Rhizomes
Squeezing too many rhizomes into a small space creates competition for nutrients and increases disease risk. Irises planted in cramped conditions produce fewer blooms and smaller flowers over time.
My garden’s most impressive iris display came after I finally divided an overcrowded clump that had been declining for years. The difference in bloom quality was remarkable the following spring.
Space rhizomes about 12-18 inches apart to give them room to spread naturally. This spacing allows air circulation between plants, reducing fungal problems while promoting more robust flowering.
3. Ignoring Drainage Needs
Irises absolutely hate wet feet. Planting them in soggy soil or low spots where water collects is a recipe for rhizome rot and fungal diseases that can destroy your plants.
Last year, I moved several struggling irises from a low corner of my yard to a raised bed. The transformation was immediate – healthy new growth appeared within weeks.
Choose locations with excellent drainage or create raised beds if your soil tends to stay wet. Adding coarse sand or small gravel to heavy clay soil can significantly improve drainage around iris plantings.
4. Choosing Poor Locations
Irises need at least 6 hours of direct sunlight daily to produce their best blooms. Planting them in shady spots leads to leggy growth, weak stems, and disappointing flower production.
Moving an underperforming iris clump from partial shade to my sunniest border resulted in triple the bloom count the very next spring. The color intensity also improved dramatically.
Survey your garden throughout the day before selecting planting locations. Watch for areas that receive morning sun but offer some protection from intense afternoon heat, especially in hotter climates.
5. Planting At The Wrong Time
Timing matters tremendously with iris planting. Setting rhizomes in late summer to early fall (July through September in most regions) gives them adequate time to establish before winter dormancy.
My spring-planted irises took nearly two years to catch up to those planted in August. The fall-planted ones had time to develop strong root systems before winter arrived.
Avoid planting during extreme heat or just before winter freezes. If you must plant during other seasons, provide extra attention to watering and mulch appropriately for your climate conditions.
6. Excessive Mulching
Piling mulch directly against or over iris rhizomes creates a perfect environment for rot and pest problems. The rhizome needs air circulation and some sun exposure to stay healthy.
After losing several plants to rot, I now keep a mulch-free zone extending about 3 inches around each rhizome. This simple change has virtually eliminated rot issues in my iris beds.
Apply mulch between plants rather than over rhizomes if you want weed suppression. Use only a thin layer (1-2 inches) of lightweight material like pine straw that won’t trap excessive moisture against plant tissues.
7. Overwatering Established Plants

Irises are surprisingly drought-tolerant once established. Excessive watering leads to soft growth, reduced flowering, and increased susceptibility to diseases like bacterial soft rot.
During a particularly rainy summer, I noticed increased rhizome rot in areas where irrigation supplemented the natural rainfall. The irises in my unirrigated border fared much better.
Water newly planted rhizomes regularly until established, then cut back significantly. Mature irises typically need supplemental water only during extended dry periods, preferably delivered at soil level rather than overhead.
8. Neglecting Fall Cleanup
Leaving dead foliage and debris around iris plants over winter creates hiding places for iris borers and disease organisms. These pests can devastate your iris collection if left unchecked.
After skipping fall cleanup one year, I battled iris borers throughout the following growing season. The damage was extensive, requiring removal of several infected rhizomes.
Cut foliage back to about 6 inches tall after the first frost. Remove all plant debris, fallen leaves, and old mulch from around the plants. This simple maintenance step dramatically reduces pest and disease problems for the next growing season.
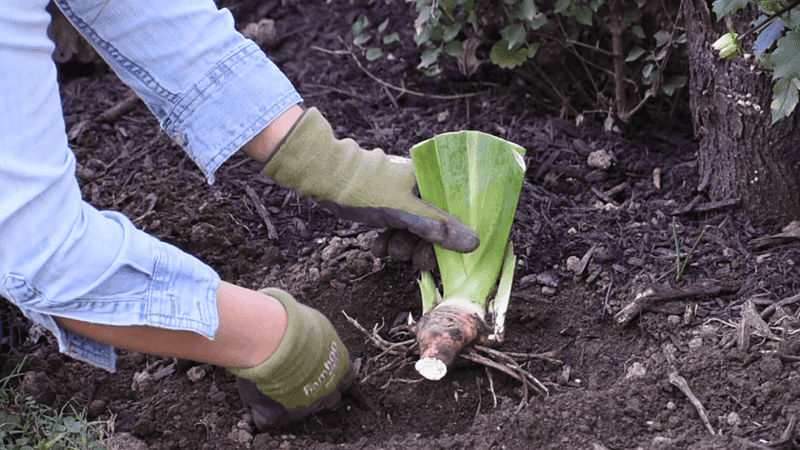
9. Forgetting To Divide Regularly

Mature iris clumps become overcrowded within 3-4 years, resulting in reduced flowering and increased disease susceptibility. The center of old clumps often dies out while newer growth pushes outward.
My oldest iris bed declined noticeably in its fourth year until I divided the congested clumps. The rejuvenated divisions bloomed prolifically the following spring.
Mark your calendar to divide irises every 3-4 years, typically 6-8 weeks after flowering. Keep only the healthy outer rhizomes with good leaf fans and discard the older center sections that have already flowered multiple times.
10. Using Fresh Manure
Fresh animal manure contains high nitrogen levels that promote lush foliage at the expense of flowers. It can also harbor pathogens that attack rhizomes and roots.
The year I added fresh horse manure to my iris beds was a disaster – beautiful leaves but hardly any blooms. The plants grew tall and floppy, toppling over during rain.
If using manure as fertilizer, make sure it’s well-composted for at least a year before application. Better yet, use a low-nitrogen fertilizer specifically formulated for flowering bulbs and apply it sparingly after blooming.
11. Leaving Spent Blooms

Allowing iris flowers to form seed pods drains energy that could be directed toward next year’s blooms. Seed production takes significant resources from the plant that would otherwise strengthen the rhizomes.
I conducted a simple experiment, deadheading half my iris bed while leaving the rest to form seeds. The deadheaded section produced noticeably larger and more numerous blooms the following year.
Remove faded flowers promptly by cutting the stem just above where it joins the foliage. Don’t cut the entire flower stalk to the ground until it turns brown, as it continues photosynthesizing and feeding the rhizome.
12. Strategic Companion Planting
Pairing irises with compatible plants creates natural pest deterrents and visual interest when irises aren’t blooming. Certain companions also help shade rhizomes without competing for resources.
My iris beds improved dramatically after adding shallow-rooted companions like creeping thyme and dianthus. These plants suppress weeds without invading the irises’ space.
Choose low-growing perennials that won’t overshadow irises or compete for nutrients. Avoid aggressive spreaders or plants requiring frequent division. Good options include small sedums, catnip, and hardy geraniums that provide contrast to the irises’ upright form.
13. Post-Bloom Feeding Ritual
Applying a phosphorus-rich fertilizer 4-6 weeks after flowering helps irises develop strong rhizomes for next year’s blooms. This timing targets the plant’s natural growth cycle when energy shifts from flowering to rhizome development.
Since implementing a post-bloom feeding schedule, my irises produce more bloom stalks per plant and larger individual flowers. The color intensity has also improved noticeably.
Use a balanced 5-10-10 or similar low-nitrogen fertilizer, applying it in a ring around plants rather than directly on rhizomes. Water thoroughly afterward to help nutrients reach the root zone where they’re most beneficial.