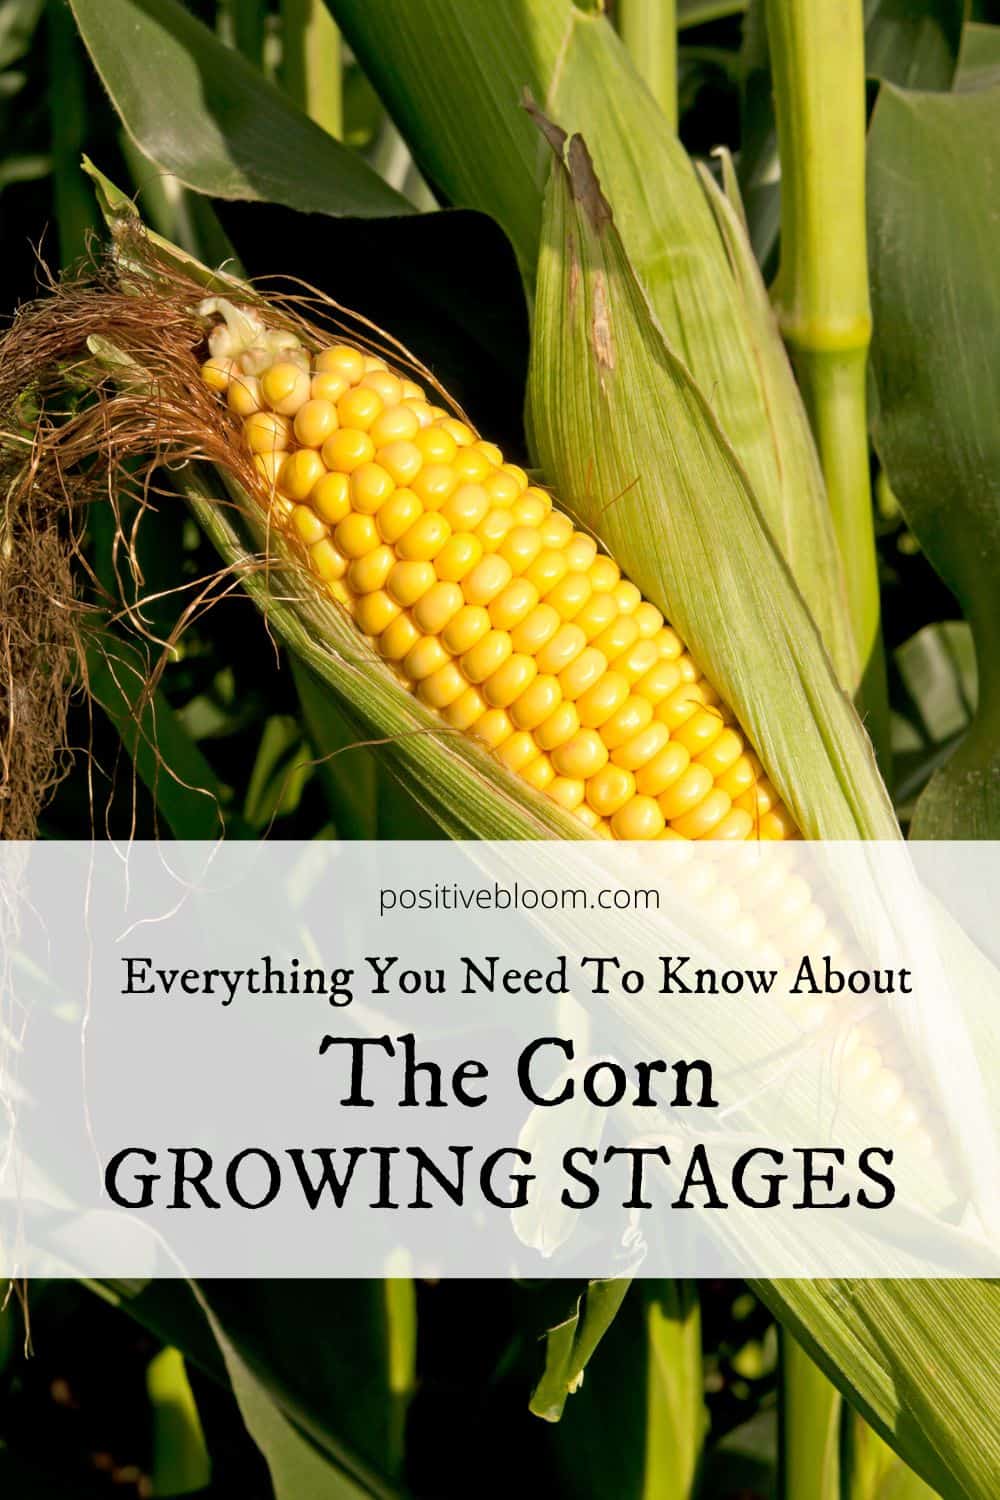
Everything You Need To Know About The Corn Growing Stages
Corn is one of my favorite veggies — it brings me so many fun memories from my childhood. Back in the summer days, we used to eat grilled corn almost every day!
I wanted to keep that tradition alive, which is why I started growing corn in my own garden. I hope that one day I will be able to grow an entire cornfield! This is why I know a thing or two about all the corn growing stages.
Don’t worry, there is no big fuss about growing corn. However, it is always a good idea to get familiar with the growing stages so you can tell if your corn plant is in trouble.
So, without further ado, let’s cover everything you need to know about the corn growing stages!
Corn Growing Stages

The corn growth stages begin with planting the seeds and germination, which is followed by the growth of the first leaves and further vegetative stages that include true leaf and tiller formation. After that, we are going to cover the reproductive growth stages.
Corn plants usually grow better in moderate temperatures, and they need about 55 to 95 days until they are ready for harvesting — to be more specific, the amount of days it takes to reach a particular minimum threshold temperature is known as “growing degree days,” and they range from 55 to 95.
Now, we are going to talk about the plant’s appearance and behavior throughout each growth stage, and also some tips and tricks that you can use to grow delicious and juicy corn.
Let’s dive in!
1. Planting
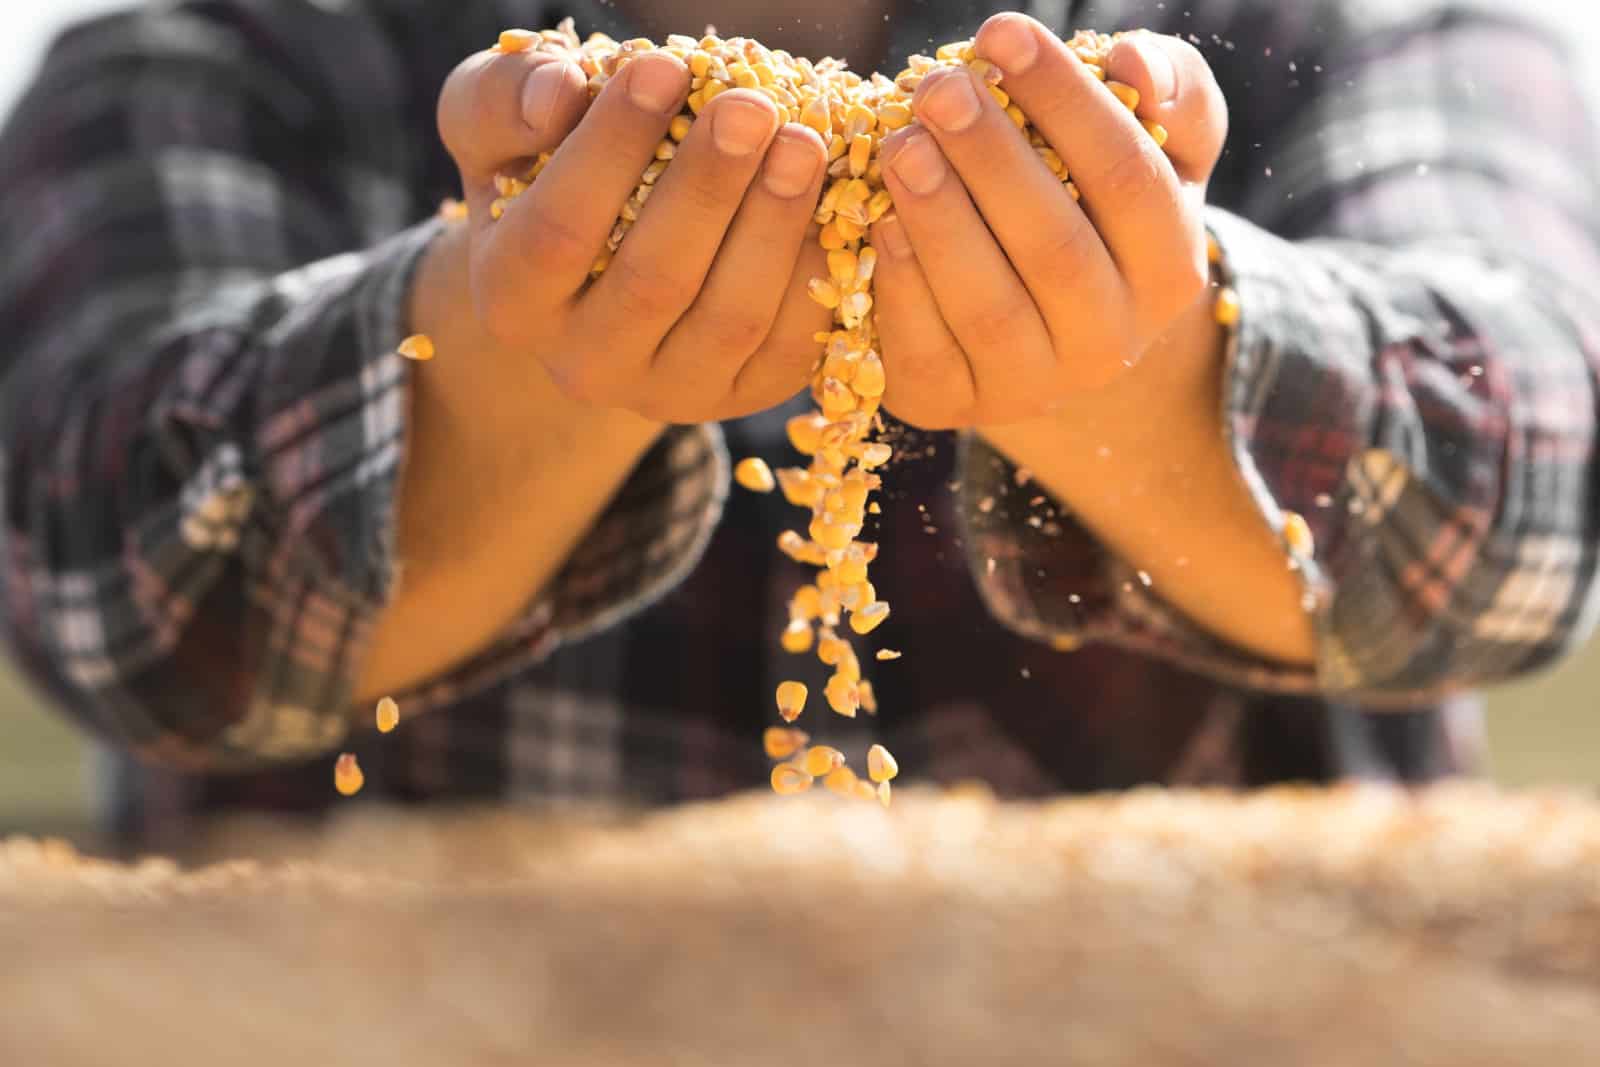
The ideal time to plant the seeds would be spring — late April or early May. Either way, it is important that the danger of frost has passed. You can plant the seeds 10 to 14 days after the last frost date.
It is important that the soil temperature has reached at least 50 degrees Fahrenheit, and the soil should be well-draining and rich in nutrients (loam works fine). Corn requires a lot of nutrients, so the soil is usually fertilized before planting.
You should use a fertilizer that is rich in nitrogen — one with an NPK ratio of 10-10-10 is perfect for this type of plant.
Corn is usually planted in rows, and they should be separated by about 2 feet. They should be planted 8 to 10 inches apart and the seeds should be sown at least 1 to 1.5 inches deep. It is important that they stay close together because of pollination.
2. Seed Germination
If the growing conditions are optimal, that is, if the temperature and soil moisture are satisfactory, the seeds won’t have any trouble germinating. Quick germination is another great feature of these plants — you can see little sprouts above the soil surface only 2 or 3 days after planting!
However, if the conditions are not great they will need 10 to 14 days to germinate. If the seeds haven’t germinated after two weeks, try planting them again because there must have been some issues with the seeds.
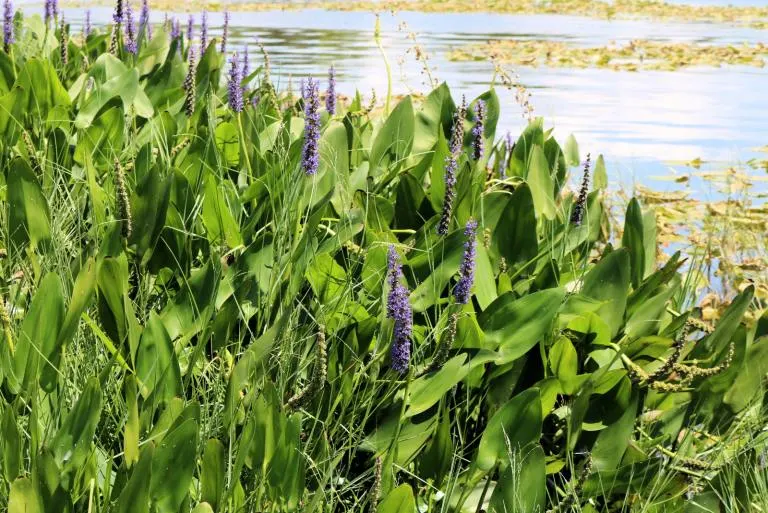
When sowing the seeds, you can also take into consideration herb companion planting to yield better crops. For instance, common sowthistle is a great companion to corn.
3. Sprouting
In the beginning, you will only notice the coleoptiles above the surface of the soil — there will be no leaves. After a while, you will notice the first leaf development!
These first leaves are called “flag leaves”, and they will be replaced soon with new leaves.
The leaf stage of development is finished once the visible leaf collars have been produced around the base of the leaf.
With the new leaves emerging and the development of the nodal root system, the plant will be ready to conduct photosynthesis.
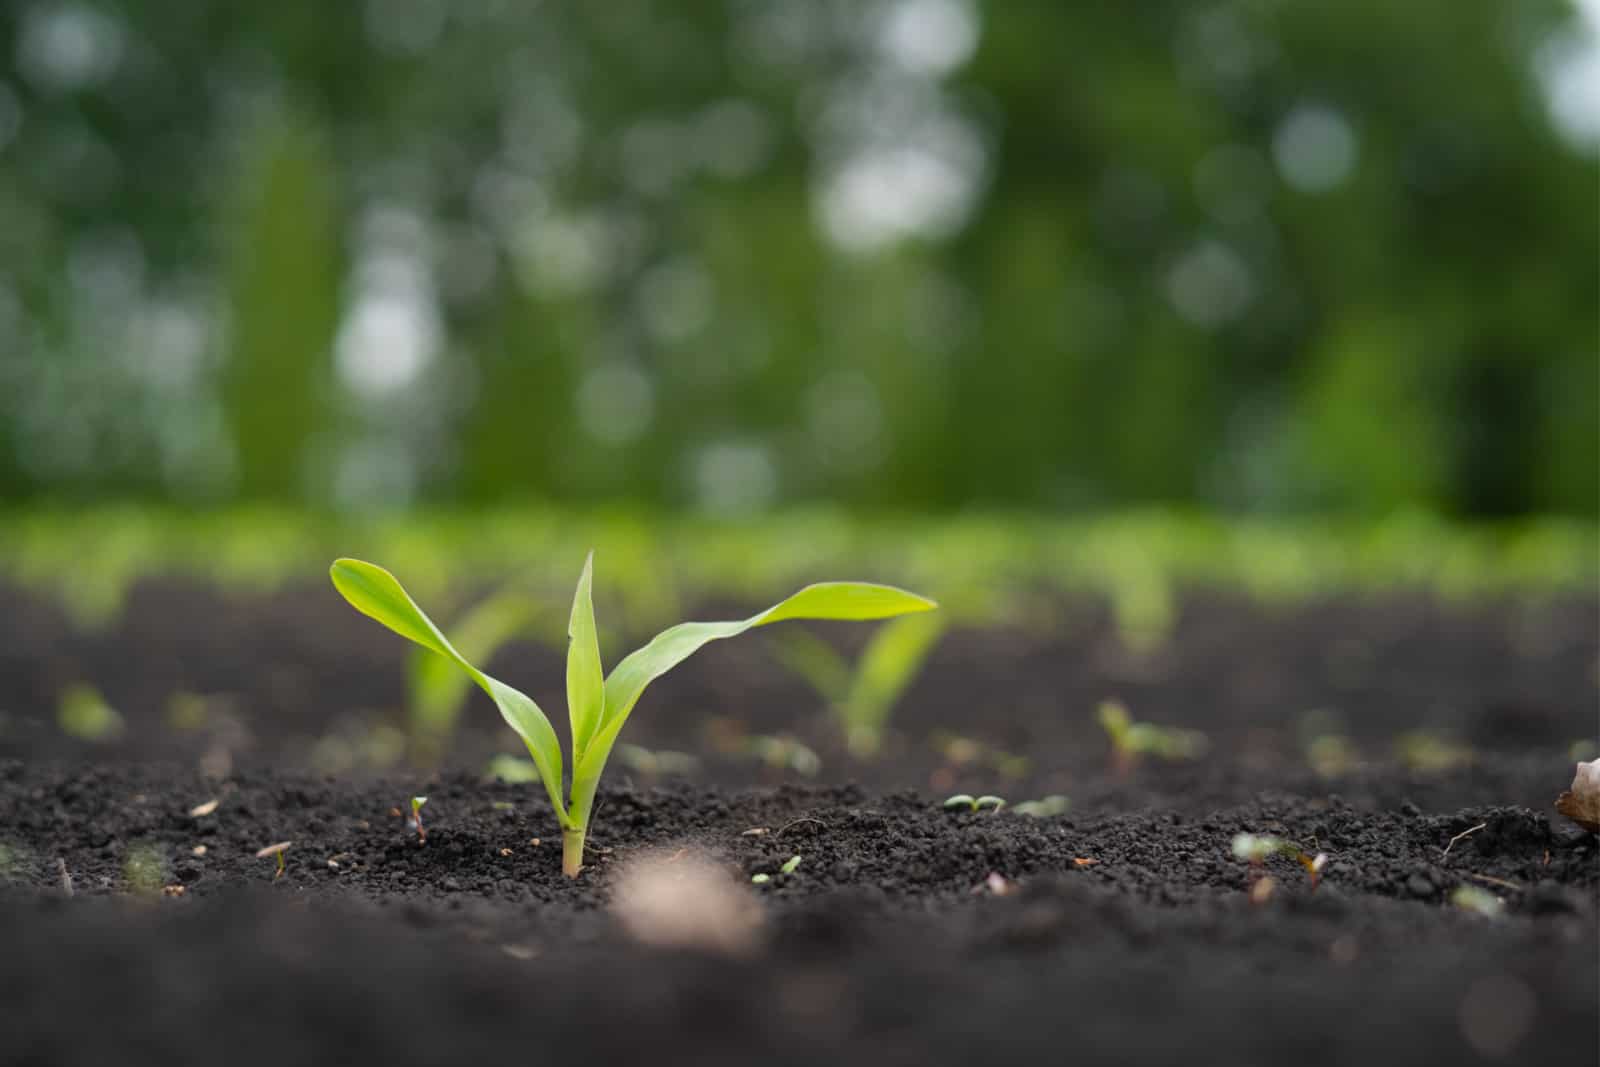
4. Corn Seedlings
At this growing point, the plant will focus on producing more leaves. Soon you will be able to see second leaf development.
These leaves will have a light green color and pointed tips. Corn growth and development now solely rely on photosynthesis, which is why they need at least 6 hours of sunlight throughout the day.
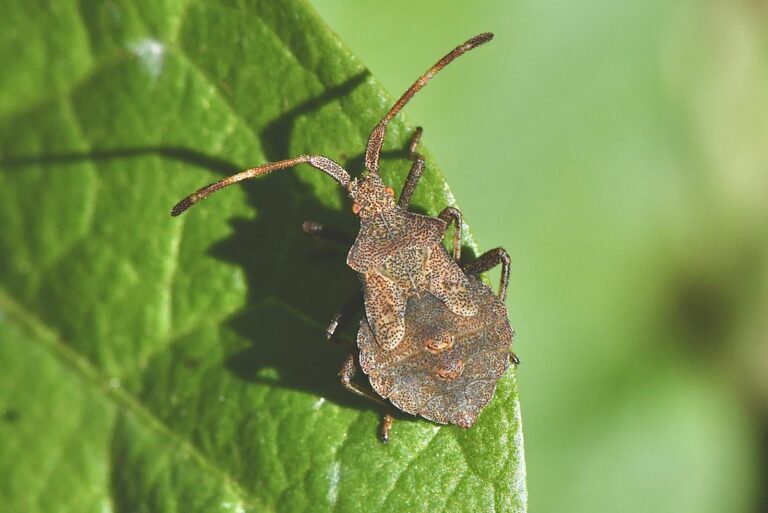
Be careful because these seedlings are fragile and easily affected by low temperatures and wind damage, as well as various pests and fungi, including seedling blight.
5. Vegetative Growth Stages

Now your plant will begin rapid growth and focus on physiological maturity. Tillers will be produced, which are the branches that emerge from your plant’s lower five to seven nodes. This is when stem elongation occurs.
Soon, tassels (male structures) and ears (female structures) will begin to develop. This means that the plant will enter the reproductive stages.
If the plant loses some lower leaves along the way, that is completely fine!
You can also try staging older plants by using the collar method — this is when you dig up the plant and split the stalk down. Split the lower stalk lengthwise, look for internode elongation, and use this information to identify the leaf stage following lower leaf loss. The fifth leaf node is typically the first node above the first elongated stalk internode. This internode typically measures less than half an inch. One alternative starting point for counting to the top leaf collar is this fifth leaf node.
Leaves that have no visible collar, and the ones found within the whorls that are not fully developed, are not included in staging.
For more information, you can check out this video about staging corn:
Before the plant enters the reproductive stages, it has to go through sexual development. This begins with the formation of sexual structures, followed by dry matter accumulation. You will notice many ear shoots, which will eventually become ears, and tassels will be visible.
The plant will require significantly more moisture and nutrients as a result of the accumulation of dry weight and nutrients.
Anything you can do to lessen the effects of stress on the plant during this period of growth will have an impact on the crop’s overall yield potential — you should do a quick soil test and check the fertility and moisture level.
The end of leaf production indicates that there will be no further vegetative growth. The tassels are completely visible, while the silks have yet to emerge. Pollen shed will begin and continue for 2 weeks in order to prepare for the reproductive stages.
6. Reproductive Stages
When it comes to physiological maturity, the plant is now ready to go through the reproductive growth stages. There will still be some improvement of the ears, but the plant now solely focuses on kernel development in their husks.
The reproductive stages can be divided into:
• R1 Silking
• R2 Blister
• R3 Milk
• R4 Dough
• R5 Dent
• R6 Black layer
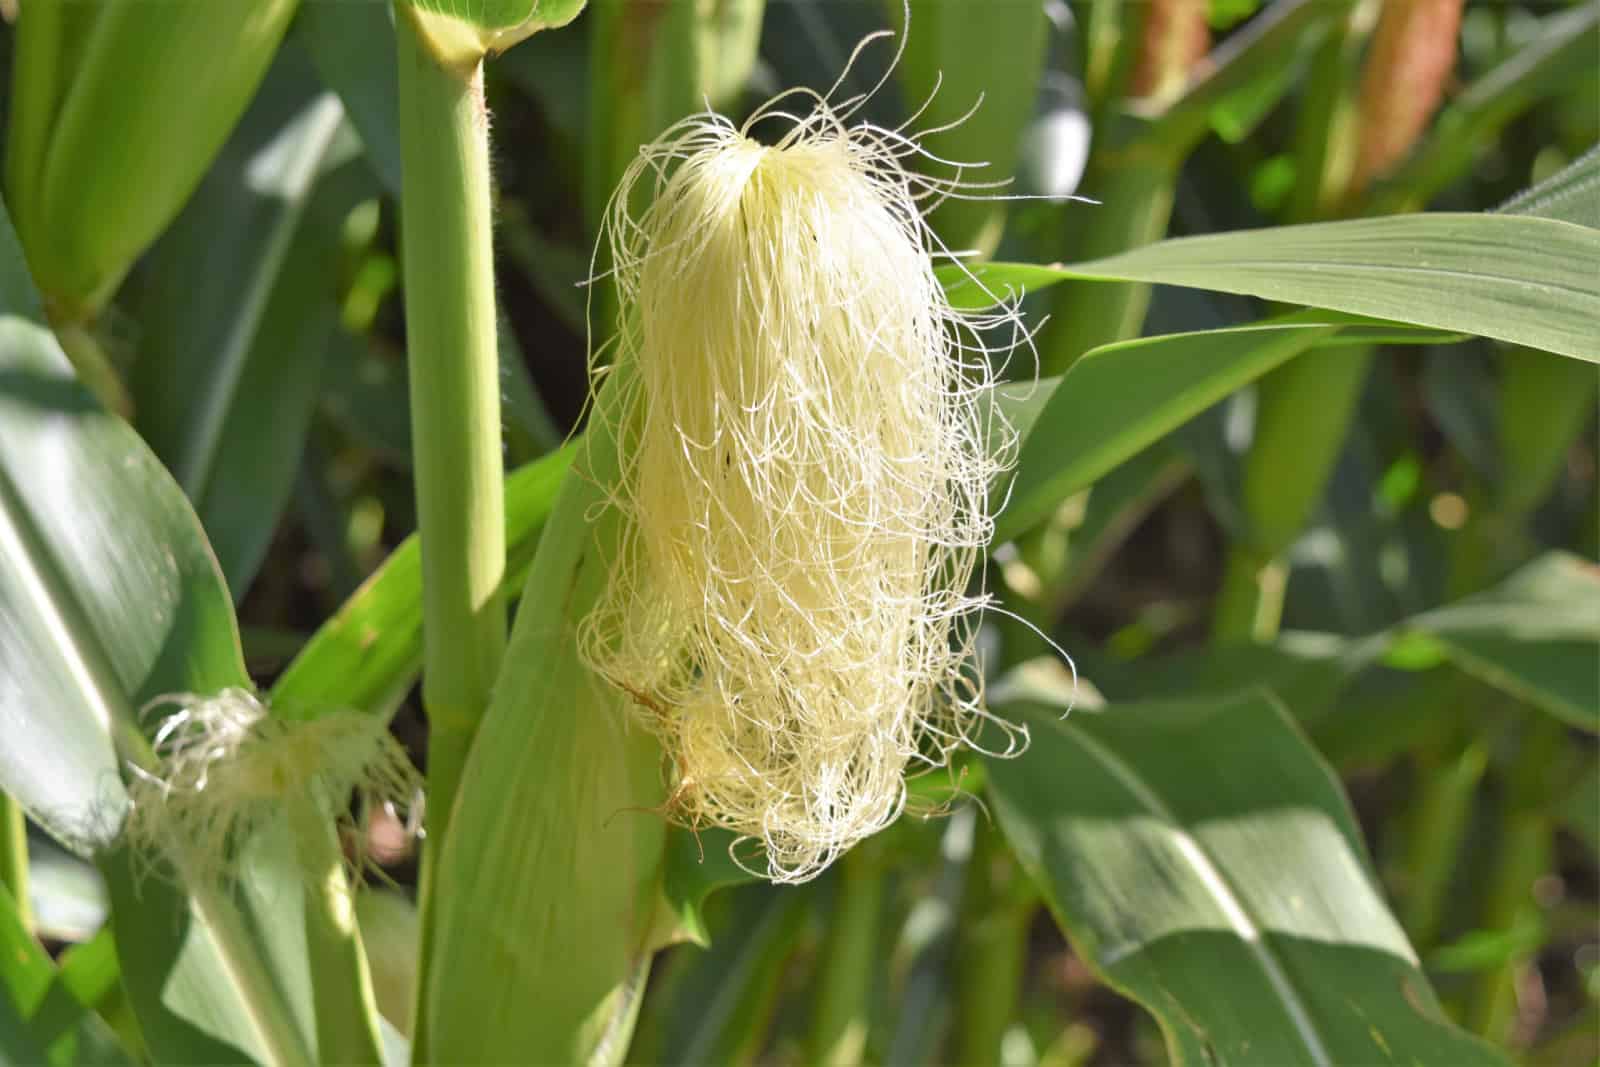
R1 Silking
Reproductive growth begins with silk emergence, which is why silking is the name of the first reproductive stage. The silk is required to catch the pollen that lands on the fully developed tassels. Pollination occurs inside the ovule, where any pollen that the silk manages to collect travels along it. This stage lasts from 24 to 36 hours.
The corn plant is at its most vulnerable state during this stage, which is why it is important that you provide it with enough moisture and make sure that the temperature is satisfactory.
R2 Blister
The next reproductive stage is a blister. About 12 days after silk emergence, the silk will become dark and dry, and the plant begins kernel development.
In the beginning, kernels are small and white and form small blisters filled with clear liquid. Kernels now have around 85% moisture, which will significantly decrease as they mature and turn yellow.
You should also take good care of your plant during this stage as the number of kernels is affected. If you expose your plant to things like drought and lack of moisture, it will result in kernel abortion.
R3 Milk
The inner fluid that was once clear will turn milky white upon starch accumulation. The kernels will start turning yellow on the outside. The moisture level now drops to 80%. However, it is still crucial that you provide the plant with enough moisture and nutrients.
The cob will be significantly bigger compared to the previous growth stages.
Although the effects of stress are less severe, shallow kernels, stalk cannibalization, and lodging can still appear if the plant’s needs aren’t met.
R4 Dough
During this reproductive stage, the liquid will now have a more dough-like consistency. This usually occurs 26 days after silking. The moisture level of the kernels now drops to around 70%, and their dry weight has accumulated around 50% until they reach maximum.
Dents will begin to appear at the top of the kernel, and the milk line will progress toward the tip.
R5 Dent
Most kernels are now completely dented — the moisture level is now around 55%. The cob begins to turn pink, red, or white 38 days after sinking.
Within the kernels, the accumulated starch is still developing and thickening. The dough-like substance is now much firmer and more defined. Over time, the starch will start to solidify at the top of the kernel and fall back towards the cob.
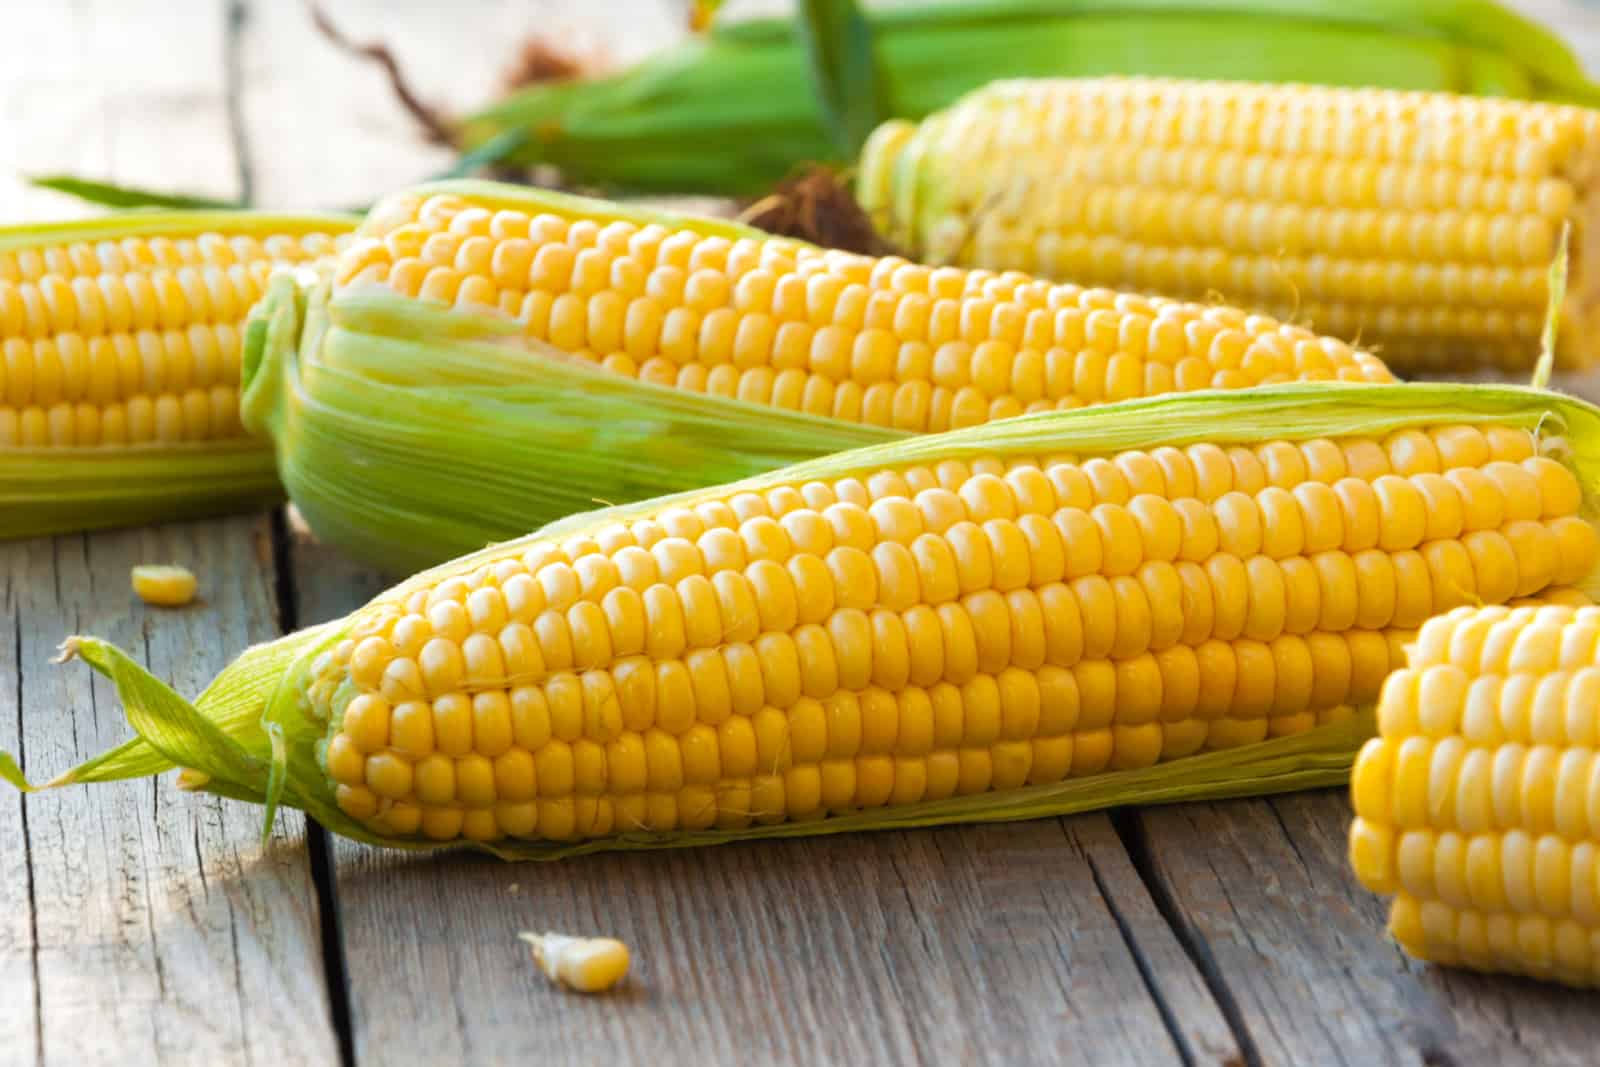
R6 Black Layer
This is the final reproductive stage, which means that the plant has reached physiological maturity. The moisture level is now around 30% to 35%, and the dry matter has reached its maximum capacity.
The black layer has developed, and it can be found at the point where the kernel attaches to the cob. The cob now contains the starch that was previously at the top of the kernels. The kernels have reached maturity and cease developing when the coating turns black.
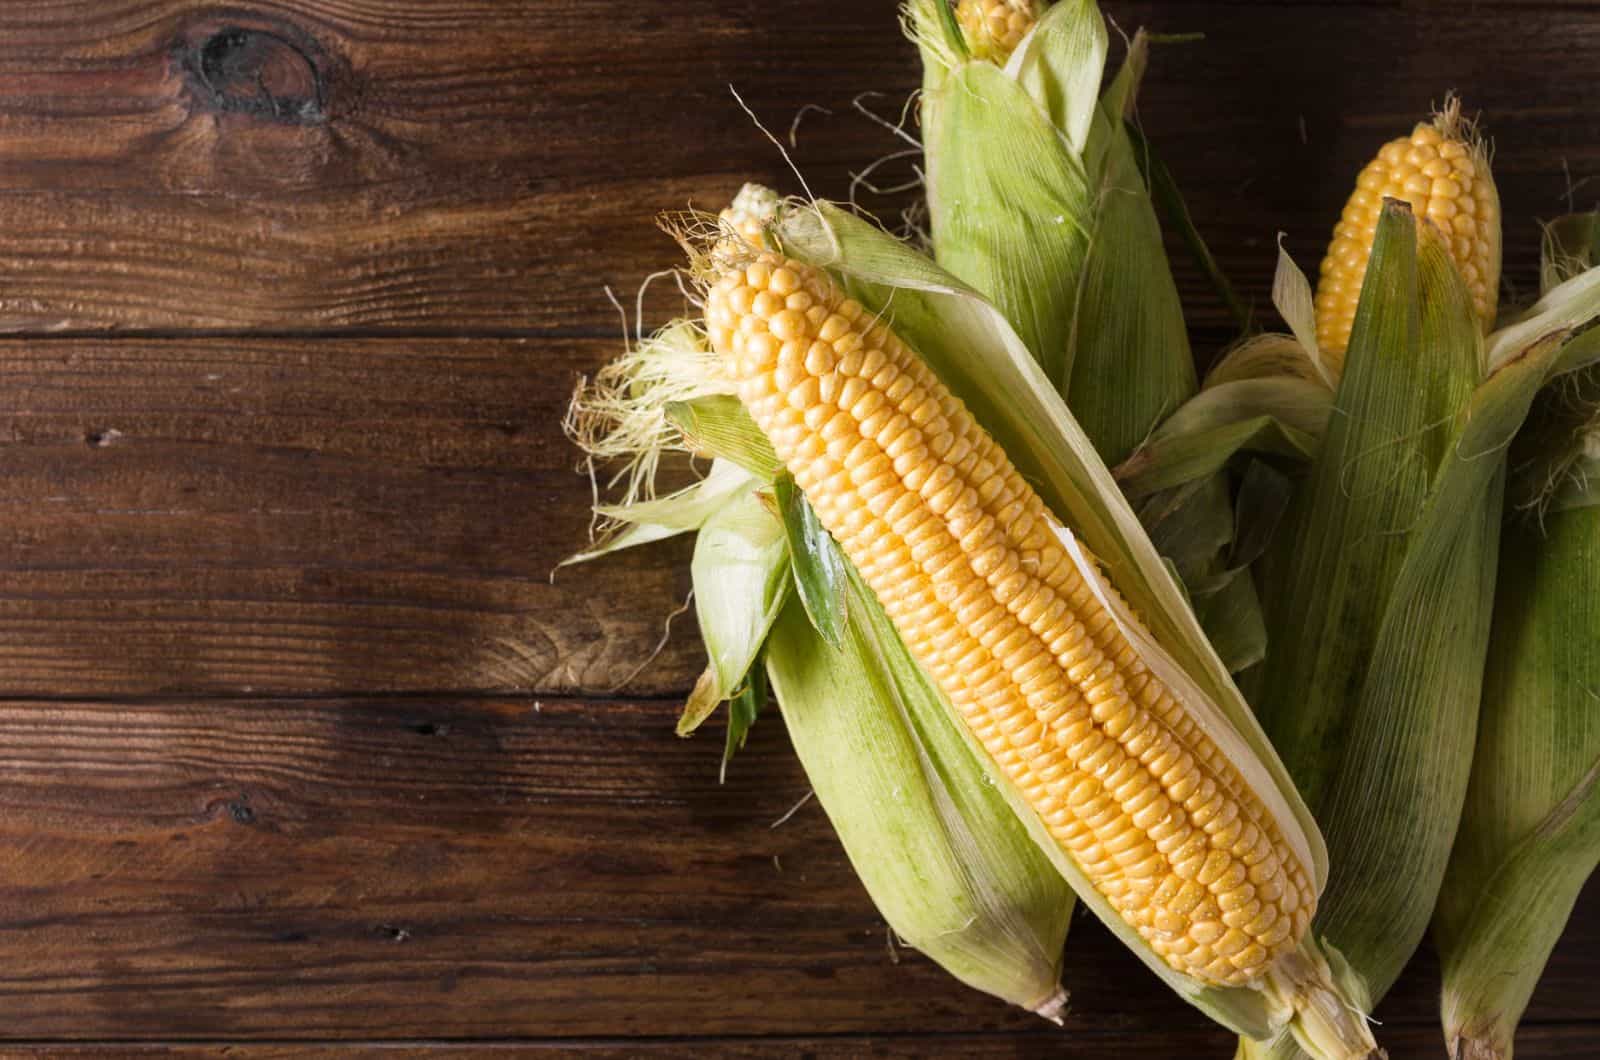
Kernels now have a deep yellow color and are firm and tasty!
To Sum Up
The corn growing stages can seem a bit complicated compared to other veggies, mainly because of the reproductive stage. After all, it is a unique plant that develops numerous tiny delicious kernels that can eventually be turned into popcorn!
The plant takes its sweet time to develop these tasty kernels, and they like to have their needs met. Therefore, you should be really careful if you plan to become an agronomist and own a large cornfield.
If you have planted just a few corn plants in your garden, the same thing applies — provide them with enough moisture and nutrients if you want to end up with some juicy corn.
I hope this article was helpful.
Until next time!
Like this post? Share or pin it for later!