15 Steps To Pull Stubborn Thistle Weeds By Hand (And Keep Them From Coming Back)
Thistle weeds can be a real headache, stubbornly popping up where you least want them. I’ve spent hours wrestling with these prickly invaders, learning the hard way what works—and what just wastes time.
These 15 steps make pulling thistles by hand a lot less painful and way more effective. Plus, I’ll share how to keep them from sneaking back into your garden.
Let’s tackle those weeds and reclaim your green space!
1. Gear Up Properly
Never tackle thistles bare-handed! Those spines mean business and can easily puncture skin. Invest in thick gardening gloves that extend past your wrists for maximum protection.
Long sleeves and pants add another layer of defense against painful pricks. Some gardeners swear by leather gloves specifically, as they provide the best combination of protection and dexterity for grabbing those stubborn stalks.
2. Water the Area First
Surprising as it may seem, giving thistles a good drink makes them easier to remove. Thoroughly soak the soil around the thistle plants about an hour before you plan to pull them. This loosens the earth around those deep taproots.
Moist soil releases its grip on the roots more readily than dry, compacted ground. Your pulling efforts will require less force, and you’ll have a much better chance of extracting the entire root system intact.
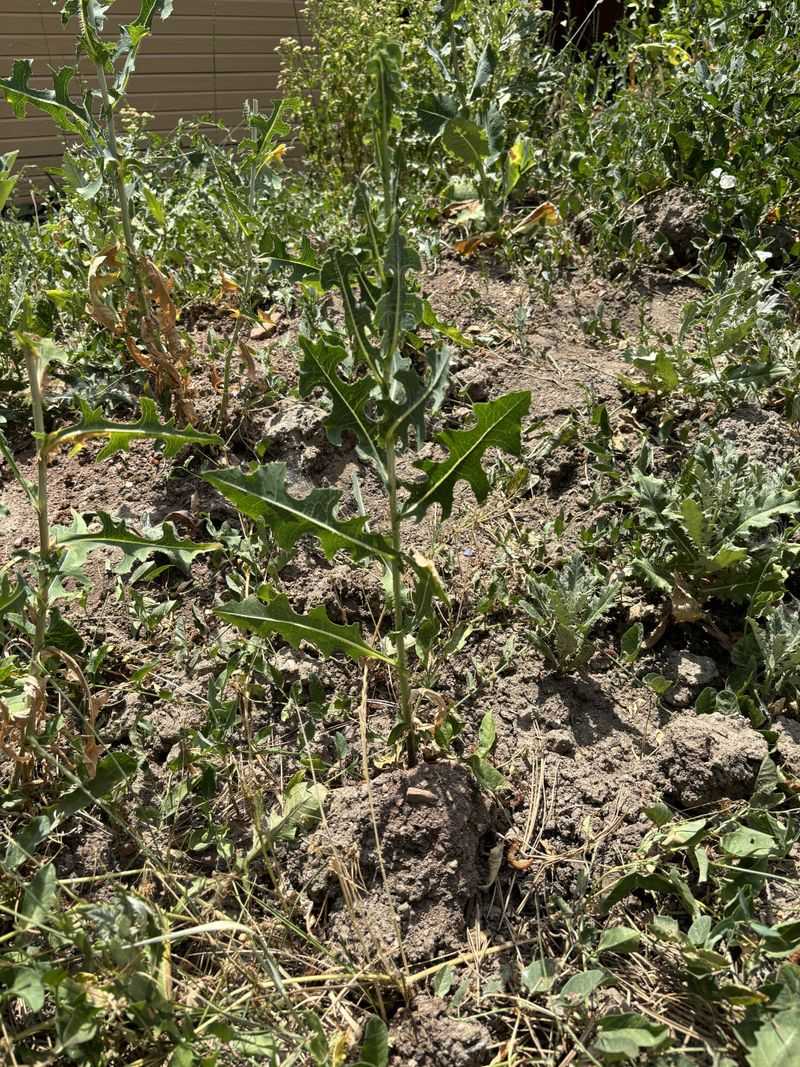
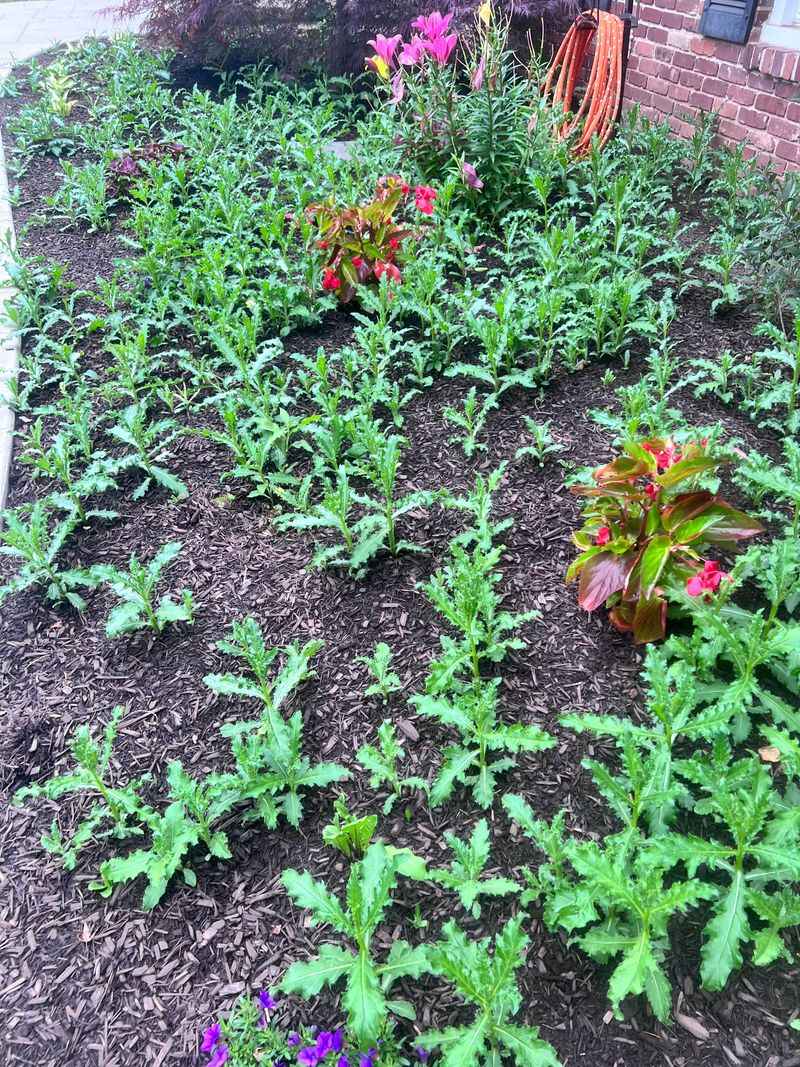
3. Identify the Right Time
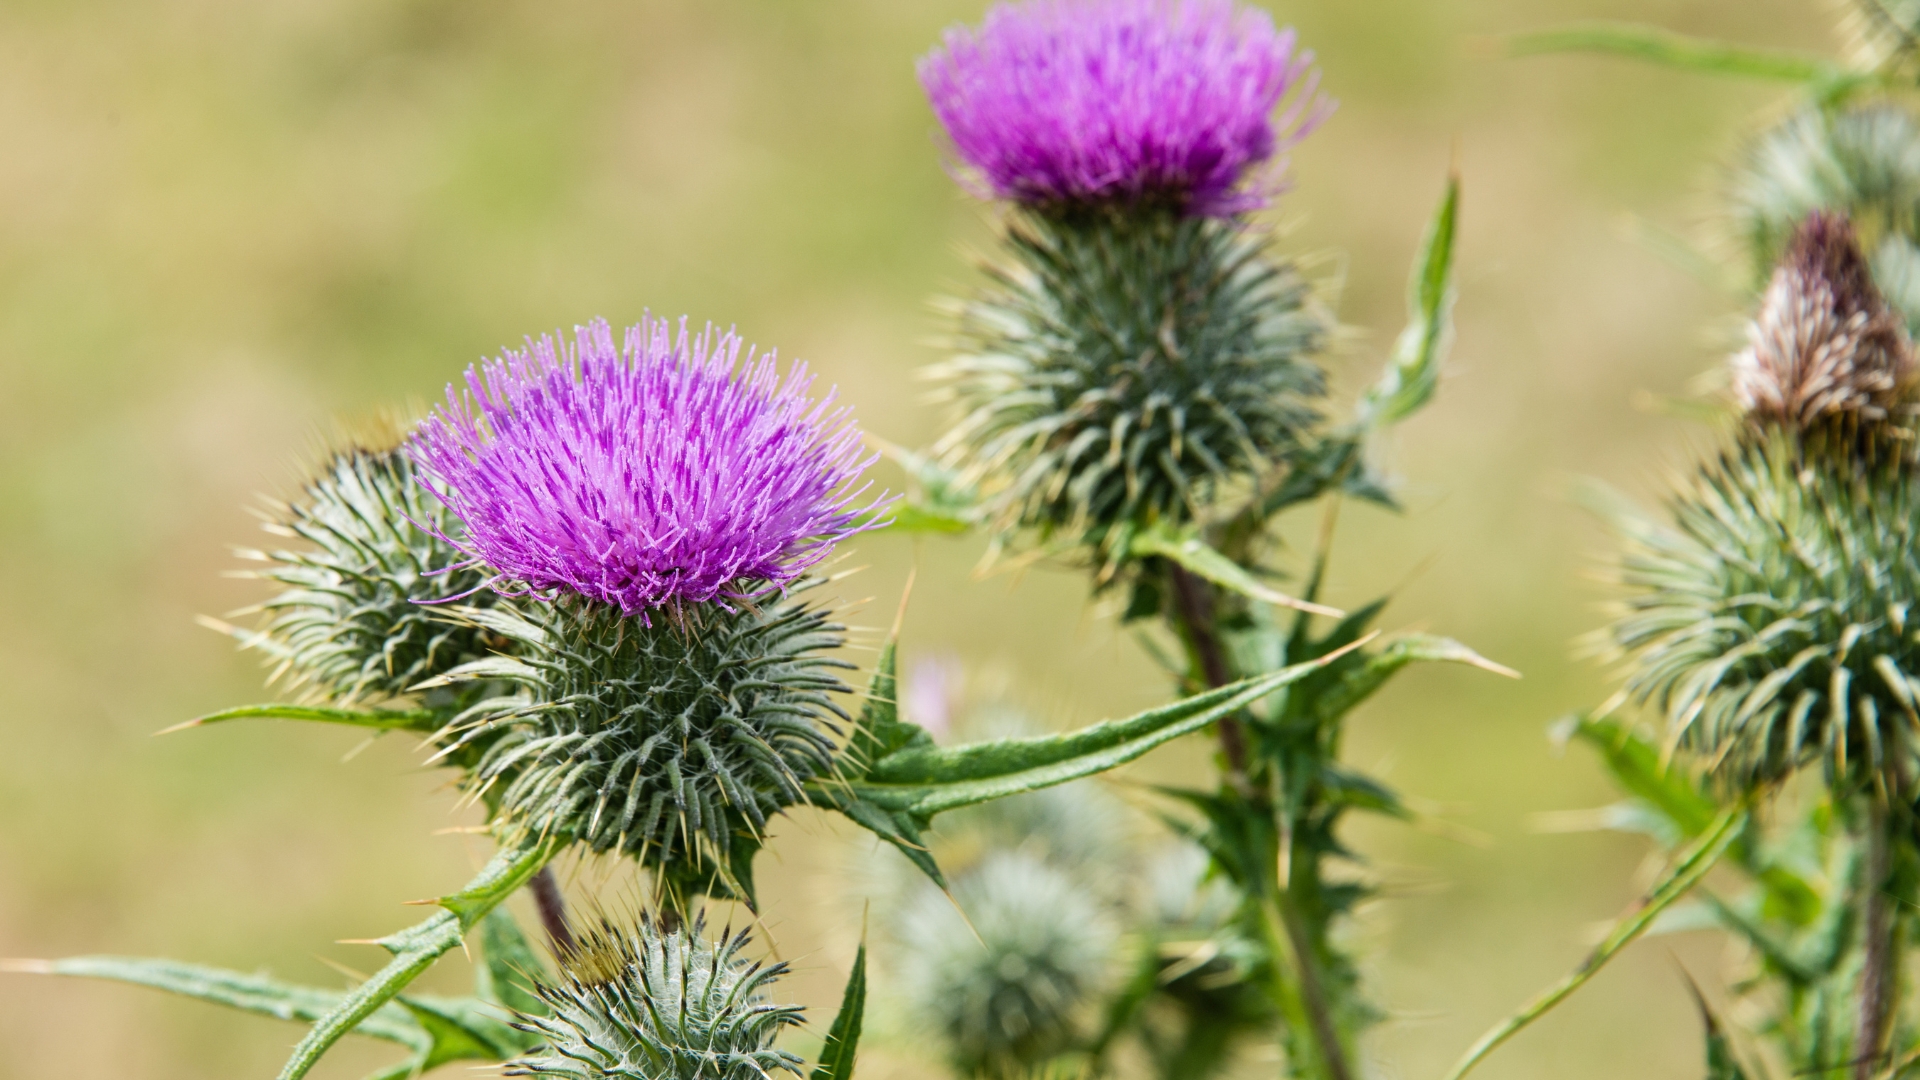
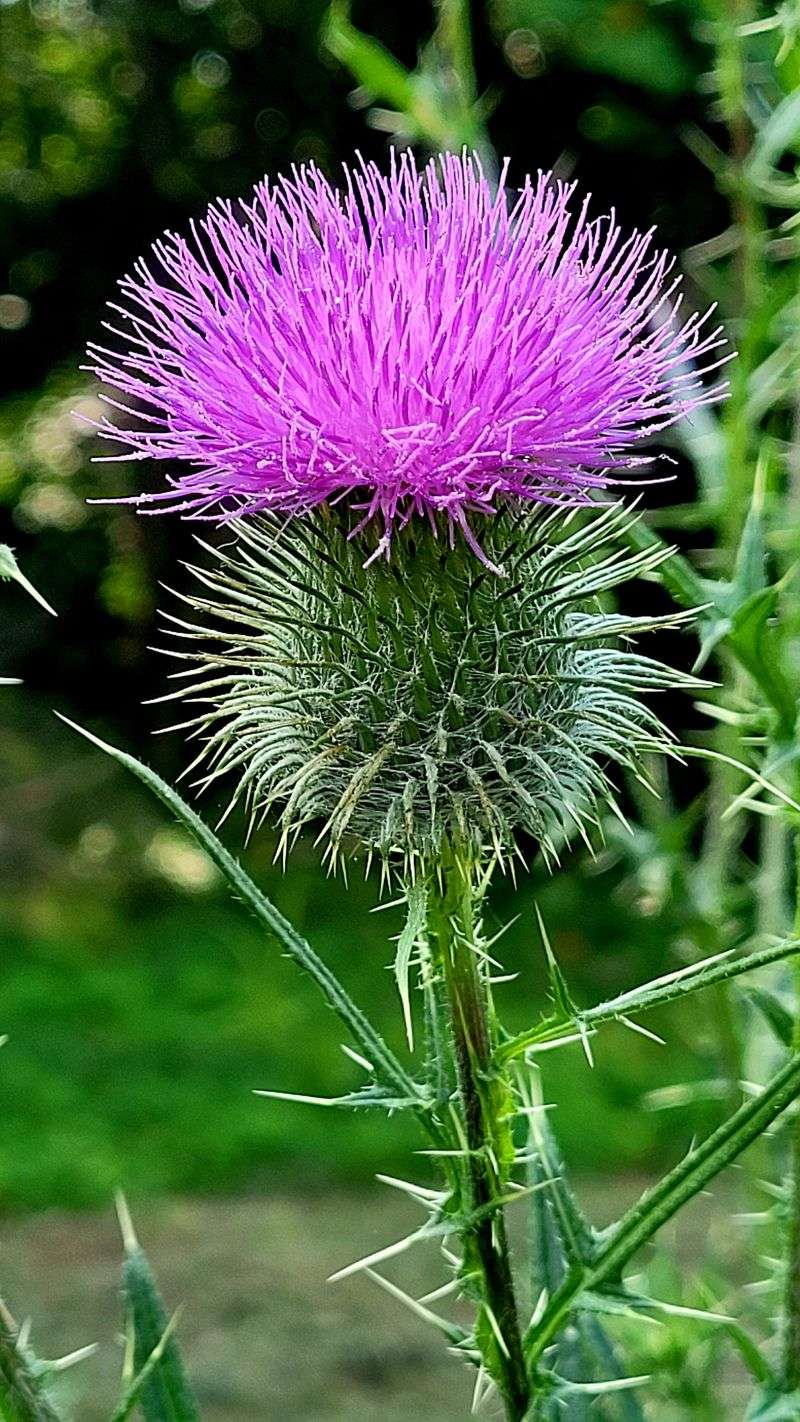
Timing matters tremendously when battling thistles. The ideal moment to pull these prickly pests is when they’re young but visible, before they’ve produced their fluffy seeds. Spring and early summer usually offer the perfect window.
Young thistles have smaller root systems that haven’t established their iron grip on your soil yet. If you spot flower buds forming, act immediately – once those purple flowers turn to seed, you’ll be fighting hundreds more thistles next season.
4. Use Proper Tools
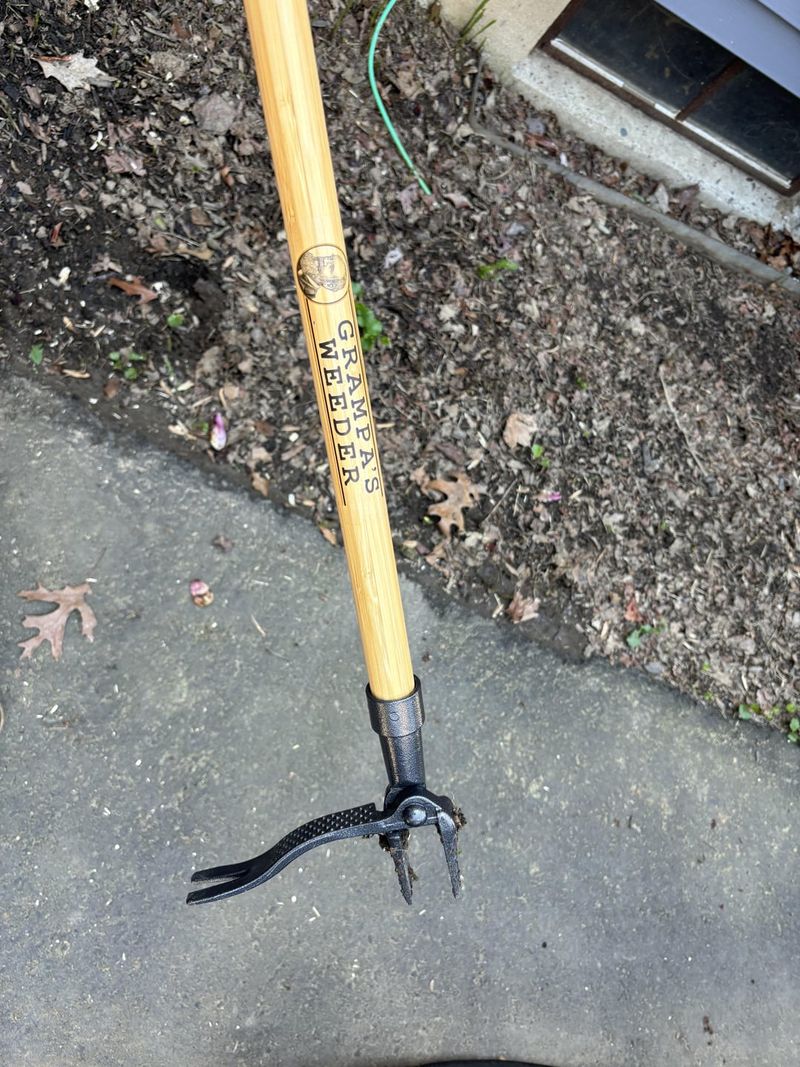
A specialized weed puller can be your best friend in the thistle battle. Look for tools with a forked end or a claw design that can grip the base of the plant. Garden knives or dandelion diggers work wonderfully for loosening soil around the roots.
For especially stubborn specimens, a garden fork used to gently loosen the soil around the plant before pulling can make all the difference. The right tool transforms thistle removal from backbreaking labor into a manageable garden task.
5. Grasp Low and Firm
Position matters tremendously when pulling thistles. Grab the plant as close to the ground as possible, wrapping your gloved hand firmly around the base of the stem. This gives you the best leverage for extracting the entire root.
Avoid grabbing higher up the stem where it’s weaker and likely to break. A broken stem means the root stays in the ground, and within weeks, you’ll see that same thistle sprouting again, often stronger than before.
6. Pull With Steady Pressure

Yanking abruptly is the enemy of successful thistle removal. Instead, apply firm, steady pressure upward while gently rocking the plant back and forth. This patient approach helps loosen the root’s grip on surrounding soil.
The goal is to feel the root gradually releasing from the earth. Listen for that satisfying sound of the entire root system pulling free. If you feel too much resistance, stop and loosen the soil more rather than risking a root break.
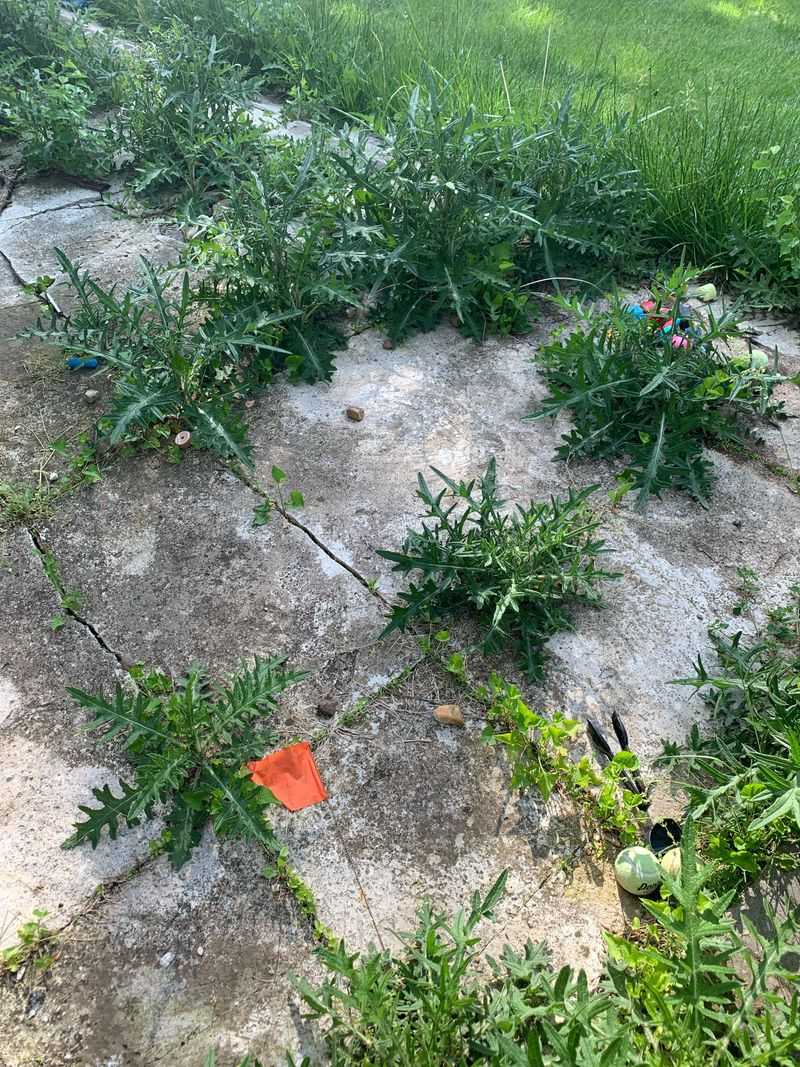
7. Check for Complete Removal
Don’t celebrate too quickly after pulling a thistle. Take a moment to inspect what you’ve extracted – a successful removal includes the entire taproot, which can extend surprisingly deep. The root should taper to a thin end.
If you see a clean break in the root, you’ve left part behind. Mark this spot with a small stake or flag so you can monitor it for regrowth. Partial removal simply delays the problem rather than solving it.
8. Dispose Properly
Never toss pulled thistles onto your compost pile! These resilient plants can reroot themselves or spread seeds even after being pulled. Place them in a dedicated yard waste bag or container where they can’t escape back into your garden.
Some gardeners burn the pulled thistles to ensure complete destruction. If you choose this route, make sure it’s legal in your area and follow all fire safety precautions. The goal is permanent removal, not temporary relocation.
9. Fill the Holes
Those holes left behind after pulling deep-rooted thistles create perfect opportunities for new weed seeds to settle in. Don’t leave them empty! Fill each hole immediately with fresh soil, tamping it down firmly to eliminate air pockets.
This simple step prevents new weed seeds from finding an ideal germination spot. It also maintains the level surface of your garden bed or lawn, preventing water pooling that can lead to other garden problems.
10. Apply Mulch Barriers
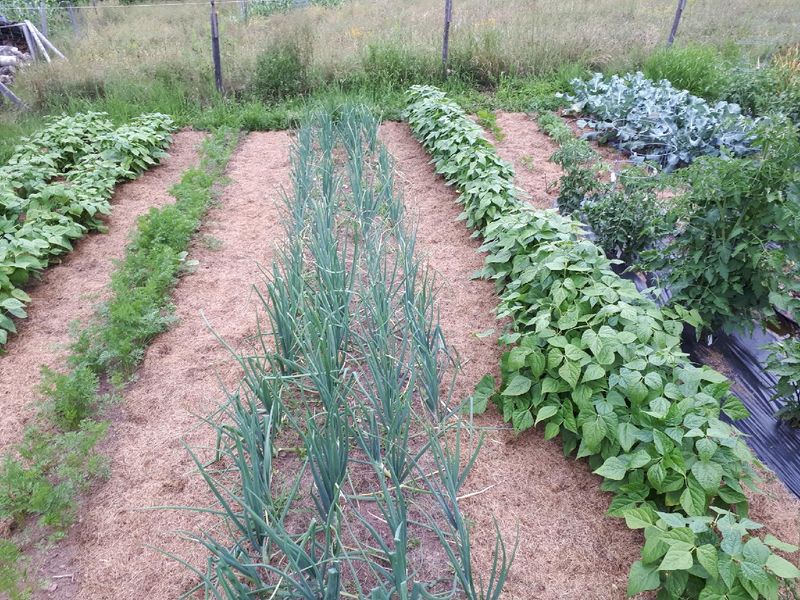
Create a physical barrier against future thistle invasions by applying a thick layer of mulch. Aim for 3-4 inches of organic mulch like wood chips, straw, or shredded leaves over areas where you’ve removed thistles.
This mulch layer blocks sunlight from reaching any remaining thistle seeds or root fragments in the soil. As a bonus, it conserves moisture for your desired plants and gradually improves soil quality as it breaks down over time.
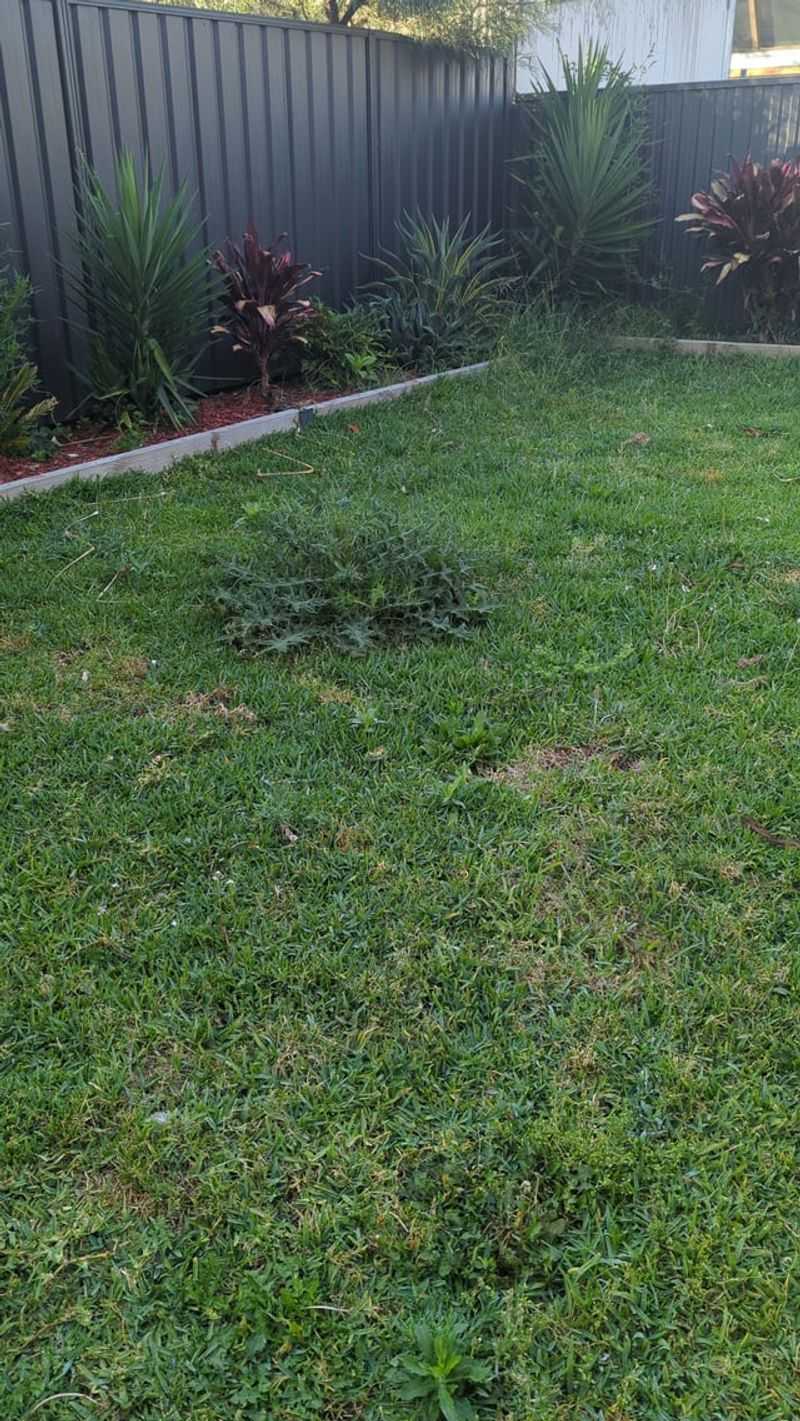
11. Plant Competitive Species
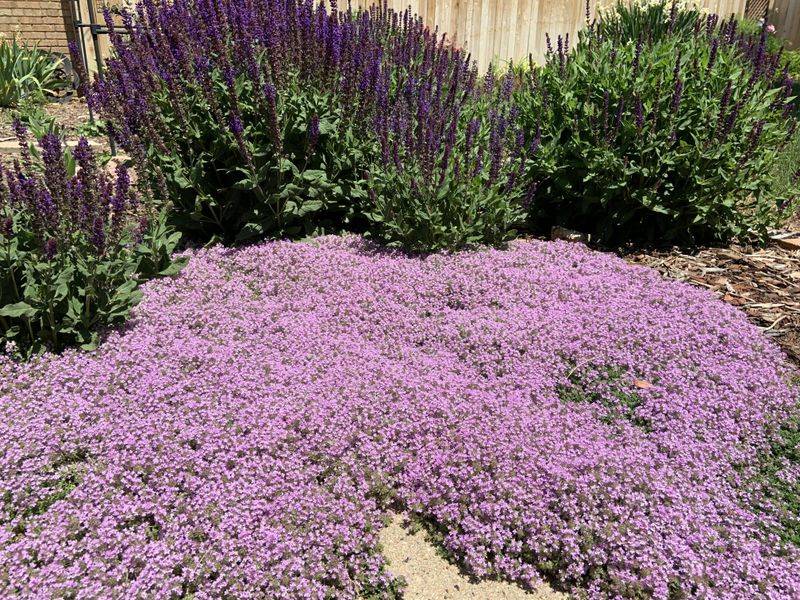
Nature abhors a vacuum, so fill spaces where thistles once grew with desirable plants that can outcompete any returning weeds. Dense groundcovers like creeping thyme or ajuga quickly spread to occupy bare soil.
Consider native wildflowers with robust root systems that can compete effectively for nutrients and water. The key is selecting plants that establish quickly and create shade at soil level, making it difficult for thistle seedlings to get established.
12. Monitor Regularly

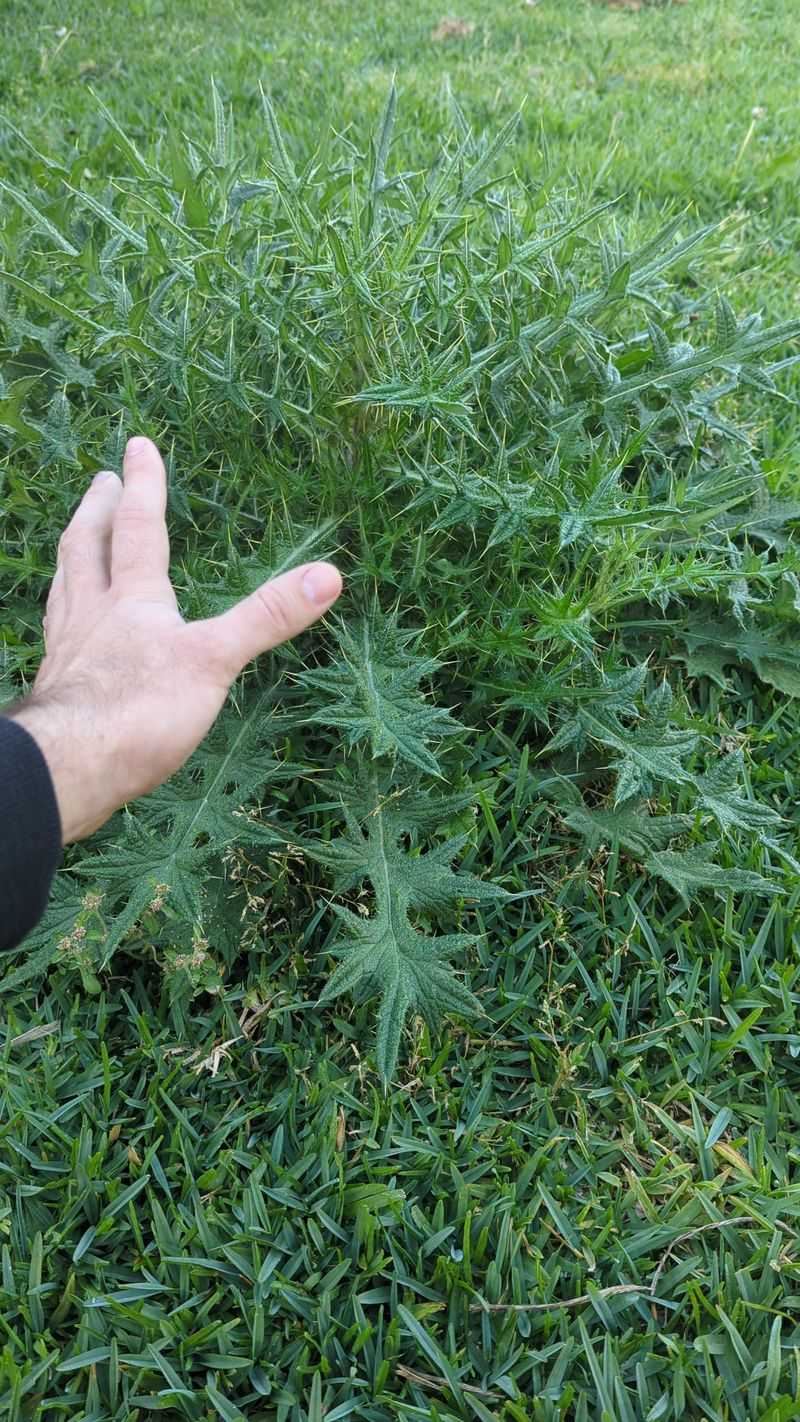
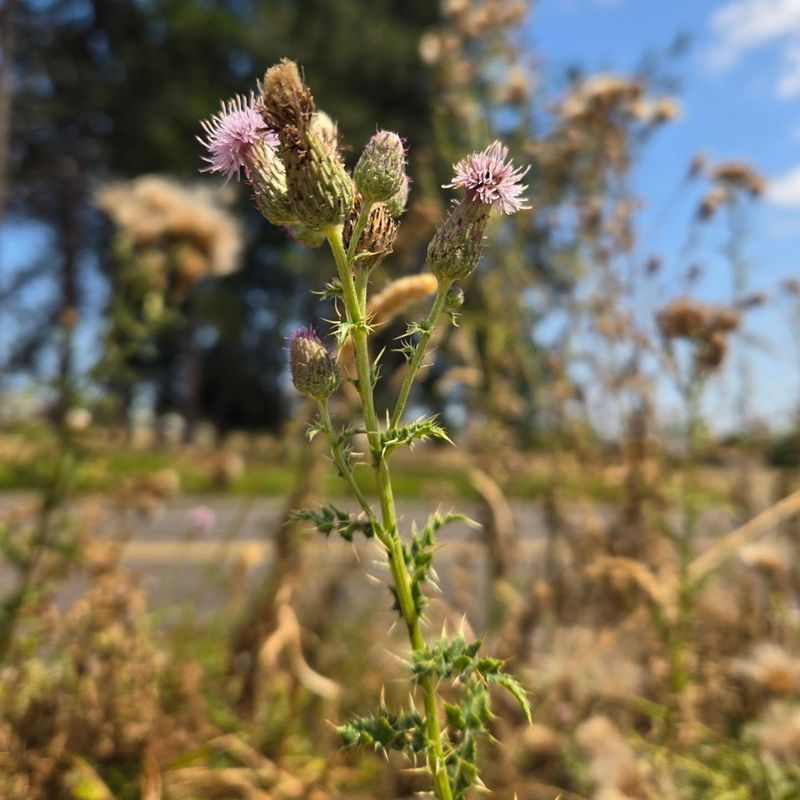
Vigilance is your secret weapon against thistle reinvasion. Set a weekly schedule to inspect areas where you’ve removed thistles, looking for the distinctive spiky leaves of new seedlings. Catching them when they’re tiny makes removal infinitely easier.
Early morning or evening light often makes new growth more visible as shadows highlight the emerging leaves. Don’t underestimate thistles’ persistence – consistent monitoring for at least two growing seasons is often necessary for complete control.
13. Apply Natural Suppressants
Harness nature’s own weed-fighting compounds by applying vinegar-based solutions to areas prone to thistle growth. A mixture of white vinegar, salt, and a drop of dish soap can be effective against young thistles without harming the environment.
Corn gluten meal works as a natural pre-emergent herbicide, preventing thistle seeds from successfully germinating. Apply it in early spring before thistle seeds typically sprout, creating a natural barrier to new infestations.
14. Maintain Healthy Soil
Thistles often thrive in poor, disturbed soil conditions. Improving your soil health creates an environment where desirable plants flourish and weeds struggle. Add organic matter like compost to increase beneficial soil microbes.
Avoid unnecessary tilling, which brings dormant thistle seeds to the surface where they can germinate. Healthy soil with good structure supports strong plant growth that can naturally suppress weeds through competition for resources.
15. Create Physical Barriers
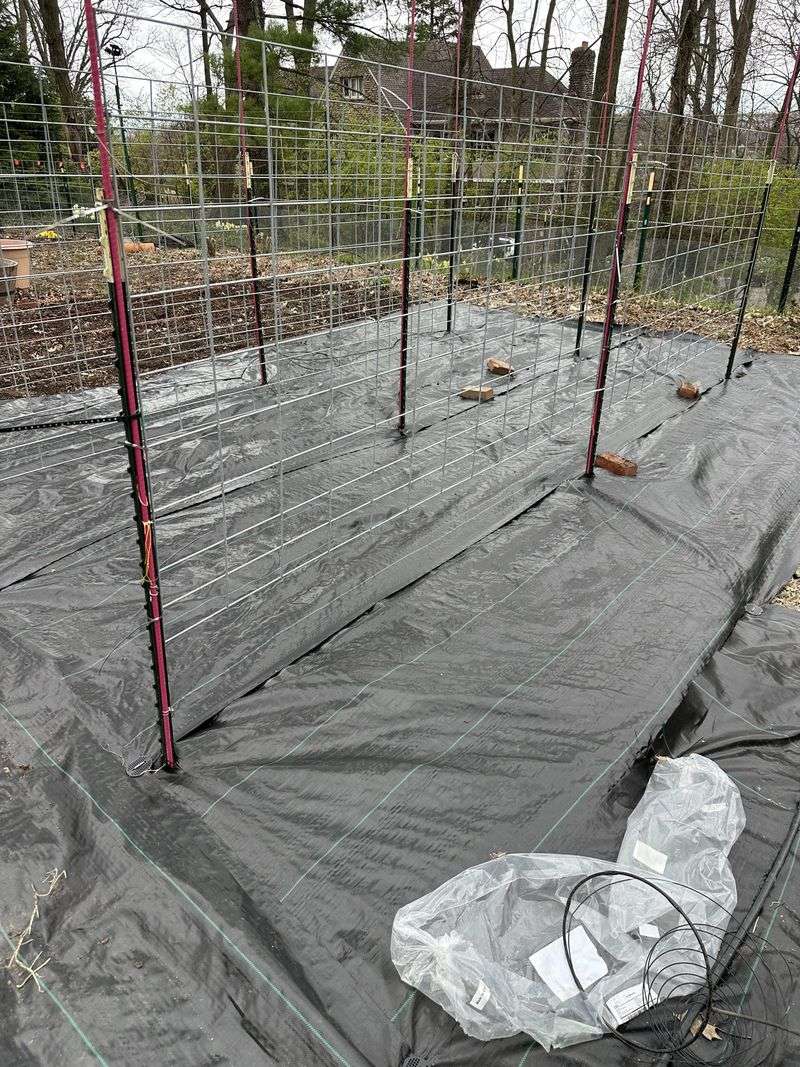
For persistent thistle problems in defined areas, consider installing landscape fabric beneath mulch. Cut small holes only where desired plants will grow, blocking light from reaching thistle seeds in the soil below.
Edge your garden beds with deep barriers that extend 6-8 inches below ground. This prevents thistle roots from creeping in horizontally from lawns or wild areas. Metal, plastic, or even buried wood edging can create effective root barriers.