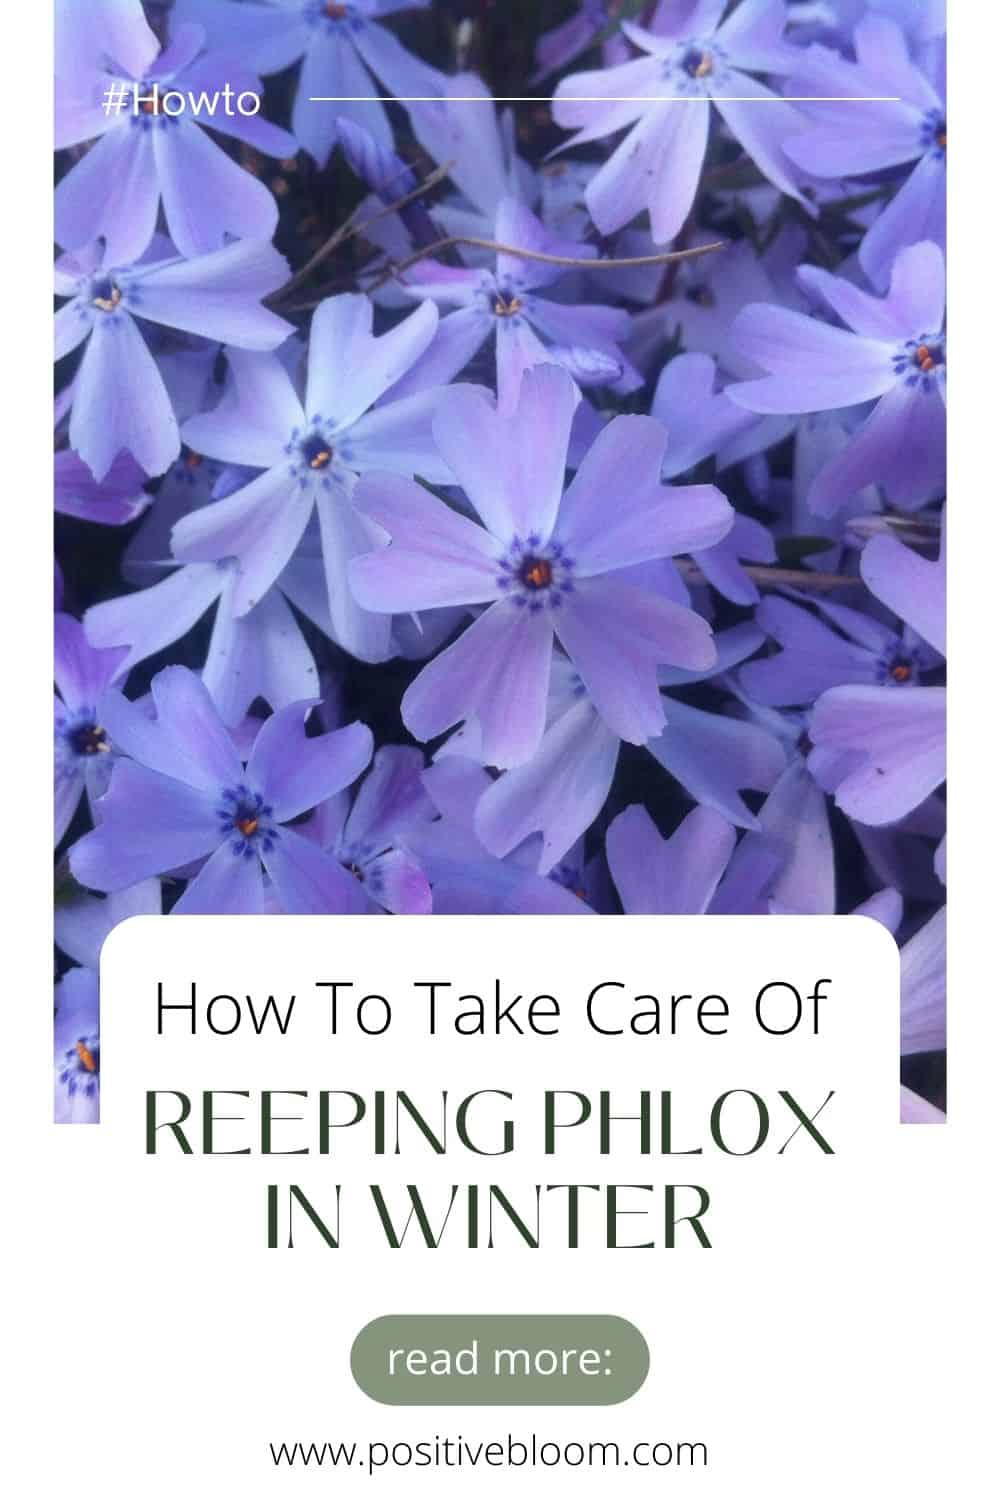
How To Take Care Of Creeping Phlox In Winter
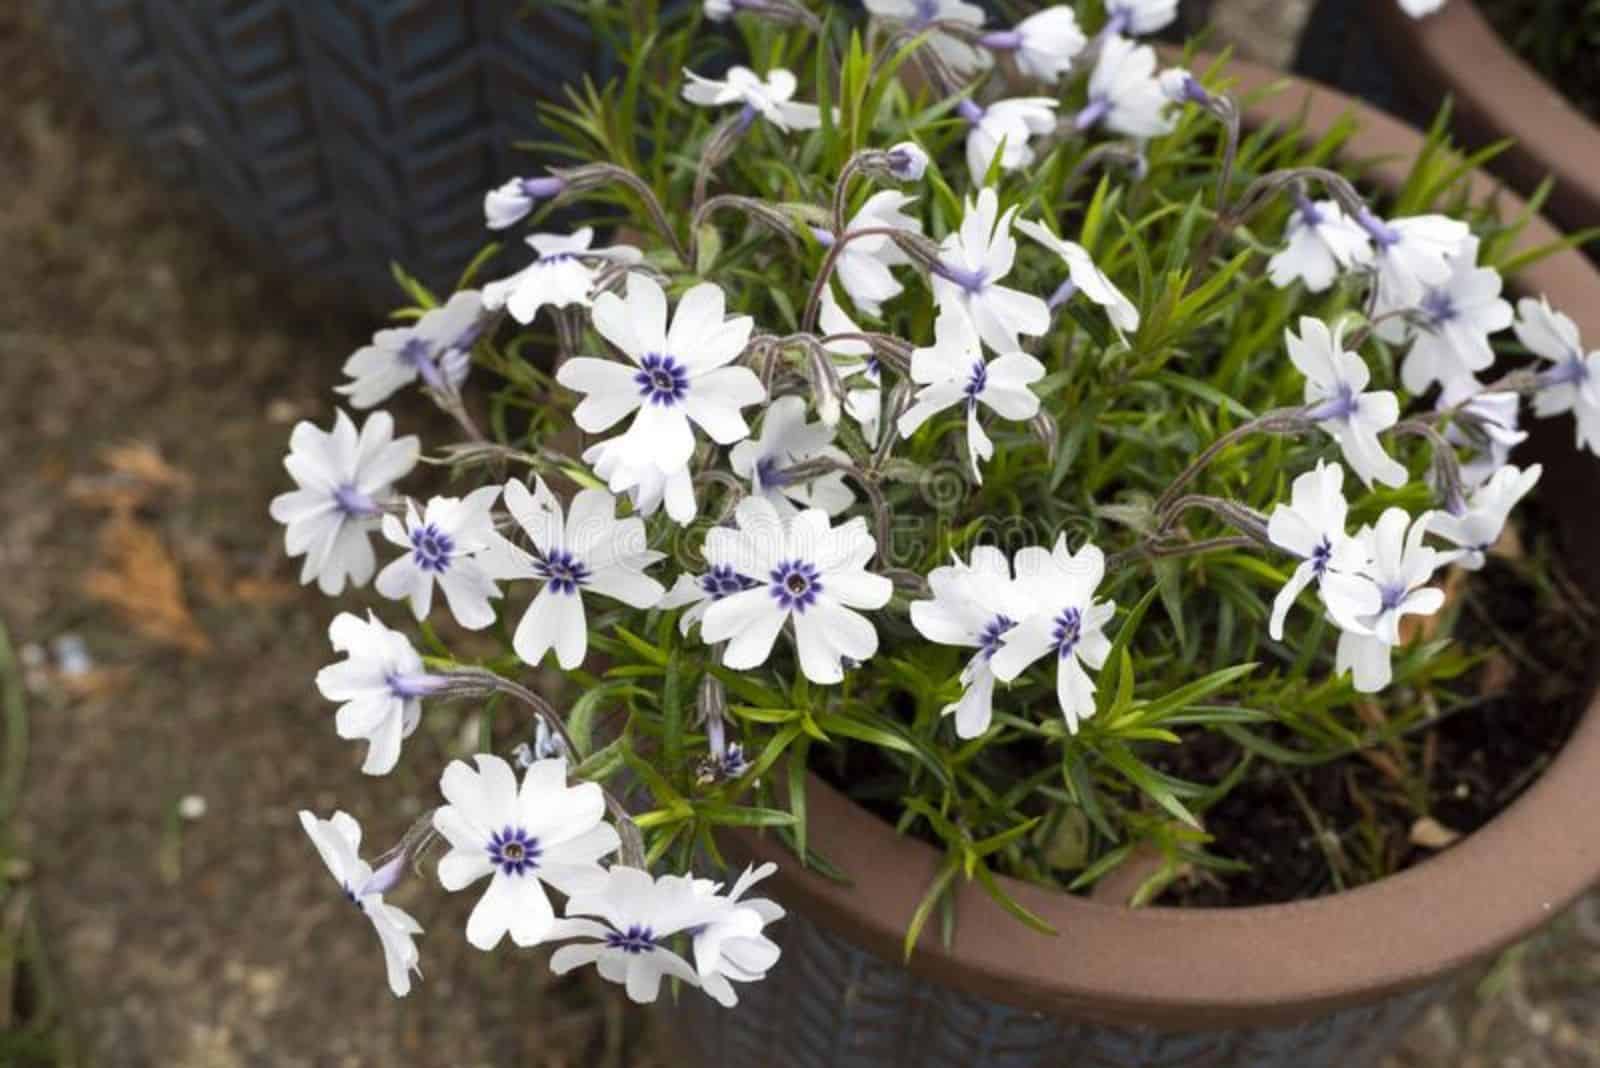
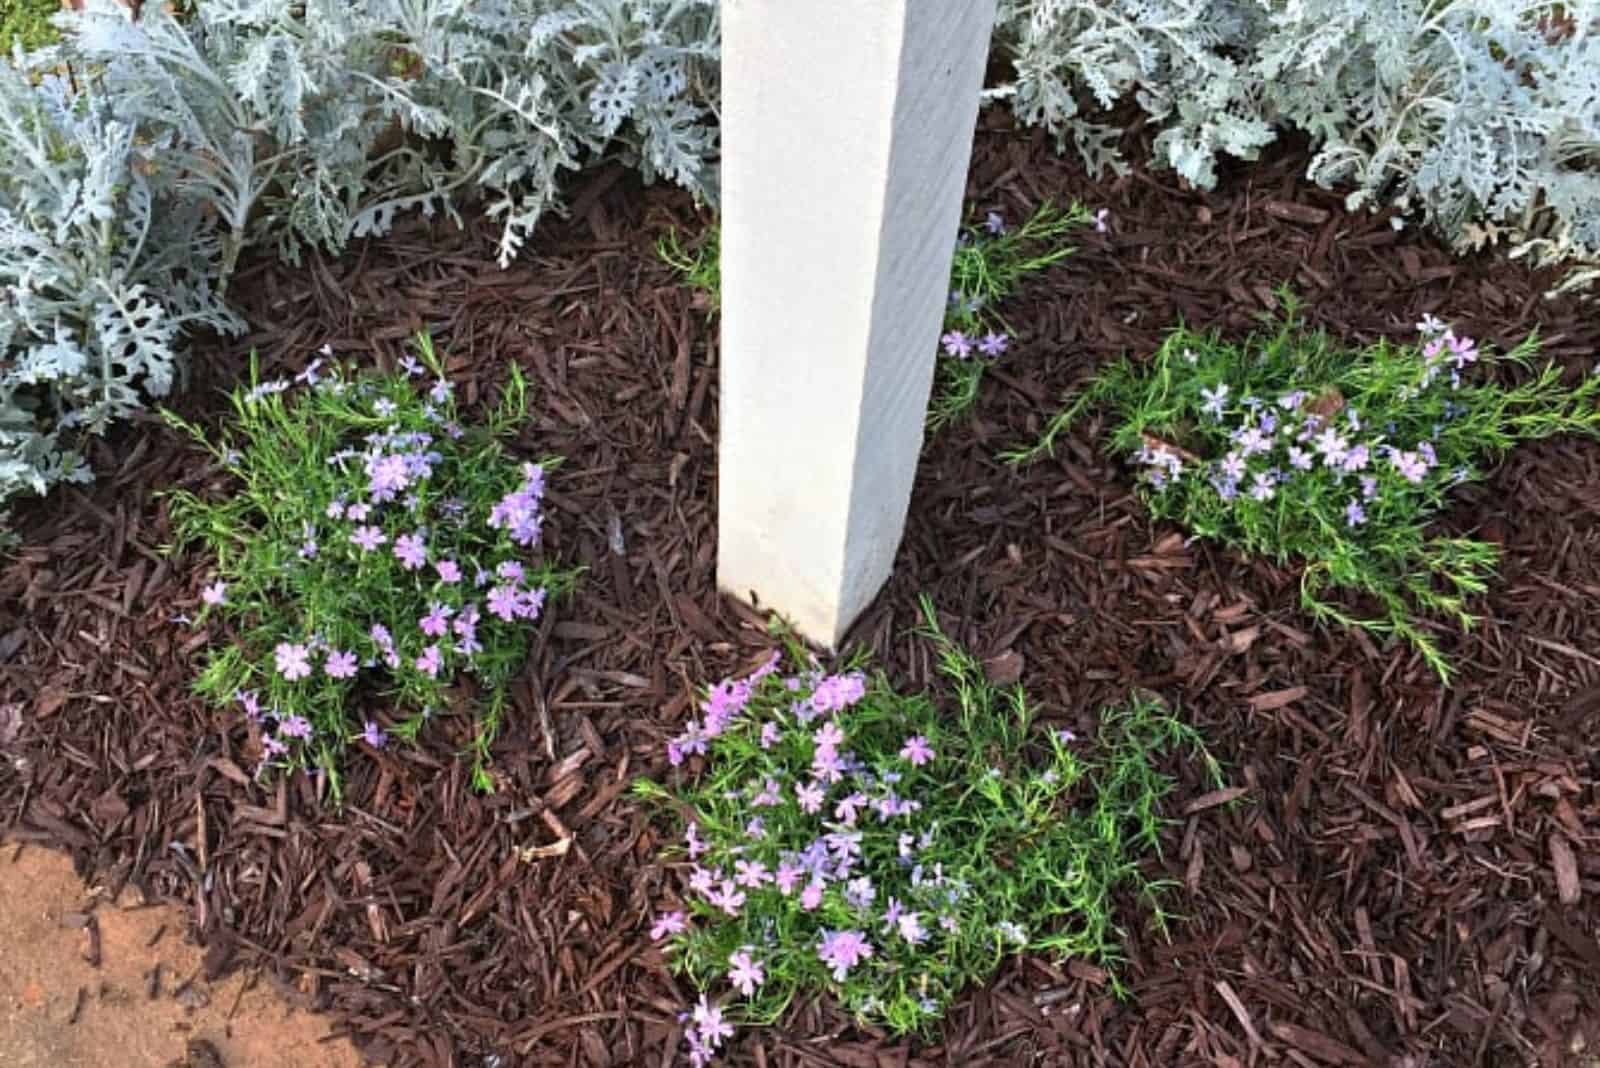
Creeping phlox is a groundcover plant popular for its colorful spring blooms, which range in color from pink to purple to white.
It is a hardy plant, but it still needs protection during the freezing winters, especially in cold climates.
Therefore, knowing how to protect creeping phlox in winter and care for it properly is essential if you want this low-growing perennial to come back the following year.
We’ll also discuss some signs that can help you recognize winter damage on this plant so that you can save it and have it producing flower buds again in no time.
Before we get to all that, let’s learn some general specifics about this plant:
[table id=579 /]
How To Care For Creeping Phlox In Winter
If you live in a cold region, you should provide winter protection for your creeping phlox plants, grow them in full sun locations, water, prune, and mulch them, and even fertilize them a bit.
These tips can even make this low-maintenance plant grow wider and look more vibrant in late spring or early summer once it shows its blossoms.
This plant also goes well with moss phlox (Phlox subulata) and blue phlox (Phlox divaricata), and you can care for them in the same manner.
This fantastic species is on the list of plants that attract hummingbirds and butterflies, so don’t let it freeze in winter!
Choose A Suitable Location
Creeping phlox prefers well-draining soil and full sun. It is best to plant it in a sunny location that gets at least six hours of direct sunlight per day and partial shade in the afternoon. This will keep it safe from the scorching light.
You should also avoid planting it in areas that are prone to standing water or too shady. The best growing medium for this plant is one rich in organic content and that drains quickly.
You can achieve this by mixing some compost or well-rotted manure into your garden soil, or ordering a well-drained potting mix if you plan to grow it in a container.
Frost Protection
The U.S. Department of Agriculture plant hardiness zones for creeping phlox are 3-9, meaning this plant can tolerate cold temperatures as low as -40 degrees Fahrenheit. However, protecting it from extreme cold is still important, especially if you live in an area with harsh winters.
If you grow creeping phlox in pots, it is a good idea to move them indoors or to a sheltered location such as a garage or shed during the winter so that the freezing temperatures cannot hurt them.
And if you have planted it in the ground, you can cover it with a layer of mulch or straw to help insulate the soil and protect the roots. This will slow down the evaporation rate and keep the plant’s root ball safe from freezing.
Mulching
Mulching can help to protect your creeping phlox from extreme temperatures and keep the soil moist.
Put a layer of mulch, such as wood chips, bark, or pine needles, around the base of the plant to help insulate the soil and retain moisture.
There are also excellent mulch choices for potted plants, such as coco coir, Spanish moss, orchid bark, rubber nuggets, etc., which will keep everything neat and your plant thriving.
Watering
If you grow this perennial phlox species outdoors, you shouldn’t water it at all in winter because it gets enough moisture from the precipitation.
The plant is somewhat drought-tolerant, so you shouldn’t keep it in wet conditions for long periods of time, or it might get root rot.
But if you grow it in a container, then you should only water phlox when the soil feels dry to the touch in order to prevent the shallow roots from rotting.
Regular watering can lead to fungal diseases which can kill this plant, so you should avoid it at all costs.
Provide Proper Drainage
Good drainage is essential for creeping phlox to thrive. Ensure that the soil around your plant drains well and is not constantly soggy.
If the soil drains poorly, consider using sand suitable for gardening or grit to improve the drainage.
You can also plant it in a raised garden bed or a pot with at least one hole in the bottom of the planter. And if you prefer its look in a container, you should choose terracotta or clay pots since they don’t hold as much moisture as plastic ones.
Fertilization
It is best to avoid fertilizing your creeping phlox during winter because the plant is dormant at that time and will not be able to use the nutrients.
Although, you can start fertilizing this flowering plant in late winter since that will speed up its development and lead to budding.
Use a slow-release fertilizer and follow the instructions on the package, always watering your plant after fertilizing it.
Pruning
Late winter or early spring is a good time to prune your creeping phlox, as that will ensure the production of healthy new growth.
Use sharp pruning shears to remove any dead or damaged stems, as well as any shoots that are growing outside of the desired shape of the plant. You can also cut back the plant to about six inches in height to encourage new growth in the spring.
Deadheading is also vital because removing withered blossoms will make room for new ones and increase flower production.
Here are some more tips for trimming your creeping phlox:
Protecting From Pests And Diseases
Creeping phlox can be vulnerable to pests such as slugs and snails, mites, nematodes, etc.
You can use slug bait, set out slug traps, or use insecticidal soaps and horticultural oils to protect your plant. You can also place copper strips around the base of the plant, as copper is toxic to slugs and snails.
Creeping phlox is susceptible to several diseases, including powdery mildew and leaf spot. To prevent these diseases from affecting your plants, make sure to water them at the base so as to prevent moisture from accumulating on the leaves.
You can also use a fungicide, but always consider the differences between copper fungicide and neem oil since you can use both products to prevent fungal diseases. At the same time, neem oil is also an excellent agent against pest infestations.
How To Recognize And Deal With Winter Damage In Creeping Phlox
Creeping phlox is relatively tolerant of cold temperatures and typically survives winter without significant damage. However, there are a few signs you can look out for to determine if winter has damaged your creeping phlox:
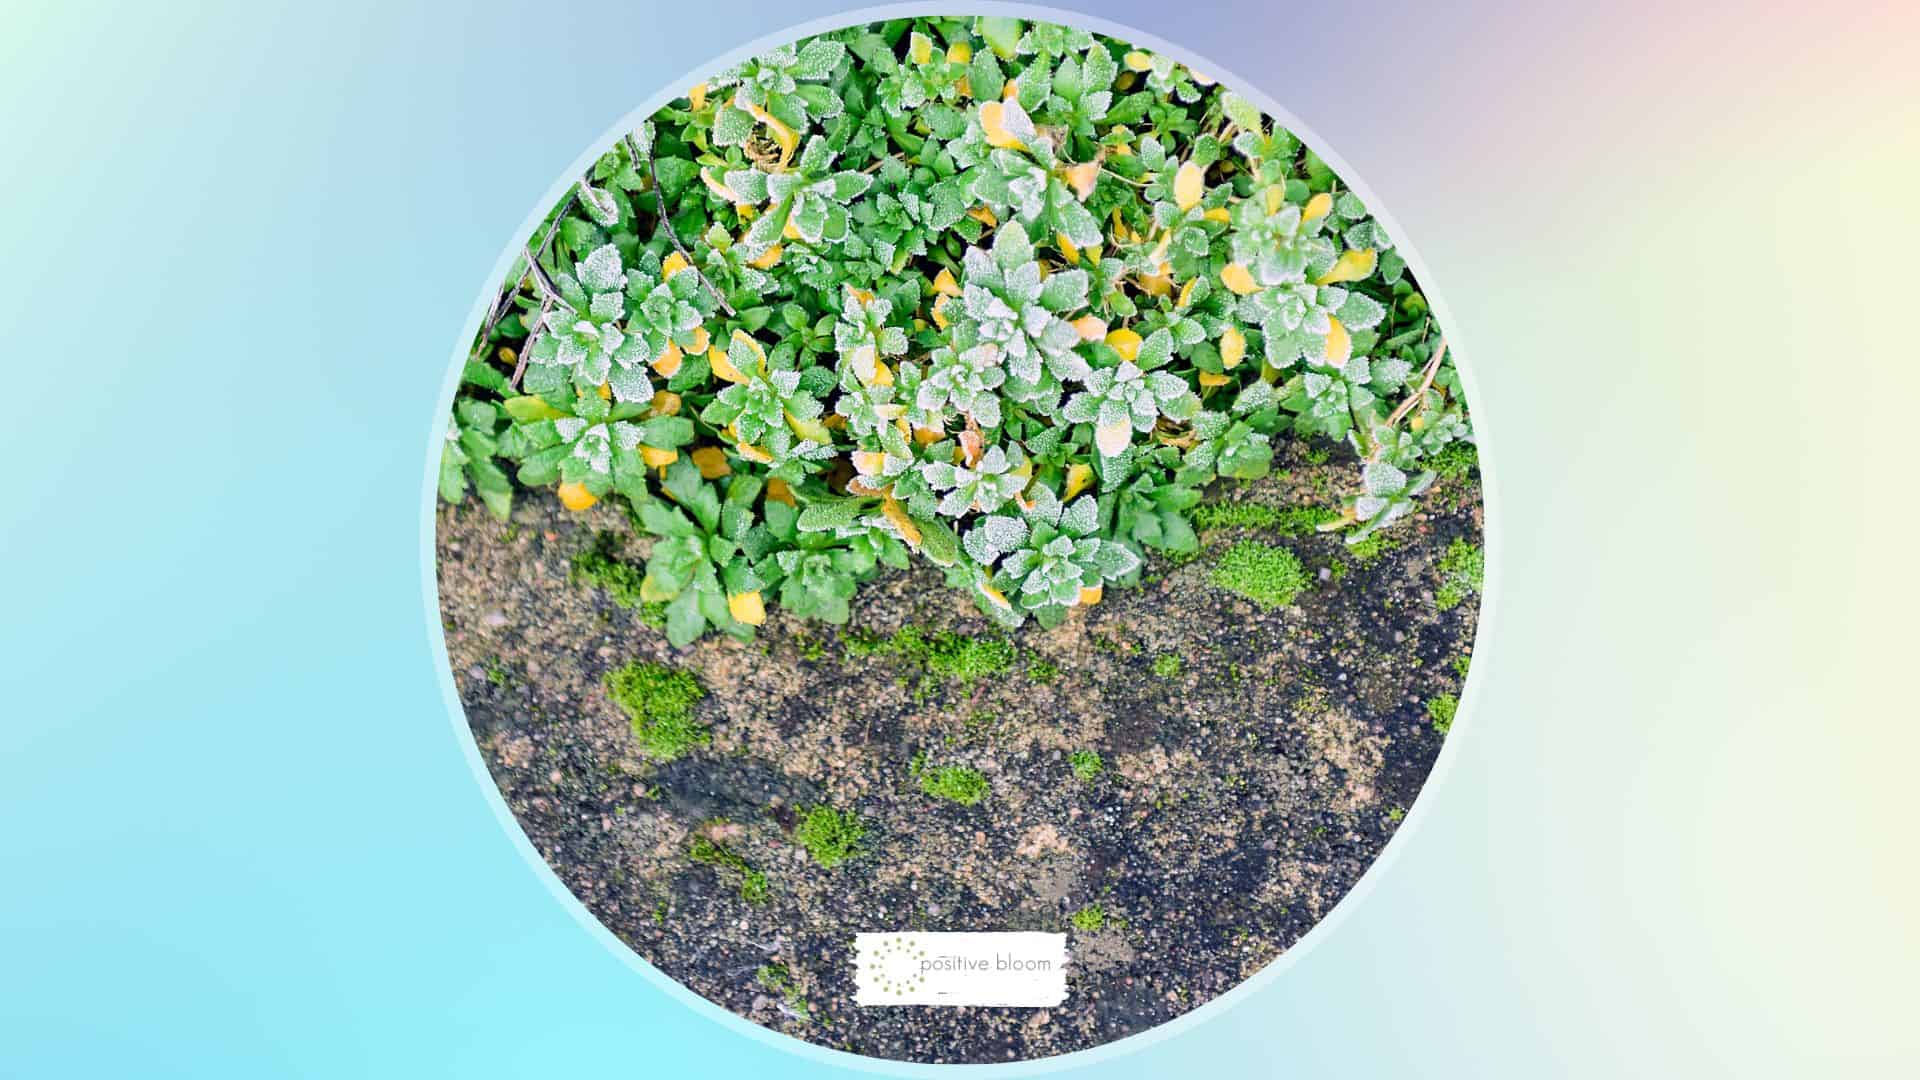
1. Check the leaves: If the leaves of your creeping phlox are yellow or brown, or if they are wilted or falling off the plant, it could be a sign of winter damage.
2. Look for signs of frost damage: Frost damage can cause the leaves of creeping phlox to turn brown and brittle. To check for frost damage, gently bend a leaf or stem. You’ll know it’s been frost damaged if it breaks easily.
3. Inspect the roots: Damaged or diseased roots (brown, dark, and rotting) are a sign of overwatering and root rot or winter damage. To check the roots, gently lift the plant from the ground and examine them.
Dealing With Winter Damage
Thankfully, there are a couple of things you can do if you notice winter or frost damage on your creeping phlox:
1. Prune away any damaged leaves or stems.
2. Add a layer of mulch around the base of the plant to help insulate the roots and protect them from the cold.
3. Water the plant regularly to keep the soil moist and prevent the roots from drying out.
4. Fertilize the plant in late winter with a balanced fertilizer to help it recover from winter damage.
FAQ
What is the best way to propagate creeping phlox?
There are several different plant propagation methods, but the most effective one for creeping phlox is through stem cuttings. Here’s how to do it:
Step 1. Choose healthy 4-6 inch long stems from your creeping phlox plant and cut them off with a clean and sharp knife or scissors.
Step 2. Remove the bottom leaves from the stem cuttings, leaving only the top few leaves on the cutting.
Step 3. Dip the cut end of each stem cutting into rooting hormone, which can help stimulate root growth.
Step 4. Fill a small pot or container with a well-draining soil mix, such as a mix of perlite and peat moss. Water the soil until it is consistently moist.
Step 5. Plant the stem cuttings in the soil, burying the cut end about 1 inch deep.
Step 6. Place the pot or container in a warm, sunny location, and keep the soil moist but not waterlogged.
Step 7. After about 4-6 weeks, the stem cuttings should have rooted and developed a strong root system. At this point, you can transplant them into larger pots or into your garden.
It’s essential to keep the soil moist and provide the cuttings with bright indirect light while they are rooting.
Can I replant creeping phlox?
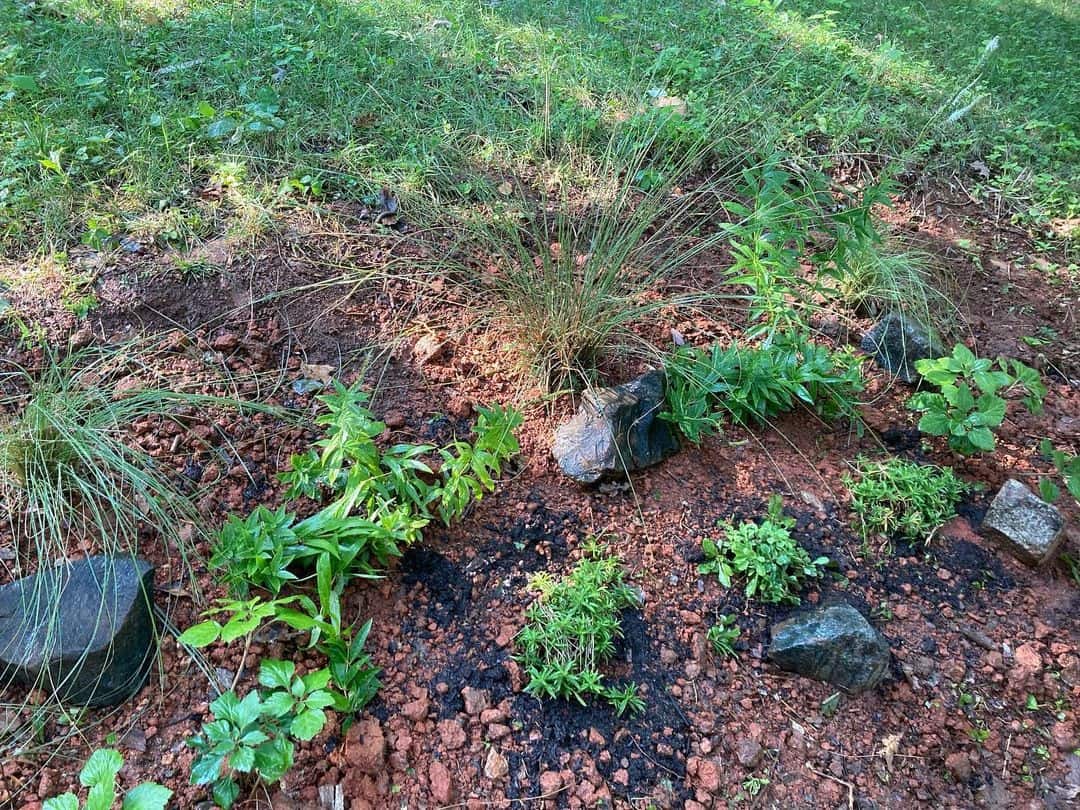
Yes, it is possible to replant creeping phlox, and all you need is a sunny location, nutrient-rich and well-draining soil, and regular watering during the first week after transplantation.
Move your plant on an overcast day to reduce transplant shock, and that’s it!
When is the best time to plant creeping phlox?
The preferred time for planting creeping phlox is in spring once the danger of frost is long gone.
Space the plants about 1.5-2 feet apart, water them thoroughly after planting, and place some mulch at the base to protect the roots from drying out and freezing in the winter.
Final Thoughts
Creeping phlox in winter requires full sun conditions, supplemental watering only if the soil is dry, and a well-draining growing medium (and a pot with drainage holes).
You can also add some mulch at the base of the plant to keep it from freezing, and prune and fertilize it in late winter.
Even if you follow all these steps, your plant still might suffer some winter damage, such as obtaining yellow or brown foliage, having brittle stems, or rotting roots.
Thankfully, you can save it by pruning all the diseased parts and caring for it as you normally would.
Until next time!
Like this post? Share or pin it for later!