Bonnie Curly Spider Plant: The Ultimate Care Guide
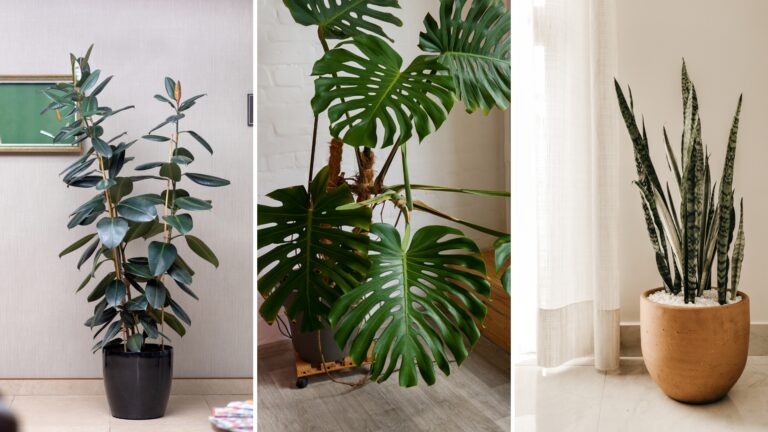
If you want to take your indoor garden to the next level, the curly spider plant is the right choice for you. It is incredibly easy to care for and goes along with the Sansevieria trifasciata, or snake plant, quite well.
Before we get into the details, let’s look at some basic specifics about this plant:
[table id=168 /]This article has everything you need to know about growing a healthy curly spider plant, including how much light and water it requires, the best type of soil, and much more.
You will also find some things about common issues this plant experiences, like infections and pests.
You’ll also learn some interesting facts about this plant, more spider plant varieties, and their origin. You’ll know exactly where to put it and which plants are best to keep it company.
Let’s start!
Curly Spider Plant Care Guide
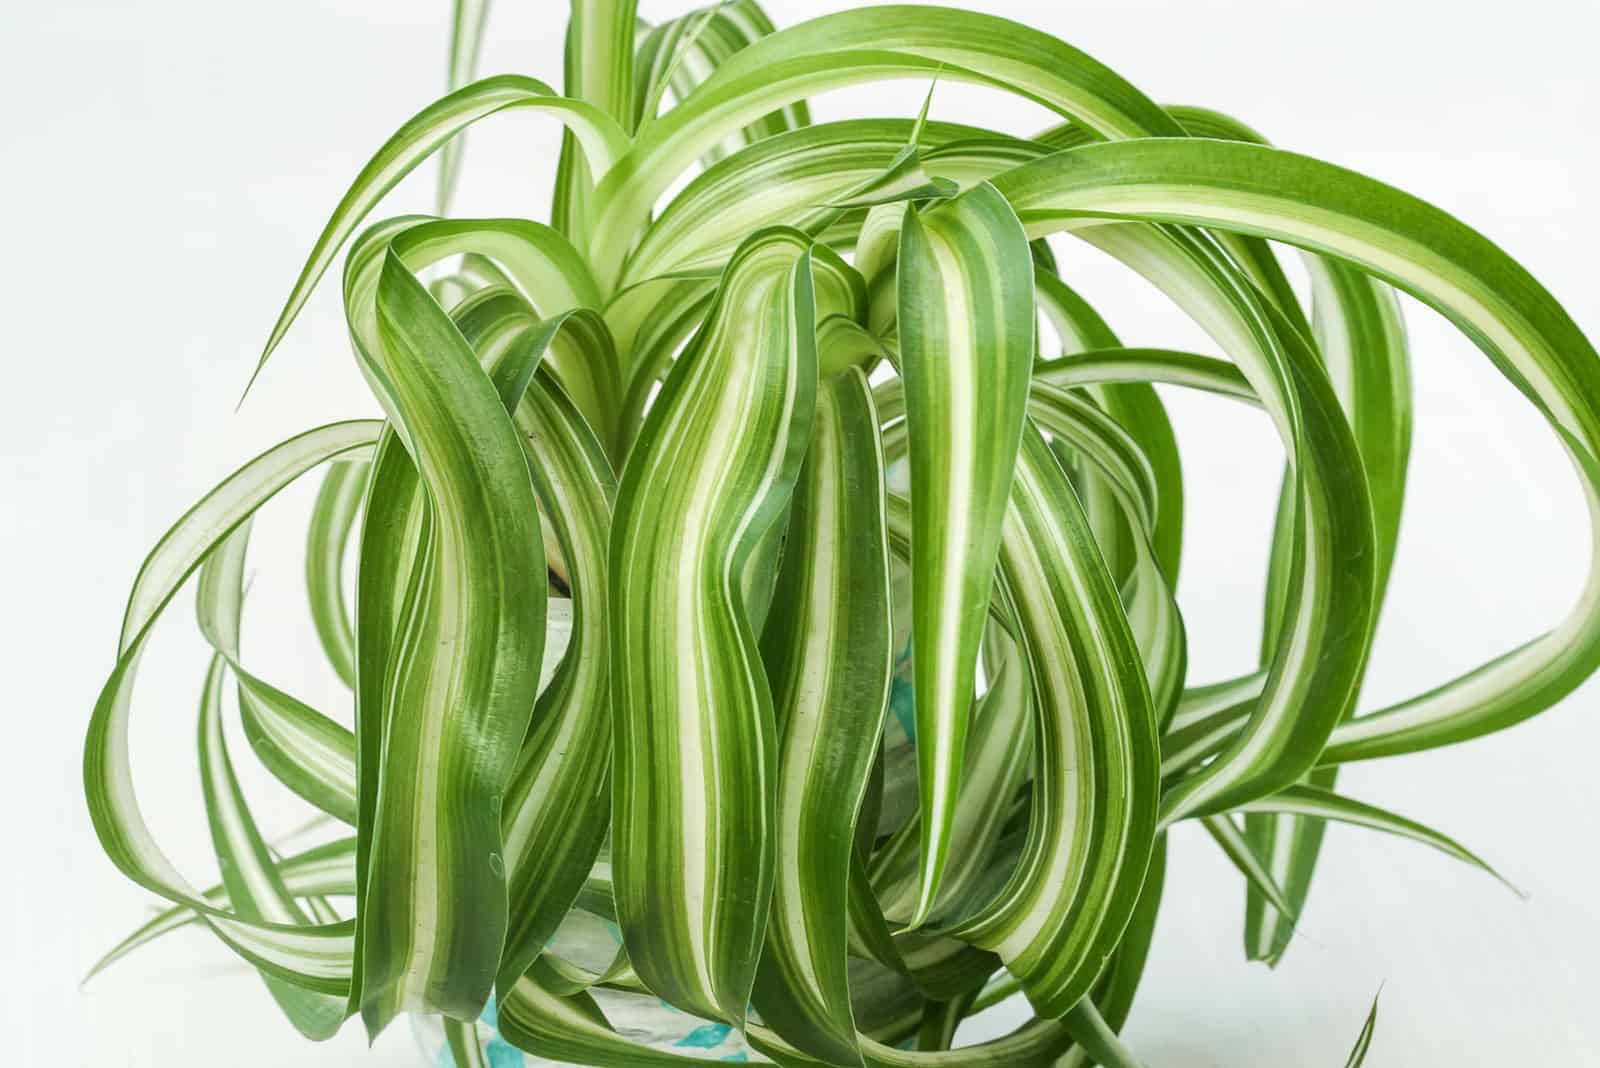
Easy-care airplane plant is ideal for everyone, which makes it great for gifting to your friends or anyone who is new to the whole gardening thing.
Also, if you have pets at home, the ASPCA says spider plants are non-toxic, so you don’t have to worry about your pet or child taking a bite of one of its leaves.
You simply have to ensure this plant has plenty of indirect sunlight and moist, well-draining soil. We have more tips in store for all the perfectionists out there who want to make sure they’re doing everything right, so if that sounds like you, make sure you keep reading.
We get it – we’re like that ourselves!
Light Requirements
The Bonnie plant needs bright indirect light in order to truly shine. It can tolerate shade and won’t die in lower light conditions, but its growth will be stunted and its variegation won’t be as striking.
Therefore, the best thing you can do for your plant is place it near a sunny window, but not in direct sunlight as this can hurt its foliage.
Finally, we must highlight that direct sun isn’t always harmful. Morning sunlight can be quite beneficial as it isn’t as harsh as the afternoon sun, so you can keep your plants on an east-facing windowsill without worrying about sunburn.
Water And Humidity
Spider plants love moist soil, and this curly beauty is no different. However, moist soil is not the same as wet soil, so you should be careful when watering your Bonnie.
Always let the soil dry out between waterings, but make sure you water it around once a week. If you grow this plant in direct sunlight or in a bright spot, you should probably water it more.
However, in low light conditions and the winter months this plant doesn’t require as much moisture, so you can tone the watering down.
Watering frequency also depends on the amount of moisture in the air, but you don’t have to worry too much. Just remember to check the soil first, and if it feels a bit dry you can water the spider plant.
Also, you should plant your Bonnie spider in a pot with drainage holes so the excess water can drain through them. This will help prevent root rot.
Humidity
The curly spider plant thrives in higher humidity levels, and anything between 40% and 70% is ideal. It can tolerate moderate humidity levels between 30% and 50%, but you should monitor its development in these conditions.
Some plants simply cannot adjust to lower humidity and end up with brown tips, which is your cue to increase the amount of moisture in the air.
You’ll see our favorite ways of raising humidity in the following section.
Humidifier
Purchasing a humidifier can sometimes feel like cheating because it’s an easier way to accomplish something. But they work, and most importantly they keep your plants healthy, which is the only thing you should really care about.
Pebble Tray
Using pebbles trays (sometimes called a humidity tray) is an excellent way of improving air moisture around your plant without having to move your other plants around.
Simply fill a deep tray with small stones and water, then put the potted curly spider plant on it.
Be careful not to let the leaves touch the water!
Humid Rooms
Moving your plants to more humid rooms, such as kitchens and bathrooms, is an ingenious way of providing them with the humidity levels they need. You don’t have to make any changes to your home, and everyone is happy.
Misting
The last method is spraying your plant’s leaves with water every now and then. If you decide to go with misting, you should be careful not to overdo it.
These plants don’t like when their foliage is wet, so give them some time to dry off between mistings.
Temperature
Spider plants are tropical, which means they thrive in temperatures between 60 and 80°F (18-27°C). They hate the cold, and anything below 55°F (13°C) is potentially dangerous.
You should also avoid sudden temperature changes and drafts as they can stress your plant.
Soil And Fertilizer
This spider plant prefers mildly acidic soils with a pH of 6.0 to 6.5. The planting medium should also be well-draining and fertile, so you might want to add perlite and compost made of loam soil to your regular potting soil.
Although this houseplant prefers moist soil, you shouldn’t clog it with water as it can lead to root rot. One thing that can help you with this are pots with drainage holes as they allow the excess water to drain, which will keep your plants healthy.
Fertilizer
The spider plant doesn’t require too much fertilizer as it stores enough nutrients in its tubers to get it through tough times. Too much fertilizer can not only lead to fertilizer burn, but also limit your Bonnie’s ability to produce the cute plantlets we all enjoy.
You can fertilize it once a month during its growing season with a weak liquid fertilizer for indoor plants. Also, you shouldn’t feed this plant during fall and winter when it enters its dormancy period as it will only lead to over-fertilization and have no positive effects on your plant.
Repotting
This foliage plant is a fast grower, so you need to be prepared for frequent repotting. The thick and tough root system can even burst out of the pot if you neglect it. You should repot it once a year or when you notice the roots coming out of the drainage holes.
One of the main things you need to keep in mind when repotting is the pot size. Always go one size larger than the previous pot when your plant’s roots are developing.
The best time to repot this plant is in spring when it’s actively growing and has enough time to acclimate to the new pot and soil before entering dormancy.
Finally, you should always choose a container with bottom holes through which the water can drain.
Propagation
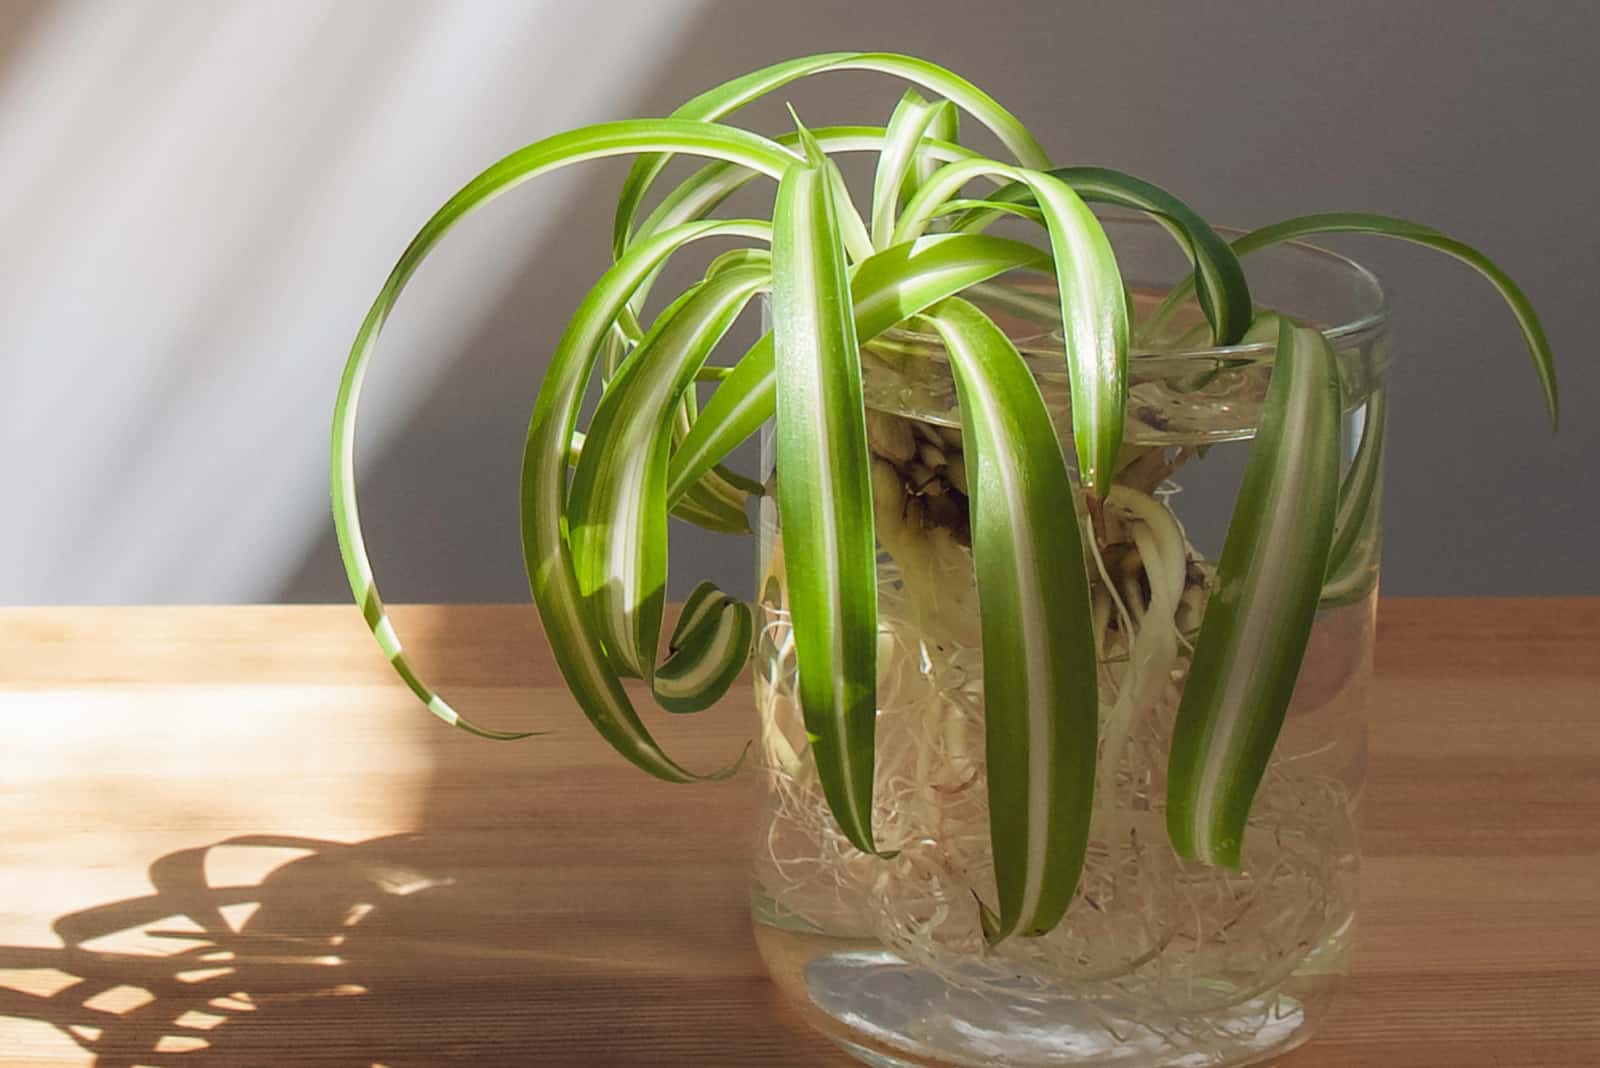
One curly spider is never enough, so why not propagate it to get some new plants! You can gift them to friends and family or use them to decorate a nice reading space in your home.
This plant can be propagated by the baby spider plants that suddenly appear. There are actually a few ways to propagate this plant, including propagation in water, soil, and paper towels.
Propagation In Soil
All the techniques have the same first step: choose an air plant you want to propagate and cut it as close to the base as possible. You should look for a baby spider plant with tiny nodes as they have the best success rate.
The next step is choosing a propagation medium. If you opt for soil propagation, you should fill a nursery pot with fertile and well-draining soil, make a little hole in it, and plant the spiderette.
However, this method doesn’t show the true beauty of propagation because you cannot monitor the development of the root system. If this is what you want, propagation in water might be the right method for you.
Propagation In Water
Simply fill a glass container with water and place your baby spider in it. Leave it in a bright spot and change the water every couple of days. When the roots have formed and grown a bit, you can transplant the new plant to a pot filled with fresh planting medium.
Propagation With Paper Towels
The last method requires a bit more work, but it isn’t too demanding. Just put a paper towel in a tiny bowl, spray it with water, and place the small spider on it. Mist the paper towel frequently so that it doesn’t dry, put it in a sunny spot, and when you notice that the roots have developed, plant the new spider in a freshly filled pot.
If you need more help with spider plant propagation, you can always watch the following video to get all the info you need.
Pruning
Spider plants grow freakishly fast, so you’ll need to trim them every once in a while if you don’t want them to take over your home!
All jokes aside, this plant can genuinely benefit from occasional pruning as it will restore its vigor and health. However, you cannot just cut the tips of the curly leaves and hope for the best.
You have to cut the leaves at the base of the plant using sterilized shears or pruners. Ensure that they’re sharp so you don’t damage your plant.
One thing we don’t often get to do is root pruning, and this plant loves it. It has an extensive and fibrous root system that can break through the pot if you don’t repot this plant often enough. This means you can prune some roots as well, and repot the plant in fresh soil and a new pot after you’re done.
You can prune the roots once a year, or every two years to save some money on the pots.
Pests & Diseases
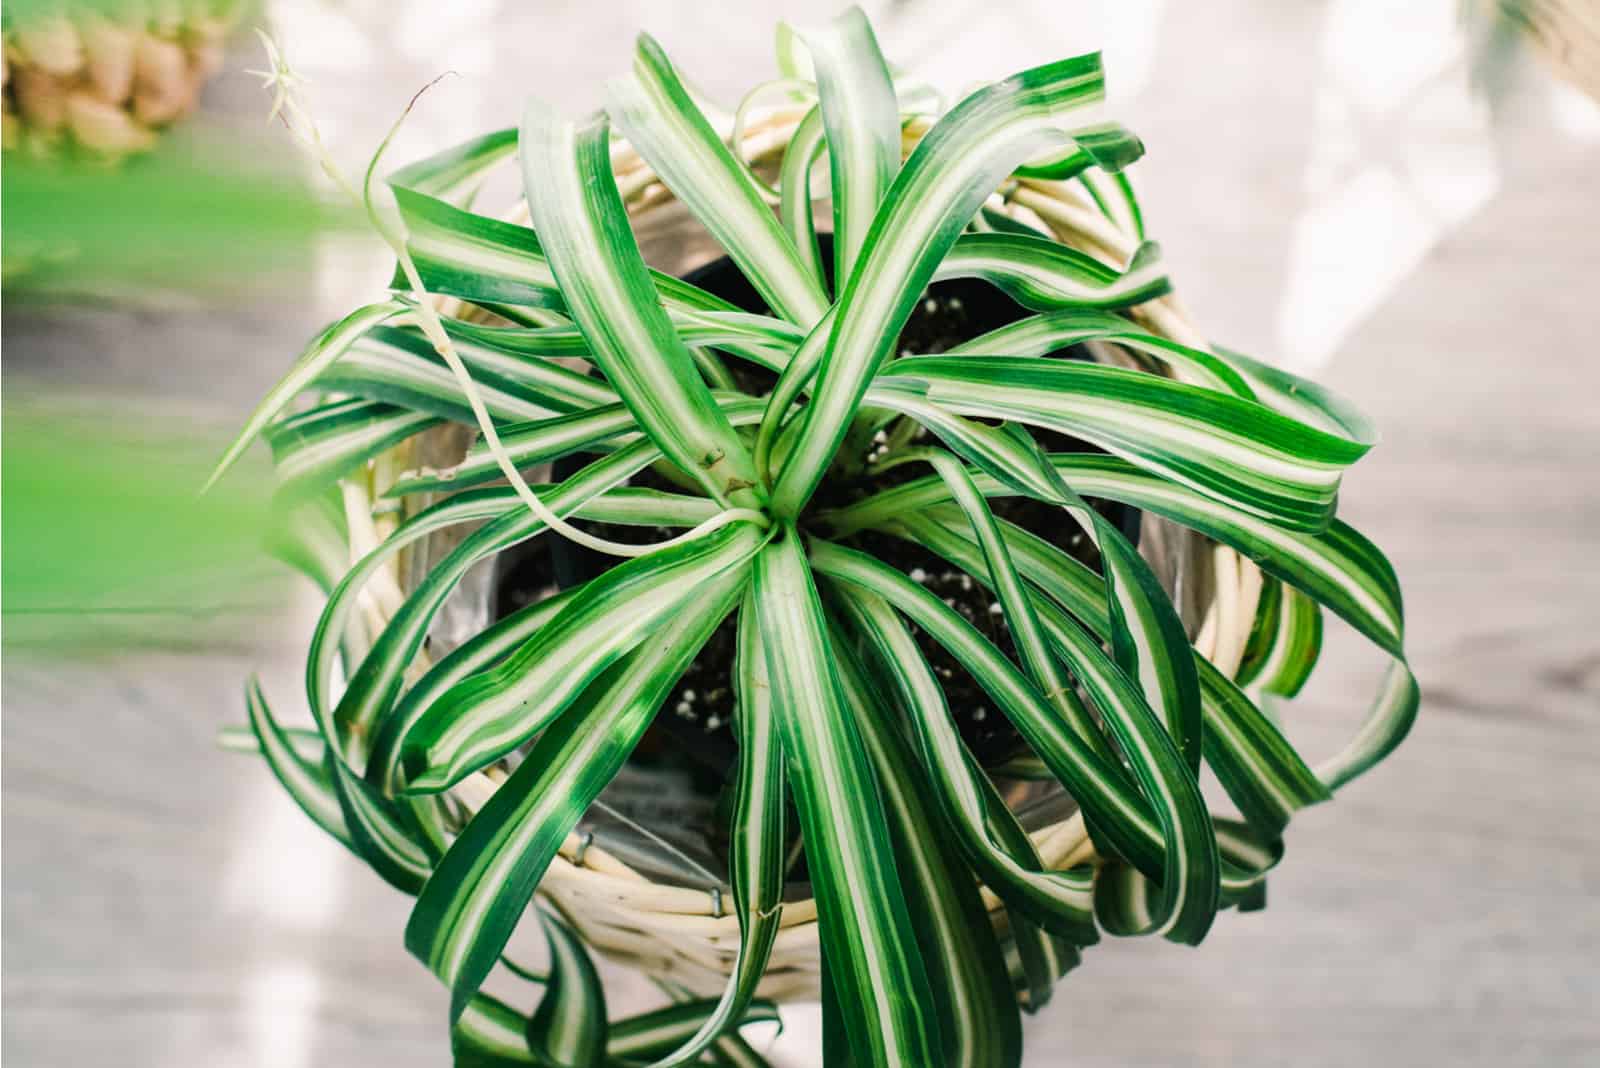
Unfortunately, spider plants aren’t resistant to pests and diseases. In this section, we will discuss some of the most common issues that affect this plant.
As they always say, prevention is the best cure, so you should strive to keep your plants healthy in the first place. Here are some tips for avoiding infections and infestations, as well as some tricks for dealing with them if they do happen.
Pests
The most common pests that this plant has to deal with are spider mites, aphids, whiteflies, and scales. Healthy plants are less likely to get infested, so you should always ensure that your spider plants have enough sunlight and aren’t waterlogged.
There are a few ways of removing pests, and, like it or not, using insecticides is the fastest method. You can always handpick the insects if the infestation isn’t too large, or remove them one by one with a cotton pad dipped in alcohol.
Diseases
One of the most common and severe diseases this plant can catch is root rot, but you can easily avoid this hard-to-cure infection.
Just don’t overwater your plant. That’s it! Pots with drainage holes can help you with this, and you can always check the soil for help. If it’s still moist, don’t water the plant!
However, if your plant still gets infected by this dreadful fungal disease, you can try and save it by removing all the infected roots. They will be brown or black, mushy, soft, and soggy, and you should cut them off with sharp, sterilized gardening shears.
Ensure that you separate the infected plant from the healthy ones, and after you’re done removing the roots you can put the plant in a new pot with new soil and start watering it only when it needs it.
For Those Who Want To Learn More
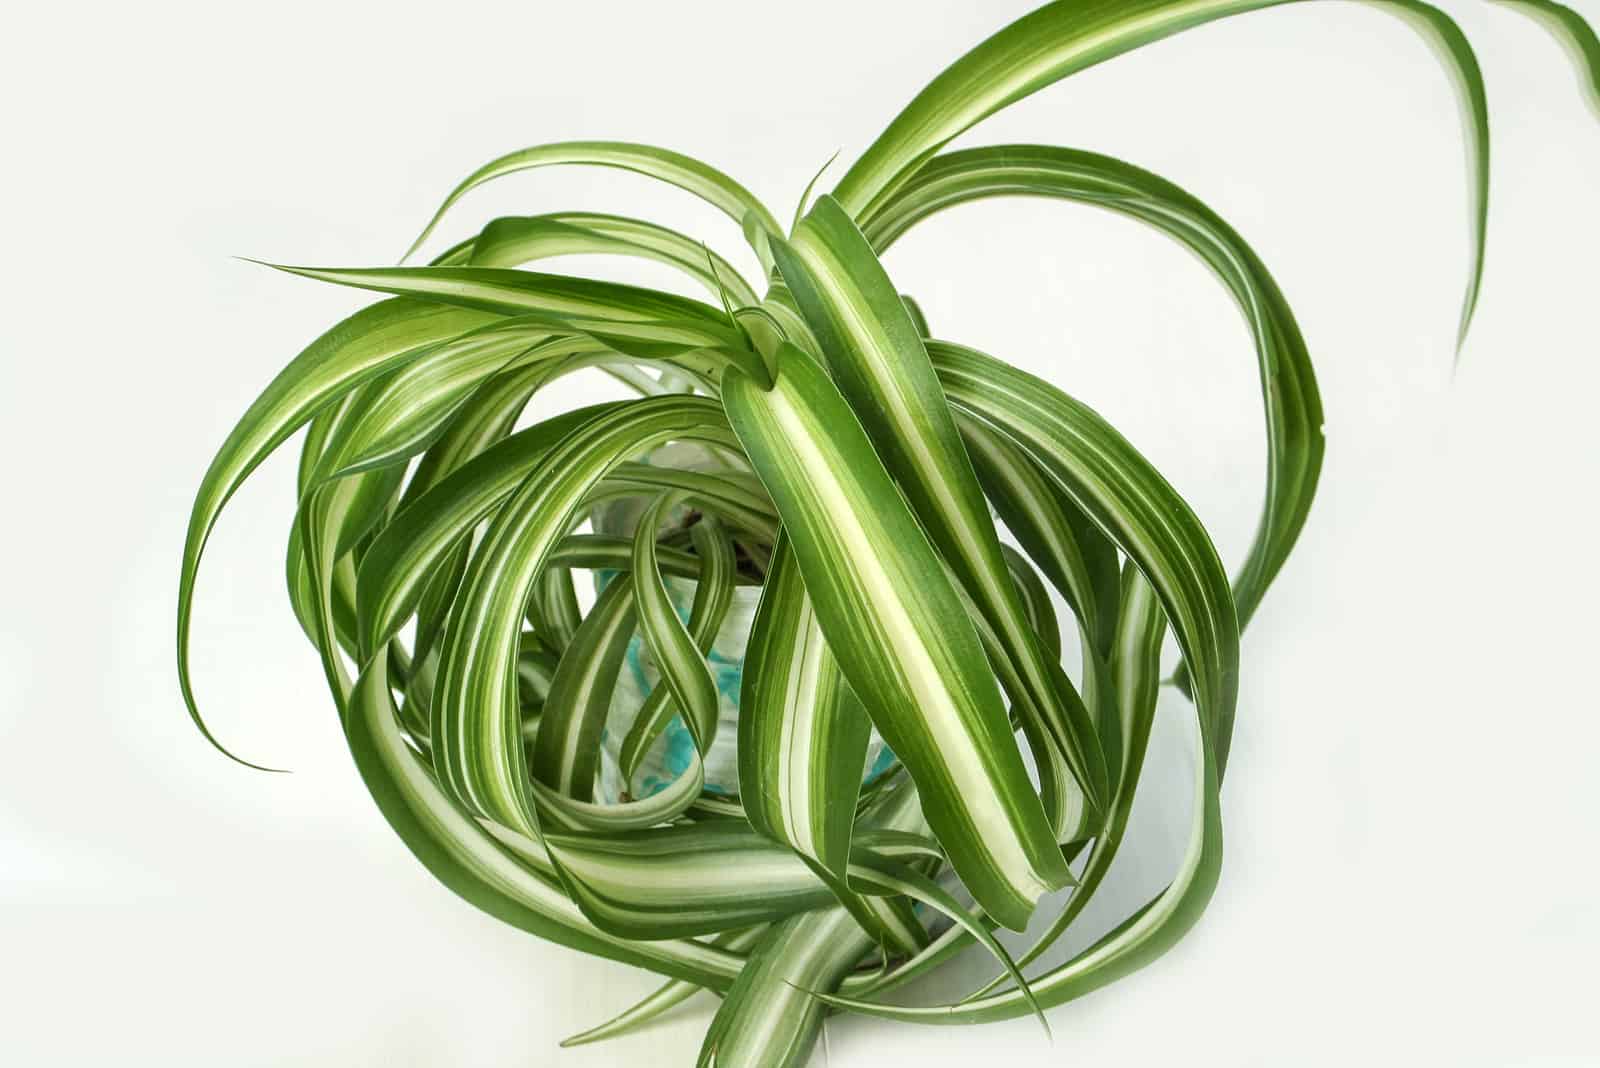
Caring for plants is not strictly limited to knowing a care guide, it’s the little things that count as well, such as knowing your plant’s origin, benefits, and what to pair it with.
In this section, you’ll get to know curly spider plants even better, and learn some things about their background, appearance, benefits, and the other fabulous varieties out there.
Origin And Background
The curly spider plant is a proud member of the Asparagaceae family, and is also known as the airplane plant.
It was first described by the Swedish naturalist Carl Peter Thunberg in 1794. However, back then it was known as the Anthericum comosum and was moved to many different genera over the years before finally obtaining its current position as a Chlorophytum comosum in 1862.
Wild outdoor plants can reach a size of a meter tall, but indoors they usually reach a height of 8 inches (20 cm).
Flower Foliage
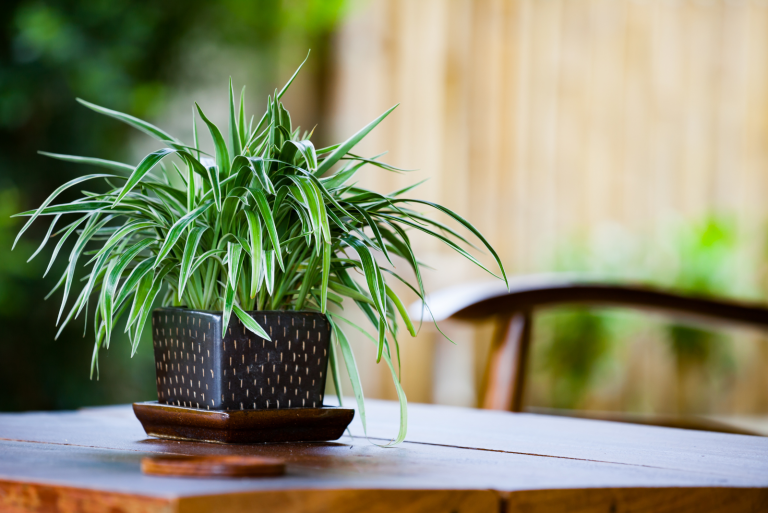
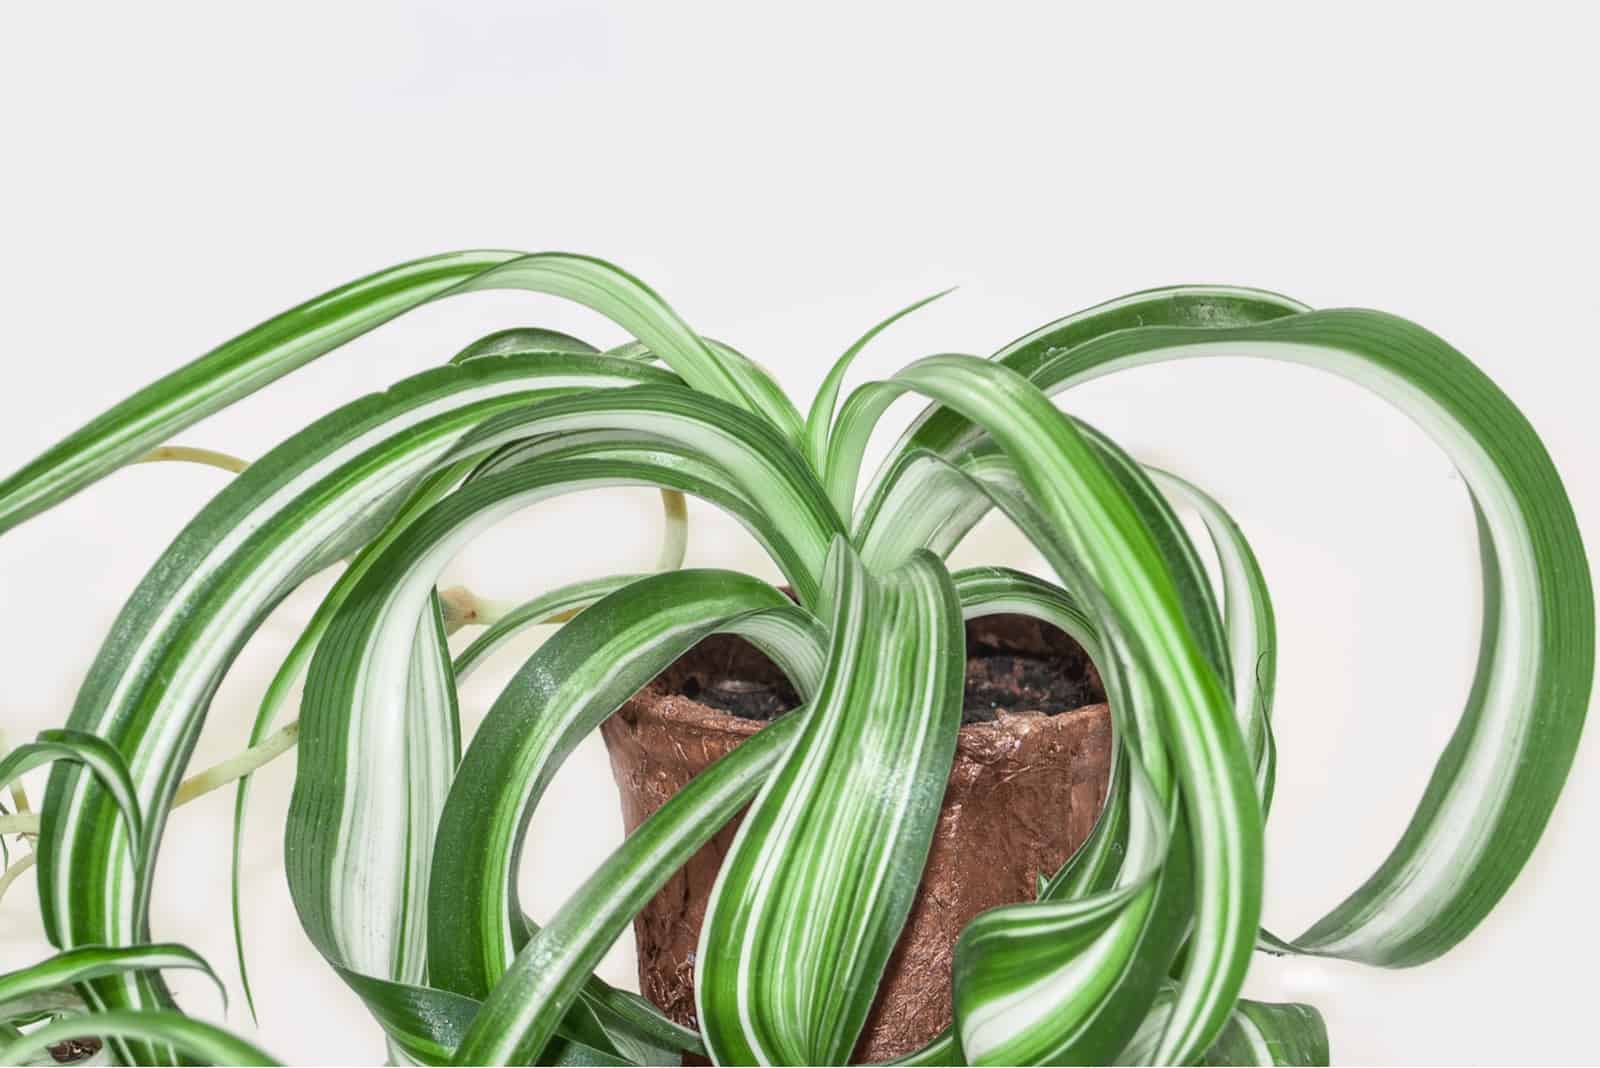
When we say the name “curly spider plant,” it gives you a good idea about the appearance of its leaves – they’re curly!
However, unlike other spider plants, the Bonnie curly spider plant is curly and compact, which means it doesn’t usually get taller than 8 inches (20 cm). Its curly leaves are streaked with white stripes.
This variegated spider plant can even produce flowers in the ideal conditions, but it rarely does so indoors. However, if you find yourself in a tropical region of South Africa during spring or summer, you may just see the scented, star-shaped, and white blooms.
Benefits
The main benefit of this plant is its air-purifying ability. It reduces the amount of all sorts of toxins found in homes, such as carbon monoxide, formaldehyde, and benzene.
Generally speaking, plants have many benefits for your mental health and are known to reduce stress, anxiety, depression, PTSD, ADD/ADHD, and more, so having as many plants indoors and outdoors is actually a great self-help method.
Spider Plant Varieties
This section contains some other spider plant varieties that you and your curly spider plant might both enjoy. We’ll keep it short and quickly introduce some of our favorite spider plants and their main features.
Spider Plant ‘Vittatum’
This spider plant is relatively easy to grow, but it still cannot trump succulents. However, its thin, straight, and psychedelically green leaves with creamy variegation streaking through the middle make it hard to resist.
It produces small white stars that bear baby spider plants, and you already know what that means – more spider plants!
Reverse Spider Plant
The reverse spider plant is sort of a rebel, and even though it kept the white variegation, it decided to switch its position, so you get the white edges with a bright green middle.
However, this feature makes it even more noticeable and its straight leaves all the more adorable.
Purple Spider Plant
The care guide for the purple spider plant is as simple as that of the curly spider, but this one takes its variegations to another level. Instead of white, it coats itself in violet and gives a new meaning to colorful design!
Common Questions
This section will tackle some of the most frequently asked questions about spider plants to give you more info about caring for your floral spider.
Why is my curly spider plant not curly anymore?
The Bonnie spider often loses its curls if the soil is constantly moist. It may not be so moist that it leads to root rot, but it will straighten the curls.
The curly spider plant sometimes behaves strangely, so the more you neglect it, the more beautiful and curly it gets. Therefore, if the soil is somewhat on the dry side, it will curl like crazy!
Just don’t leave it parched, as that will only result in yellow and brown foliage.
What do I do if my spider plant is yellow?
When a spider plant turns yellow, it means that some of the requirements aren’t being met and you need to check whether it needs different light conditions, more or less water, or even repot it if the current container is too small.
Spider plants cannot handle direct sun for too long, so you should move them to an area where there’s plenty of indirect light.
Always wait until the soil is a bit dry before watering this plant and you’ll have no issues with either overwatering or underwatering.
Finally, when you see roots crawling out of the container we urge you to repot the plant! No one enjoys being stuck in small spaces.
How long does it take for a spider plant to grow?
It takes about 2-5 years for a spider plant to reach its maximum size, depending on the growing conditions and the frequency of repotting.
However, as this plant grows fast, you’ll have to repot it a few times before it fully matures.
Summing Up
The Bonnie curly spider plant is the plant dreams are made of: it’s easy to care for, looks beautiful, and gets along well with your other plants.
You simply have to keep it away from direct sunlight, water it when the planting substrate is dry, and plant it in a fertile and well-draining medium.
It’s so undemanding you don’t even have to fertilize it if you don’t want to!
This article taught you some amazing facts about the curly spider plant and also presented you with other spiders you might want to incorporate into your spider garden.
Enjoy and until next time!
Like this post? Share or pin it for later!


