Dahlias Sprouting: What To Do When It Happens
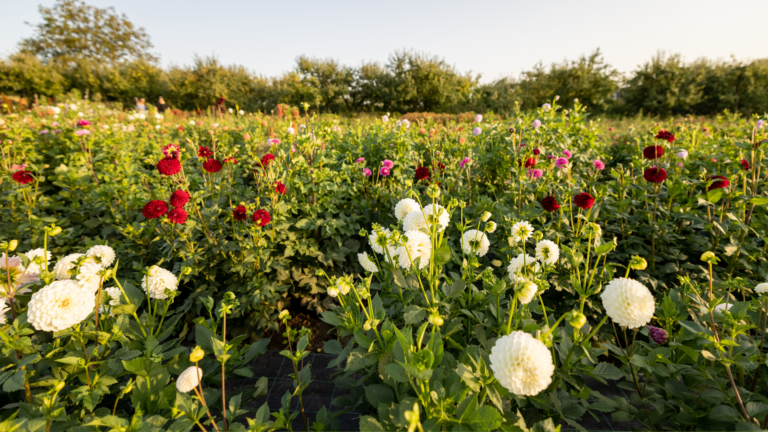
If you want an abundance of cut flowers, every gardener, including me, will recommend growing Dahlias.
They add a nice touch to any flower garden, and since they’re so easy to maintain, you’ll find them in many outdoor gardens around the world.
Dahlias are tuberous plants, which means you can save a lot of money by storing the tubers after the growing season.
At some point, you’ll notice your Dahlias sprouting. Don’t panic; this is actually a part of the life cycle of these plants, and if it happens early, there are a few things to consider.
In this article, I’ll tell you more about the underground structures of Dahlias and what happens during the winter when you store the tubers.
Additionally, I’ll give you some tips for pre-sprouting Dahlias, planting, and growing these unique flowering plants.
Let’s get started!
When To Expect Dahlias Sprouting
Winter storage is an excellent way to avoid having to buy very expensive Dahlia tubers. If you live in a colder climate, this is actually the only way to have your own Dahlias next year.
You should wait until temperatures in the soil rise above 60 degrees Fahrenheit to plant the tubers in the ground. Frost is by far the biggest enemy of Dahlias.
Storage conditions play a major role in the health of tubers; you need to store them in a cool spot, and the ideal temperature range is 40-45 degrees Fahrenheit.
Air circulation is another essential factor in preserving the tubers.
If your Dahlia tubers sprouted way sooner than expected, heat is one of the possible causes.
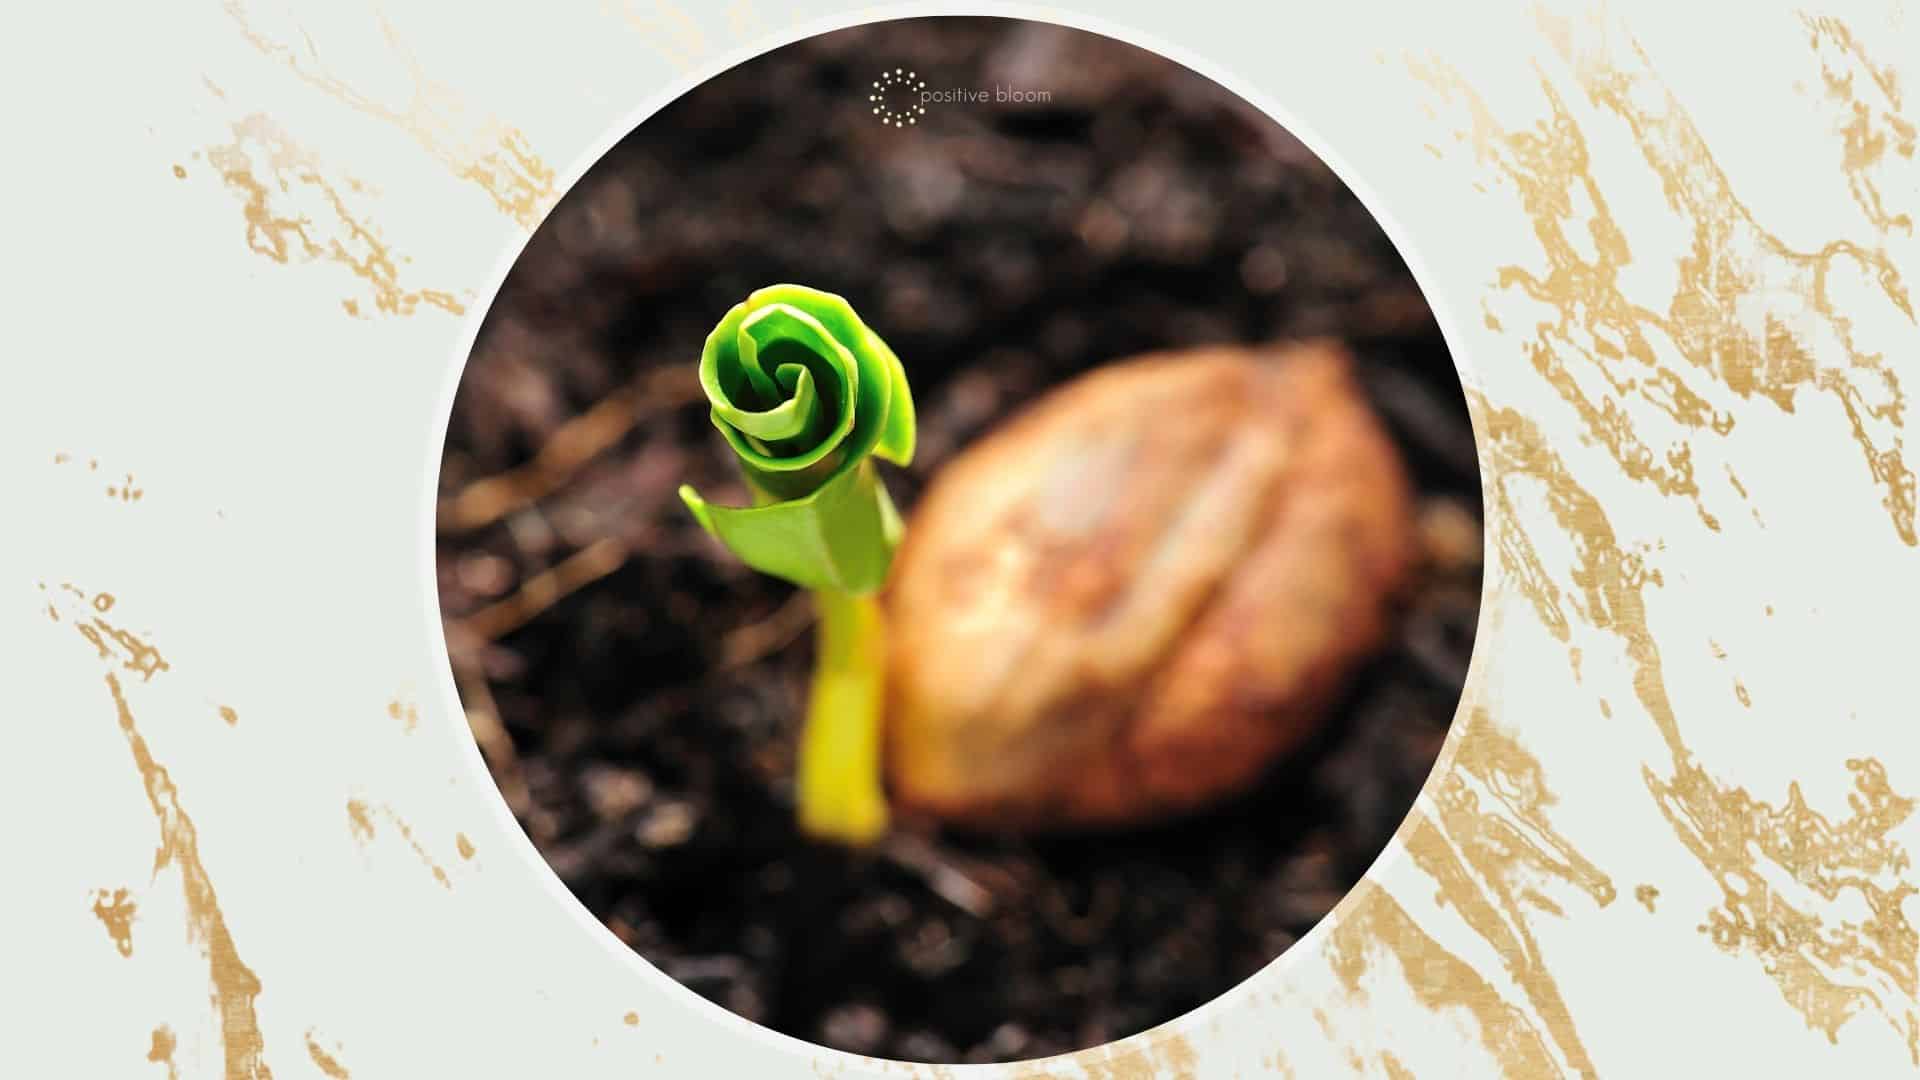
Once the danger of frost passes and the soil temperature rises, it’s time to plant your Dahlias. The tubers develop the eyes, and that’s the sign of a viable tuber that will turn into a beautiful and healthy Dahlia plant.
Pre-sprouting Dahlia Tubers
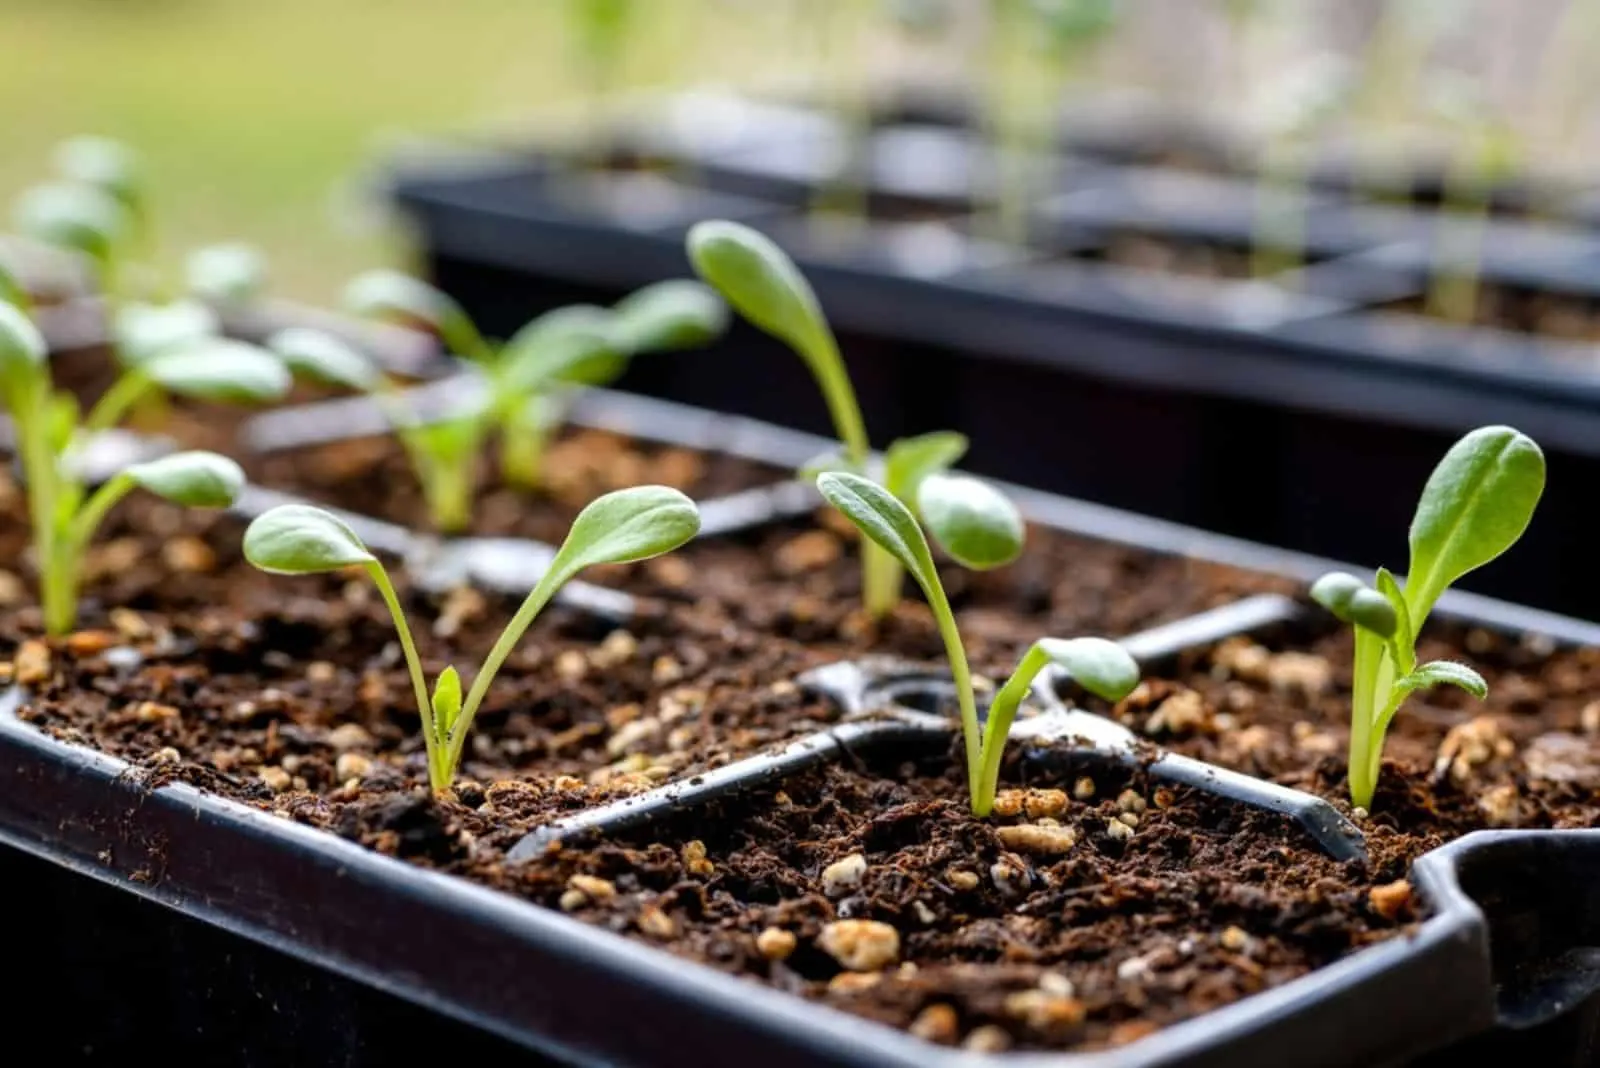
Before I show you how to plant Dahlias, I have to mention that you can pre-sprout them. This involves starting Dahlias indoors in containers and planting them outdoors when soil temperatures are perfect.
Many flower farmers use this method to get beautiful blooms earlier. Another benefit of pre-sprouting is checking the viability of a single tuber. If the tuber doesn’t develop eyes, it’s not viable, and therefore shouldn’t be planted in the ground.
Dahlias take about 3 weeks to sprout, so it would be best if you started them indoors approximately 6 weeks prior to planting.
Here’s a detailed guide on how to get a head start on the growing season of Dahlia plants.
Choose The Right Potting Soil
Container gardening has many benefits, but without an adequate soil type, no plant will grow well.
For Dahlias, there are three essential factors regarding soil type that contribute to healthy growth, drainage, airflow, and fertility.
If you want to try pre-sprouting, make sure the soil mix is well-draining. These flowering plants flourish in well-aerated soil types.
Finally, the potting soil must be rich in organic matter to promote healthy growth and flower production.
A mix of peat moss, perlite, vermiculite, and humus will help you avoid tuber rot and nutrient deficiency.
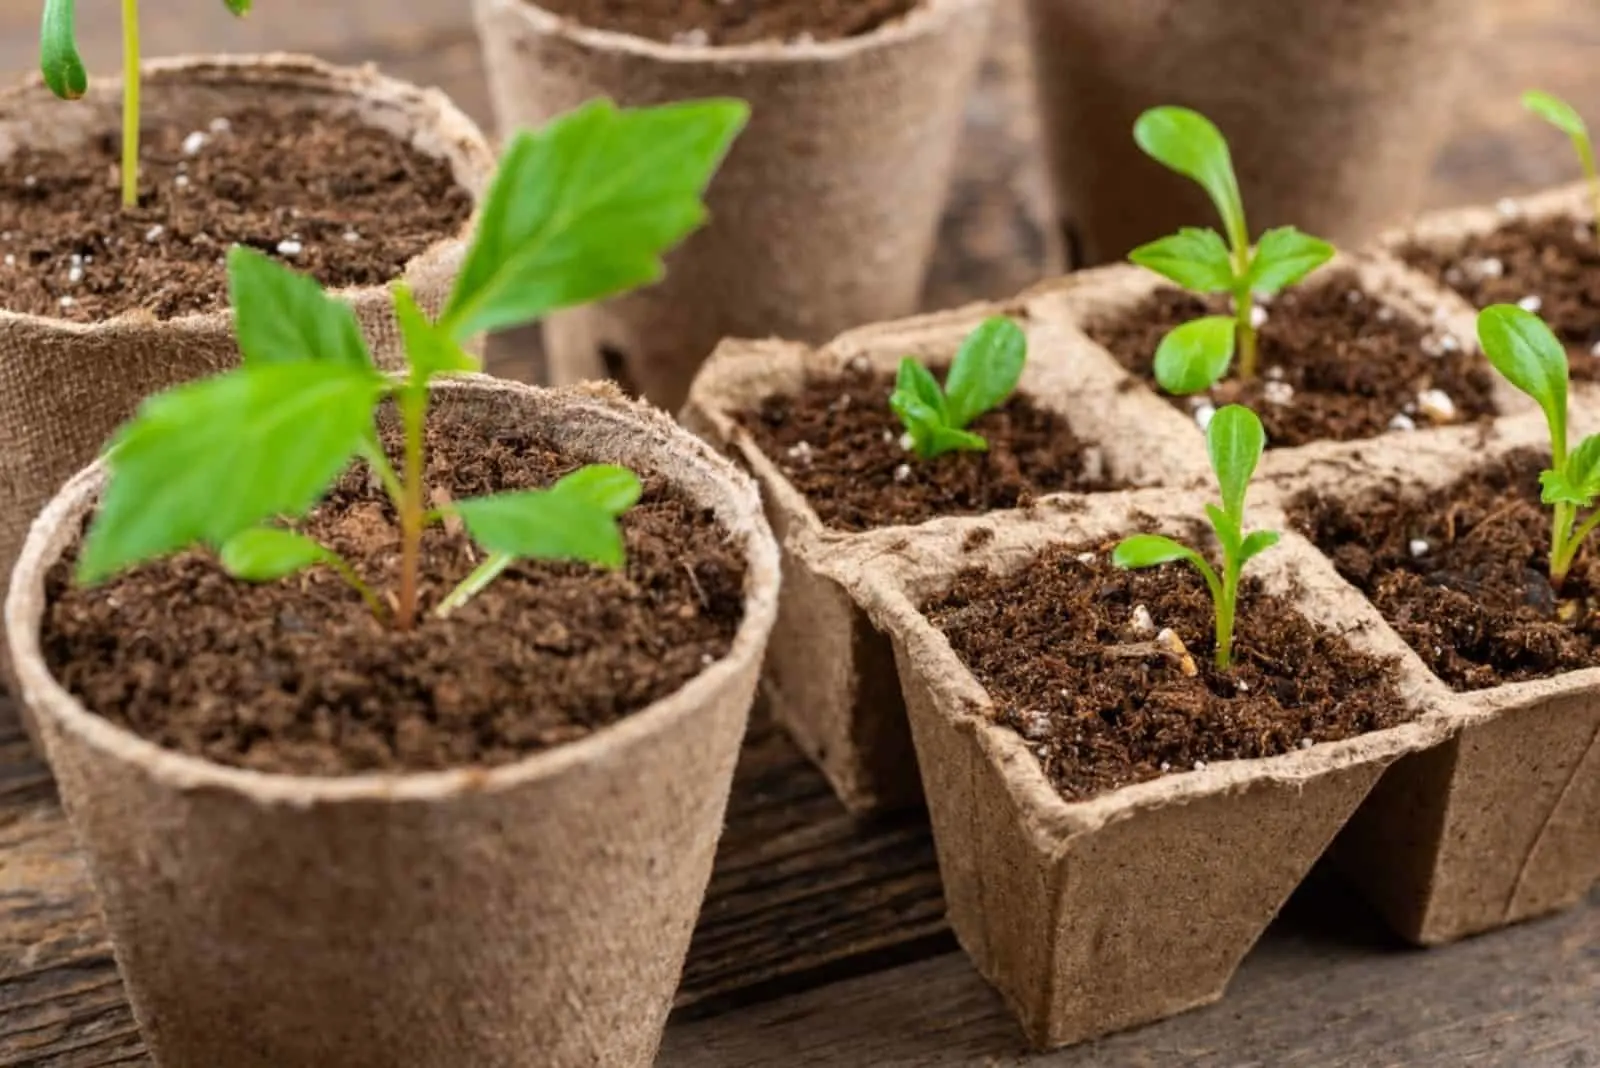
Plant Your Dahlias In A Container
The tubers come in different sizes, so you can either plant a single tuber or go with a tuber clump.
Regarding pot size, I always use 6-inch pots with drainage holes in the bottom.
Pre-moisten the growing medium and put it in the pot; filling half of the pot will suffice. Now put the tuber on its side and add the remaining soil until the pot is full.
If some parts of the tuber, such as the neck, are above the soil surface, there’s no need to cover it because it won’t inhibit sprouting.
Water Them Adequately
The watering needs of potted Dahlias depend on the soil type. If you use soil types rich in organic matter, there’s no need to irrigate the tubers.
Once you notice new growth, i.e., the first set of leaves, you can mist the top few inches of the soil when they dry out.
If you’re unsure about the moisture content of the soil mix, it’s better to wait a day or two than to overwater the tubers.
Ensure The Ideal Temperature
Dahlias sprout when temperatures of the growing medium rise above 60 degrees Fahrenheit. You should place your potted Dahlias near a window that gets a few hours of sun.
Remember that the nighttime temperatures of the soil should also be over 60 degrees. If your home is a little bit cooler, you can use heating mats.
Transplant Your Pre-sprouted Dahlias
If you’ve already pre-sprouted some plants indoors, then you need to help the plant adapt to the outdoor conditions.
What does this mean? Growth might be significantly inhibited if you transplanted your sprouted Dahlias without hardening them.
The method many home gardeners use is gradually moving plants outside to a shaded area during the daytime. Once the night approaches, you need to take your Dahlias indoors.
You can do this for about 7 days and then leave the plants outdoors throughout the day and night. Make sure the sun doesn’t reach the pot, and protect it from winds.
Tips For Planting Dahlia Tubers In The Ground
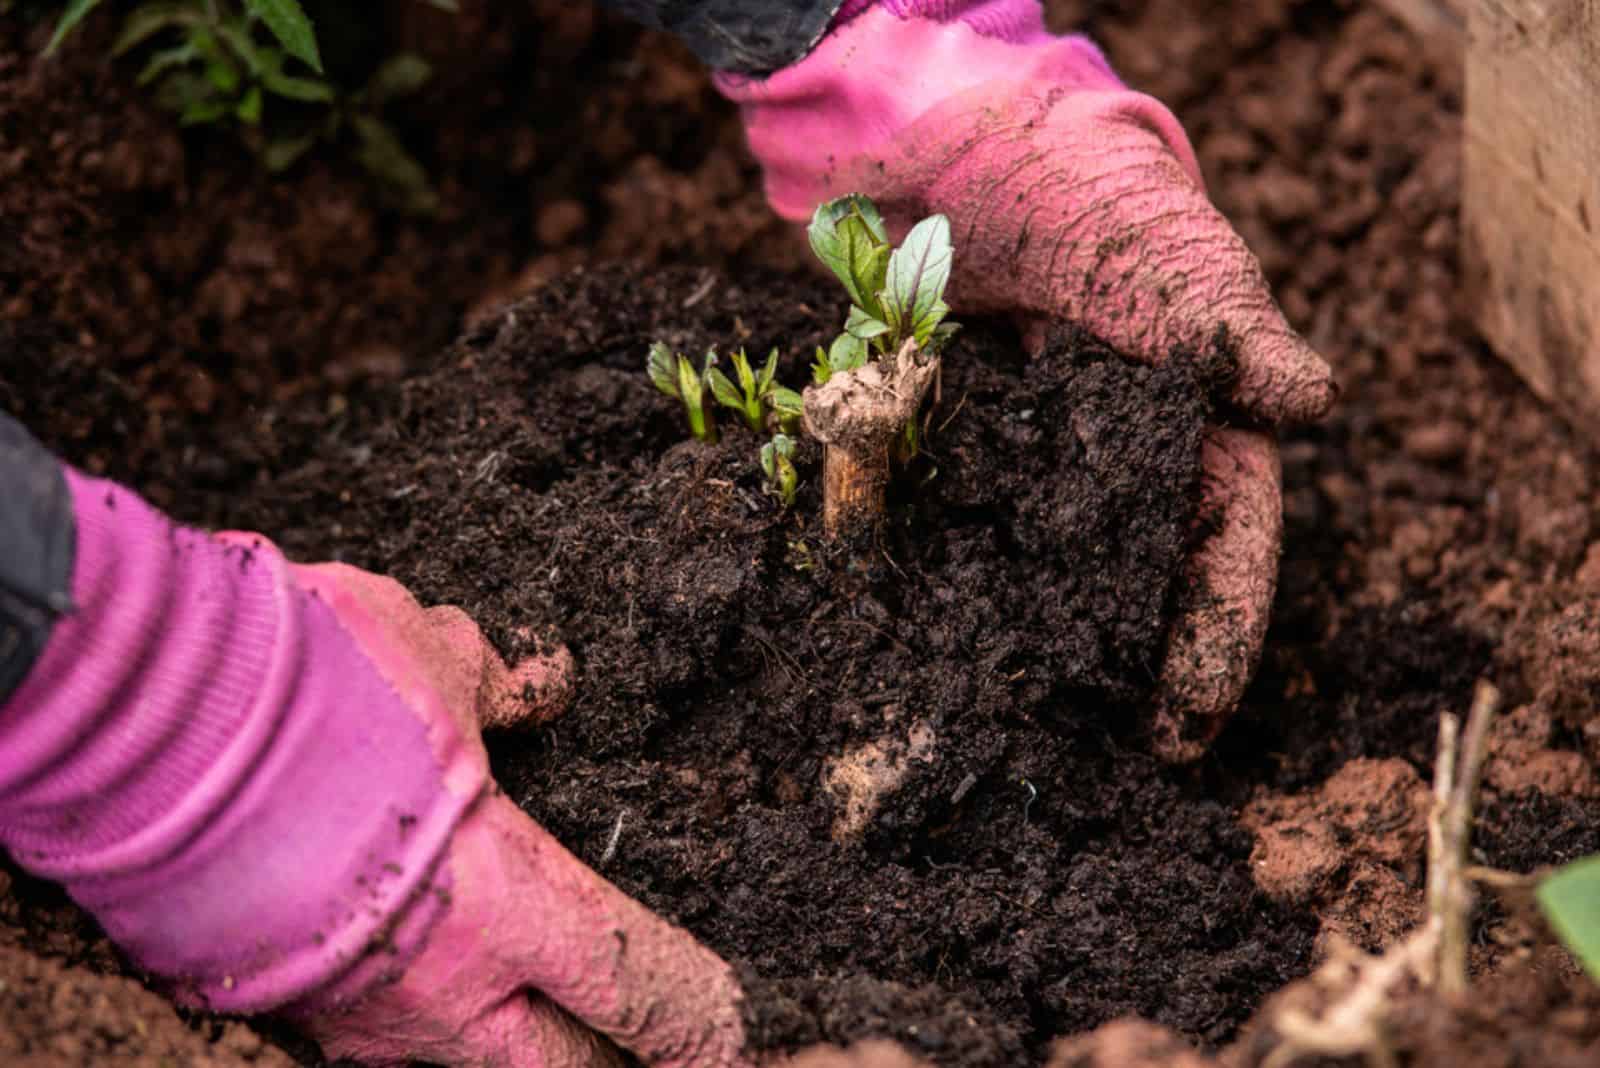
If you have tubers, either pre-sprouted or normal, I’ll now show you the procedure for planting them in the ground.
Inspect unsprouted tubers; if some seem wrinkly or rotten, they should not be planted. The ones that have developed eyes or have shown new growth are perfect for planting.
You should plant both bigger and single Dahlias intended for cut flowers in an area where other plants don’t grow.
This is an excellent way to avoid competition, i.e., plants stealing nutrients from each other.
Prepare the rows and make sure the distance between each row is about 3 feet.
If you’re border planting, then go with a spacing of 1 foot.
Plant Your Tubers
Here are 6 steps for planting tubers in the ground:
1. Dig a hole that is approximately 6 to 8 inches deep. You can add some compost before putting the tubers in.
2. When placing Dahlia tubers in the hole, make sure the eyes are facing up. When planting other tuberous plants, such as potatoes, we often slice or break them. Don’t do this with Dahlias!
3. Add a layer of soil so that it reaches ground level.
4. Tubers don’t need irrigation at this point as it will only do more harm than good. These underground structures tend to rot if irrigated before sprouting.
5. Once you notice new growth above the soil surface, you can start watering. There’s no need to add mulch; the root system will grow better if it receives more light.
6. If you grow larger specimens, you’ll need to provide them with support. Structural support of 6-7 feet tied to the stem with twine will encourage growth and prevent the plant from tipping.
Dahlias need a couple weeks to produce their lovely blossoms. My Dinnerplate Dahlias typically take 2 months to enter the flowering stage.
Tips For Growing Dahlias
Of course, lovely Dahlia blooms won’t occur unless all plant requirements are met. This French flower isn’t fussy about conditions; still, some things need to be considered.
If you’ve done everything correctly regarding planting, Dahlia season will begin and the plant will need a few things to reach its final growth stage.
Here are some care tips to help your Dahlias thrive and produce an abundance of beautiful blooms.
Watering
I mentioned that the tubers don’t require irrigation after planting, but once the plant displays new growth, you’ll need to keep the soil moist.
Irrigate your Dahlias approximately twice a week. If you live in a warm and arid climate, you should add water more frequently.
Be ready to take care of your Dahlia plants before or after rain, when open flowers, especially big ones, are more likely to fill up with water or get battered by the wind.
Feeding
Just like other flowering plants, Dahlias need additional feeding during the growing season. As soon as you notice new growth, prepare plant food with a low nitrogen concentration.
I use 10 20 20 fertilizer for my Dahlias. You can start fertilizing in the middle of the summer. Add plant food monthly and stop feeding in the fall.
Be careful with feeding; overfertilization leads to many severe issues, such as poor tuber development, tuber rot, or inhibited flower production.
Disbudding And Deadheading
You can make your Dahlias bushier by pinching out about 4 inches of the central stalk. I always use this technique once my Dahlias reach a foot in height. A lot of new stems will form from each leaf node.
If you want larger blossoms, you can try disbudding your Dahlias. Disbudding involves snipping off two tiny buds placed next to the main one, and will encourage your Dahlia to focus its energy on a smaller number of much larger flowers.
If you cultivate your Dahlias in flower beds, you don’t need to use the above mentioned technique. In that case, you should promote a bushier growth habit by removing the main shoot situated on the third set of leaves.
Deadheading spent flowers prolongs the flowering season and encourages Dahlias to produce even more blossoms.
Pest And Disease Management
If you’ve ever visited a flower farm, I’m sure you’ve noticed how much attention farmers pay to pest control.
Dealing with pests and diseases isn’t easy, especially when cultivating plants outdoors.
Regarding Dahlias, pests such as mealybugs, aphids, slugs, and nematodes are the most frequent.
There are several excellent ways to control pests during flowering, and it’s always better to use organic methods.
Dahlias are relatively resistant to infections. The easiest way to avoid any disease is by keeping the plants healthy. Remember that tubers are susceptible to rotting, so pay close attention to irrigation.
Storing Dahlias
When Dahlias enter the flowering season, you can use cut flowers in bouquets; they last longer than the blossoms of many other common plants.
You can also use Dahlia cuttings to get more plants and prettier flower beds.
But you can also save tubers and overwinter them. Knowing how to remove the tubers, as well as their ideal storage conditions, is essential.
Here are some tips on taking out tubers and storing them.
1. One of the main signs your tubers are ready to be removed from the ground is blackening of the leaves. You can expect this to happen after the first frost. If you want successful overwintering, remove the tubers from the ground before severe frost.
2. Remove any black leaves and leave about 3 inches of head growth.
3. For digging, use smaller tools such as a gardening shovel or fork.
4. Take the clump out of the ground and get rid of the surrounding soil.
5. If some of the tubers are rotten or damaged, remove them from the clump.
6. Allow the tubers to dry out by placing them outdoors in a sunny spot.
7. Put divided tubers in a porous material such as horticultural sand.
8. Put Dahlia tubers in a room with good air circulation where temperatures are lower than 40 and not higher than 45 degrees Fahrenheit.
9. Inspect the tubers from time to time; some Dahlia tubers may rot during overwintering, so make sure to dispose of them to avoid damaging healthy ones.
FAQs
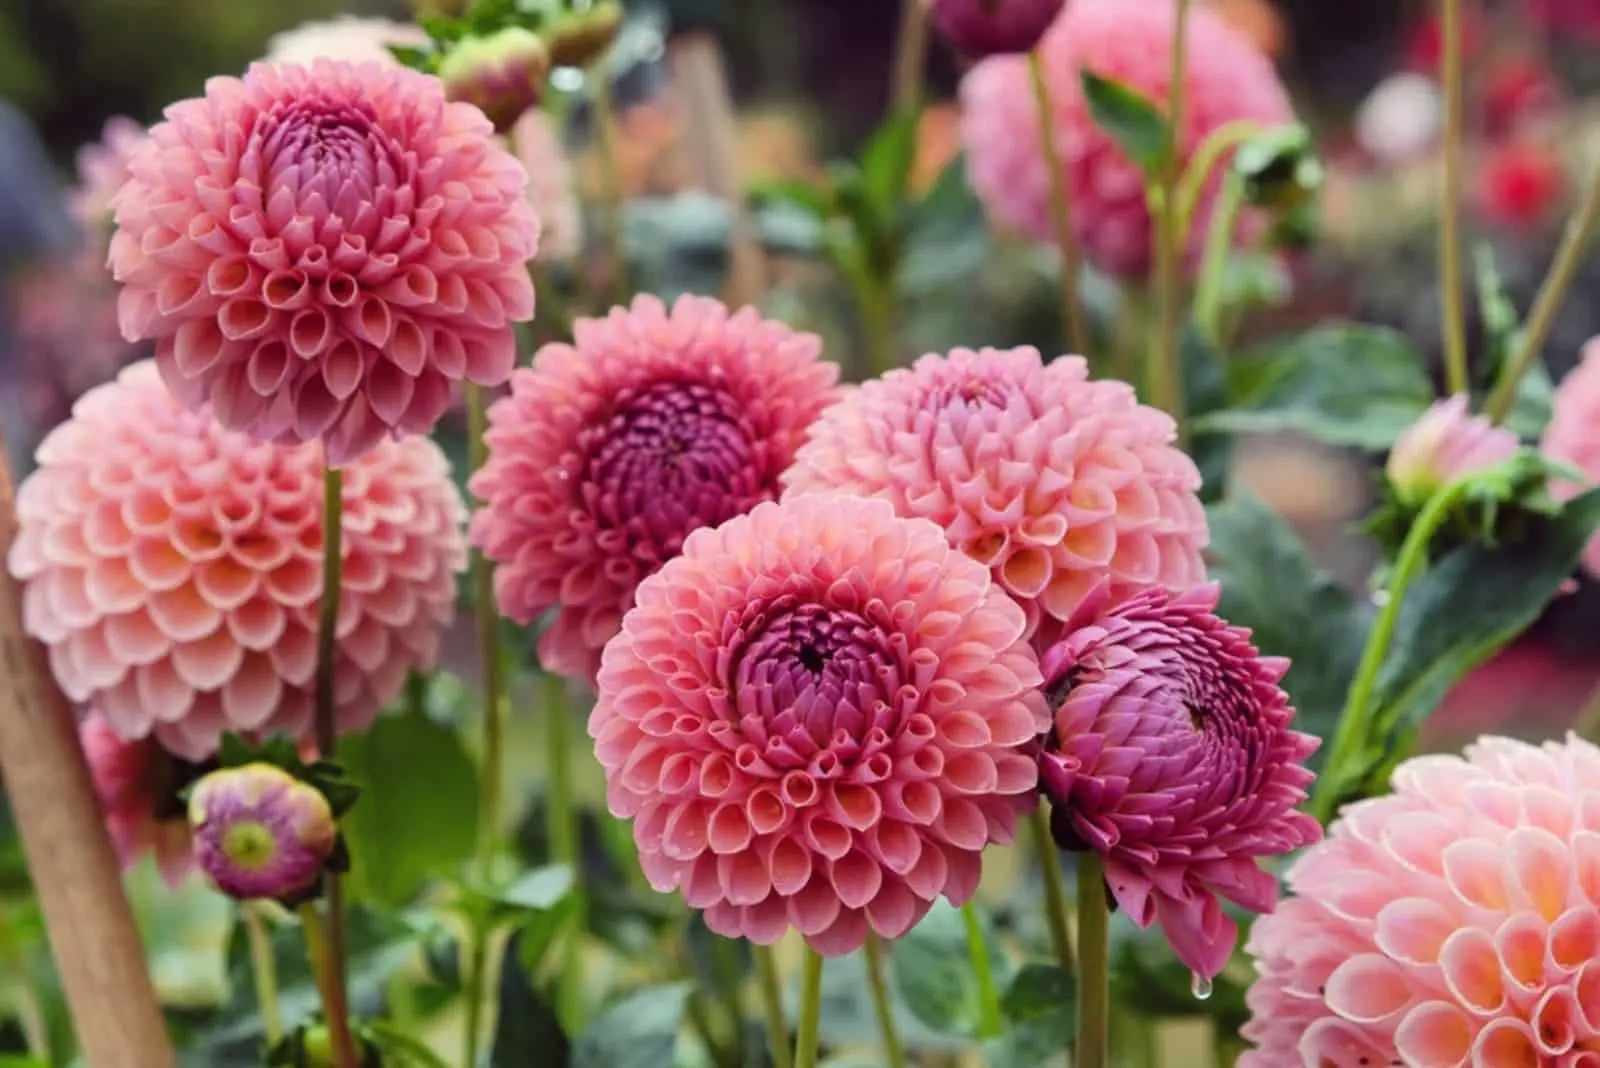
Dahlias come in various colors, depending on the specimen. For instance, the American Dream variety features large blossoms that come in pink. If you’re into deep red colors, I recommend the Arabian Night or Aurora’s Kiss (pom-pom-like) varieties.
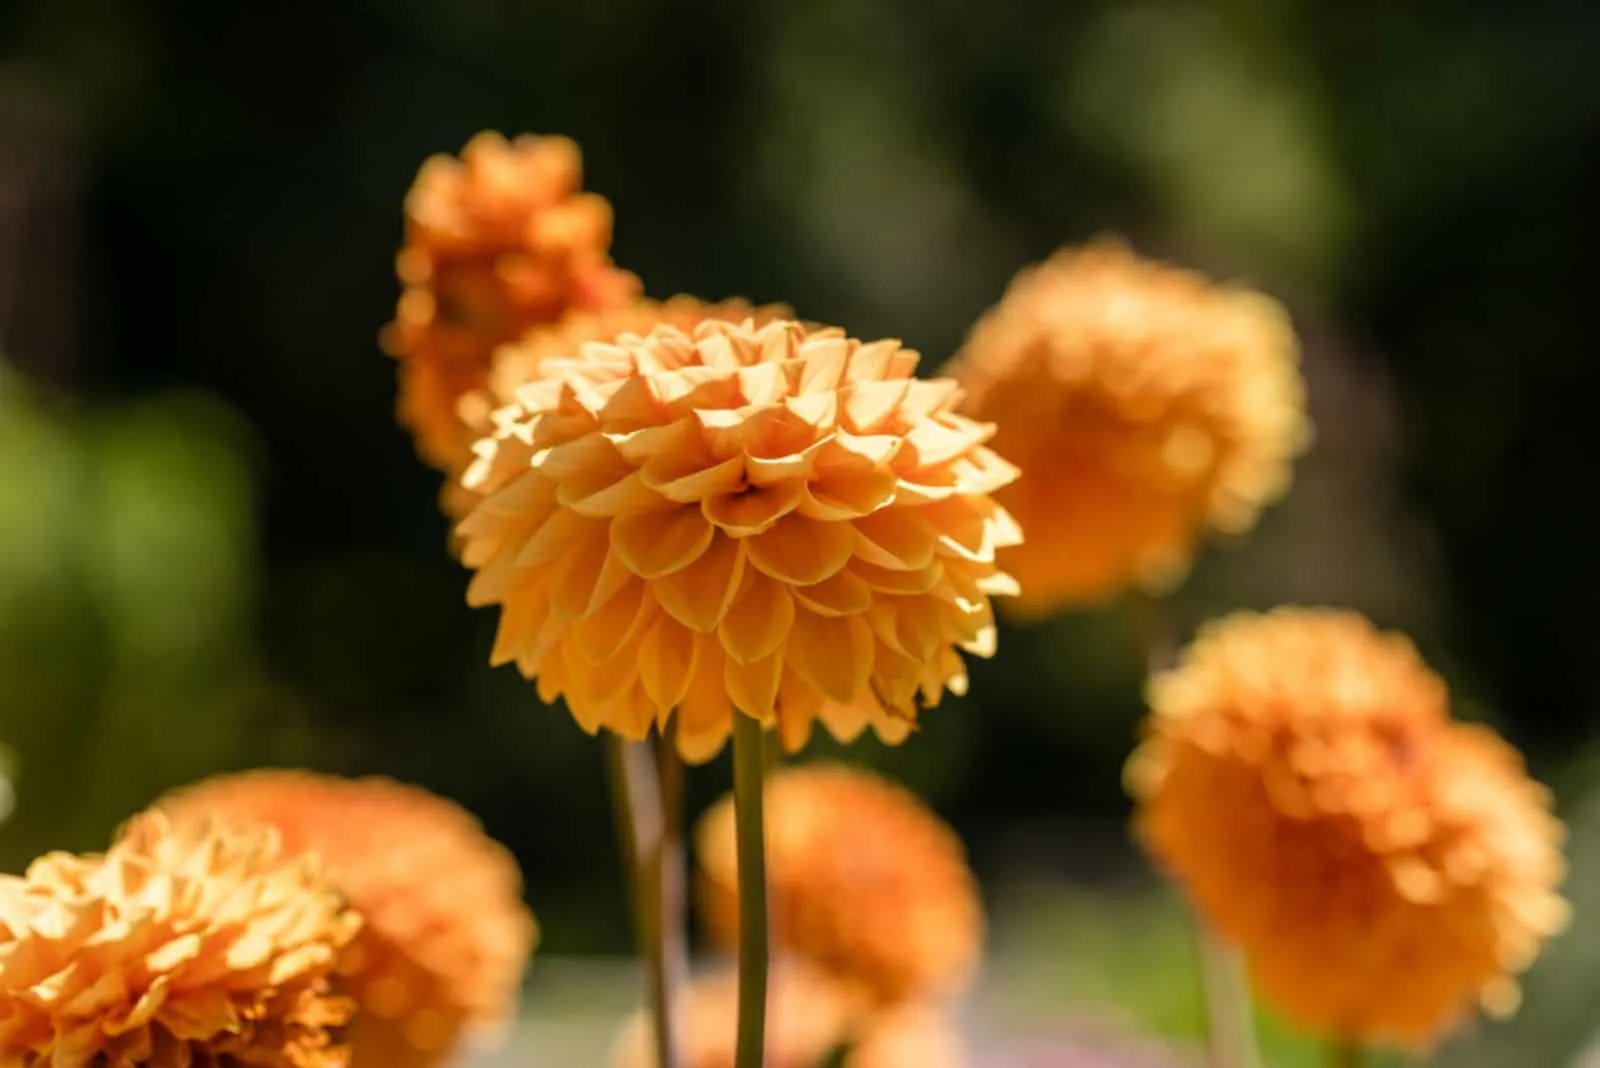
The David Howard variety comes in orange, whereas the Kelvin Floodlight produces yellow blossoms.
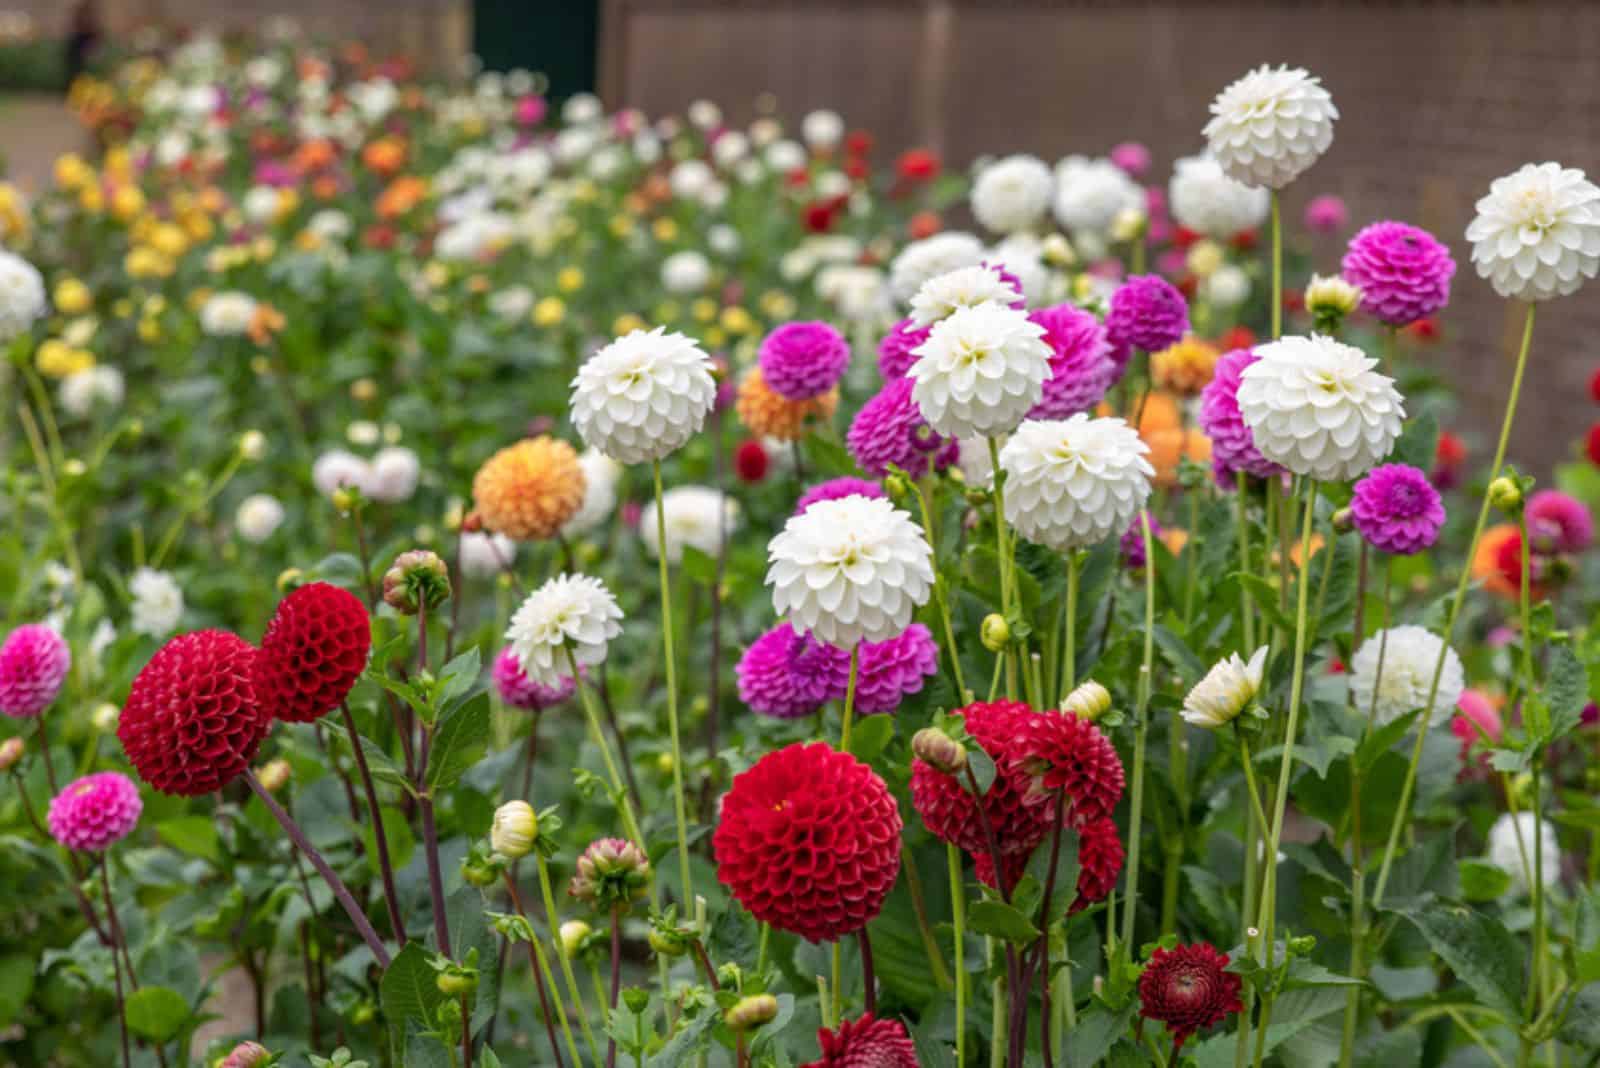
You can also choose from several multicolored varieties, such as the Rothsay Reveller, Garden Show, or Dutch Explosion.
Dahlias are widely cultivated flowering plants, mainly for cut flowers. They make a perfect addition to wedding bouquets.
Another reason many gardeners decide on Dahlia cultivation is ease of maintenance. These plants aren’t fussy about the growing conditions and will produce an abundance of blossoms with minimal care.
If you are into flower symbolism, these plants bring good energy, positivity, and joy.
Wrapping Up
All gardeners agree that Dahlias deserve a place in every flower garden. If you are a beginner and want a low-maintenance, colorful plant specimen, then flowering Dahlias are one of the best plants to grow.
It’s essential to know everything about Dahlias sprouting. These tuberous plants prefer warmer soil temperatures; if you overwinter tubers and they sprout earlier, control the temperature range to decrease the growth rate until planting.
You’ve also seen how to pre-sprout, plant, and grow these lovely flowers. One thing is for certain; there’s no reason why these plants shouldn’t be on your wishlist for new plants in your flower garden.
Until next time!