5 Steps For A DIY Drip Irrigation System
On a scale from 1 to 10, how tired are you of trying to keep your plants well-hydrated all season long? This is definitely one of the most challenging gardening tasks for beginners.
Drip irrigation is an excellent solution, but initial costs and maintenance make the system less desirable for many growers.
What if I told you that you have the option to make a DIY irrigation system? Yes, you read that right, and best of all, you don’t need any special skills or equipment to do it.
Are you eager to find out how to make it? No time to waste, let’s get started!
1. Prepare Equipment
Prepare to be amazed! You only need 3 things. First, prepare a plastic bottle that will act as a water tank in this case.
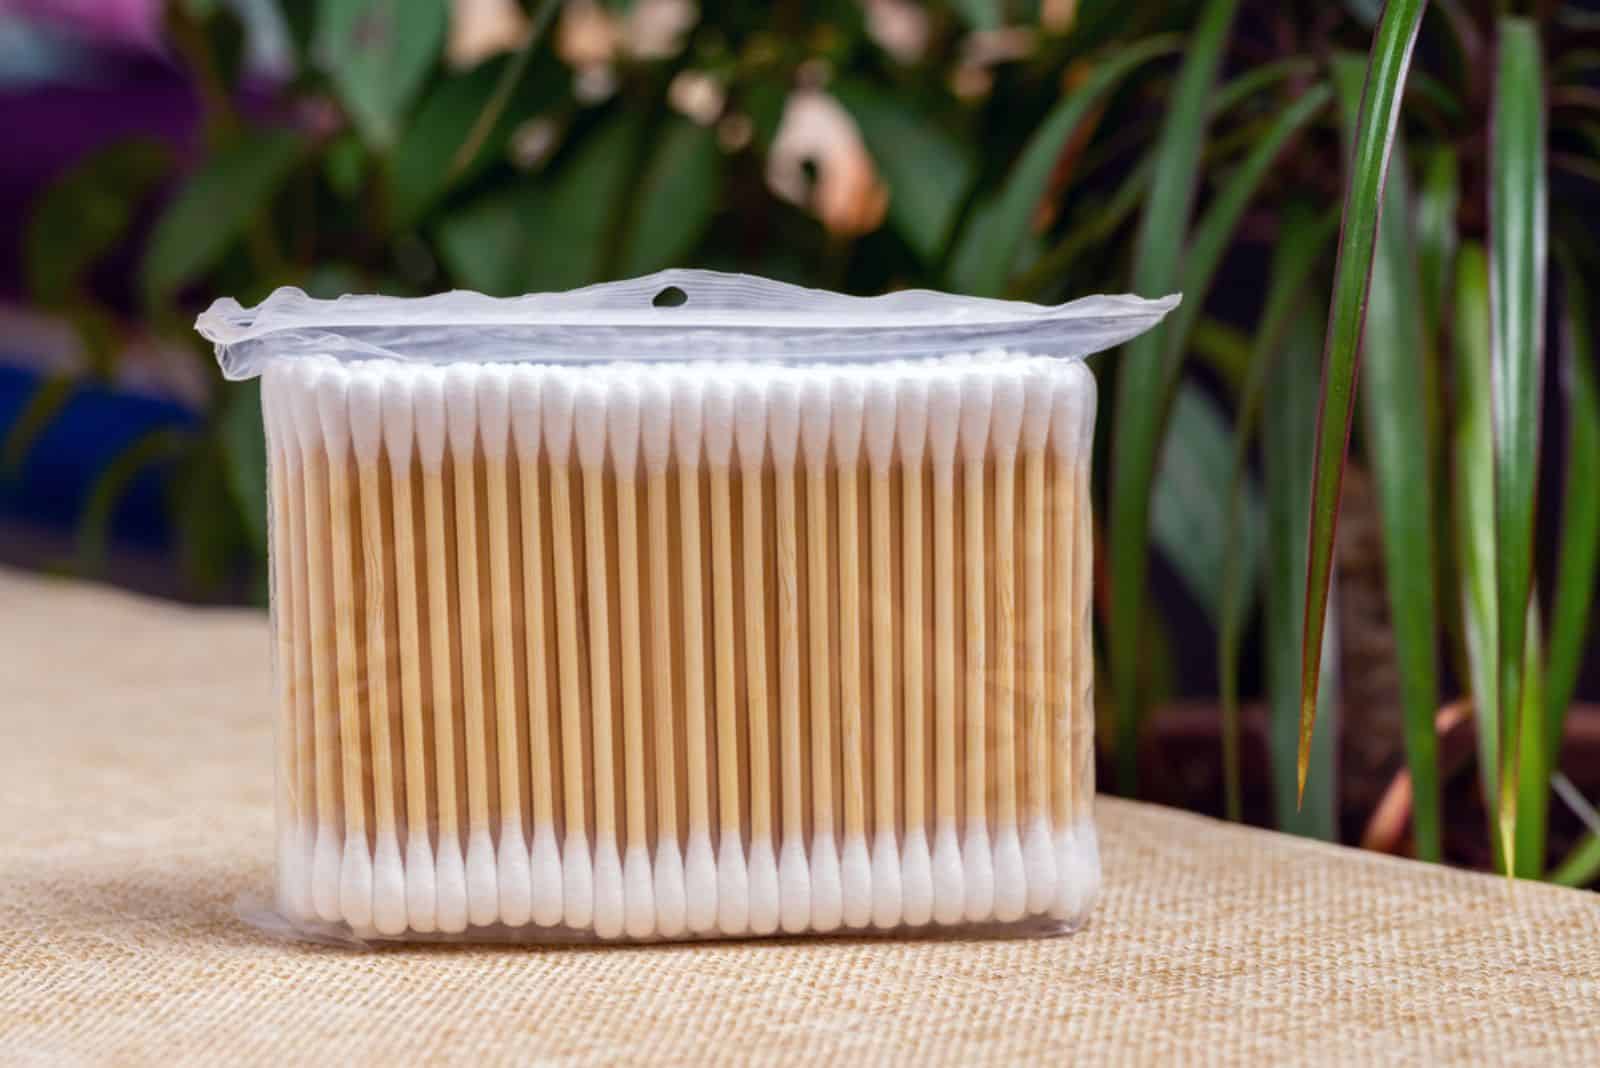
Second, you need a cotton swab, and third, you need a really sharp pair of scissors. And the list of equipment ends here.
I typically add time and patience when telling gardeners what to prepare for a project, but in this case, it’s not really needed. You’ll be done before you know it!
2. Poke Holes In The Bottle
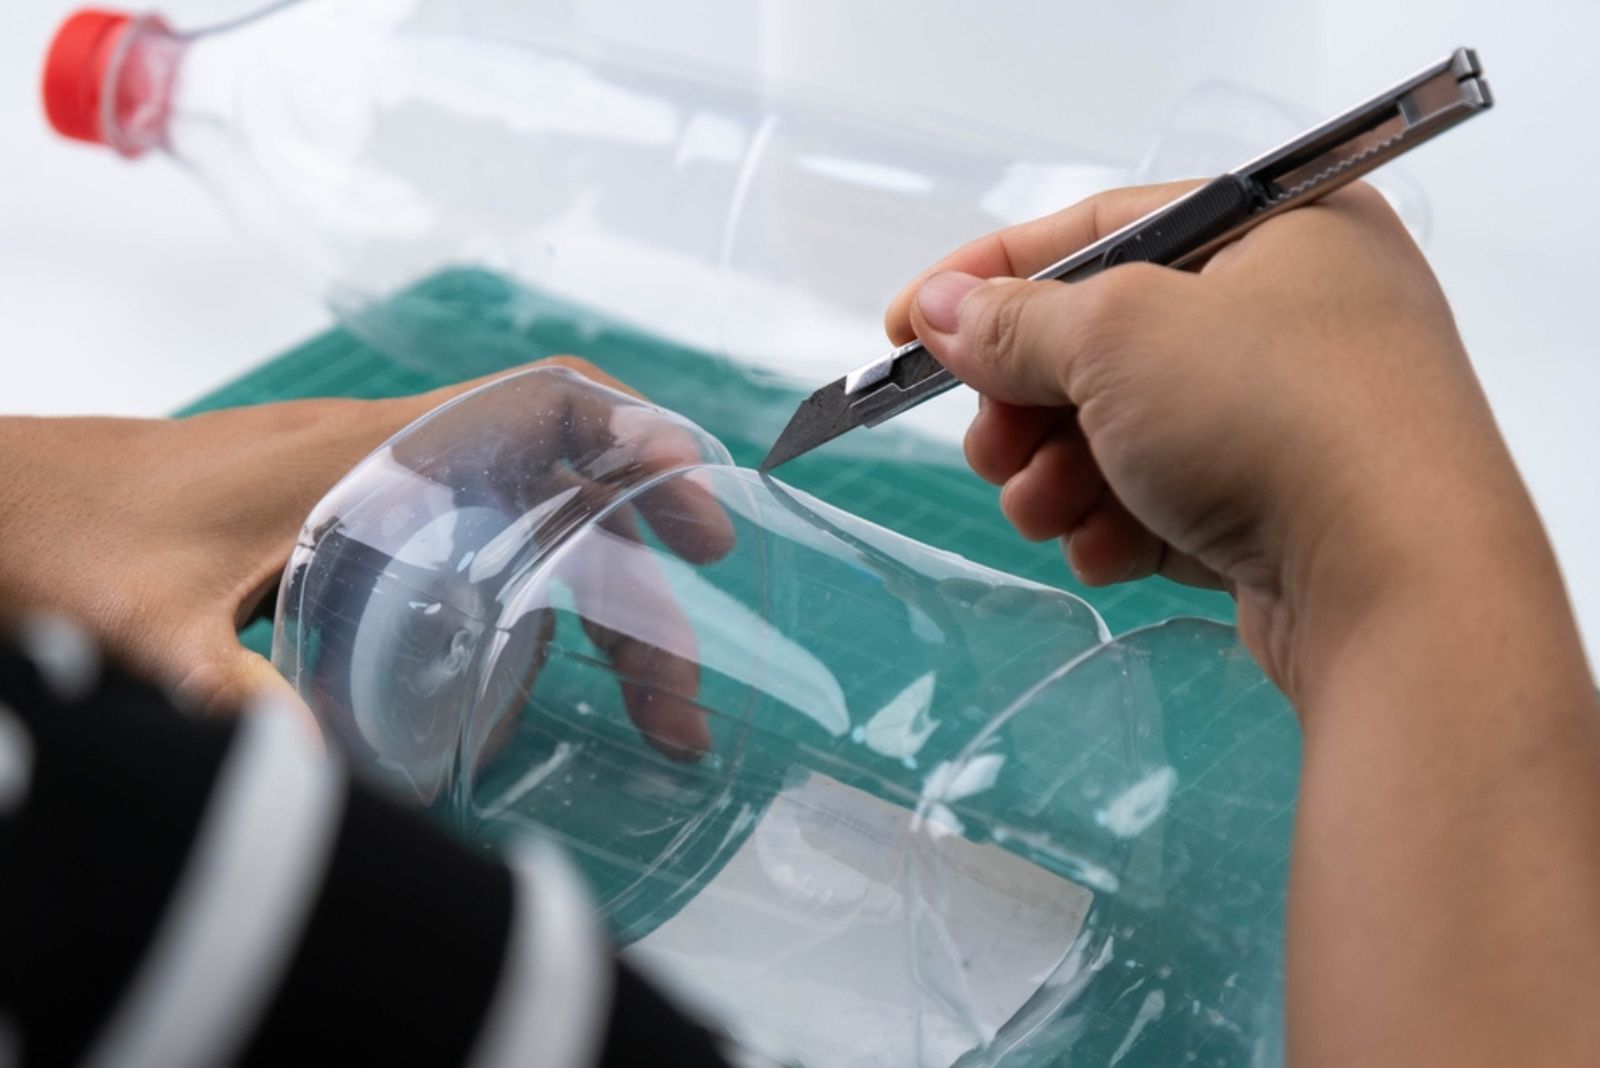
Start with cleaning out your old water bottle then take your scissors and start making a hole.
The hole should be on the side of the bottle approximately 2 inches from the bottom. Regarding its width, it should be wide enough to fit the cotton swab’s stem.
You will also need to make a hole of this size in the lid of the bottle.
I’ve seen some of my fellow growers heat up the end of a thick sewing needle so that the holes in the bottle are smoother.
I used a lighter and heated up the end of the blade of my scissors and got pretty smooth holes.
3. Prepare And Install Cotton Swabs
Now take your cotton swab and cut it in half. Insert one half in the hole in the bottle and the other half in the hole in the lid, making sure the fluffy side is outside.
This will work as a perfect water delivery system! Why? Well, the water will be leaking from the bottom bud and the top bud will control the flow.
How is this possible? If we take out the top bud, we’ll notice that the water leaks faster from the bottom bud. After we put it back, the flow will be slower.
If you see that the water accumulates in the soil of your plant, keep the top bud in the hole. Remember, overwatering is one of the biggest watering mistakes, and we must do everything to avoid it for the sake of our plants.
4. Add Water
Now it’s time to fill the water tank, I mean the bottle, with water. Hold your finger to the lower hole until you transfer the bottle to your pot or garden bed.
When it comes to the water type to use, you can either go with tap water or rainwater.
There has been a lot of discussion on the use of rainwater for plants, but from my experience and the experience of my fellow gardeners, this is the best water type and it’s free!
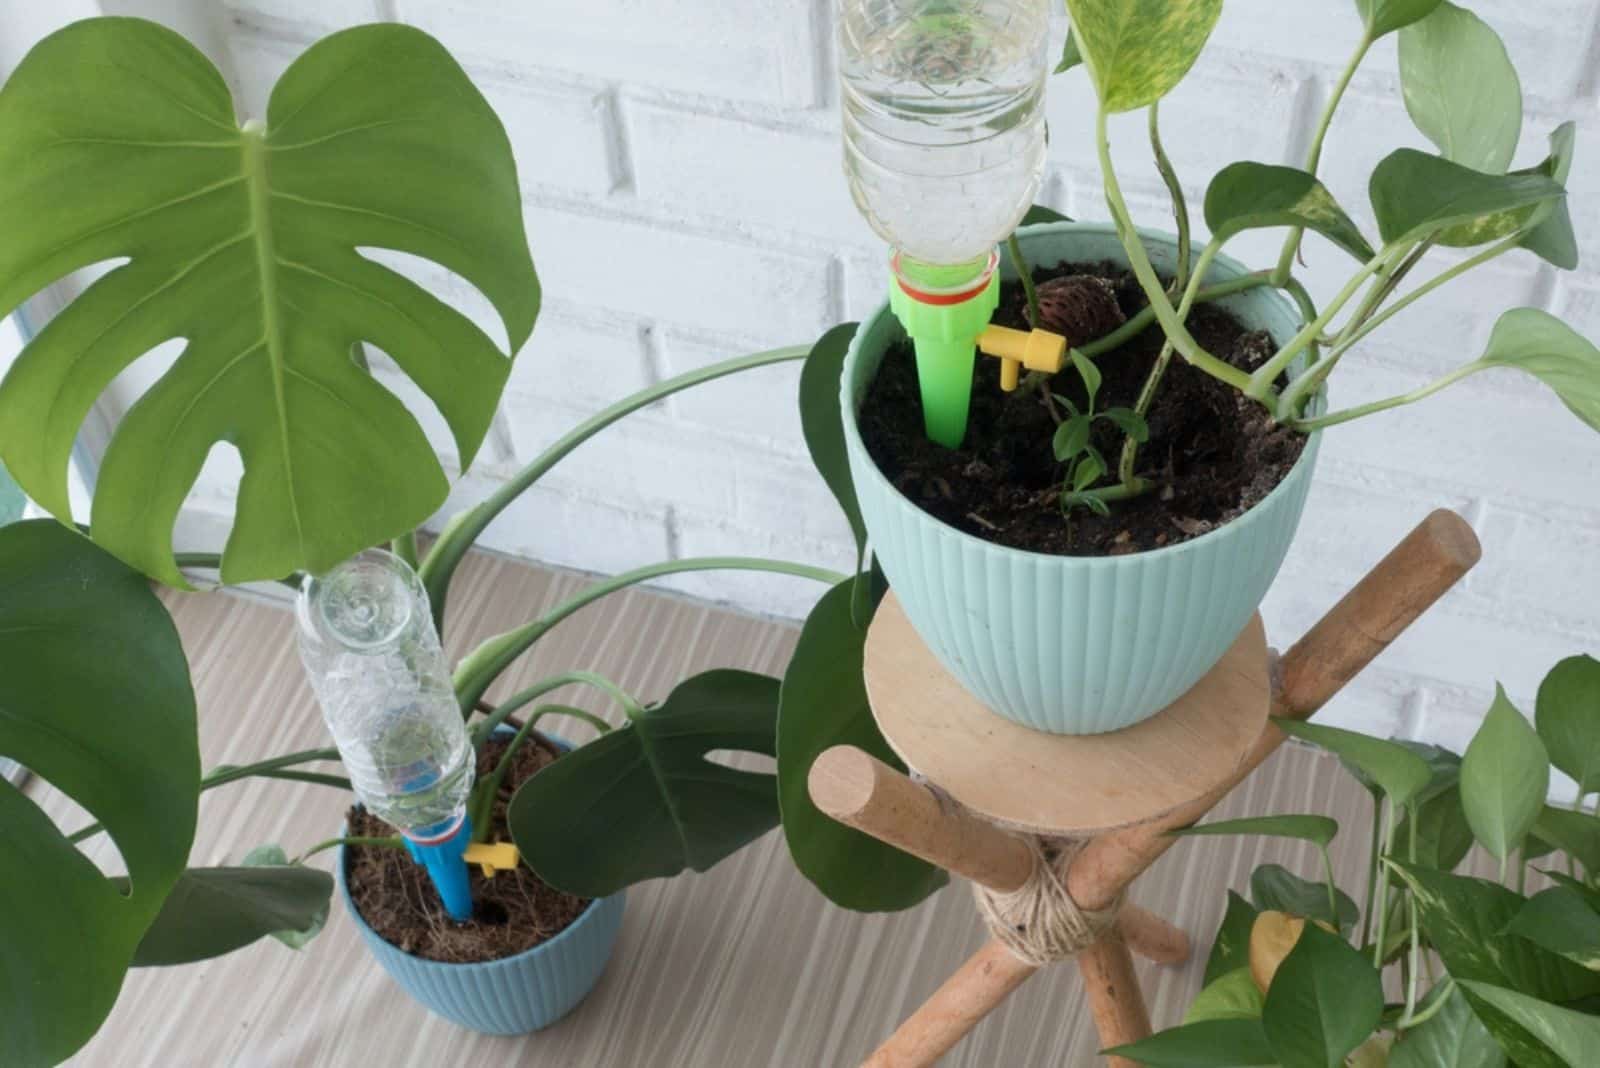
5. Put The Bottle In The Pot/Bed
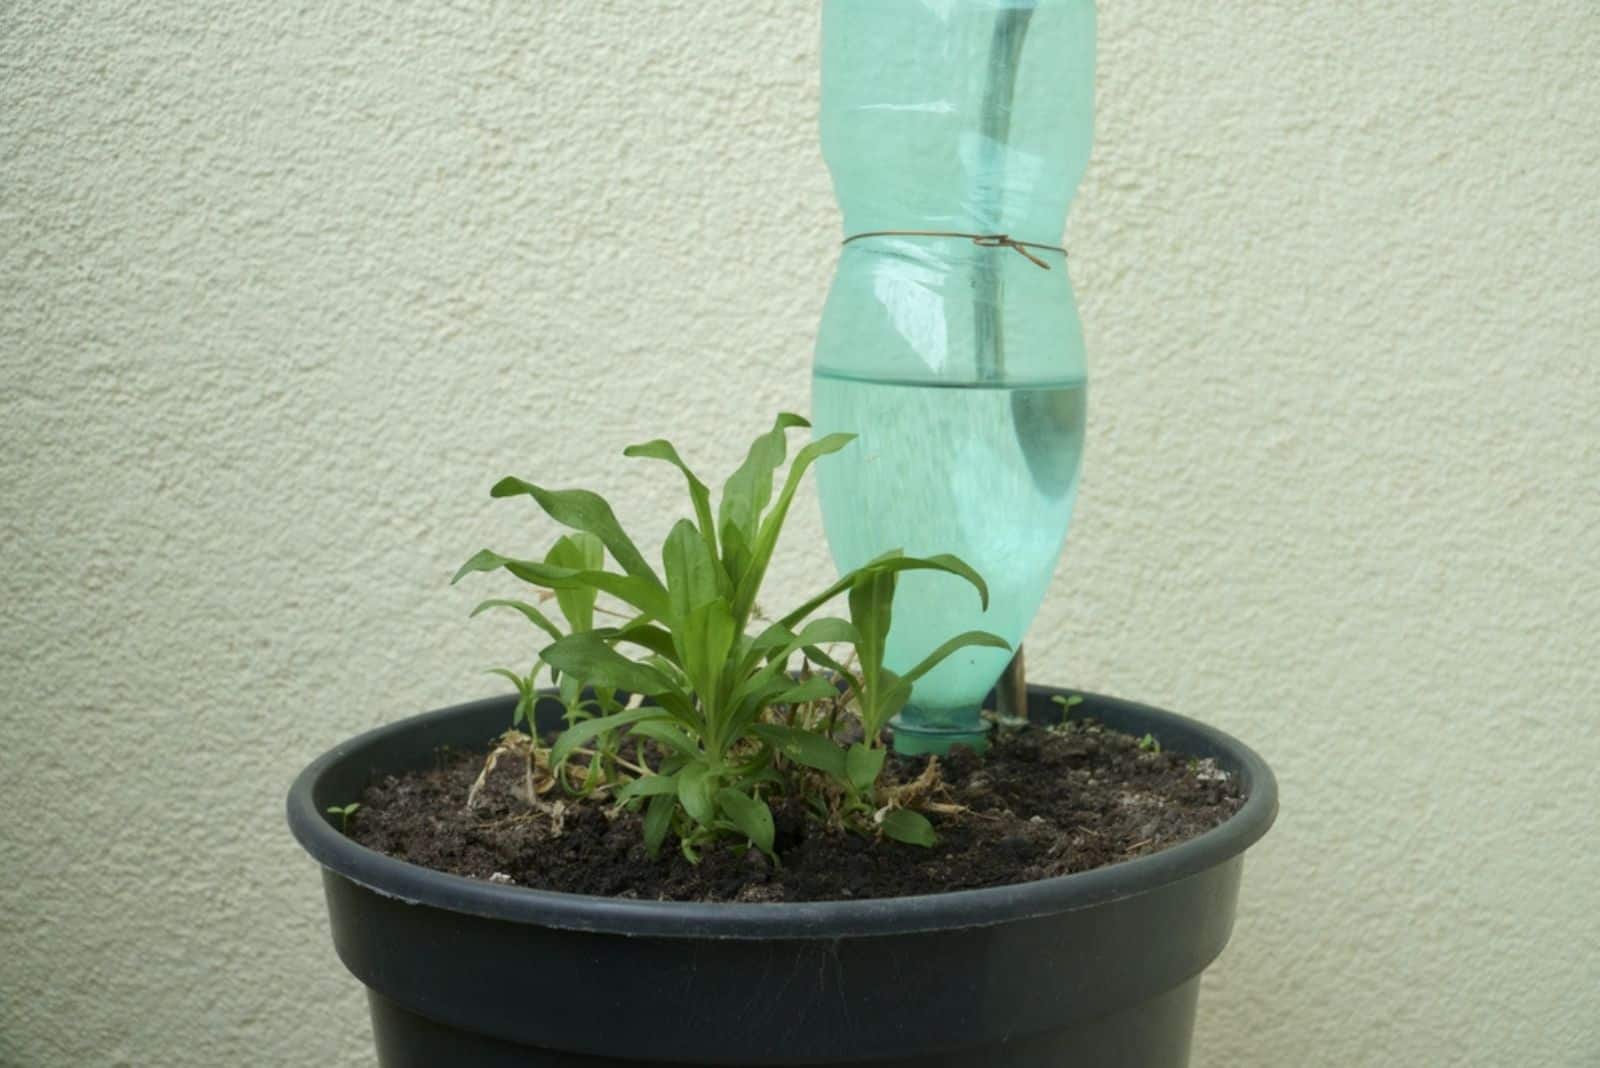
Many growers who tried this method had issues with the size of their pots, meaning that there was no room for a bottle to fit. If the pot is too small and your plant is too big, that means only one thing: it’s time for repotting!
You can proceed with installing your watering system if your pot is large enough. Make a small hole in the soil and put the bottle in. This will secure it and protect it from the wind.
Final Thoughts
Drip irrigation systems have a lot of advantages and will reduce the time you spend watering your plants. But, not everyone can afford this system. This is where a DIY version steps in.
It will be especially useful to those gardeners who live in hot climates where soil dries out quickly. And, of course, it will help keep thirsty plant species hydrated all the time!