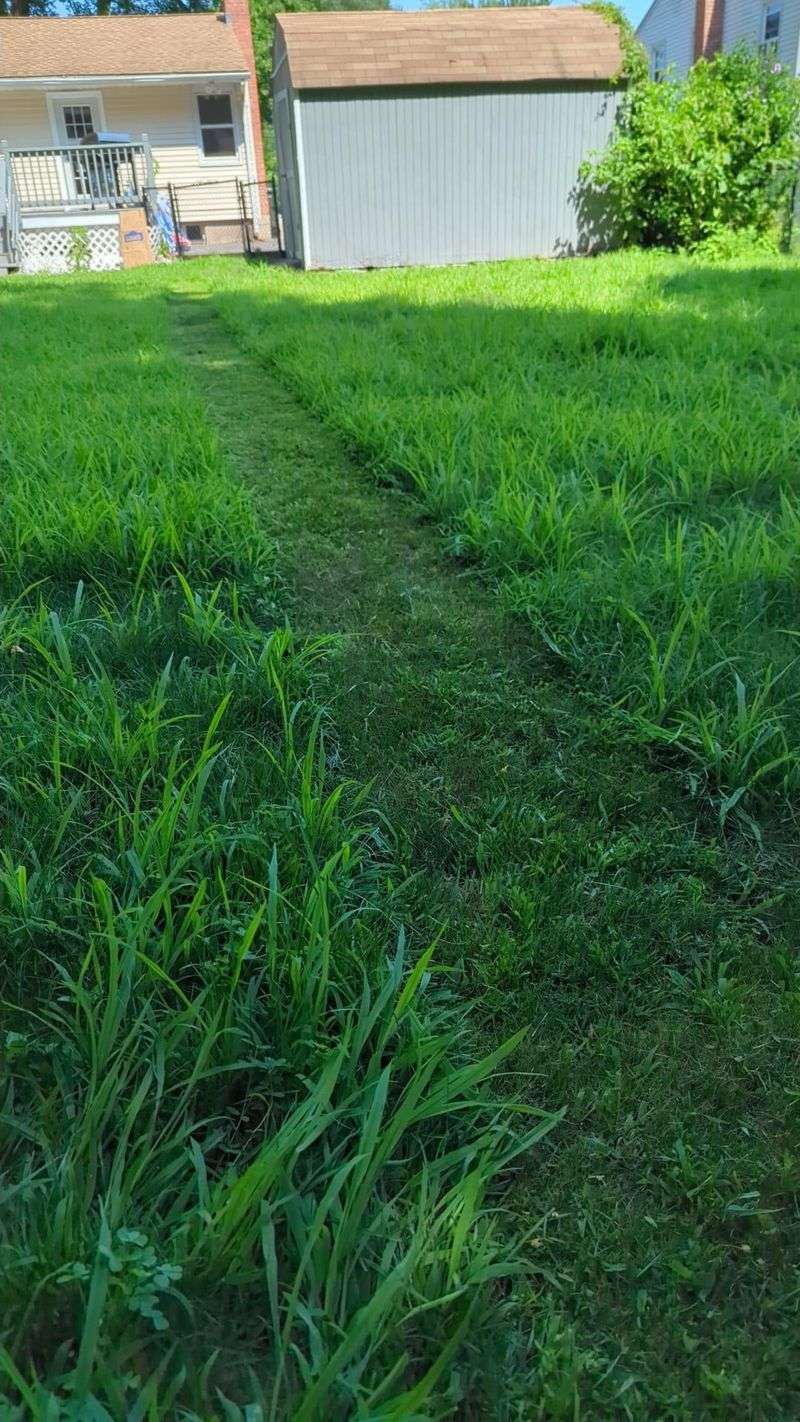
18 Simple Ways To Tell If Grass Seed Is Still Good (And How To Check Its Viability)
Ever stared at that old bag of grass seed in your shed and thought, “Is this stuff still alive?” You’re not alone—most of us have played the seed guessing game at least once.
Before you toss it or trust it, there are some super easy ways to figure out if it still has the power to grow a lush green lawn. I’ve learned a few tricks over the years that can save you time, money, and frustration.
Let’s unravel the mystery of your grass seed stash together—no fancy gear required!
1. Check The Expiration Date

Start by locating the expiration date on the packet; it’s your first clue. Grass seeds have a shelf life, and while they don’t spoil like food, their germination rate diminishes over time. An expired date means it’s time to question its freshness.
When seeds are stored past their prime, they lose their vigor, making it difficult for them to sprout. You might not get the lush lawn you envisioned if the seeds are too old.
Always look for a date within a year or two to ensure the highest chance of successful germination.
2. Inspect The Packaging
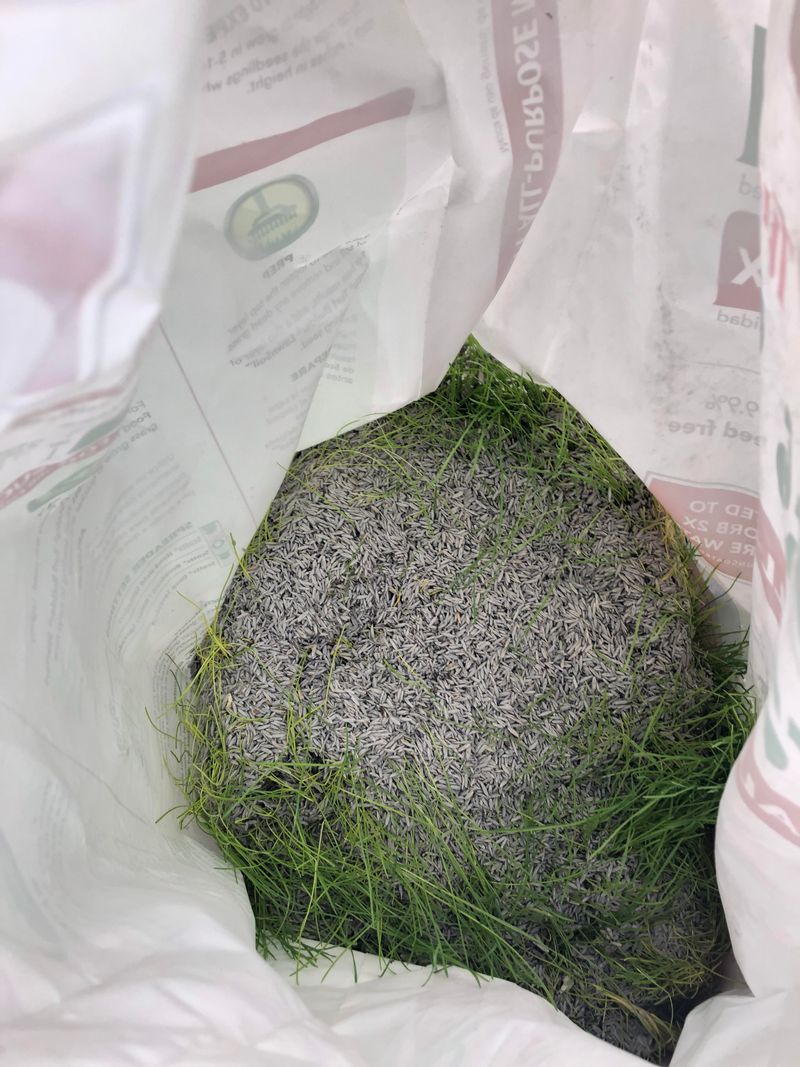
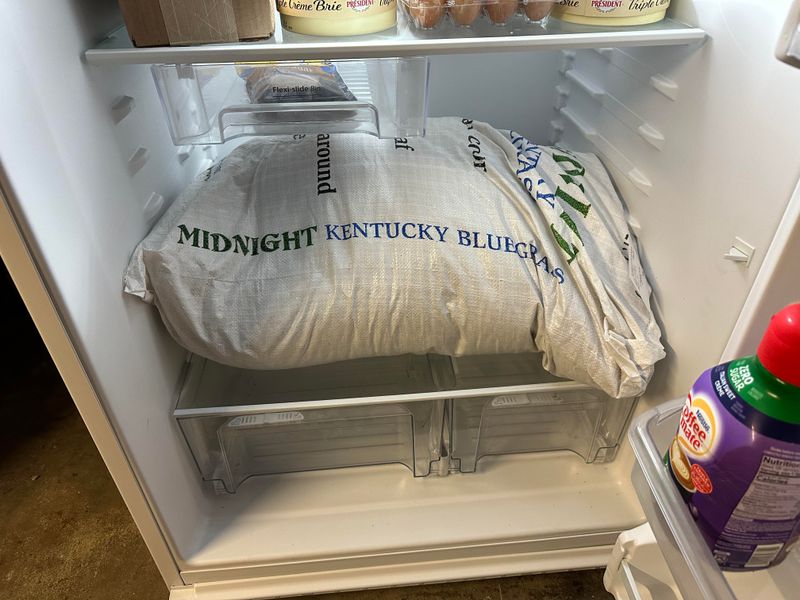
Take a moment to examine the packaging; it tells a story about what’s inside. Any tears, moisture spots, or holes could be a red flag. Damaged packaging might have let moisture or pests in.
Moisture can cause mold or rot, while pests may feast on your seeds, reducing their viability. The packaging is the seed’s first defense against the elements.
A well-maintained bag usually indicates care in storage, boosting your confidence in the seed’s quality. Don’t overlook this simple yet essential step!
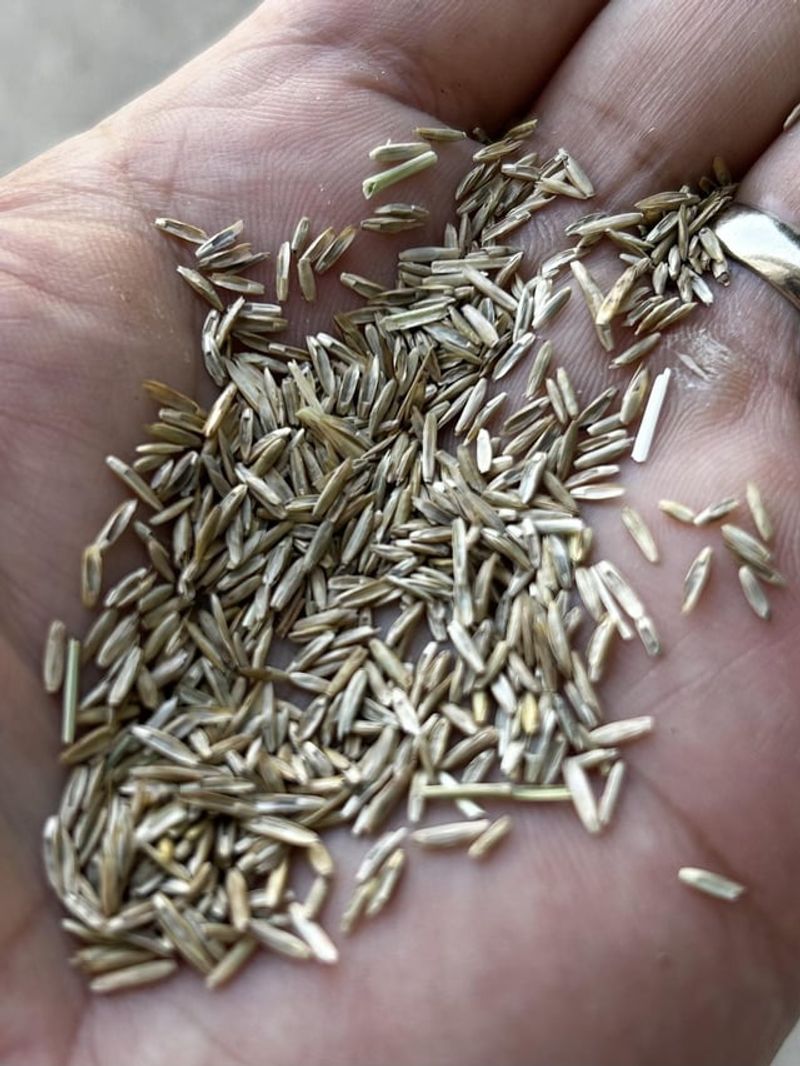
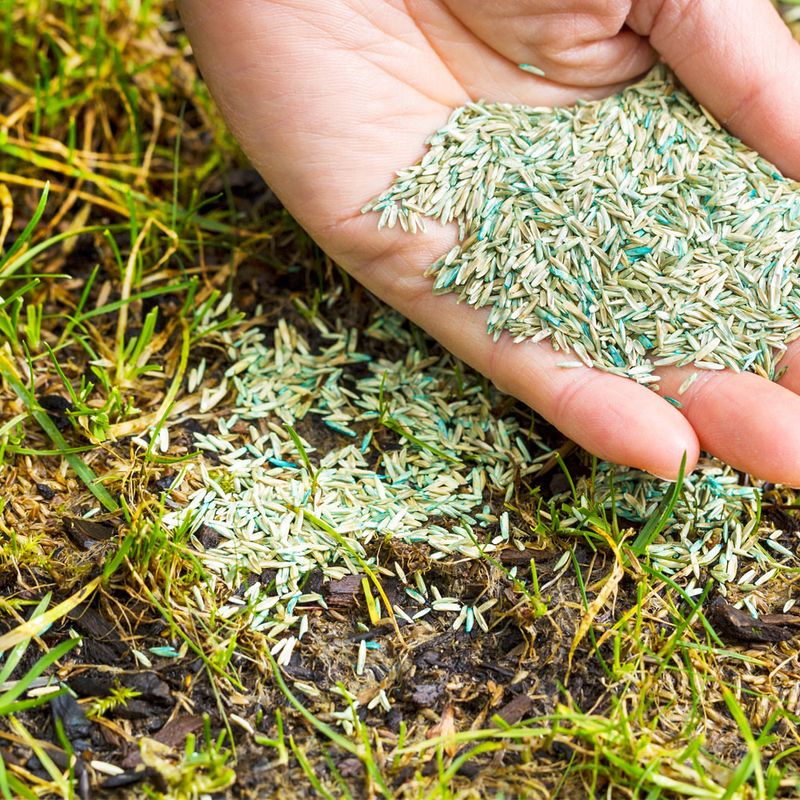
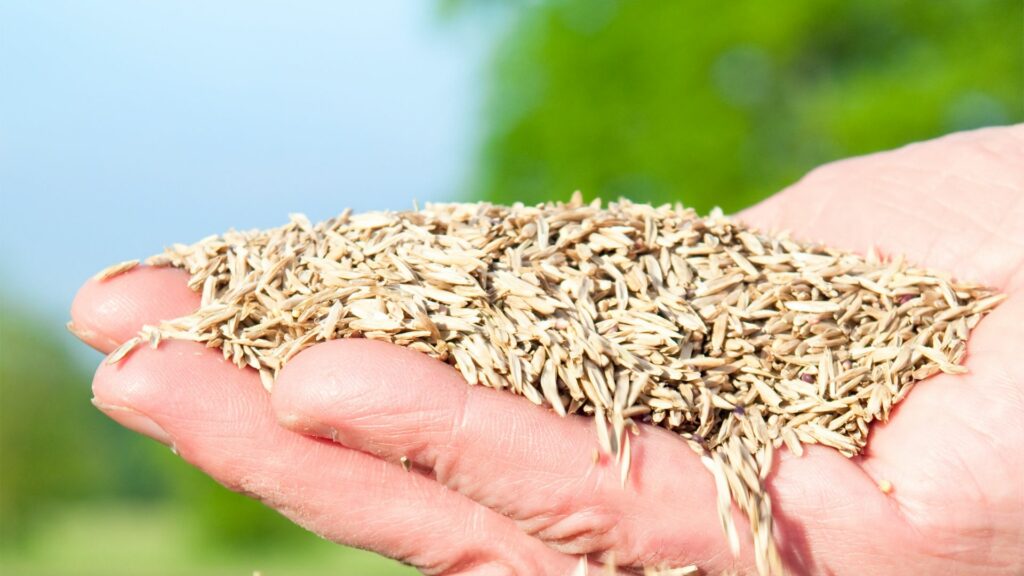
3. Feel The Seed
Reach in and feel the seeds; they should be firm and dry. If they feel mushy or damp, they might have been exposed to moisture, compromising their quality. The texture can give you a tactile insight into their condition.
Seeds that have absorbed moisture often swell and lose their ability to germinate. They should feel consistent, not sticky or oily.
Use your fingers to gauge freshness, as a good seed will resist pressure just slightly, indicating it’s ready to grow.
4. Look For Color Changes
Healthy seeds usually have a consistent, natural color. Any unusual discoloration might suggest molding or other issues. Keep an eye out for dark or overly pale patches, as they could indicate trouble.
Color can sometimes be an indicator of the seed’s health and vitality. Seeds that have changed color might have been exposed to elements they shouldn’t have been.
A consistent color across all seeds generally indicates they are in good condition and ready to plant.
5. Smell The Seeds
Your nose knows! If seeds have an off, musty smell, they may have been stored improperly. Fresh seeds often have a neutral scent, while a foul odor can signal mold or decay.
The smell test can quickly help you identify if something isn’t right with your seeds. A natural, earthy aroma is what you’re after.
Don’t hesitate to trust your senses; a bad smell is a strong indicator that these seeds won’t yield the results you want.
6. Check For Insects
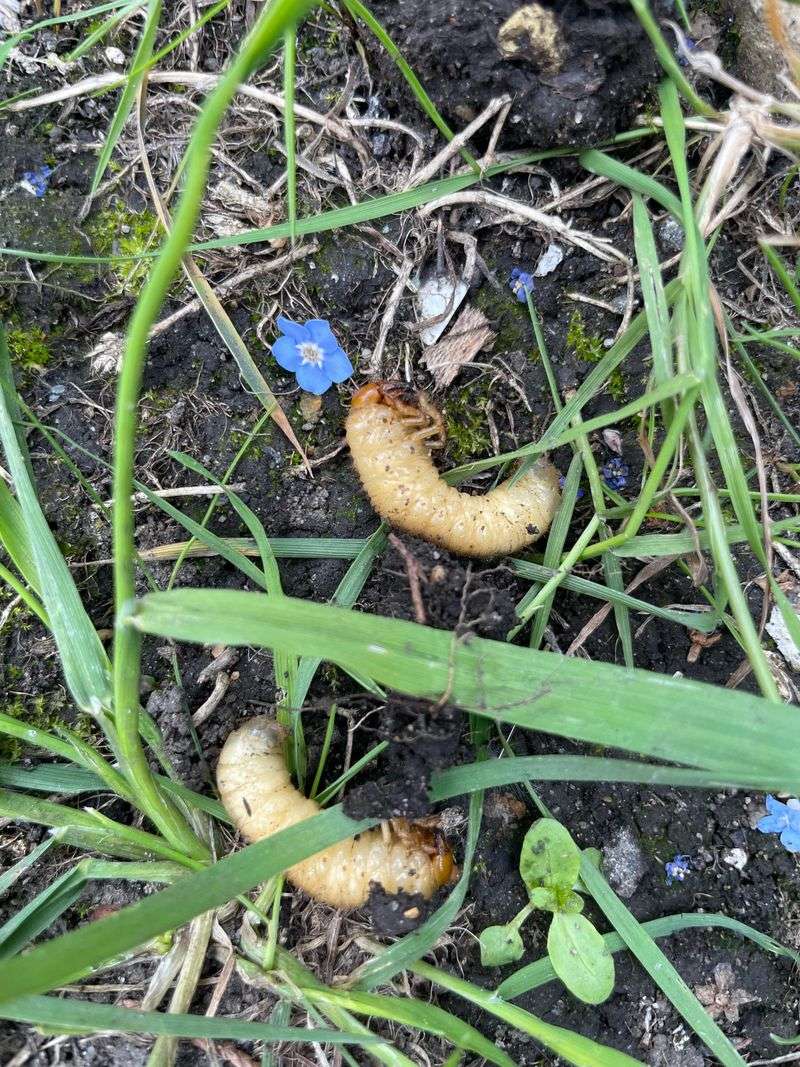
Insects can be tiny yet powerful destroyers of seed quality. Closely inspecting for any small holes or active bugs is a must. Infestations can ruin your planting plans.
Even if the bugs are gone, their larva or eggs might still be present. Seeds with any signs of insect damage should be discarded.
Good seeds will be free from these pests, ensuring they can grow into the lush lawn you desire without any hitch.
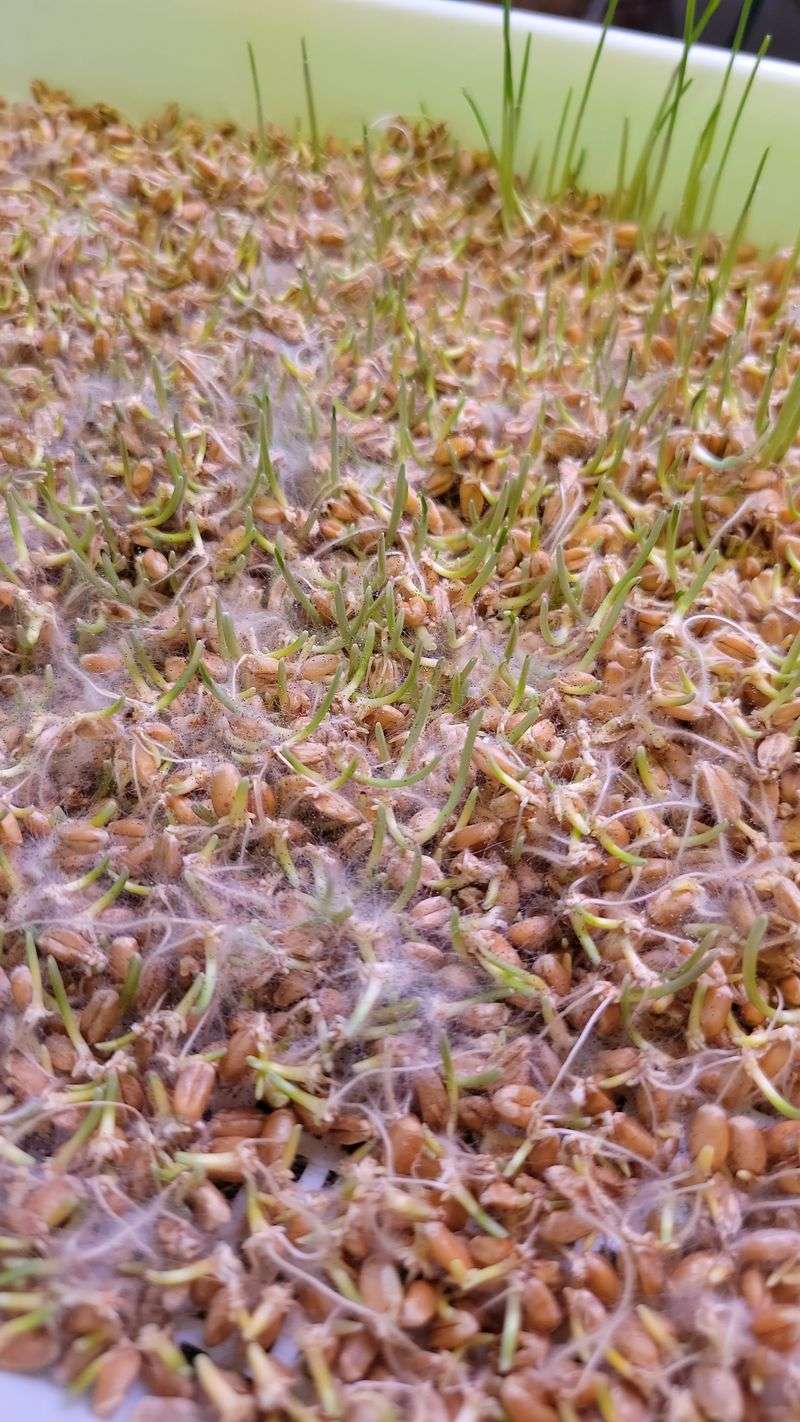
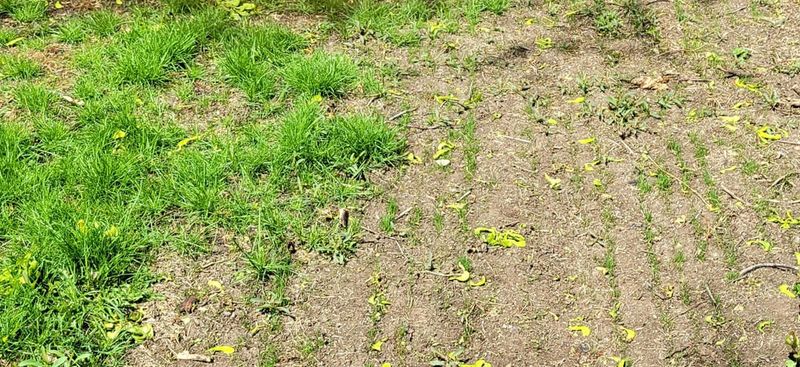
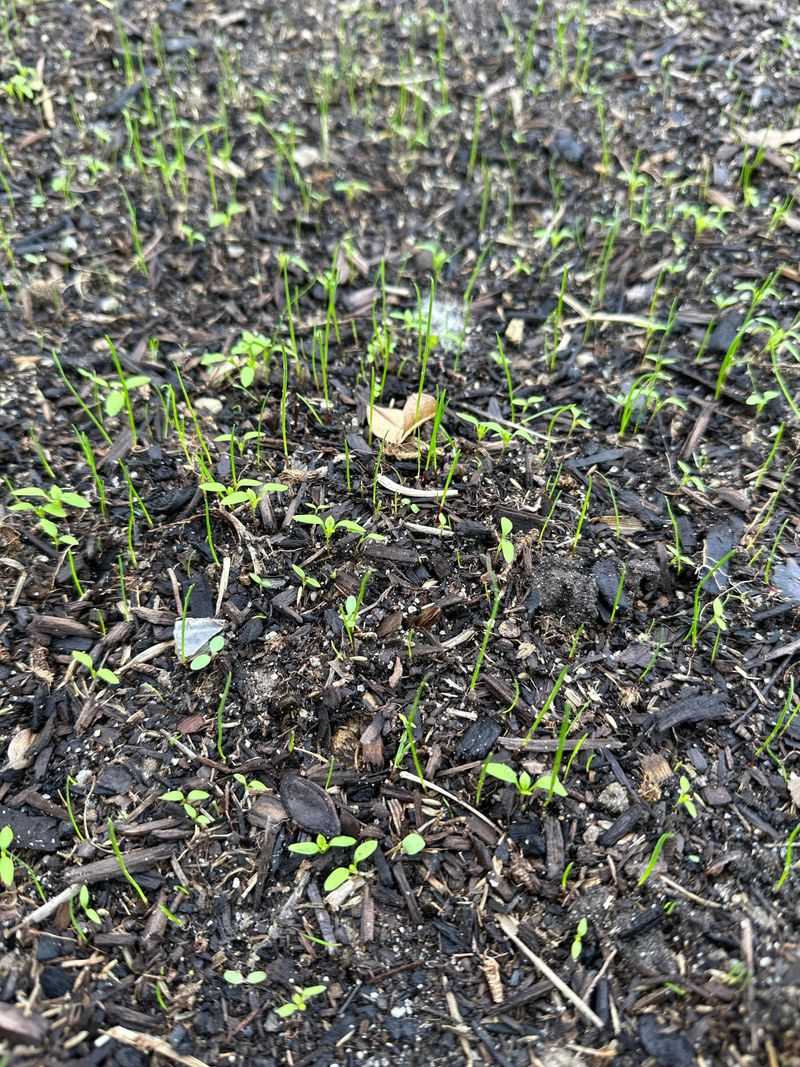
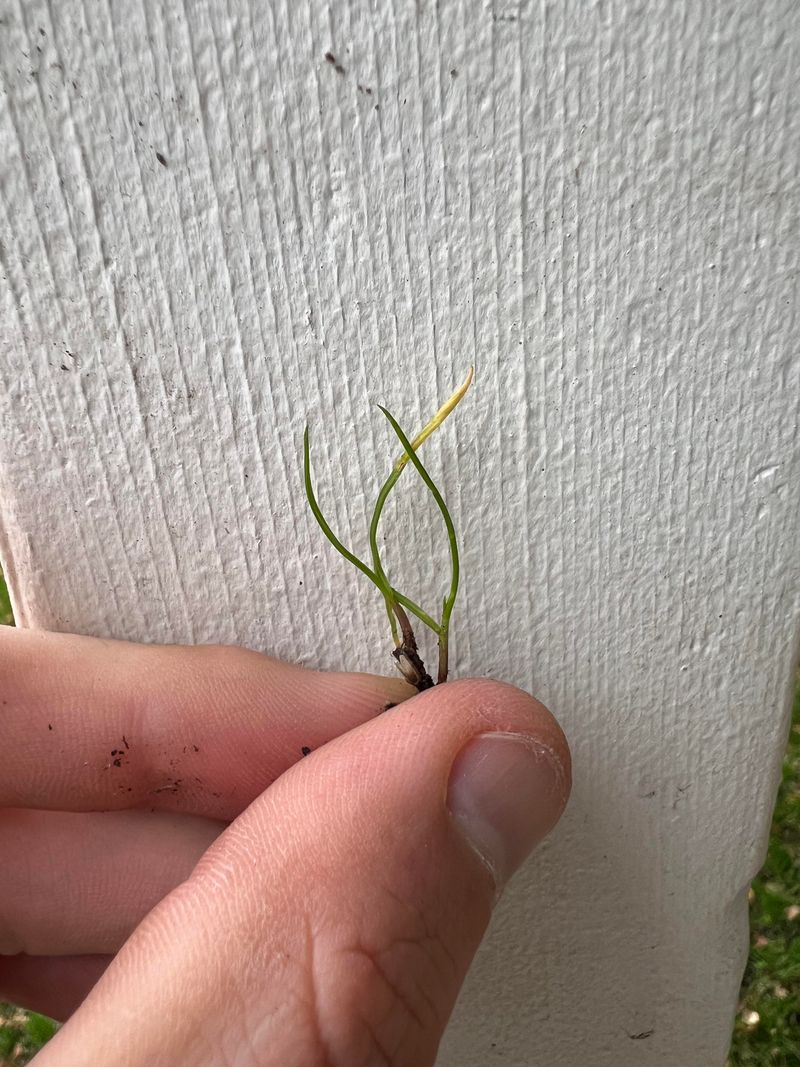
7. Test Germination
A simple germination test can provide peace of mind. Place a few seeds on a damp paper towel, cover them, and watch for sprouting over a week.
If most seeds sprout, they’re still good to go; if not, it might be time to invest in a new batch. This test simulates real conditions and gives you a clear view of viability.
Knowing the germination rate can help you estimate how much seed you’ll need for your lawn. It’s a simple yet effective assurance method.
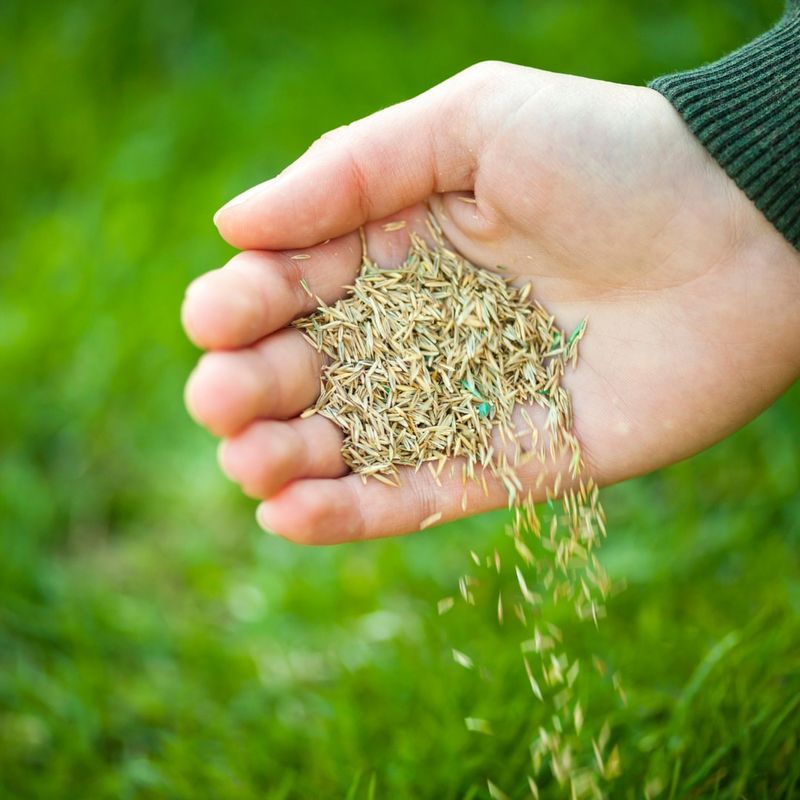
8. Shake The Bag
Give the seed bag a good shake and listen closely. A rustling sound is normal, but a thud or clump could indicate moisture issues. Shaking lets you feel the seed’s condition inside.
Seeds that clump together have likely absorbed moisture, diminishing their ability to grow. The sound they make can be a good indicator of their health.
It’s a quick, no-fuss way to assess if your seeds are still in their prime. Happy rustling means happy planting!
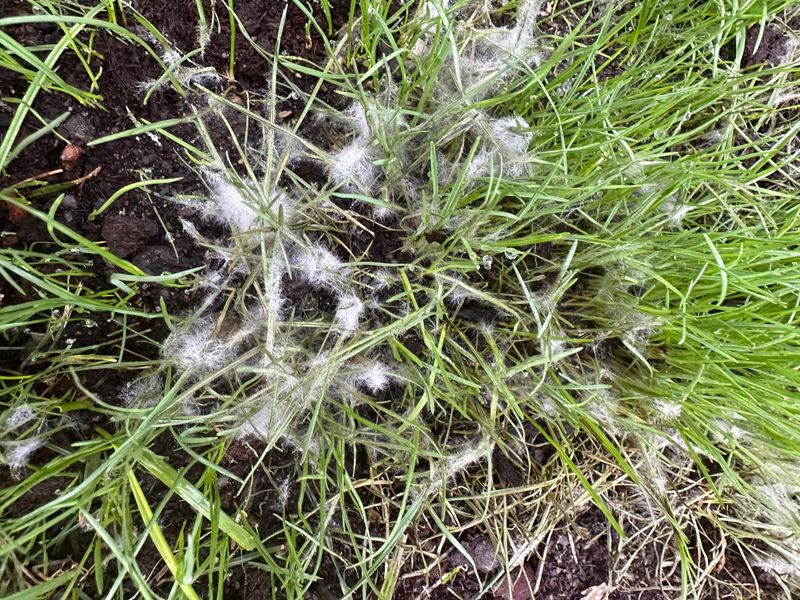
9. Check For Mold
Mold is a surefire sign that seeds are past their prime. Examine the seeds closely for any white, green, or black fuzz. Moldy seeds are not only ineffective but can also pose health risks.
Keeping seeds dry is crucial, as moisture promotes mold growth, rendering them useless. A visual inspection is often all you need.
Healthy seeds will look dry and clean; anything else could be a sign to toss them and start afresh.
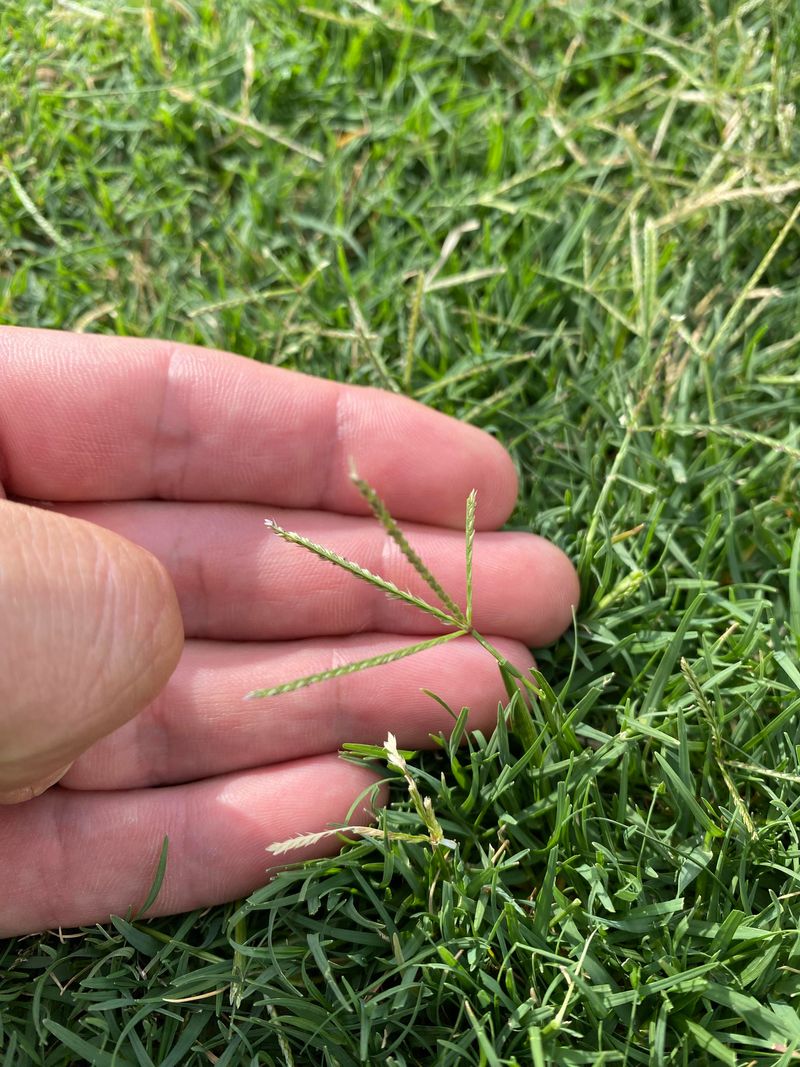
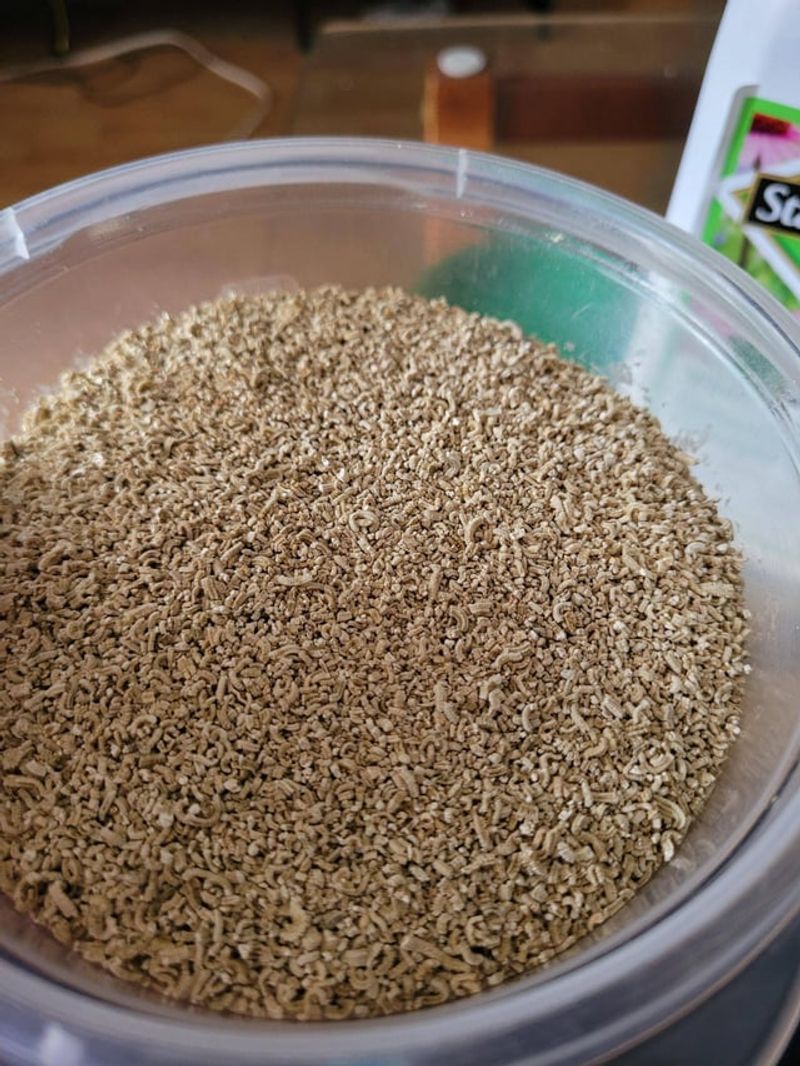
10. Examine Seed Shape
Different seeds have different shapes, but uniformity within a batch is key. Abnormal shapes or sizes might suggest poor quality or mixed batches.
Seeds should generally look the same, indicating they come from the same healthy crop. Irregular shapes can mean genetic or physical damage.
A consistent shape ensures that all seeds have an equal opportunity to grow into healthy grass, providing an even lawn coverage.
11. Test For Hardness
Press a seed gently between your fingers. It should resist but not crumble. Seeds that are too soft or easily break apart may have absorbed moisture or be old.
Hard seeds indicate they are fresh and still hold the potential to sprout. Soft seeds, on the other hand, are usually compromised.
A simple pressure test can reveal a lot about a seed’s capability to grow into a thriving lawn.
12. Look For Cracks Or Splits
Inspect the seeds for any visible cracks or splits. These imperfections can be signs of damage or old age, reducing the seed’s ability to germinate.
Seeds should have a smooth, intact surface, which signifies that they are healthy and able to flourish. Any damage can hinder growth.
Regular inspection ensures you’re planting seeds that have the best chance of turning into robust grass.
13. Look For Signs Of Moisture
Moisture is the enemy of stored seeds. Look for any dampness or clumping that could indicate exposure to water.
Seeds stored in a dry environment maintain their viability much longer. Visible moisture can ruin seeds, making them unusable.
Regularly checking your storage conditions can help prevent moisture issues and keep your seeds in top condition.
14. Examine The Seeds For Softness
Softness in seeds is a red flag. When you press the seeds lightly and they give way too easily, it indicates possible moisture damage or old age.
Seeds that are too soft will not germinate well, leading to patchy lawns. They should have a certain firmness to them.
Regularly checking the texture of your seeds ensures only the best ones are planted, leading to better grass growth.
15. Check The Seed’s Age

Knowing how long you’ve had the seeds can be just as important as any physical test. Most grass seeds are best used within 1-2 years of purchase.
Older seeds lose their potency and may not germinate effectively, leading to sparse lawns. Keeping track of purchase dates helps maintain their viability.
Fresh seeds are always the best choice for ensuring a healthy, green lawn from the get-go.
16. Check The Seed’s Origin
Where did your seeds come from? The origin can affect how well they grow in your specific area. Seeds adapted to your climate will thrive better.
When purchasing seeds, always check if they’re suitable for your region’s climate and soil conditions. Local seeds often have higher viability.
Knowing the seed’s origin ensures you’re planting something that will flourish rather than struggle to adapt.
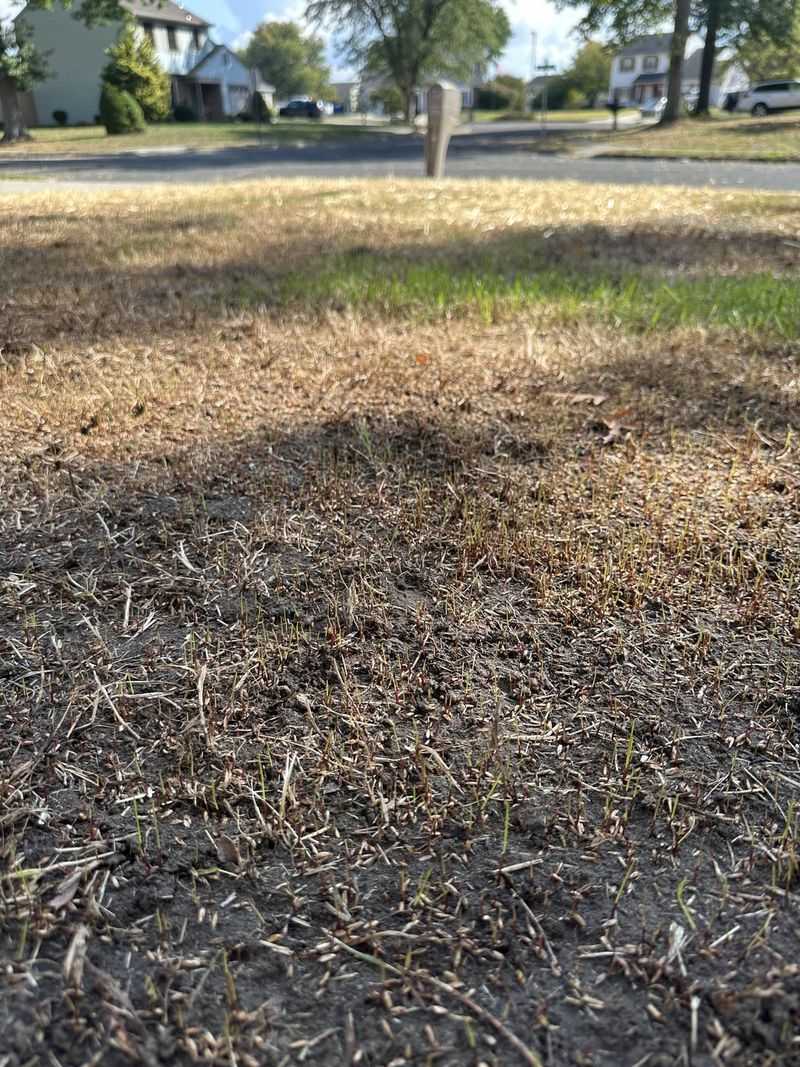
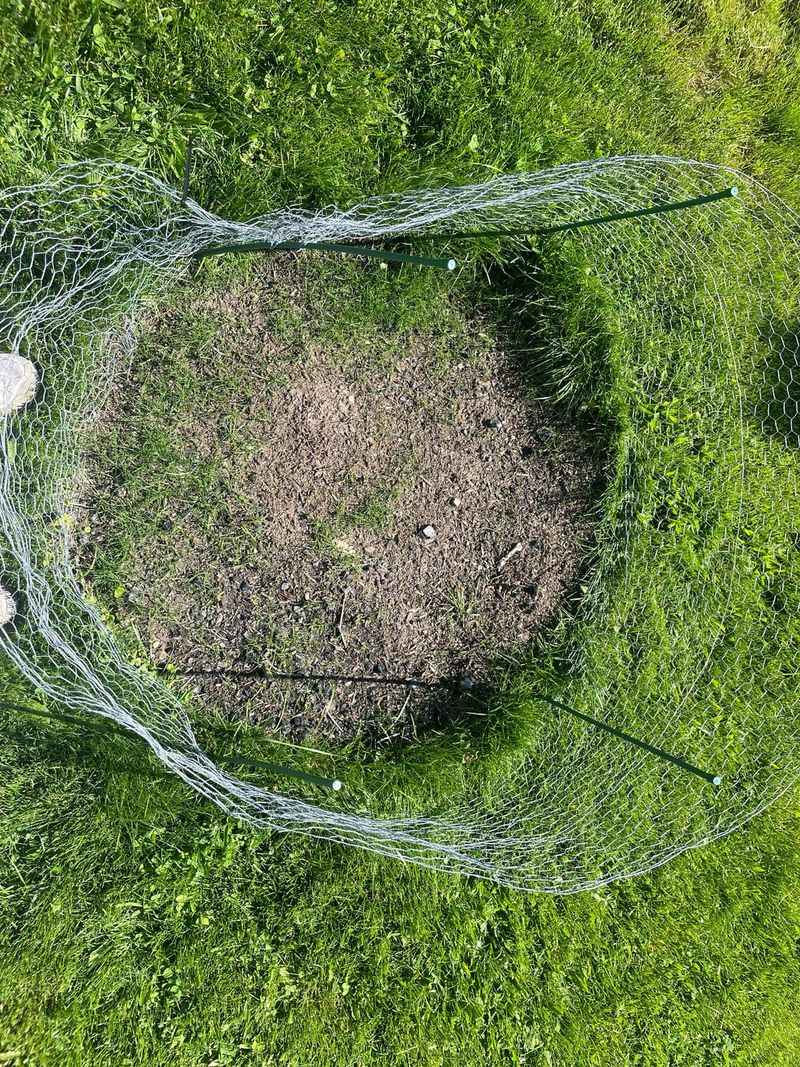
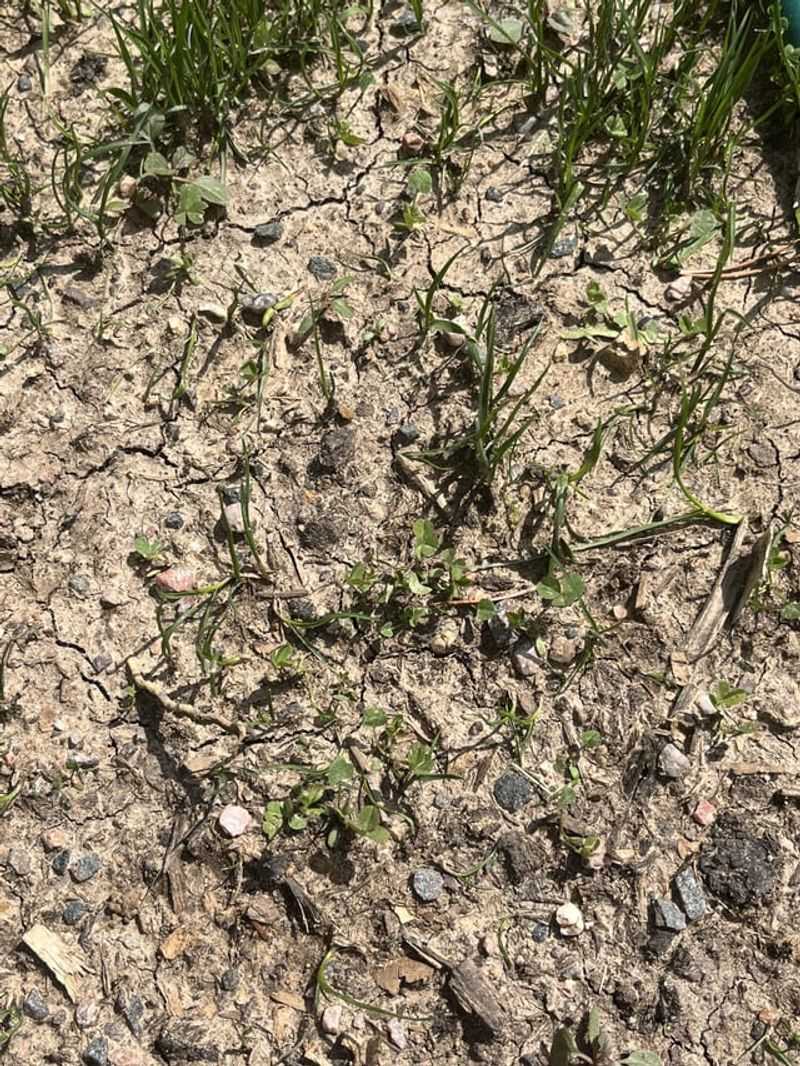
17. Test On A Small Patch
Before going all out, try planting a small patch to see how they perform. This real-world test offers insight into their viability.
Watching them sprout gives you confidence or indicates the need for new seeds. A small trial can save time and effort later.
This method lets you assess germination rates and the quality of growth you can expect from your seeds.
18. Test For Consistency
Consistency is key in seeds. Lay them out and observe; they should look similar in size and color. Uniform seeds indicate a single, healthy crop.
Seed uniformity ensures even growth and distribution when planted. Any significant variation might signal mixed or poor-quality seeds.
This simple visual check can be a game-changer in selecting the best seeds for a lush lawn.
19. Inspect For Foreign Matter
Seeds should be pure and free from debris. Inspect for any foreign matter like stones, dirt, or plant material which might detract from seed quality.
Clean seeds ensure that nothing hinders their growth once planted. Foreign matter can affect soil condition and seed performance.
A quick examination helps maintain the purity and health of your planting efforts, leading to a more successful lawn.
20. Look For Any Oiliness
Oiliness on seeds can be a sign of deterioration or improper storage. Examine them for any oily sheen or residue.
Seeds should be dry and free from any greasy texture. Oiliness can indicate that the seeds have begun to break down.
Clean, dry seeds are your best bet for a vibrant, thriving lawn. Regular checks prevent planting seeds past their prime.
21. Ensure Proper Storage Conditions
Proper storage can make or break seed viability. Keep seeds in a cool, dry place away from sunlight and moisture.
Check your storage area regularly to ensure conditions remain ideal. Good storage prolongs the life of your seeds.
Maintaining these conditions guarantees that when planting time comes, your seeds are as fresh as the day you bought them.
22. Look For Discoloration
Discoloration is often the first sign of trouble. Examine your seeds for any unusual colors, which might indicate mold or age.
Consistent coloring means seeds are healthy and ready to plant. Any odd shades should raise an alarm. Regular inspections for color can prevent planting seeds that are past their best, ensuring a more successful lawn.
23. Inspect For Any Signs Of Drying Out
Dryness is not always a friend. While seeds should be dry, overly dry seeds might have lost their viability.
Check for any signs of drying or cracking, which could mean the seeds are too old. Balanced moisture levels are crucial.
Ensuring seeds have retained the right moisture levels will aid in their successful germination and growth.
24. Check For Excess Dust
Excess dust can be a sign of deterioration. Check your seeds for any unusual dustiness, which might indicate breakdown.
Dust can clog planting tools and affect the distribution of seeds, leading to uneven coverage.
Keeping seeds clean and dust-free is essential for healthy grass growth and successful planting efforts.
25. Assess The Bag’s Seal
The seal on the bag is more than just a closure; it protects the seeds inside. Check the integrity of the seal for any signs of tampering or damage.
A good seal keeps out moisture and pests, maintaining the seed’s quality. Compromised seals can lead to seed spoilage.
Regularly assessing the seal ensures your seeds remain fresh and ready to plant when you are.
26. Confirm No Pest Damage

Pest damage can ruin seeds before they even hit the soil. Inspect for any signs of gnawing or holes that pests might have left.
Healthy seeds should be free from any pest interference, ensuring a full yield.
Avoiding pest-damaged seeds guarantees that what you plant will grow strong and healthy, contributing to a lush lawn.
27. Look For Evidence Of Overexposure To Heat
Heat can be a silent killer. Look for signs of overexposure like shriveling or darkening, which indicate the seeds have been compromised.
Heat damage reduces the viability and germination rate of seeds. Ensuring they are stored properly avoids this issue.
Keeping seeds away from heat sources ensures they remain robust and ready to plant.
28. Check The Seed Type
Not all grass seeds are made equal. Ensure the type you’re using is suitable for your lawn’s needs and climate.
Different seeds thrive in different conditions, so it’s crucial to select the right type for optimal growth.
Familiarize yourself with the type you have, ensuring it’s the perfect match for your gardening goals.
29. Make Sure The Seed Is Intended For Your Climate
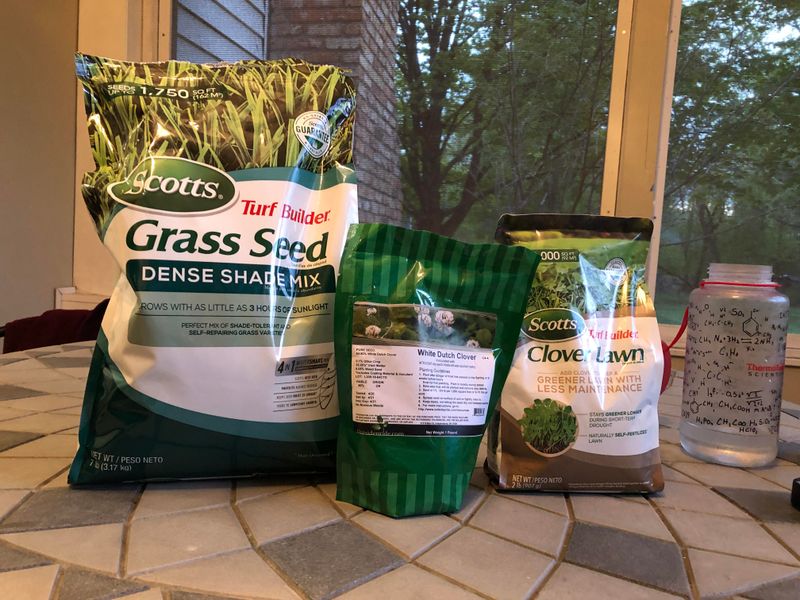
Climate compatibility is crucial for grass seed success. Check that your seeds are designed to thrive in your local environment.
Seeds suitable for your climate will grow better, providing a lush, green lawn. Unsuitable seeds might struggle, leading to disappointment.
Selecting the right climate-compatible seeds sets the stage for a thriving lawn.
30. Ensure Proper Storage Temperature
Temperature is a key player in seed viability. Keep seeds at a stable, cool temperature to maintain their quality.
Avoid areas with fluctuating temperatures, as this can affect the seed’s ability to germinate.
Regular temperature checks ensure that seeds remain in prime condition, ready for planting success.
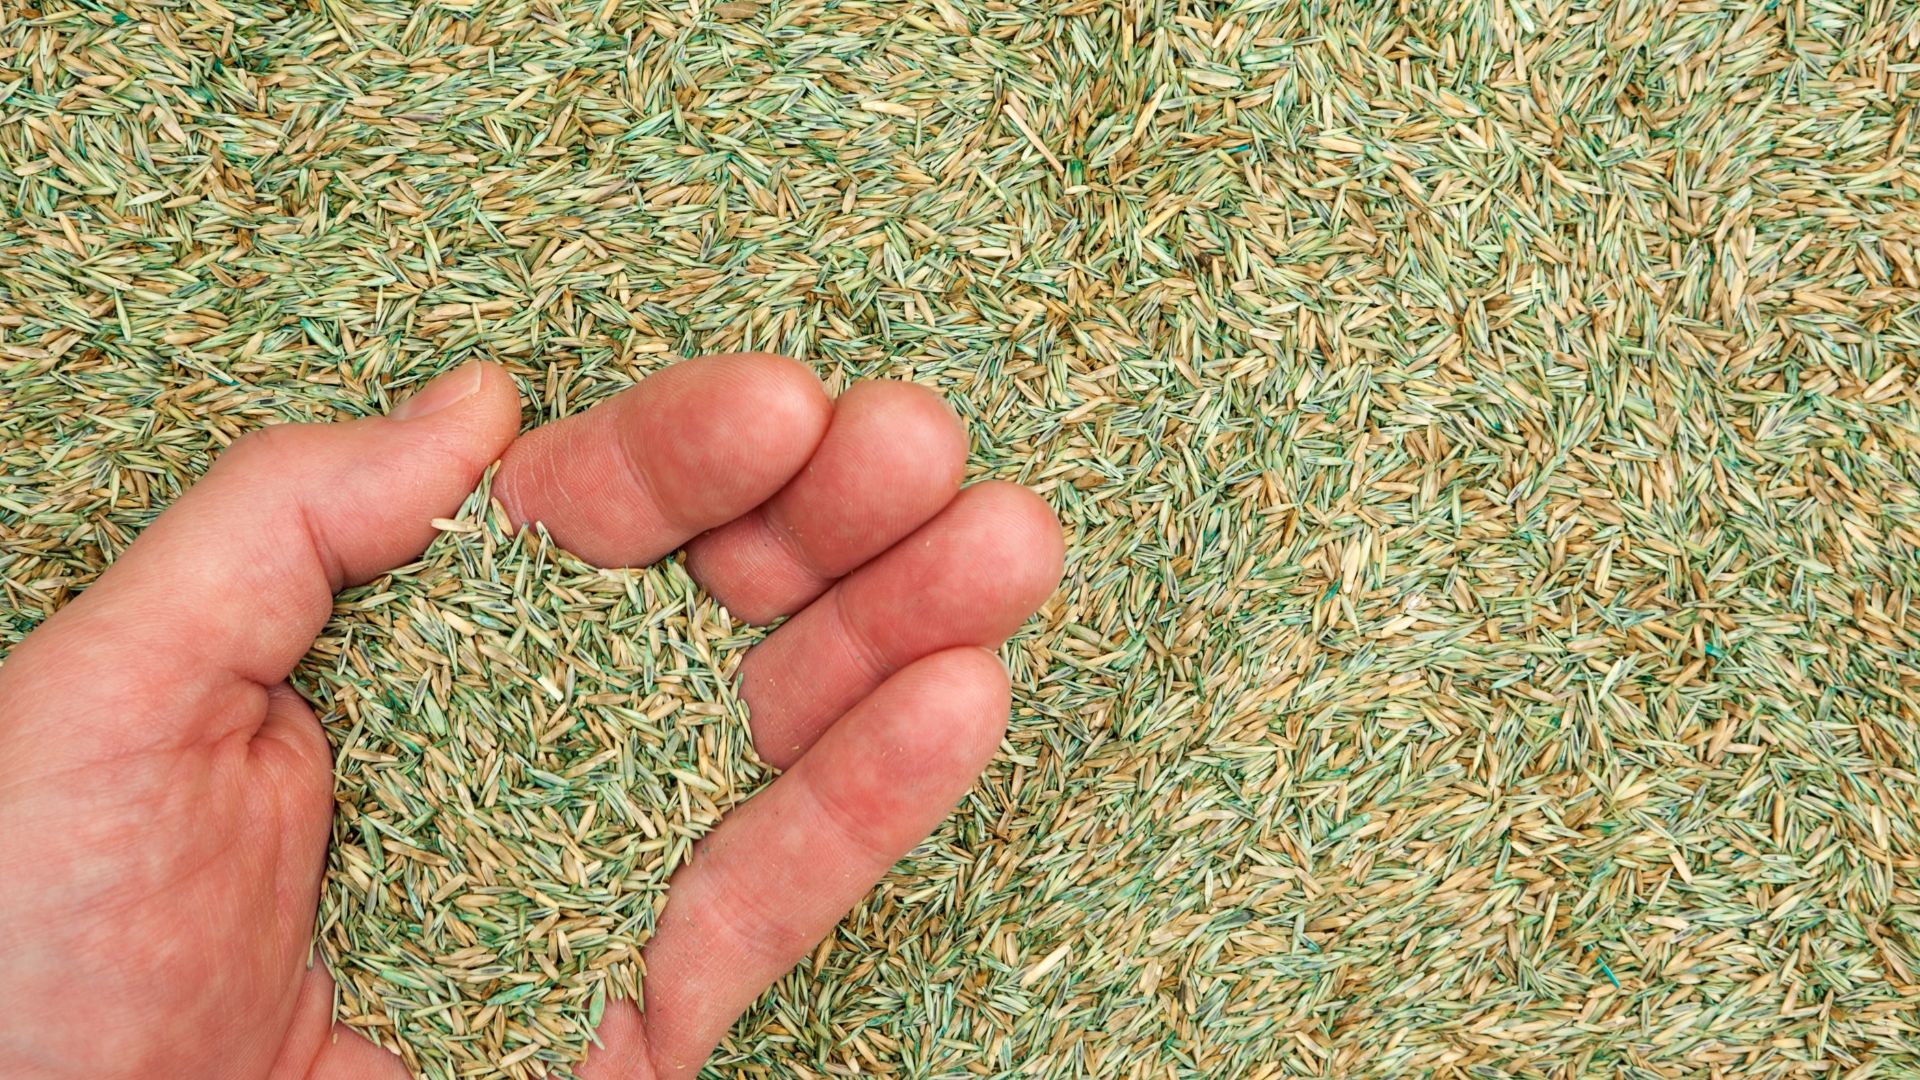
31. Assess For Clumping When Spread
Try spreading a small amount of seed by hand over a flat surface. If the seeds clump together or stick to your fingers, it’s a sign they may have absorbed moisture. Clumping reduces even distribution when seeding your lawn.
Seeds should scatter freely and evenly—if they don’t, they may have started to degrade. This clumping can also signal the early stages of mold or internal breakdown.
A quick spreading test mimics the real planting process, helping you gauge how easily the seeds will sow and whether they’re still in planting shape.
32. Check For Seed Dust Odor
Give the bag a gentle squeeze and take a whiff near the opening. If you notice a strong, dusty smell rather than a mild earthy scent, the seeds may have begun to deteriorate. This odor often signals decay or fungal presence.
Healthy seeds should have a clean, nearly scentless aroma. A dusty or sharp smell might mean the seeds are breaking down or carrying mildew spores.
Using your nose as a tool helps detect invisible issues and ensures you’re only planting fresh, viable seeds for a greener lawn.
33. Check The Purity Percentage On The Label
If your bag still has its label, look for the purity percentage listed. This number tells you how much of the contents is actually viable grass seed, versus filler or non-seed material. A high purity—usually above 90%—means you’re getting mostly usable seed.
Even older seeds with a high purity rating can outperform fresher ones full of inert matter. Low purity can result in spotty germination no matter how fresh the seeds are.
It’s a simple label check that helps you understand exactly what you’re sowing—and whether it’s worth the effort.