6 Easy Fall Hosta Jobs For Bigger, Healthier Plants Next Spring (And 3 To Avoid)
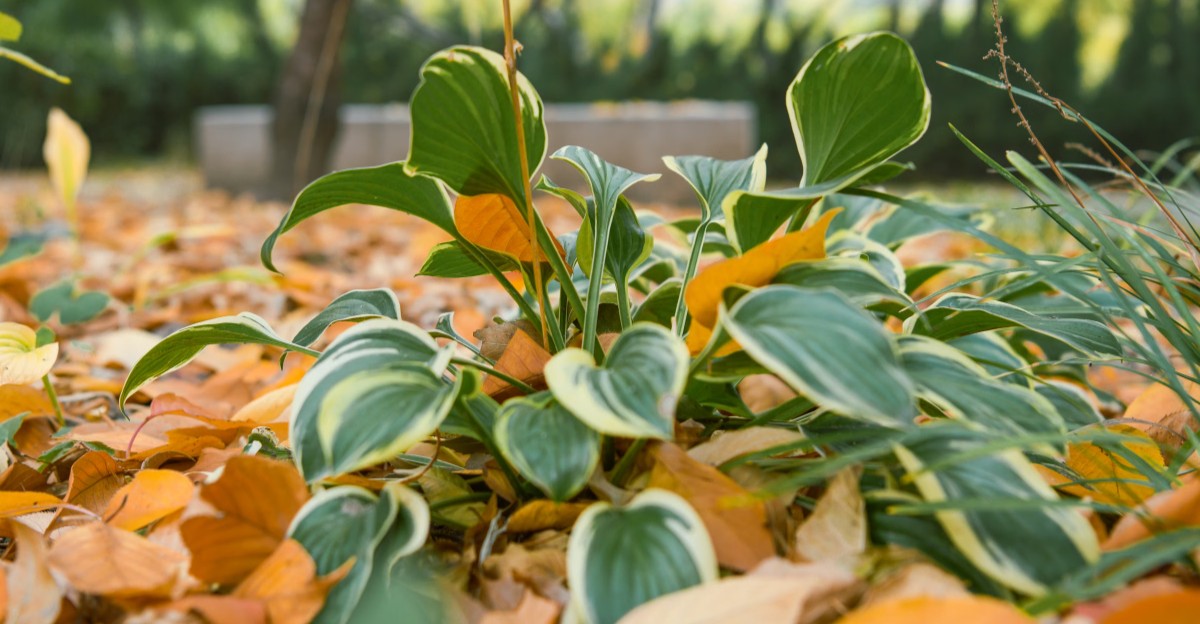
Slug eggs can spend the whole winter hidden under soggy leaves, then hatch right as spring shoots unfurl. Those tiny pearly clusters wait quietly in garden beds while most of us happily forget they exist.
Big shade lovers have their own secret, too, because their roots keep working long after the leaves flop over. Underground, the crowns are packing away sugars and nutrients for the big leafy show coming next spring.
I skipped my fall chores one year and paid for it with lacy, chewed leaves by early June. After I tested a simple autumn routine the next season, my clumps came back thicker and noticeably happier.
You build your best spring garden right now, during these short, chilly November afternoons. So which easy jobs actually help, and which popular habits quietly hold your plants back each year?
Trim Yellowed Hosta Leaves After The First Hard Frost
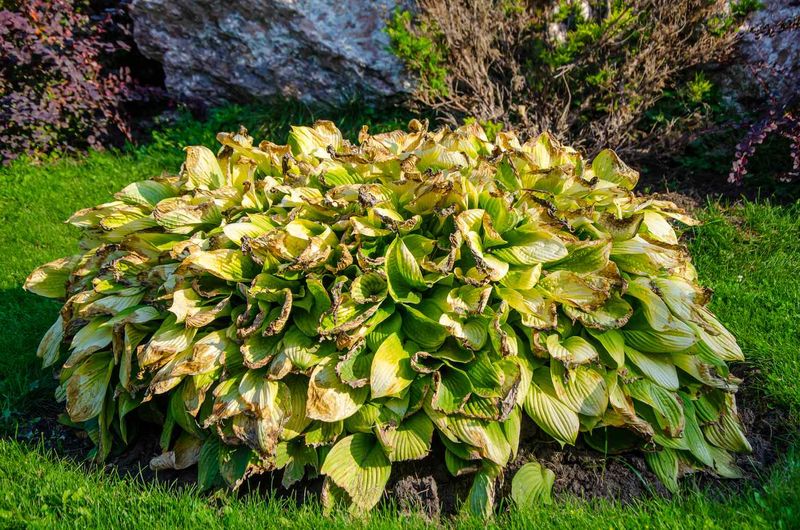
A hard frost turns proud hosta leaves into limp, golden puddles almost overnight, and honestly, it looks a little sad. That soggy heap is your signal, though, because the plant has finished pulling nutrients back underground.
I love this moment because the job finally feels earned instead of rushed. You are cleaning up after the plant has done its own hard work, not interrupting a process still underway.
Grab clean, sharp pruners or garden scissors and cut each stem about an inch or two above the soil. Leaving a short stub helps you remember where the crown sits, which matters when you mulch later.
Be careful around the crown itself, since next year’s buds are already formed and tucked just below the surface. A slip of the blade there can damage shoots you will be counting on next spring.
Why bother at all, you might ask, when the leaves will soften and break down eventually anyway? Rotting foliage gives slugs a cozy spot for eggs and can shelter fungal problems like anthracnose through winter.
Toss any spotted or mushy leaves into the trash rather than your compost pile, just to be safe. Healthy, clean leaves can go into compost, where they will break down into future food for your beds.
Wipe your pruner blades with rubbing alcohol or a mild bleach solution between clumps if any plant looked sickly. That quick habit keeps you from carrying hidden problems from one bed to the next.
Rake Soggy Leaf Litter Away From Hosta Crowns
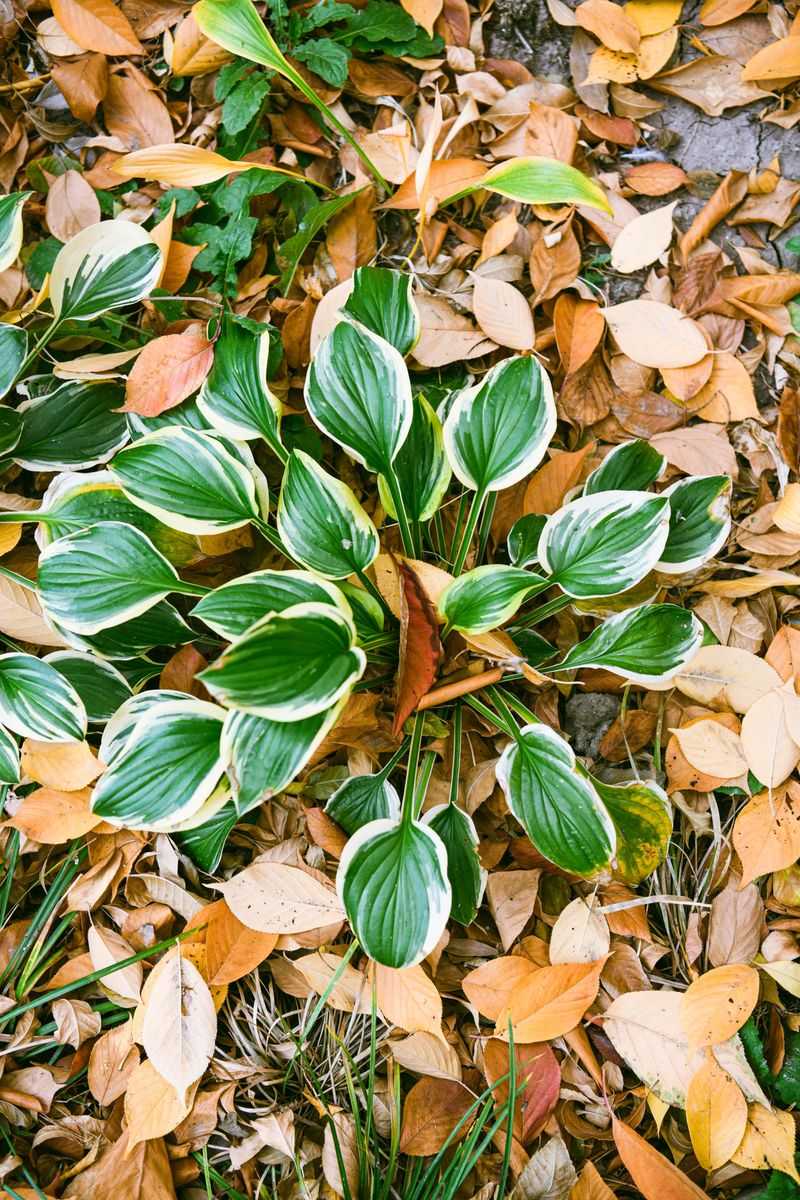
Slugs are surprisingly devoted parents, tucking clusters of jelly-like eggs under wet leaves where winter can barely reach them. Those eggs often hatch in spring, right when your hosta shoots look most tender and tempting.
So the soggy blanket of maple leaves piled against your beds is not quite as harmless as it looks. Clearing it away removes a favorite nursery and makes your garden a much less welcoming hotel.
I use a small leaf rake or just my gloved hands to pull matted leaves gently off each crown. Work slowly near the soil, because pointed hosta buds sit close to the surface and bruise easily.
While you are down there, peek under boards, stones, and edging where slugs hide on damp days. Scraping away a thin layer of loose debris can reveal small white or clear egg clusters.
Scoop those eggs into a bag for the trash, or leave them out for hungry birds. Ground beetles and toads also help, so keep a few natural hiding spots elsewhere in the yard.
Voles and rabbits appreciate heavy, wet leaf piles too, since thick cover protects them while they nibble on roots. A cleaner crown area gives these critters fewer reasons to settle in beside your favorite clumps.
Do not toss those raked leaves, though. Shredded leaves make wonderful mulch once they dry out a bit, so run them over with a mower and save them for the mulching job coming up.
Mark Crowded Hosta Clumps For Dividing Next Spring
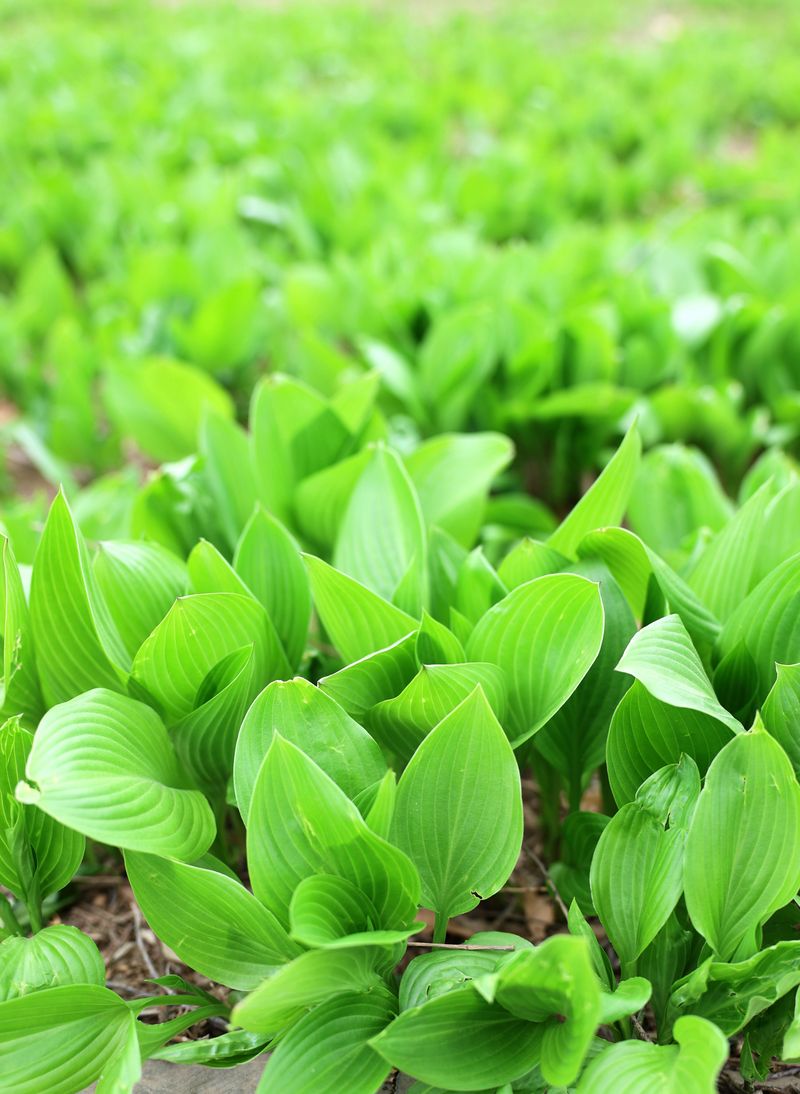
A hosta clump with a hollow, empty center is waving a flag that says it needs more elbow room. Smaller leaves and a ring shape often mean the plant has outgrown its spot after several years.
Early fall is a fine time for dividing, because warm soil helps roots settle in within four to six weeks. By mid-November in colder regions, though, the ground is usually too cold for new roots to grow well.
My advice this late in the season is simple and a little lazy. Mark the crowded clumps now, then divide them in early spring when the pointed shoots first poke through the soil.
Push a sturdy plant label or painted stick beside each clump you want to split. Once the foliage is gone, it is easy to forget where each plant was growing.
Jot down a few notes, too, like the variety name and how far the clump spread this year. Those details help you plan where new divisions will go.
Spring dividing is easier on your back, because you can see the buds clearly and avoid slicing through them. Aim for sections with at least two or three eyes plus a healthy chunk of roots.
Some hosta clumps live for decades in the same garden with very little fuss. Occasional dividing keeps them vigorous and gives you free plants to share with friends.
Give Hostas A Deep Drink Before The Ground Freezes
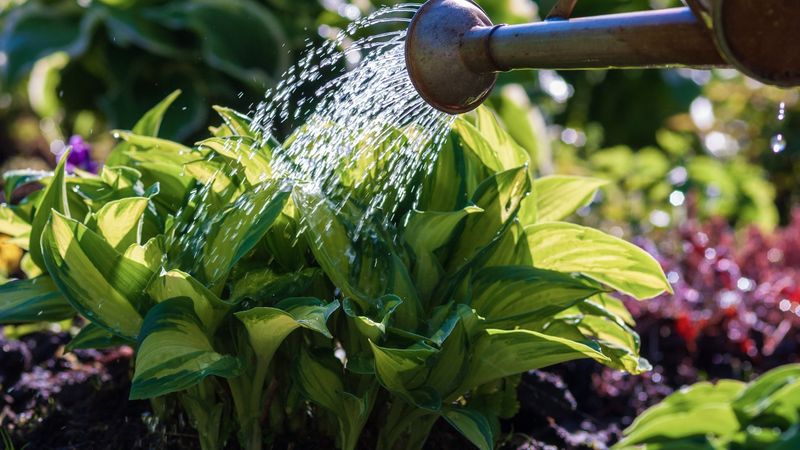
Thirsty roots heading into winter are a bit like campers going to bed without a snack, which never ends well. Even after the leaves fade away, hosta roots keep growing and storing energy until the soil truly freezes.
Fall rain is often enough on its own, but dry stretches do happen in many parts of the Northeast. When that happens, a deep soaking before freeze-up gives roots a better chance at handling winter’s ups and downs.
I check moisture the old-fashioned way, by pushing a finger about two or three inches into the soil. If it feels dry at that depth, it is time to drag out the hose for one more session.
Water slowly at the base of the plants, letting it soak in rather than run off across the bed. A soaker hose or a gently trickling hose end works far better than a quick spray from above.
Moist soil is the goal here, not a muddy swamp that stays soggy for days on end. Hostas dislike sitting in cold, waterlogged ground, which can encourage crown rot during their long winter rest.
Once daytime temperatures stay below about forty degrees, you can ease off and let nature take over. Drain and store your hoses afterward so they do not split when the first deep cold snap arrives.
Trees nearby can steal surprising amounts of water from hosta roots, especially under maples with shallow root systems. Beds sitting under big shade trees may need that final drink more than beds in open spots.
Spread A Thin Blanket Of Compost Around Hosta Crowns
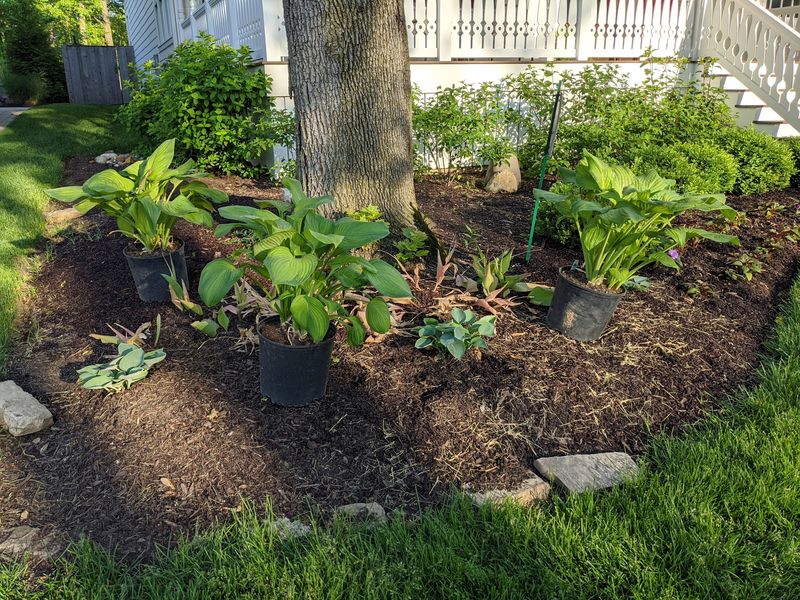
Earthworms are the quiet heroes of fall, dragging organic matter deep into the soil. Give them finished compost, and they will happily do the mixing for you.
Hostas love rich, crumbly soil that holds moisture yet drains well. A thin fall compost layer slowly improves that structure without forcing unwanted growth.
After cleaning up the old leaves, I spread about one inch of dark, finished compost around each clump. Leave it on top, since winter rain and worms will carry the goodness down over time.
Keep the layer thinner directly over the crown, so buds can breathe and push through easily in spring. Most feeder roots spread outward anyway, so focus the compost in a wide circle around the plant.
Homemade compost works beautifully if it smells earthy and looks crumbly rather than slimy or stinky. Bagged compost or aged leaf mold are solid choices if your pile is not ready.
Fresh manure is a different story, because it can be too strong and may carry weed seeds into your beds. Stick with well-rotted material that has had plenty of time to mellow out.
I think of this step as a slow deposit into a soil savings account that pays off for years. Each fall layer adds up, and after a few seasons the bed feels softer and noticeably richer.
Mulch Hosta Beds With Shredded Leaves Once Soil Chills
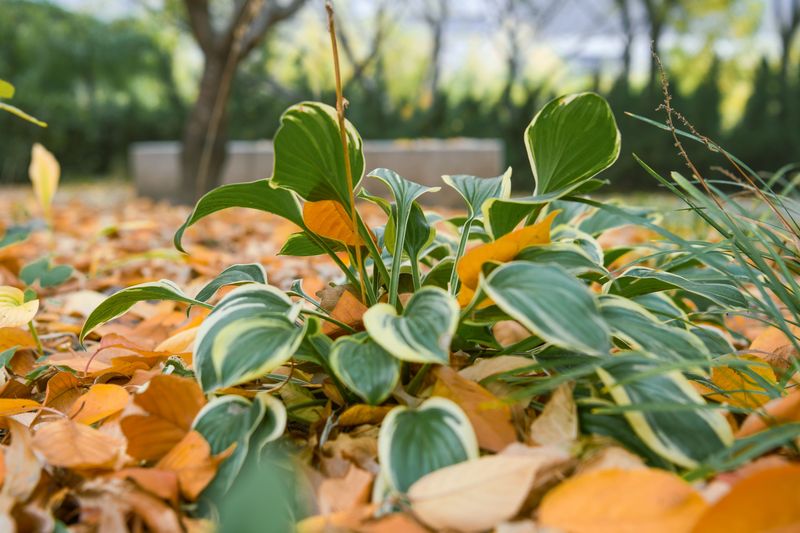
Frost heave sounds like a weird gym exercise, but it is actually the soil pushing plants upward as it freezes and thaws. Shallow crowns can be exposed to icy wind, and a good mulch layer helps prevent that.
Timing matters, so resist the urge to mulch while the soil still feels warm. Waiting until the ground has chilled, often after a few hard freezes, keeps soil temperatures steadier through winter.
Remember those raked and shredded leaves piled by the shed? They make a wonderful free mulch that breaks down over time and feeds the soil underneath.
Spread a layer two or three inches deep across the bed, using pine needles or shredded bark. Whole leaves tend to mat down into a soggy sheet, so chopping them first really helps.
Leave a gap of an inch or two around each crown, so moisture doesn’t sit against the buds. That breathing space lowers the chance of rot and makes the crown less inviting to hungry voles.
Gardeners in colder northern areas may appreciate mulch even more, since winters there run longer and harsher. In milder southeastern spots, a lighter layer usually does the trick.
Come spring, pull some mulch back as shoots emerge so the soil warms faster. The rest can stay in place, holding moisture and keeping weeds quiet all season.
Skip The Fertilizer Bag Until Spring Arrives
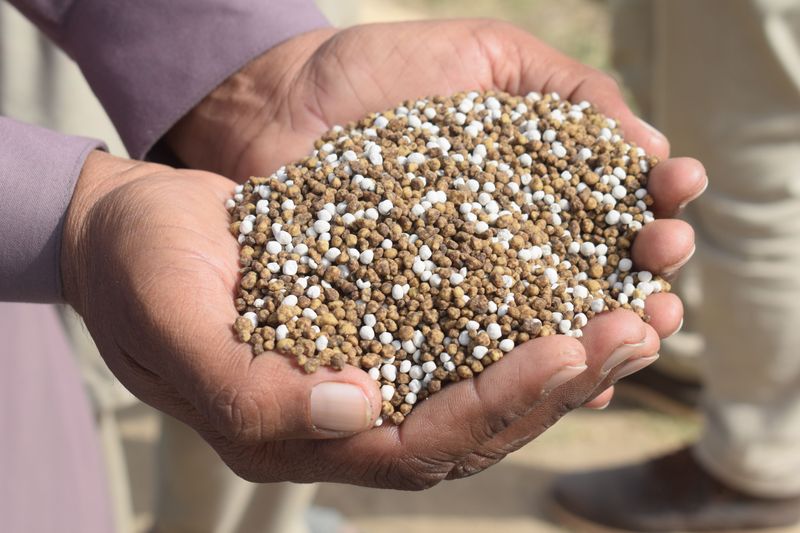
Feeding hostas in November is a bit like handing someone an espresso right before bedtime, and nobody sleeps well afterward. Fast nitrogen tells the plant to grow, even though the calendar is shouting that winter is close.
Plenty of gardeners, myself included at one point, believe a fall feeding helps plants get strong for winter. With hostas, a strong fertilizer this late can nudge out soft growth that frost easily damages.
During autumn, the plant is busy moving energy down into its roots and crown for safekeeping. Pushing new leaves at this stage pulls resources away from that important storage job, leaving the plant weaker overall.
Cold soil also slows down the soil life that turns many fertilizers into food roots can actually use. A lot of that product may simply wash away with winter rain, which wastes money and can pollute nearby streams.
Save your fertilizer for early spring, right when the pointed shoots begin to push through the soil. A balanced slow-release product or a dose of compost at that time gives hostas exactly what they need.
Many university extension services suggest a soil test every few years before adding any fertilizer at all. Many local university extension offices offer affordable soil test kits, and the results show what your beds truly need.
The thin compost layer you spread earlier is gentle enough for fall, since it releases nutrients slowly over months. Think of it as a light snack, while the full meal can wait until the growing season returns.
Leave Green Hosta Leaves Alone Until They Flop Over
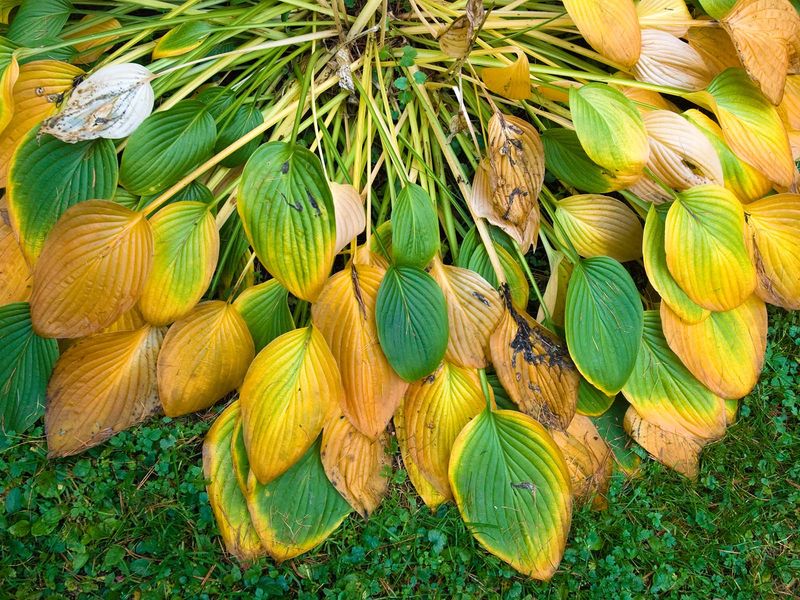
Green leaves in October are not just decoration, because they are working overtime like tiny solar panels. Every sunny afternoon, they make sugars that the plant sends down to its roots for next spring.
I get the itch to tidy up early too, especially when a few leaves start looking tattered and tired. Cutting healthy foliage too soon, though, stops that energy flow before the plant has finished filling its pantry.
As days shorten and nights cool, hosta leaves slowly fade and break down useful nutrients. The plant then pulls many of those nutrients back into the crown, which is a clever way to recycle instead of waste.
Your best signal is the leaves themselves, which turn yellow or brown and then flop over on their own. A hard frost often speeds this up, leaving the foliage limp and clearly finished for the season.
If one or two leaves look ragged from slugs or hail, it is fine to snip just those away. Leaving the rest of the clump alone keeps the plant gathering energy until the very last day possible.
Some varieties, like many golden or blue types, may hold their color longer than others in the same bed. That variation is normal, so cleaning up one clump at a time often makes more sense.
I have come to enjoy the fall color too, since some hostas turn a lovely buttery gold. Letting them finish naturally gives you one last pretty show before the garden settles down for winter.
Keep Mulch Volcanoes Off Hosta Crowns
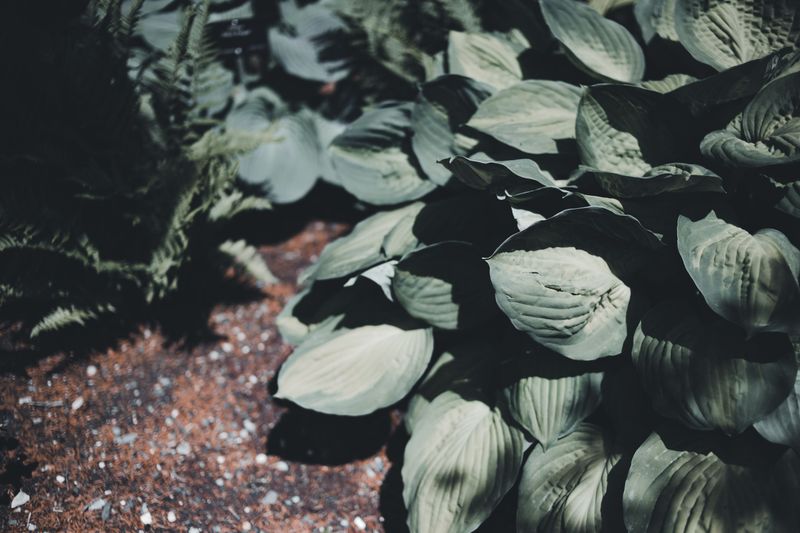
Mulch volcanoes look tidy from the sidewalk, but piling mulch high against a hosta crown can cause real trouble. That heap traps moisture right where the buds sit, and wet crowns are prone to rot over winter.
I made this mistake years ago, burying my favorite blue hosta under a generous mound of bark chips. It came back weak and patchy the following spring, and a few buds simply never appeared at all.
Voles also adore thick piles of mulch, because the deep cover hides them from hawks and hungry neighborhood cats. Tucked safely underneath, they can tunnel along and snack on juicy hosta roots all winter long.
Aim for a donut shape instead, with mulch spread evenly around the plant but pulled back from the center. A gap of an inch or two around each crown lets air move and keeps the buds drier.
Depth matters as well, so stick to about two or three inches rather than a thick, heavy blanket. More is not better here, since deep mulch can keep soil soggy and slow its warming in spring.
Fluffy materials like shredded leaves and pine needles tend to stay airy and breathe better than dense bark nuggets. Whichever you choose, give it a gentle fluff with a rake if it starts packing down.
Take a quick walk around your beds after a heavy storm, since wind and rain can shift mulch around. A few seconds of nudging it back into place keeps those crowns safe until spring.