9 Easy Steps To Plant Amaryllis Bulbs And Get Huge Flowers
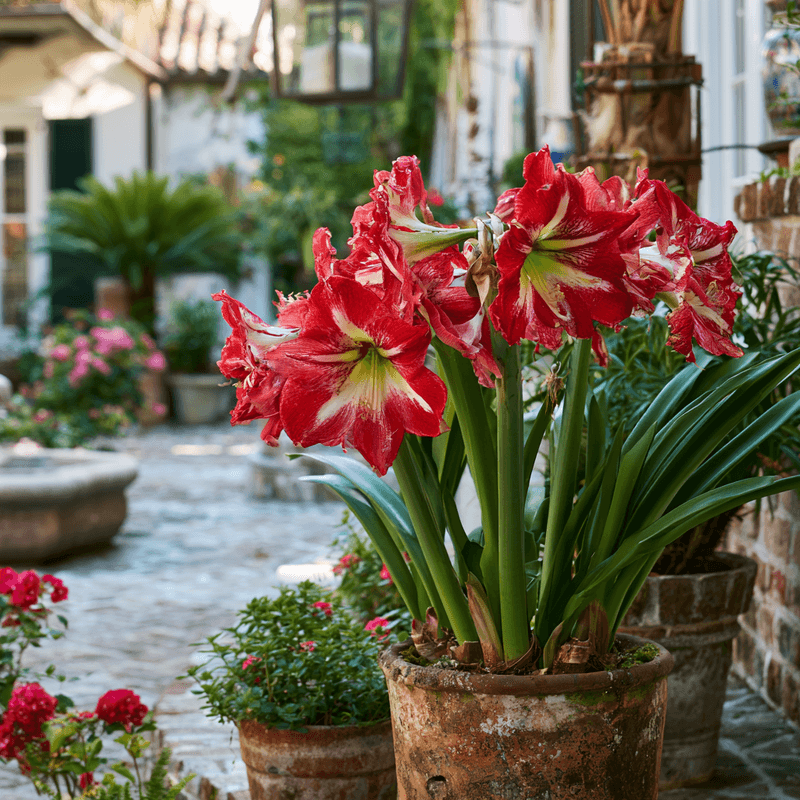
A single bulb about the size of a softball can push up a flower stalk nearly two feet tall. Some of those stalks open blooms close to ten inches across, which still makes me grin.
The whole show often unfolds in roughly six to ten weeks, right on a sunny windowsill indoors. Dutch growers grade these bulbs by circumference, and the biggest sizes can send up two or three stalks.
I skipped a few basics my first year and got one skinny stalk with two lonely flowers. After I tested a better routine, the next bulb rewarded me with a towering, crowded cluster of color.
You might notice that huge flowers come from small choices made long before the first bud appears. Master these simple habits, and your bloom won’t just grow, it will stop the room.
1. Choose A Big Firm Amaryllis Bulb
Bulb shopping feels a little like picking melons, because the heaviest one in the bin usually hides the best surprise. A big amaryllis bulb stores the food that will power every stalk and flower in the weeks ahead.
Growers measure bulbs by circumference in centimeters, and sizes around 34 centimeters or larger often produce two or more stalks. Smaller bulbs still bloom nicely, yet they usually send up one stalk with fewer flowers on top.
Give each bulb a gentle squeeze before you buy it, since firmness tells you a lot about its health. Pass on any bulb with soft patches or a mushy root plate, since those problems rarely improve at home.
Some fresh roots poking from the base are fine, and a little green tip at the top is welcome too. I actually like seeing that tip, because it shows the bulb is awake and ready for planting.
Most amaryllis sold for holiday blooms belong to the genus Hippeastrum, which originally comes from Central and South America. True Amaryllis belladonna is a different South African plant, though shops rarely bother with the name difference.
One safety note matters for families with pets, because amaryllis bulbs and leaves are toxic to cats and dogs. Keep them on a high shelf, and you can enjoy the show without any worried trips to the vet.
2. Pick A Snug Pot With Drainage Holes
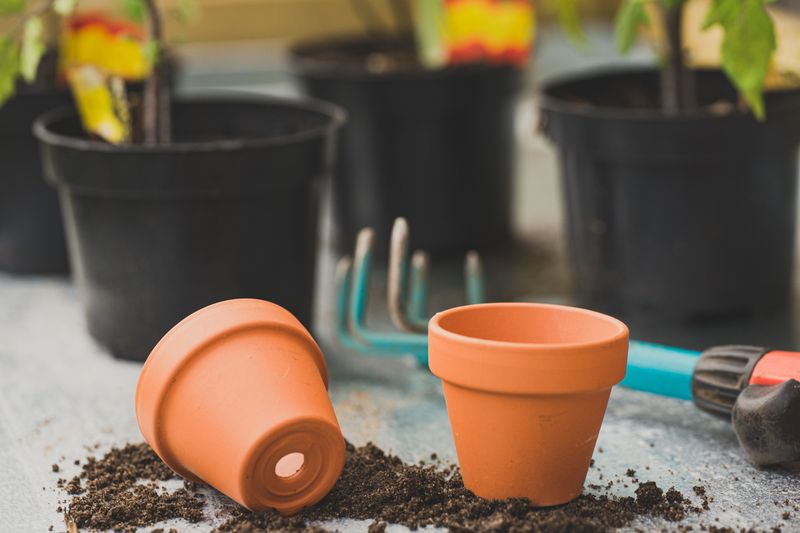
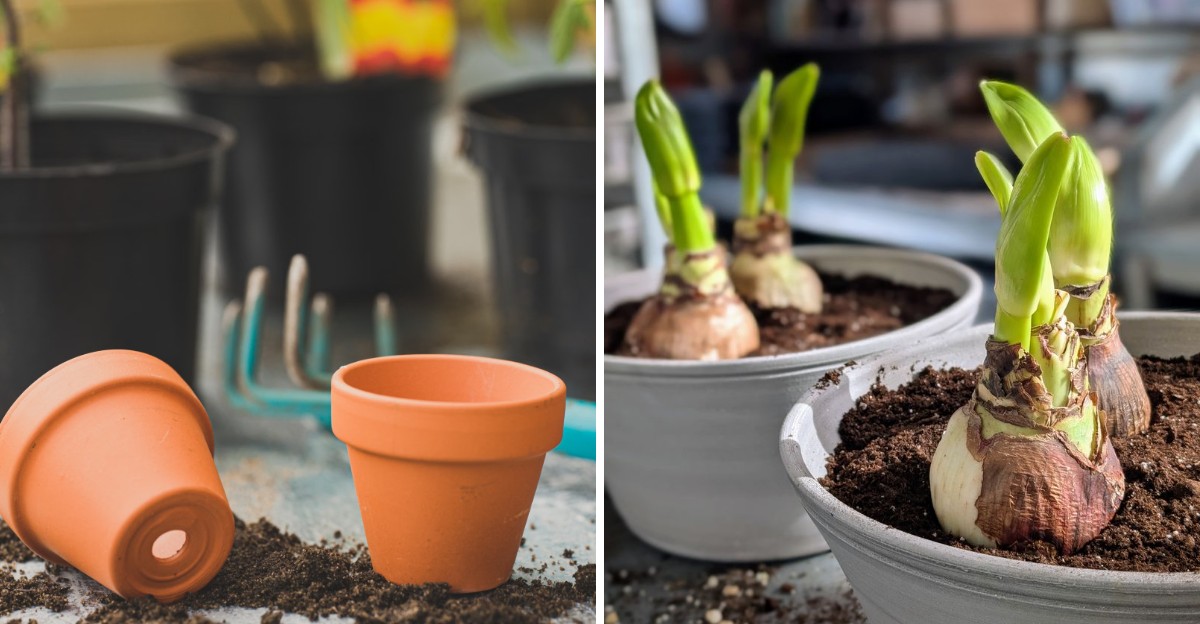
Amaryllis roots seem to enjoy a cozy fit, so a giant pot actually works against those giant flowers. A container just one to two inches wider than the bulb keeps things snug and tidy.
Extra soil holds extra water, and soggy mix around a bulb invites rot faster than most beginners expect. A snug pot dries out at a healthy pace, which keeps roots firm and growing well.
Drainage holes are not optional here, no matter how pretty that decorative pot looks on the store shelf. If you love a pot without holes, slip a plain plastic pot inside it and empty extra water.
Weight matters too, since a stalk loaded with four big blooms can tip a light plastic pot sideways. I like clay or ceramic pots for this reason, because the heavier base keeps everything standing tall.
Want a bolder display for your holiday table or a bright corner by the front door? Three bulbs can share a pot about ten to twelve inches wide, leaving roughly an inch between each bulb.
Clean any reused pot with warm soapy water first, because old soil can carry fungus spores that bother new roots. A fresh start costs only a few minutes, and your bulb gets a healthier home.
3. Mix A Light Fluffy Potting Soil For Amaryllis
Garden dirt feels heavy and sticky in a pot, and amaryllis roots dislike sitting in that kind of mud. A light, loose potting mix lets air and water move freely around the bulb.
Most bagged indoor potting mixes work well, especially ones made with peat moss or coir plus some perlite. Those white perlite bits look like tiny foam balls, and they open up spaces that help water drain.
I usually stir an extra handful of perlite into regular mix, because my kitchen windowsill stays cool and slow drying. That small tweak has saved me from more than one soft, sad bulb over the years.
Skip any mix packed with moisture crystals, since they can hold too much water around a resting bulb. Amaryllis prefers soil that dries a bit between drinks rather than staying damp for days on end.
A slightly acidic to neutral soil works nicely, and most commercial potting mixes already fall in that friendly range. There is little need to test pH at home unless you blend your own soil from scratch.
Moisten the mix before planting by adding warm water and stirring until it feels like a wrung out sponge. Damp soil settles around the roots more evenly, which helps the bulb get started without dry pockets.
4. Soak Amaryllis Roots Before Planting Day
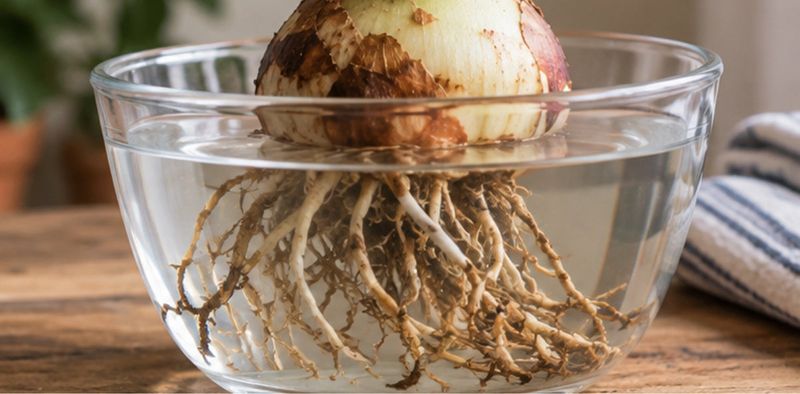
Bulbs often arrive looking a bit thirsty, with roots as stiff and pale as dry spaghetti. A short soak wakes those roots up and gives your amaryllis a head start before it touches soil.
Set the bulb over a jar or bowl so only the roots sit in lukewarm water for several hours. Keep the bulb itself dry, because water around the neck can start rot before growth even begins.
Many growers soak roots for a few hours, while some leave them overnight with good results. After I tested both, I noticed little difference, so pick whatever fits your schedule that week.
Before soaking, take a close look at the roots and snip off any that look mushy or broken. Healthy roots feel firm and look cream colored, and those are the ones worth keeping for your bulb.
Peel away loose, papery outer skins if they flake off easily, but leave the snug brown layers alone. Those tight tunics protect the bulb, much like a jacket keeps you warm on a windy day.
Timing matters if you want flowers for a holiday, because most bulbs bloom about six to ten weeks after planting. Count backward from your target date, and plant a few bulbs a week or two apart.
5. Plant The Bulb With Its Shoulders Above The Soil
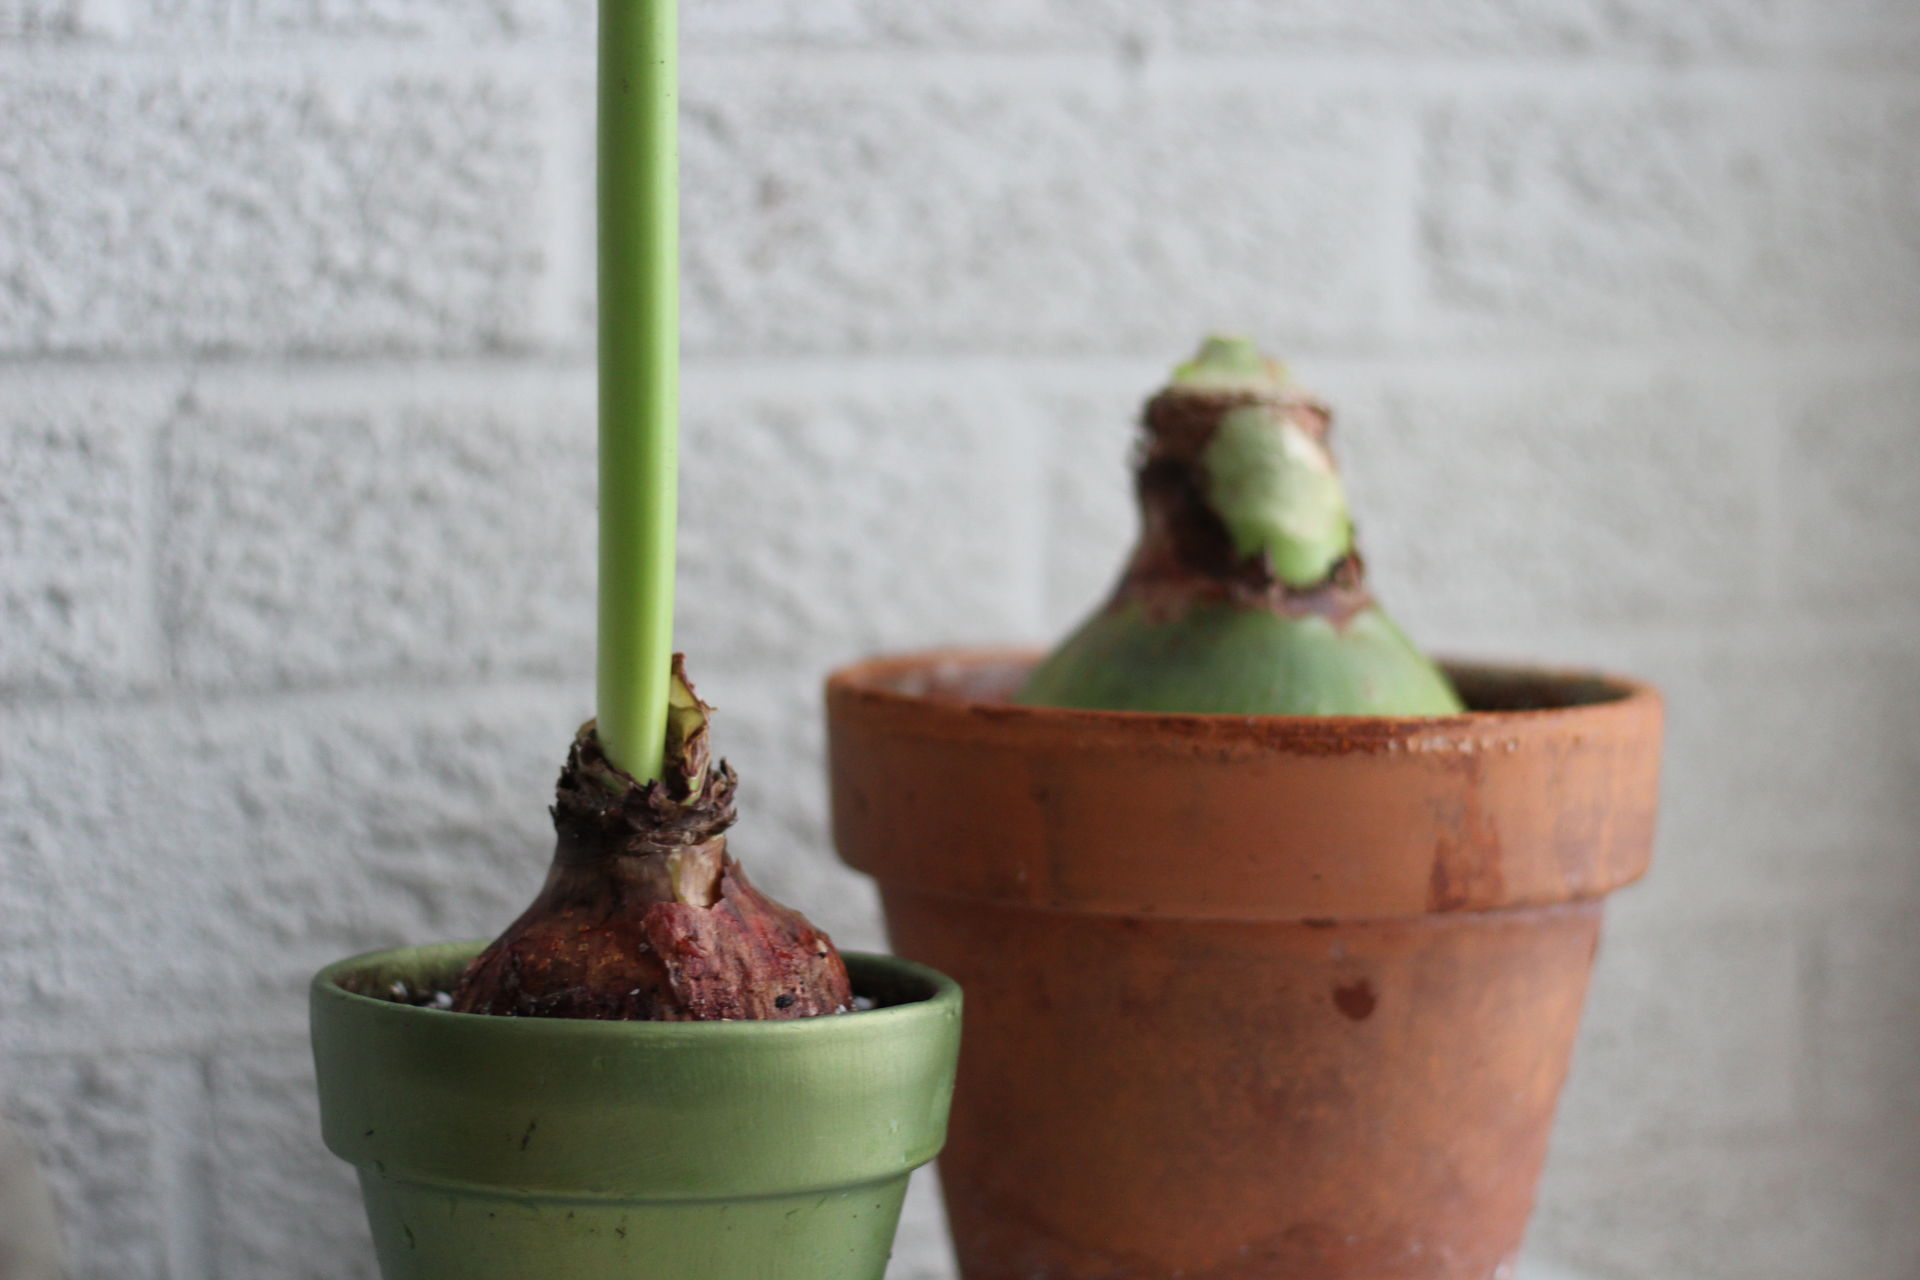
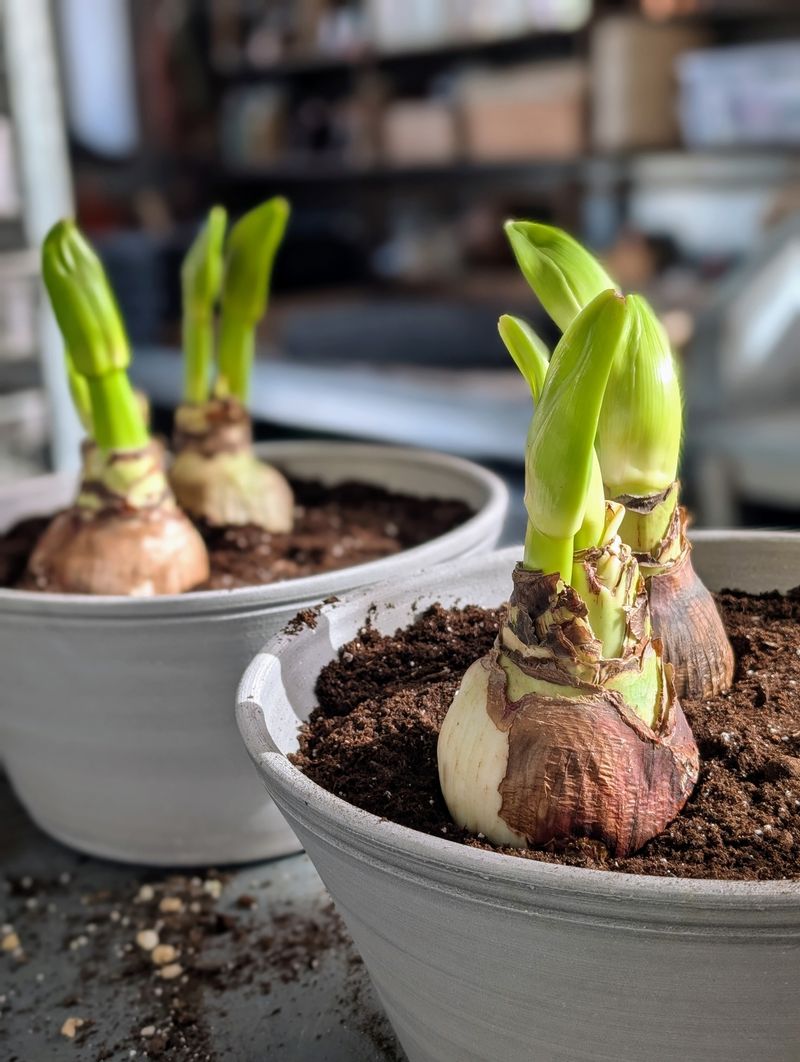
Burying an amaryllis bulb deep feels natural, yet that habit causes more trouble than almost any other planting mistake. These bulbs like to show off their shoulders, with about one third left above the soil.
Start by filling the pot partway with your moist mix, then spread the roots gently over that soil layer. Set the bulb with its pointed tip facing up and the wide base resting near the center.
Add more mix around the sides, pressing lightly with your fingers to remove large air pockets as you go. Stop when roughly one third to one half of the bulb still sits above the surface.
Leave about half an inch to an inch of space below the pot rim for easy watering later. That little gap keeps water from spilling over the edge and running across your windowsill or table.
I like to slide a thin stake into the soil now, right beside the bulb but away from the roots. Adding it later can stab the bulb, and those tall stalks often need support within a few weeks.
A quick label with the variety name helps too, especially if you plant several colors at the same time. Next year you will remember which bulb gave you that stunning red, and which one surprised you.
6. Give The First Drink Then Wait For Green Shoots
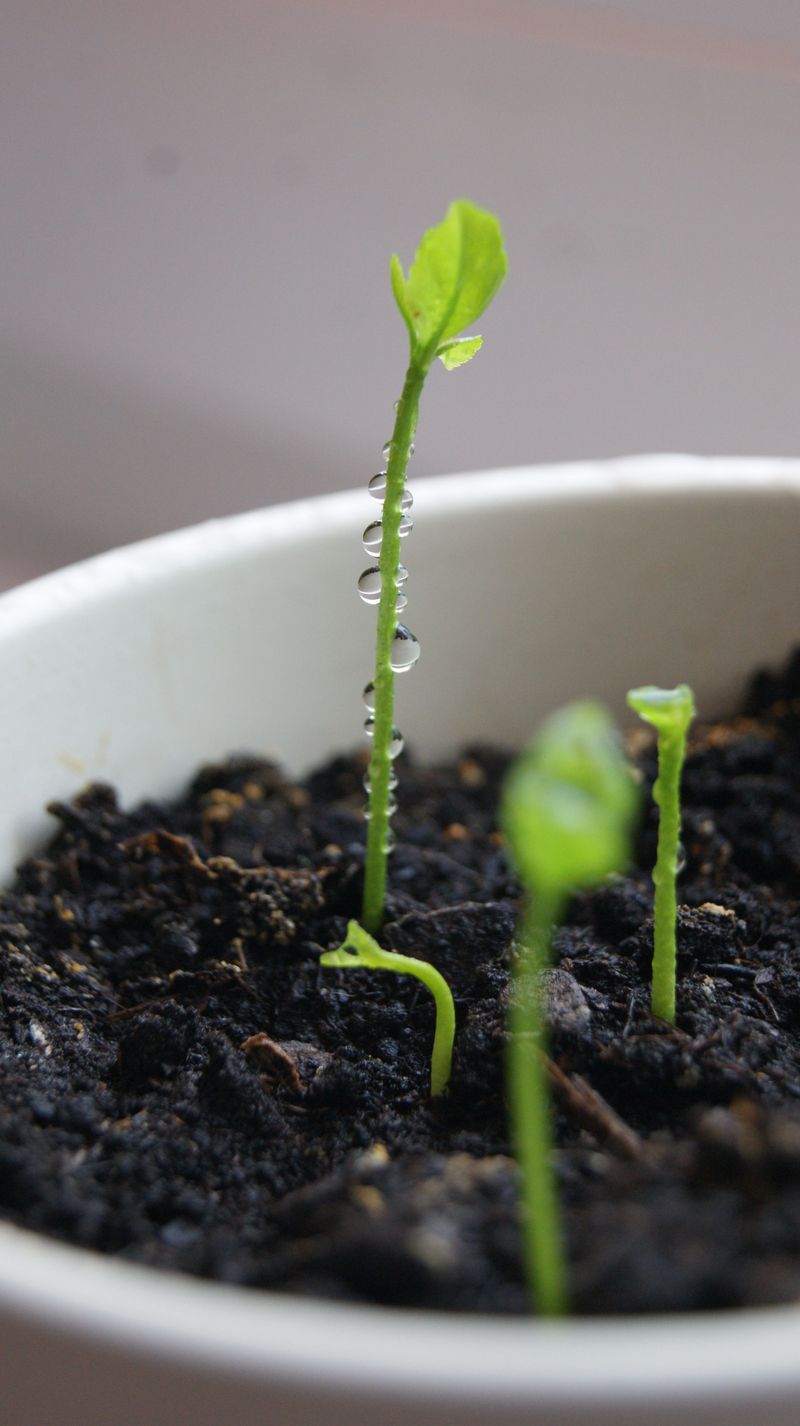
Patience feels hard right after planting, because a bare bulb on the windowsill looks like it needs plenty of care. The truth is that too much water at this stage harms more bulbs than too little.
Water thoroughly once after planting, letting the extra drain from the holes before you set the pot down. Empty the saucer afterward, since standing water underneath can soak up into the soil and rot the base.
After that first drink, water only lightly until you see a green tip or flower bud pushing upward. Push your finger about an inch into the soil, and add a little water only when it feels dry.
Roots grow before leaves, so the bulb may look sleepy for a week or longer while work happens underground. I used to fuss over that quiet stretch, but now I simply check the soil and wait.
Water around the edge of the pot rather than pouring onto the bulb neck or into the top. Moisture trapped where leaves emerge can lead to rot, and that problem spreads quietly inside the bulb.
Some bulbs send up a flower stalk first, while others push leaves before the bud appears beside them. Both patterns are normal for amaryllis, so watching each bulb develop becomes part of the fun.
7. Set Amaryllis In A Warm Bright Window
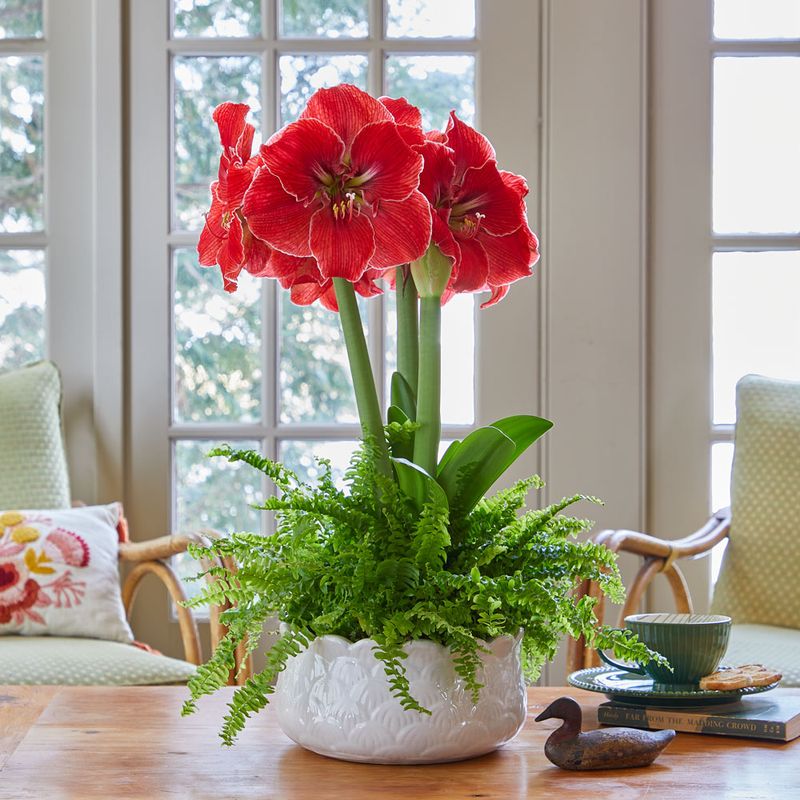
Warmth acts like an alarm clock for amaryllis, and a cozy room tells the bulb it is time to grow. Most bulbs start best around 70 to 75 degrees Fahrenheit, which matches many comfortable homes.
Bright light keeps the stalk sturdy, so a sunny south or west window makes an excellent spot during growth. Weak light often produces long, floppy stems that lean and need extra staking to stay upright.
Stalks bend toward the brightest light, sometimes so much that they look like they are reaching for the glass. Give the pot a quarter turn every few days, and the stem will grow straighter.
Watch out for cold drafts near doors and leaky winter windows, because chilly air slows growth and stresses buds. Heater vents cause trouble too, since blasts of dry heat can shrivel buds before they open.
Once the flowers start opening, move the pot somewhere a bit cooler and out of direct afternoon sun. Temperatures around 60 to 65 degrees help each bloom last longer, sometimes stretching the show for weeks.
I set mine in the dining room once buds open, since the room stays cooler and everyone gets a view. You might find a favorite spot too, where those big flowers greet you each morning.
8. Feed And Stake Tall Amaryllis Flower Stalks
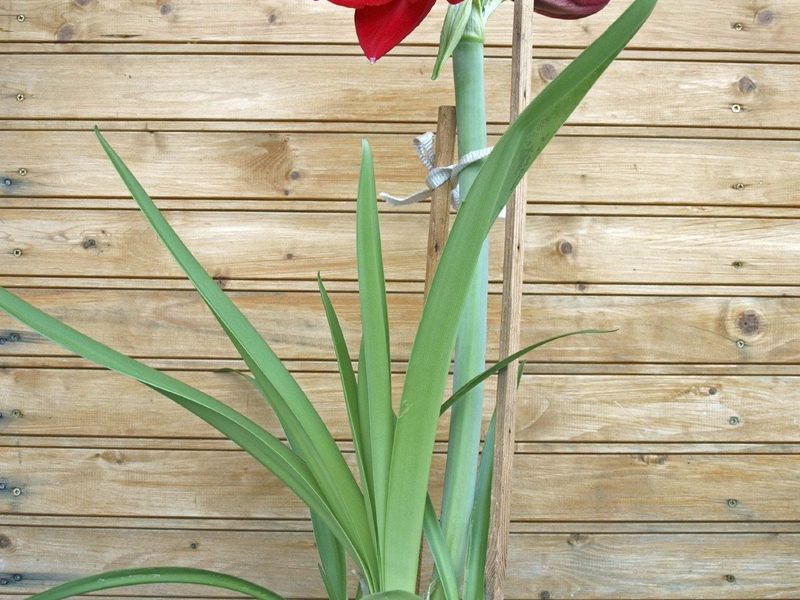
Flower stalks can stretch nearly two feet tall, and some carry four to six huge blooms at the top. That much weight on a hollow stem makes support and steady feeding worth your attention.
Start feeding once active growth appears, using a balanced liquid houseplant fertilizer mixed at half the label strength. Feed about every two to four weeks, since the bulb already holds most of the energy for this bloom.
Fertilizer matters even more after flowering, when the green leaves rebuild the bulb for next year’s show. I think of feeding as an investment, because today’s care pays off with bigger flowers the following season.
Tie the stalk loosely to your stake with soft twine or a strip of cloth as it grows taller. Leave room for the stem to thicken, because tight ties can pinch and damage the hollow stalk.
A slim bamboo stake works well, though a decorative branch looks charming in a festive holiday arrangement on the table. Insert any support near the pot edge, since pushing it too close can puncture the bulb underneath.
Snip off the yellow pollen-covered anthers if you like, since pollen can stain tablecloths and pale petals. Some growers believe it also helps flowers last a little longer, though results vary from home to home.
9. Save Your Amaryllis Bulb For Next Year’s Blooms
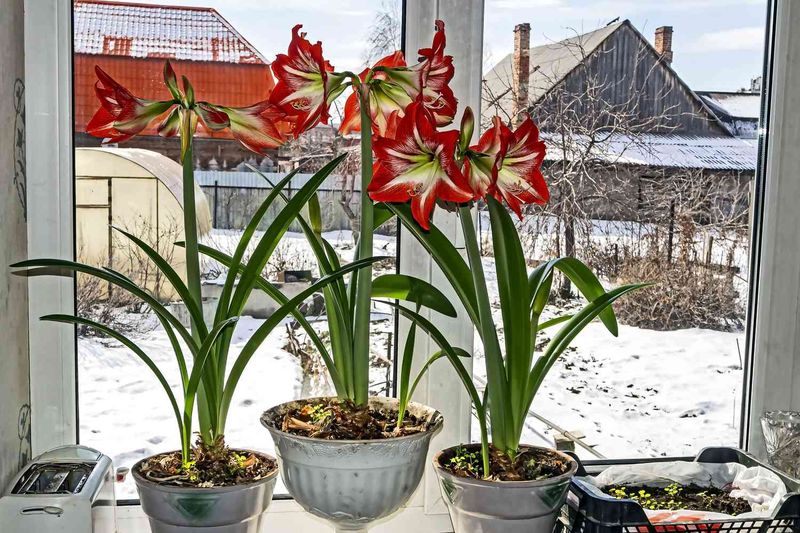
Tossing a bulb after one season feels wasteful when the same amaryllis can bloom again for many years. With a little summer care, that bulb can grow larger and sometimes produce even more stalks.
Cut each faded flower off first so the plant does not spend its stored energy making seeds. Once the stalk turns yellow, trim it near the top of the bulb, but keep every green leaf growing.
Keep the plant in your sunniest window through spring, watering when the top inch of soil feels dry. After your last frost, many gardeners move pots outdoors into bright light with some afternoon shade.
Gardeners in warm zones 8 through 10, such as much of Florida, can even plant bulbs straight into garden beds. Colder regions need to bring pots back inside before frost returns in the fall.
In late summer or early fall, stop feeding and cut back on water to start the resting period. Once the leaves yellow, trim them and store the pot somewhere cool and dark, around 50 to 55 degrees.
Let the bulb rest for about eight to ten weeks, then bring it back into warmth and bright light. Water once to wake it up, and the whole fun cycle starts over again on your windowsill.