How To Propagate A Thanksgiving Cactus From A Single Segment
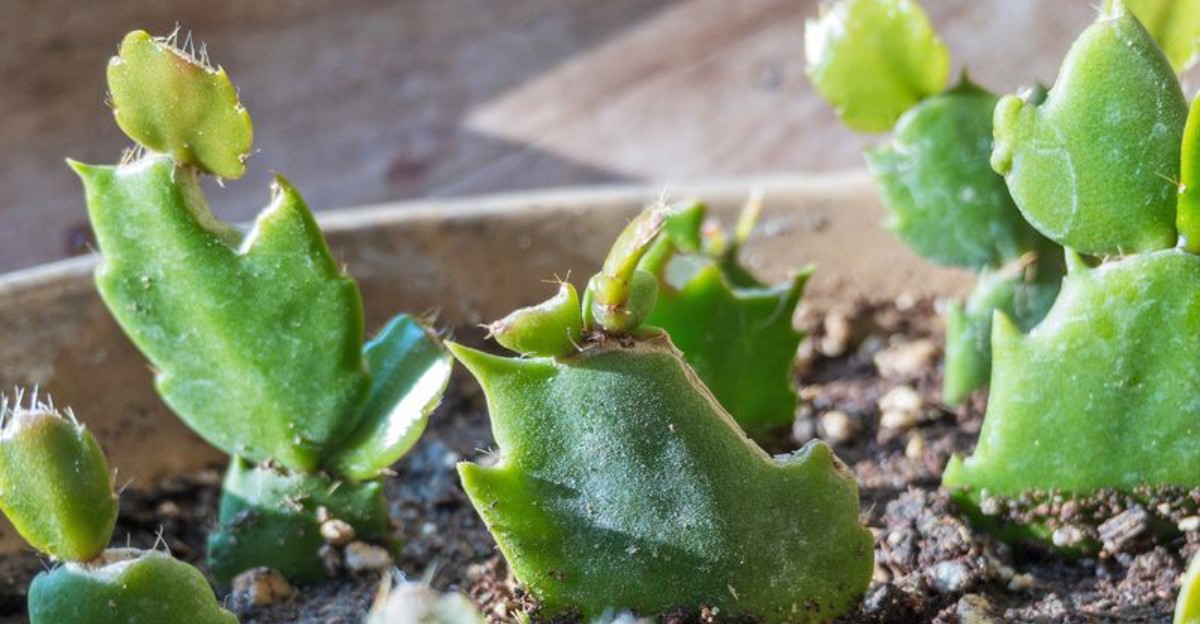
Those flat green pads on a beloved holiday houseplant are not leaves at all, but flattened stems. Each stubby piece can grow its own roots, which means one snapped segment holds a whole future plant.
In the wild, this plant perches on mossy tree branches in the coastal mountain forests of southeastern Brazil. That cloud forest background explains why it prefers gentle light and steady moisture over scorching desert sun.
I am surprised every single time a bare little cutting pushes out pale roots within just a few weeks. You might notice the same thrill once you try it, especially when friends start asking for baby plants.
After I tested a few methods, one simple routine beat every fancy gadget sitting on my potting bench. Follow it, and a single tiny green segment becomes a crowded pot bursting with bright autumn blooms.
1. Pick A Plump Healthy Thanksgiving Cactus Segment
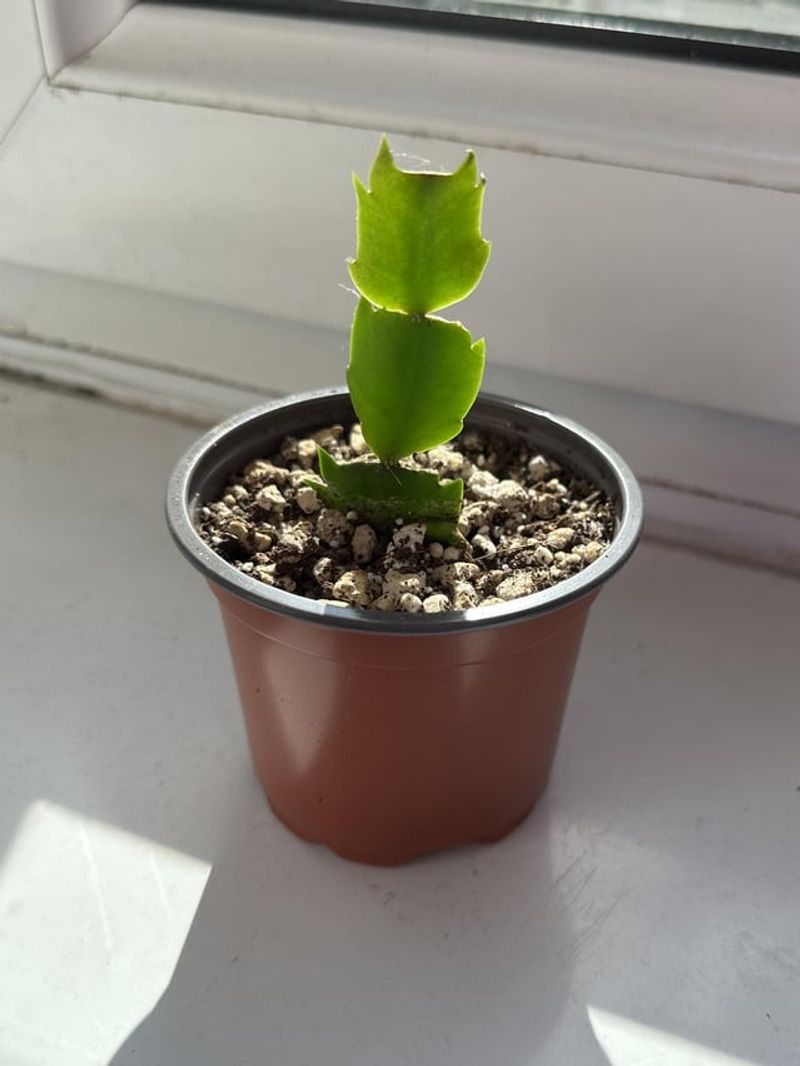
Look closely at the edges of each segment and you will spot pointy teeth that resemble tiny crab claws. Those claws give the plant its other nickname, crab cactus, and they help you tell it apart.
Christmas cactus segments have rounded, scalloped edges, so checking those teeth confirms which holiday plant you actually own. Luckily, both plants root the same way, so this guide works for either one sitting on your windowsill.
Choose a segment that feels firm and plump when you gently squeeze it between your thumb and finger. Skip any piece that looks shriveled or mushy, because weak tissue struggles to grow fresh roots.
A single segment can root just fine, though I like snipping a chain of two or three pieces. Longer cuttings carry more stored water and energy, which often gives them a quicker head start.
Timing matters too, and late spring or early summer usually works best for taking cuttings from your plant. By then the flowers have faded, and the mother plant is busy pushing out fresh green growth.
Avoid cutting while buds are forming in fall, since the plant is pouring its energy into those blooms. Snipping then can also cost you flowers, which feels like a sad trade during the holiday season.
I usually grab segments from the tips of healthy branches, where the newest growth looks bright and glossy. Taking a few extra pieces is smart insurance, because not every cutting succeeds on the first try.
2. Twist The Cactus Segment Free At The Joint
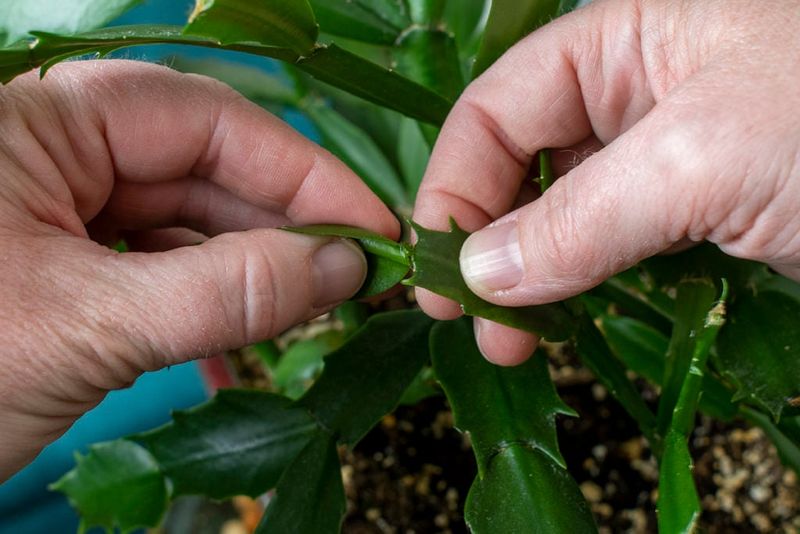
Snapping off a segment feels a little like pulling apart a string of green paper dolls, oddly satisfying. The plant grows in linked sections, and each joint acts like a natural breaking point for you.
Hold the mother plant steady with one hand, then pinch the chosen segment with your other hand. Give it a gentle twist right at the joint, and it should pop free without much effort.
Twisting at the joint leaves a clean, small wound on both the cutting and the parent plant. Small wounds heal faster, and they give rot fewer chances to sneak inside the tender green tissue.
If you prefer tools, clean and sharp scissors or a small knife work well when a joint feels stubborn. Wipe the blades with a household disinfectant first, since dirty tools can spread fungus and bacteria between plants.
Make your cut right at the narrow joint, rather than slicing through the middle of a flat segment. Roots tend to form near the joint, so a mid-segment slice often leaves a messy, slower cutting.
I once hacked a segment in half out of impatience, and that poor piece sulked for weeks. Its neighbor, twisted off properly at the joint, rooted much sooner and quickly left it far behind.
Spread your cuts around the mother plant instead of stripping one branch, so it keeps a balanced shape. Light trimming like this often encourages branching, which can mean more flowers on the parent next season.
3. Let The Cut End Dry And Callus Over
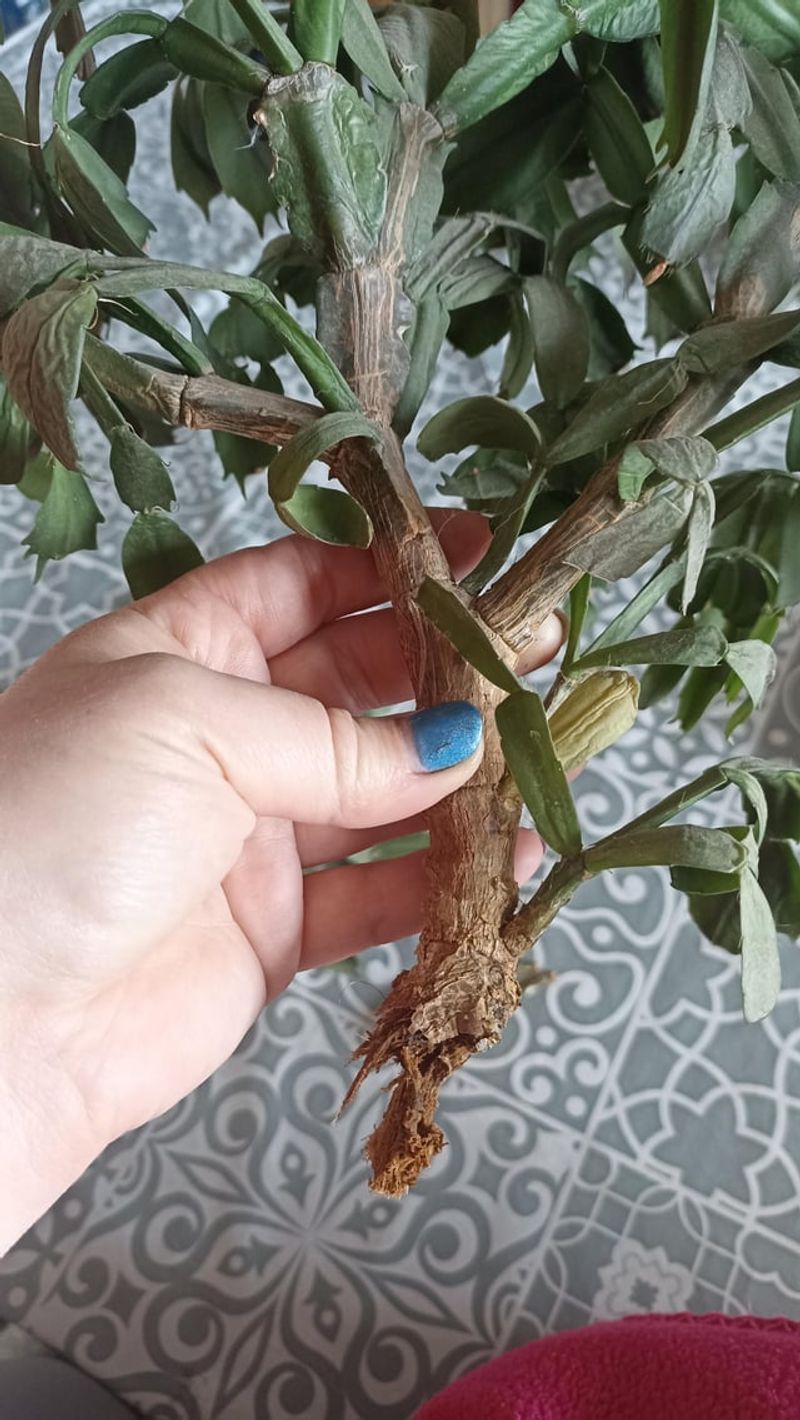
Waiting is the hardest part for eager gardeners, but this quiet pause might be the most important step. Fresh cuttings carry an open wound, and planting them right away invites trouble into the moist soil.
Lay your segments on a paper towel in a dry spot, away from harsh sunlight and drafts. A shelf or kitchen counter with soft indirect light makes a cozy resting place for a few days.
Most growers let the cut ends dry for one to three days, depending on humidity in the home. You will notice the raw end turning slightly firmer and drier, almost like a tiny healed scab.
That dry layer is called a callus, and it acts like a natural bandage for the cutting. It helps block fungus and bacteria that cause rot, which is a very common reason cuttings fail.
I skipped this step once during a busy week, and two of my three segments turned soft. The third one survived, but the lesson stuck with me far longer than those mushy cuttings did.
Do not worry if your segments look a little limp or wrinkled while they rest on the counter. They store water inside their fleshy stems, so a short dry spell rarely bothers them one bit.
Use the waiting time to gather your pots and soil, so everything is ready when calluses form. A little planning now turns planting day into a relaxed, happy task instead of a frantic scramble.
4. Fill A Small Pot With Gritty Cactus Mix
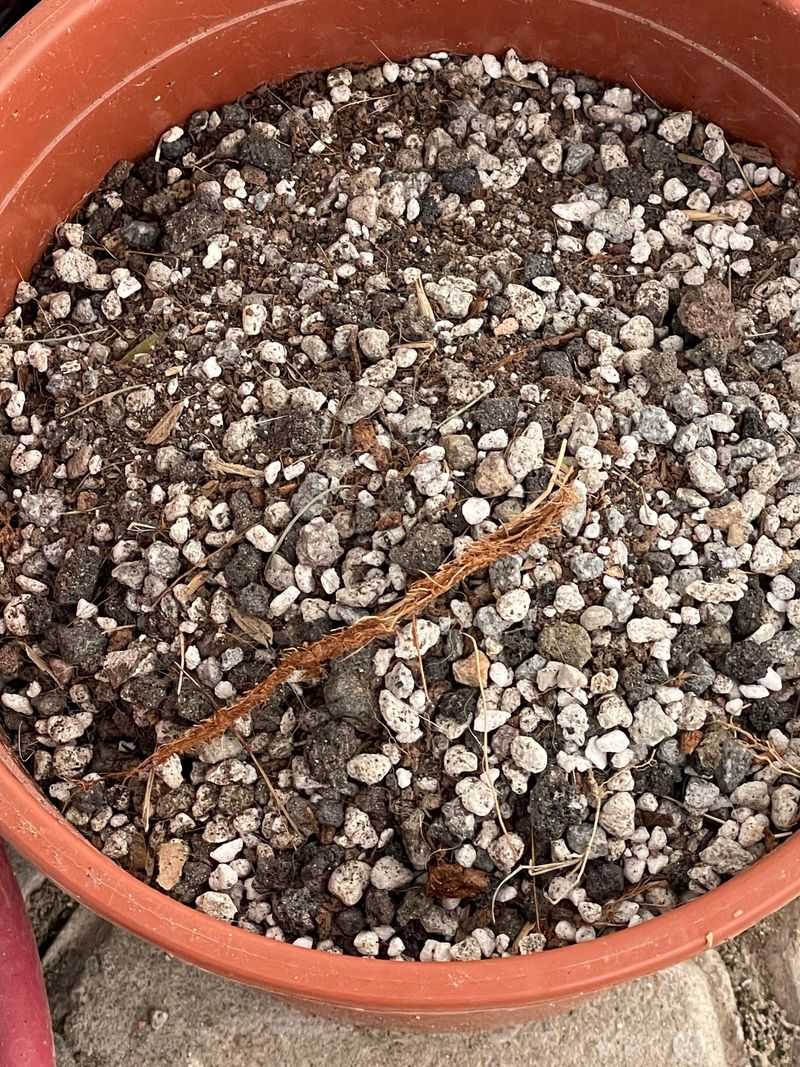
Regular garden dirt feels like a soggy winter coat to these cuttings, heavy and slow to dry. Their roots crave air as much as water, so a loose and fast-draining mix makes them happiest.
Remember that this plant grows on tree branches in the wild, clinging to bark and bits of moss. Rain rushes past its roots there, which explains why soggy pots cause so many problems at home.
A bagged cactus and succulent mix makes an easy starting point that you can find at most garden centers. I like stirring in a handful of perlite, which adds extra air pockets and keeps things light.
Another option is mixing regular potting soil with perlite or orchid bark in roughly equal parts. That blend holds a bit more moisture, which suits these forest cacti better than pure desert grit.
Pick a small pot, around two to four inches wide, so the soil dries out at a steady pace. Oversized containers hold extra water around tiny roots, and that soggy space can quickly lead to rot.
Drainage holes are a must, so skip that cute decorative pot unless you can drill holes in it. Terracotta works nicely because the clay breathes, though plastic pots are fine if you water carefully.
Before planting, lightly dampen the mix until it feels like a wrung-out sponge rather than wet mud. Slightly moist soil settles around the segment nicely and gives those first roots something gentle to reach.
5. Tuck The Segment Upright Into The Soil
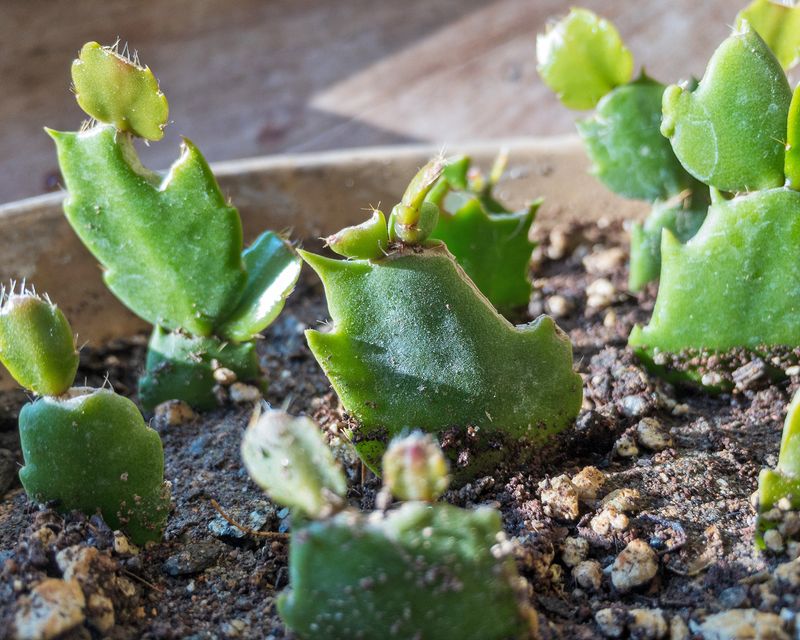
Planting a cutting this small feels a bit like tucking a toddler into bed, careful and slightly silly. Still, getting the depth and angle right gives your segment the best possible chance to grow roots.
Poke a shallow hole with a pencil or chopstick, about a quarter to half an inch deep. Slide the callused end into the hole, keeping the segment standing upright like a tiny green flag.
Burying it too deep keeps too much stem in damp soil, which raises the chances of rot. Planting it too shallow lets it flop over, so aim for roughly a quarter of its length.
Press the mix gently around the base with your fingertips, just enough to hold the cutting steady. Packing soil down too hard squeezes out the air pockets that young roots need to breathe and spread.
I like planting three or four segments in one pot, spaced about an inch apart from each other. Several cuttings together grow into a fuller, bushier plant much faster than one lonely segment ever could.
Rooting hormone powder is optional, since these cuttings usually root well without any extra help at all. If you have some handy, dip the callused tip lightly and tap off the extra dust first.
Some gardeners lay a segment flat on the soil instead, and roots can sprout from the joint. Upright planting still feels easier to me, since the cutting stays steady and the base stays visible.
6. Set The Pot In Bright Indirect Light
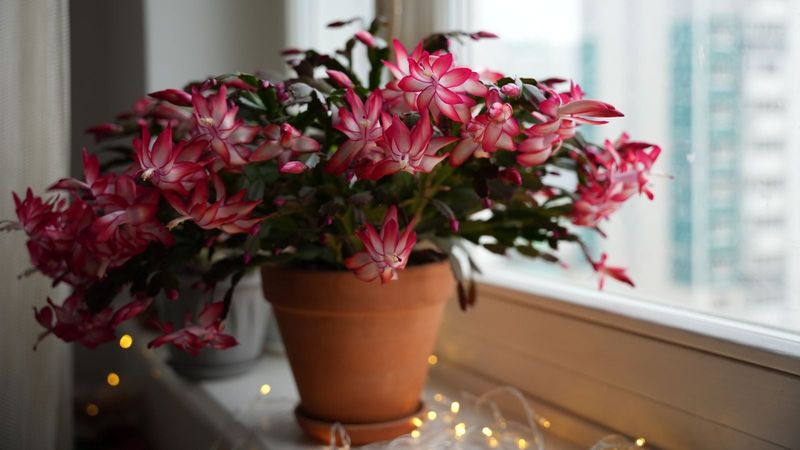
A sunny south window sounds like a cozy treat, yet harsh rays can scorch tender cuttings surprisingly fast. These plants evolved under a leafy forest canopy, so they prefer light that feels filtered and soft.
An east-facing window works beautifully, giving gentle morning sun and then bright shade for the afternoon. A spot a few feet back from a sunnier window, or behind a sheer curtain, also works.
Watch the color of your segments, because they quietly tell you whether the light feels right for them. Reddish or purple tinges often signal too much sun, while pale, stretched growth hints at too little.
Warmth matters just as much, and cuttings root best in rooms around 65 to 75 degrees Fahrenheit. Keep pots away from heating vents and chilly drafty doors, since sudden temperature swings slow everything down.
Some growers cover pots loosely with a clear plastic bag to hold in a little extra humidity. If you try it, open the bag every day or two so fresh air can move around inside.
My kitchen windowsill became the favorite rooting station, mostly because I walk past it a dozen times daily. Seeing the pots so often helps me catch problems early, like dry soil or a tipping cutting.
Summer cuttings can even spend time outdoors in a shady spot, as long as nights stay mild. Bring them inside well before frost, because these tropical plants handle freezing temperatures outdoors very poorly.
7. Water The Cutting With A Light Hand
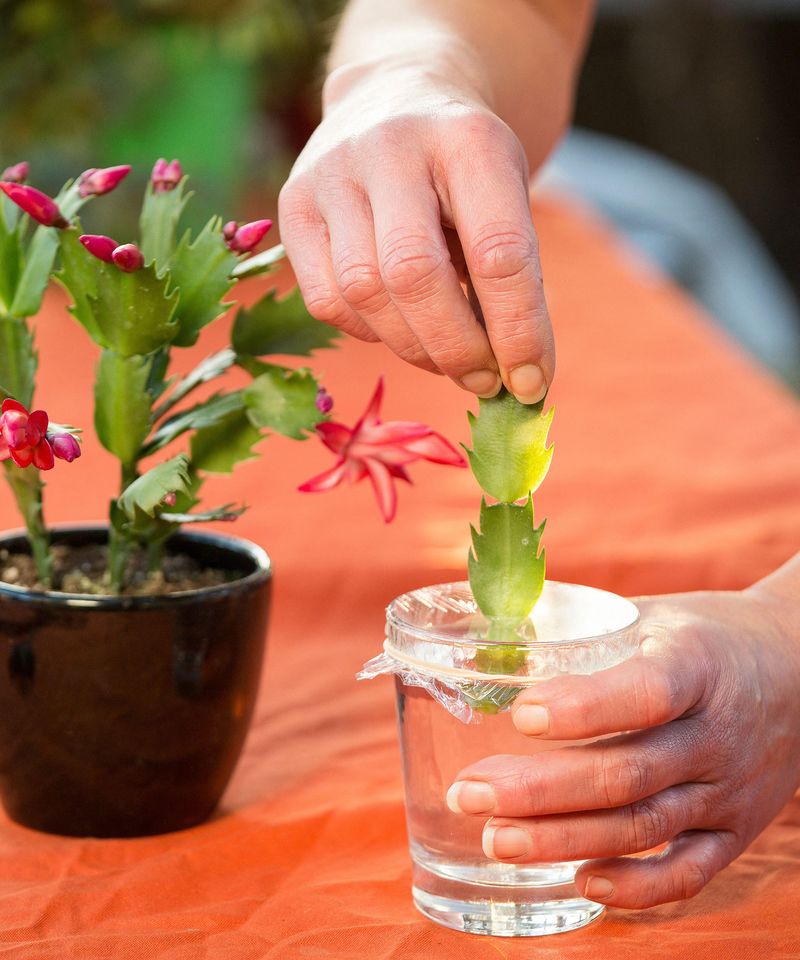
Overwatering sends more cuttings to the compost pile than almost any other mistake, and I learned that firsthand. Without roots, a segment cannot drink much, so extra water just sits around the stem and waits.
Aim for soil that stays lightly moist but not soggy during these first few rooting weeks. Push a fingertip into the mix, and add water once the top inch or so feels dry.
Unlike desert cacti, these forest plants enjoy more regular moisture, so do not let pots dry out fully. That balance between too wet and too dry takes a little practice, but you will catch on quickly.
A small spray bottle or a narrow watering can helps you add moisture gently without disturbing the cuttings. Pouring a big splash can knock segments sideways or wash soil away from their freshly callused ends.
Empty any water collecting in the saucer after about fifteen minutes, since standing water keeps roots too wet. I picked up that habit after forgetting a full tray for days and losing two soggy cuttings.
Slight wrinkling on a segment is common while it roots, since it relies on stored water for now. Mushy or darkening bases tell a different story and usually point to rot from too much water.
Adjust your routine with the seasons, because pots dry faster in warm summer air than in cool months. Checking the soil before every watering beats following a strict calendar, and your cuttings will thank you.
8. Spot New Roots And Fresh Green Growth
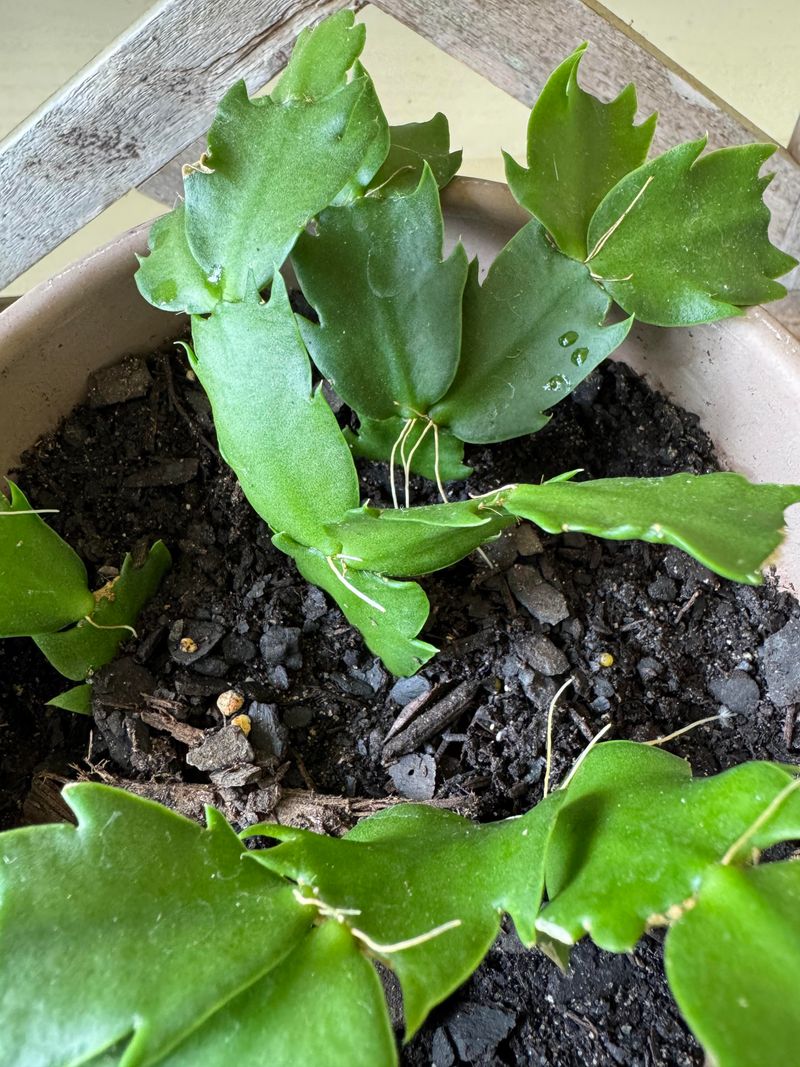
The first tiny new segment popping from a cutting looks like a green thumbs-up, and it feels amazing. Getting there takes patience, though, because most of the early action happens quietly below the soil line.
Roots often start forming within two to three weeks, though some cuttings take a month or longer. Warm rooms usually speed things along, while cooler spots slow the whole process down a little bit.
After about three weeks, give the segment a very gentle tug and feel for a little resistance. A slight pull back means roots are gripping the soil, so resist the urge to dig it up.
Fresh, bright green segments sprouting from the tip are the clearest sign that your cutting has settled in. I still grin like a kid whenever I spot one, even after rooting dozens of these plants.
Once new growth appears, you can water a bit more normally and add a diluted houseplant fertilizer monthly. Wait several months before moving it into a bigger pot, since this plant enjoys being slightly snug.
Flowers usually come later, often after a year or so, once the young plant builds enough size. Blooms form when fall brings shorter days and cooler nights, roughly in the 50 to 55 degree range.
Rooted babies make wonderful gifts, and the ASPCA lists this plant as nontoxic to cats and dogs. Tuck one into a pretty pot with a handwritten tag, and you share a plant with real staying power.