6 Easy Steps To Propagate Geraniums Now For More Stunning Blooms Next Season In North Carolina
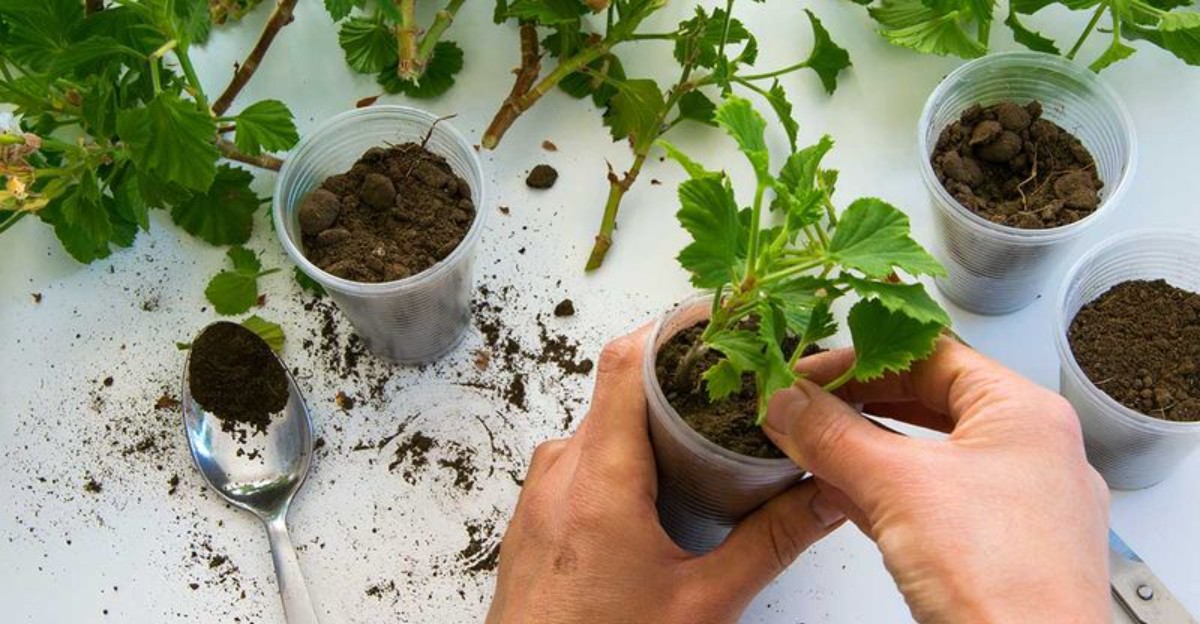
Geraniums are expensive to replace every spring, and many people do it anyway. There is an easier way. A single healthy plant can turn into a dozen new ones with nothing more than a sharp knife and a few small pots.
Fall is a good moment, since the plants are full and the weather is still mild. The method takes six steps, and each one has a reason. Skipping one is the usual cause of failure.
Some cuttings need a little time before going in the soil, and others do better with less water than you would guess.
By spring, you can have a row of sturdy young plants ready to bloom. It costs almost nothing, and the results look just as good as store-bought ones.
1. Take Cuttings Before Frost Arrives
Every fall, a race quietly begins in North Carolina gardens. Geraniums, also known by their plant name Pelargonium, come from warm parts of South Africa, and they simply cannot handle frost.
One cold night can turn those cheerful leaves limp and brown. That is exactly why right now is the best time to act.
Taking cuttings lets you save your favorite colors without hauling big, heavy pots into the house. A few small stems fit easily on a windowsill, and they take up far less room than a full plant.
Start by looking for your strongest, healthiest plants. You want stems that look green, firm, and full of energy. Skip any stems with yellow leaves, spots, or signs of bugs, since problems can follow the cutting indoors.
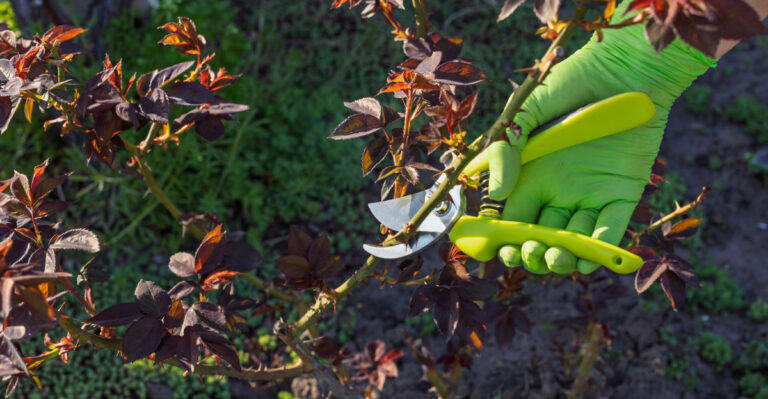
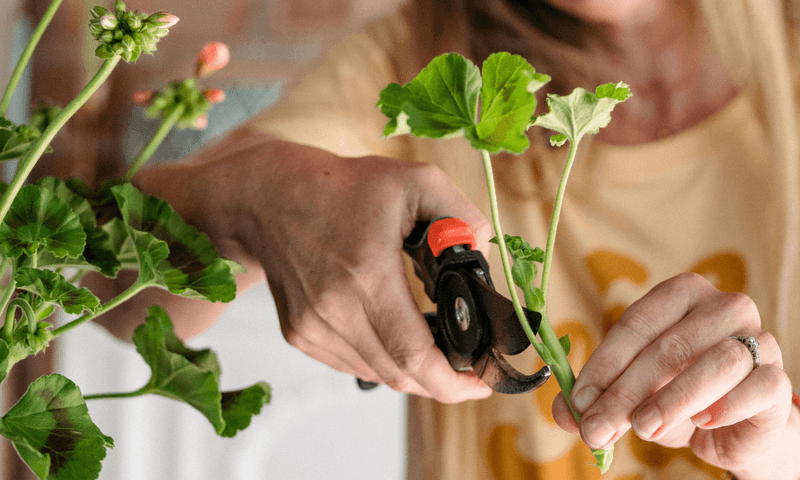
Next, choose stem tips that are not flowering. Those stems have more energy to spare for making roots. Using clean, sharp pruners, cut pieces that are about 3 to 4 inches long, making your cut just below a leaf node.
A node is the small bump where a leaf joins the stem, and it is where new roots love to grow. Here is a smart trick. Always take a few extra cuttings, because not every single one will root. Having backups means you still end up with plenty of plants.
Timing matters a lot across our state. In the Mountains, the first frost often arrives in October. The Piedmont usually sees it in late October to early November, while the Coastal Plain tends to wait until November.
Check your local forecast and grab your pruners a week or two before that first chilly night.
2. Remove Lower Leaves And Flower Buds
A fresh cutting has one big job ahead, and that job is growing roots. Anything that distracts it from that goal should go. Think of it like clearing off a messy desk before starting homework.
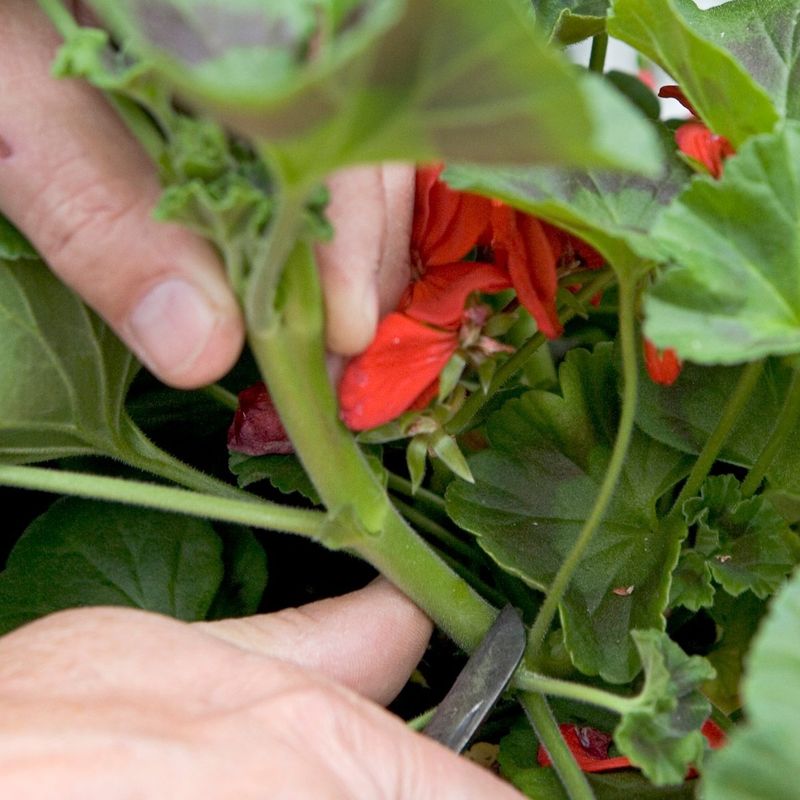
Leaves are the first thing to trim. Any leaf that ends up below the soil line can rot, and rot spreads fast. Gently strip off all the leaves except the top two or three, which are enough to keep the cutting fed through sunlight.
Flowers and buds come next. They look pretty, but they pull a surprising amount of energy away from root growth. Pinch off every bloom and tiny bud you see, even if it feels a little sad to do it.
Your cutting will thank you with stronger roots and better blooms later on.
Now comes a step many beginners skip. Lay your cuttings on a paper towel or tray and let the cut ends dry for a few hours, or even overnight. During that time, a light callus forms over the wound, almost like a tiny scab.
That callus is a big deal. Geranium stems are thick and fleshy, holding lots of water inside. If you plant them while the ends are still wet and raw, they are much more likely to rot before roots ever show up.
North Carolina gardeners know all about damp weather, especially in fall when rain and humidity linger.
Giving those stems time to seal up is one of the easiest ways to protect them. A little patience at this stage pays off in healthy, rooted plants just a few weeks down the road.
3. Plant In A Light, Well-Drained Mix
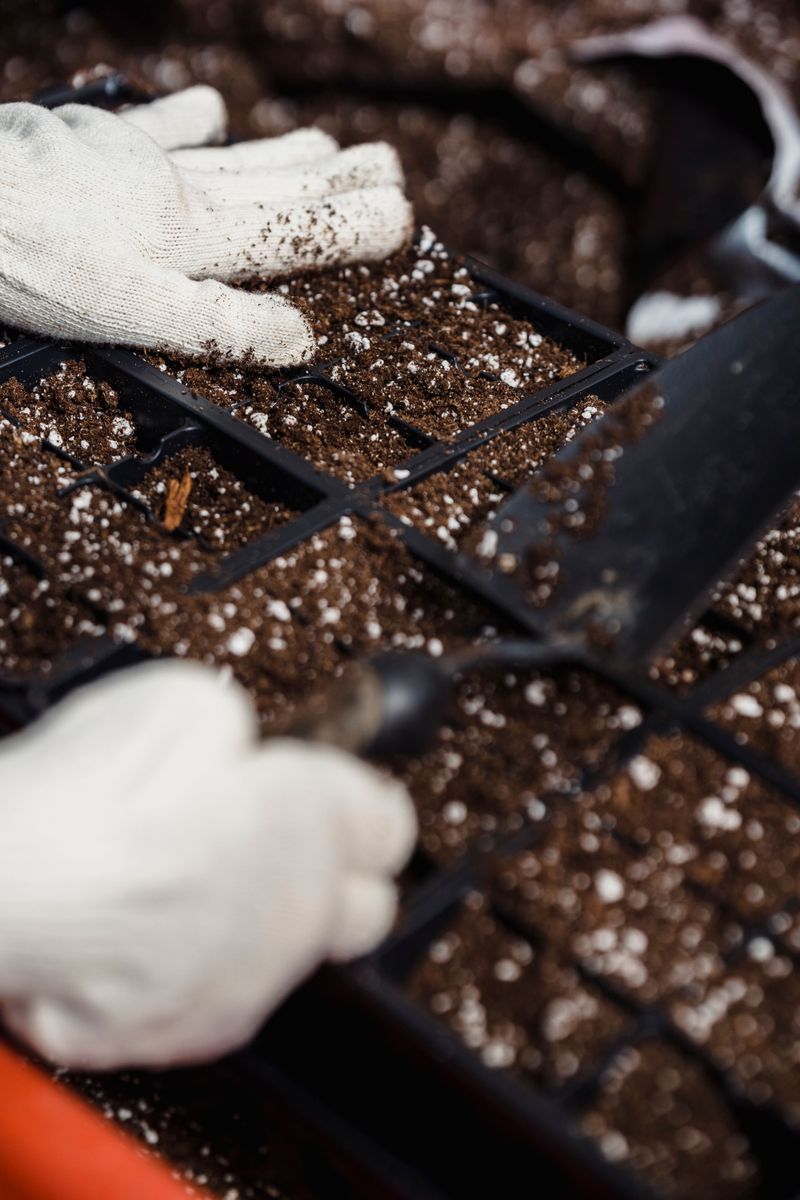
Soil can make or break your new cuttings. Geraniums are a bit picky about where they put down roots, and they prefer a mix that feels light and fluffy. Heavy, soggy soil is their worst enemy.
So what works best? A good rooting mix holds a little moisture but lets extra water drain away quickly. Air pockets in the mix also help, since young roots need oxygen just as much as water.
You can buy a bag of seed-starting mix, which is already light and clean. Another easy choice is to blend regular potting mix with perlite, those tiny white bits that look like foam. About half and half works nicely for most gardeners.
Fill small pots or cell trays with your mix. If you like, dip each cut end in rooting hormone first, though geraniums often root fine without it. Poke a hole with a pencil, then slide each cutting in about an inch deep.
Gently firm the mix around the stem so it stands up straight. Then water lightly, just enough to settle everything in place. Too much water at the start can undo all your careful work.
Here in North Carolina, this step deserves extra care. Our homes can stay fairly humid, especially in early fall before the heat kicks on. That damp indoor air means soil may stay wet much longer than you expect.
A light, airy mix gives you a safety net against that. Even if you water a bit too much, the extra moisture drains away instead of sitting around the stems. Your cuttings stay firm and healthy while they get busy making roots.
4. Skip The Plastic Cover And Keep Them Bright
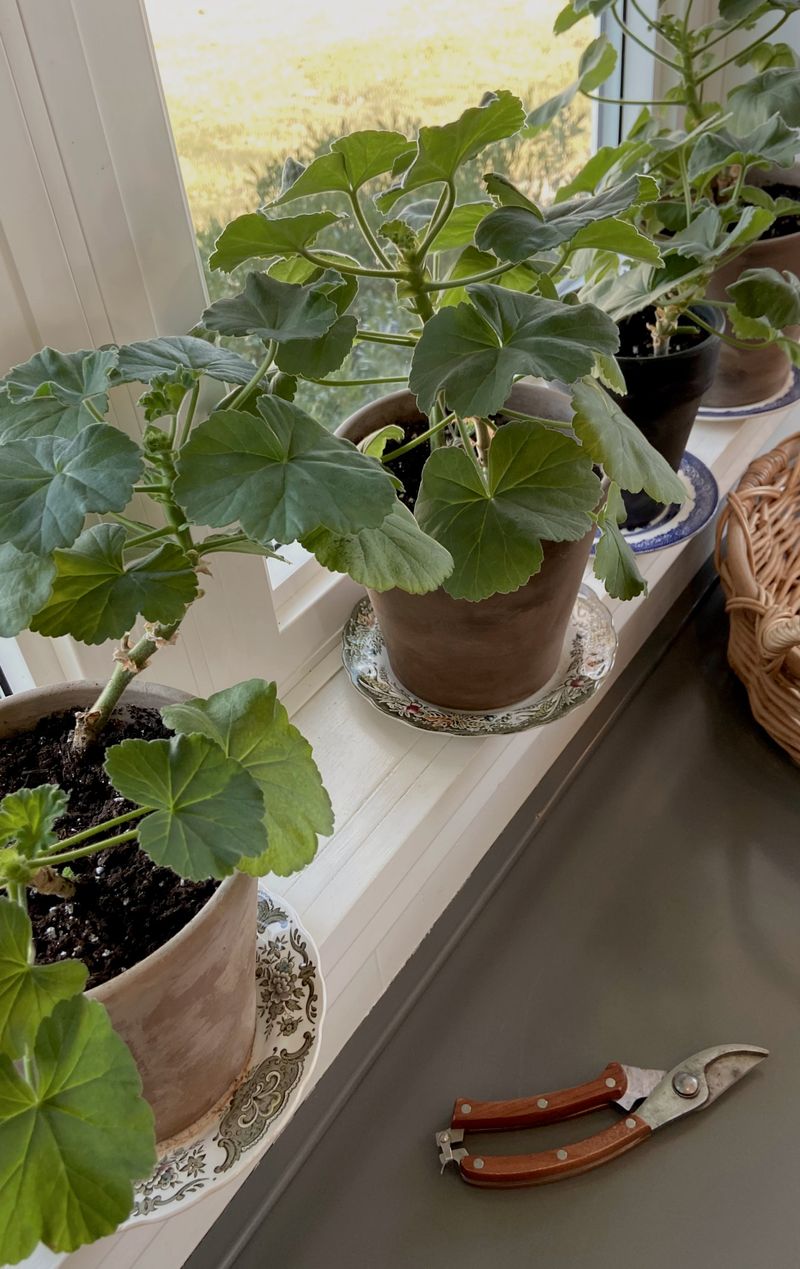
Plenty of gardening guides tell you to cover cuttings with a plastic bag or dome. With geraniums, you can toss that advice out the window. These plants are rebels, and they actually do better without the extra humidity.
Why the difference? Many cuttings, like coleus or roses, need moist air to keep from drying out. Geranium stems already store plenty of water, so trapping humid air around them often leads to mold and rot instead of roots.
Light is what they really crave. Set your cuttings in a spot with bright, indirect light, such as near an east-facing window. A simple grow light works great too, especially if your home feels a little dim.
Warmth helps speed things along. Try to keep the room around 65 to 75°F, which is a comfortable range for most people anyway. Avoid placing pots near cold drafts or right on top of a heater.
Watering takes a gentle hand. Touch the top of the mix with your finger, and only add water when it feels dry. It is far easier to save a thirsty cutting than a soggy one.
Patience comes next. Roots usually form in about two to four weeks. You might spot fresh new leaves at the top, which is a happy sign that things are going well underground.
For North Carolina gardeners, this setup is wonderfully simple. Most homes across the state already sit in that ideal temperature range during fall and winter.
No fancy equipment is needed, just a bright spot, a careful watering habit, and a little time to let nature work.
5. Pot Up And Grow Them Through Winter
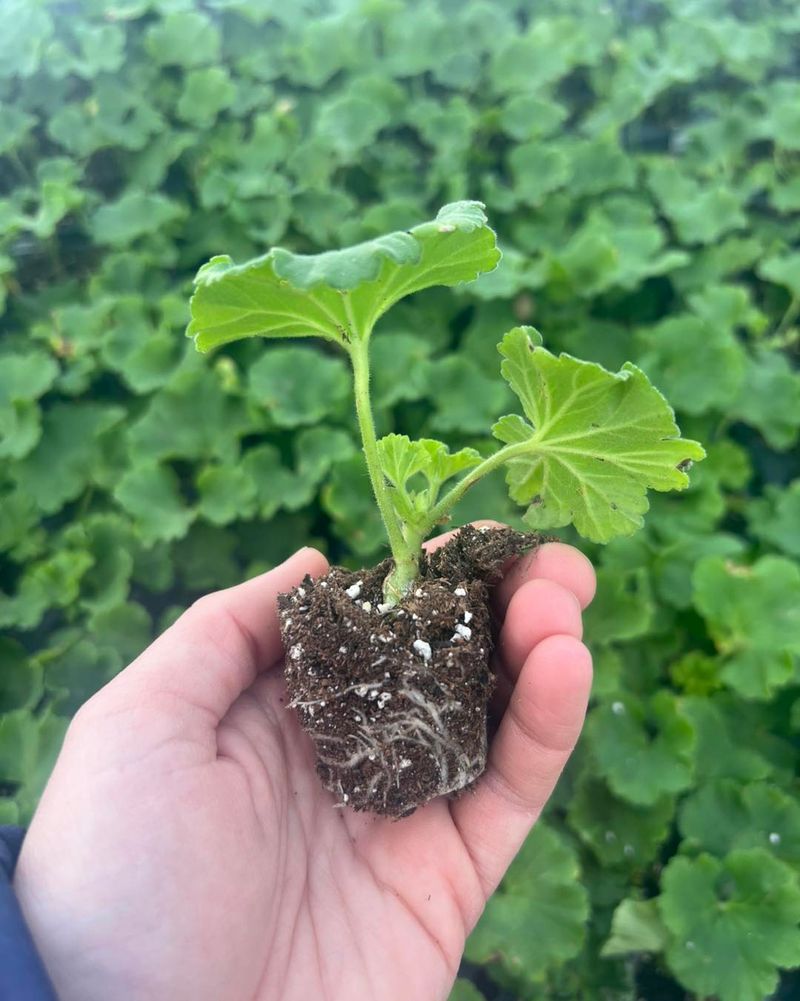
That first little tug is such an exciting moment. When you gently pull on a cutting and feel it resist, roots have taken hold. Your tiny stem is officially becoming a real plant.
Now it needs room to grow. Move each rooted cutting into its own 4-inch pot filled with fresh potting mix. Handle the roots carefully, since they are still young and break easily.
Light becomes the top priority over winter. Place your pots in the sunniest window you have, ideally one facing south. If sunlight is limited, a grow light set for 12 to 14 hours a day will keep your plants strong and green instead of tall and floppy.
Watering stays simple. Check the soil with your finger and water when the top inch feels dry. Let extra water drain out the bottom so roots never sit in a puddle.
Food helps too, but go easy. Feed lightly every few weeks with a balanced liquid fertilizer mixed at half strength. Young plants do not need much, and too much can cause weak growth.
Want fuller plants? Pinch off the stem tips once your geraniums have a few sets of leaves. That small move pushes the plant to grow side branches, giving you a bushy shape with more spots for flowers later.
Winter in North Carolina brings short days, especially in December and January. Even sunny windows may not offer quite enough light. A grow light fills that gap nicely, so your plants come out of winter sturdy, healthy, and ready to shine.
6. Plant Them Outside After The Last Frost
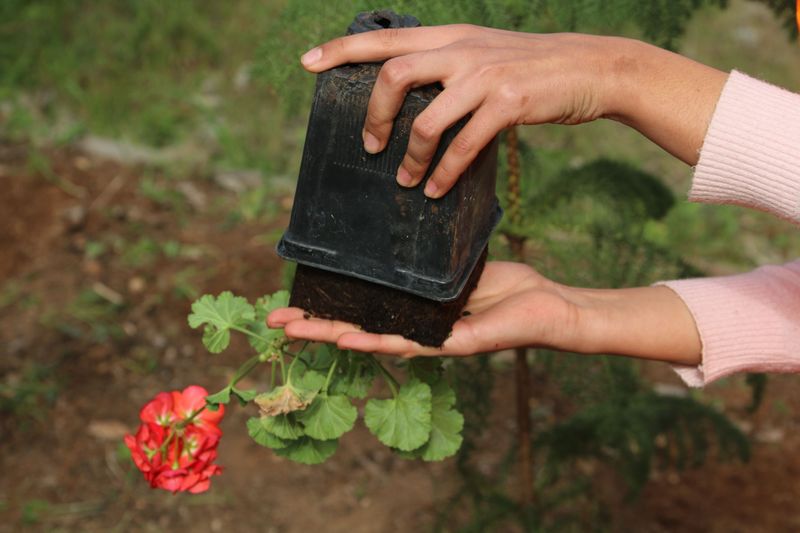
Spring has a way of making every gardener a little impatient. Warm afternoons show up, the dogwoods bloom, and suddenly your geraniums seem ready to burst outside. Hold on just a bit longer, though.
Geraniums still cannot handle frost, even after a cozy winter indoors. On top of that, they have grown used to soft indoor light and calm air. Moving them straight into full sun and wind can scorch their leaves and set them back.
The fix is called hardening off. About a week before planting, set your pots outside in a sheltered, shady spot for just a few hours each day. Each day, leave them out a little longer and give them a bit more sun.
By the end of the week, your plants should handle a full day outdoors with ease. At that point, they are ready for the garden. Pick a sunny spot with soil that drains well, since geraniums bloom best with at least six hours of sun.
Timing depends on where you live in North Carolina. The Coastal Plain usually sees its last frost in late March to early April. The Piedmont follows in early to mid April, and the Mountains wait until late April to mid May.
Here is the best part of the whole project. Those small stems you snipped last fall can grow into full, blooming plants by late spring.
You get a garden packed with color, and it costs you nothing but a little time and care. That is a reward worth waiting for.