12 Easy Tips To Deadhead Gardenias Right—And 6 Mistakes That Set You Back
Deadheading gardenias isn’t hard—but doing it wrong can mean fewer blooms, weaker plants, and wasted effort.
These 12 easy tips will keep your gardenias blooming beautifully, while the 6 common mistakes could be the reason your flowers keep falling flat.
1. Snip at the Right Time
Morning deadheading gives your gardenia the best chance to recover before the heat of the day strikes. The plant is naturally more hydrated in the early hours, making the stems less likely to suffer stress from pruning.
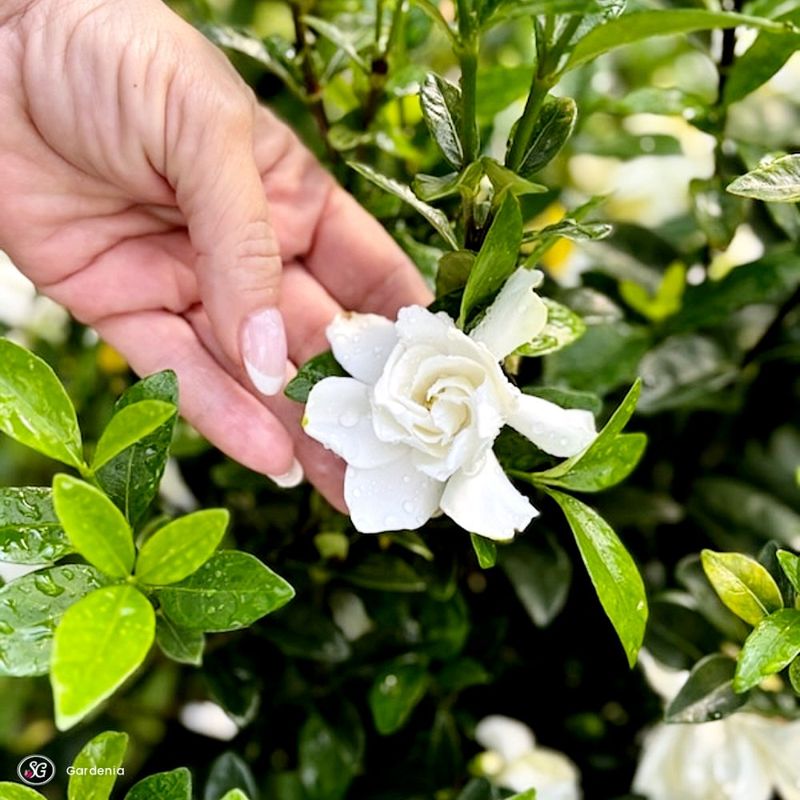
Look for blooms that have turned brown or begun to wilt—these are prime candidates for removal. Don’t wait until flowers have completely shriveled and dried on the plant, as they may have already started to form seed pods.
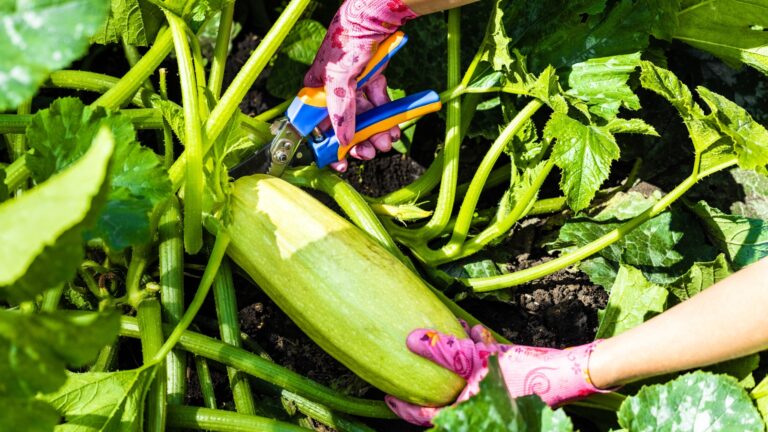
2. Use Sharp, Clean Tools

Dull scissors or pruners can crush gardenia stems instead of making clean cuts, creating entry points for disease. Always disinfect your tools before starting—a quick wipe with rubbing alcohol does the trick perfectly.
Sharp pruners make precise cuts that heal faster. Many gardeners keep a dedicated pair just for their prized flowering shrubs like gardenias. The investment in quality tools pays off with healthier plants and more abundant blooms year after year.
3. Find the Right Cutting Point
Locate the first set of healthy leaves below the spent bloom. This junction is your ideal cutting spot—about ¼ inch above these leaves. The remaining leaves will continue photosynthesis while the plant redirects energy to new flower production.
Make your cut at a slight angle rather than straight across. Angled cuts prevent water from pooling on the cut surface, reducing the risk of rot. Your gardenia will thank you with quicker healing and stronger new growth.
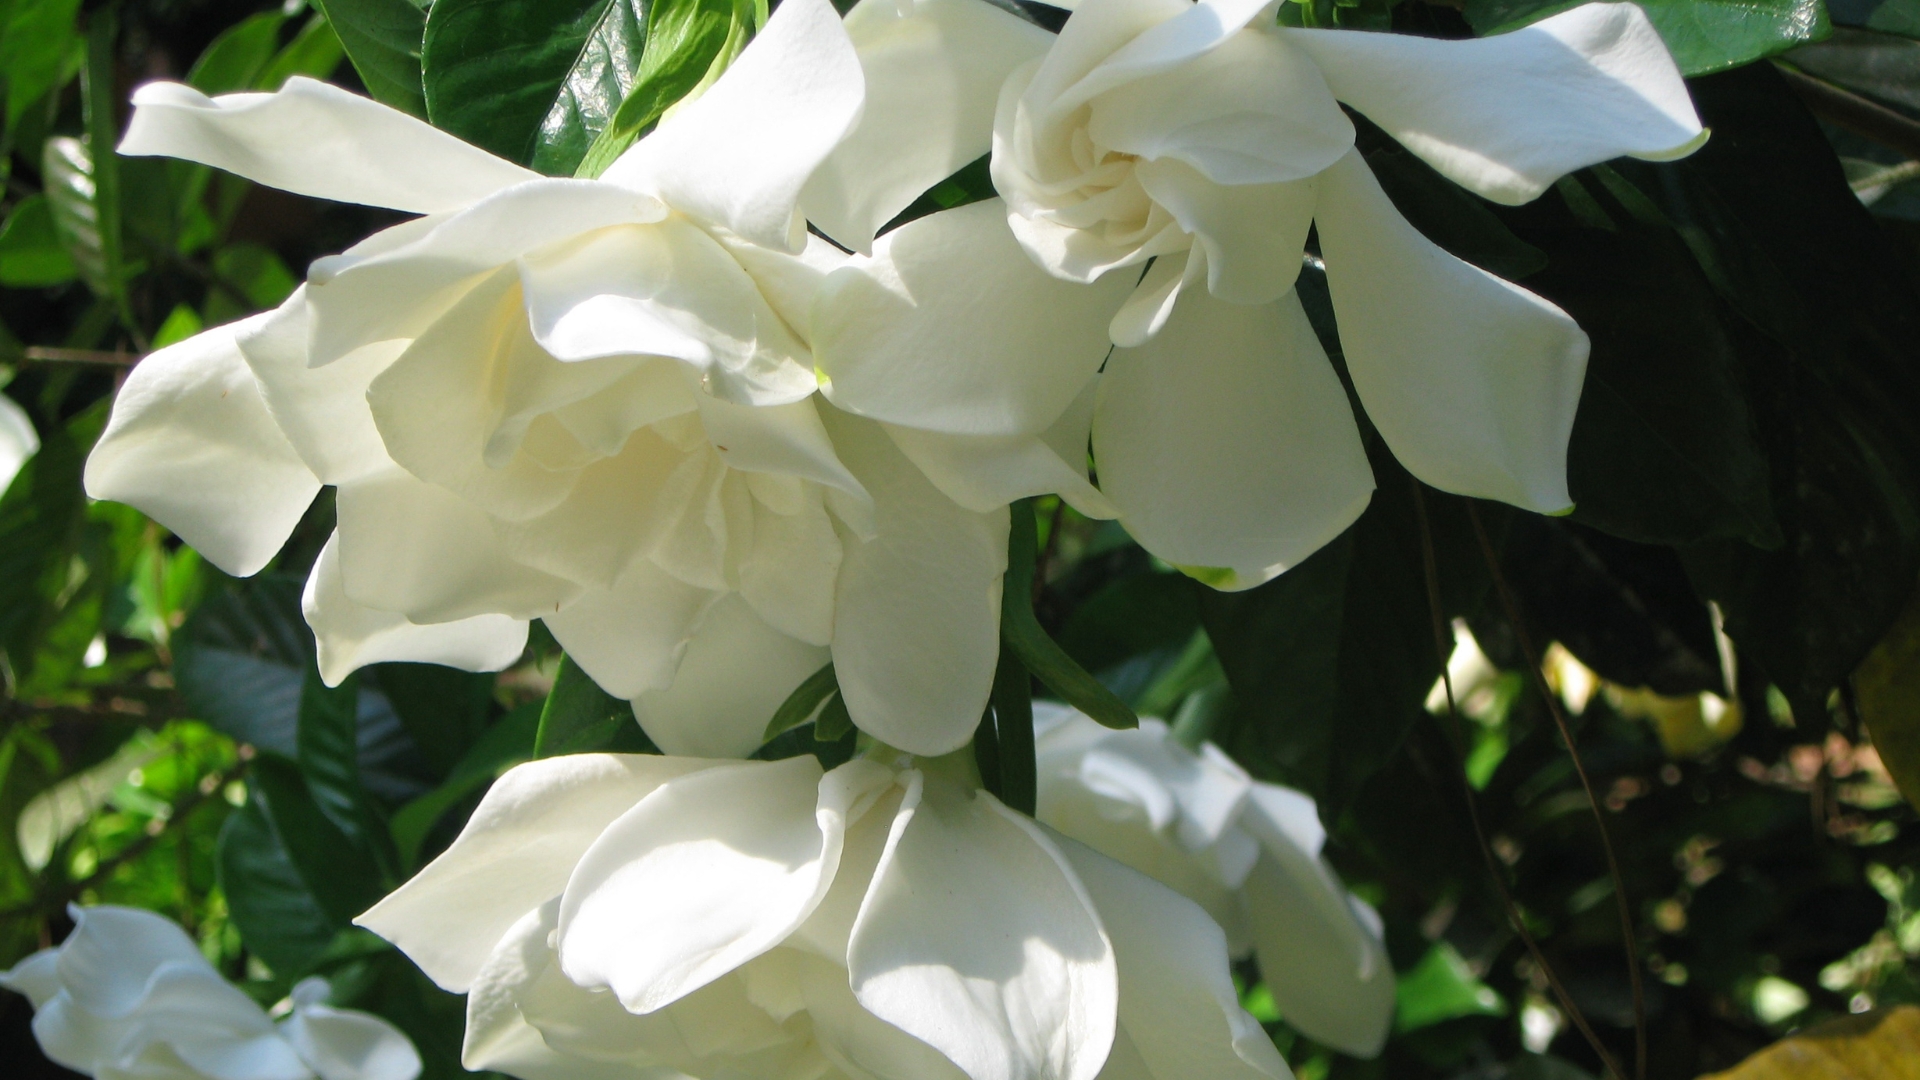
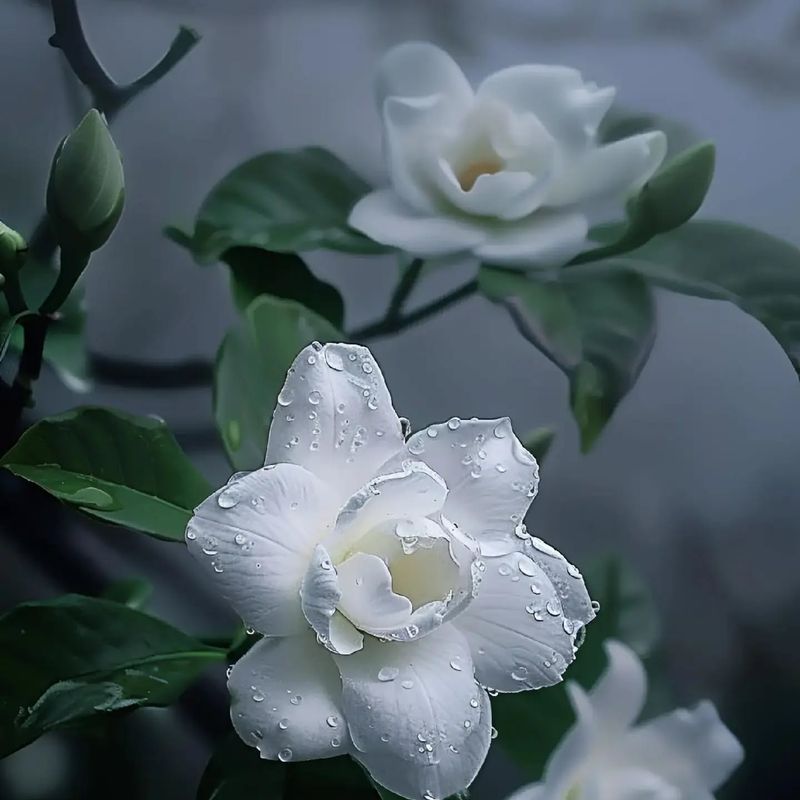
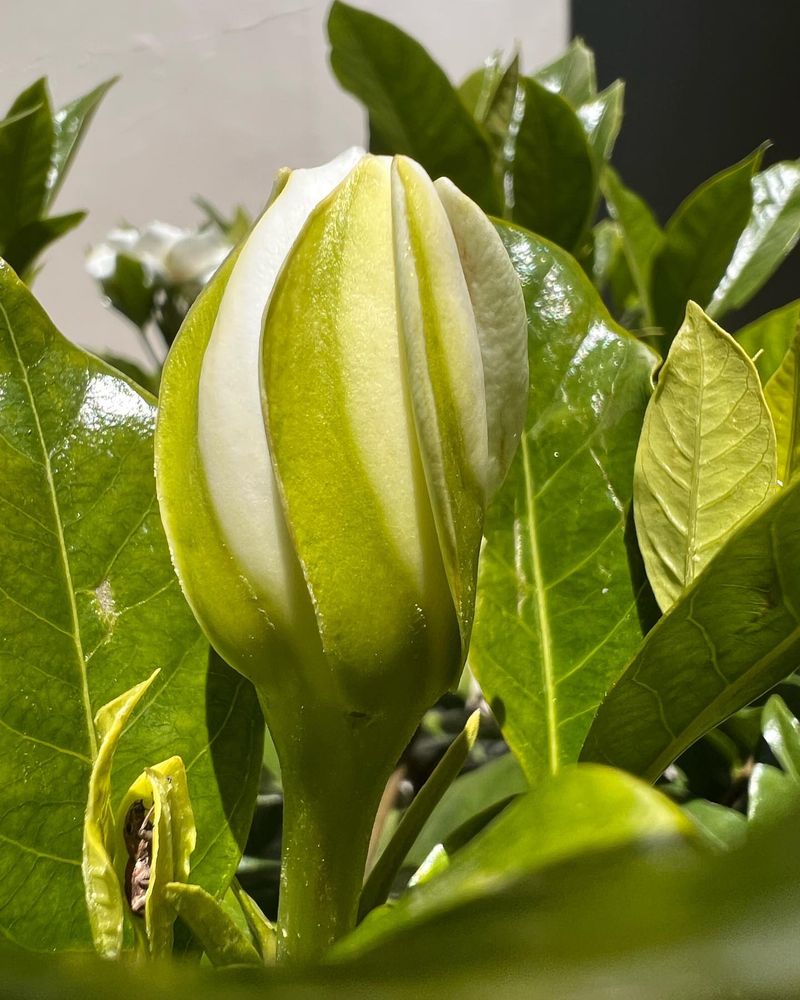
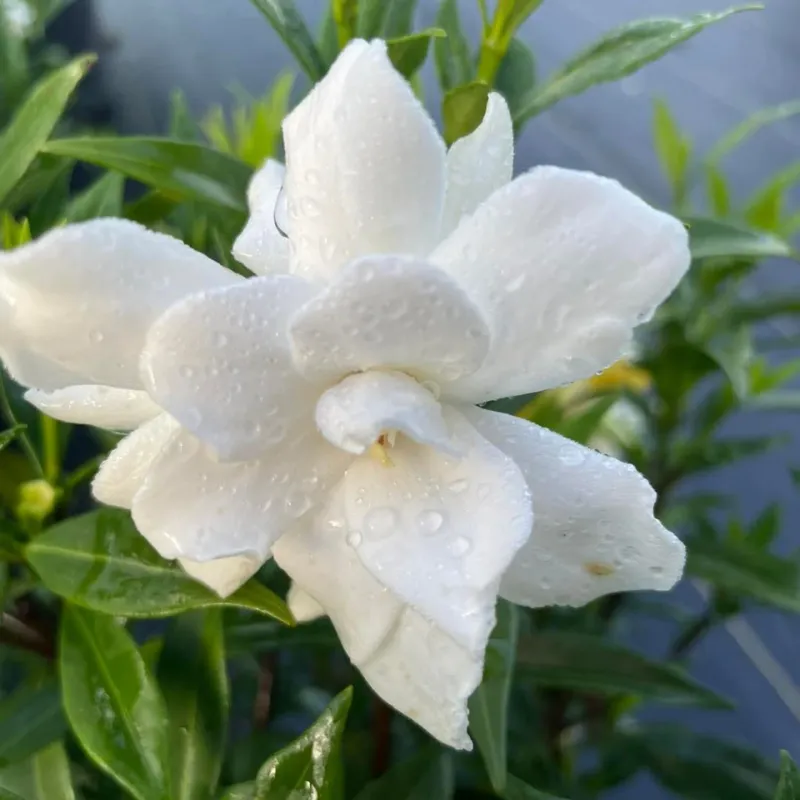
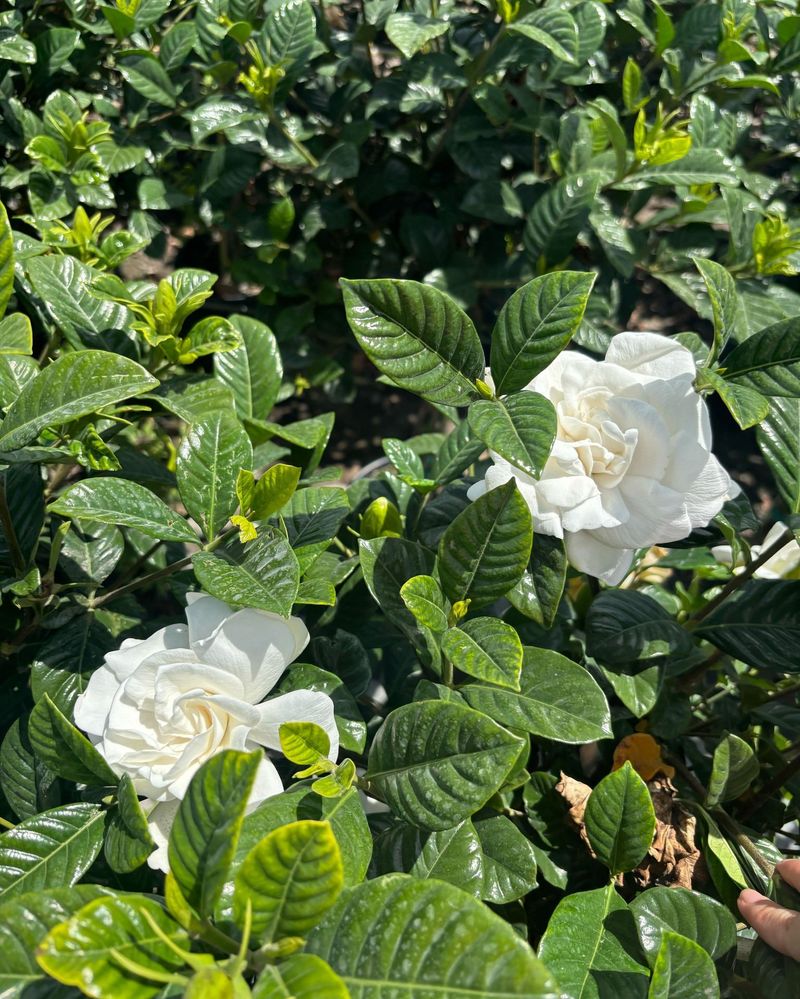
4. Recognize Bloom Stages
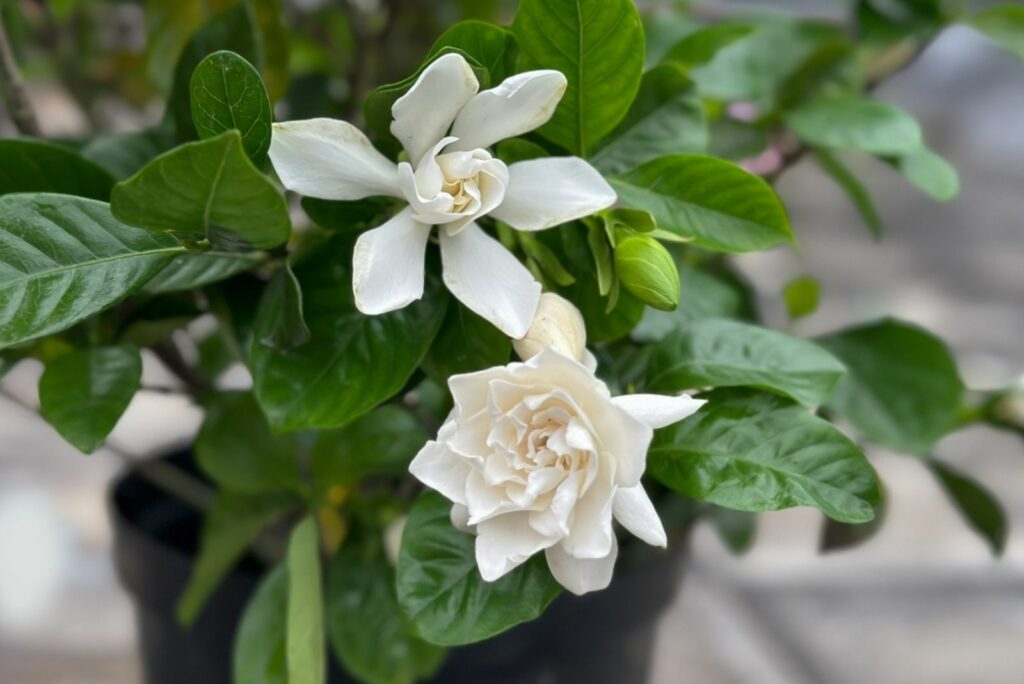
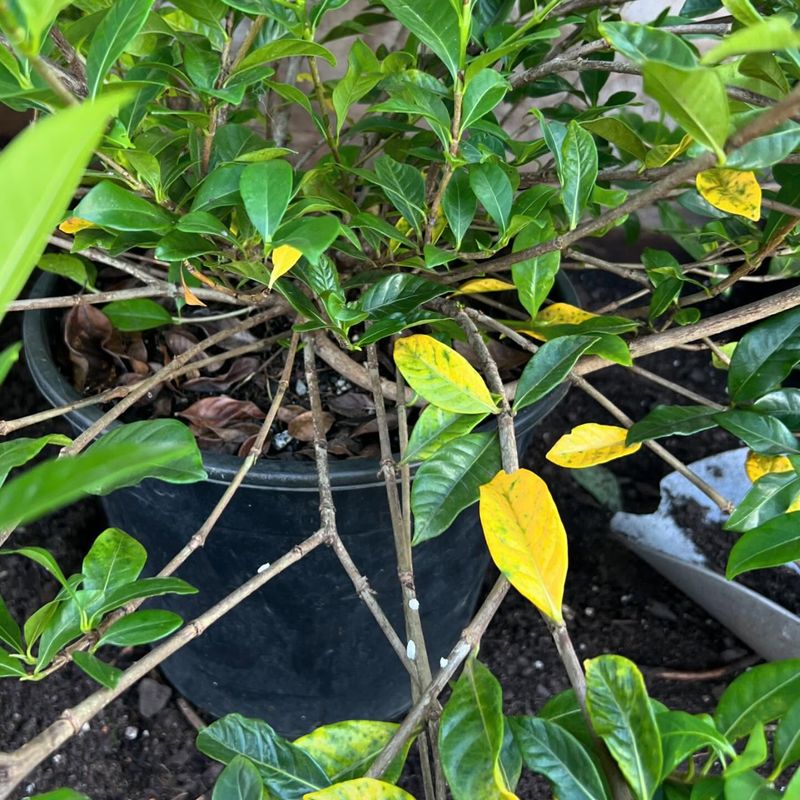
Fresh gardenia blooms are creamy white with a waxy appearance and powerful fragrance. As they age, they’ll turn yellowish, then tan, and finally brown—that’s your signal to deadhead.
Some gardeners remove blooms as soon as they begin to fade from white to yellow. Others wait until the bloom is completely spent. Either approach works, though earlier removal often stimulates faster reblooming.
Learning to spot the different stages helps you maintain continuous flowering throughout the season.
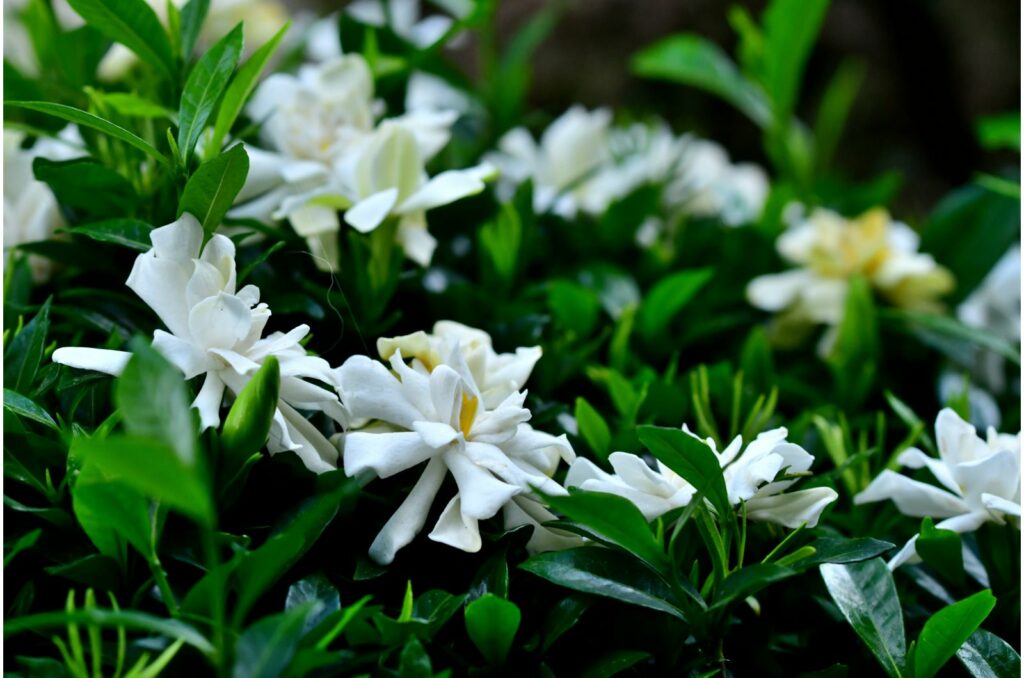
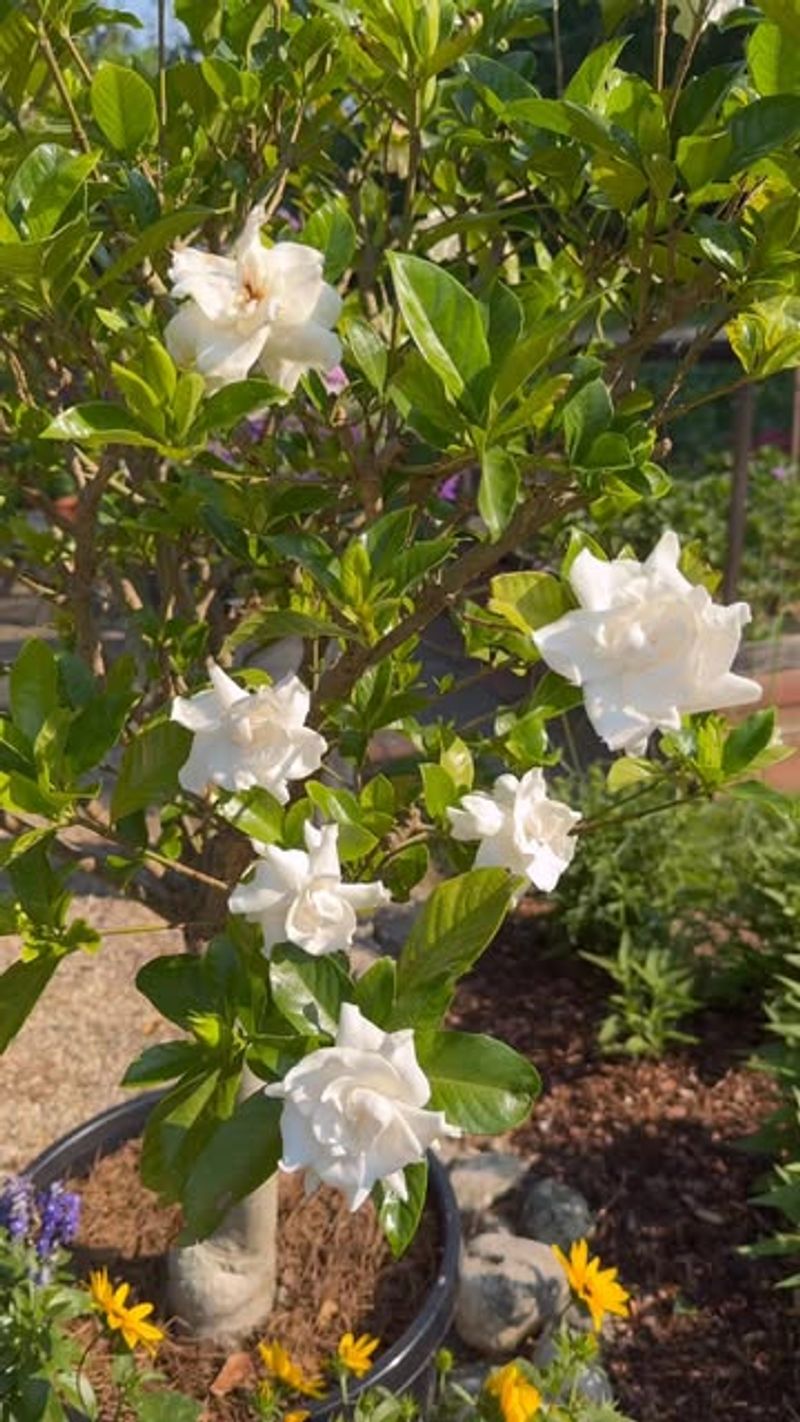
5. Pay Attention to Bud Clusters
Gardenias often produce flowers in groups, with buds at different stages of development. When deadheading, carefully remove only the spent blooms without disturbing nearby buds that haven’t opened yet.
These unopened buds represent your next wave of fragrant flowers. Accidentally snipping them means fewer blooms to enjoy later. Take your time with each cut, especially in dense clusters where stems grow close together.
A gentle touch ensures continuous flowering throughout the season.
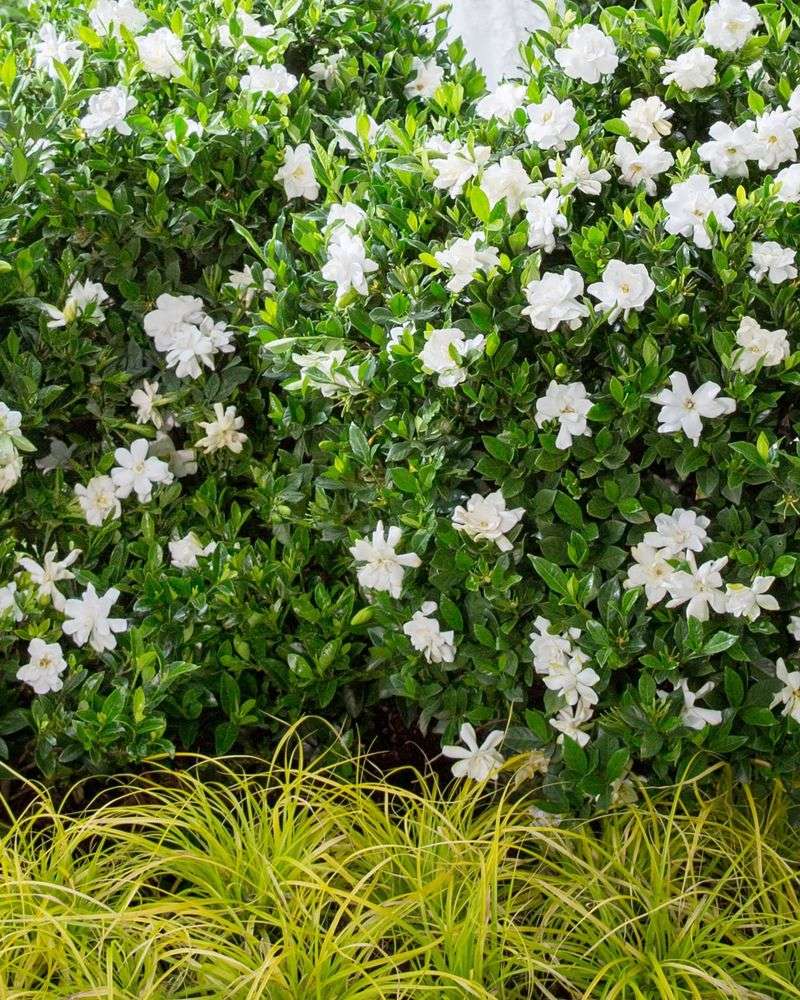
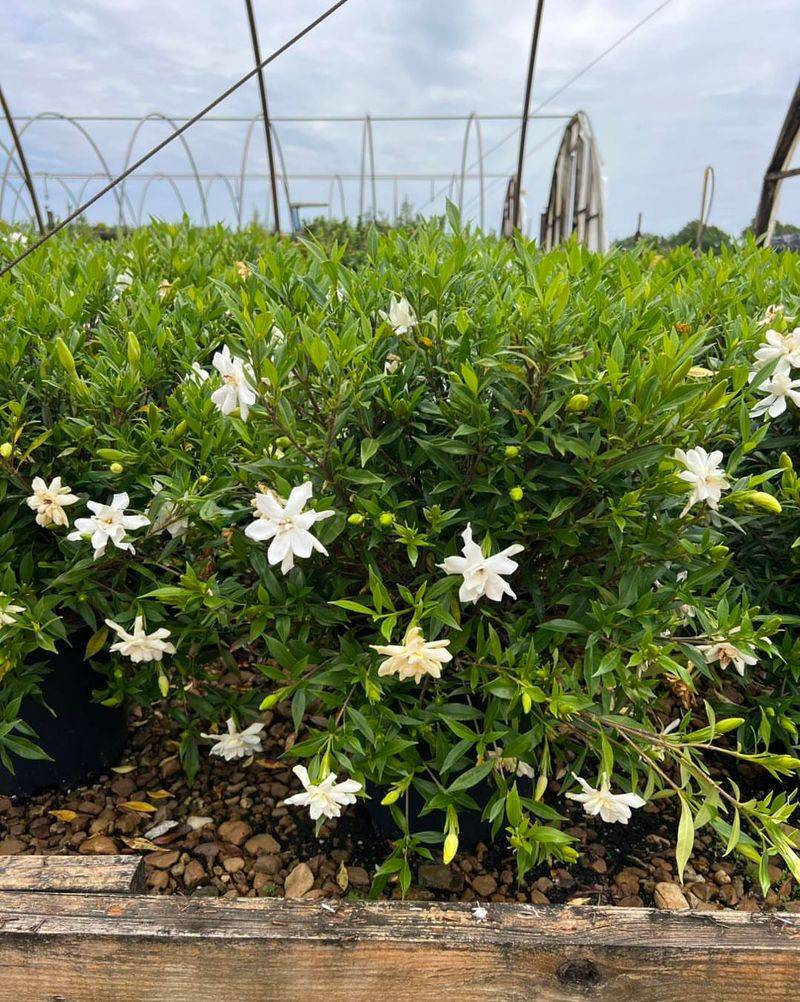
6. Create a Deadheading Schedule
Regular deadheading sessions—about twice weekly during peak blooming—keep gardenias looking their best. Mark these sessions on your calendar to build a consistent habit.
During heavy flowering periods, you might need more frequent attention. A quick daily walk-through your garden with pruners in hand makes the task manageable.
Consistent deadheading prevents the plant from wasting energy on seed production and redirects that power toward making more of those heavenly scented blooms.
7. Collect Fallen Blooms
Gardenia petals that fall naturally should be gathered from underneath the plant. Left in place, these decomposing blooms can harbor fungal spores and attract pests that might damage your plant.
A small garden rake or even just your hands work perfectly for this clean-up task. Add the spent blooms to your compost pile where they’ll break down into valuable nutrients.
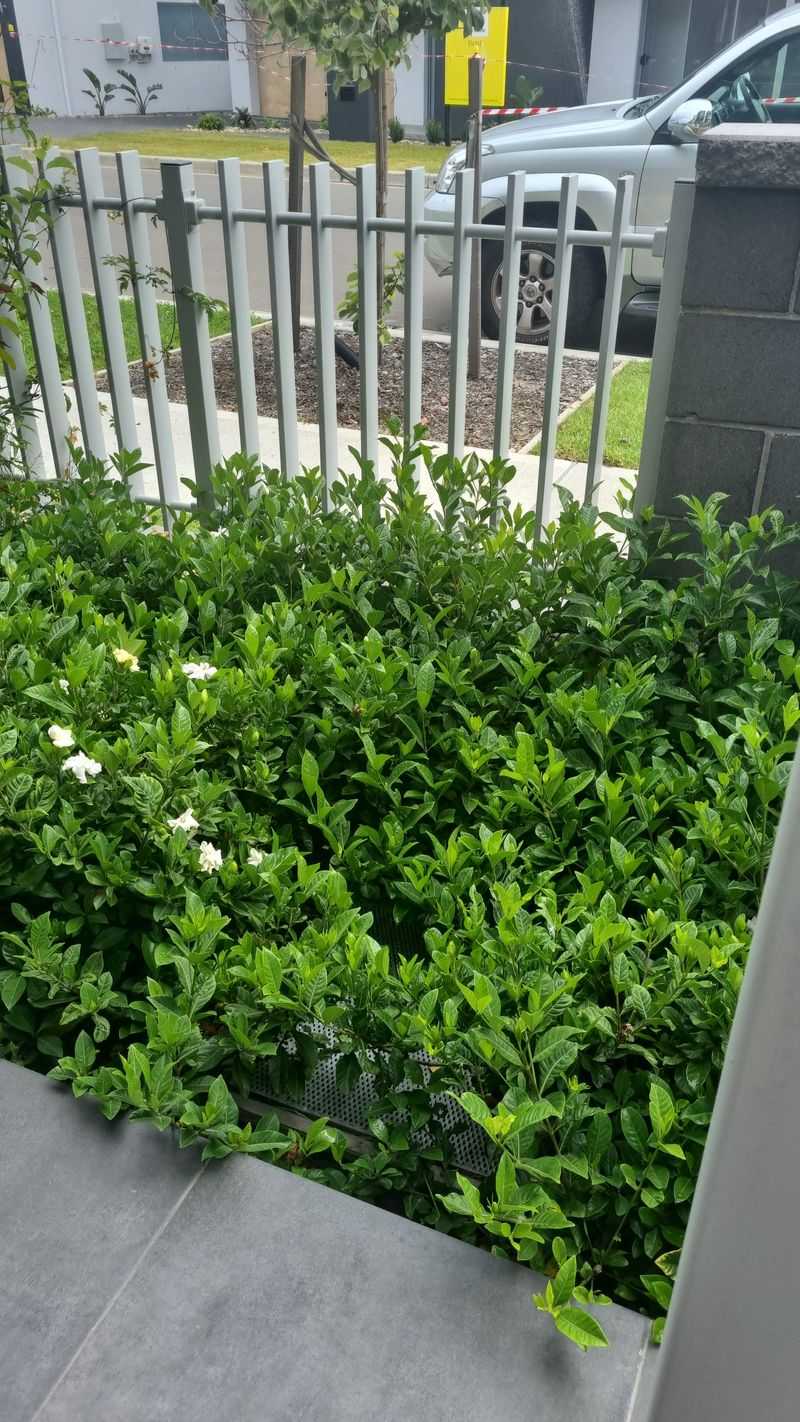
Keeping the area under your gardenia tidy also improves air circulation around the lower branches.
8. Watch for New Growth Points
After deadheading, keep an eye out for tiny new growth emerging near your cuts. These little nubs will develop into stems bearing fresh flowers. Their appearance confirms you’ve deadheaded correctly!
If new growth doesn’t appear within a few weeks, you might need to adjust your cutting technique. Sometimes cutting too far from a growth node can leave a stub that won’t produce new shoots.
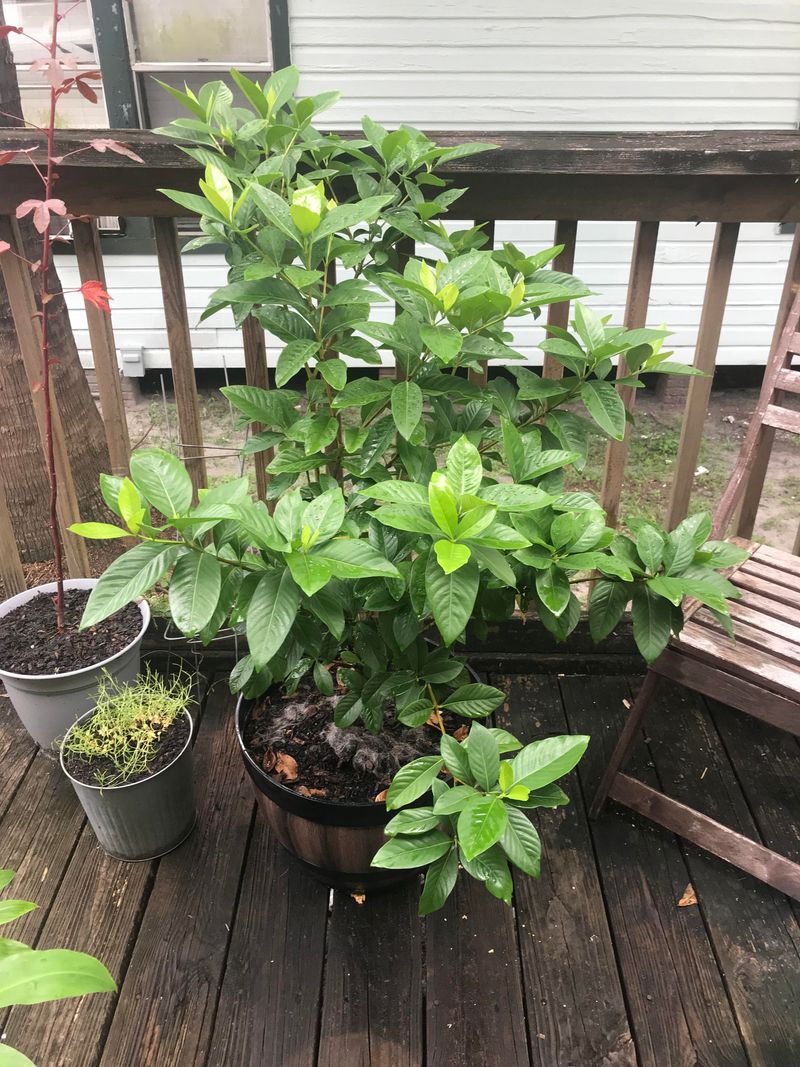
Proper deadheading creates a bushier plant with more potential flowering sites.
9. Fertilize After Heavy Deadheading
When you’ve removed numerous spent blooms, give your gardenia a nutrition boost. A light application of acid-loving plant fertilizer helps fuel the next round of flowers.
Choose a fertilizer specifically formulated for acid-loving plants like gardenias, azaleas, and camellias. These specialized formulations provide the perfect nutrient balance for optimal blooming.
Water thoroughly after fertilizing to help nutrients reach the roots and prevent fertilizer burn on sensitive gardenia roots.
10. Consider the Season
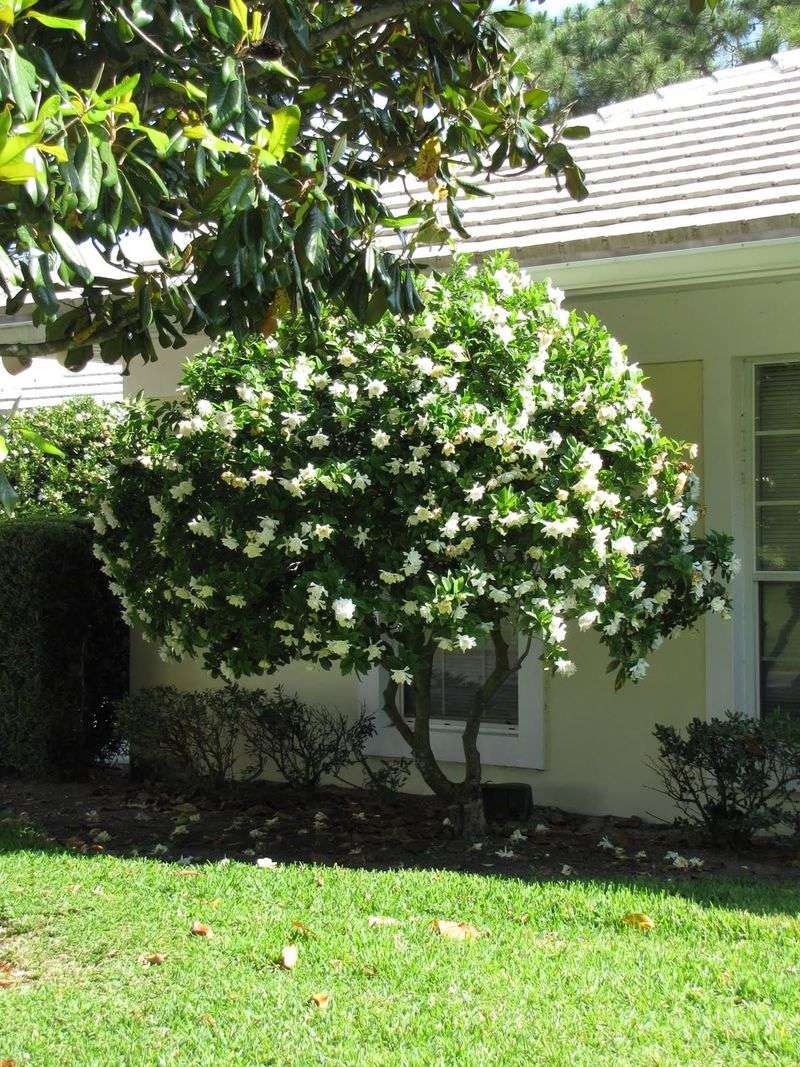
Spring and early summer deadheading often results in reblooming, while late-season removal might not produce new flowers before winter. Adjust your expectations based on your local climate and the natural flowering cycle of gardenias.
In warmer zones, gardenias might bloom nearly year-round with proper care. Cooler regions typically see flowering concentrated in spring and early summer.
Always deadhead regardless of season—it keeps the plant tidy and prevents energy waste.
11. Keep Notes on Results
Garden journaling helps track which deadheading methods work best for your specific gardenias. Note the date, cutting technique, and subsequent flowering results to fine-tune your approach over time.
Photos taken before and after deadheading sessions provide visual records of your plant’s response. Many gardeners are surprised to discover patterns in their gardenia’s growth and flowering habits through consistent documentation.
This personalized knowledge becomes invaluable as your gardening skills grow.
12. Protect New Growth
Fresh growth that emerges after deadheading needs extra protection from harsh sun and strong winds. If your gardenia sits in an exposed location, consider providing afternoon shade during the hottest part of summer.
Young shoots are particularly vulnerable to damage. A temporary shade cloth or strategic placement of potted plants can create microclimate protection while new growth establishes.
This extra care ensures your deadheading efforts translate into successful new blooms.
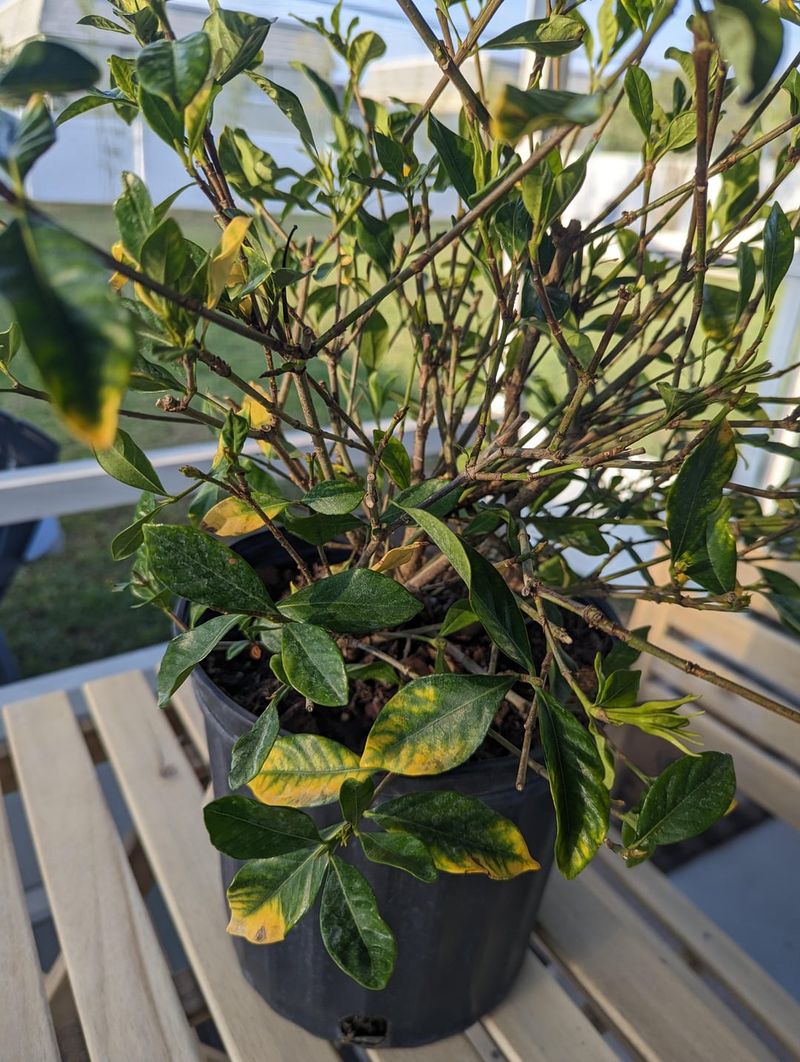
13. Mistake: Cutting Too Low
Snipping too far down the stem removes potential flowering sites and forces the plant to use energy for recovery rather than blooming. This common error can significantly reduce your gardenia’s flowering potential.
Many gardeners mistakenly cut back to woody stems without green growth, thinking it makes the plant neater. Unfortunately, these woody areas rarely produce new flowers.
Always leave some green, leafy growth when deadheading to maintain the plant’s blooming capacity.
14. Mistake: Using Dirty Tools
Skipping the step of sanitizing your pruners between plants can spread diseases from one gardenia to another. Plant pathogens hitch rides on dirty blades, causing problems that could have been easily prevented.
Bacterial and fungal infections often enter through fresh cuts. Clean tools create clean cuts that heal quickly without complications.
Keep a small container of rubbing alcohol or a disinfecting wipe nearby during your deadheading sessions for quick tool cleaning.
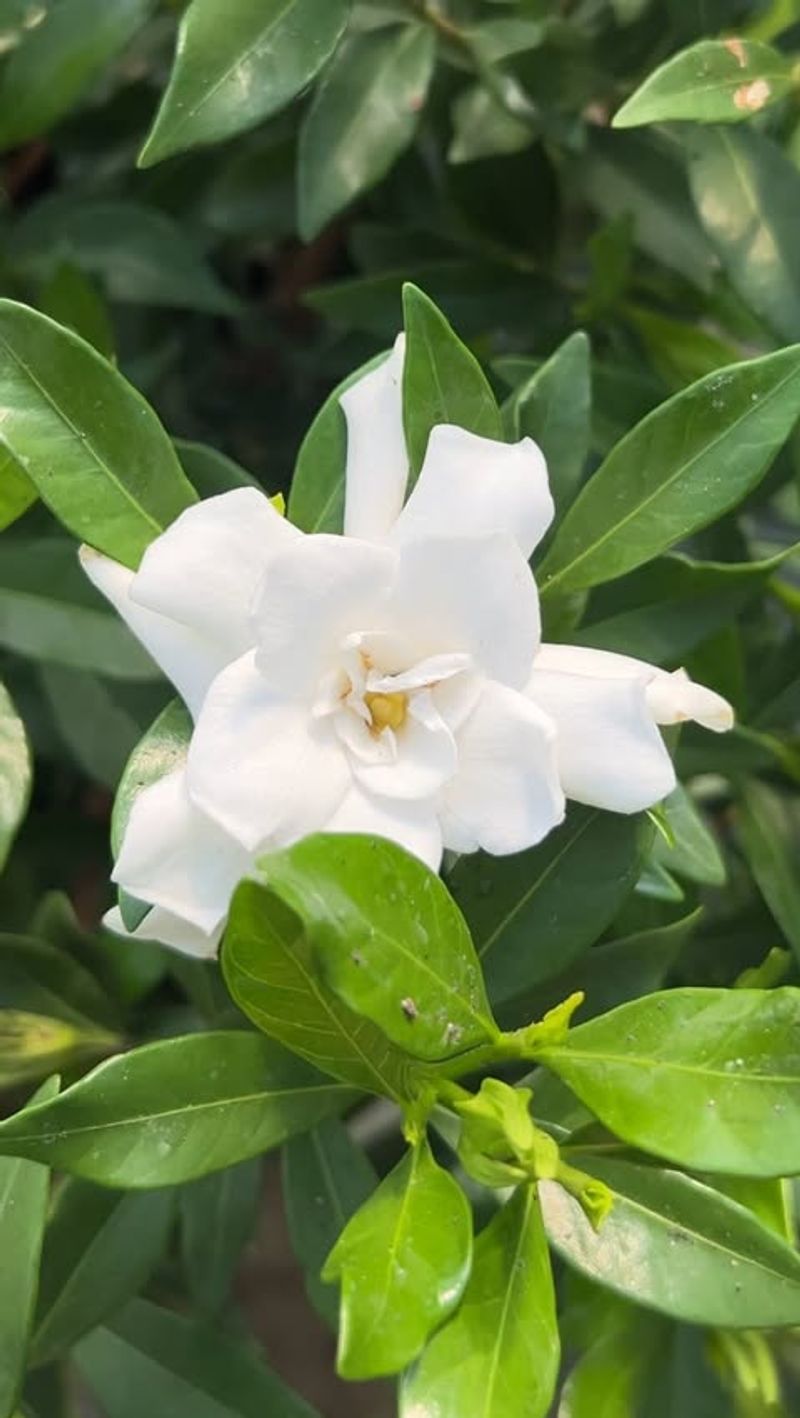
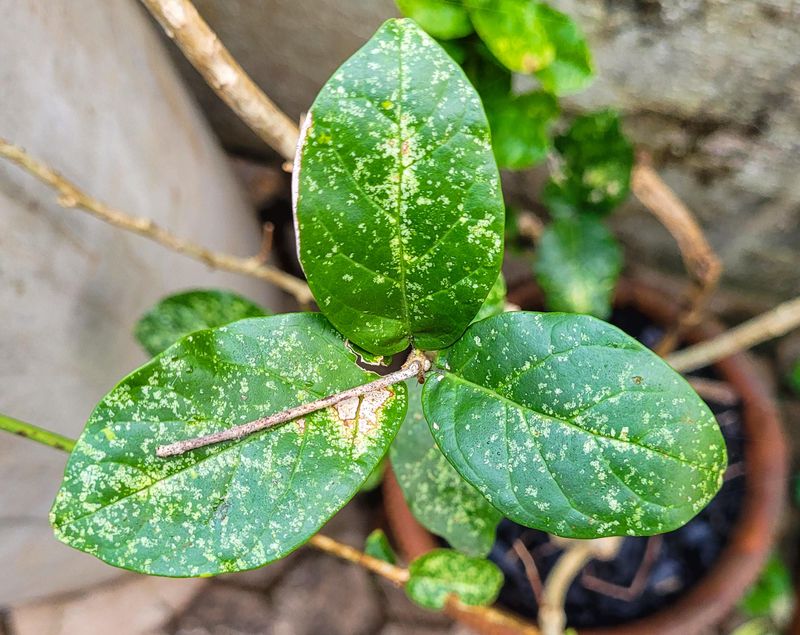
15. Mistake: Removing Green Buds
Mistaking unopened flower buds for spent blooms leads to accidentally removing future flowers. New gardeners often confuse the tight green buds with seed pods that form after flowering.
Gardenia buds are typically round or oval with a slight point, while spent flowers that have begun forming seed pods appear more irregular and brownish. Taking a moment to examine what you’re cutting prevents this costly error.
When in doubt, wait a day or two to see if the bud opens.
16. Mistake: Deadheading During Heat
Pruning during the hottest part of the day stresses gardenias and slows their recovery. Cut stems are vulnerable to heat damage, which can cause dieback beyond your intended cutting point.
The plant loses more moisture through fresh cuts when temperatures are high. This additional stress can trigger dropped buds or leaf yellowing as the gardenia struggles to balance its water needs.
Reserve your deadheading for cooler morning hours when both you and your plant will be more comfortable.
17. Mistake: Removing Too Many Leaves
Excessive leaf removal during deadheading reduces the plant’s ability to produce energy through photosynthesis. Each leaf contributes to flower production, so maintaining foliage is crucial for abundant blooms.
Some gardeners get carried away with pruning, creating nearly bare stems. Without adequate leaves, your gardenia struggles to gather enough energy for new growth and flowering.
Focus only on removing the spent bloom and its stem back to the first healthy leaves.
18. Mistake: Inconsistent Deadheading
Sporadic deadheading allows some blooms to form seeds, signaling the plant that its reproductive job is complete. This mixed messaging confuses the gardenia about whether to produce more flowers or focus on seed development.
When gardenias start forming seeds, they naturally reduce flower production. Regular deadheading prevents this shift in the plant’s priorities.
Even missing a week during peak blooming season can noticeably reduce your total flower count for the season.