15 Easy Yard Upgrades That Look Like You Hired A Pro (And 5 That Fall Flat)
You don’t need a landscaping crew—or a huge budget—to create a yard that turns heads. A few smart upgrades can make your outdoor space look polished, intentional, and downright luxurious. After years of experimenting with different ideas, I’ve found 15 simple changes that make a huge impact—and a few that just aren’t worth the effort.
If you’re looking to boost curb appeal without breaking the bank, this list is where to start.
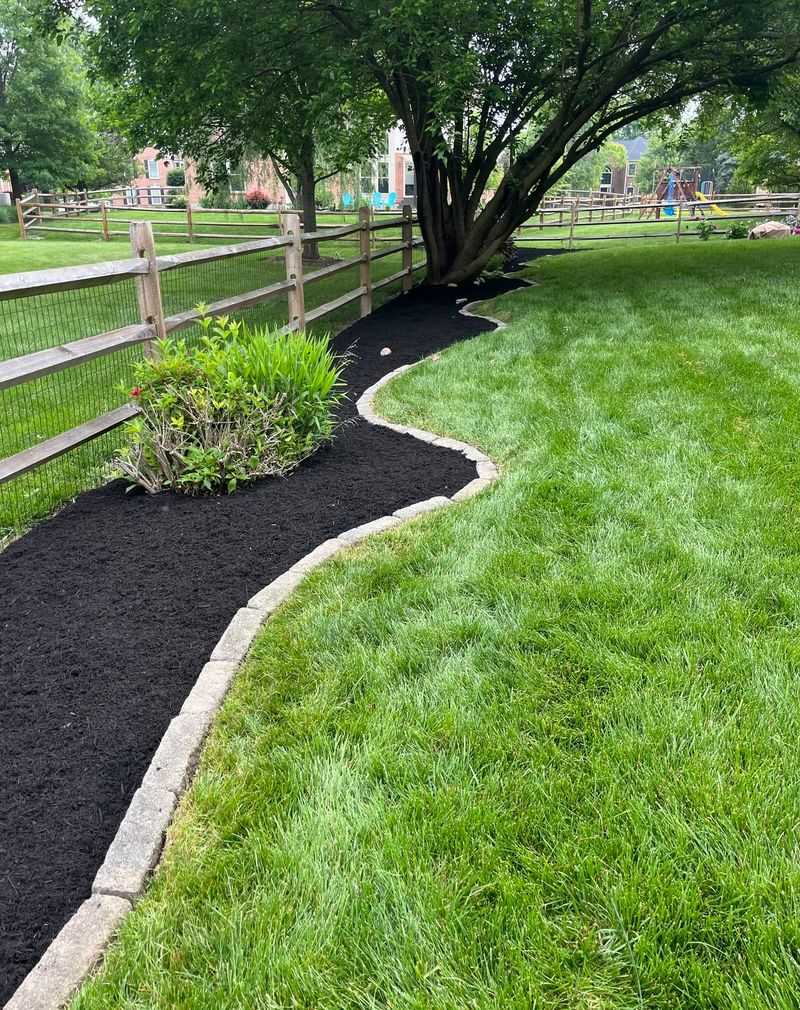
1. Edge Your Flower Beds With Precision
Crisp, clean lines between your lawn and garden beds instantly elevate your yard’s appearance. Grab a half-moon edger or a spade and cut a 2-3 inch deep trench around your beds.
Fill the trench with mulch or install plastic edging for a more defined look. The contrast between your lush green lawn and the dark edge creates that professional, manicured appearance landscapers charge big bucks for.
Regular maintenance keeps everything looking sharp – just touch up the edges every few weeks during growing season.
2. Install Solar-Powered Path Lights
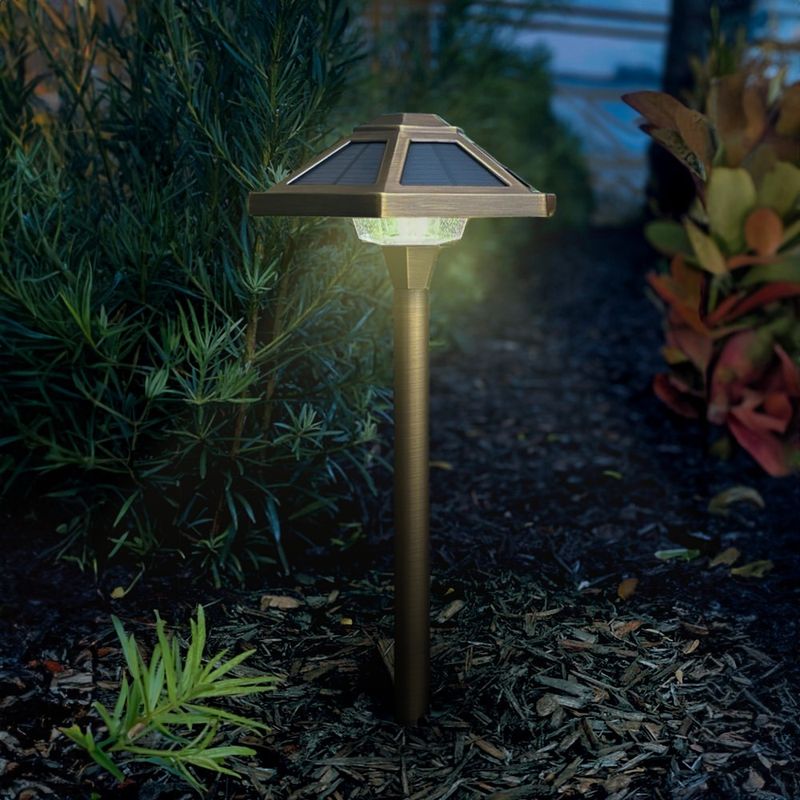
Solar lights transform your yard after sunset with minimal effort. Simply push them into the ground along walkways, garden borders, or driveways – no wiring or electricity needed!
Modern solar lights come in stylish designs that look expensive but often cost less than $5 each. The soft glow they cast creates a magical ambiance while highlighting your landscape features and improving safety.
For a cohesive look, choose fixtures in the same style and space them evenly, about 6-8 feet apart.
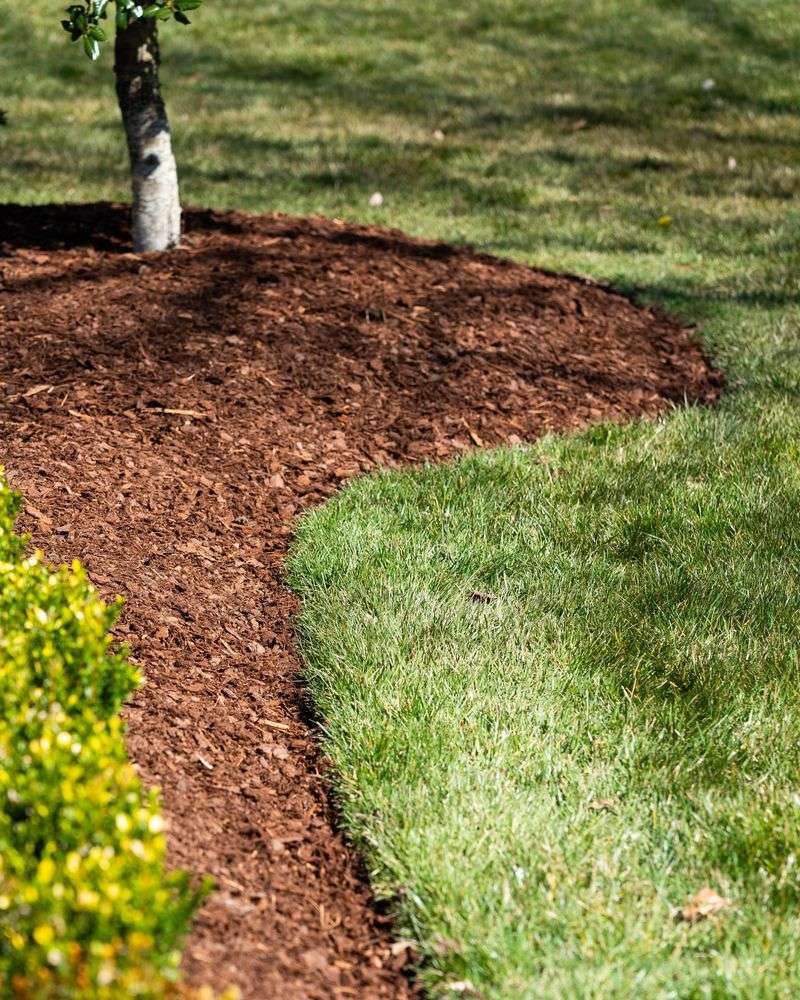
3. Create Mulch Rings Around Trees
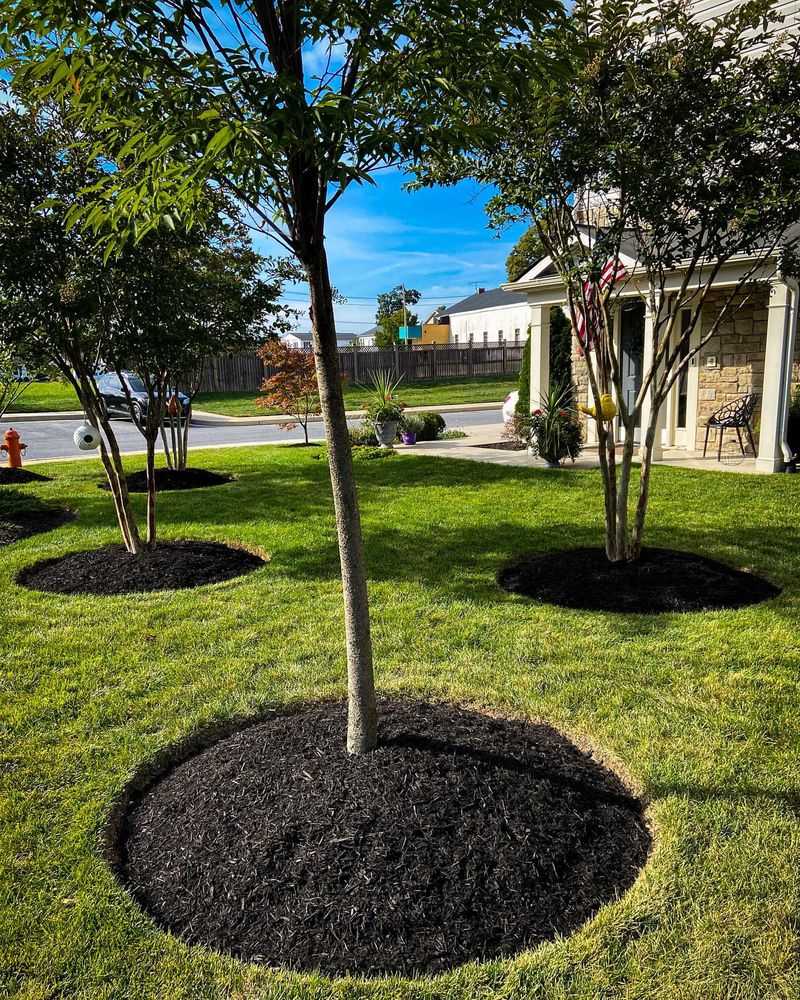
Mulch rings are landscaping magic! Form a perfect circle around each tree, extending 2-3 feet from the trunk. Remove grass, lay down landscape fabric, and add 2-3 inches of mulch.
The finished look is instantly polished while serving practical purposes – preventing mower damage to trunks and reducing water competition from grass. Choose natural brown or black mulch for the most professional appearance.
Just remember to keep mulch from touching the trunk directly to prevent rot and pest problems.
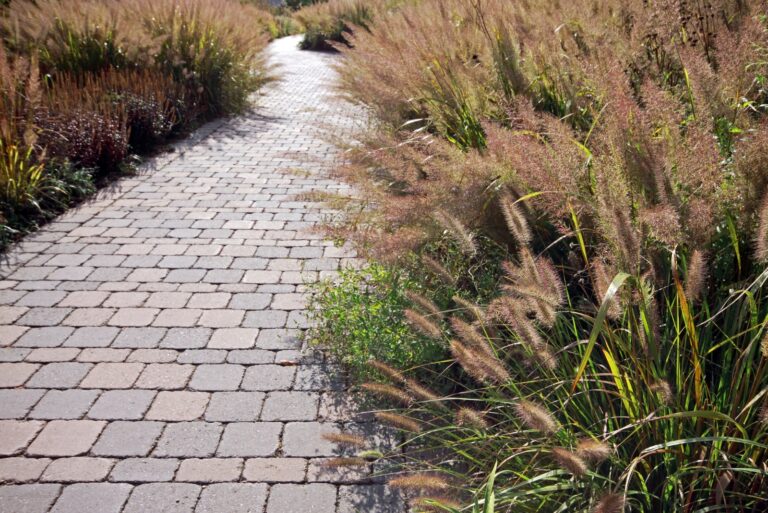
4. Add a Simple Stone Path
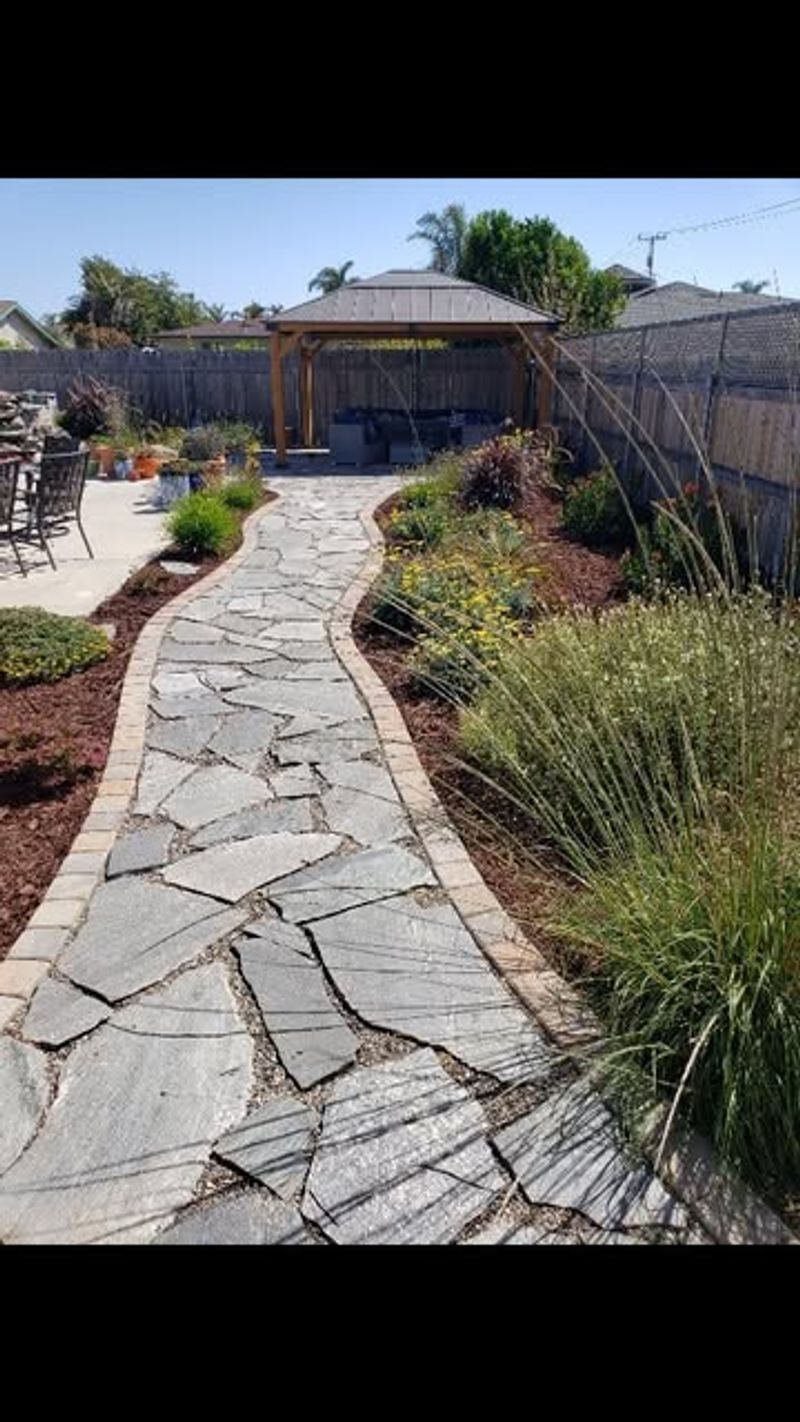
Nothing says ‘professional landscape design’ like a thoughtful pathway. Using pre-cut pavers or natural stepping stones from home improvement stores, you can create a gorgeous path in just hours.
Start by marking your route with spray paint. Dig shallow depressions for each stone, add sand underneath for leveling, and nestle stones in place. The key is spacing them naturally – about a half-step apart.
Finish by filling gaps with pea gravel or planting low-growing groundcover between stones for that magazine-worthy look.
5. Plant in Groups of Odd Numbers

Professional landscapers swear by this simple trick: always plant in groups of 3, 5, or 7. Odd-numbered groupings create natural, balanced arrangements that please the eye without looking too rigid or artificial.
Choose one type of flower or shrub and cluster them together rather than spacing single plants throughout your beds. This creates impact zones of color and texture that draw attention.
For maximum effect, vary the heights with taller plants in back and shorter ones in front, creating depth that makes your garden look professionally designed.
6. Install a Simple Drip Irrigation System
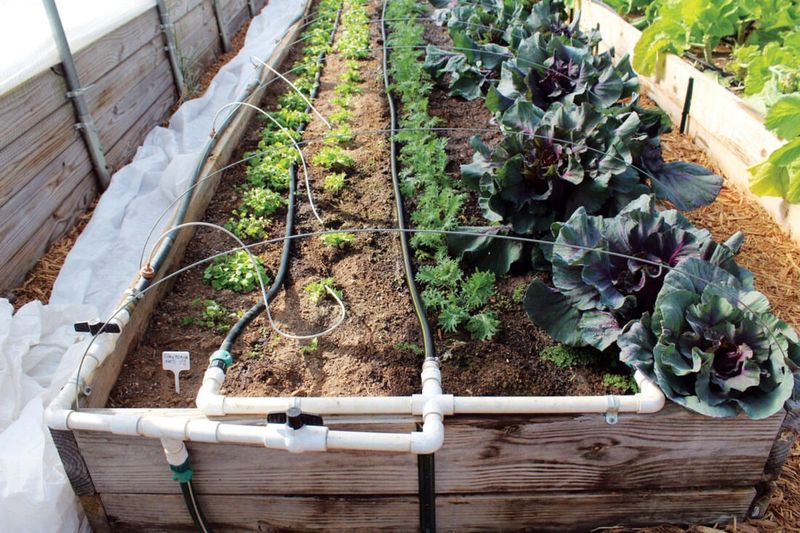
Drip irrigation screams professional landscaping while being surprisingly simple to install yourself. Starting with a kit from any garden center, connect it to your outdoor faucet and run tubing to your garden beds.
Position drippers near plant roots and cover the tubing with mulch to hide it. Your plants receive perfect amounts of water directly to their roots without wasteful spraying.
Beyond looking pro-level neat (no more hoses lying around!), your garden will thrive with consistent moisture, giving you lusher plants that look professionally maintained.
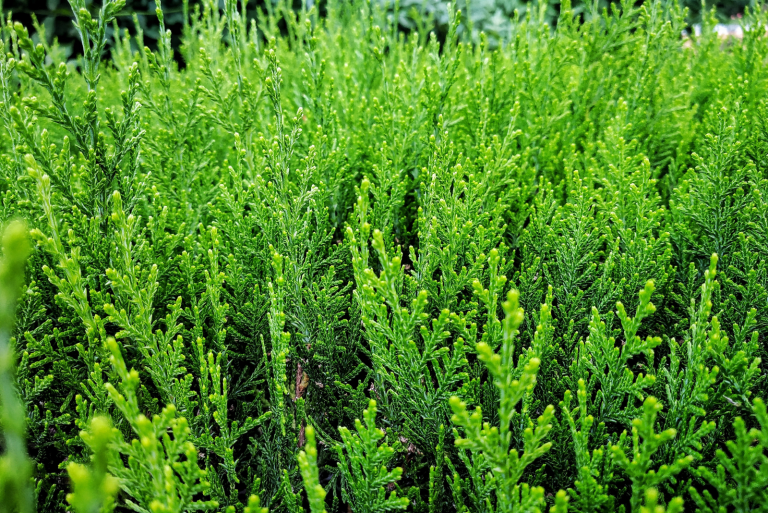
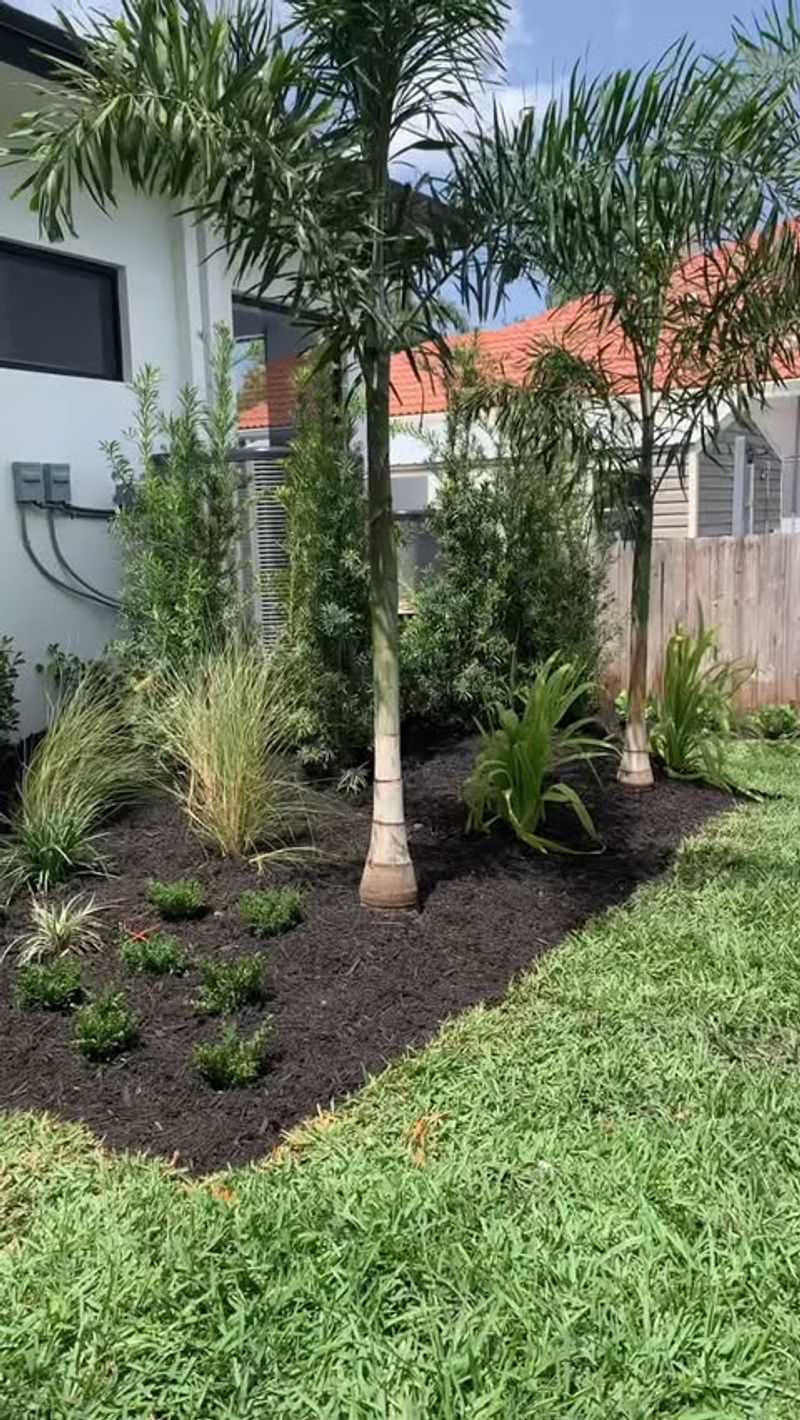
7. Layer Your Landscape With Different Heights
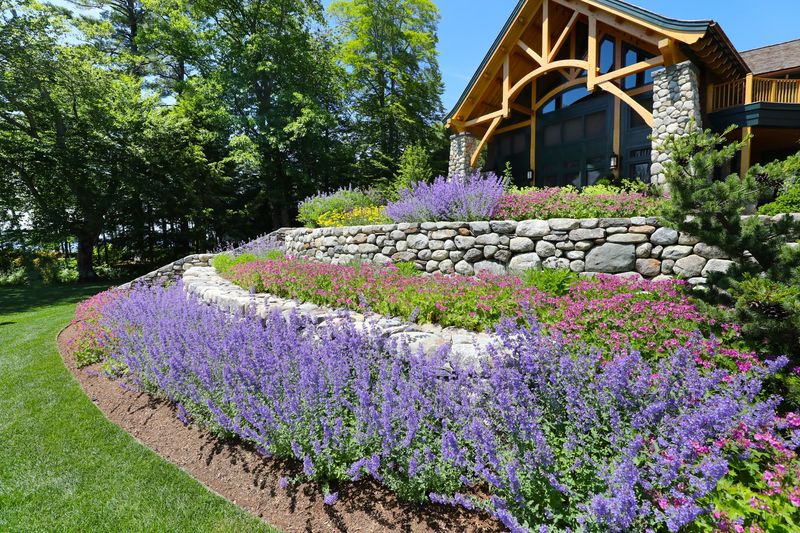
Professional landscapes never look flat – they have dimension created through strategic plant heights. Start with tall background plants like ornamental grasses or small trees, add medium-height shrubs in the middle, and finish with low-growing flowers in front.
This simple technique creates visual interest and depth that amateur gardens often lack. Your yard instantly appears designed rather than randomly planted.
For maximum impact, consider the mature size of plants when placing them, ensuring your design will look even better as everything grows in.
8. Add Curved Borders to Garden Beds
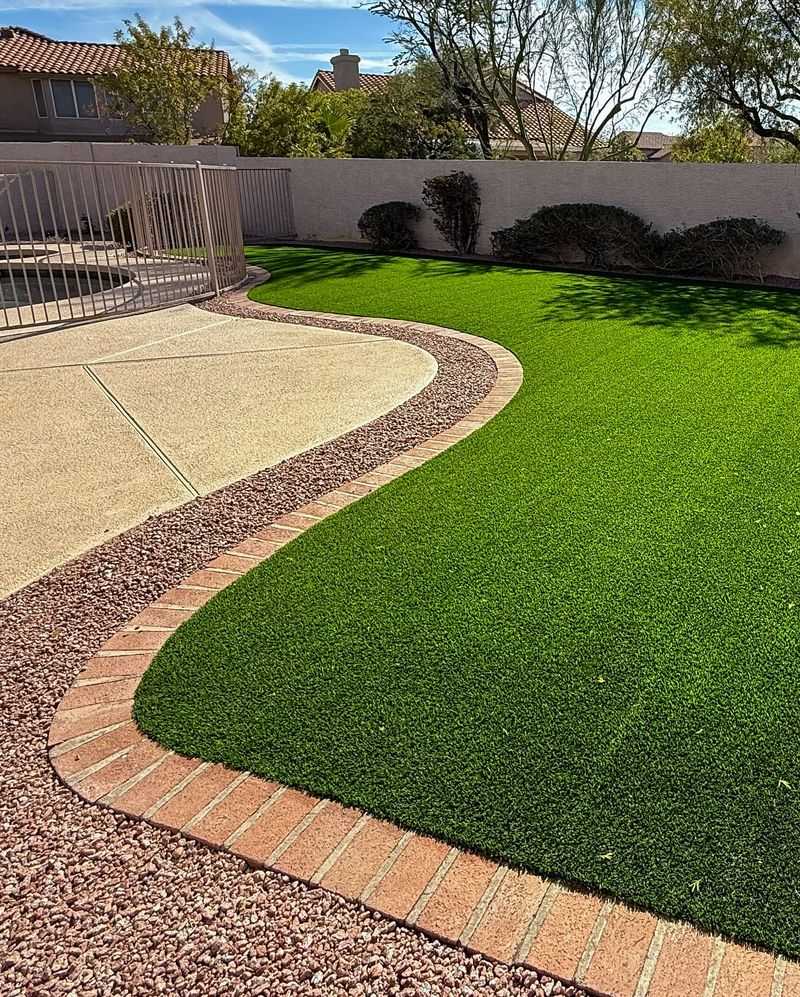
Straight lines scream “amateur” while gentle curves whisper “professional design.” Reshape your existing garden beds with flowing, curved edges using a garden hose as your template.
Lay out the hose in a pleasing curved shape, mark with spray paint, then cut along the line with a spade. The natural-looking curves mimic high-end landscape designs and create visual interest from every angle.
Bonus: curved beds are actually easier to mow around than ones with sharp corners and straight edges!
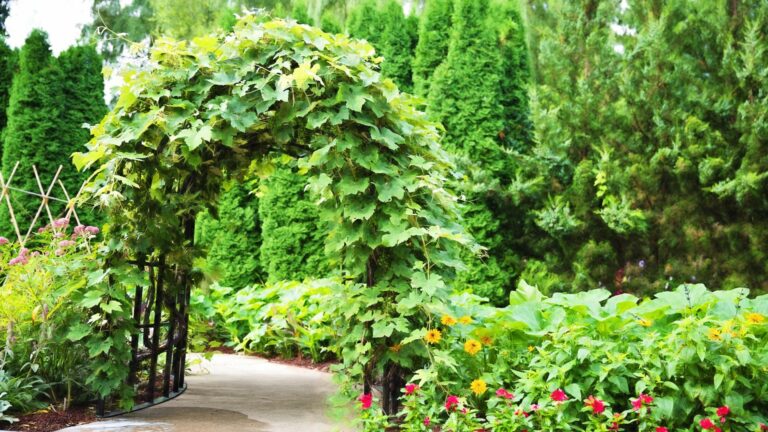
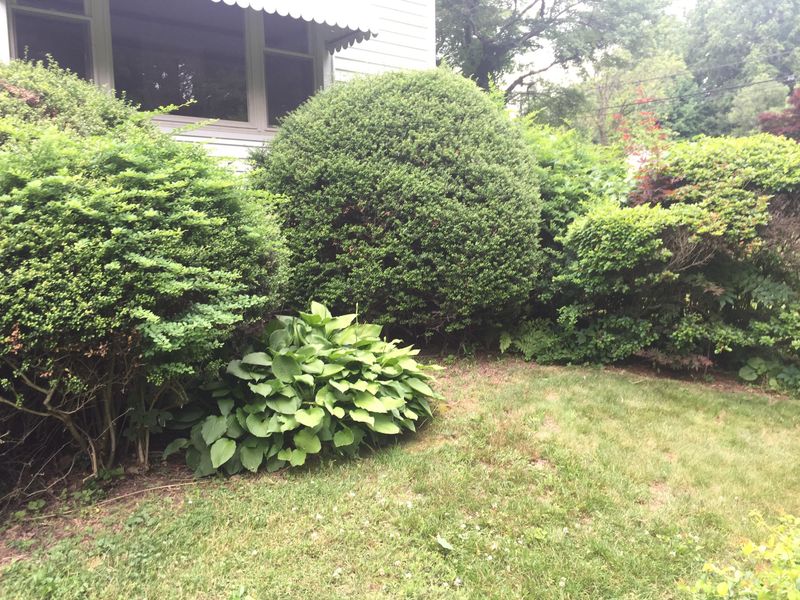
9. Create a Simple Focal Point
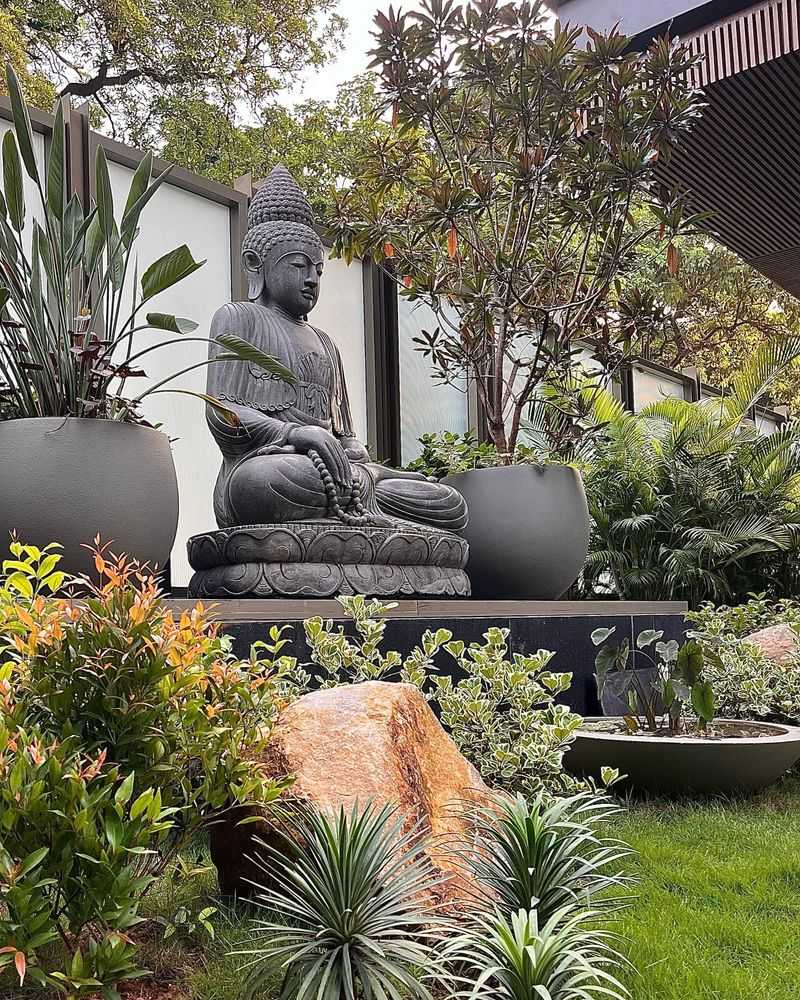
Every professional landscape has at least one eye-catching focal point. Create yours with a large decorative boulder, an architectural plant like a Japanese maple, or a striking garden statue.
Position your focal point where it’s visible from your main viewing areas – perhaps from the patio or through kitchen windows. Surround it with complementary, simpler plantings that don’t compete for attention.
This single addition gives your yard a purposeful, designed feeling that elevates it beyond basic landscaping to a thoughtful outdoor space.
10. Add Landscape Fabric Under Mulch
Nothing ruins a beautiful garden faster than persistent weeds. Professional landscapers always use landscape fabric under mulch to prevent this common problem.
Cut fabric to fit your bed shapes, overlap the edges by 3 inches, and secure with landscape pins. Then apply 2-3 inches of mulch over top. The fabric remains completely hidden while blocking weeds from reaching sunlight.
Your beds stay nearly weed-free with minimal maintenance, giving you that professionally maintained look without the weekly weeding sessions.
11. Install Inexpensive Landscape Lighting
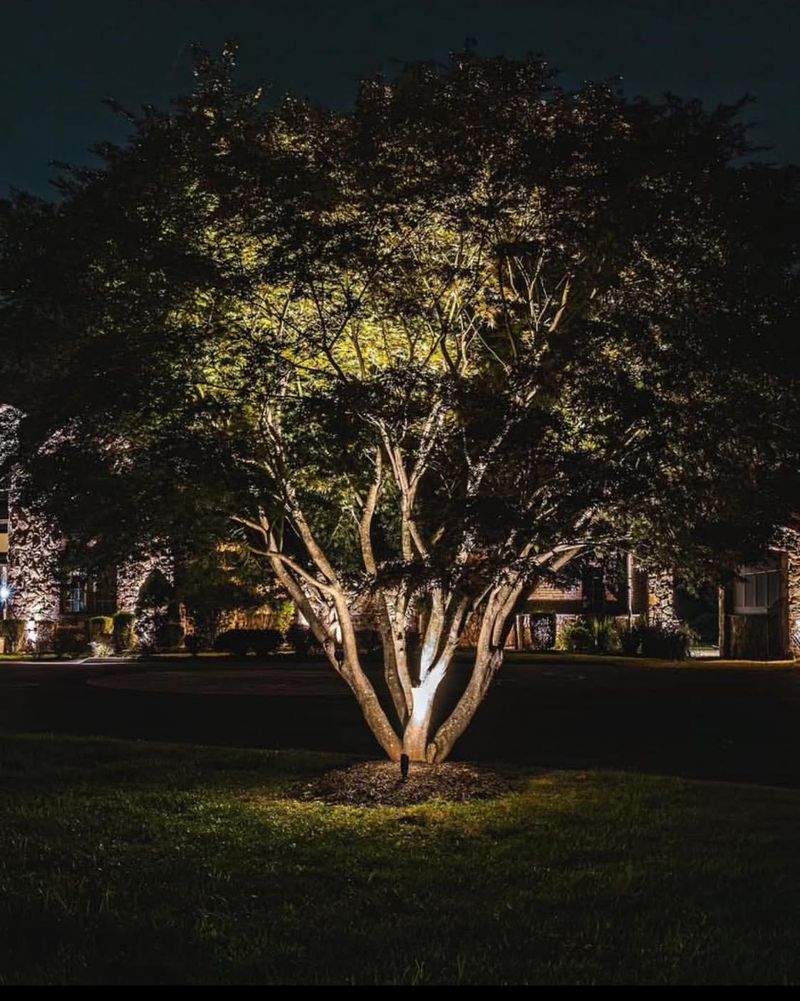
Evening lighting transforms any yard into a magical space. Start with low-voltage lighting kits from home improvement stores – they’re surprisingly affordable and simple to install without an electrician.
Focus on three lighting techniques: uplighting trees to create dramatic shadows, path lighting for safety and ambiance, and accent lighting to highlight special features. The warm glow against your home and landscape features creates instant atmosphere.
Visitors will assume you hired a professional lighting designer when you’ve actually spent less than $200 on the entire project.
12. Create Clean, Crisp Mulch Lines
Professional landscapers obsess over the details – especially clean mulch lines. After adding fresh mulch to your beds, use a stiff broom to sweep any scattered pieces back into place, creating razor-sharp edges.
For areas along driveways or sidewalks, use a straight edge like a board to create perfectly straight lines. This small detail makes an enormous visual difference between amateur and professional-looking landscapes.
Refresh your mulch annually with a thin new layer to maintain that fresh, just-installed look all season long.
13. Add Decorative Rocks and Boulders
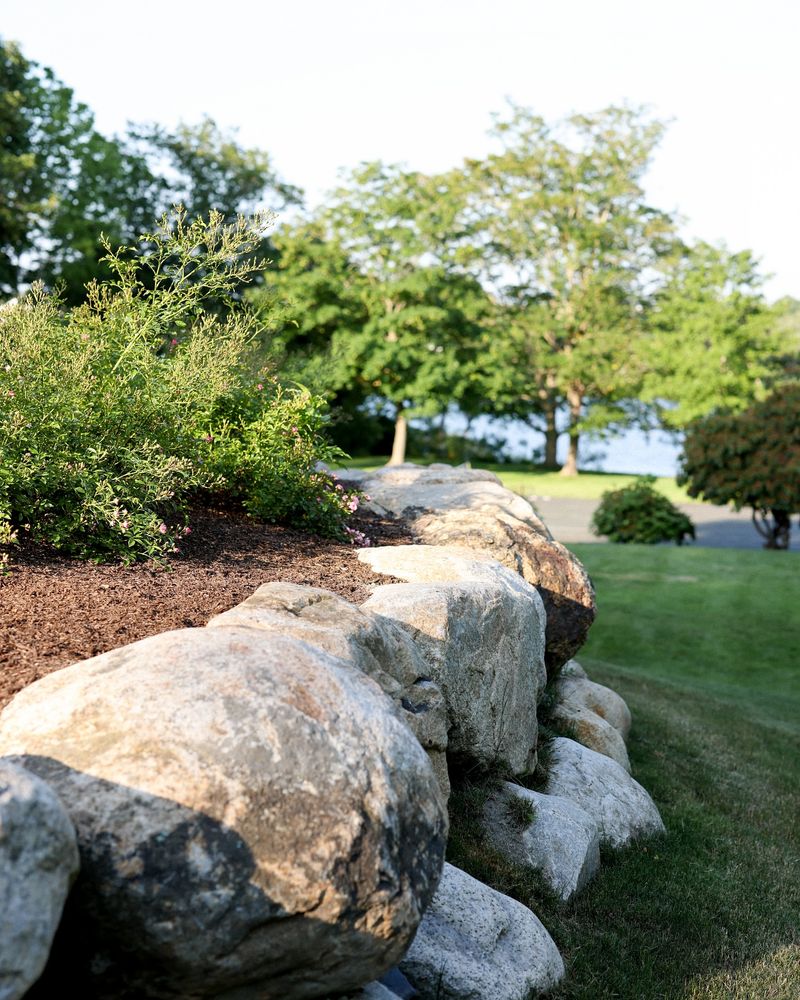
Strategically placed rocks add instant character and professional polish to any landscape. Select varying sizes – from softball-sized stones to larger statement boulders – and group them naturally as they would appear in nature.
Partially bury the larger rocks to make them look like they’ve been there forever. This simple trick creates focal points while adding year-round interest that doesn’t require watering or maintenance.
Local landscape supply yards often sell decorative rock by the pound, making this an affordable upgrade with major visual impact.
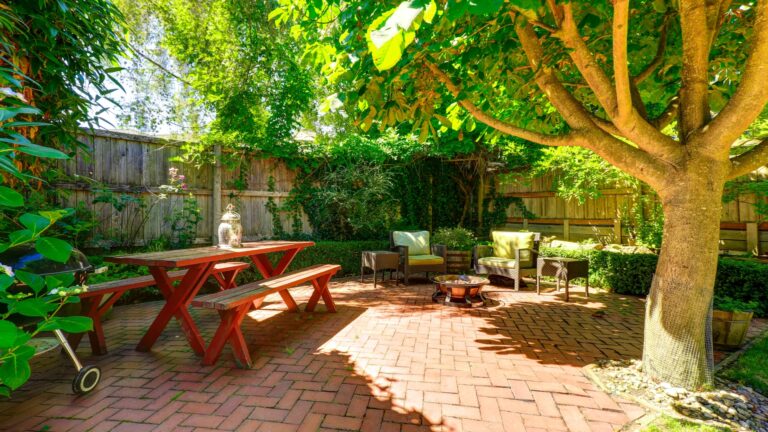
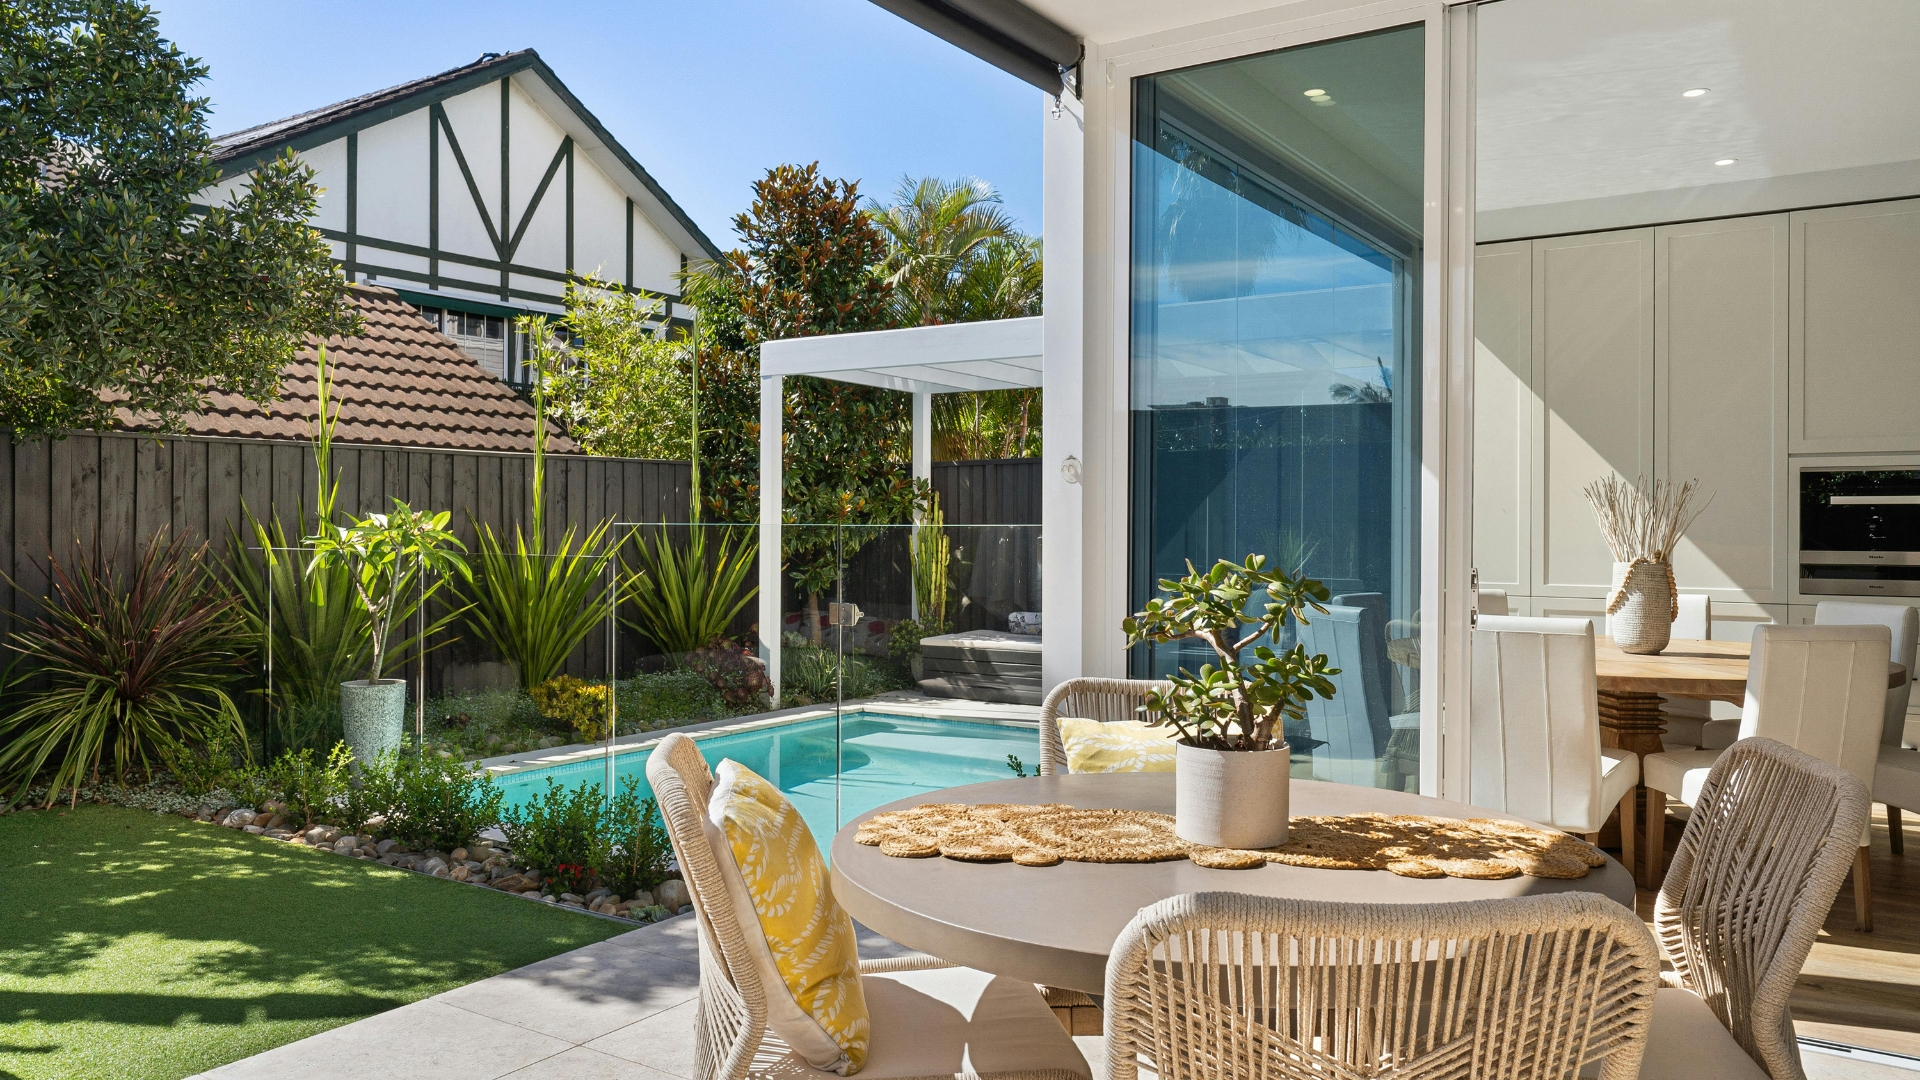
14. Create Defined Outdoor Rooms
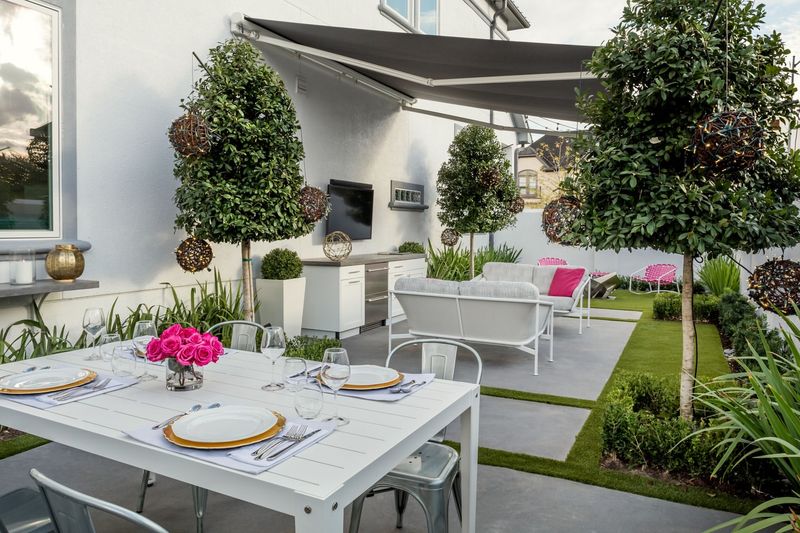
Professional landscapes often divide yards into distinct “rooms” with different purposes. Create your own outdoor rooms using simple boundaries like changes in materials, short hedges, or container groupings.
Designate specific areas for dining, lounging, play, or gardening. Even in small yards, this technique creates organization and purpose that elevates your outdoor space.
Connect these rooms with pathways or consistent elements like matching containers to create a cohesive design that flows naturally from one area to the next.
15. Apply Fresh Mulch Annually

Nothing refreshes a landscape faster than new mulch. Professional landscapers apply it every spring for good reason – it instantly brightens beds while suppressing weeds and retaining moisture.
Choose natural-looking dark brown or black mulch for the most professional appearance. Apply a 2-3 inch layer, being careful not to bury plant crowns or pile it against tree trunks.
For maximum impact, edge your beds first so the fresh mulch has crisp boundaries against your lawn or hardscaping elements.
16. Paint That Weathered Fence (Mistake)
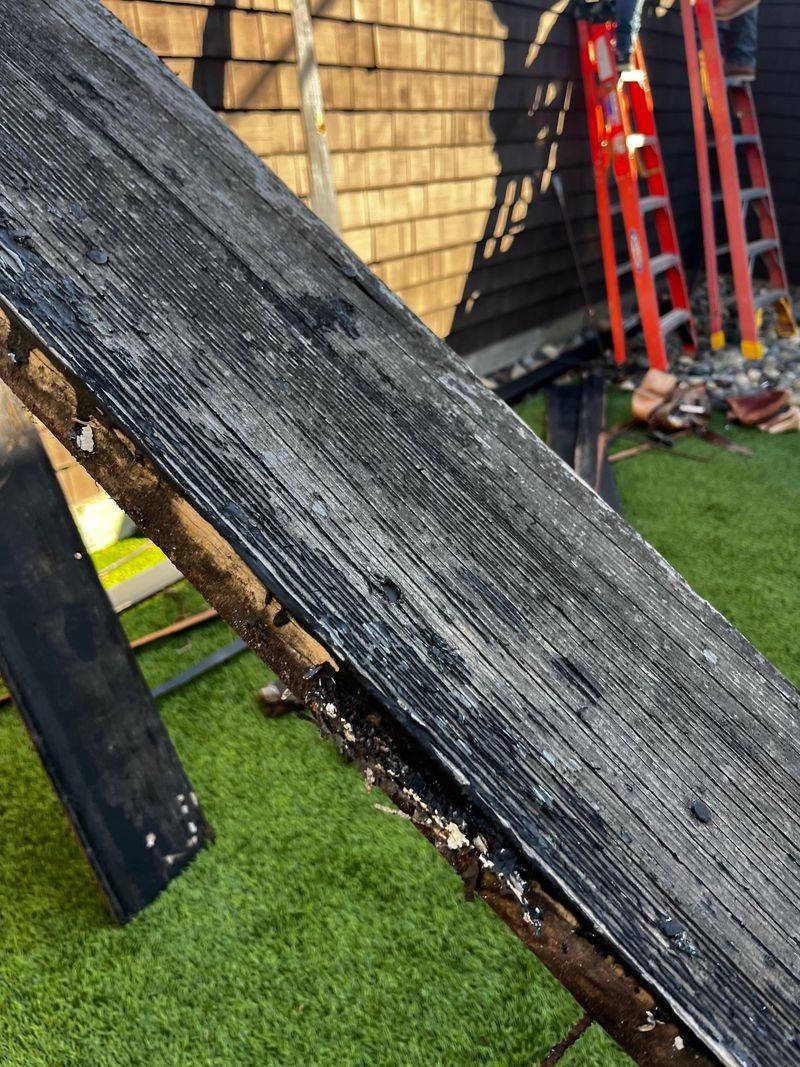
While painting an old fence seems like a quick fix, it often leads to disappointing results. Paint doesn’t penetrate wood like stain does, creating a surface coating that chips and peels within months, especially in wet climates.
The maintenance becomes never-ending as you’ll need to scrape and repaint regularly. What started as a weekend project becomes years of touch-ups.
For a truly professional look, replace severely weathered fencing or use a quality penetrating stain instead of paint for lasting results without the constant maintenance headaches.
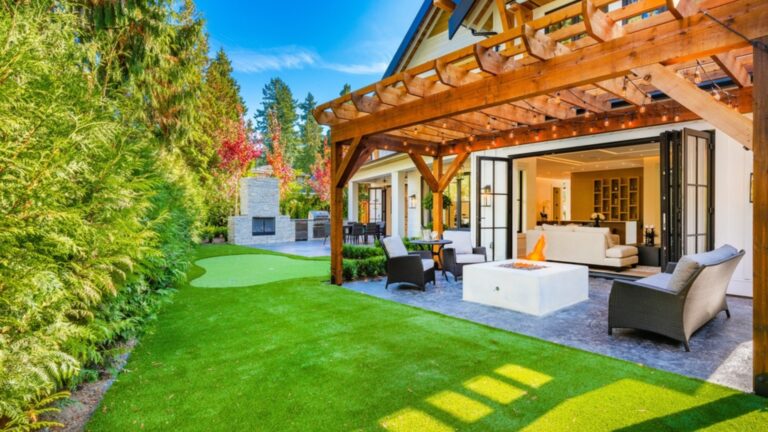
17. Installing Artificial Grass Without Proper Base (Mistake)

Artificial grass seems like a miracle solution for perfect lawns without maintenance. But many DIYers skip crucial preparation steps, leading to bumpy surfaces, drainage problems, and fake-looking results.
Without proper excavation, weed barrier installation, and a level crushed stone base, artificial turf develops dips, bumps, and drainage issues. Water pools in low spots, creating smelly, moldy areas.
The finished product screams “fake” rather than providing that professionally installed look you were hoping for.
18. Mismatched Garden Ornaments (Mistake)

Garden gnomes, colorful glass balls, and quirky statues can be charming in moderation. But randomly collecting and displaying various ornaments without a cohesive theme creates a cluttered, amateurish look.
Professional landscapes use ornaments sparingly and consistently. Too many competing focal points confuse the eye and distract from your plants and overall design.
If you love decorative elements, choose items with similar materials, colors, or themes and place them thoughtfully rather than scattering them throughout your yard.
19. Planting Without Considering Mature Size (Mistake)
Eager gardeners often place plants too close together, ignoring mature size information on plant tags. The newly planted garden looks sparse initially, so overcrowding seems logical.
Fast forward three years, and shrubs meant to be 4 feet apart are now growing into each other, blocking windows, and requiring constant pruning to maintain walkways. Foundation plants grow against siding, causing moisture problems.
This common mistake creates a perpetually overgrown appearance rather than the balanced, professional look of properly spaced plants.
20. Building Raised Beds With Untreated Wood (Mistake)
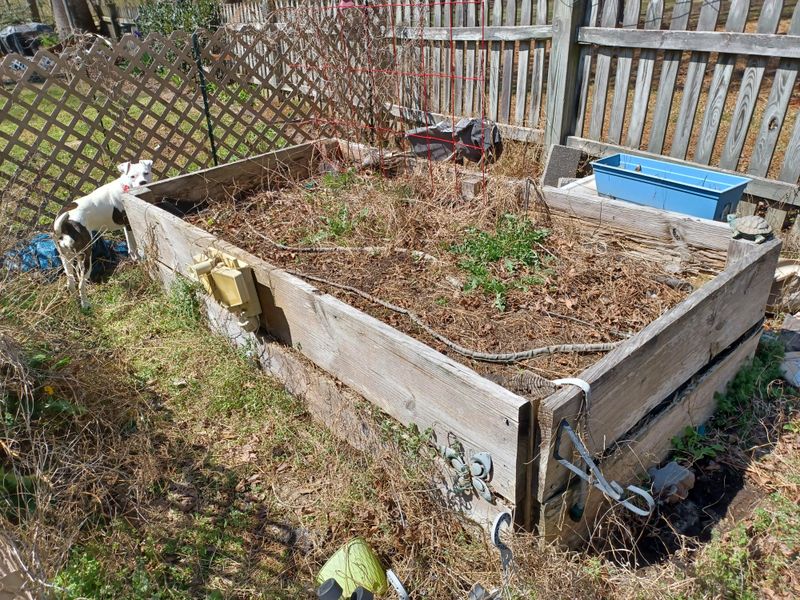
Creating raised garden beds seems straightforward – just nail some boards together and fill with soil. But using standard untreated lumber leads to quick deterioration, especially in contact with moist soil.
Within 2-3 years, the wood begins rotting, warping, and falling apart. Your once-crisp garden beds now look shabby with bowing sides and corners pulling apart.
For professional-looking results that last, invest in cedar, redwood, or proper pressure-treated lumber designed for ground contact – your beds will look great for a decade or more.