16 Essential Tips For Growing Gorgeous Roses In Pots Year-Round
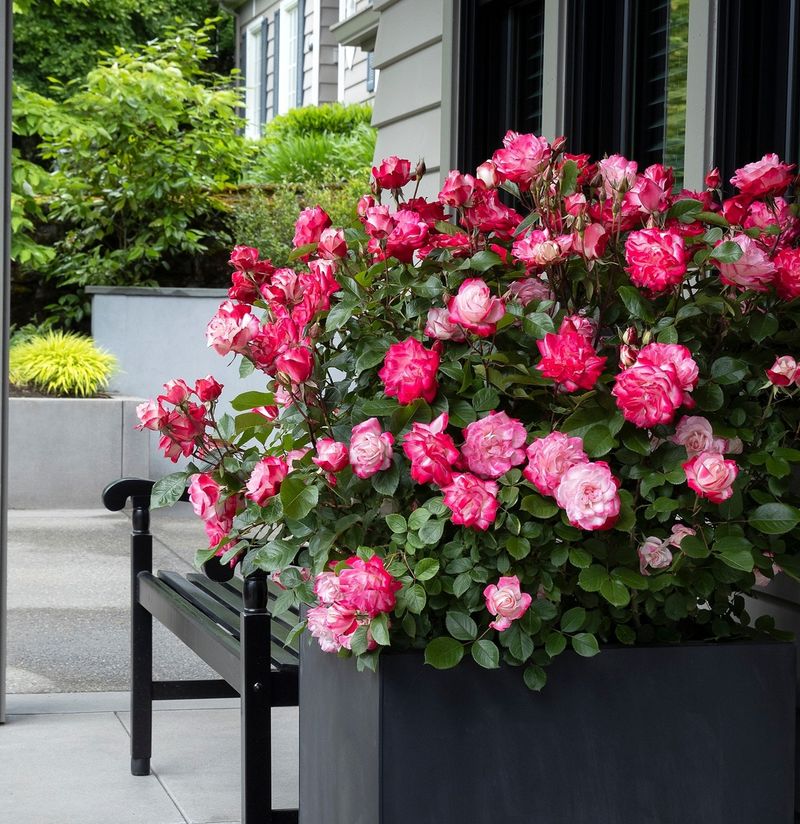
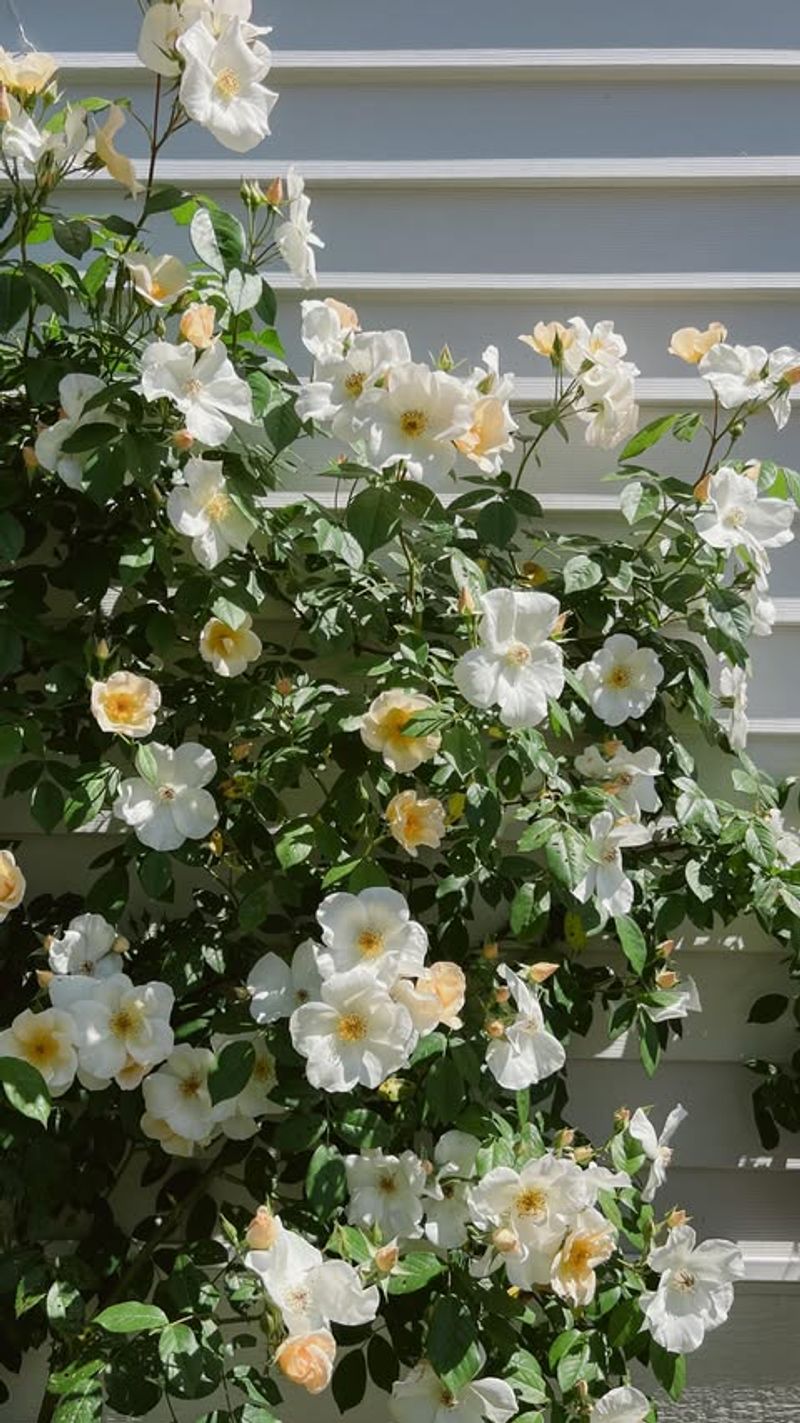
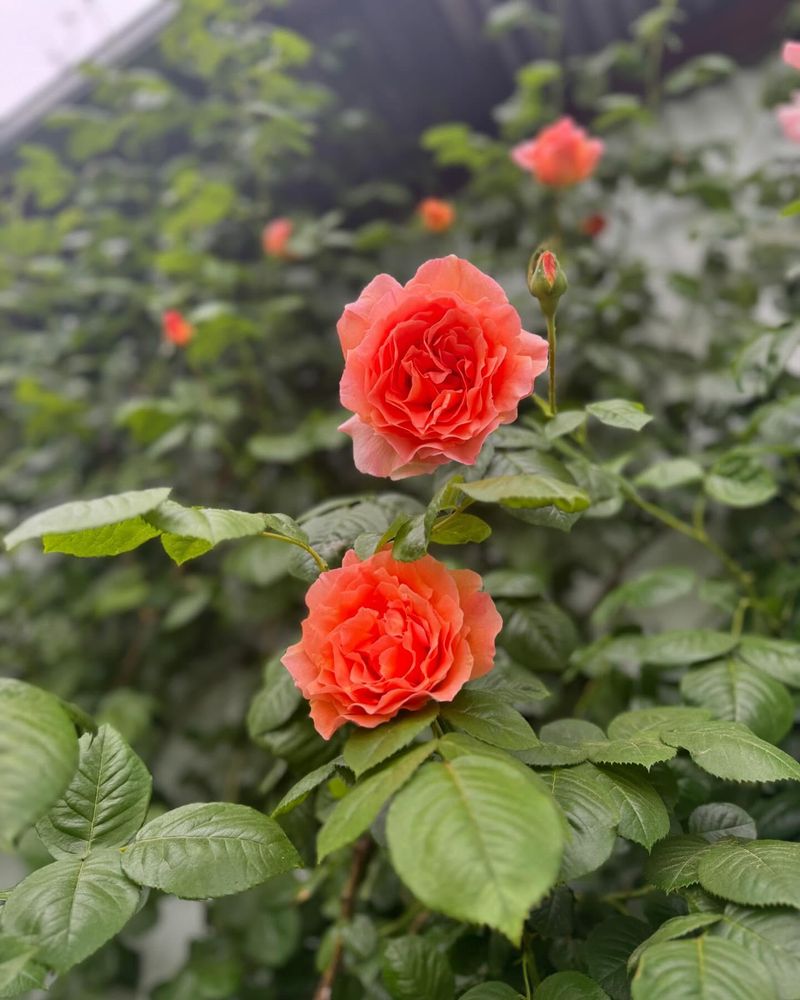
Roses don’t have to live in sprawling garden beds to thrive. With the right setup, they can bloom beautifully in pots—on patios, balconies, or even windowsills.
I’ve grown container roses for years, and I’ve learned that success comes down to a few key choices: the right pot, the right care, and a little year-round attention.
These 16 essential tips will help you grow healthy, vibrant roses in containers that bloom season after season—no matter your space.
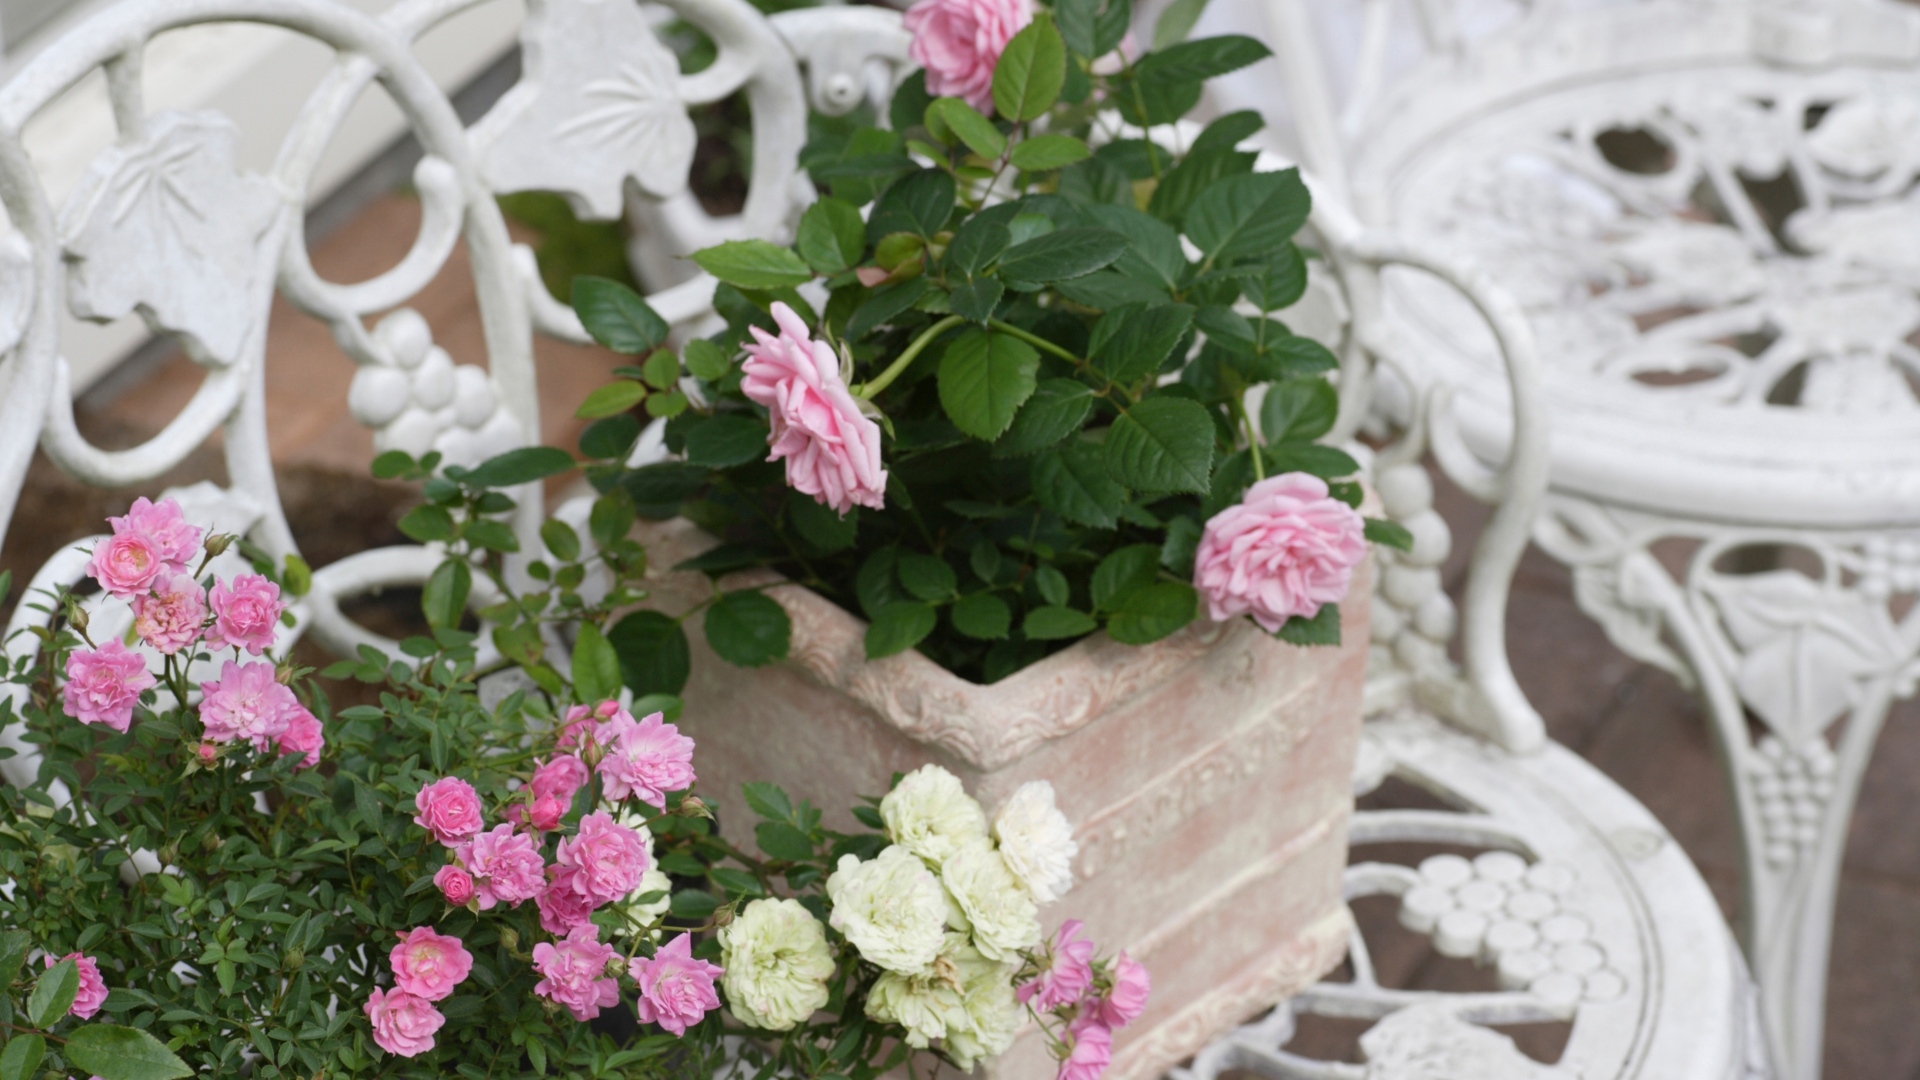
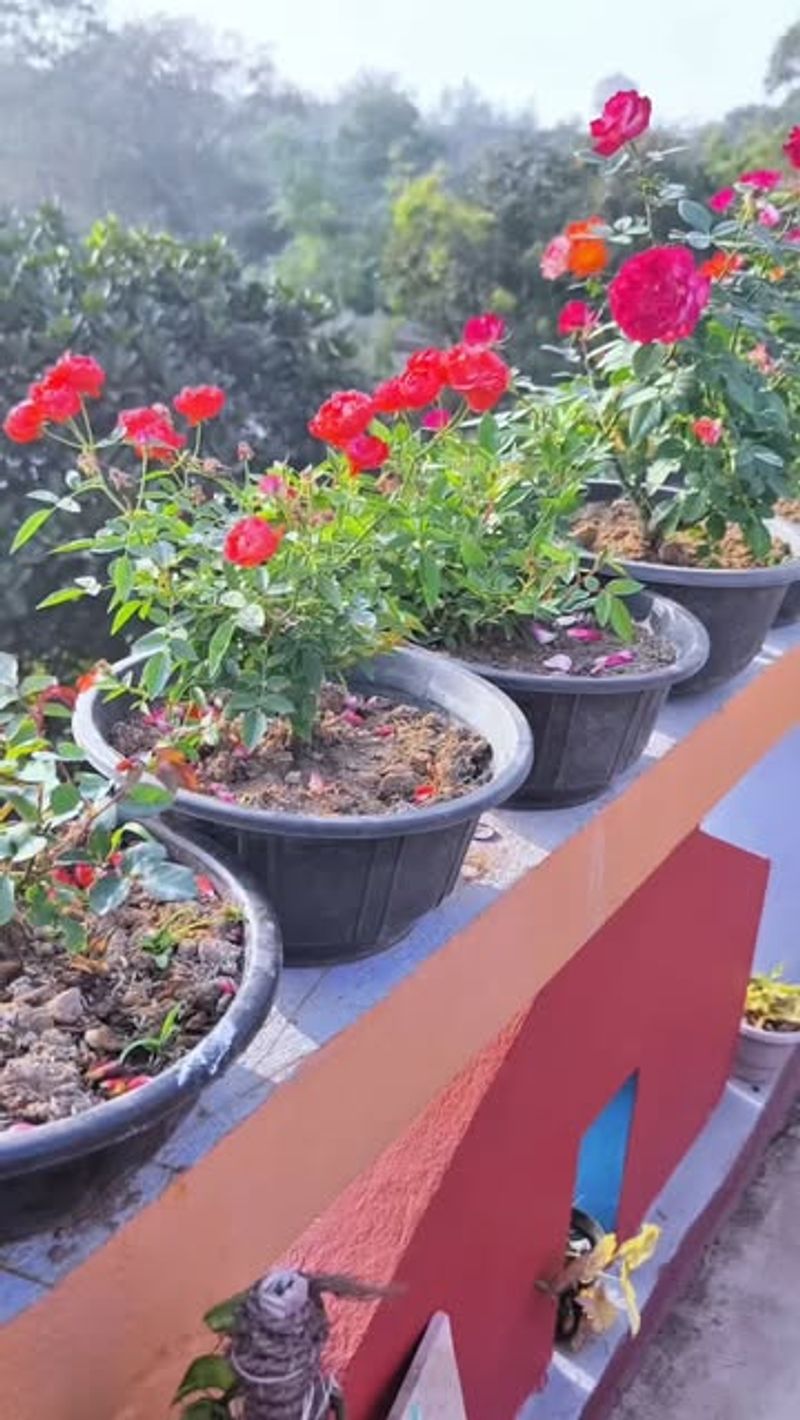
1. Choose the Right Container Size
Roses need room for their roots to spread out and grow strong. Pick a pot that’s at least 15-18 inches wide and deep for most varieties. Miniature roses can manage in smaller containers, but standard roses need space to thrive.
The pot should have several drainage holes to prevent water from pooling at the bottom. This helps avoid root rot, which can quickly kill your precious plants. Terra cotta pots work well because they allow soil to breathe, but any container material will do if drainage is good.
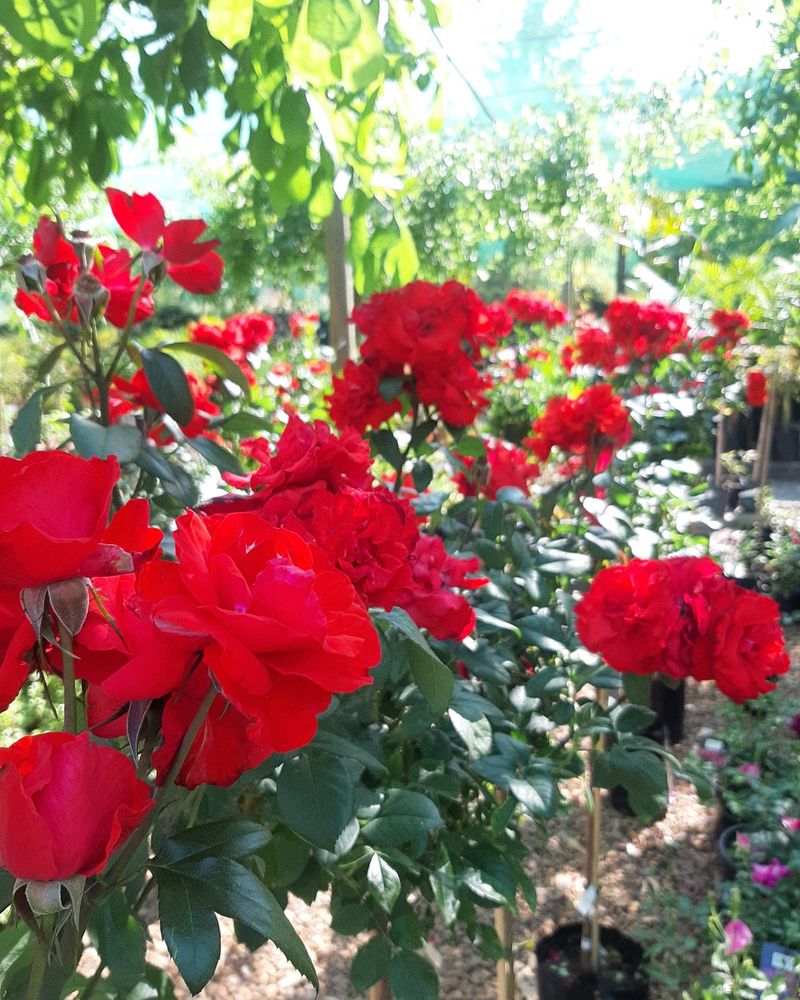
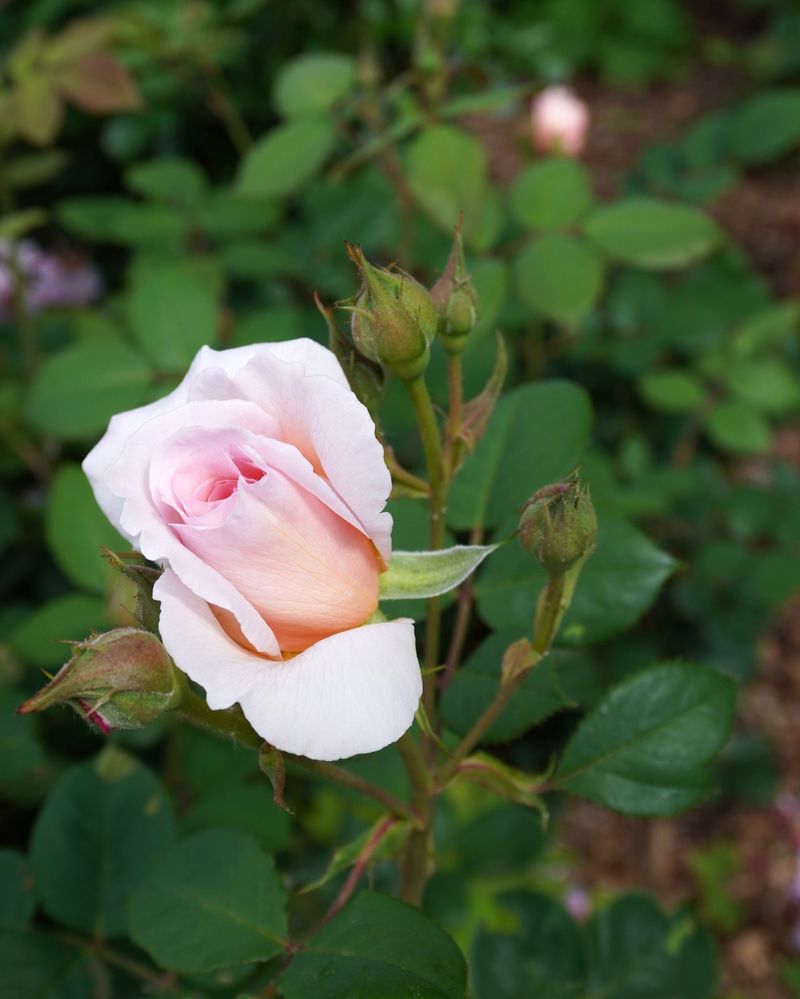
2. Select Appropriate Rose Varieties
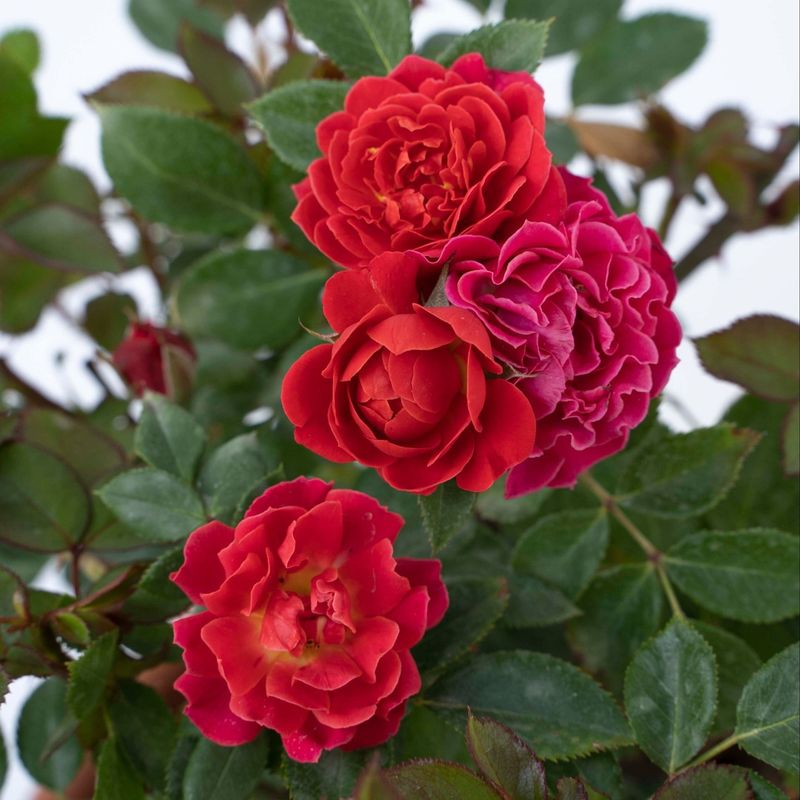
Not all roses perform equally well in containers. Patio roses, miniature varieties, and polyanthas are naturally compact and perfect for pot growing. David Austin English roses like ‘Queen of Sweden’ or ‘Princess Alexandra of Kent’ also adapt beautifully to container life.
Look for varieties labeled as disease-resistant to minimize maintenance. Avoid climbers or large shrub roses unless you have extremely large containers and sturdy supports. The tag or description should mention suitability for container growing if you’re unsure.
3. Use Premium Potting Mix
Regular garden soil is too heavy and compacts easily in pots, suffocating rose roots. Instead, invest in a high-quality rose-specific potting mix or create your own by combining regular potting soil with compost and perlite for drainage.
The ideal mix retains moisture while allowing excess water to drain away. Add a handful of bone meal when planting to provide phosphorus for strong root development. Some gardeners include a layer of gravel at the bottom of the pot, though this is optional if your drainage holes are working properly.
4. Position for Maximum Sunlight
Roses are sun-lovers that require at least 6 hours of direct sunlight daily to produce abundant blooms. Place your pots where they’ll receive morning sun if possible, as this helps dry morning dew and reduces disease problems.
The beauty of container growing is mobility! You can follow the sun by moving pots as seasons change. During intense summer heat, consider providing afternoon shade in very hot climates. Watch how sunlight moves across your space throughout the day to find the perfect spot.
5. Master Watering Techniques
Container roses dry out faster than garden roses and may need daily watering during hot weather. Check moisture levels by sticking your finger an inch into the soil – if it feels dry, it’s time to water. Always water at the base of the plant rather than overhead to prevent fungal diseases.
A thorough soaking until water runs from drainage holes is better than frequent light sprinklings. Consider installing a drip irrigation system with a timer if you’re often away from home.
6. Feed Regularly for Continuous Blooms
Potted roses need more frequent feeding than those in the ground because nutrients leach out with regular watering. Apply a balanced rose fertilizer every 4-6 weeks during the growing season, following package directions for container plants.
Liquid fertilizers provide quick results, while slow-release granules offer longer-lasting nutrition. An organic approach includes fish emulsion or compost tea applied biweekly. Reduce feeding in late summer to help plants prepare for dormancy, especially in regions with cold winters.
7. Prune with Purpose
Strategic pruning keeps potted roses healthy and flowering beautifully. In early spring, remove dead or diseased wood and cut back remaining canes by about one-third to encourage new growth. Always cut at a 45-degree angle just above an outward-facing bud.
Throughout the growing season, deadhead spent blooms by cutting back to the first set of five leaflets to stimulate more flowers. For repeat-flowering varieties, this practice is especially important. Clean your tools with alcohol between plants to prevent spreading disease.
8. Control Pests Naturally
Aphids, spider mites, and Japanese beetles love roses as much as we do! Inspect your plants regularly, checking under leaves where pests often hide. A strong spray of water can dislodge many insects before they become established.
For persistent problems, try neem oil or insecticidal soap, which are effective yet gentle on beneficial insects. Introducing ladybugs can help control aphid populations naturally. Avoid chemical pesticides when possible, as they kill helpful pollinators and can build up in the limited soil of containers.
9. Prevent Common Diseases
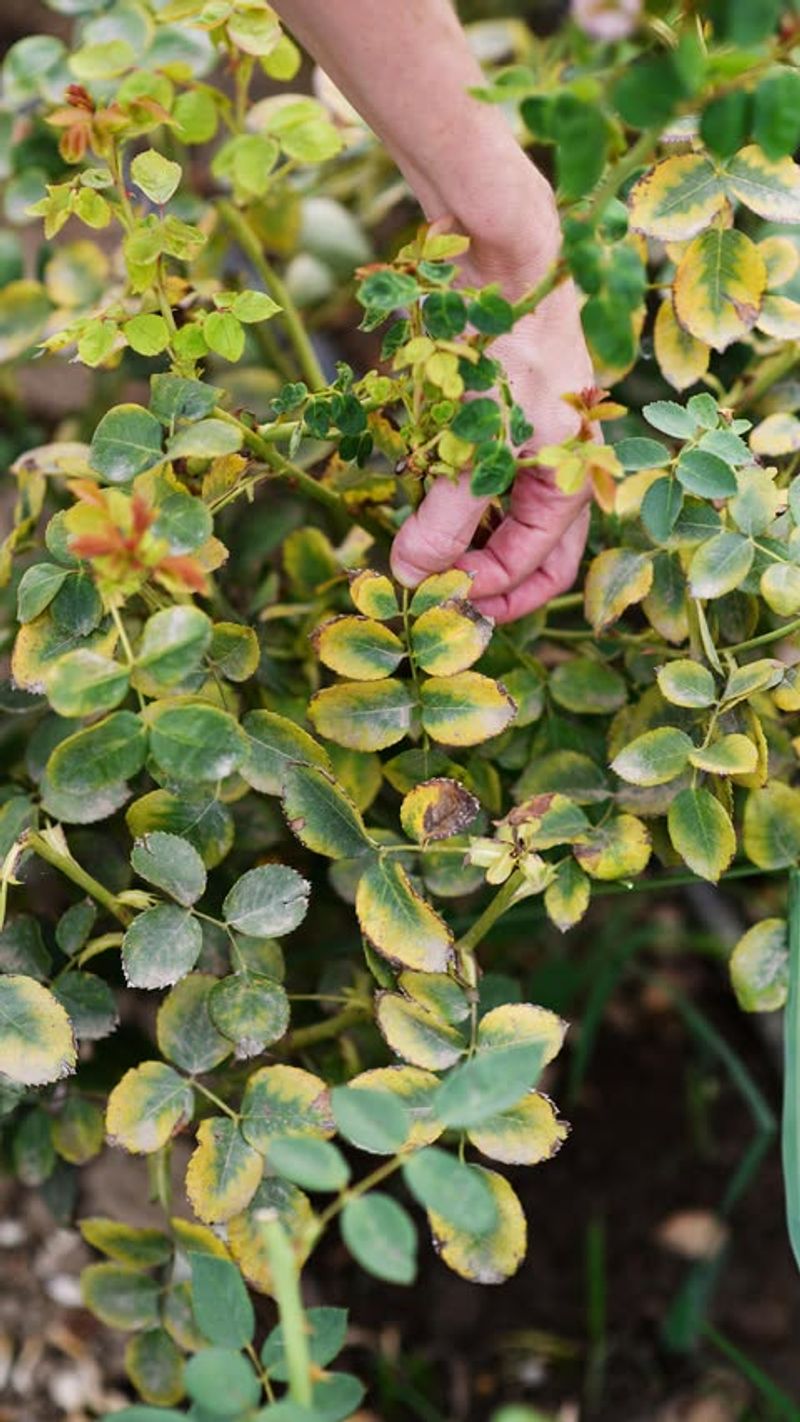
Black spot, powdery mildew, and rust can plague roses, especially in humid conditions. Proper spacing between pots improves air circulation, which naturally reduces fungal problems. Water in the morning so foliage dries quickly, and avoid wetting the leaves when possible.
Remove affected leaves promptly and dispose of them in the trash, not compost. A preventative spray of diluted milk (1 part milk to 9 parts water) can help control powdery mildew. For serious outbreaks, organic fungicides containing sulfur or copper are effective options.
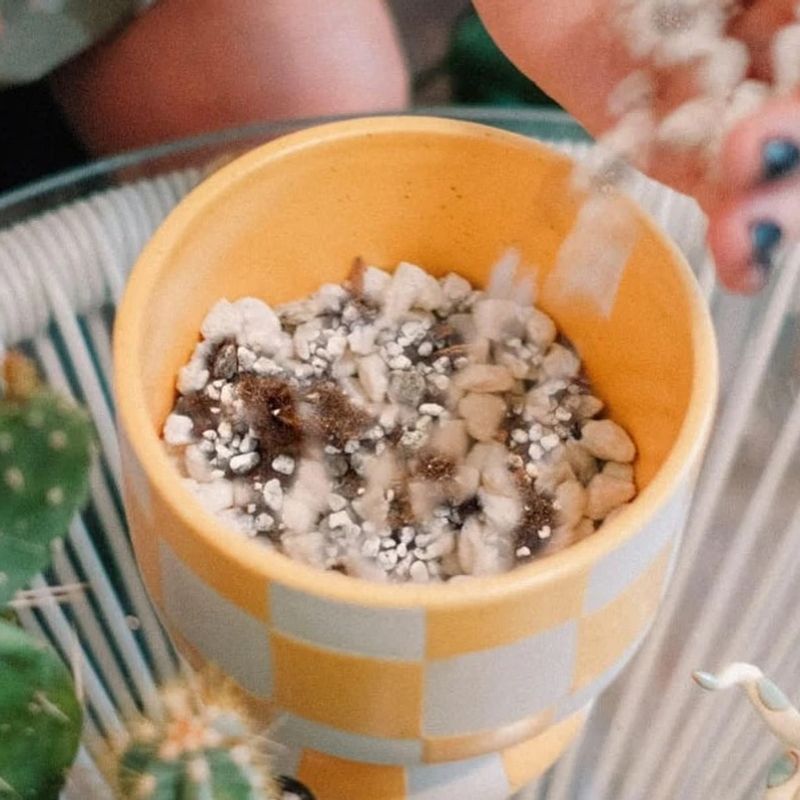
10. Mulch to Retain Moisture
A layer of mulch on top of the soil in your rose containers serves multiple purposes. It helps retain moisture, suppresses weeds, moderates soil temperature, and slowly adds nutrients as it breaks down. Apply a 1-2 inch layer of organic mulch like shredded bark, cocoa hulls, or compost, keeping it slightly away from the rose stems to prevent rot.
Refresh the mulch layer in spring and fall for best results. Some gardeners use decorative pebbles instead, which look attractive but don’t provide the nutrient benefits of organic options.
11. Provide Winter Protection
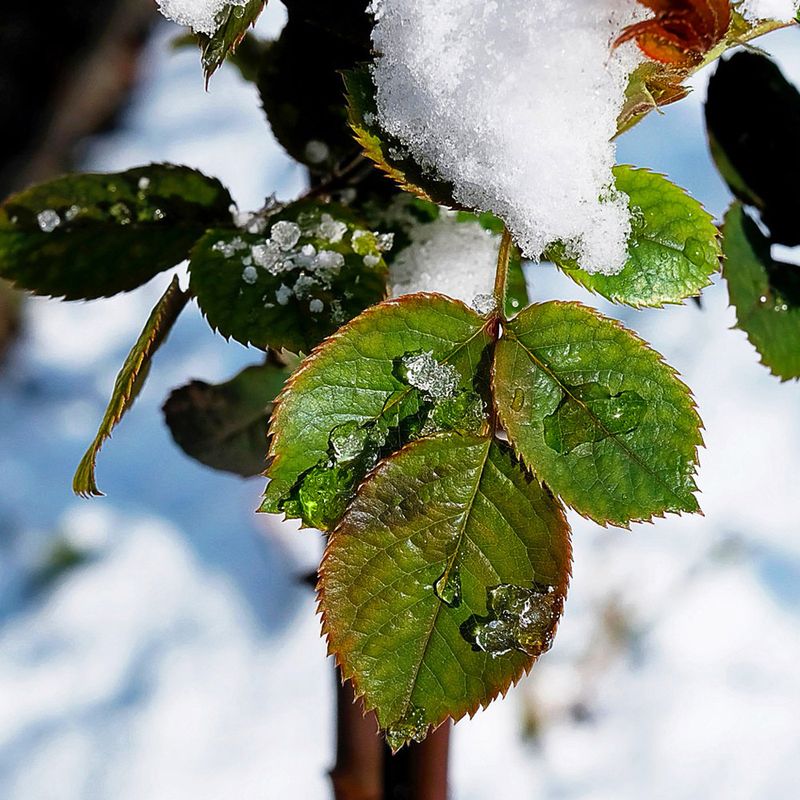
Container roses are more vulnerable to winter cold than in-ground plants because their roots aren’t insulated by surrounding earth. In zones 7 and colder, move pots to a sheltered location like an unheated garage or basement when temperatures consistently drop below freezing.
If relocation isn’t possible, wrap pots with bubble wrap or burlap to insulate roots. Group containers together against a south-facing wall for added warmth. Apply extra mulch on top of the soil, and consider covering the entire plant with garden fleece during extreme cold snaps.
12. Refresh Soil Annually
Over time, container soil becomes depleted of nutrients and compacted from regular watering. Each spring, remove the top 2-3 inches of soil from your pots and replace it with fresh potting mix enriched with compost. Every 2-3 years, perform a complete repotting.
Gently remove the rose, trim away about one-third of the roots, and replant in the same container with entirely fresh soil. This rejuvenates the plant and promotes healthy new growth. Early spring before new growth begins is the ideal time for this operation.
13. Monitor Watering in Different Seasons
Your container roses’ water needs change dramatically with the seasons. During summer heat, daily watering may be necessary, while in cooler spring and fall months, twice weekly might suffice. Rain doesn’t always adequately water potted plants, even during downpours!
The foliage often acts as an umbrella, preventing water from reaching the soil. Check moisture levels regardless of weather. During winter dormancy in cold regions, water only occasionally to prevent completely dry soil, which can damage roots.
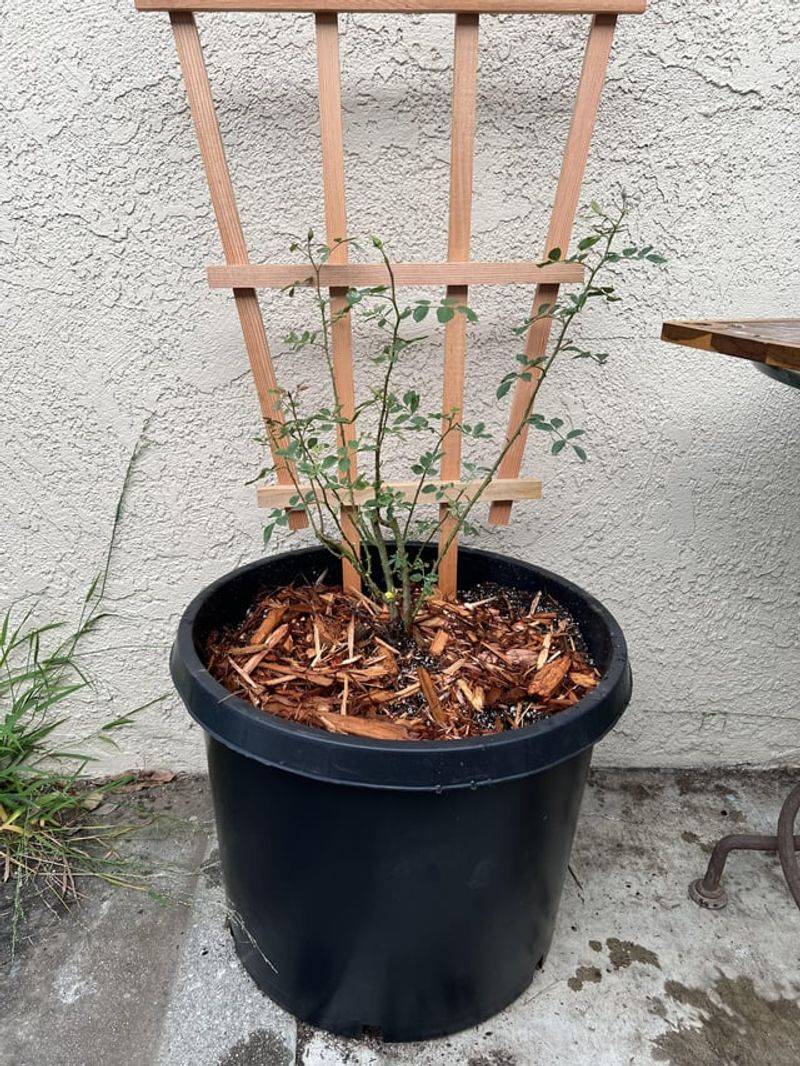
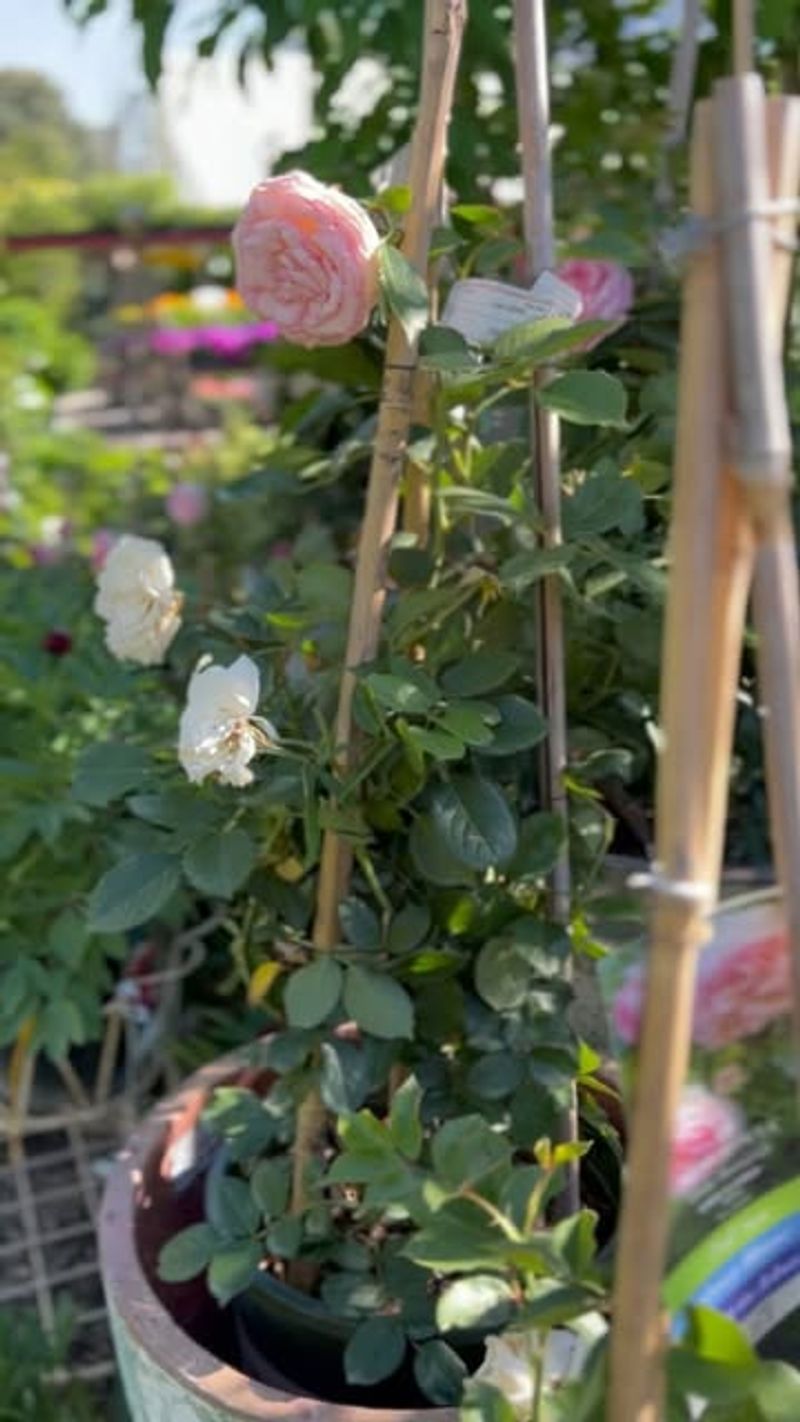
14. Support Climbing Varieties

If you’ve chosen to grow climbing roses in large containers, proper support is essential. Install a trellis, obelisk, or decorative cage at planting time to avoid disturbing the roots later. Train young canes by gently tying them to the support with soft garden twine or plant ties.
Horizontal training often produces more blooms than vertical growth. The container and support must be proportional – a heavy ceramic pot provides stability for taller structures, preventing toppling in wind.
15. Encourage Beneficial Insects
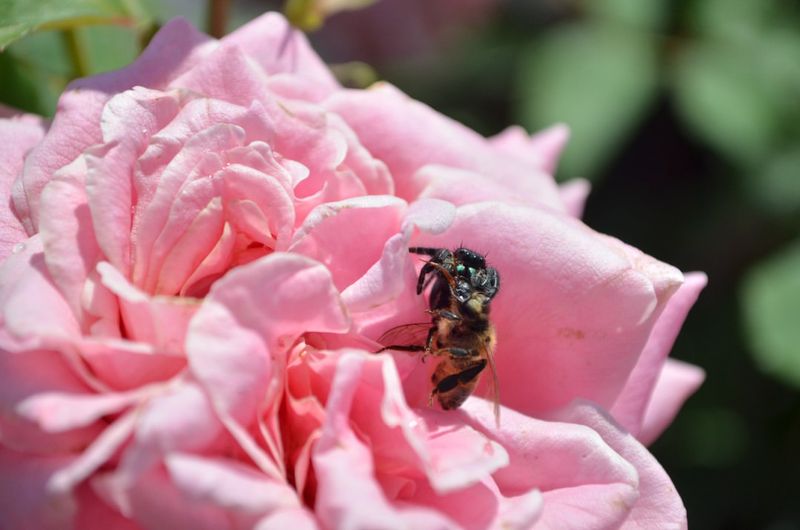
Ladybugs, lacewings, and predatory wasps are your allies in keeping pest populations under control naturally. Plant companion flowers like alyssum, lavender, or marigolds in nearby containers to attract these helpful insects.
Avoid using broad-spectrum insecticides that kill beneficial insects along with pests. Some gardeners introduce beneficial nematodes to the potting soil to control larvae of various pests. Creating this natural balance reduces the need for intervention and makes your container garden more self-sustaining.
16. Rotate Pots Regularly
Roses in containers tend to grow toward the sun, which can result in lopsided plants over time. Give your pots a quarter turn every week to promote even growth and balanced flowering on all sides. This simple practice ensures all parts of the plant receive adequate light.
It’s particularly important for roses displayed in prominent locations where appearance matters. As an added benefit, rotating allows you to inspect all sides of the plant regularly, catching any pest or disease issues before they become serious problems.