16 Essential Tips For Growing Roses From Seed (Even If You’re Starting Late)
Many gardeners overlook the rewarding process of growing roses from seed, assuming it’s too technical or slow. I used to feel the same way—until I gave it a try and got completely hooked. Watching those first true leaves emerge is honestly one of the most satisfying moments in gardening.
Starting with seeds isn’t just about saving money. It opens the door to rare varieties you won’t find at your local nursery, and they often adapt better to your local conditions. Even if you’re starting later than planned, it’s still worth diving in—progress beats perfection every time.
The magic really begins when you grasp a few simple tips around timing, prep, and patience. You don’t need fancy tools or years of experience—just a willingness to try something new. A garden full of homegrown, one-of-a-kind roses might be closer than you think.
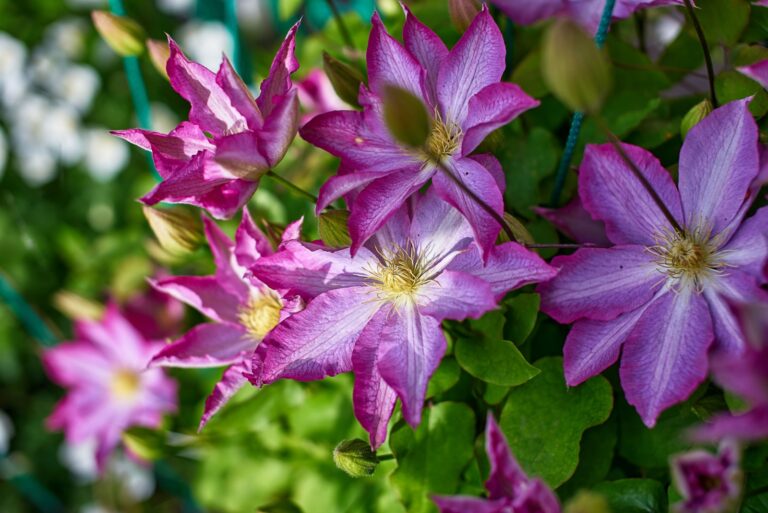
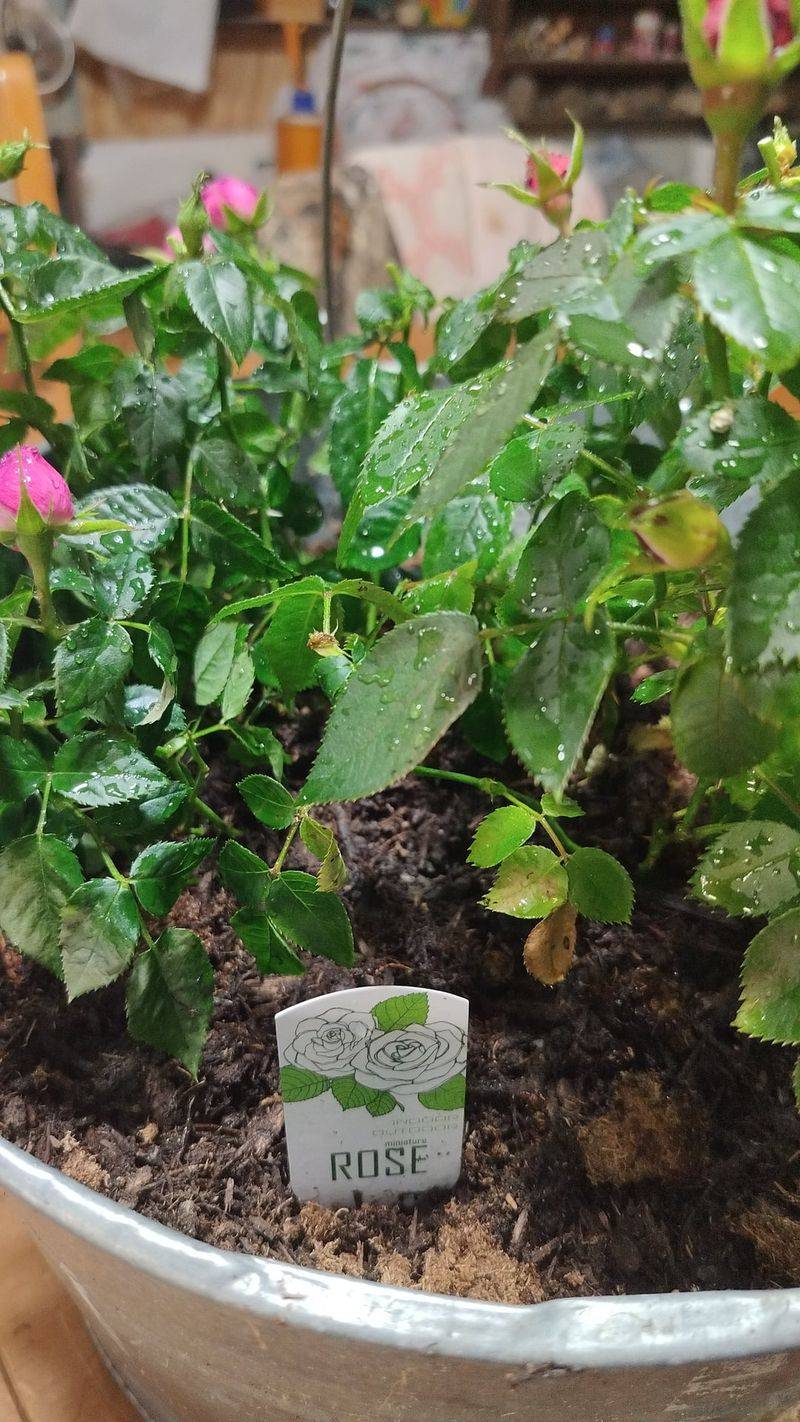
1. Select The Right Seeds For Your Climate Zone
Before ordering any seeds, check which rose varieties thrive naturally in your growing zone. I wasted an entire season trying to grow tea roses in a cold northern climate before learning this lesson the hard way.
Wild or species roses often have higher germination rates and better resilience for beginners. Their genetics are less complicated than hybrid varieties, making them more forgiving of imperfect conditions.
For late starters, choose quick-maturing varieties like Rosa rugosa or Rosa multiflora that can catch up more easily. Local garden clubs or rose societies can recommend specific varieties with proven success in your region.
2. Cold Stratify Seeds To Break Dormancy
Most rose seeds need a cold period to wake up properly—it’s how they survive winter in nature. Place your seeds between damp paper towels inside a sealed plastic bag in the refrigerator for 4-12 weeks.
The back of the refrigerator works perfectly for this process. Keep the temperature steady between 33-38°F, checking occasionally to ensure the paper stays damp but not soaking wet.
When starting late, you can speed up this process by alternating between cold and room temperature every few days. This temperature fluctuation tricks the seeds into thinking they’ve experienced a full winter cycle in less time.
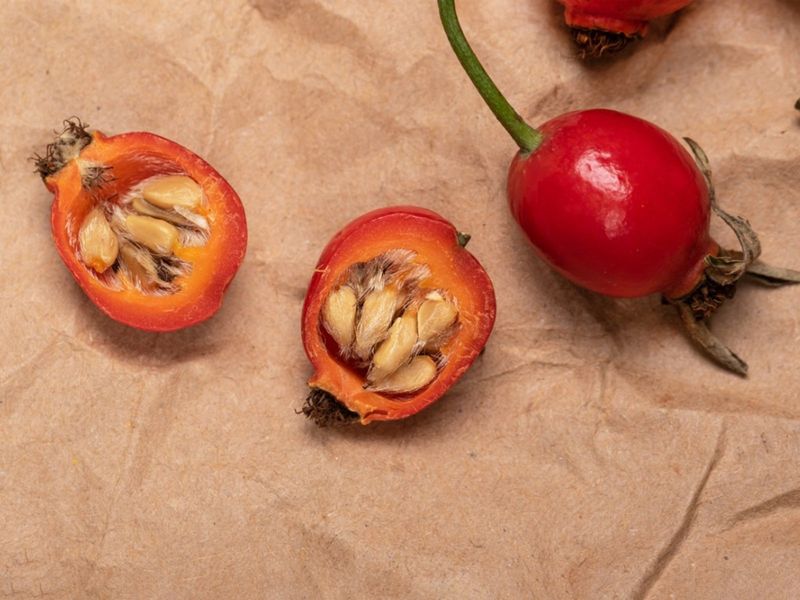
3. Scarify Tough Seed Coats For Better Germination
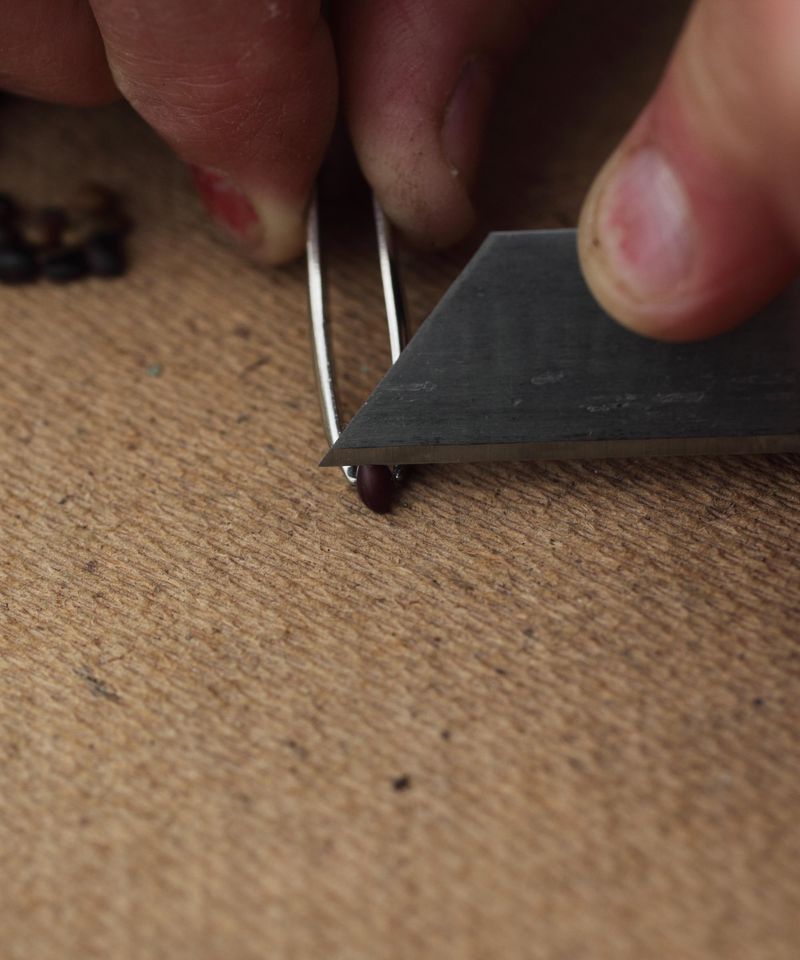
Rose seeds have naturally tough outer shells that can delay germination by months. Using a small nail file, gently rub one spot on each seed until you see a tiny white area—but don’t damage the entire coat.
Another effective method involves soaking seeds in hydrogen peroxide (3% solution) for 24 hours. This softens the seed coat while also sterilizing against potential fungal issues that often plague new seedlings.
For late starters, combining scarification with a 24-hour soak in room-temperature chamomile tea can boost germination rates significantly. The natural compounds in the tea seem to stimulate the embryo while softening the seed coat.
4. Use The Right Soil Mix For Seedlings

Commercial seed-starting mixes often contain too much fertilizer for delicate rose seedlings. Create your own blend with one part perlite, one part vermiculite, and two parts peat moss or coco coir for better results.
The ideal pH for rose seeds falls between 6.0-6.5, slightly more acidic than mature roses prefer. Adding a tablespoon of garden lime to each gallon of soil mix helps maintain this perfect balance.
For those starting late in the season, adding a small amount of mycorrhizal fungi to your soil mix can dramatically accelerate root development. These beneficial fungi form a symbiotic relationship with young roots, helping seedlings establish much faster.
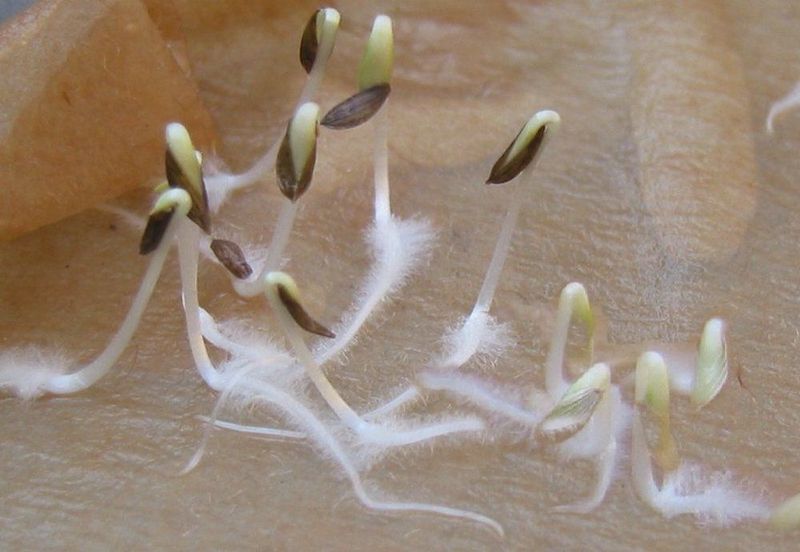
5. Master The Sowing Depth Sweet Spot
The perfect planting depth makes a tremendous difference in germination success. Plant each seed exactly 1/4 inch deep—any deeper and they might not have enough energy to reach the surface; any shallower and they may dry out too quickly.
After placing seeds, cover them with a thin layer of vermiculite rather than soil. This lightweight material allows proper air exchange while retaining moisture perfectly around the developing seedling.
For late starters, try the paper towel germination method first. Once the seed shows a tiny root, transfer it to soil with the root pointing downward and the emerging shoot just below the surface for a head start on the growing season.
6. Create A Mini-Greenhouse Effect
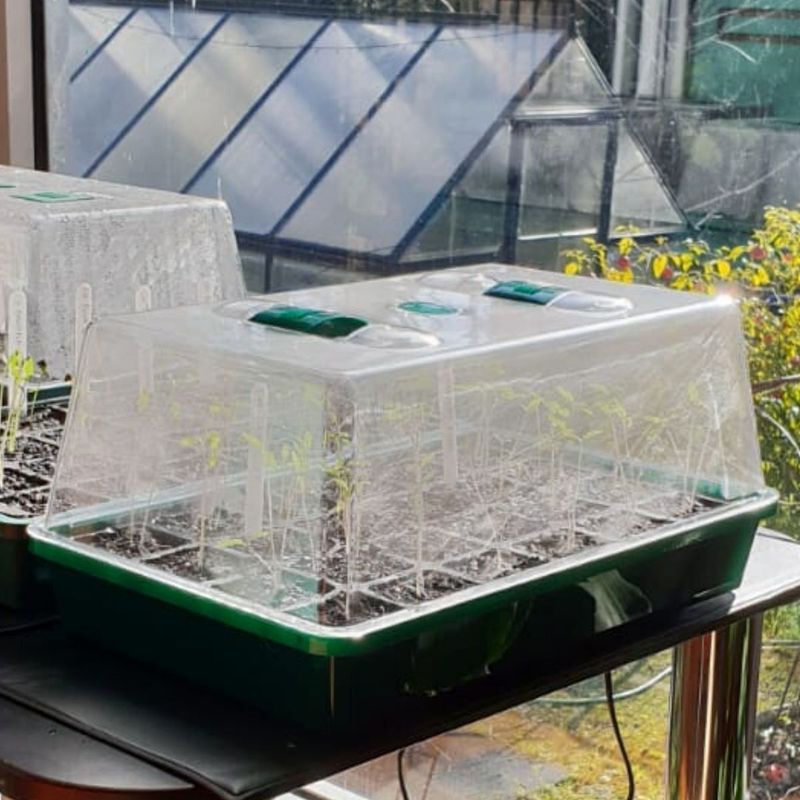
Humidity control becomes critical during the first weeks after planting. Cover seed trays with clear plastic wrap or a dome, creating a miniature greenhouse that maintains steady moisture levels without daily watering.
Poke several small holes in the covering to allow some air circulation. Too much moisture without airflow can lead to damping-off disease, a common killer of young seedlings.
When starting late, remove the covering for increasing periods each day once germination occurs. This gradual hardening off process prepares seedlings for normal growing conditions while still providing some protection. Twenty minutes longer each day works perfectly for adapting them to regular household humidity.
7. Perfect Your Watering Technique
Bottom watering prevents disturbing delicate seedlings while encouraging stronger root development. Place your seed tray in a shallow dish of water for 10-15 minutes, allowing soil to absorb moisture from below.
The soil surface should never be allowed to completely dry out during the germination phase. Use a spray bottle with room-temperature water to mist the surface when it begins looking dry.
For late starters trying to accelerate growth, alternate between plain water and a very dilute compost tea (1:10 ratio) for bottom watering once seedlings have their first true leaves. This gentle nutrition boost helps compensate for the shortened growing season without the risk of fertilizer burn.
8. Provide The Perfect Light Conditions

Contrary to what many assume, rose seeds don’t need light to germinate—but once sprouted, they need plenty. Position seedlings where they’ll receive bright, indirect light rather than harsh direct sun which can scorch tender leaves.
If using grow lights, keep them 4-6 inches above seedlings for 14-16 hours daily. The combination of red and blue spectrum lights works particularly well for encouraging compact, sturdy growth rather than leggy stretching.
Late starters can maximize growth by gradually increasing light exposure. Begin with 12 hours, then add 30 minutes every few days until reaching 16 hours. This mimics the lengthening days of spring, triggering faster growth responses in young plants.
9. Maintain Optimal Temperature Range
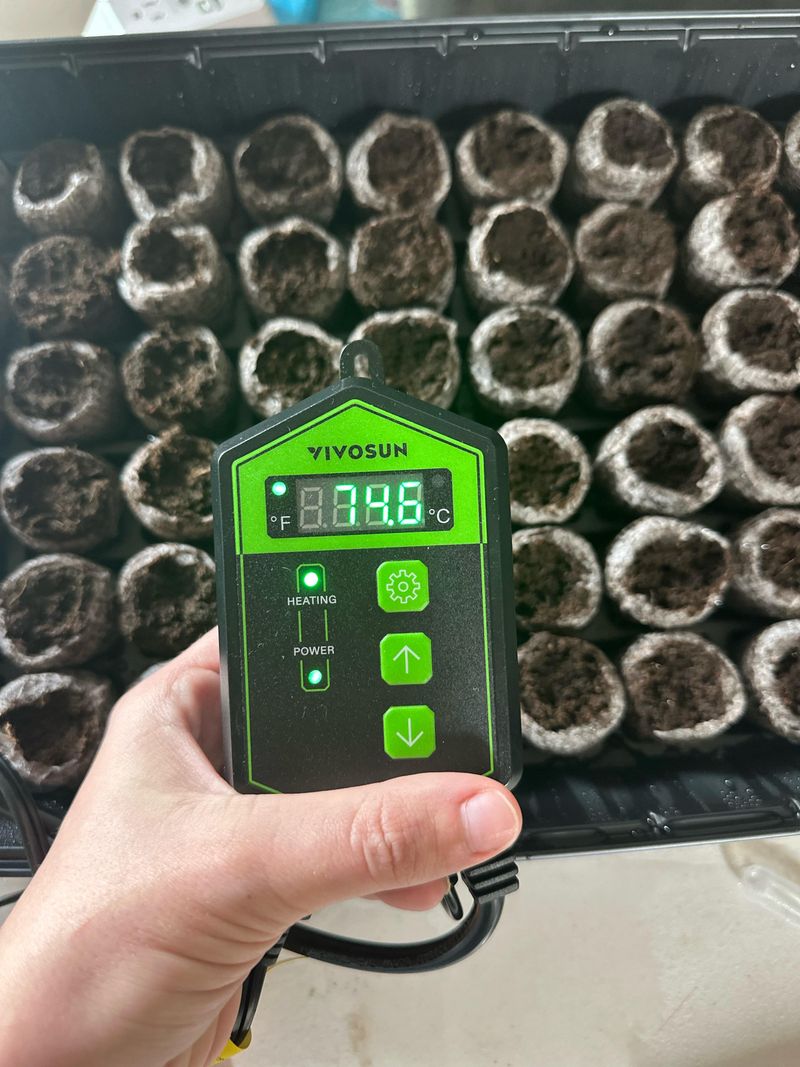
Temperature fluctuations stimulate rose seed germination better than constant warmth. Aim for 70-75°F during daytime and allow temperatures to drop to 60-65°F at night.
Using a seedling heat mat with a thermostat gives precise control over soil temperature. Set it to 70°F during the day, but turn it off at night to create the temperature differential that rose seeds respond to best.
For those starting late, a slightly higher daytime temperature of 75-78°F can accelerate germination without stressing the seeds. Just ensure good air circulation to prevent fungal issues that higher temperatures might encourage. A small fan set on low nearby works perfectly for this purpose.
10. Monitor Humidity Levels Carefully
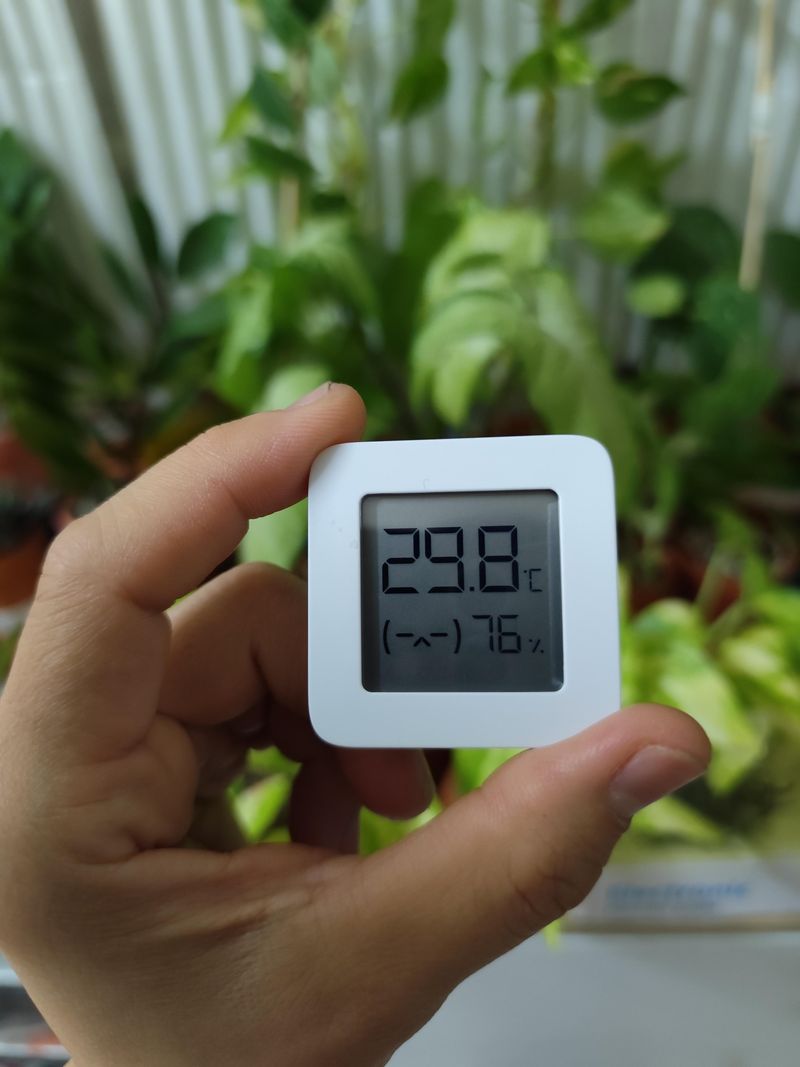
The sweet spot for rose seedling humidity falls between 60-70%. Too dry and germination slows; too wet and fungal problems explode. A simple humidity gauge placed near your seedlings takes the guesswork out of this critical factor.
Morning condensation on your cover is normal, but if water is dripping back onto the soil surface, ventilation needs improvement. Remove the cover for 30 minutes daily to release excess moisture.
Late-season starters should gradually reduce humidity as seedlings grow. This prevents the common problem of humidity-dependent seedlings that struggle when transplanted to drier garden conditions. Decrease by about 5% each week until reaching normal room humidity levels.
11. Master The Art Of Thinning Seedlings
When multiple seedlings emerge close together, removing the weakest ones feels counterintuitive but dramatically improves success rates. Wait until seedlings develop their first true leaves, then use small scissors to snip the weaker plants at soil level.
Never pull unwanted seedlings out by the roots. This disturbs the remaining plants and can introduce disease. The clean cut from scissors allows the chosen seedling to thrive without competition.
For late starters, keep only the most vigorous seedling in each cell or pot. While it seems wasteful, this focused approach channels all available resources to your strongest contenders, giving them the best chance to mature before the season ends.
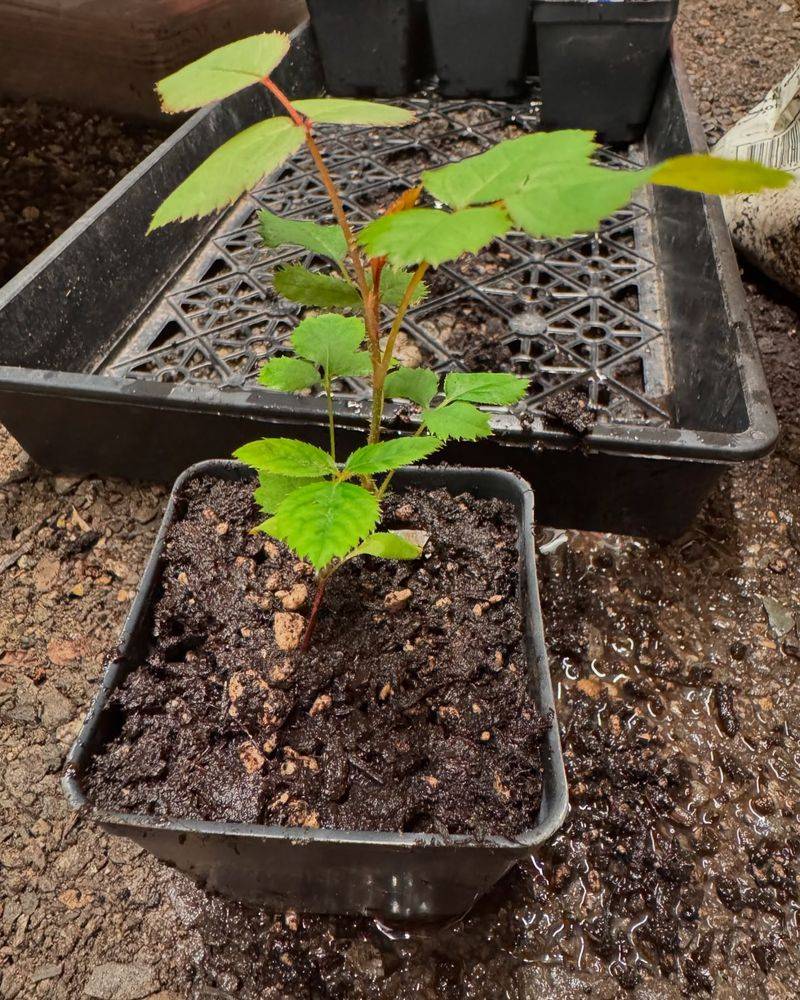
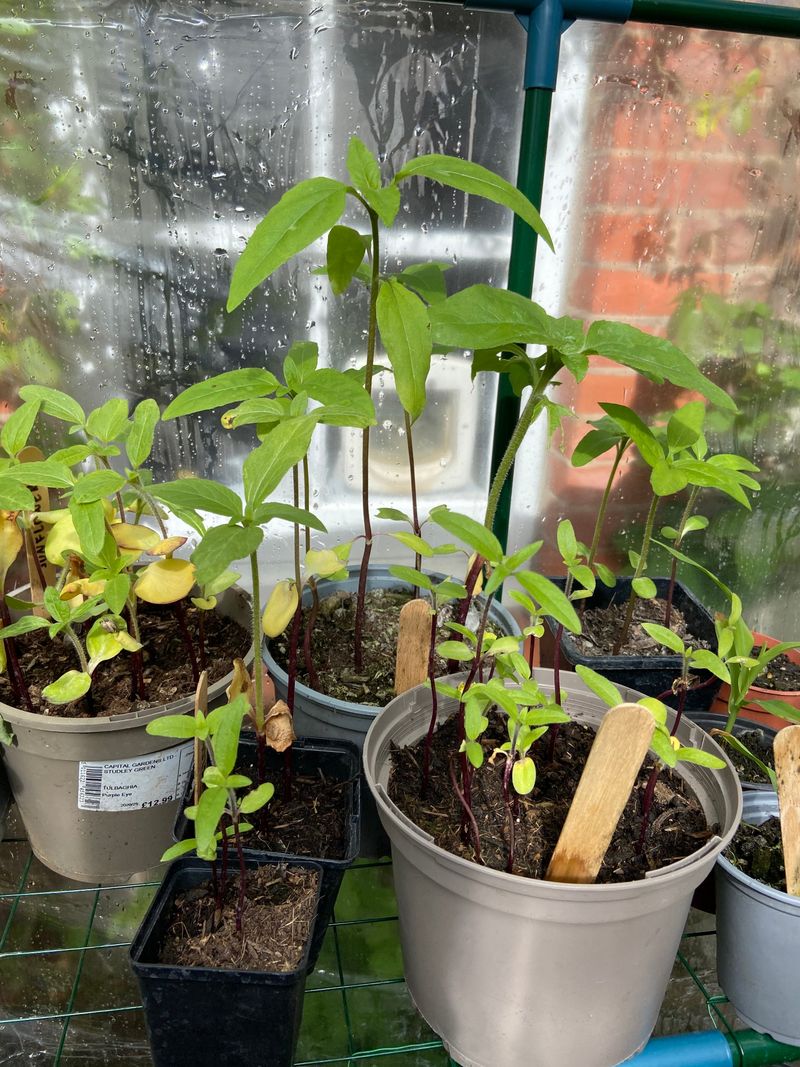
12. Transition To Larger Containers At The Right Time
Timing the first transplant perfectly prevents both stunted growth and transplant shock. Look for the development of the second set of true leaves as your signal—this usually happens 4-6 weeks after germination.
Prepare new containers with a slightly richer soil mix than the germination medium. Adding 20% well-aged compost provides gentle nutrition without the harshness of commercial fertilizers that can burn young roots.
Late-season growers can use slightly smaller pots than normally recommended. A 3-inch pot rather than a 4-inch one encourages quicker root development and allows the plant to establish faster. Just be prepared to water more frequently as smaller containers dry out more quickly.
13. Introduce Fertilizer Gradually
Young rose seedlings need minimal fertilizer until they’re well-established. Introducing nutrients too early can actually hinder root development and cause weak, leggy growth focused on foliage rather than structure.
Begin with a quarter-strength liquid organic fertilizer only after the second set of true leaves appears. Fish emulsion diluted to a pale tea color provides gentle, balanced nutrition without the risk of chemical burn.
For late starters, alternate between regular water and this weak nutrient solution every other watering. This measured approach provides steady nutrition without the growth surges and subsequent crashes that can happen with stronger fertilizers, ultimately creating more resilient plants that catch up more effectively.
14. Harden Off Seedlings Before Outdoor Planting
Abruptly moving indoor-grown seedlings outside often results in sunburn, wind damage, and transplant shock. Begin the hardening off process by placing seedlings outside in a sheltered, shady location for just 30 minutes on the first day.
Gradually increase outdoor time by 30 minutes daily, slowly introducing more direct sunlight over a two-week period. Bring plants back indoors each night until they’re spending full days outside comfortably.
Late-season growers can accelerate this process slightly by using a 5-day schedule instead of 14 days. Start with one hour in dappled shade, then increase by two hours daily while gradually introducing more sun exposure. Just be extra vigilant about wind protection and watering needs during this expedited transition.
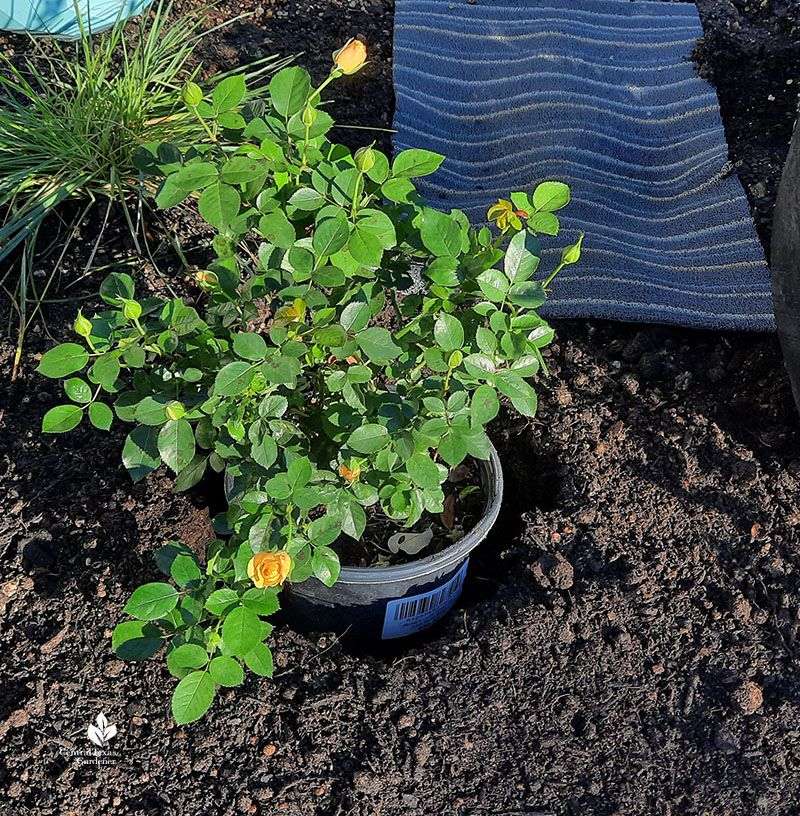
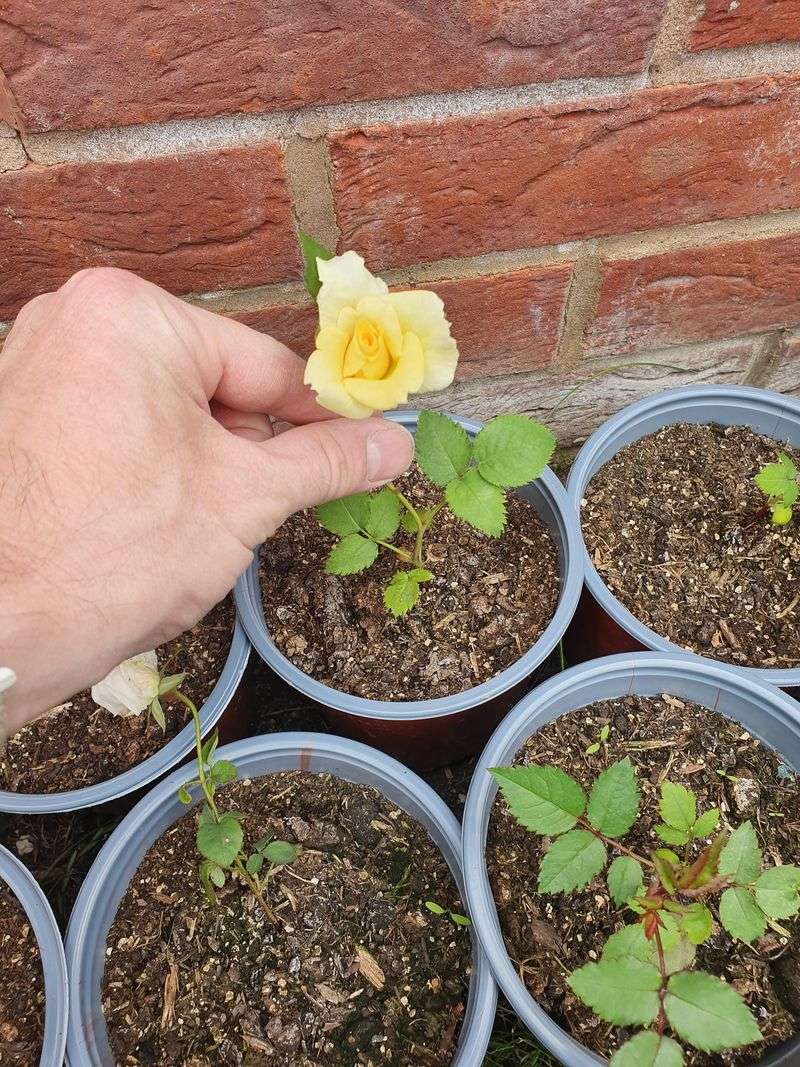
15. Choose The Right Final Planting Location

Location dramatically impacts how quickly your seedlings establish in the garden. Morning sun with afternoon shade creates the ideal microclimate for young roses, providing sufficient light without excessive heat stress.
Plant near established perennials that can provide some wind protection without competing too aggressively for resources. Avoid locations near trees with shallow root systems like maples or willows that will steal water from your developing roses.
For those starting late, consider planting on the east side of a fence or wall. This position maximizes morning sun exposure while providing afternoon shade and wind protection. The structure also radiates stored heat overnight, extending the growing season by creating a slightly warmer microclimate.
16. Provide Winter Protection For First-Year Seedlings

First-winter survival rates improve dramatically with proper protection, especially for late-started seedlings. Apply a 3-inch layer of mulch around each plant after the ground freezes but before severe cold sets in.
Create breathable shields using burlap wrapped around stakes rather than plastic coverings. This protects from desiccating winter winds while still allowing air circulation that prevents fungal issues during winter dormancy.
For extra protection in harsh climates, place a wire cage around each young rose and fill it loosely with dry leaves after the first hard frost. Remove this protection gradually in spring as temperatures warm. I’ve saved countless seedlings using this method during particularly brutal Minnesota winters.