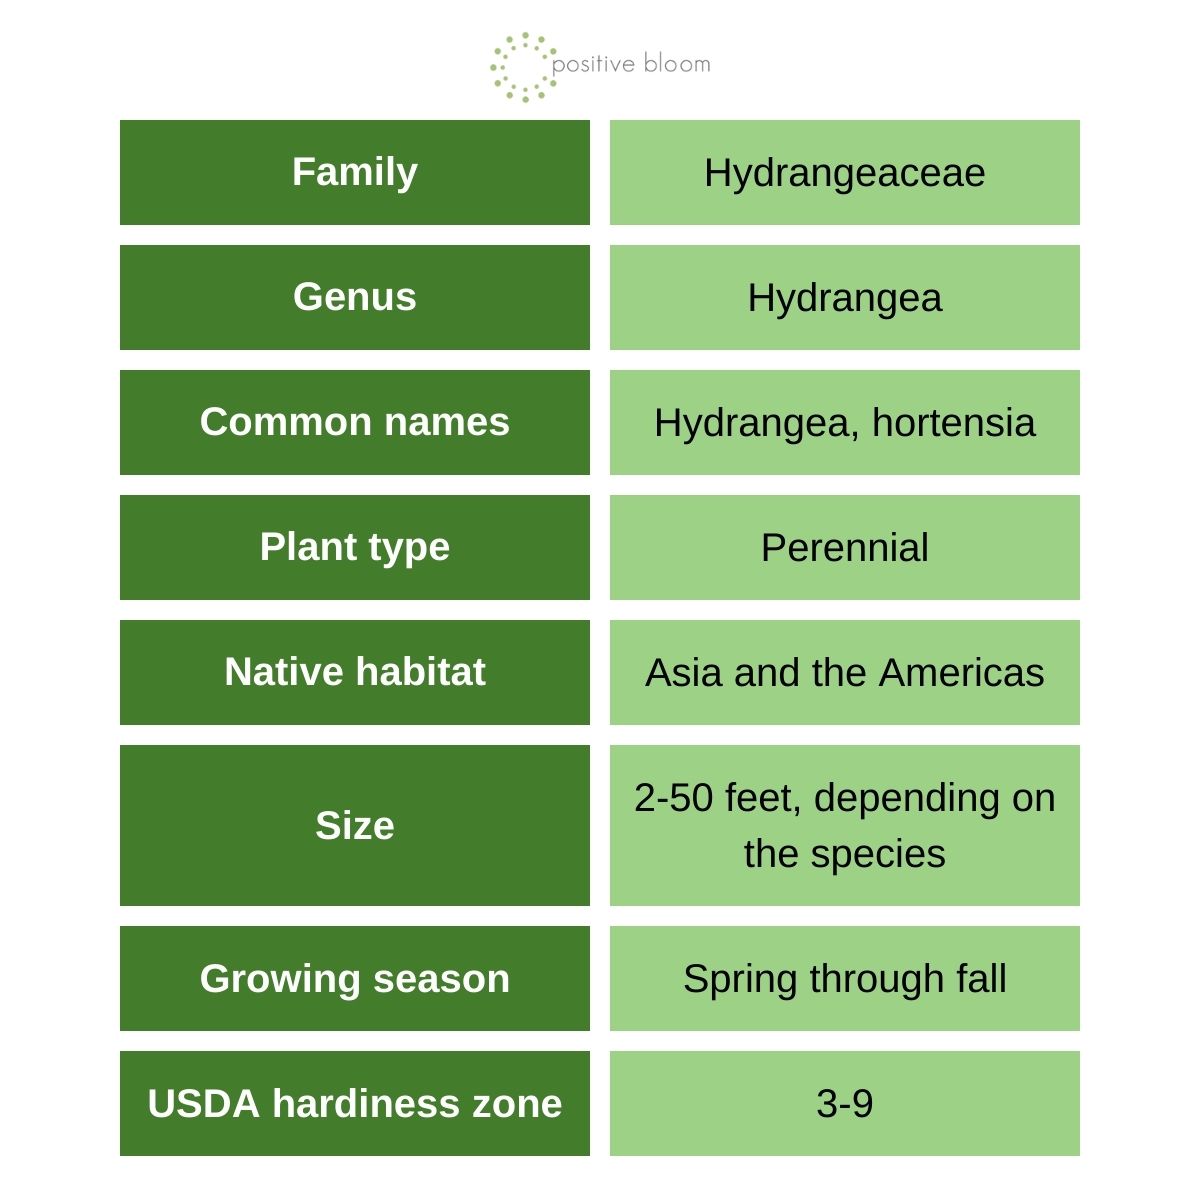
Hydrangea Full Grow Guide (All You Need To Know)
Tell me! Who doesn’t want to feast their eyes on globulus hydrangea flowers?
Their unique ability to change color or remain purely white their entire life is only one reason why we want these flowers in our backyards.
But what about their care? Is it too demanding for novice or busy gardeners?
Not really! You will have to water it frequently, fertilize it occasionally, and prune it once in a while to keep it shapely and looking gorgeous, but that’s about it.
Of course, there are some other things you need to know, such as where and when to plant it, how much sun exposure it requires, etc. I’ll even introduce some tips that will make caring for this shrub a walk in the park, so don’t miss out.
But first, let’s learn some basics about hydrangeas:
Why Grow Hydrangeas?
The reasons to grow hydrangeas are numerous, including amazing benefits for your garden.
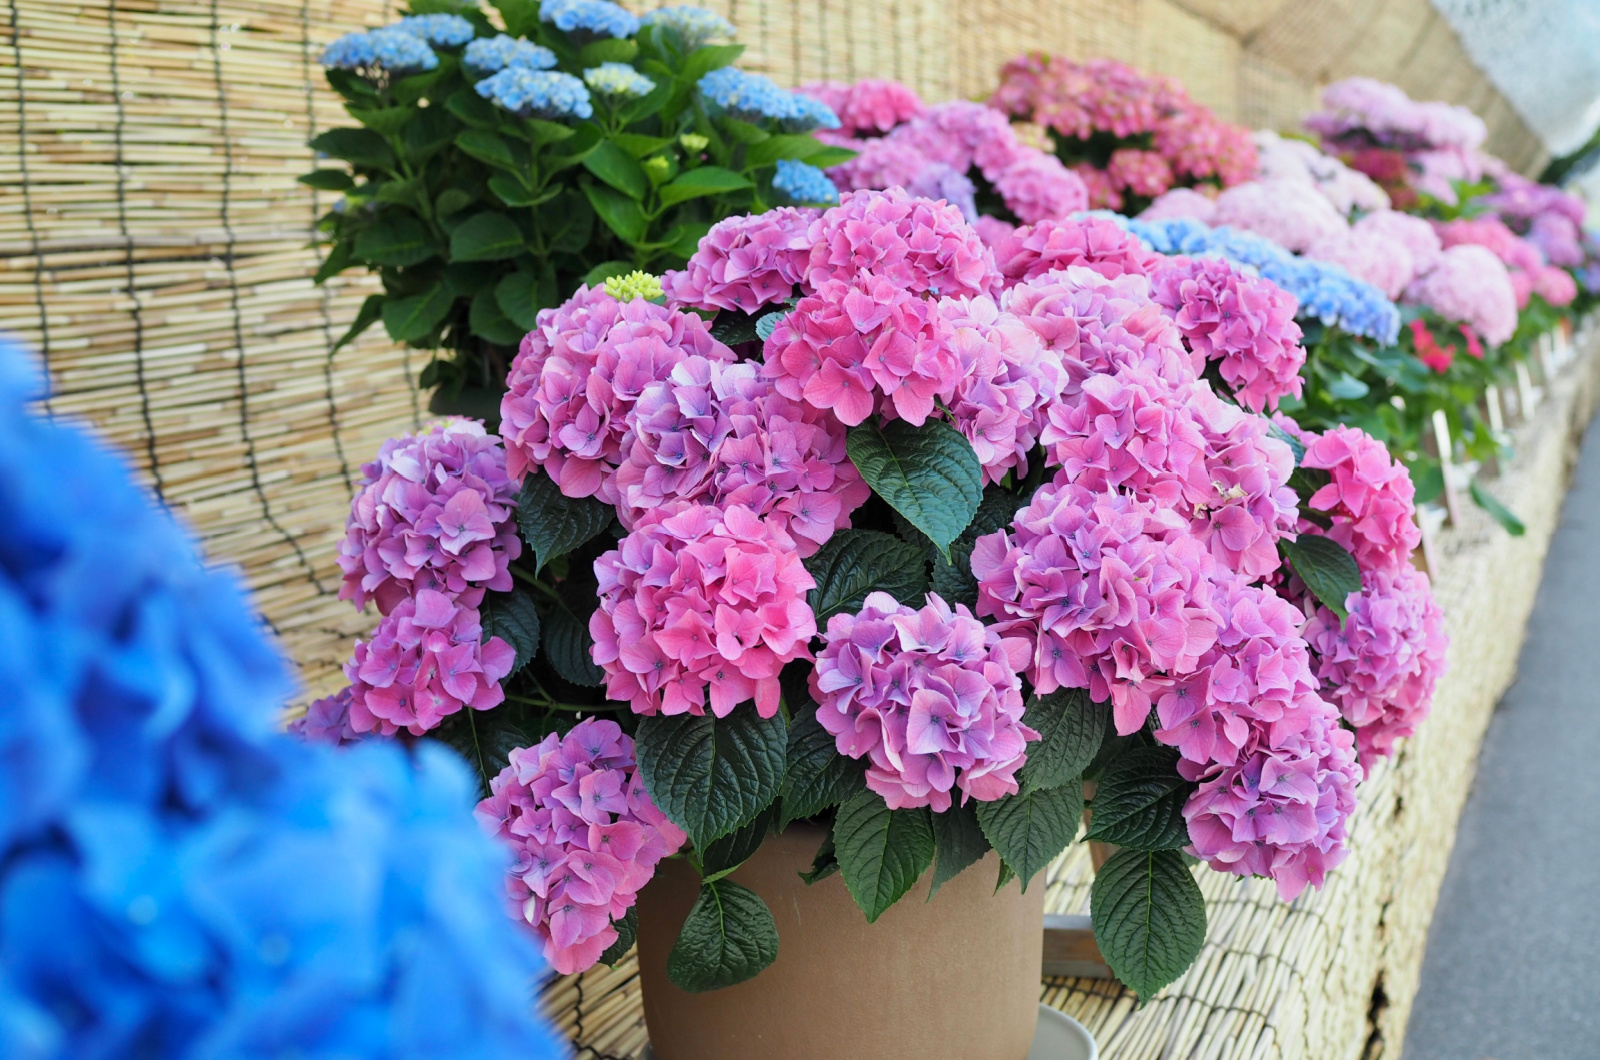
• The globulus flower heads look stunning in any setting and will give your garden a whole new dimension.
• Allow climbing varieties to conceal ugly fences, pillars, and other unsightly parts of your garden.
• One of my favorite things about hydrangeas is that they don’t frequently fall victim to pest attacks.
• Some hydrangea varieties, such as lacecap, climbing, oakleaf, and smooth hydrangeas, can attract bees and other pollinators.
• Hydrangeas are low-maintenance garden plants that are perfect for beginner growers. They don’t require extensive pruning, and the only department where you’ll need to put in more effort is watering.
• Another reason to add hydrangeas to your garden is the fact that you can influence a color change in certain types. It can be an interesting experiment for those whose first love was chemistry, and it can give you a nuanced garden without introducing too many plants.
• This genus is huge, so you’re bound to find a variety or cultivar that thrives in full sun, part shade, or even full shade.
• You can use hydrangeas to define your landscape and set apart certain areas of your garden. Grow a couple of these shrubs and create a gorgeous hedge that separates your pathway from the rest of your garden.
Hydrangea Care Guide
Different types of hydrangeas have different requirements. For instance, pop star hydrangeas do best in dappled shade, while other varieties prefer full sunlight.
Your local conditions also influence the amount of light and water you should give these shrubs, and you can learn all about this in the following sections.
Light Requirements
There are hydrangeas that can tolerate full sun, partial shade, or full shade conditions, but they usually thrive in part sun.
However, this depends on the region you live in. If you live in the northern latitude, give your hydrangeas about 6 hours of direct sunlight. And if you live in a southern latitude, you might be able to get away with just 3 hours of direct light per day.
Some of the best hydrangeas for shade include:
• Big Daddy
• Tara
• Annabelle
• Incrediball
Some of the best hydrangeas for sun include:
• Vanilla Strawberry
• Fire Light
• Little Lime Punch
• Little Hottie
Pro tip: When choosing which variety to get, look at its preferred sun exposure and choose those that can thrive in your garden based on this feature.
Water And Humidity

It is best to adjust the watering requirements to every hydrangea cultivar you get. However, the general rule of thumb is to give these plants around an inch of water per week.
And if you’re lucky enough to live in a rainy region, precipitation will take care of this for you. Just make sure to supplement the water if there hasn’t been enough rainfall.
When watering hydrangeas, always deliver moisture at the ground level and avoid wetting leaves and flowers because that can lead to fungal diseases (if the drops cannot dry out and you do that all the time).
Hydrangeas will wilt in the heat of summer afternoons, but if you’re already giving them enough water, wait until next morning to see if they perk back up.
If not, water them deeply, mulch them to help them retain more moisture and keep their roots cool, and consider covering them with a shade cloth.
Soil And Fertilizer
The perfect soil for hydrangeas is nutrient-rich, loose, and loamy. These plants prefer their medium to be on the moist side, but they need adequate drainage to avoid root rot.
They will also grow in clay soil, but you will have to amend it with some compost and similar materials to make it more draining.
Unlike many other plants, hydrangeas can grow in acidic and alkaline substrates, but the pH level affects their flower color. (They turn blue in acidic and pink in alkaline soils).
Fertilizer
Fertilizing hydrangeas is another important part of taking care of them. The good news is that these plants are hardy and don’t require that much food to begin with, especially if you amended the soil with compost before planting.
But if you want to show off their gorgeous blossoms to your neighbors, you can use a specific hydrangea fertilizer every 1-2 weeks from midsummer till fall to prepare your plant for next year’s flowering.
You can also use well-balanced fertilizers, such as triple 10, and organic matter such as compost to feed your hydrangeas.
The frequency and strength of the plant food really depends on the type of hydrangea you have.
For instance, climbing, panicle, bigleaf, and oakleaf hydrangeas all thrive on well-balanced fertilizer starting in spring. However, the frequency of application differs from plant to plant, so make sure to adjust for all your hydrangeas individually.
Smooth and mountain hydrangeas, on the other hand, benefit from high-phosphorus plant food applied in spring.
P.S. Water these bushes deeply after feeding them to dissolve the fertilizer and make the nutrients more available.
Mulching
I love applying organic mulch, such as compost, pine needles, straw, wood chips, etc., to my hydrangea bushes. This prevents weeds from emerging around them, keeps the soil moist for longer, and maintains cooler temperatures during hot spells.
And since the mulch is organic, it will decompose over time, enriching the soil with nutrients and reducing the need for applying a lot of fertilizer. Just don’t mulch all the way to the stems because that can lead to rotting.
Make sure it is 2-4 inches thick or else the weeds will push right through. And remember to check on it annually because some materials will decompose fast and you’ll need to replenish them.
Staking
It’s not necessary to stake all hydrangea types, but some benefit from this practice, especially in rainy and windy regions.
Climbing varieties are perfect for trellises and are even on the list of best plants to cover fences, so you should stake them.
Other varieties that require staking are those with large flower heads, such as mophead and lacecap. They would flop whenever it rains or blows otherwise.
When staking hydrangeas, drive large stakes into the soil about 4-6 inches deep and make sure they’re standing firm. Just be careful because sticking anything into the soil like this can damage the roots.
Tie the stems to the trellis, but don’t overcrowd the flower heads or you might reduce the airflow and risk fungal diseases.
Pruning And Deadheading
The good news is that hydrangeas are not pruning junkies, which means you can keep this chore to a minimum.
If you have a variety that blooms on new wood (smooth and panicle hydrangeas), you can give them a light trim in early spring before they set new buds.
And to keep these types in shape, simply prune the end of each branch.
You can also give these hydrangea varieties an aggressive trim before their growing season starts if you want to rejuvenate them. Trim to about a foot from the ground in late winter and they’ll flower that same year. Just make sure not to remove more than 1/3 of the plant.
If you have hydrangeas that bloom on old wood (bigleaf, oakleaf, and climbing), you should prune them immediately after they’re finished flowering.
These varieties set their flower buds in fall and if you prune them then or in early spring, you’ll remove all the buds and get a shrub without blossoms.
Deadheading
There are a couple of reasons why you might want to deadhead your hydrangeas.
1. The spent blossoms don’t look neat. You can remove them and give your shrub and entire garden a tidier appearance.
2. Wilted flower heads will go to seed, and you can leave a couple of them for this purpose. However, remove most of them so that your plant can use its energy for other processes.
3. Deadheading makes room for a new flush of blossoms if you have a reblooming hydrangea.
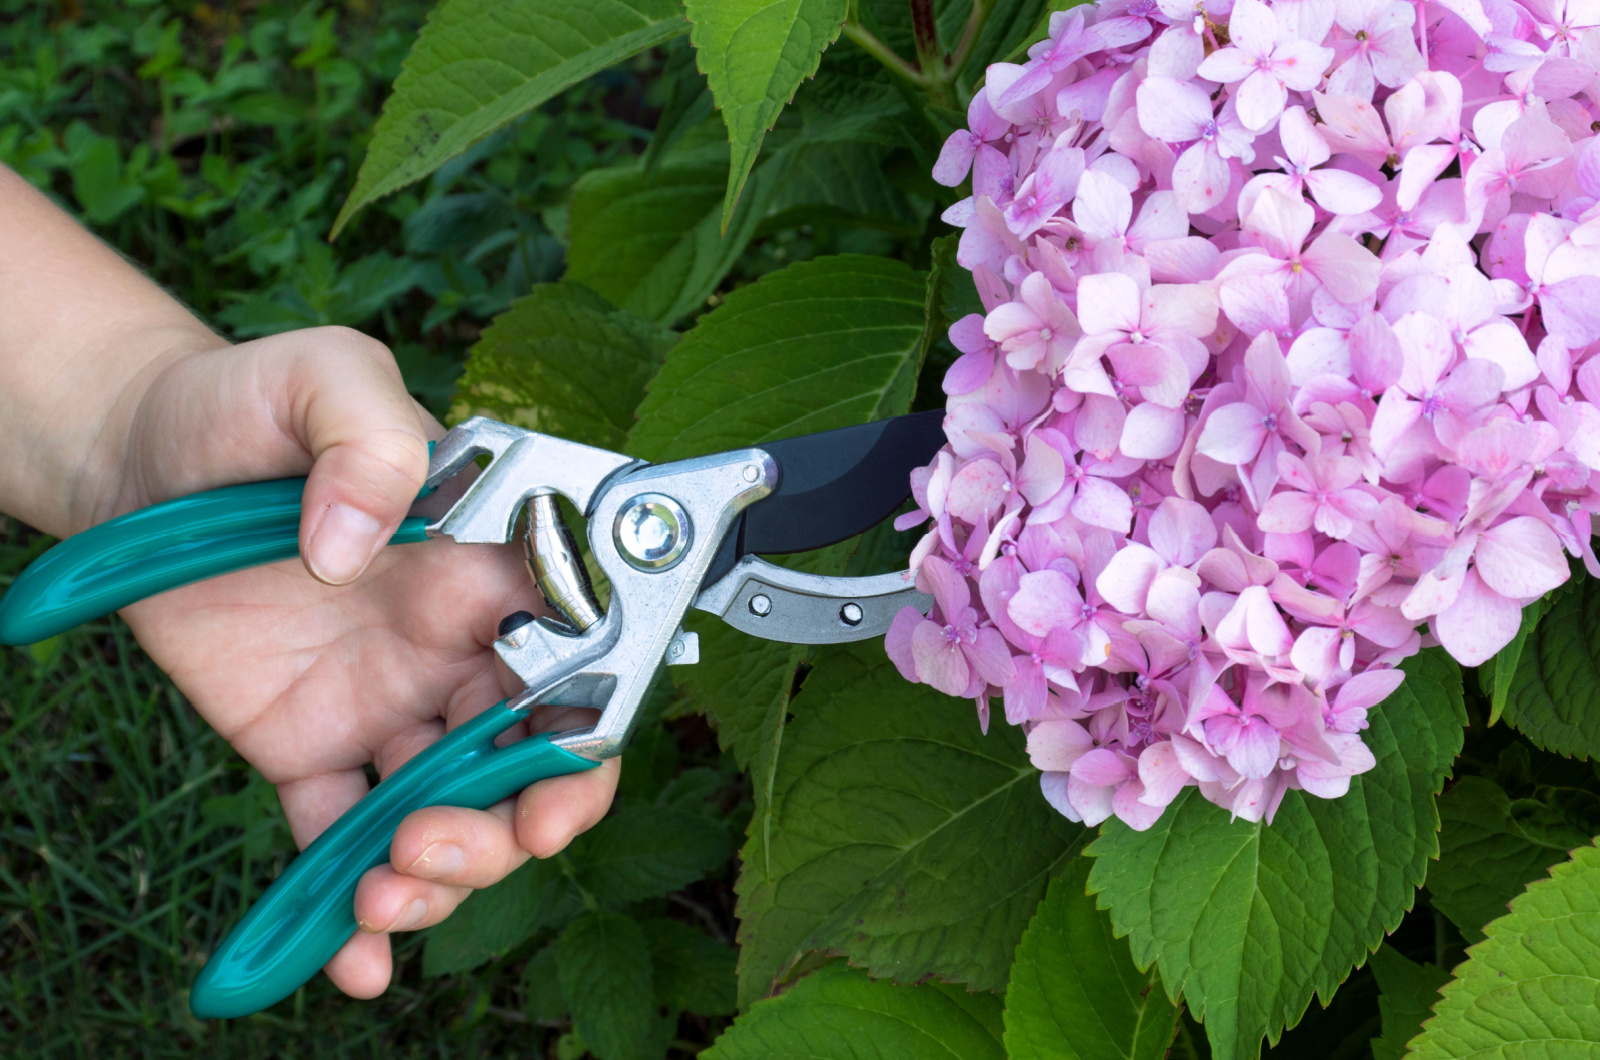
And the best part about this technique is that it’s fairly easy to do. Simply take a flower head and snip it between the top foliage. Soon your bush will look neat and reblooming varieties will start pushing out new blossoms.
Propagation
You can get new hydrangeas at your local nursery or garden center, or you can propagate your own.
There are many plant propagation methods, but we’ll consider growing hydrangeas from seeds, cuttings, and dividing the mature plants.
From Seeds
You can easily grow hydrangeas from seed, so why not try it yourself?
Step 1. Collect the seeds by tying a paper bag around the spent flower head. Wait for the bloom to dry out and then shake the bag to release the seeds from their capsules.
Now you can store the seeds in a dry and cool place or you can start them immediately.
Step 2. Fill a nursery pot or try with a seed starting mix.
Step 3. Scatter the seeds on top and don’t cover them with soil because they need light to germinate.
Step 4. Place the nursery pot or tray in a warm location with plenty of direct sunlight or use grow lamps to help them germinate.
Step 5. Use a sprayer to water the seeds. Pouring water over them will likely wash them away or cover them in soil. Keep the soil moist and in about 2 weeks, the seeds should germinate.
Step 6. When your plant grows a bit, you should start hardening it off before transplanting it to alleviate the transplant shock. Take it outdoors to a sheltered location and leave it there for about an hour before taking it back indoors.
Continue doing this every day, increasing the amount of time your plant spends outside until it can last an entire day and night outdoors in its final location.
Step 7. After hardening your hydrangea, you can transplant it to its new home, whether it’s in the ground or in a container.
Step 8. Remember to keep your newly planted hydrangeas well moisturized until they establish.
Pro tip: When germinating the seeds, cover them with a humidity dome or a plastic wrap to trap moisture inside and prevent the soil from drying out. If that happens, germination won’t succeed. And remember to uncover them every couple of days to let some air in.
From Cuttings
If you can’t wait for the seeds to develop, you can always take some hydrangea cuttings and propagate your plant this way.
Step 1. Take one large cutting and cut it into a few smaller ones so that each part has at least one leaf node.
Step 2. Leave only one leaf per cutting and cut it in half (they’re going to fall off later anyway).
Step 3. Place your cuttings in water for about half an hour before planting them in the soil.
Step 4. Dip them in rooting hormone or an antifungal powder to prevent them from developing diseases.
Step 5. Fill nursery pots with a seed starting mix and plant your cuttings, one in each planter.
Step 6. Water the cuttings deeply, keep them moist until you notice new growth, and move them to a warm spot away from direct sunlight.
* I find that covering them with a plastic bag or humidity dome works excellently for looking in moisture and preventing them from drying out. Just make sure the leaves don’t touch the bag because it can lead to rotting.
Step 7. In about 2 weeks, you should notice new leaves developing and old ones falling off, which is the sign that your plants have taken root.
Step 8. In a few more weeks, your hydrangea should grow even more, develop more foliage, and even produce flower buds. Transplant it to a larger container or harden it off and move it outdoors.
Here you can find more tips and discover why it’s important to keep the cuttings moist at all times:
By Division
Dividing hydrangeas is another great way of propagating them. You can dig up the entire plant and divide its roots or you can just remove some shoots you find on the outskirts of your bush.
Dividing The Whole Plant
Step 1. Irrigate your hydrangea bush thoroughly a day before dividing it to loosen the soil and make the process a bit easier.
Step 2. Plan how you will divide it before digging. You’ll see stems grouped together, so you can tie them up to make digging and dividing a piece of cake.
Step 3. With a spade, dig a large circle around your bush to avoid damaging the roots. You’ll need to dig at least 12-18 inches deep before being able to uproot the plant.
Step 4. Push the spade beneath the roots and pry them up. Try not to damage the root system, but if it’s not possible, you can cut the stubborn roots.
Step 5. Remove the dirt around the root ball and use your hands to divide it. You’ll find some junction points where you can make incisions and separate the hydrangea. Use an ax if the roots are really tough.
Step 6. Transplant the divided plants into a spot you chose for them and make sure to keep them consistently moist until they establish.
Sometimes, hydrangeas will take their sweet time recuperating from this invasion and you might not see them flowering within the same year.
This is your cue not to panic and wait for the next season. Once the shrub develops a proper root system, it will divert its energy into producing flower buds.
Removing The Shoots
Step 1. Look for young shoots on the outer side of your hydrangea bush.
Step 2. Use a trowel to dig around the shoot to reveal its roots.
Step 3. After digging up the plant and revealing its root system, you can cut the roots and separate the shoot from the mother plant.
Step 4. Backfill the soil around the original hydrangea and transplant the new one to the designated spot.
One of the benefits of this approach is that you don’t have to dig up the entire plant, so it’s not as labor-intensive as dividing the whole shrub.
It will also put less stress on your hydrangeas, which is always a good thing.
Planting Hydrangeas
The perfect time for planting your hydrangea bushes is in fall, although you can do this in early spring, too. Fall planting will give your shrubs enough time to develop a strong root system before blooming.
You can grow these plants in containers or in the ground, and I’ll discuss both planting techniques in the following sections.
In Containers
Growing hydrangeas in pots is fairly easy, whether you start them from seed or nursery plants.
Once the plant is firm and strong enough to handle the transplant, you can repot your hydrangea in a large container.
Step 1. The first step of growing hydrangeas in containers is finding one with a diameter of at least 18 inches because these plants need plenty of room to grow. Also, larger containers will hold more water, so you won’t have to worry about your hydrangea drying out.
Another thing to consider is getting a planter with drainage holes. Even though these plants love moisture, they still need proper drainage so that they don’t get all clogged up and susceptible to root rot.
I love using planter caddies for my potted hydrangeas because this invention allows me to move them easily whenever I want. They might not be that heavy in the beginning, but give them some time and see what happens.
Step 2. Once you find a suitable container, fill it with a humus-rich, loose, and well-drained potting mix.
Step 3. Make a hole and place your hydrangea in it, fill it all the way up with more growing medium, and water it deeply.
Remember to irrigate your hydrangea regularly until it establishes, or rather until you notice it putting on new growth.
P.S. Even huge pots dry out faster than the ground, so make sure to water your potted hydrangeas a bit more frequently than your in-ground ones.
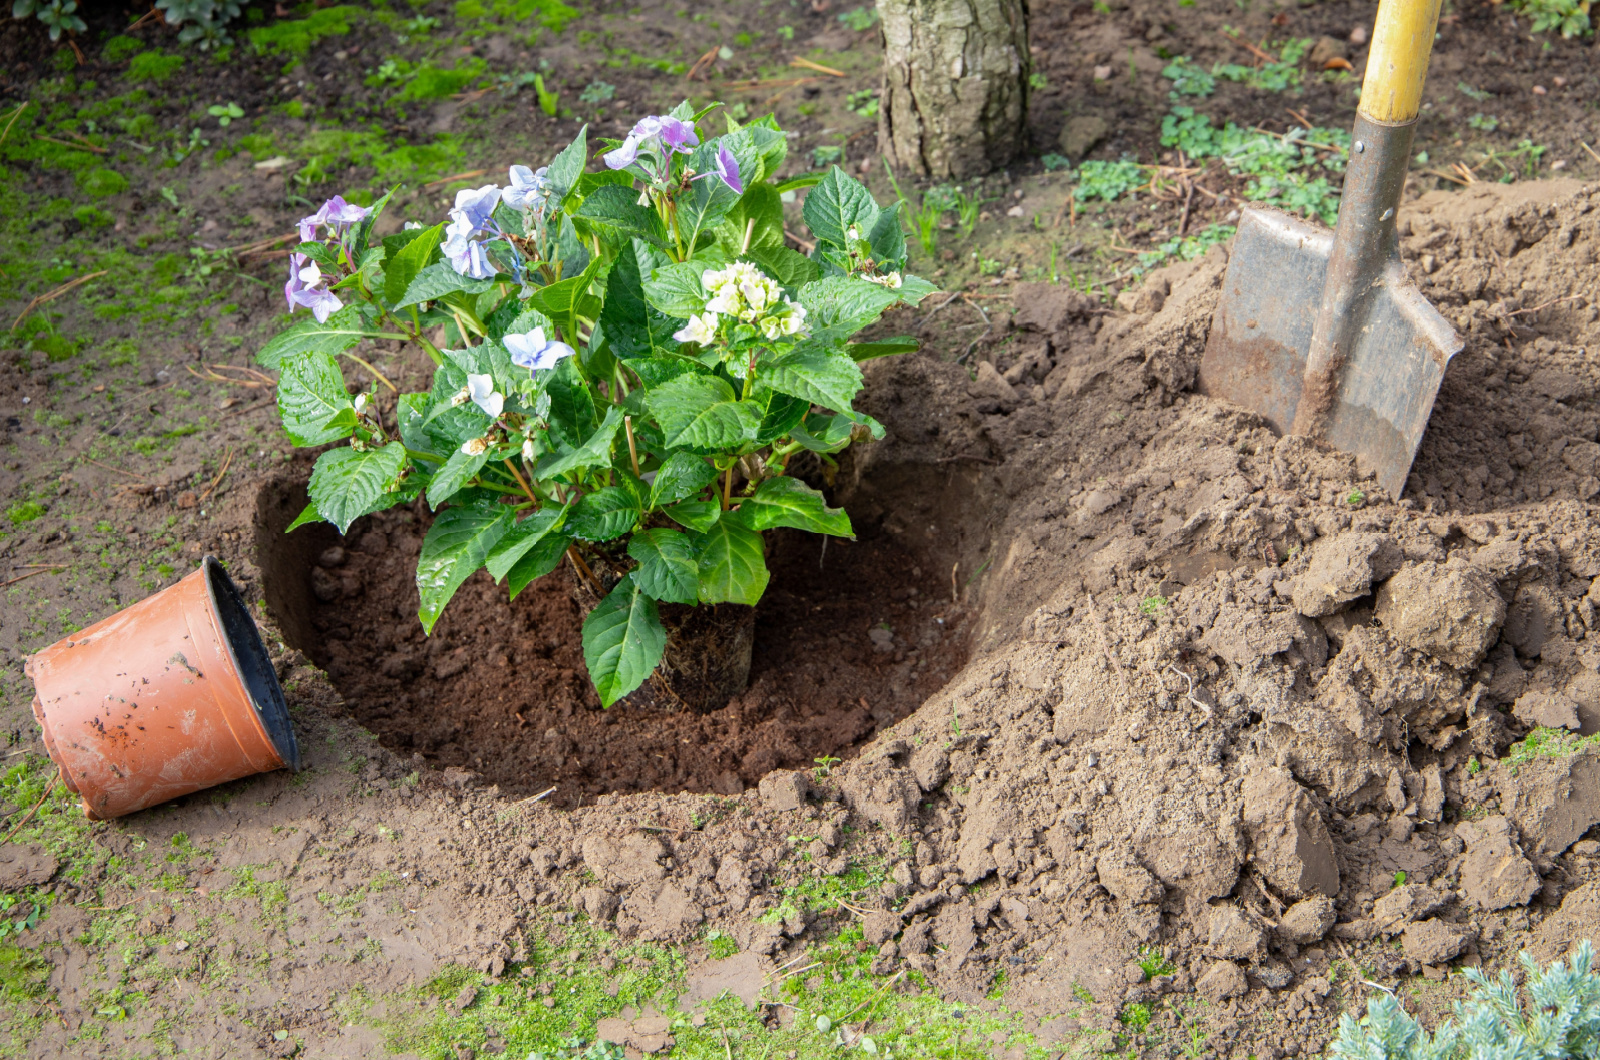
In The Ground
Planting hydrangeas in the ground is very similar to planting them in containers, although you need to take a few more variables into consideration.
Step 1. The first thing you need to do is find a perfect location for your hydrangea. Take its light requirements into account and go from there.
Step 2. Amend the soil with compost because these shrubs love fertile substrates. This material also helps with drainage, which is important for hydrangeas.
At this point, you can modify the pH level of the soil if you have color-changing hydrangeas. Adding some acidifying agent will turn its blossoms blue, while lime makes the flowers of these shrubs pink.
Step 3. Dig holes deep enough to accommodate the entire root system and two times wider than the entire root ball.
Step 4. Place the hydrangeas into holes and fill them with soil half way up.
Step 5. Water the plant deeply, wait for the substrate to soak it up and settle, and then backfill the remaining soil.
Step 6. Water your plants deeply.
Make sure to give your bushes a little extra water until they establish, and then switch to your regular routine.
Common Pests & Diseases
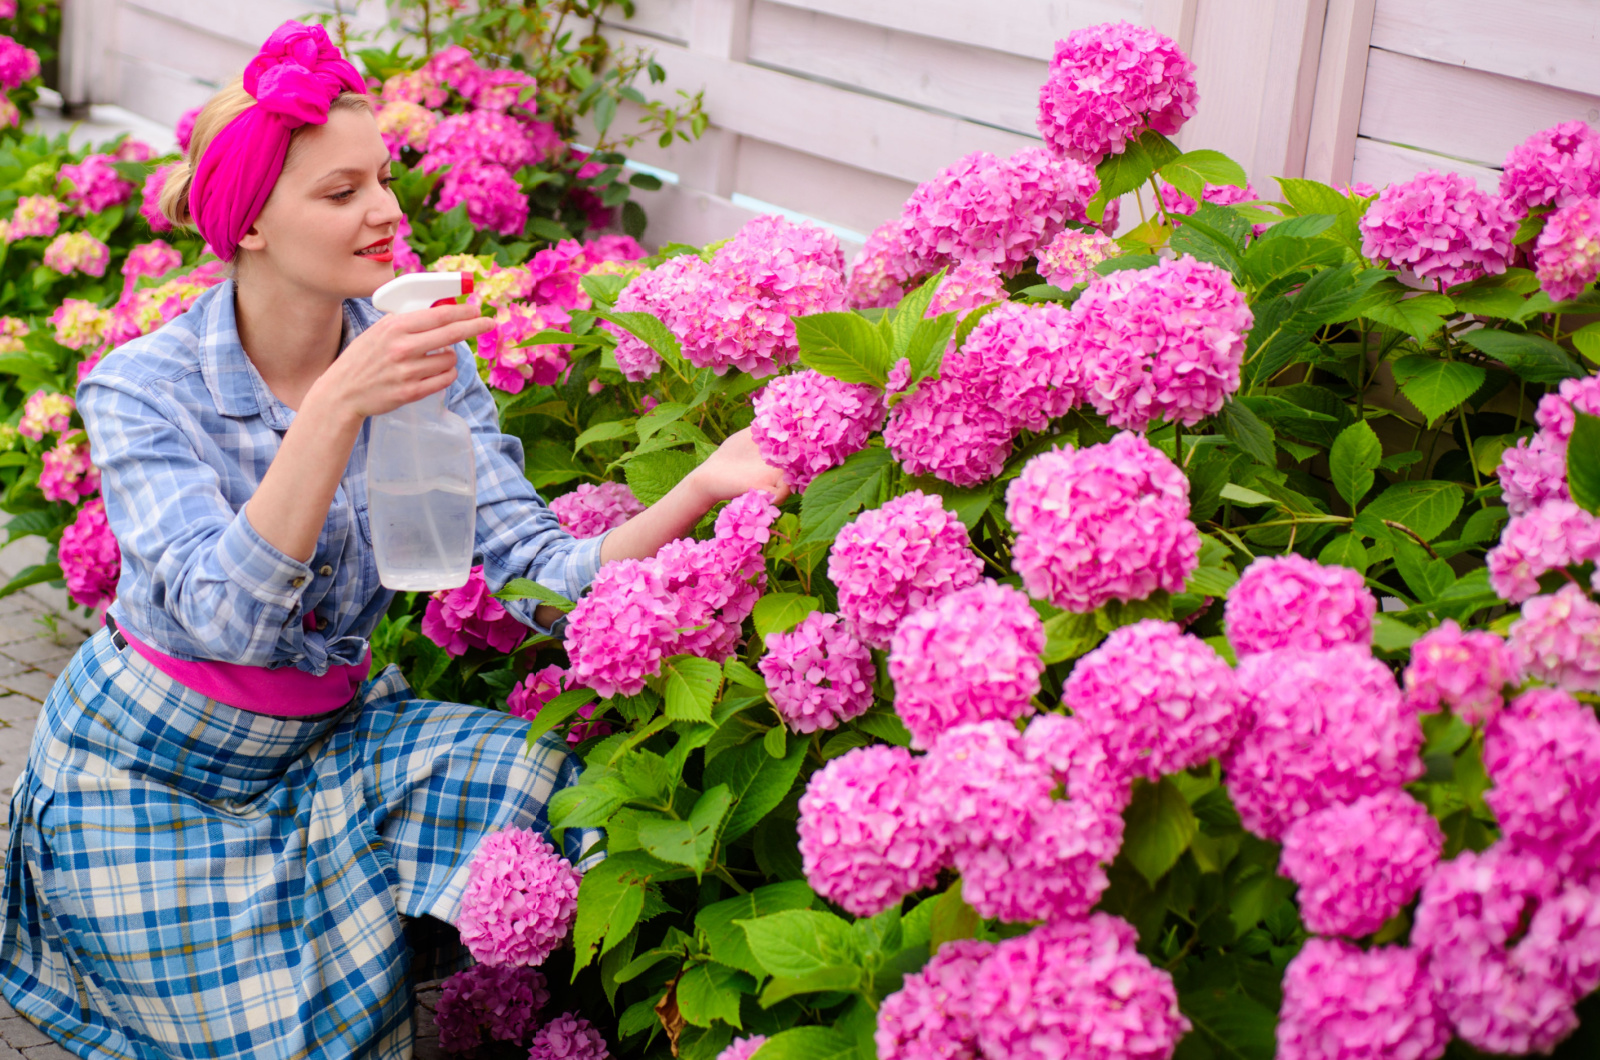
Some of the most common hydrangea diseases include wilt, powdery mildew, blight, and leaf spot, and you can avoid all of them by giving your plant enough airflow.
If you notice any of them, remove the infected parts and discard them (don’t compost them or they may infect your other plants) and introduce more air circulation by pruning and avoiding overhead watering.
You also might have to deal with wilting due to environmental issues, but there are easy ways to revive wilted and drooping hydrangeas.
The good news is that hydrangeas don’t generally fall victim to pests, but if the plant is weak due to transplant shock, diseases, or some environmental causes, these nuisances can infest it.
Some of the common pests that attack this shrub include spider mites, aphids, hydrangea leaf tiers, Japanese beetles, rose chafers, black vine weevils, four-lined plant bugs, etc.
You can get rid of them with horticultural oils or natural pesticides.
Additionally, snails, slugs, deer, and rabbits can also wreak havoc on your hydrangeas, so make sure to set some traps and grow plants that repel them.
More About Hydrangea Blossoms
Hydrangeas typically bloom in spring and summer, but you’ll find varieties with a longer blooming period that extends into fall.
Their blossoms usually last for a few weeks. And if you hate seeing these shrubs empty, get a reblooming variety that will reward you with another flush later in the season.
Another way to extend the blooming season is by planting hydrangea types with different blooming times so that you have a colorful garden all season long.
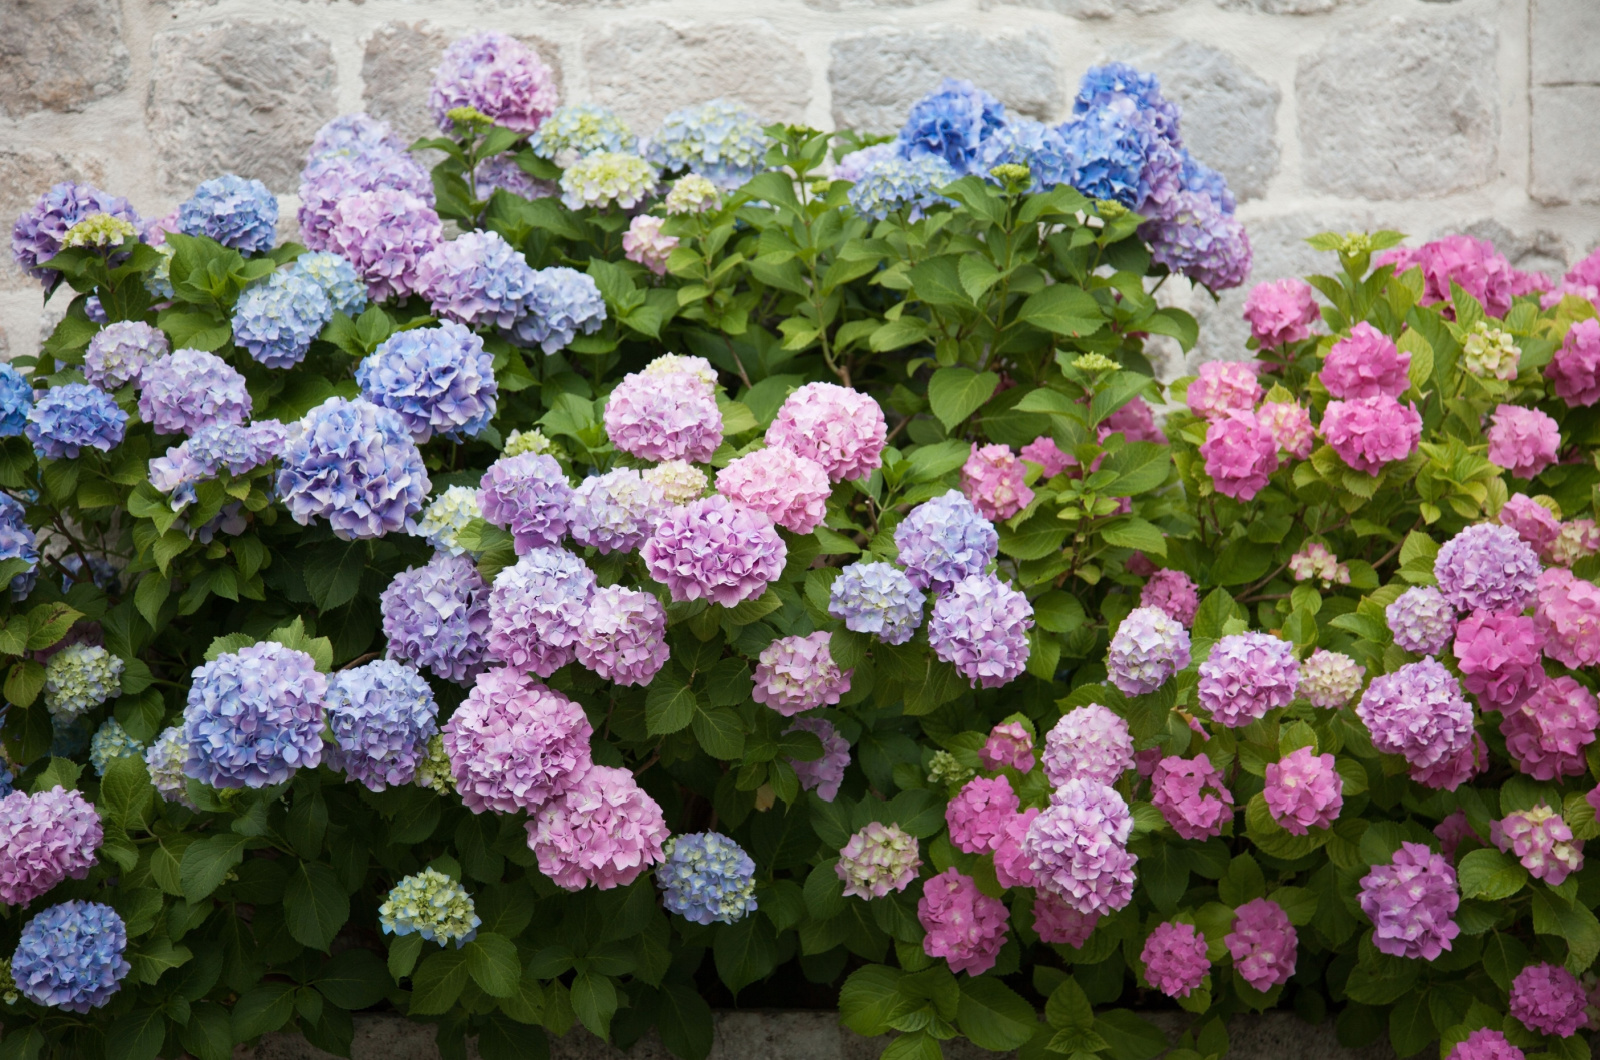
Changing Hydrangea Flower Colors
Did you know you can change hydrangea flower colors from blue to purple, pink, or even red? Of course, not all species can do this, but if you have bigleaf and mountain hydrangeas, you can experiment with this.
Acidic soils make these types blue, and the more alkaline the soil, the warmer their tone becomes, changing from purple to pink and perhaps even red.
But why does this happen?
Because of aluminum. This element is more mobile in acidic soils and reacts with the plant, turning it blue. (1)
Here’s what color you can expect at given soil pH values:
4.5 pH: Blue
5.5 pH: Cool purple
6.0 pH: Warmer purple
6.8 pH: Pink
7.0 pH: Red
Therefore, make the soil more acidic by adding some aluminum sulfate to turn your hydrangeas blue or increase the alkalinity by sprinkling some lime to make them purple, pink, or red.
However, you should bear in mind that the color won’t always be uniform, so you can expect to find blue, purple, and pink petals in your hydrangeas.
Popular Varieties
There are many types of hydrangea plants you can grow in your garden, and it all depends on the conditions you have to work with.
Choose ones for full sun, part shade, or full shade, depending on your light exposure, and go from there.
Here are some options:
• Little Lime – This dwarf variety is perfect for planters because it doesn’t get that large. Dark green foliage reveals light green blossoms throughout the summer.
• Sundae Fraise – This panicle hydrangea cultivar comes with pink-white blossoms and can tolerate full sun conditions, so it’s perfect for warmer climates.
• Tea of heaven – This lilac-bloomed variety grows best in partial shade, although it can tolerate full sun if you keep it moist at all times. Too much sunlight, however, can burn its foliage and make it limp, so be careful.
• Vanilla Strawberry – The strawberry blossoms of this hydrangea are ideal if you’re looking for a focal point for your garden. The frothy flowers with dark and light pink shades topped with some white are perfect to grow among grasses or in perennial flower beds.
And with its 6 feet of height, it can give you all the privacy you desire.
• Bobo – Another dwarf panicle hydrangea, only this one clads itself in purely white flowers come spring. Plant it in containers or in rock-decorated flower beds and make sure it gets full sun or partial shade.
• Climbing hydrangeas – These plants are perfect for hiding any unsightly part of your garden. And you’ll be glad to hear that they can tolerate even full shade conditions, although their colors won’t be as vibrant. Keep them in part sun for the best display.
• Nikko Blue – Ever dreamed about deep blue hydrangeas? Try this cultivar and keep it in partial shade (or full sun if you live in cooler climates).
• PeeGee hydrangea – Provide the PeeGee hydrangea with a minimum of 4 hours of direct sunlight each day and it will reward you with snow-white flowers that turn pink as they grow older. This 15-foot tall variety easily turns into a privacy screen and is hardy in zones 3-8.
• Double Down – If you love double blooms, then this hydrangea variety is perfect for you. This particular plant has a long blooming season, extending from summer through fall, and will decorate your garden with pink or blue flowers.
• Tiny Tuff Stuff – This cultivar leans towards a blue shade, but it can surprise you with pink and white blossoms. It is perfect for pots and has topped flower heads instead of classic rounded ones.
• Quick Fire – Starting out as white, the Quick Fire hydrangea turns red as it matures and keeps that shade throughout periods of frost. Add it to your container garden, use it as a hedge, or mass plant it for a unique experience.
Landscaping With Hydrangeas
You can easily incorporate hydrangeas into any landscape, whether it is a modern front yard design or a natural garden.
Here are some ideas!
• Pathway borders. Large and colorful hydrangeas are perfect for lining walkways. Plant them on both sides of your pathway and enjoy their colors as you stroll through your garden.
• Fence lines. Grow climbing hydrangeas to cover up your unsightly fences or plant a bush variety to accentuate your garden’s beauty.
• Curb appeal. Hydrangeas will really grab your attention from the street, so why not increase your home’s value by planting a couple of shrubs here and there? They will attract potential buyers and give your home the look it deserves.
• Container plants. This plant is an excellent choice for pots because it doesn’t get that large and can quickly introduce some color to your garden or patio. And you can move it around if you find a better place for it.
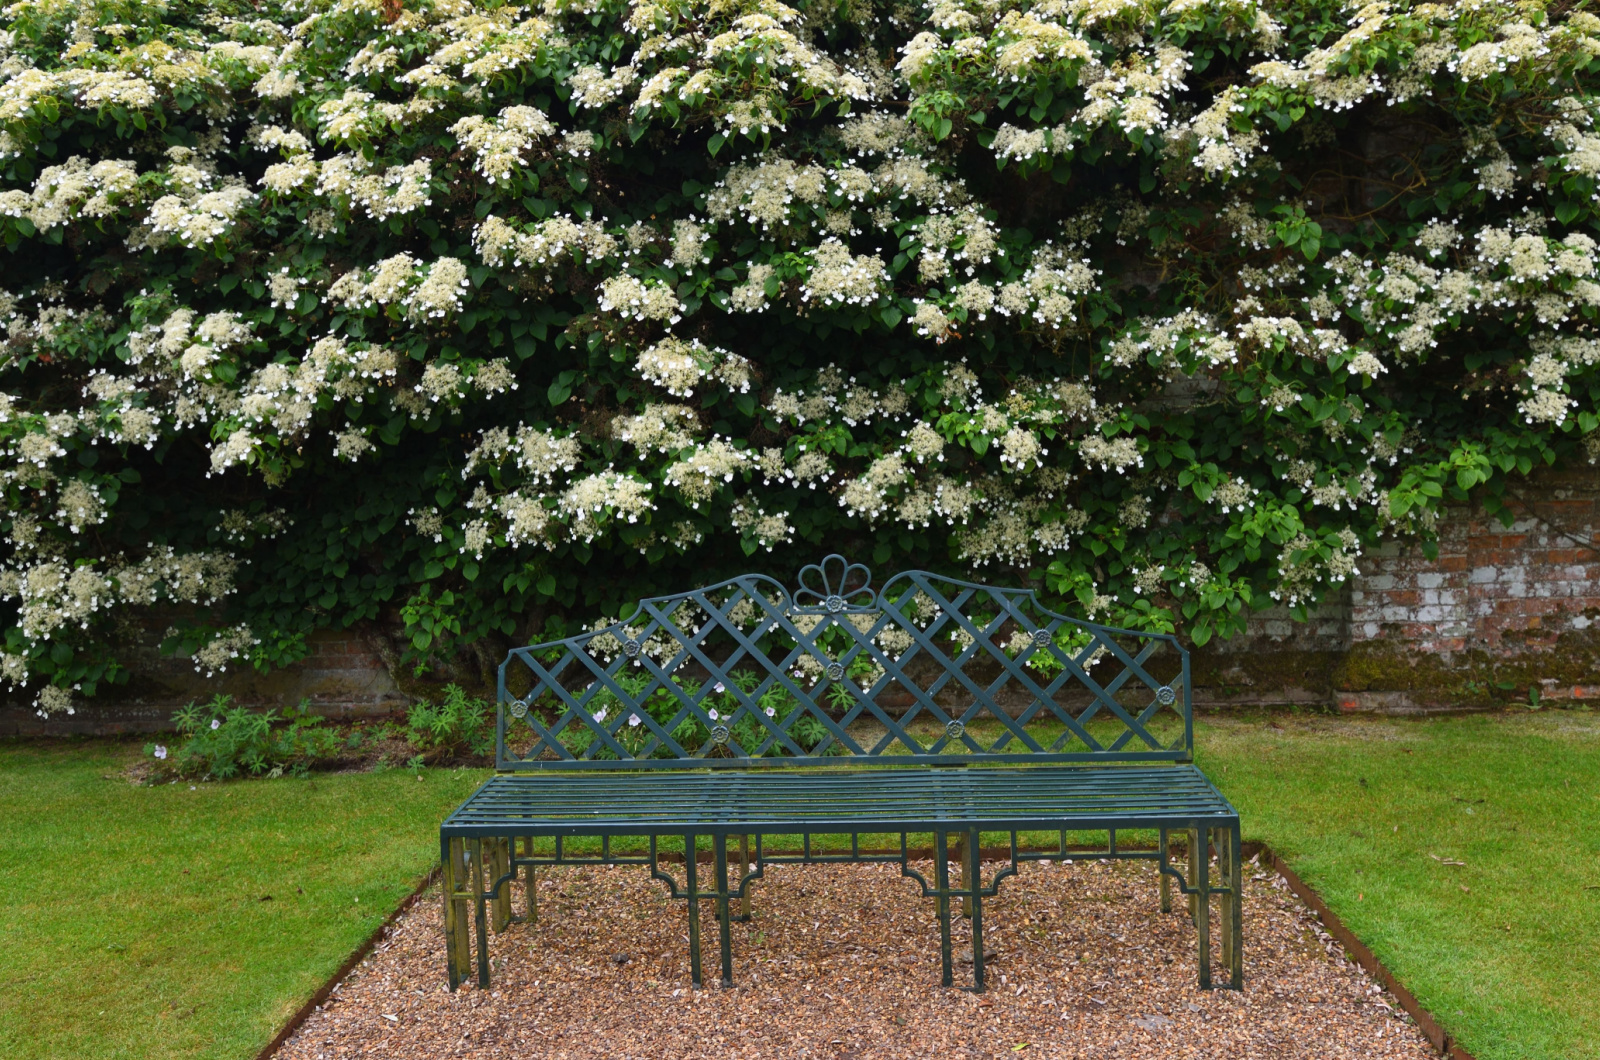
• Bench frame. Give your garden the romantic look it deserves and plant a couple of hydrangea bushes around benches. It will turn any bench into a relaxing retreat and give you some privacy, too.
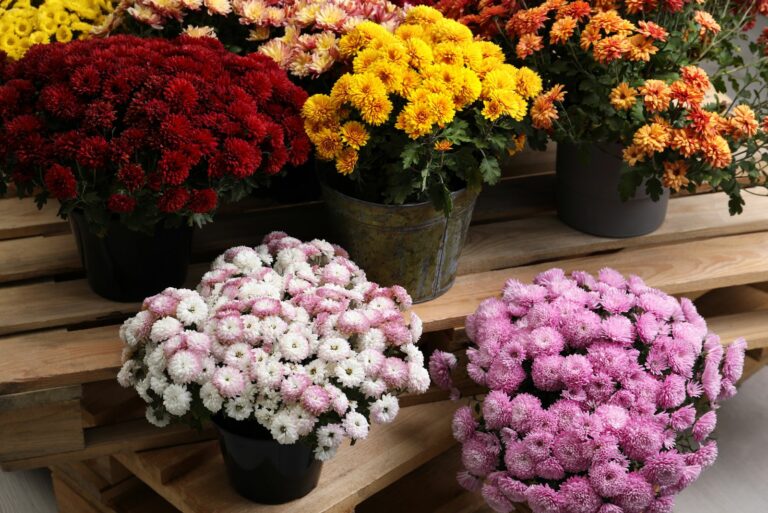
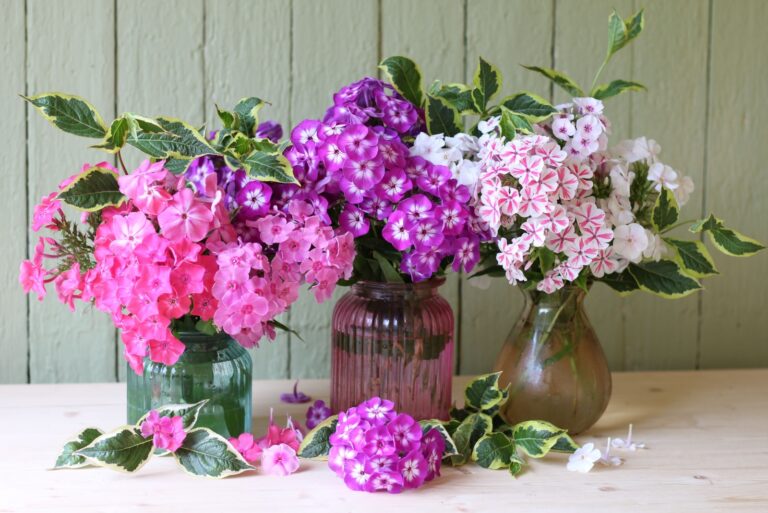
Companion Planting
There are quite a few hydrangea companion plants, and here are some breathtaking combinations you can try.
• American boxwood – Create a unique hedge by combining American boxwood with hydrangeas. Together they’ll give your garden a wild look and provide a perfect privacy screen.
• Azaleas – This shrub is a perfect companion for blue hydrangeas because both love acidic and moist soils. And their blue and pink shades will accompany each other nicely.
• Coral bells – Another plant that loves acidic soil and blue hydrangeas is the coral bells. Pair them with ferns and azaleas, and you’ll get a fairy tale garden that can become a home to bees, butterflies, and hummingbirds.
• Dogwood – Both dogwoods and hydrangeas have similar light requirements, so you can grow these two shrubs together. Pink and white dogwood flowers make an elegant contrast to the blue hydrangeas since both plants thrive in acidic conditions.
• Ferns – Evergreen ferns, such as the Japanese painted fern and Maidenhair spleenwort, are perfect companions for hydrangeas. Pair the first one with blue and the second one with pink hydrangeas and enjoy this unique combo.
• Ornamental grasses – Japanese forest grass, fountain grass, maiden grass – these are all suitable options you can grow with your hydrangeas and provide them with a picturesque frame.
References:
1. Schreiber, H. (2017). Curious Chemistry Guides Hydrangea Colors. American Scientist.