20 Expert Tips For Picking The Right Fertilizer For Seedlings (Without Overdoing It)
Starting plants from seeds is like raising babies – they need just the right nutrition to thrive without being overwhelmed. I’ve killed more seedlings with kindness than I care to admit, dumping on fertilizer thinking ‘more must be better’ only to watch them wither away.
Getting your seedling nutrition right is actually pretty simple once you understand what those little green sprouts really need. The tricky part is restraint – knowing when to hold back when those seedlings look a bit pale.
After years of trying (and plenty of crispy seedling disasters), I’ve gathered these practical tips that’ll help you feed your baby plants just enough to thrive without going overboard.
1. Know When To Start Fertilizing
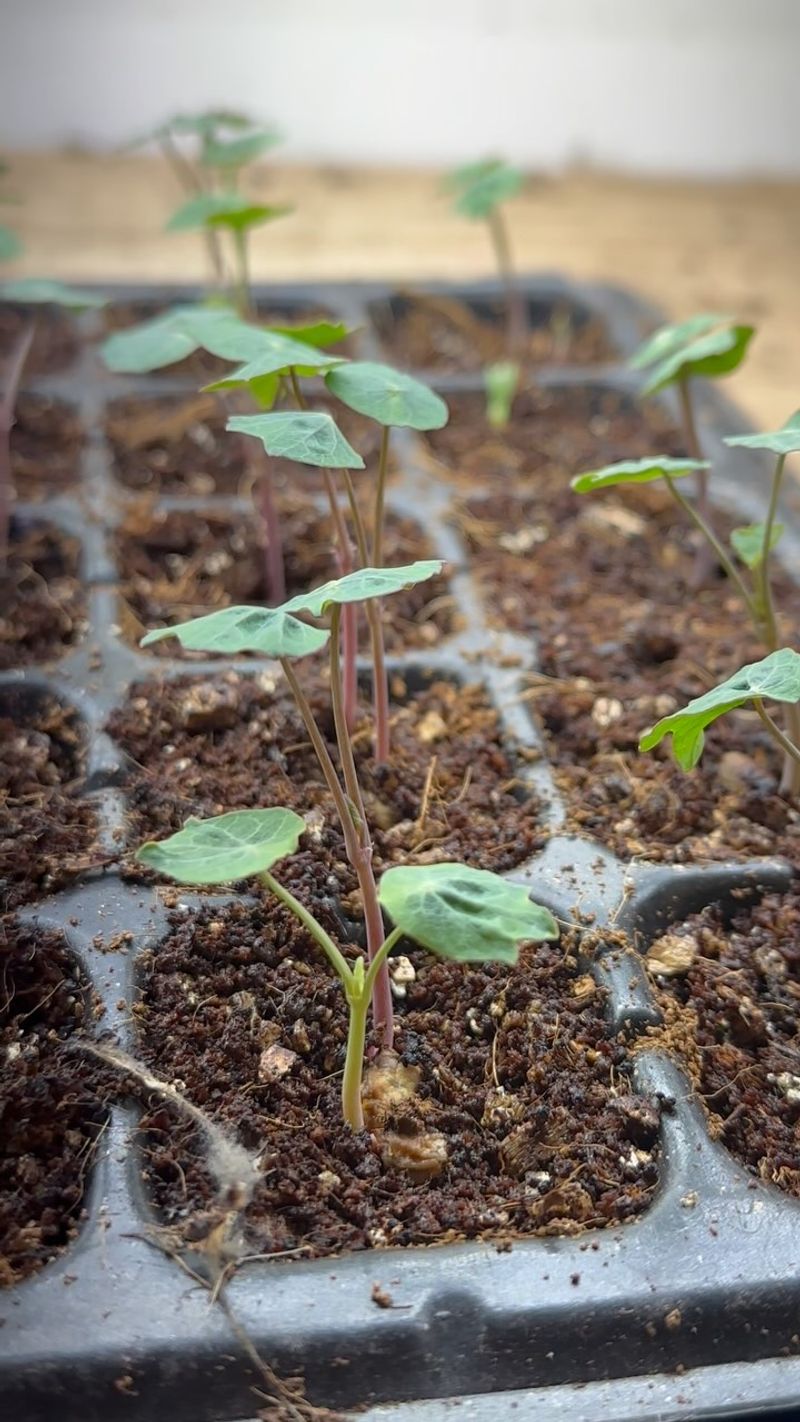
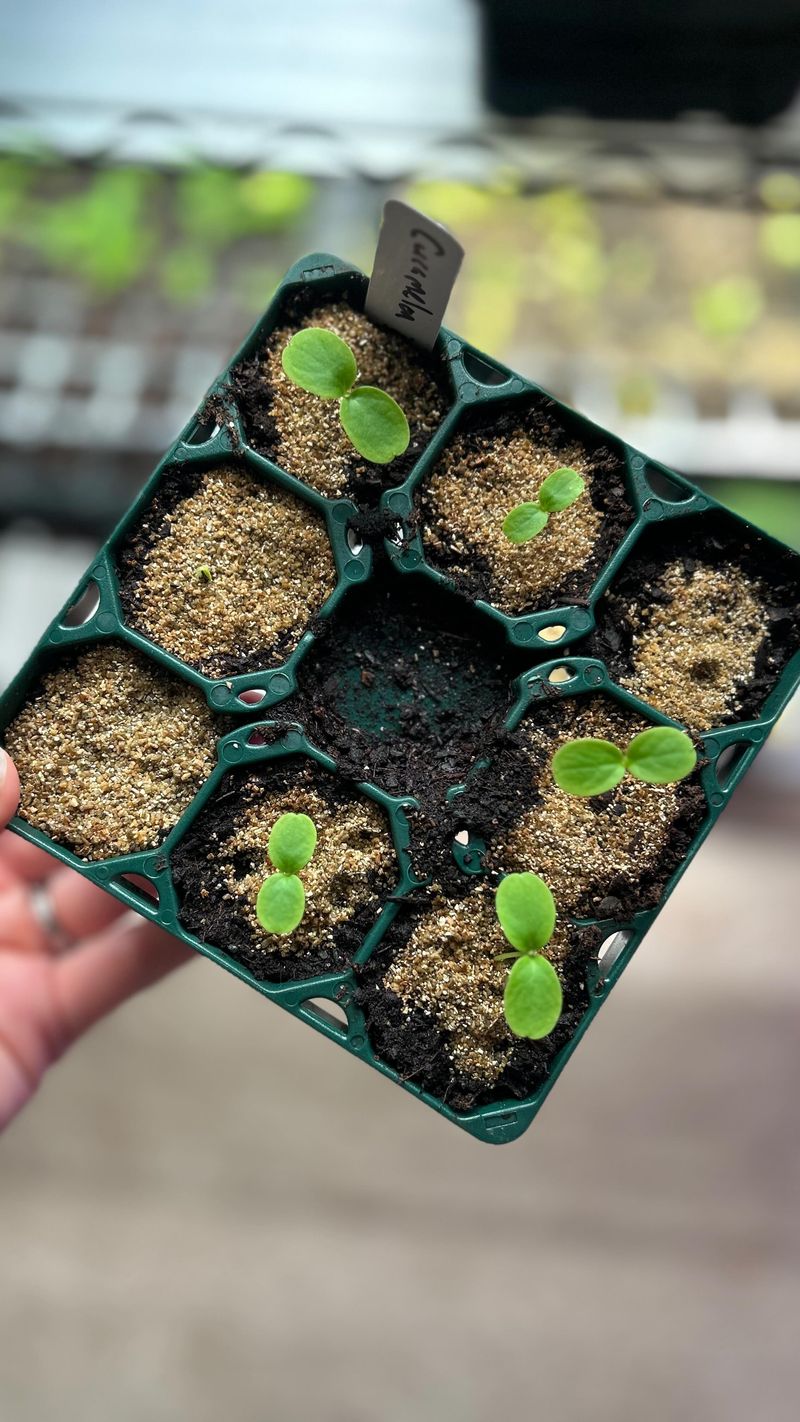
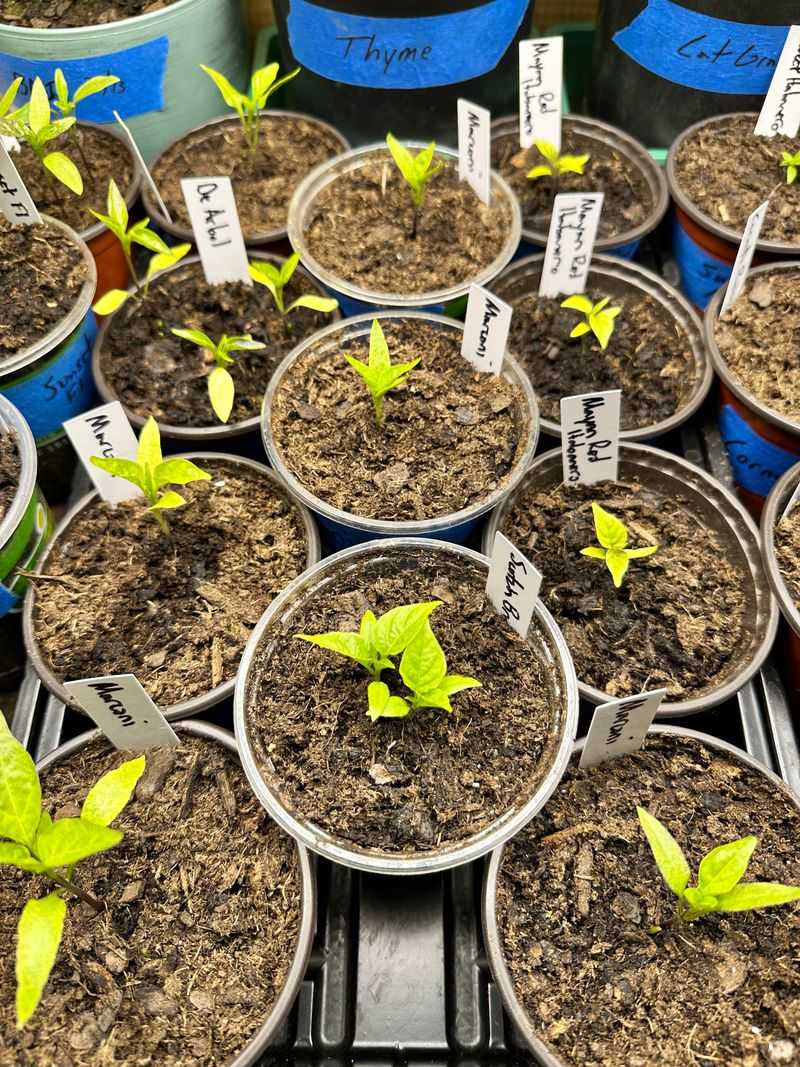
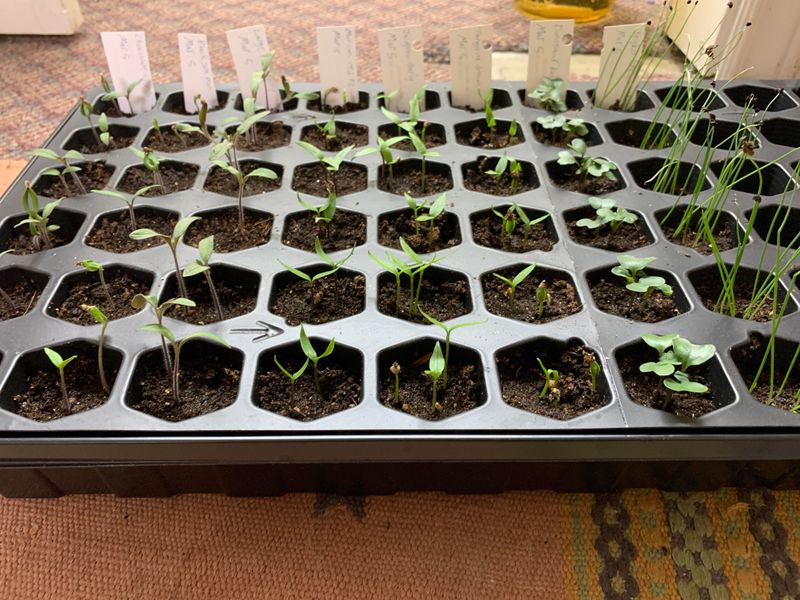
Your seedlings don’t need fertilizer right away. They’re like little food storage units, carrying everything they need in those seed leaves (cotyledons). I used to rush in with fertilizer the moment they sprouted, then wondered why they looked burned!
Wait until your seedlings develop their first true leaves before introducing any fertilizer. These true leaves look different from the initial seed leaves and signal that your plant is ready to start feeding from external sources.
Most seedlings can go 2-3 weeks after germination before needing any additional nutrients. Patience here prevents a lot of problems down the road.
2. Read The Seed Packet First
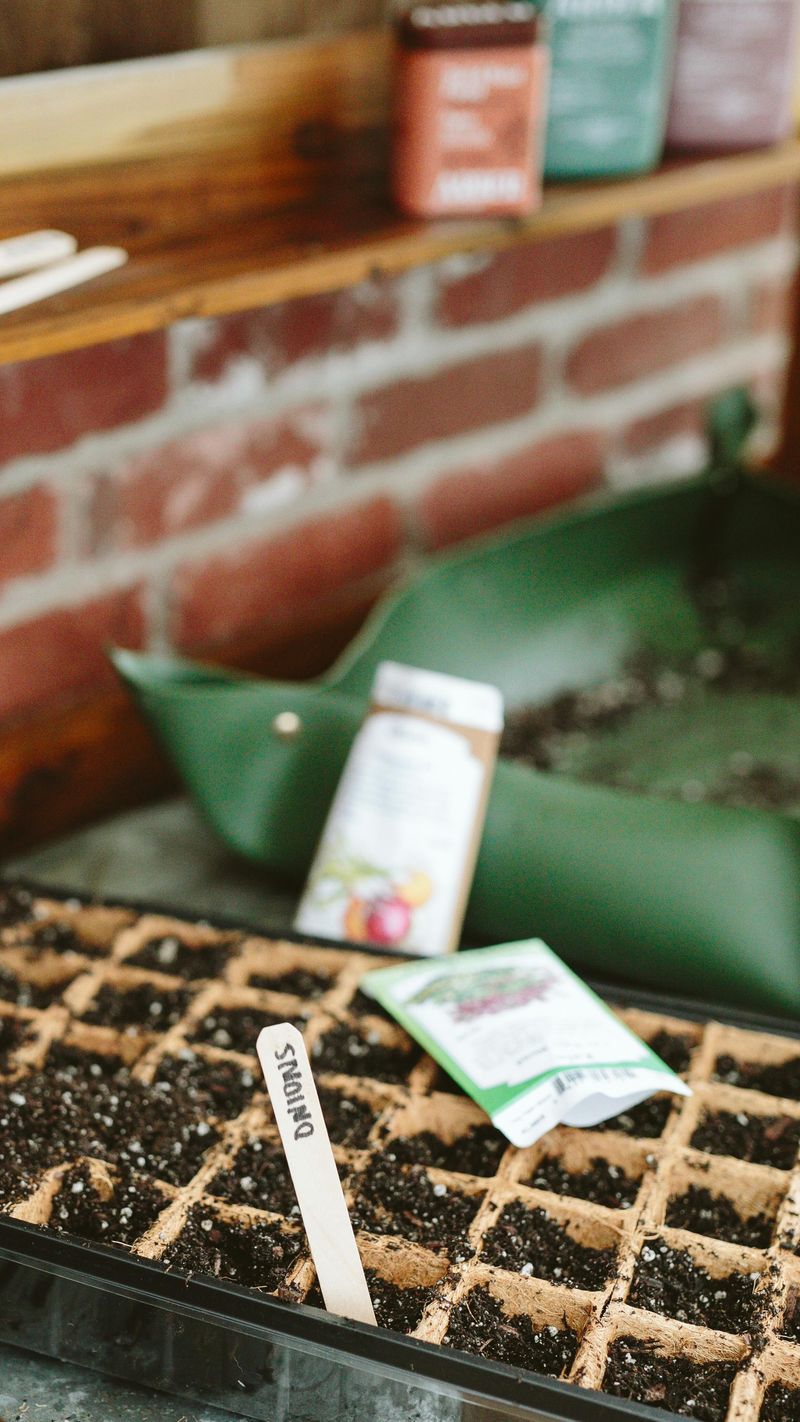
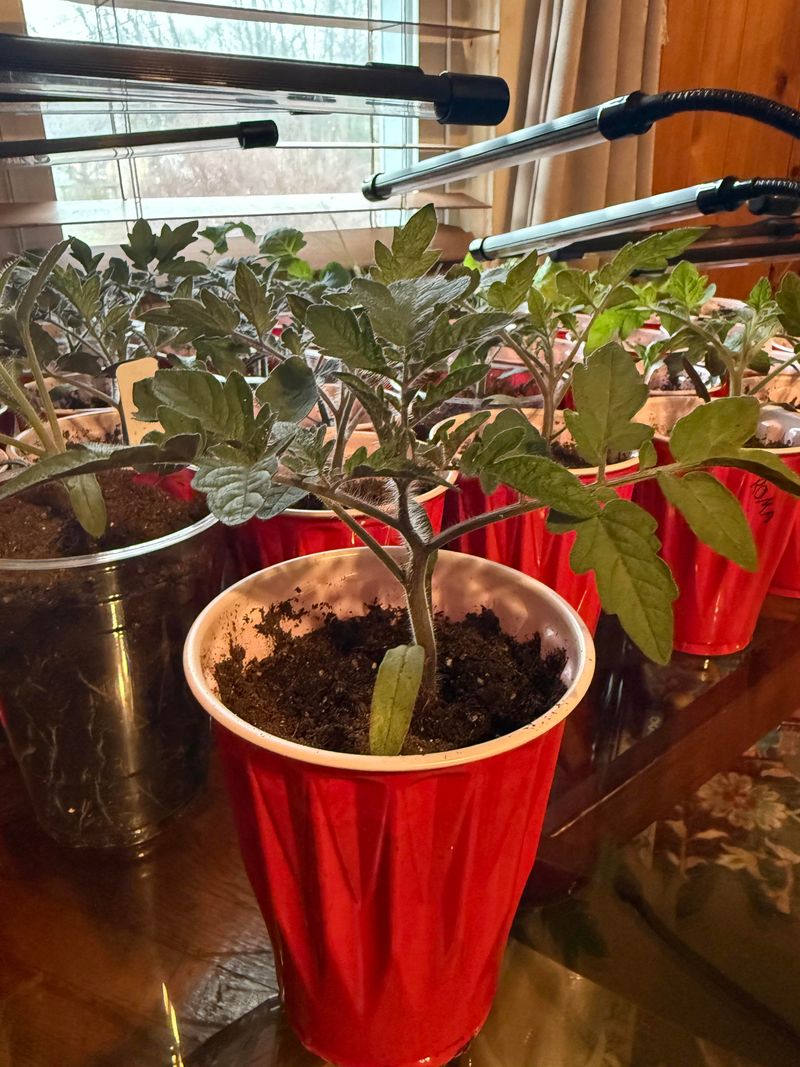
Those little seed packets contain golden information I ignored for years. Different plants have wildly different feeding needs from the start. Some heavy feeders like tomatoes get hungry faster, while herbs might barely need anything for weeks.
Check if your seed packet mentions specific fertilizing instructions. Sometimes it’ll tell you exactly when to start feeding and what strength to use.
No packet info? Look up your specific plant online. I once burned my lettuce seedlings by treating them like tomatoes – big mistake since leafy greens need much gentler feeding schedules than fruiting plants.
3. Dilute Commercial Fertilizers
Full-strength fertilizer is like giving espresso to a toddler – way too intense! Even fertilizers labeled for seedlings can be too strong. I learned this lesson after watching a whole tray of pepper seedlings shrivel up overnight.
Always dilute commercial fertilizers to at least half the recommended strength for seedlings. Some gardeners go as low as quarter-strength for the first few applications, gradually increasing as plants grow larger.
When I’m uncertain, I err on the side of too weak rather than too strong. You can always add more next time, but you can’t undo fertilizer burn once it happens.
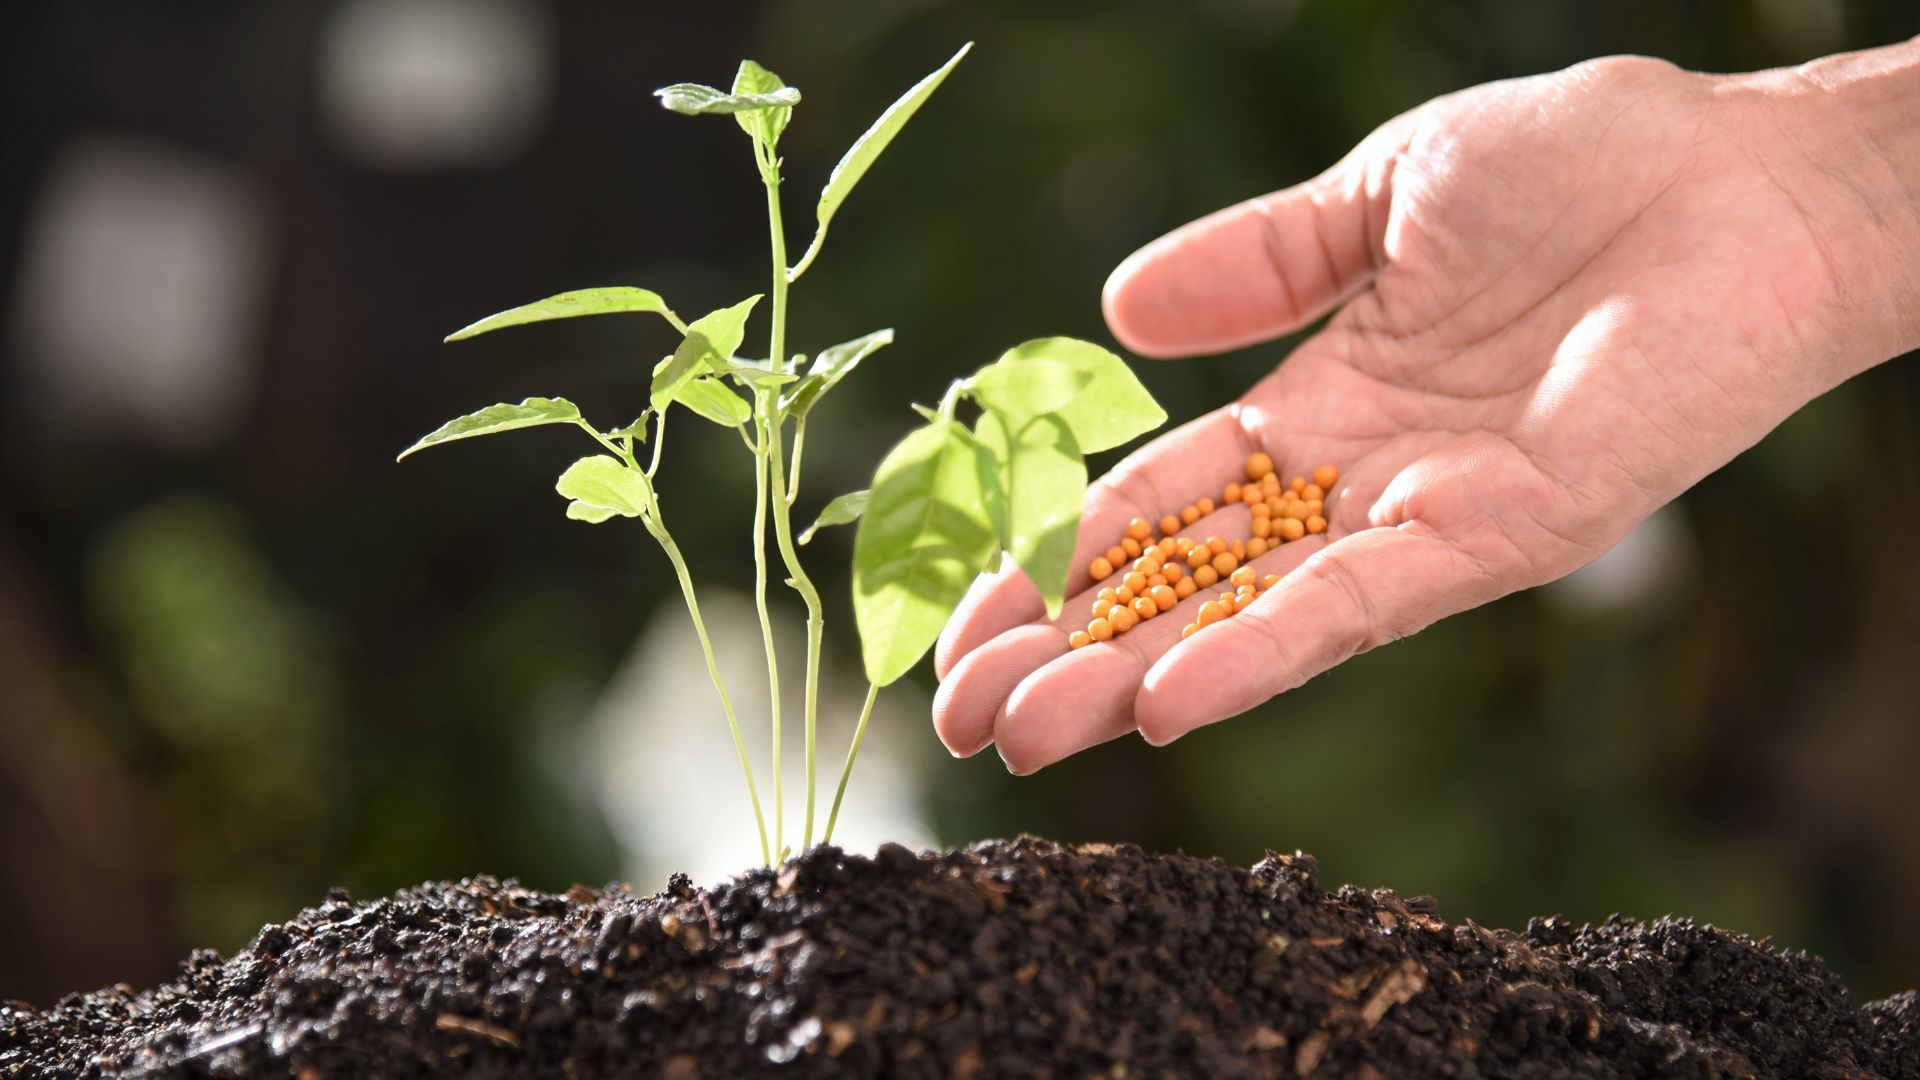
4. Choose Low-Nitrogen Formulas
Nitrogen makes plants grow fast, but too much creates lanky, weak seedlings that topple over. My first seedlings looked impressive – tall and green – until they couldn’t support themselves and flopped over pathetically.
Look for fertilizers with lower first numbers in the NPK ratio (like 2-4-2 instead of 10-5-5). The first number represents nitrogen, which stimulates leafy growth sometimes at the expense of strong stems and roots.
For most seedlings, balanced formulas or ones slightly higher in phosphorus (the middle number) work better, promoting strong root development and stockier growth rather than just stretching upward.
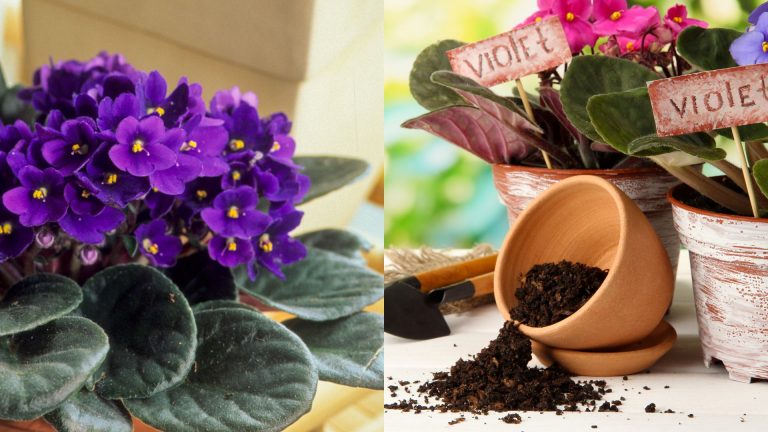
5. Consider Organic Options
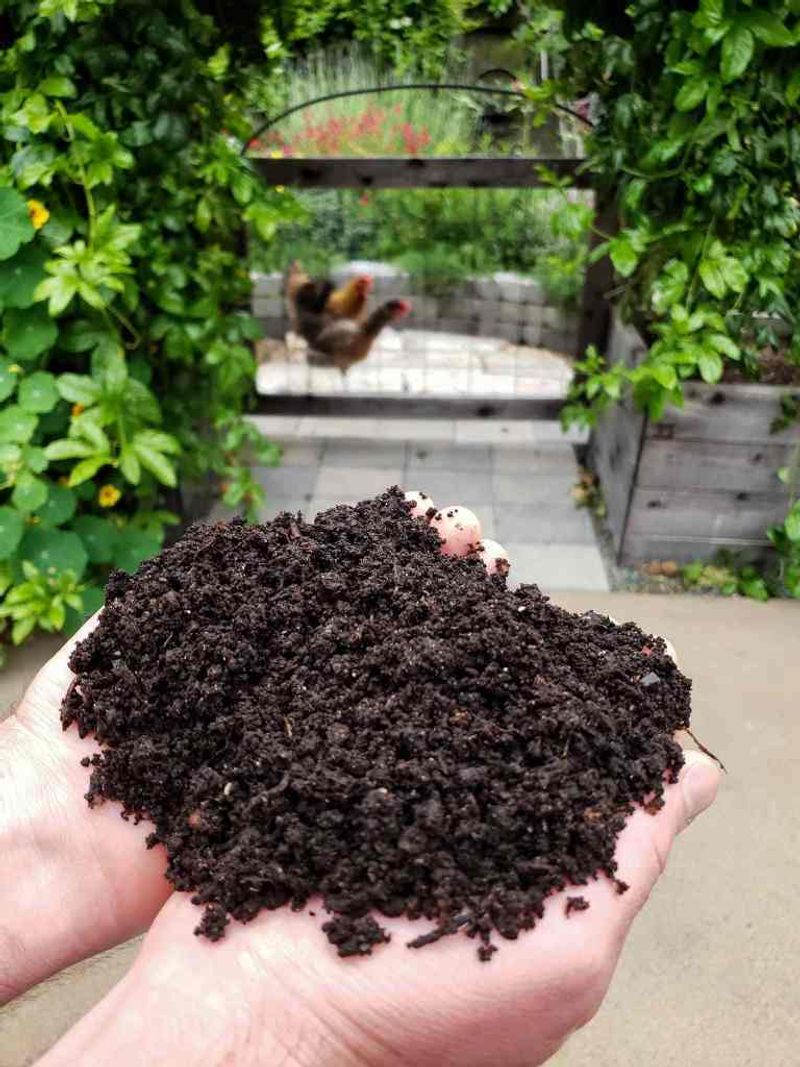
Chemical fertilizers work fast but can be harsh on delicate seedlings. I’ve had better luck with gentler organic options that release nutrients slowly, giving seedlings time to adjust instead of shocking them.
Worm castings, compost tea, and fish emulsion make excellent starter fertilizers. They provide balanced nutrition without the risk of burning roots that comes with synthetic options.
My favorite starter mix includes a tablespoon of worm castings mixed into each quart of seed-starting medium. The plants grow steadily without the growth spurts and crashes I used to see with chemical fertilizers.
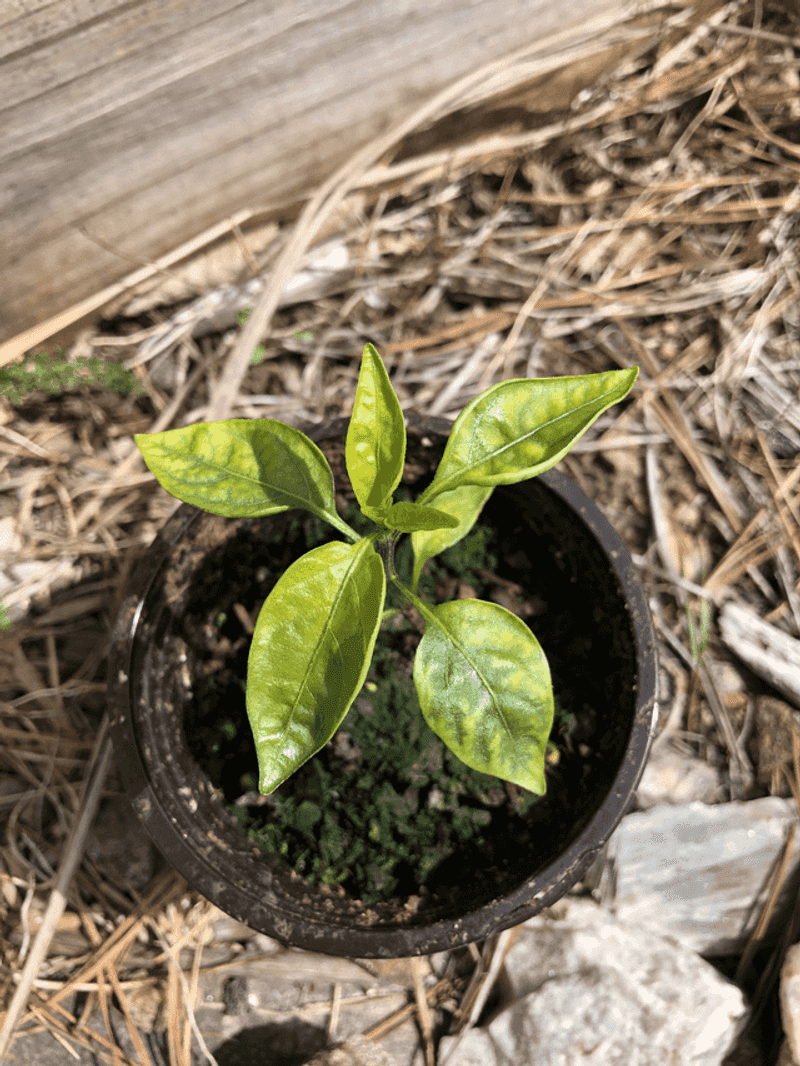
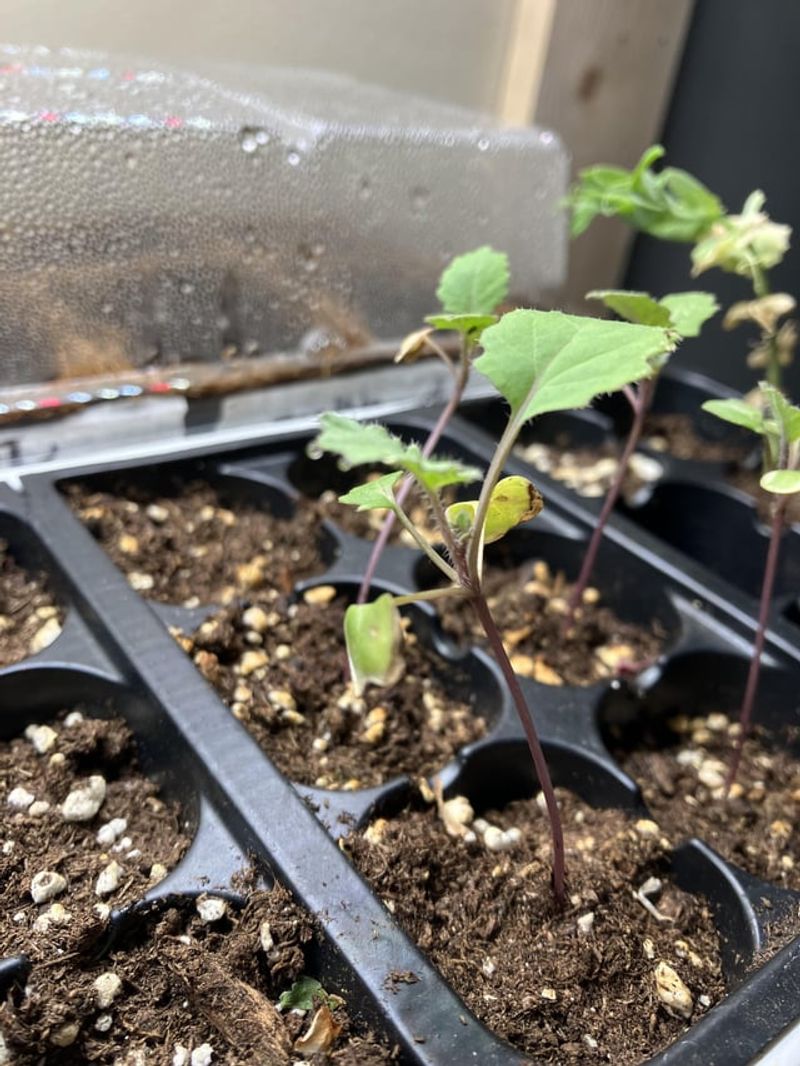
6. Watch For Telling Signs
Your seedlings will tell you if they’re hungry – no need to guess! Pale yellow-green leaves (especially older ones) often signal nutrient deficiency. Slow growth despite adequate light is another clue your seedlings might need feeding.
But be careful – other problems can look like nutrient deficiencies. Before reaching for fertilizer, check that your light levels are adequate and you’re not overwatering, as these issues cause similar symptoms.
When my seedlings develop purple tints on leaf undersides, it usually means they need phosphorus. Learning to read these signs saves me from both under and over-fertilizing.
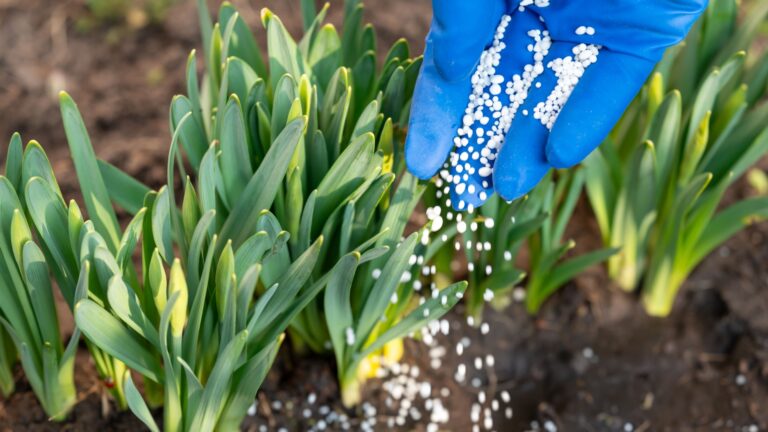
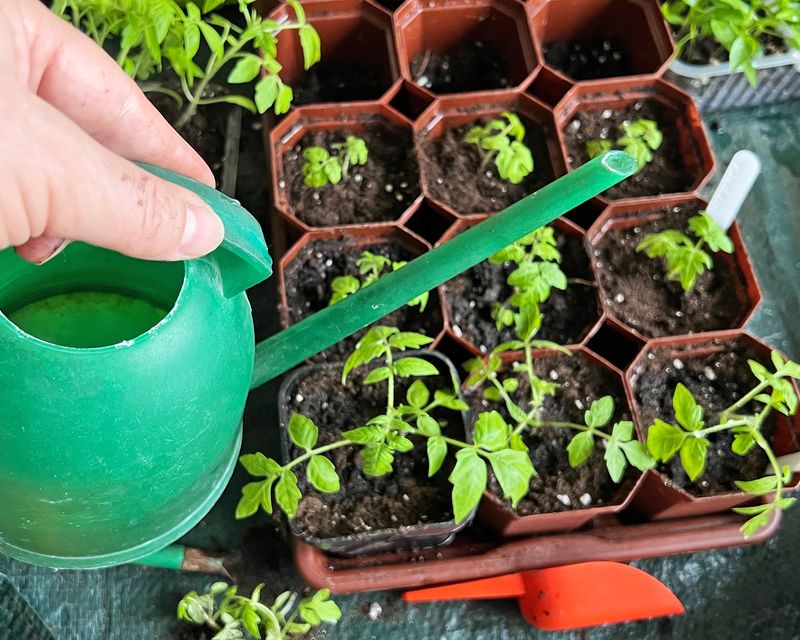
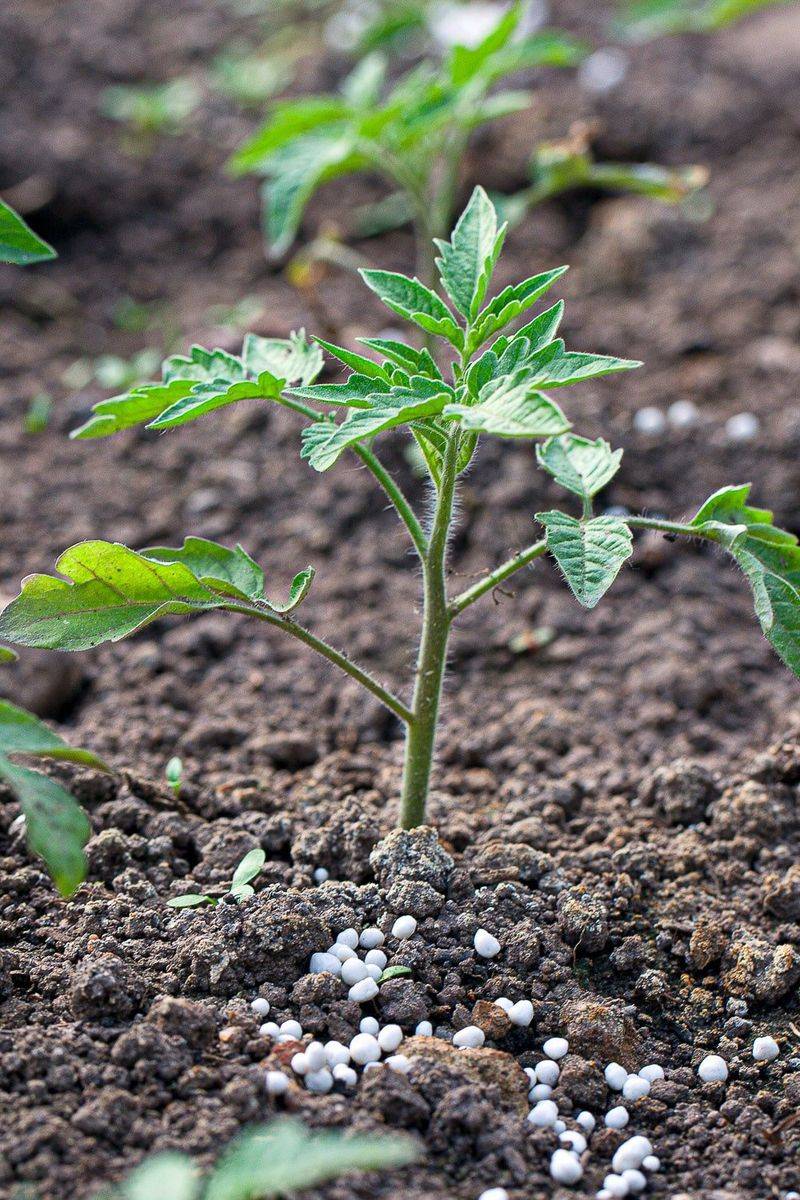
7. Liquid Fertilizers Work Best
Granular fertilizers are too unpredictable for seedlings. I’ve had whole batches burned when granules concentrated in one spot, creating hot spots of excessive nutrients that damaged tender roots.
Liquid fertilizers distribute evenly throughout the soil, providing consistent nutrition without risky concentration points. They’re also absorbed quickly, allowing you to see results and adjust accordingly.
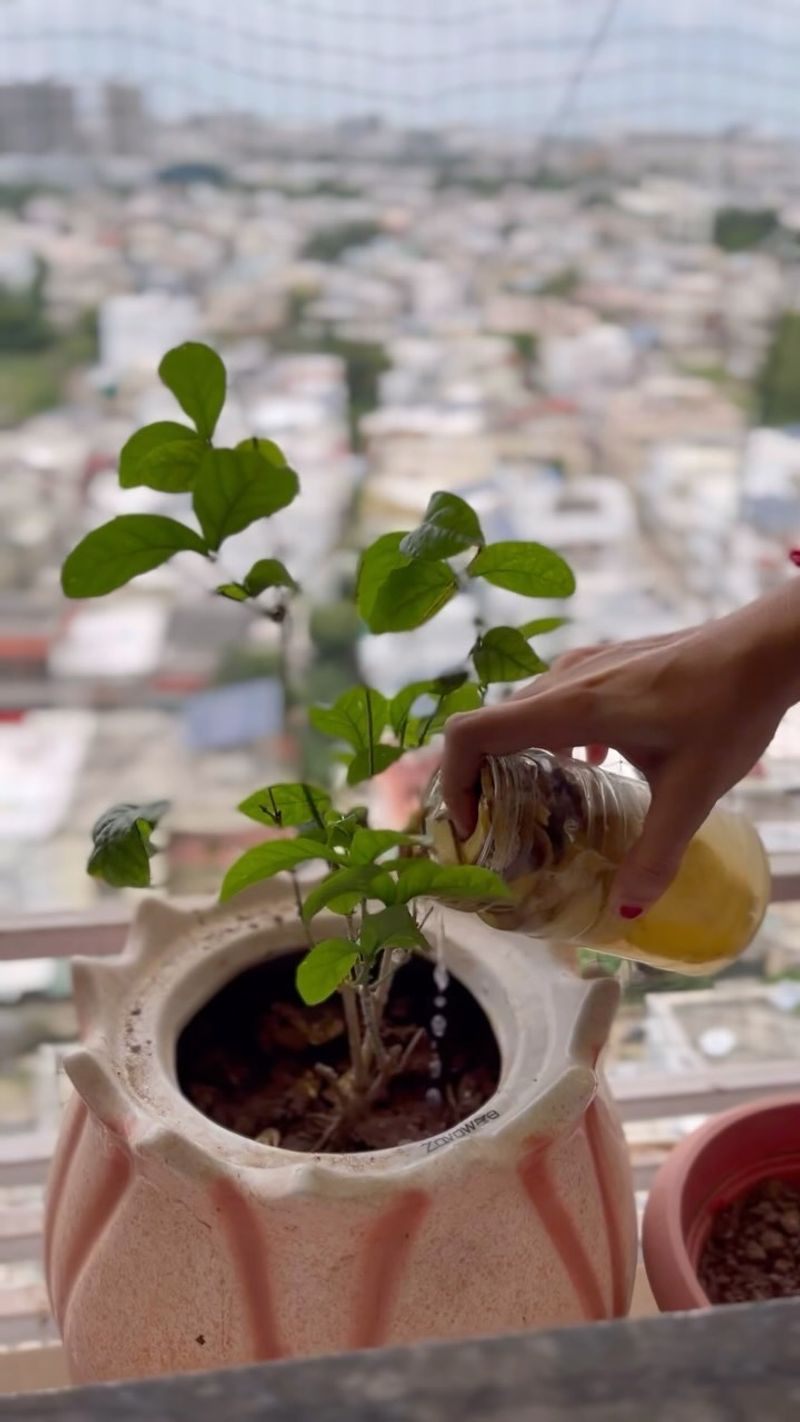
I apply liquid fertilizer using a spray bottle for small batches or a watering can for larger trays. Either way, I make sure the soil is already slightly damp before applying to prevent shocking the roots with a sudden nutrient rush.
8. Understand The NPK Ratio
Those three numbers on fertilizer packages confused me for years until I realized what they actually mean. They represent the percentage of nitrogen (N), phosphorus (P), and potassium (K) in the product, in that order.
For seedlings, look for balanced ratios like 4-4-4 or ones slightly higher in phosphorus like 2-3-2. The phosphorus (middle number) helps develop strong roots, which seedlings desperately need at this stage.
Avoid high-nitrogen fertilizers (when the first number is much higher than the others) as they can create weak, stretchy growth that makes seedlings prone to disease and damage.
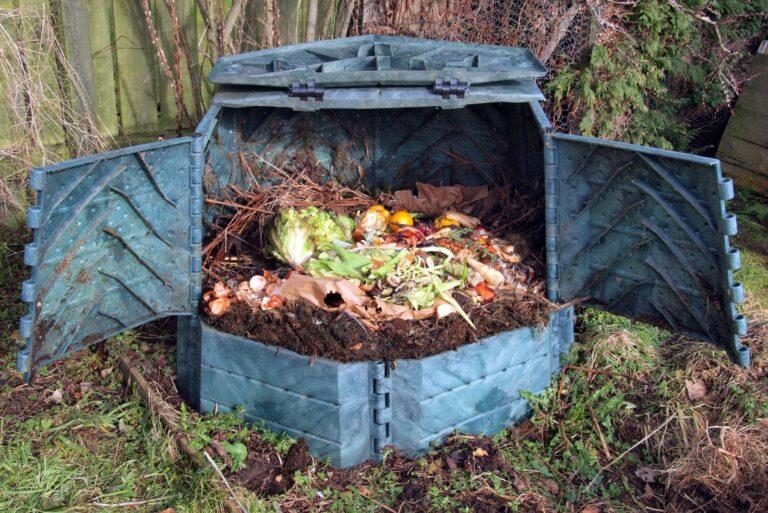
9. Make Your Own Compost Tea
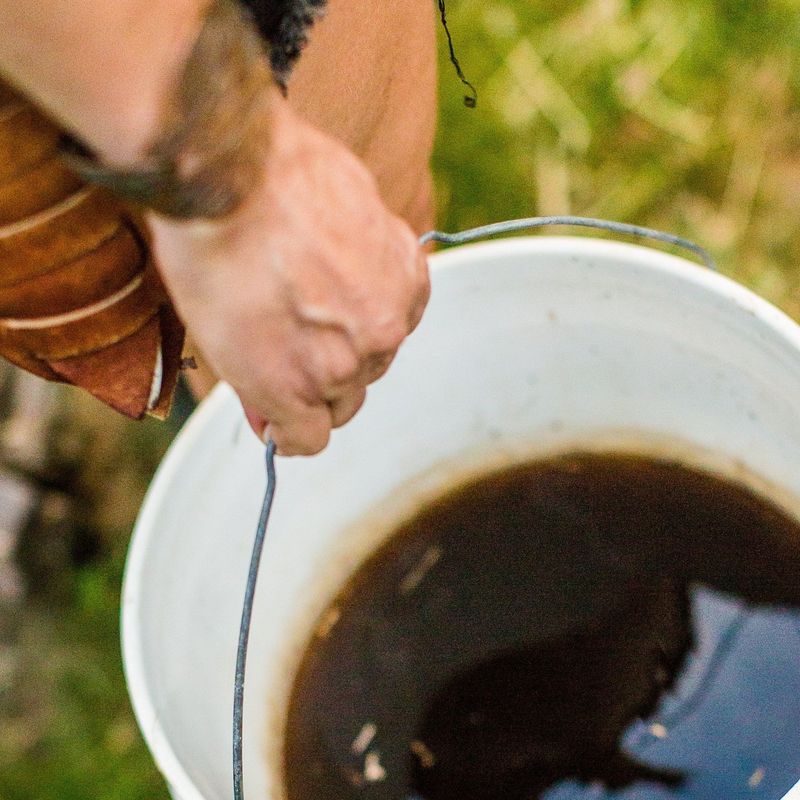
Store-bought isn’t always best! I’ve had amazing results brewing my own compost tea for seedlings. It’s gentler than commercial options and introduces beneficial microbes that help prevent disease.
Fill a bucket one-quarter full with finished compost, then add water to the top. Let it steep for 24-48 hours, stirring occasionally. Strain the liquid and dilute it to a weak tea color before applying.
My seedlings respond beautifully to this homemade brew – stronger stems, greener leaves, and better resistance to damping off disease compared to synthetic fertilizers or even no fertilizer at all.
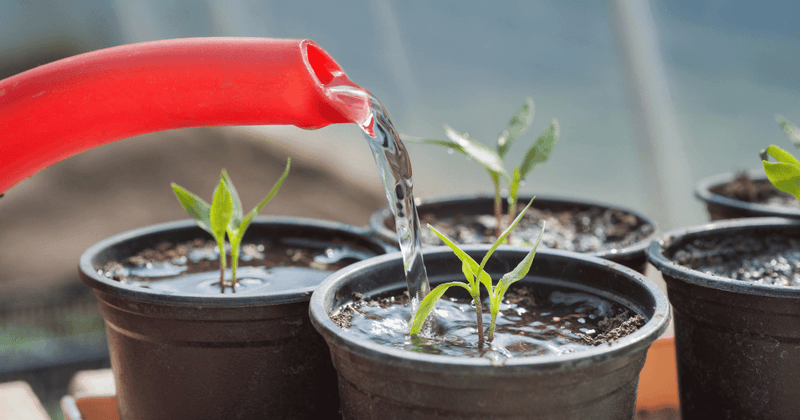
10. Feed From Below When Possible
Pouring fertilizer solution directly onto seedling leaves can lead to burning or fungal issues. I learned this after spotting brown spots on my cucumber seedlings where the fertilizer droplets had concentrated in the sun.
Bottom-watering with diluted fertilizer solution provides nutrients without wetting foliage. Simply place your seedling containers in a tray with the solution for 10-20 minutes, allowing them to absorb from below.
For seedlings in larger containers where bottom-watering isn’t practical, carefully apply fertilizer solution to the soil surface, avoiding the stems and leaves completely.
11. Frequency Matters More Than Strength
Weak, frequent feedings work much better than occasional strong doses. I used to give my seedlings a “good strong feed” once every two weeks and couldn’t figure out why they’d surge then struggle.
Instead, try half-strength fertilizer applied weekly, or quarter-strength applied with every other watering. This creates steady growth without the feast-or-famine stress that stronger, infrequent applications cause.
Consistent nutrient levels produce sturdier plants that transition to the garden more successfully. My transplant survival rate improved dramatically once I switched to this gentler, more frequent approach.
12. Prepare A Feeding Schedule
Without a plan, I’d either forget to fertilize or suddenly panic and overdo it. Creating a simple calendar for seedling care prevents both extremes and helps track what works for different plants.
Mark when you start seeds, when they germinate, and when you apply fertilizer. Note the strength used and how plants respond over the next few days.
This record-keeping helps tremendously from year to year. My notes showed that my tomatoes needed feeding a week earlier than my peppers, while my herbs barely needed anything until just before transplanting.
13. Recognize When To Stop
More isn’t always better with seedling fertilizer. Overfed seedlings become weak, leggy, and susceptible to disease – something I learned after pushing my tomato seedlings too hard one year.
Signs of overfertilization include unusually dark green leaves, rapid but weak growth, white crust on soil surface, or leaf tips turning brown. If you spot these warning signs, immediately flush the soil with plain water.
For most seedlings, it’s better to slightly underfeed than overfeed. Plants can recover from mild nutrient deficiencies much more easily than they can from fertilizer burn.
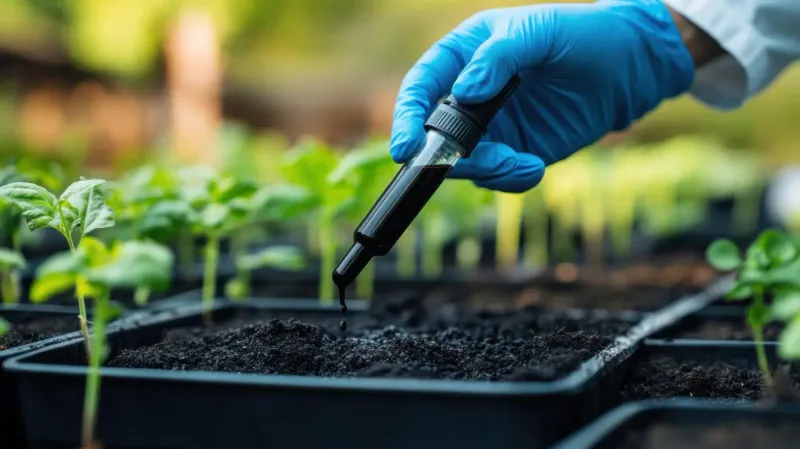
14. Test Before Treating
Yellow leaves don’t always mean nutrient deficiency! I’ve mistakenly added fertilizer when the real problem was overwatering, lack of light, or temperature stress. Adding fertilizer in these cases only compounds the problem.
Before reaching for fertilizer, check other growing conditions first. Make sure your seedlings get adequate light (weak, stretched seedlings usually need more light, not more food).
Check soil moisture levels too – consistently wet soil prevents roots from accessing nutrients already present. Often fixing these environmental factors solves apparent nutrient issues without adding any fertilizer at all.
15. Adjust For Your Water Type
Hard water with high mineral content already contains some nutrients, while soft or filtered water might lack them entirely. My seedlings grew completely differently at my new house until I realized our well water changed the fertilizing equation.
If you have hard water, you might need less fertilizer than package directions suggest. Soft water users might need to stick closer to recommended amounts.
For precise growing, consider testing your water or simply observe how seedlings respond to half-strength applications, adjusting up or down based on their growth. My rural well water is so rich in minerals that I now use about 30% less fertilizer than recommended.
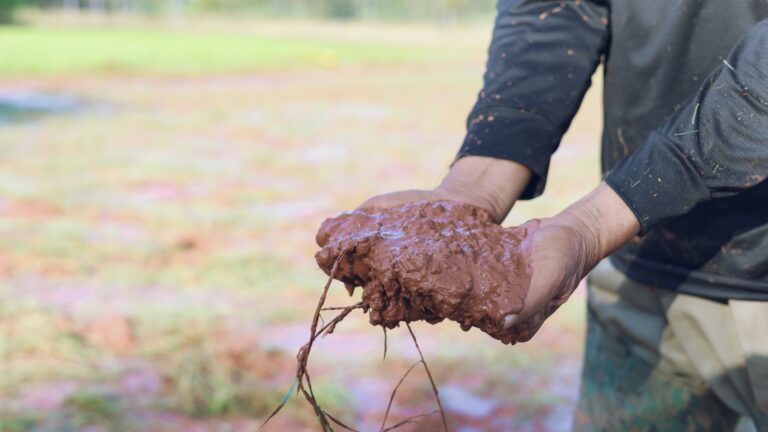
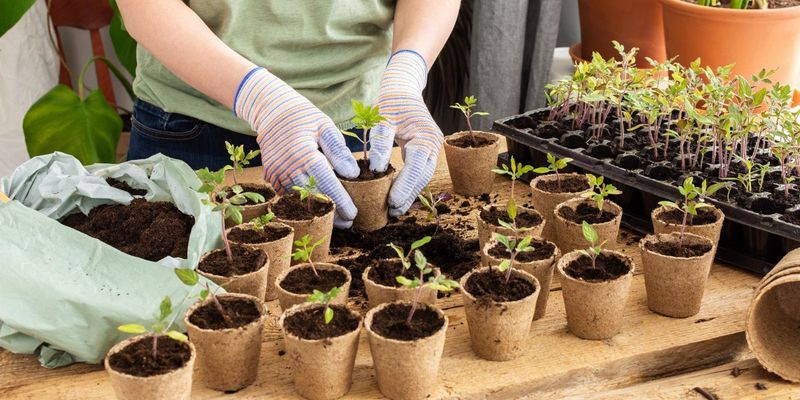
16. Match Fertilizer To Growing Medium
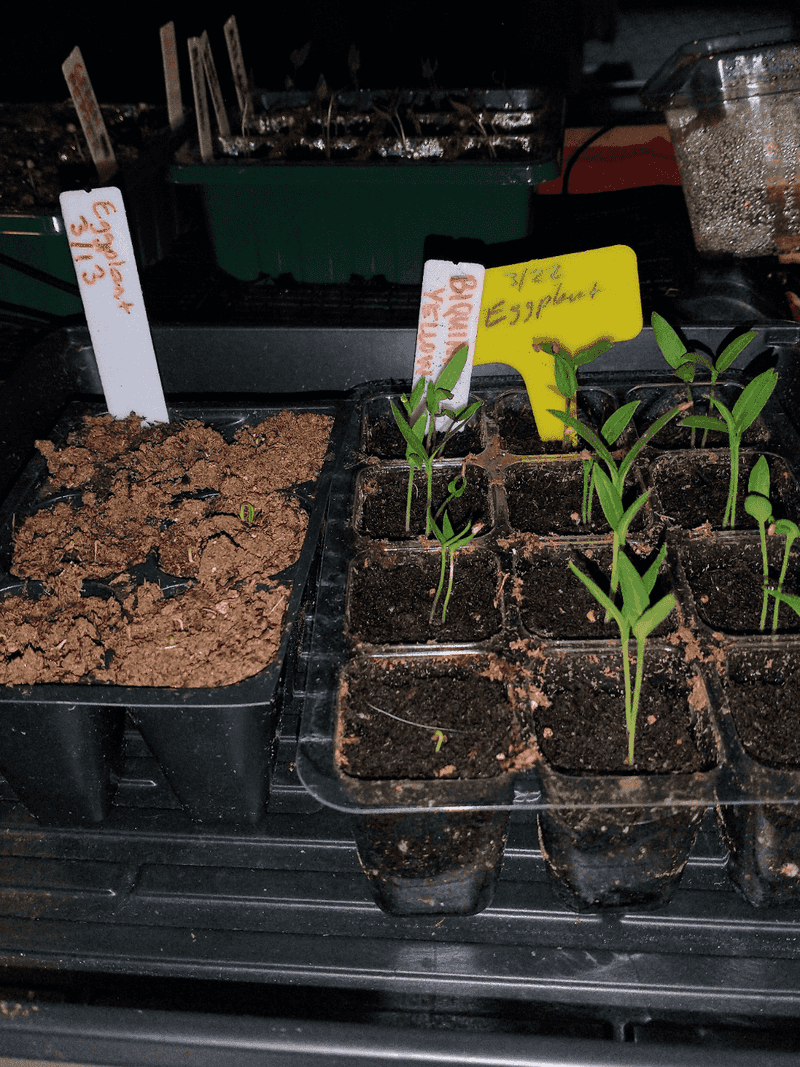
Different growing mediums need different fertilizing approaches. Seed-starting mix and coconut coir contain virtually no nutrients, while potting soil might already have some fertilizer incorporated.
Seedlings in soilless mixes (like peat or coir) need fertilizing sooner – usually as soon as true leaves appear. Those in compost-enriched mixes might not need supplemental feeding for 3-4 weeks.
I learned this lesson growing identical tomato seeds in different mediums. The ones in plain peat needed feeding within days of true leaf development, while those in a mix containing worm castings thrived for weeks without additional fertilizer.
17. Consider Slow-Release Options
Mixing a tiny amount of slow-release fertilizer into your seed-starting mix provides consistent nutrition without the need for frequent liquid feedings. I discovered this time-saver after a particularly busy spring when I couldn’t keep up with my feeding schedule.
Use only one-quarter to one-half the recommended amount for container plants. Any more can harm delicate seedlings as they germinate and develop.
Organic slow-release options like worm castings or kelp meal work particularly well. They provide gentle, steady nutrition that increases as soil microbes break them down, naturally matching your seedlings’ growing nutrient demands.
18. Rotate Feeding Methods
Using the same fertilizer continuously can create imbalances or deficiencies of trace minerals. I noticed this when my seedlings looked good overall but developed subtle issues like interveinal chlorosis despite regular feeding.
Alternate between different fertilizer types to provide a broader spectrum of nutrients. For example, use fish emulsion one week, seaweed extract the next, and a balanced organic liquid the third week.
This rotation ensures seedlings receive a complete range of major and minor nutrients. My plants show better color, stronger stems, and more vigorous root systems since I started this practice compared to using a single fertilizer type.
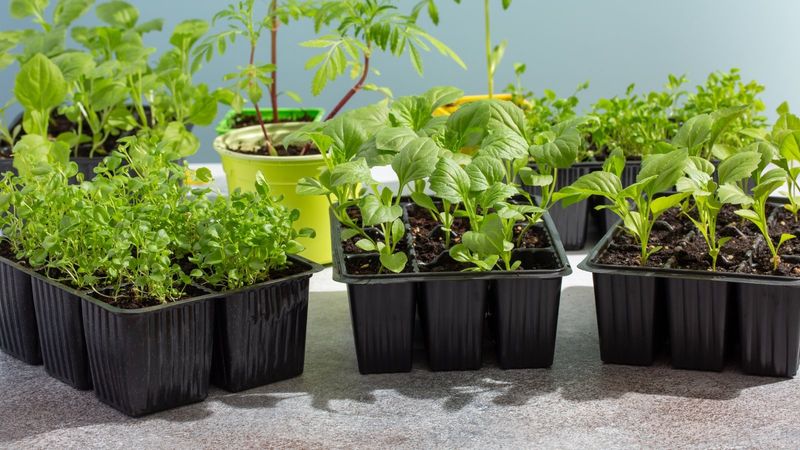
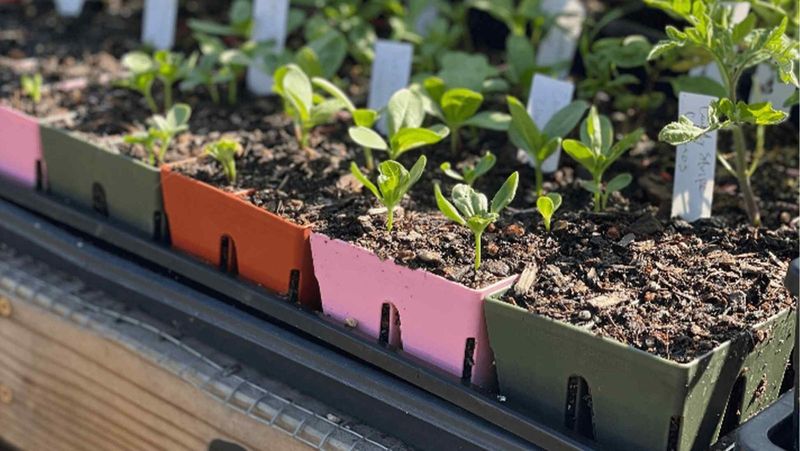
19. Tailor To Plant Type
Not all seedlings have identical nutritional needs. Treating them all the same led to some of my plants thriving while others struggled in the same trays.
Fruiting vegetables like tomatoes and peppers benefit from phosphorus-rich formulas that support flower and fruit development later. Leafy greens respond better to nitrogen-focused fertilizers that support foliage growth.
Root vegetables need less overall fertilizer but benefit from potassium. Group your seedlings by type when possible, allowing you to customize feeding schedules and formulas for each category instead of compromising with a one-size-fits-all approach.
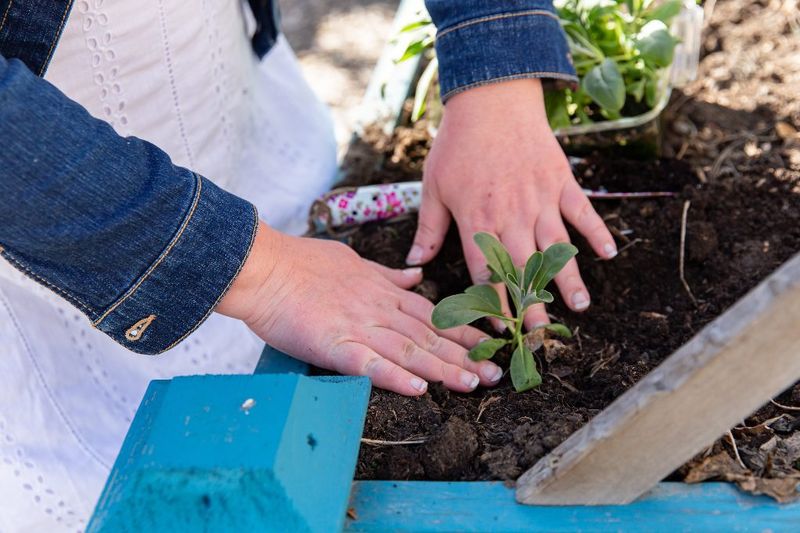
20. Ease Up Before Transplanting
Fertilizing heavily right before moving seedlings outdoors can backfire dramatically. I’ve lost countless pampered seedlings to transplant shock because they weren’t hardened off properly – both to outdoor conditions and to less frequent feeding.
Gradually reduce fertilizer strength and frequency during the week before transplanting. This slight stress actually helps prepare seedlings for the transition to garden conditions where nutrients aren’t as readily available.
The last feeding should be very dilute or skipped entirely. My transplant survival rates improved significantly once I started this tapering process instead of sending out seedlings at their most lush, fertilizer-fueled state.