8 Fall Tasks That Set Your Lilies Up For Big Summer Blooms
Your July lilies are making their big decision today, underground, without asking you. Cool soil builds roots for you before frost.
Unlike tulips, your lily bulbs lack papery skin, so they dry out fast. Leave them bagged in the garage, and they shrivel.
Those yellowing stems you want to cut? They’re feeding your bulbs for next July. Snip early, and you cut off the bulb’s sugar supply.
Meanwhile, scarlet lily beetles are hiding in your leaf litter for winter. Clear that debris, and you shrink their numbers before spring. Crowded clumps produce smaller blooms each summer, so you split them now.
Mulch after the ground freezes, not before, or you invite nesting mice in. Skip these jobs, and July hands you tall green stalks with bare tops. Before frost locks the soil, you still control which July shows up next.
1. Leave The Foliage Until It Turns Brown

Old gardeners like to say that lily leaves are the plant’s lunchbox. They are right, and well-fed lily beds bloom thick and tall each July.
After flowers fade, the green leaves keep soaking up sunlight like tiny solar panels. That energy travels down the stem and gets packed into the bulb underground.
A plump, well-fed bulb is the secret behind big summer blooms. A skinny, hungry bulb might only push up leaves next year, with no flowers at all.
Cutting green stems too early is a frequent mistake, even among seasoned home gardeners. The plant looks a little messy in September, so people grab the shears.
Try to resist that urge for a few more weeks. Let the stems stay until they turn yellow, then tan, and finally brown and dry.
A good test is a gentle tug on the stem. If it pulls free easily or snaps with a dry crack, the job is done.
If the floppy look bothers you, plant some fall flowers nearby to hide it. Asters, mums, and ornamental grasses make a lovely curtain in front of fading stalks.
You can snip off old seed pods, though, and that actually helps. Making seeds uses up energy the bulb would rather save for next summer.
Pinch pods right where they join the stem, using your fingers or small clippers. It takes only a minute per plant and feels oddly satisfying.
Think of it as letting the plant finish its meal before clearing the table. A little patience now pays off with armloads of flowers later.
2. Cut The Stalks Down To Ground Level
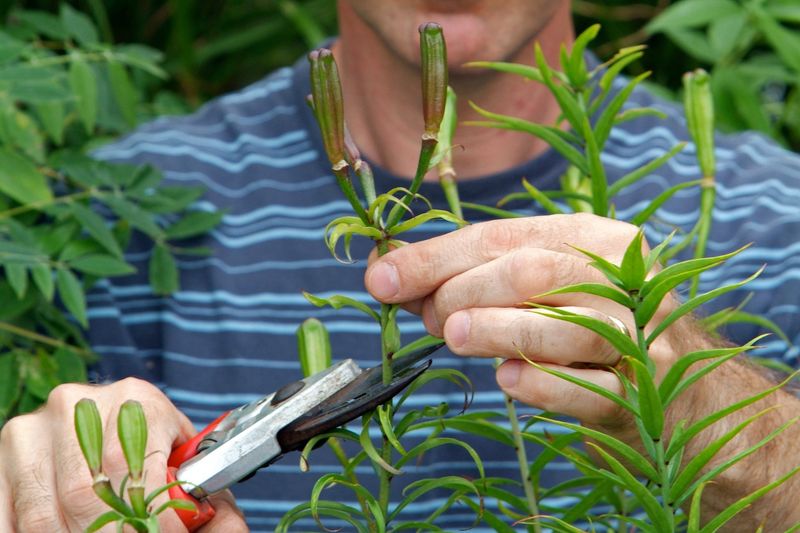
Snip, snip, done, and your garden instantly looks tidier. Once lily stems turn brown and brittle, it is finally time to cut them down.
Wait until at least the first light frost, or until the stalks feel papery. At that stage, the bulb has already drawn in most energy from the foliage.
Grab clean, sharp pruners before you start. Dull blades crush stems instead of slicing them, and crushed tissue can invite rot and fungus.
Wipe the blades with rubbing alcohol between plants if any leaves looked spotty this year. It takes seconds and keeps diseases from hitching a ride.
Cut each stalk down to about two or three inches above the soil. Some gardeners cut right at ground level, which also works fine.
Leaving short stubs has a handy bonus, though. Those little stumps show you exactly where each bulb is hiding once the ground looks bare.
Toss the old stems in the compost pile if they looked healthy. Anything with brown spots, mold, or weird streaks belongs in the trash instead.
Diseased leaves can carry fungus spores through winter and spread them in spring. Keeping them out of the compost protects your whole garden, not just lilies.
A quick cleanup also means fewer hiding spots for beetles and slugs. Pests love a cozy pile of old plant parts to spend the cold months in.
Grab a bucket, set a timer for fifteen minutes, and knock the whole job out. That is one less chore waiting for you when spring arrives.
3. Clear Away Fallen Leaves And Debris

Somewhere in your garden right now, a tiny red beetle is picking out a winter apartment. Its favorite address is a soggy pile of leaves near your lilies.
Red lily leaf beetles damage lilies across Europe and northeastern North America. Adults spend winter in soil and plant litter, then start feeding in spring.
Slugs, snails, and fungus spores love the same cozy, damp mess. A thick layer of wet leaves traps moisture right against the soil where bulbs sleep.
Too much dampness can make bulbs soft and mushy before spring arrives. A soft bulb is often beginning to rot and will not send up many flowers.
Grab a rake or just use gloved hands around the lily patch. Gently pull away fallen leaves, weeds, and old flower petals from the planting area.
Be careful not to rake too hard near the bulbs. Lily stem roots sit close to the surface, so a rough tug can damage them.
Weeds deserve special attention during this cleanup. Many keep growing in cool weather, stealing water and nutrients your bulbs need for winter.
Pull them out by the roots while the soil is still soft and workable. It is much easier now than fighting them in April.
Healthy leaves from other plants can go straight into your compost bin. Later, that same material will come back as rich food for your beds.
Your lily patch gets fresh air, and overwintering beetles lose their shelter. Some also hide in soil, so cleanup reduces numbers without removing them.
4. Divide And Replant The Crowded Clumps
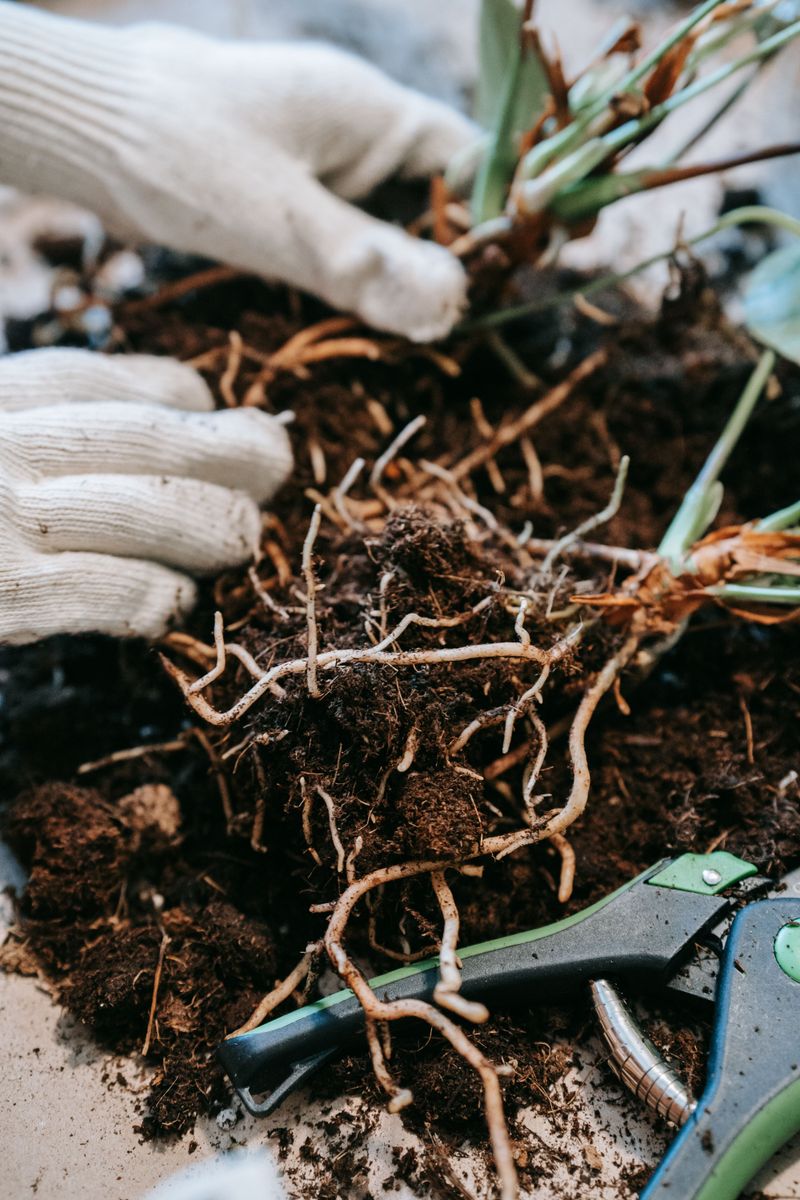
Crowded lilies are like siblings sharing one small bedroom. The bulbs end up competing for space, water, and nutrients.
Lily bulbs multiply into clusters every few years, though Martagons dislike division. Fewer, smaller flowers are often the first clue that your clump needs splitting.
Divide in early fall, once the foliage has yellowed. This is the exception to waiting for brown stems, since you lift the whole plant. The soil is still warm, so new roots can settle in before winter arrives.
Start by loosening the soil in a wide circle around the clump with a garden fork. Dig about eight inches out from the stems to avoid piercing bulbs.
Lift the whole clump gently and shake off the loose dirt. You will see bulbs stuck together, plus little baby bulblets clinging on.
Pull them apart carefully with your fingers, keeping roots attached whenever possible. Toss any bulbs that feel mushy, smell rotten, or show dark moldy patches.
Lily bulbs have no papery skin like onions or tulips. That means they dry out fast, so replant them the same day.
Set each bulb about six to eight inches deep, pointy end facing up. Space them roughly a foot apart so they have room to grow.
Water them well after planting to settle soil around the roots. Tiny bulblets can go in a spare bed to grow for a year or two.
Have extra bulbs left over after replanting? Share them with a neighbor, and you just started a friendship made of flowers.
Label each new spot with a plant tag so you remember the colors. Next summer, you will know exactly which beauty is popping up where.
5. Feed The Soil With Rich Compost

Did you know lily bulbs can keep growing roots even as the air turns chilly? Soil stays warmer than the air, so fall roots keep quietly working.
That makes autumn a smart time to feed the ground around your lilies. Think of it as stocking the pantry before a long winter.
Compost is the easiest and safest choice for most gardens. It adds nutrients slowly and helps soil hold moisture without turning into a swamp.
Spread about one to two inches of compost over the lily bed. Keep it on top of the soil rather than digging it in deeply.
Deep digging could easily slice into bulbs planted six to eight inches down. Worms will happily pull the compost deeper for you over the winter.
Skip high-nitrogen fertilizers this time of year, like lawn food. Nitrogen pushes leafy growth, and the plant does not need that before winter.
If a soil test shows low phosphorus, try a little bulb fertilizer. Skip bone meal, since its smell attracts digging rodents and curious dogs.
Follow the package directions and sprinkle lightly around each plant. More food is not better and can actually burn tender roots.
Lilies need drainage; Orientals prefer acidic soil while trumpets tolerate lime. Well-rotted compost or shredded leaves help heavy clay soil loosen up over time.
Your job is simple, but the payoff shows up in July. Bigger stems, richer colors, and more buds come from a healthy, well-fed bed.
6. Water Deeply Before The Ground Freezes

Autumn rain seems like plenty, but the ground can be surprisingly thirsty under all those leaves. Dry fall weather catches many gardeners off guard.
Lily bulbs are alive and busy all season, even when nothing shows above ground. They need steady moisture to grow roots and stay plump.
A bulb that shrivels in fall enters winter weak and stressed. Come summer, that tired bulb may push up short stems with few flowers.
Check the soil by pushing a finger about two inches down. If it feels dry, grab the hose or watering can.
Water deeply once a week when rain is scarce, soaking the soil several inches down. A quick sprinkle only wets the surface and misses the roots.
Morning is the best time to water in fall. Leaves and soil dry off during the day, which helps prevent mold and rot.
Keep going until the ground starts to freeze in late fall. Once the soil turns hard and cold, the bulbs rest and stop drinking.
Be careful not to overdo it, though. Lilies don’t tolerate waterlogged soil, and standing water around the bulbs quickly leads to rot.
If puddles linger after rain, your bed may drain poorly. Raised beds or plenty of compost help, since a little sand can thicken clay.
Winter wind can dry soil more than people expect. A final deep drink before the freeze gives bulbs a cozy, hydrated start to their nap.
Roll up the hose afterward and drain it so it does not crack. Your garden gets a drink, and your hose survives until spring too.
7. Add A Thick Layer Of Winter Mulch
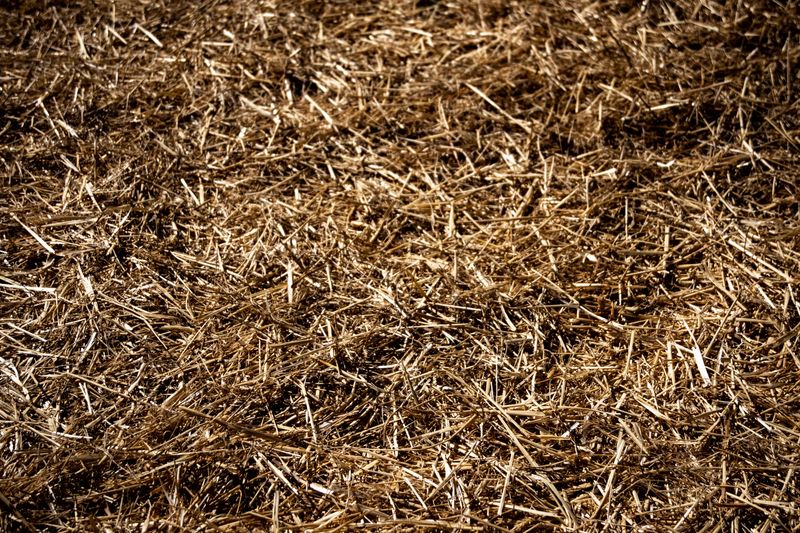
Tucking lilies in for winter feels a lot like making a bed for someone you love. A fluffy blanket of mulch keeps them snug through snow and sleet.
The goal is not to keep bulbs warm, surprisingly. Mulch keeps soil temperature steady, so it does not freeze and thaw over and over.
That constant freezing and thawing can push bulbs right out of the ground. Gardeners call it frost heaving, and it leaves bulbs exposed and damaged.
Wait until the topsoil freezes, but ideally before heavy snow arrives. Mulching too early can invite mice to build warm little nests near the bulbs.
Spread three to four inches of shredded leaves, pine needles, straw, or bark chips. Pine needles work especially well because they stay loose and airy.
Avoid whole leaves that mat down into a slimy, soggy layer. Run them over with a lawn mower first to shred them into fluffy pieces.
Spread the mulch evenly across the whole lily bed, not just in small piles. Leave a little breathing room around any short stubs sticking up.
In early spring, pull the mulch back gently once hard frosts pass. That lets the soil warm up so shoots can poke through without struggling.
Leave a thinner layer in place during summer to keep roots cool. Lilies famously like their heads in the sun and their feet in the shade.
The best part is that mulch is often free. Nearby trees likely drop plenty of it right onto your lawn each fall.
8. Mark The Spots And Guard Against Critters
Squirrels will happily dig up a fresh lily bulb and eat it right on the spot. A little protection now saves you that disappointment in spring.
Lily bulbs are tasty treats for voles, mice, squirrels, and chipmunks. Once the stems are gone, these critters can dig freely without anyone noticing.
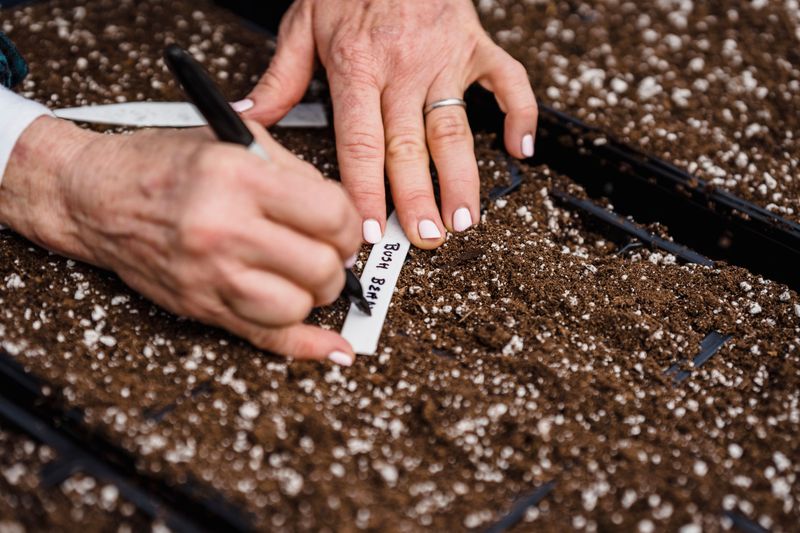
Marking your planting spots is the first smart move. Push a sturdy stake, plant label, or painted rock beside each clump before winter.
Markers keep you from damaging bulbs with a shovel once busy spring planting begins. They also remind you where to look for fresh shoots in April.
For protection, lay inch-mesh chicken wire flat over the bed. Cover it with mulch, then lift it in early spring so thick shoots emerge freely.
Wire cages buried around bulbs work even better against voles that tunnel underground. Many gardeners build them once and reuse them for years.
Sharp gravel mixed into the soil around bulbs can also discourage digging paws. Critters dislike scratchy textures as much as we dislike stepping on Lego bricks.
Some people sprinkle hot pepper flakes or use smelly repellents near the bed. These help for a while but need reapplying after rain or snow.
Deer usually leave bulbs alone in winter, but they adore spring lily shoots. Plan to add netting or fencing once green tips appear.
A little effort now protects all the hard work you did this fall. Your bulbs stay safe, and the squirrels can go find acorns instead.