How And When To Harvest Sweet Potatoes For The Best Results
You are standing on hidden sugar, and it is not sweet yet. Fresh sweet potatoes taste bland straight from your soil. Enzymes need warm, humid days to turn stored starch into rich sugar.
Growers call it curing, and skipping it leaves your roots tasting flat. Timing your dig decides how sweet they become. Pull them too soon, and you harvest skinny roots lacking sweetness.
Wait too long, and cold soil triggers chilling stress. Chilled roots turn hard at the core and store poorly. Stranger still, trouble hides beneath perfect-looking skin.
Newly dug skins scuff and mark at the lightest touch. Hasty shovel work invites fungus into your harvest. Refrigerators undo cured roots just as quickly.
So you need clear signals, precise handling, and a smart storage plan. Before you grab that shovel, discover what separates candy-sweet roots from bland letdowns.
1. Count The Days Since Planting
Think of your garden calendar as a secret treasure map with a big X marking harvest day. Many sweet potato varieties need about 90 to 120 days of warm weather to mature.
If you planted slips in late May or early June, September is prime time. Quick growers like Georgia Jet can be ready in just 90 days, which surprises many beginners.
Beauregard usually needs about 90 to 100 days, while Covington often wants 100 to 120. Check your plant tag or the supplier’s listing, since the grower usually lists the expected timeline.
Writing your planting date on a sticky note or phone reminder saves a lot of guessing later. Plenty of gardeners forget the exact day by August, and that little note proves surprisingly useful.
Counting days is only a starting point, not a hard rule set in stone. Weather, soil, and sunshine all change how fast those roots swell beneath the surface.
A cool, cloudy summer can slow things down by a week or two. Use the calendar as your first clue, then check the plants for more hints before digging.
Think of it like baking cookies with a timer. The timer helps, but you still peek through the oven door before pulling the tray out.
2. Watch For Yellowing Leaves And Vines
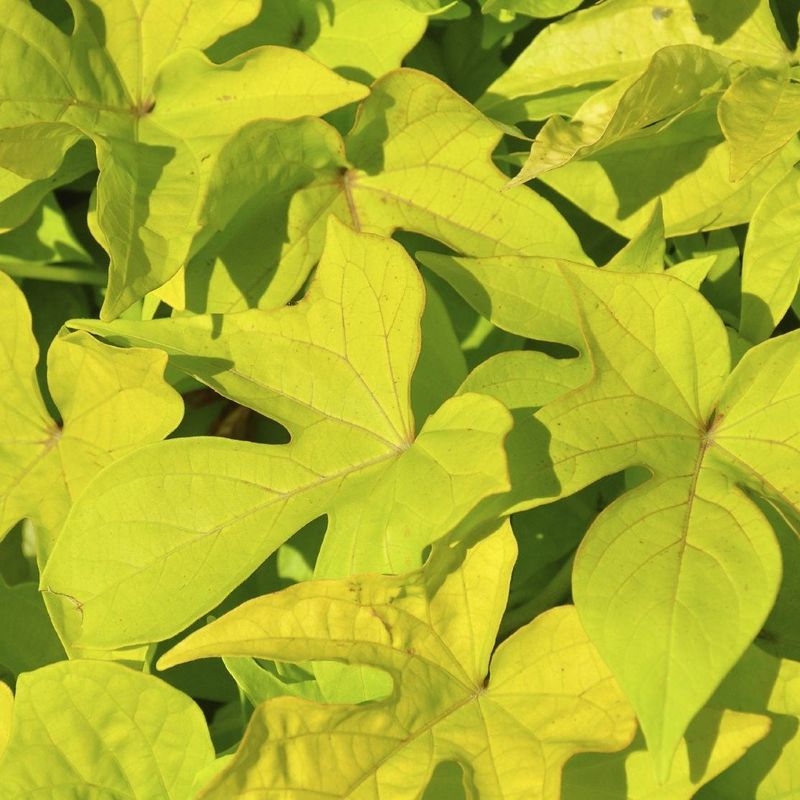
Your sweet potato vines are reliable messengers, sending clear signals as your harvest time draws near. When the leaves start turning yellow around the edges, the roots below are usually close to ready.
Healthy vines stay deep green all summer while the plant pours energy into growing. As fall approaches, that growth slows, and the plant starts shifting its focus underground.
You might notice a few leaves fading first, then more following over several days. A light yellow tint across the patch is a friendly nudge that harvest time is near.
Be careful not to confuse this color change with trouble from bugs or thirsty soil. Spotty holes, curled edges, or wilting in the afternoon heat can point to other problems.
True harvest yellowing tends to happen slowly and evenly across the whole planting. It looks a lot like maple trees easing into autumn, one soft shade at a time.
Some varieties hardly yellow at all before frost arrives in cooler regions. In that case, lean more on your planting date and a quick test dig to decide.
Keep an eye on the patch every few days during September. A short daily stroll with a cup of cocoa makes the job feel like a treat.
3. Harvest Before The Cold Arrives
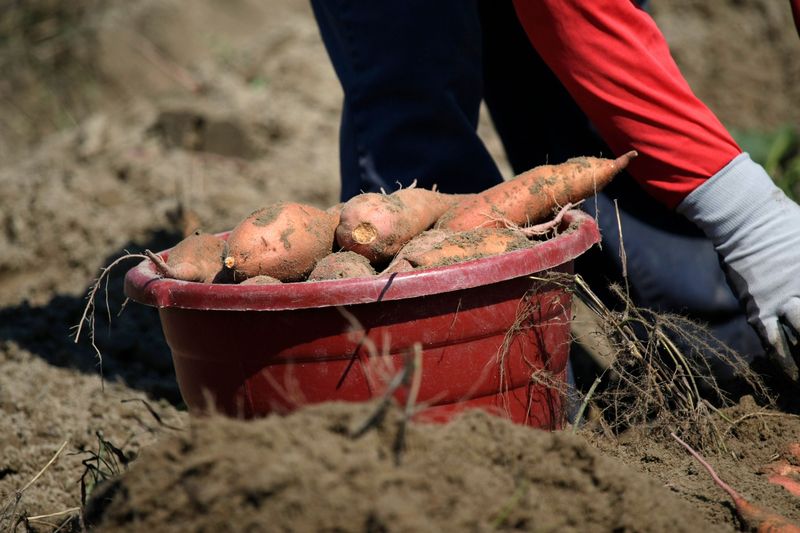
Frost is a serious risk for sweet potatoes, even when autumn afternoons still feel warm. These tropical roots love heat and face chilling stress once soil drops below about 55°F.
Once frost darkens the vines, cold stress can spread down into the roots quickly. Affected roots may break down in storage, taste off, or stay hard in the center after cooking.
Harvest before the soil chills, which often happens ahead of the first frost. Look up your average first frost date online or ask your local garden center for help.
Northern areas can see that date anywhere from early September to early October. Southern gardeners often have extra breathing room, sometimes well into November.
Keep a weather app handy and watch for nights dipping into the low 40s. A surprise cold snap can sneak in faster than you expect, especially in valleys.
If frost touches the leaves overnight, act promptly and calmly the next morning. Cut away the darkened vines right away and dig the roots within a day or two.
Getting them out early protects a whole season of your hard work. Think of it as bringing your harvest safely indoors before the cold fully settles in.
4. Dig A Test Hill First
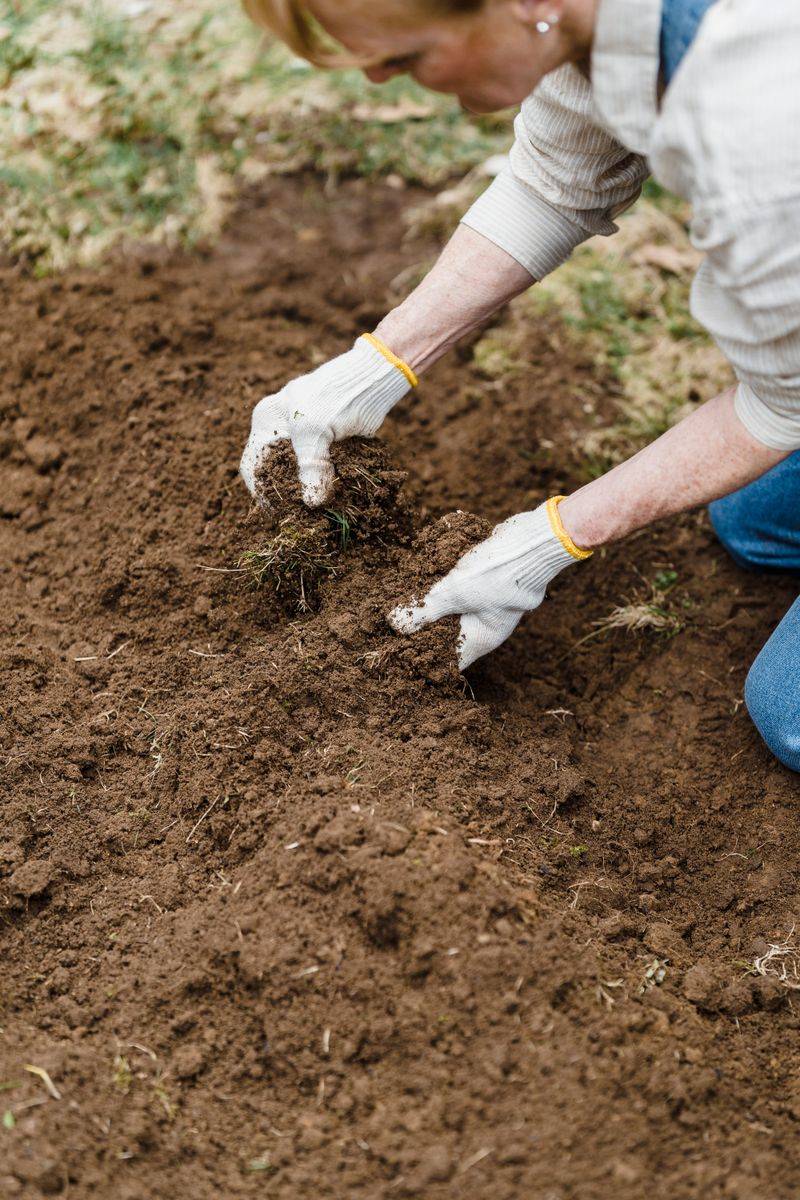
Curiosity is a gardener’s best tool, so go ahead and peek. Digging up just one plant tells you more than any calendar or leaf color ever could.
Choose a plant near the edge of your bed so you do not disturb the others. Gently brush away soil with your hands or a small trowel until you spot the roots.
Ready roots are usually plump, about the size of your fist or bigger. If they look thin and stringy, like skinny fingers, give the patch another week or two.
Many experienced growers rely on this simple check before each harvest. It takes about ten minutes and saves you from pulling up a whole bed too soon.
Pay attention to the skin while you are down there checking things out. Expect skins to rub off easily, even on mature roots, until curing firms them.
If you do dig up small ones, do not toss them in the compost. Baby sweet potatoes roast beautifully, and a short cure brings out their natural sweetness.
Record what you find in a notebook, including the date and root size. Next year, you will have your own personal guide based on real results from your backyard.
5. Pick A Dry And Mild Day To Dig
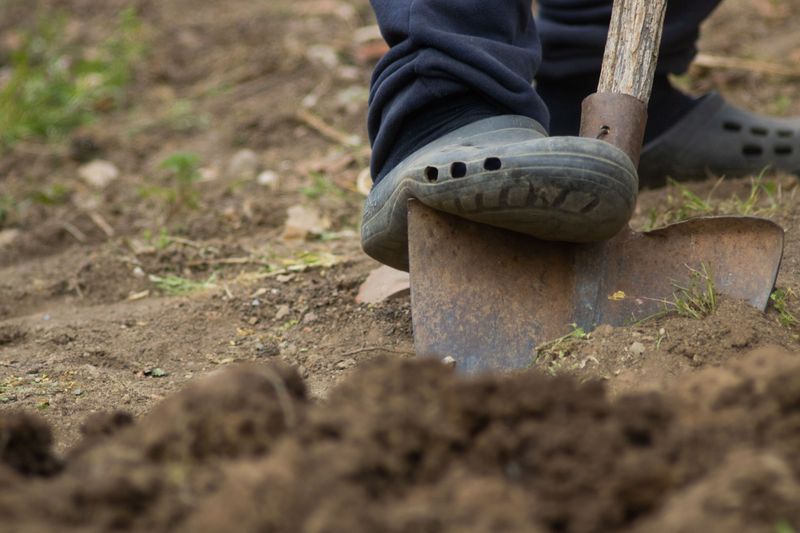
Mud and sweet potatoes make a messy team, as many growers quickly learn. Wet soil clings to the roots, sticks to your boots, and makes careful digging much harder.
Aim for a stretch of dry weather with no rain for two or three days. The soil should feel crumbly in your hand, not soggy or sticky like cookie dough.
A cloudy or mild morning is ideal for this job in September. Strong sun can cause sunscald on freshly dug roots left out over an hour.
Temperatures between 60 and 80 degrees make the work comfortable for you and safe for the harvest. Plus, your energy lasts from your first dig to the very last.
If heavy rain has soaked the ground, wait patiently for it to dry out a bit. Soaked soil makes roots easy to nick and prone to storage decay.
Check the forecast a few days ahead and plan your harvest like a mini event. Invite friends or family to join, since many hands make lighter work and more laughter.
Keep some shady crates or baskets nearby before you start digging. Having everything ready means your harvest spends less time exposed to direct sun.
6. Cut Back The Vines Before Digging
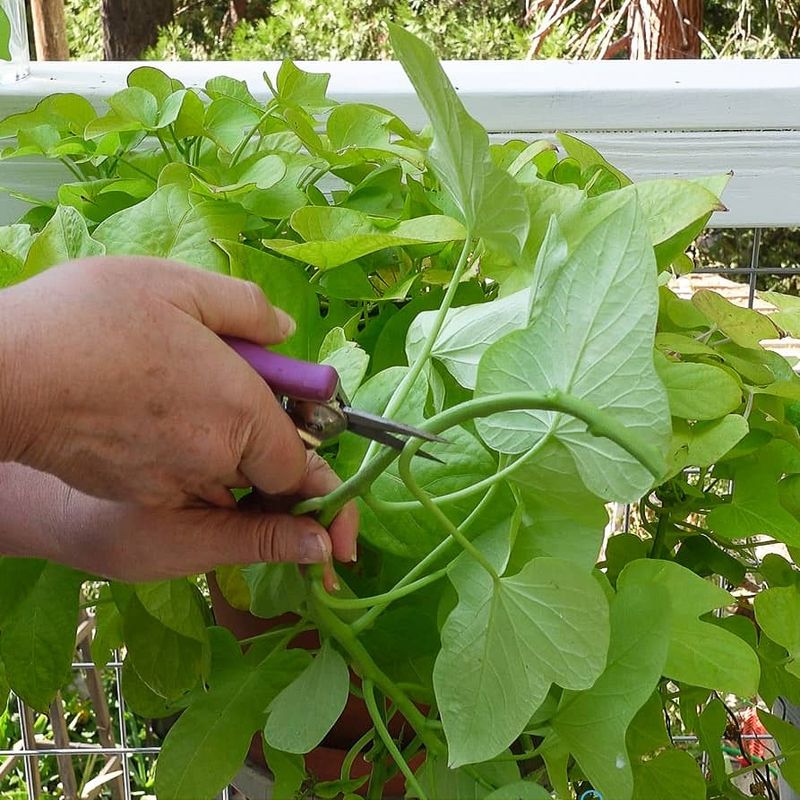
Sweet potato vines can sprawl across a garden like a leafy green octopus. Before you dig, clearing them away makes finding the roots so much easier.
Grab a pair of sharp pruning shears or garden scissors for this task. Snip the vines a few inches above the soil, leaving a small stub at each plant’s crown.
Those little stubs act like flags, showing you exactly where each plant sits. Without them, you could end up digging blindly and piercing a hidden root by accident.
Some gardeners cut the vines a few days before harvest day. This may help the skins toughen up a bit, which protects them during digging.
Pile the cut vines on a tarp or toss them into the compost bin. They break down nicely and add rich nutrients back to your garden for next spring.
Leafy tips are edible too, and many cultures cook them like spinach. Try sauteing young leaves with garlic and a pinch of salt for a tasty side dish.
Wear gloves while clearing, since the vines sometimes release a sticky, milky sap. It can leave dark stains on your fingers that take a while to scrub away.
7. Loosen The Soil With A Garden Fork
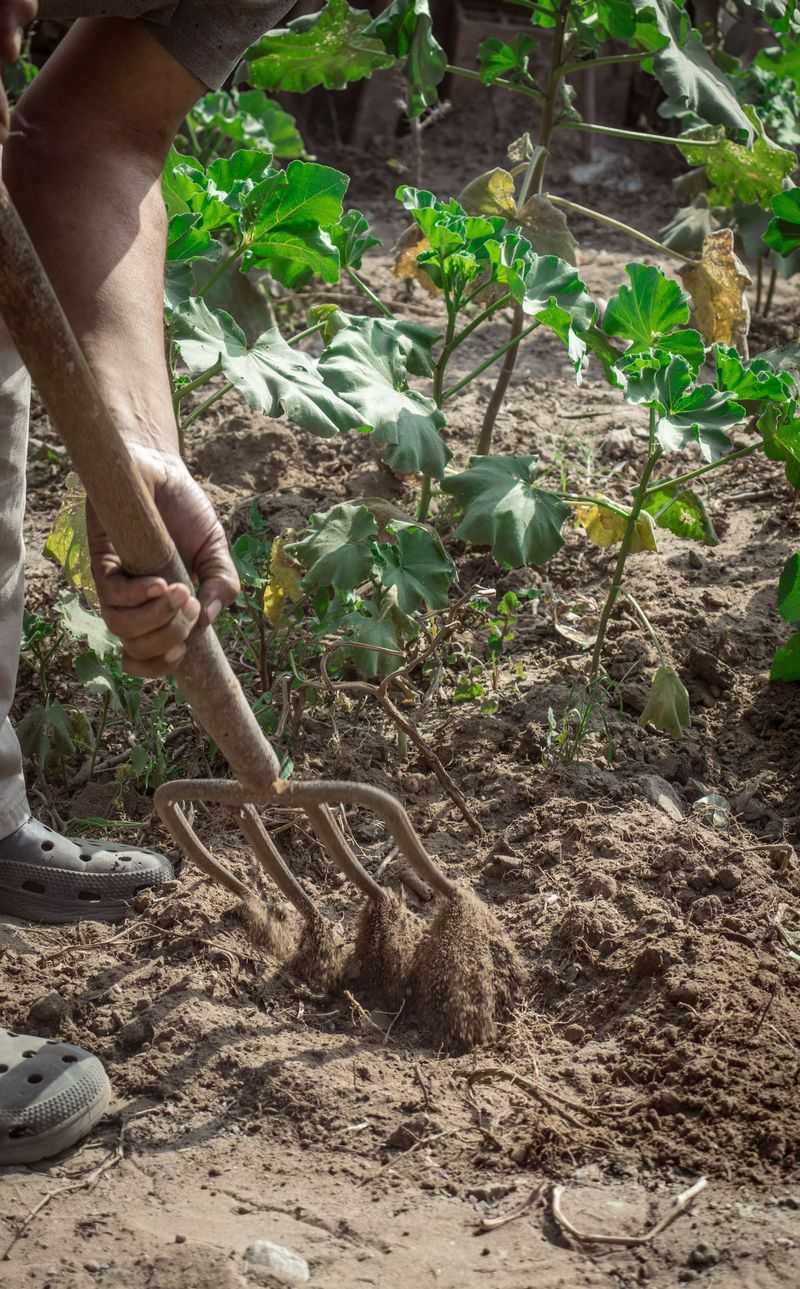
Here is where patience really pays off in big, orange rewards. A digging fork is your best buddy, since it loosens soil without slicing through roots like a shovel.
Start about 12 to 18 inches away from the base of each plant. Sweet potatoes spread farther than many people expect, so giving them space protects your harvest.
Push the fork straight down into the soil, then gently rock the handle back. The ground should lift and crack slightly, loosening its grip on the roots hiding below.
Work your way around the plant in a slow circle, repeating the same motion. Avoid prying hard or yanking, since pierced or bruised roots do not store well.
Heavy clay soil might need a little extra effort and a few more passes. Sandy soil, on the other hand, usually loosens up with just a light push.
If you do not own a garden fork, a shovel still works with care. Just keep the blade farther from the plant and dig at a gentle angle.
Take breaks and stretch your back between plants to avoid soreness later. Harvest day should be rewarding and relaxed, and your back should thank you.
8. Lift The Roots Out By Hand
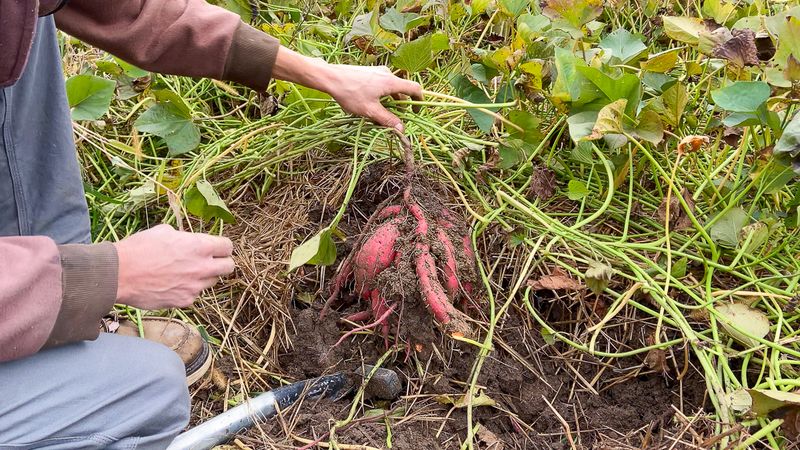
Remember playing in the sandbox as a kid? Harvesting sweet potatoes brings back that same joy of digging and discovering treasures with your bare hands.
After loosening the soil, reach in and feel around for the roots. Grab the plant’s crown and gently pull upward while wiggling your fingers beneath the cluster.
Many roots will come up together in a bunch. A few strays might break off and hide deeper, so keep searching around the hole.
Sweet potatoes can grow up to 10 inches deep, sometimes even more in loose soil. Sifting through the dirt with your fingers helps you find the hidden stragglers too.
Kids love this part, so invite them to join the hunt. Turn it into a contest to see who finds the biggest or funniest-shaped root.
Avoid tugging hard on stubborn roots that seem stuck in the ground. Loosen the soil around them a bit more instead, then try lifting again.
Brush off loose dirt lightly, but do not wash the roots yet. Water can encourage mold and decay before the roots have a chance to cure.
Lay them in a single layer in a shaded spot or a shallow basket. Let them rest an hour or two so skins can dry.
9. Handle Each Root Like An Egg
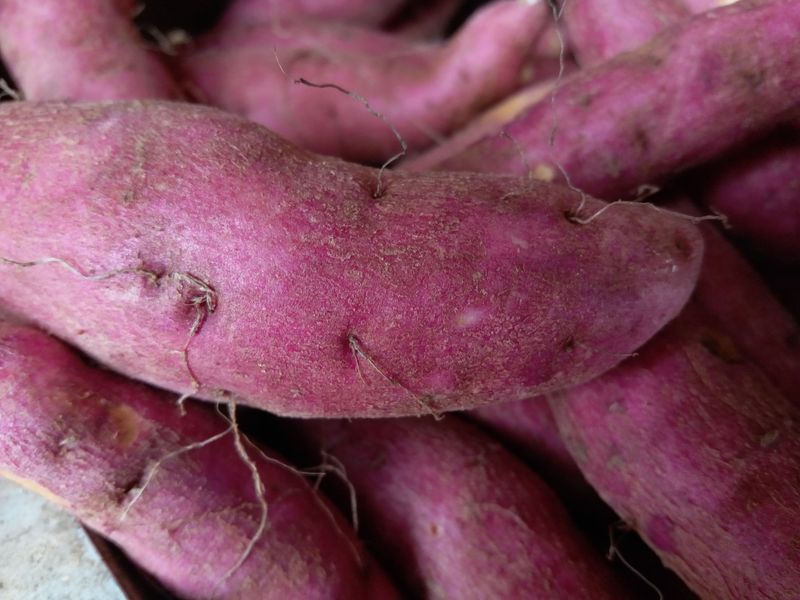
Freshly dug sweet potatoes have very thin, delicate skin that marks easily. A rough toss into a bucket can leave bruises that lead to decay weeks later.
Treat each root like a raw egg you are carrying across a kitchen. Set them down gently instead of dropping or throwing them into baskets or crates.
Scrapes and nicks might look harmless at first glance. Yet those tiny wounds let in germs and moisture that can shorten your harvest’s storage life.
Use padded containers, like crates lined with old towels or newspaper. Avoid stacking them too high, since the weight from above can bruise roots on the bottom.
Sort your harvest as you go into piles by size and condition. Any roots that got pierced or cracked should be eaten first, within a week or so.
Keep the perfect, unblemished ones for long-term storage later in the season. Those beauties will last the longest and make the best holiday dishes come November.
Resist the urge to scrub off dirt right after digging. Rubbing can scuff the thin skin, so leave that dusty coat alone until cooking time.
Moving slowly might feel silly on harvest day. Still, careful hands now mean fewer soft roots when you reach for dinner in winter.
10. Cure And Store Your Harvest Properly
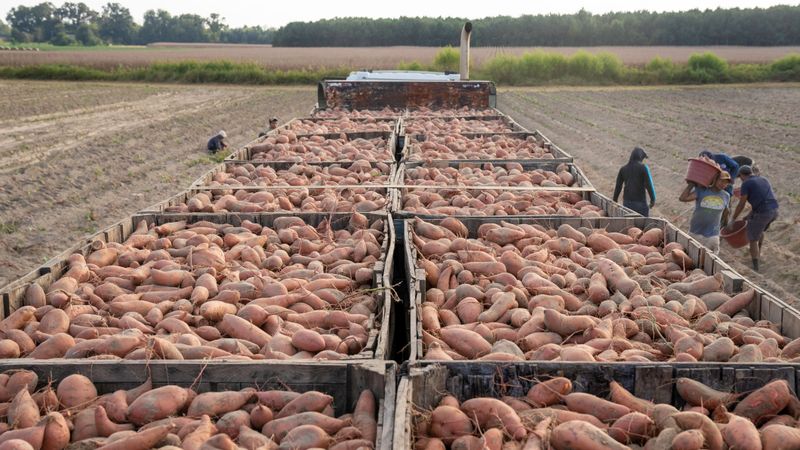
Plenty of new gardeners get surprised by this secret. Fresh sweet potatoes taste starchy and bland until they go through a special resting period called curing.
Curing heals small scratches, thickens the skin, and turns starches into natural sugars. That is what gives baked sweet potatoes their rich, syrupy flavor and soft texture.
To cure them, keep the roots somewhere warm and humid for about 5 to 10 days. Aim for about 80 to 85 degrees and roughly 90 percent humidity.
A warm garage, enclosed porch, or small heated room can work nicely. Covering crates loosely with a damp towel helps raise moisture levels around the roots.
After curing, move them to a cool, dark place around 55 to 60 degrees. Basements, pantry closets, or insulated garages work if they stay that warm all winter.
Do not put them in the fridge, since cold causes hard cores and off flavors. Keep them away from apples, whose ethylene gas can affect storage quality.
Stored well, your harvest can last six months or even longer. Imagine enjoying homegrown sweet potato pie in March, long after the garden has gone quiet.
Check your stash every few weeks and remove any soft ones. One soft root can affect its neighbors, so act on it promptly.